Wills.WindowsAndWheels
New member
- Oct 31, 2009
- 1,682
- 0
Operation Paint Polish/Restore & Opti-Coat.
Subject: 2011 LR4 Rover
Color: Metallic Black
Condition: What do you think?
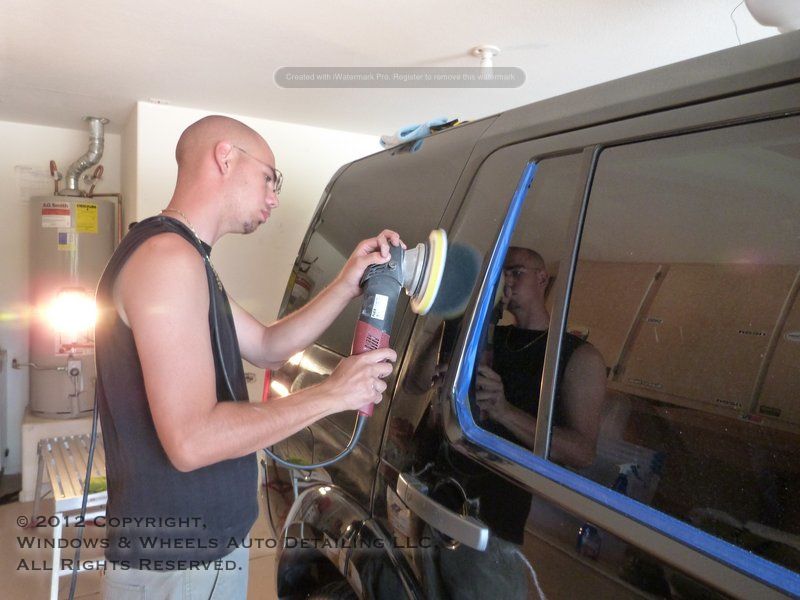
Process: Extensively clean, decontaminate, 2-step polish (compound/finial polish), Re-Wash, IPA Wipe-Down, Apply Opti-Coat to all paint, glass (except front windshield), hard plastic trim, lights and rims.
24 hours....yup...24 hours...thats how many man/woman hours Dani and I put into this one..and the next day we'd be dropping another 20+ hours into this Panamera: http://www.autopia.org/forum/click-...ction-engine-interior-our-first-200k-car.html
BUT, thats another write up (feel free to check it out).
Point being, we had a long weekend lol....here's what we were working with:
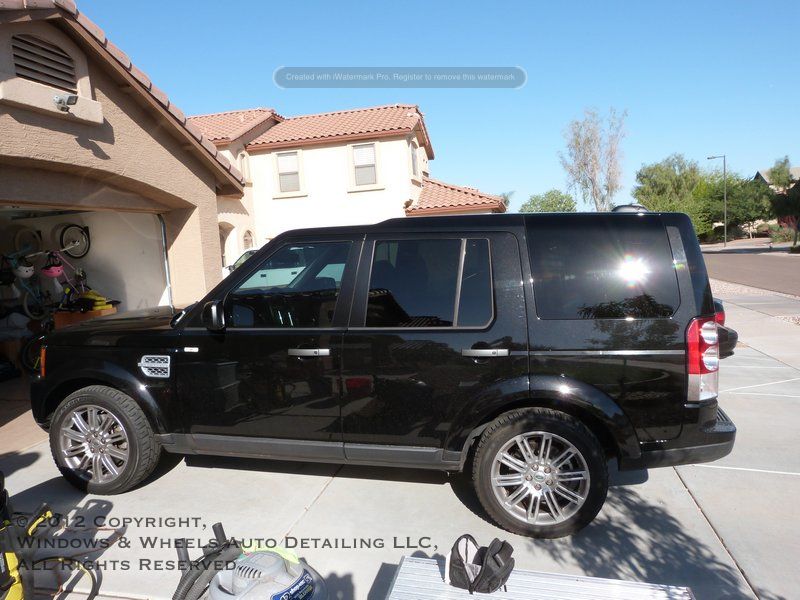
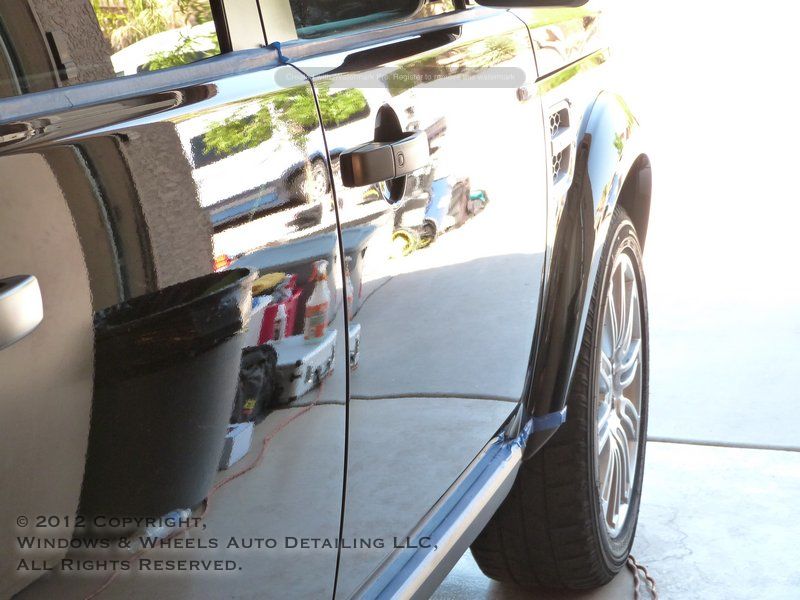
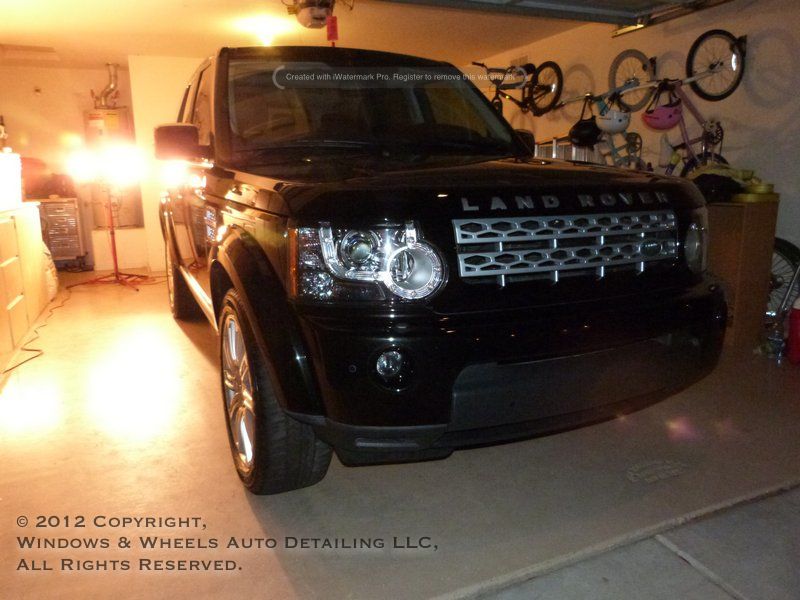
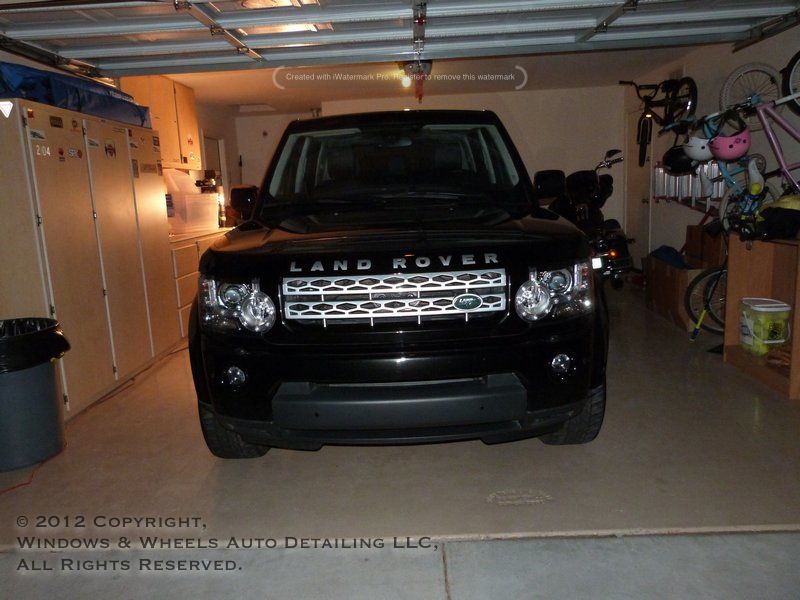
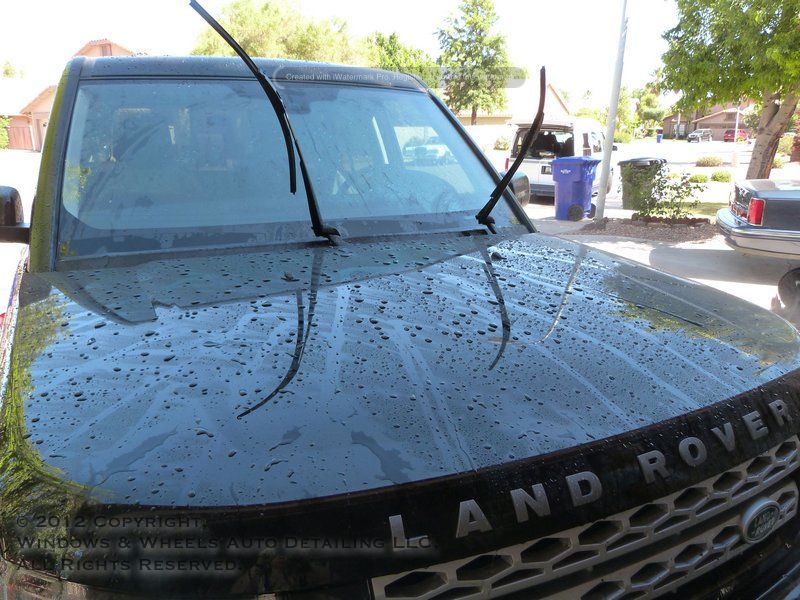
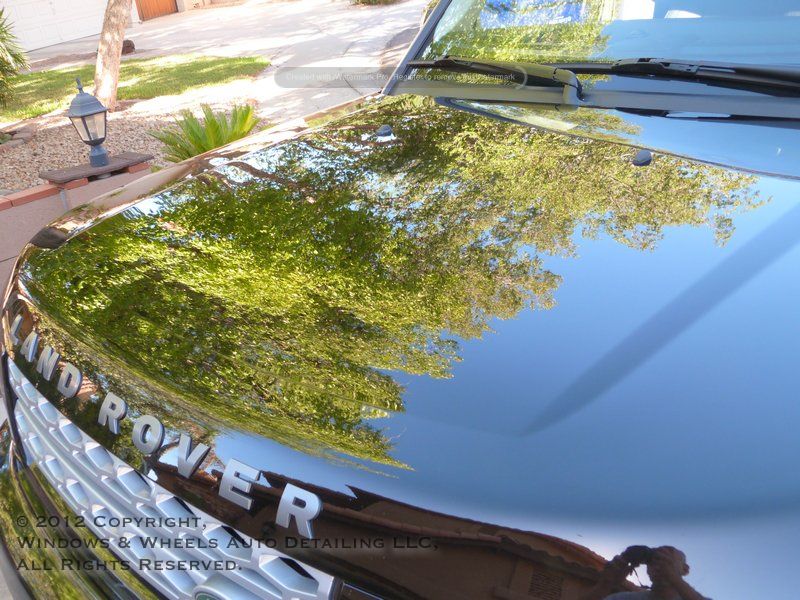
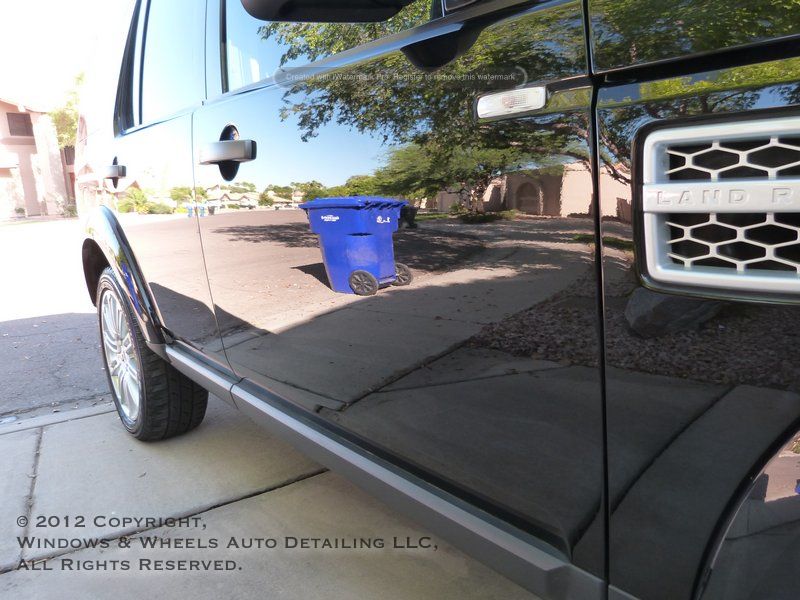
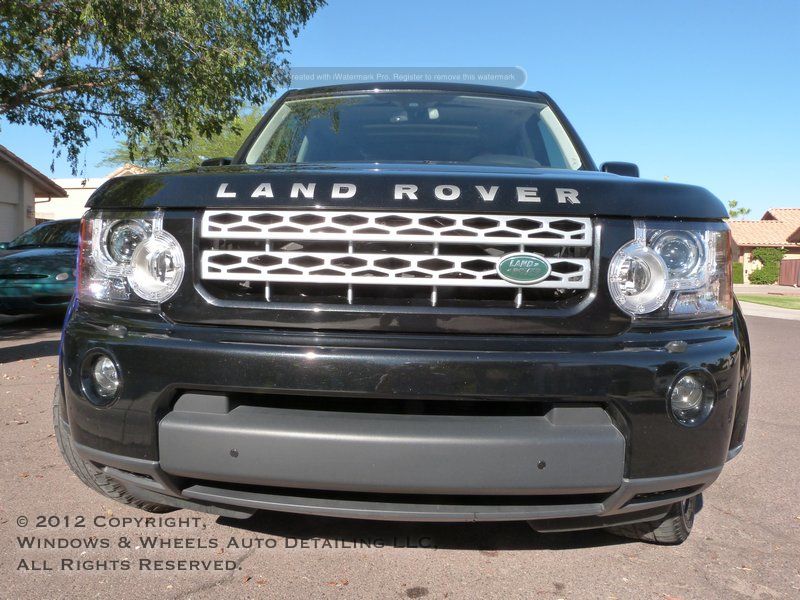
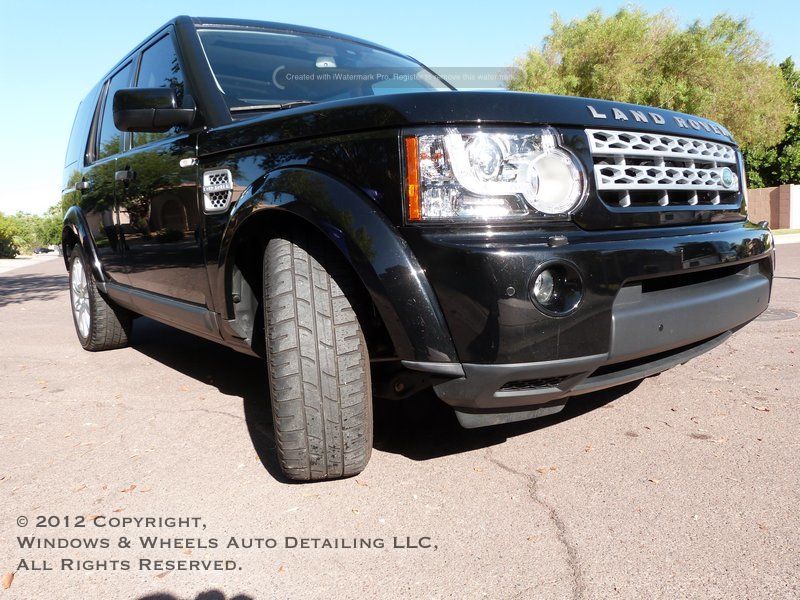
Here she is, and yup, she's black (of course)! I've never been a big fan of Rovers but gotta say this one was pretty sweet especially once you got up on it. For now however, it was dirty, real dirty...covered in bugs and brake dust. It had been hit by one of our Arizona Dust storms that many of you I'm sure have seen on the news:
[ame=http://www.youtube.com/watch?v=8W4Cx44XKZ4]Phoenix Dust Storm: Video of Doomsday Scenes in Arizona - YouTube[/video]
Check the link...no its not the end of the world, but it damn sure does look like it.
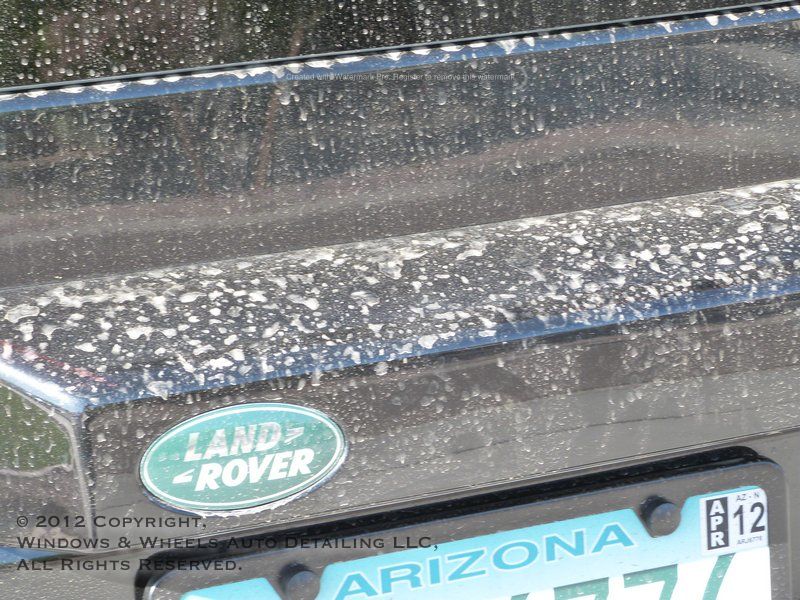
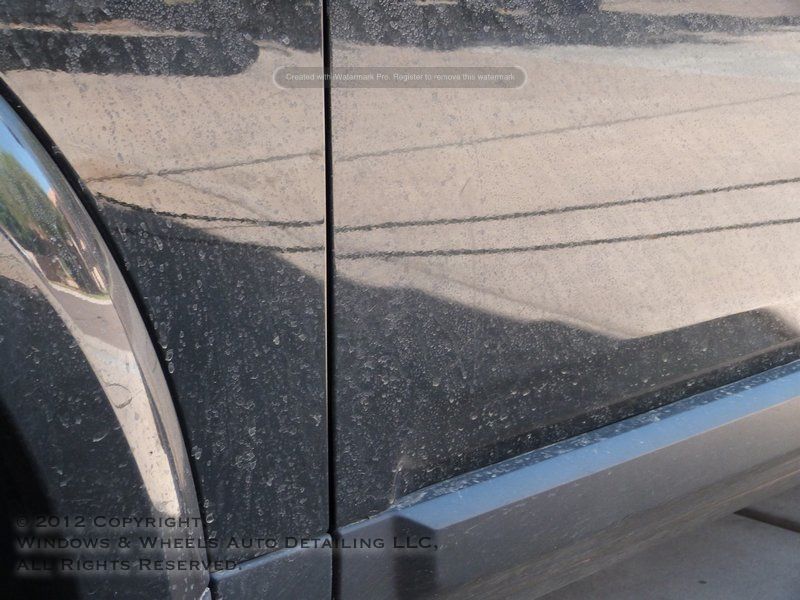
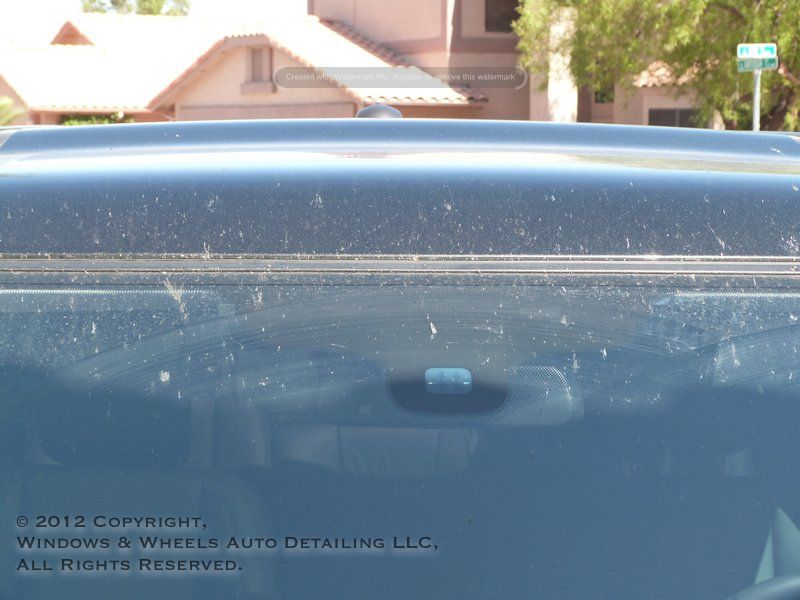
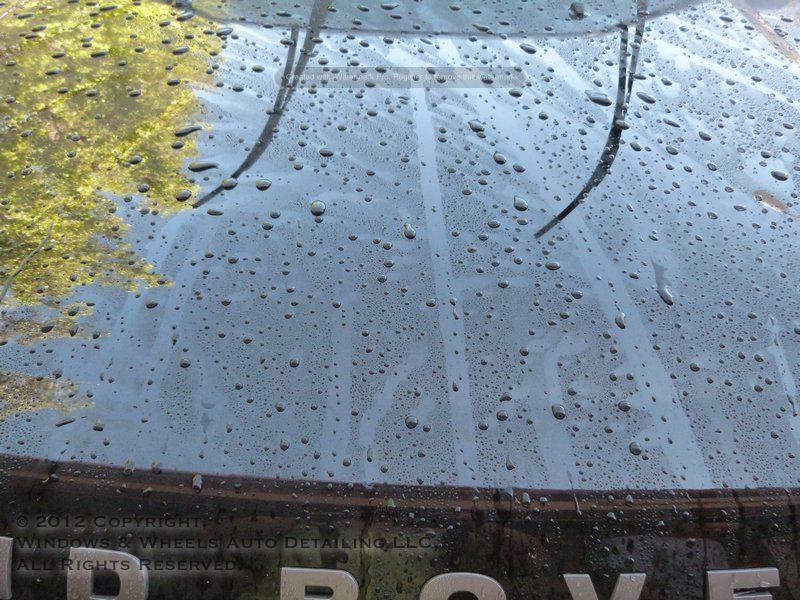
You add a little bit of rain to that..not enough to actually rinse the dust off...but enough to muddy it up...well, here's what ya get:

Thats right folks, welcome to Arizona! A 50 mile wide dust storm, add a pinch of rain and let bake in 113 degree weather and you have what you see above!
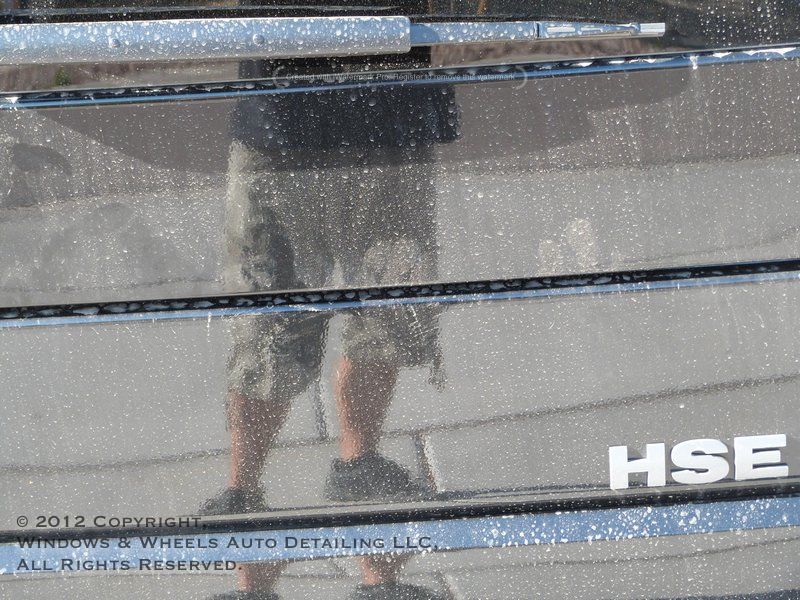
The whole ride looked like that:
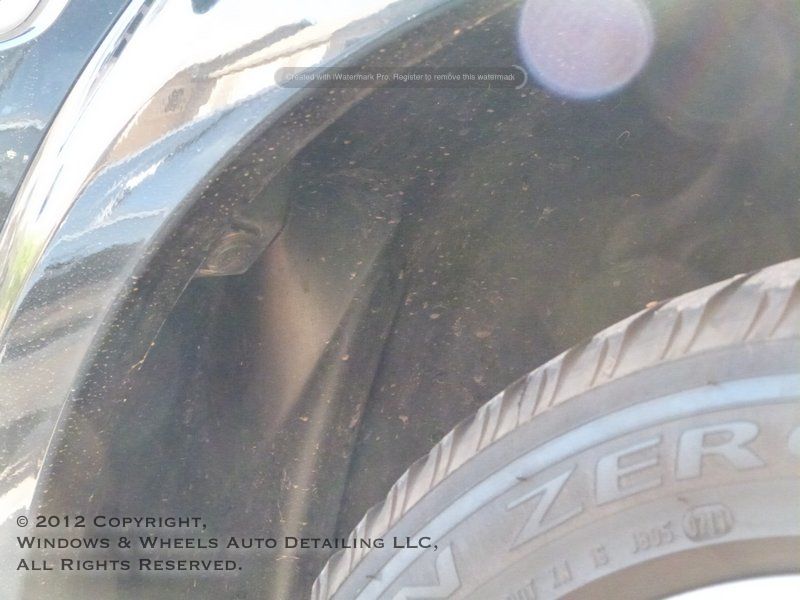
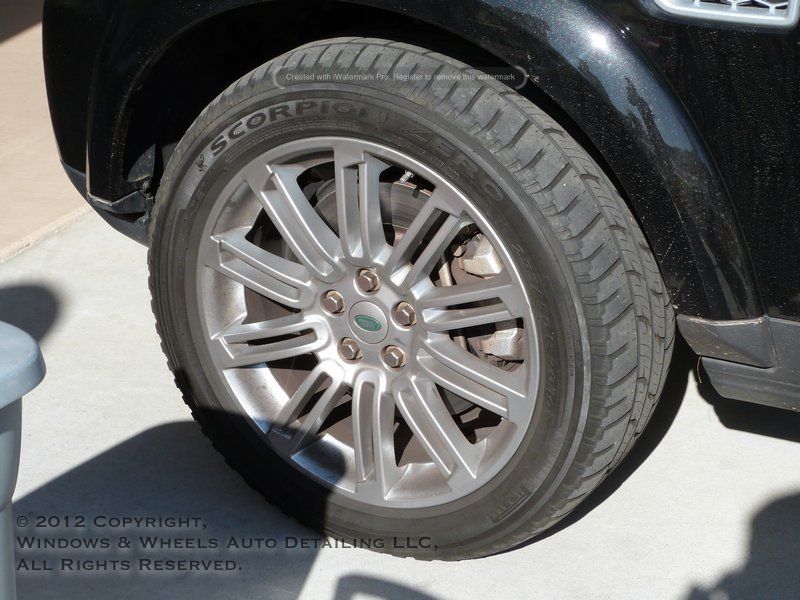
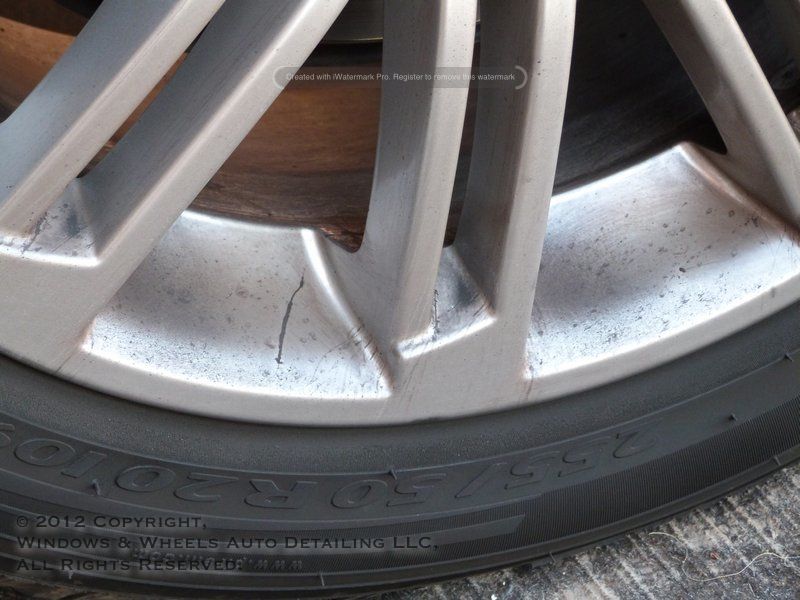
The rims were covered in brake dust as well. BMW's, new Camaros, Vettes...seems like big power = big brake dust...guess you gotta stop these things some how!
Closer?
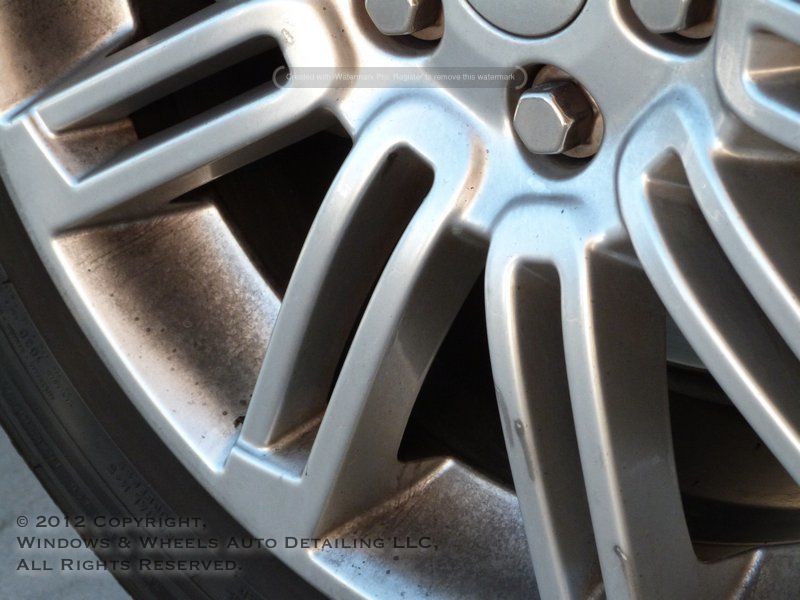
Yum yum right?
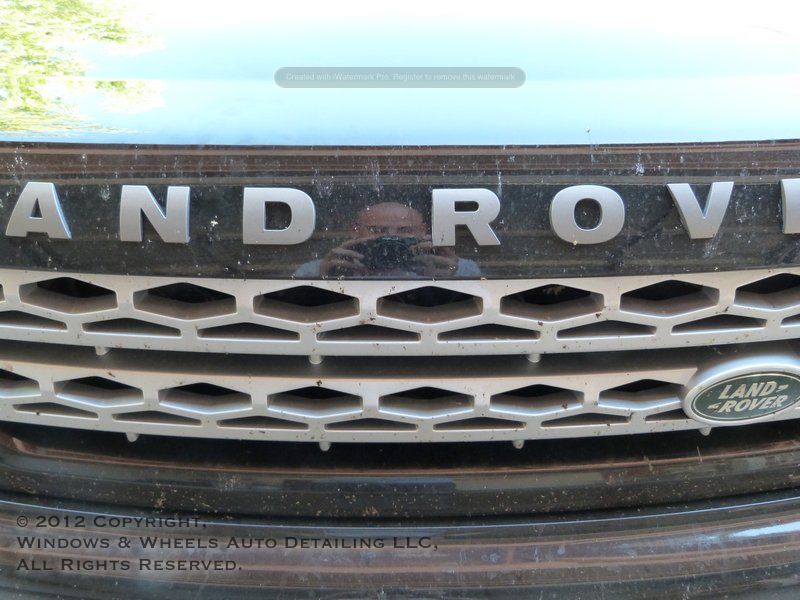
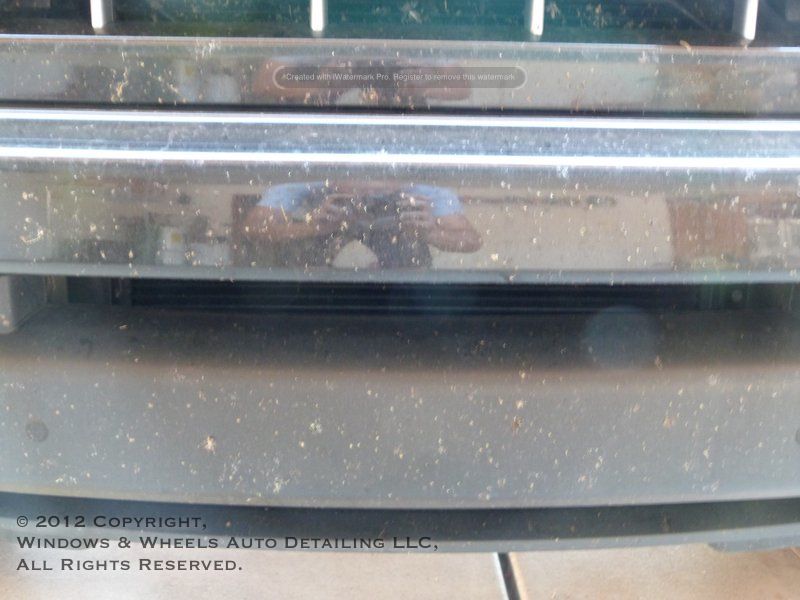
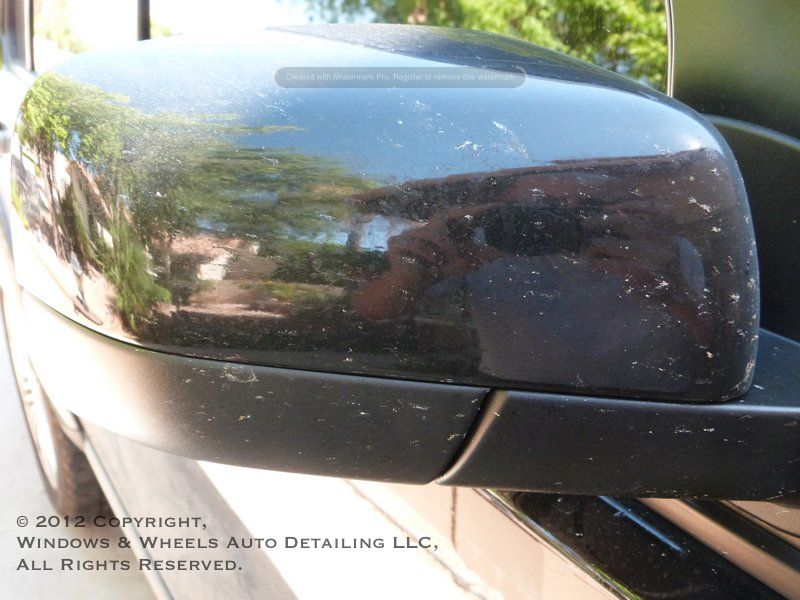
Oh and yeah, there were bugs:
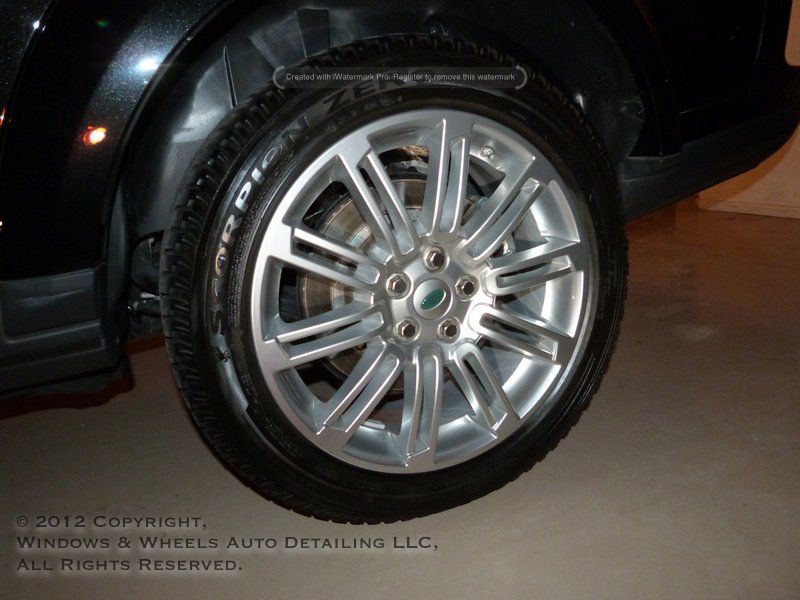
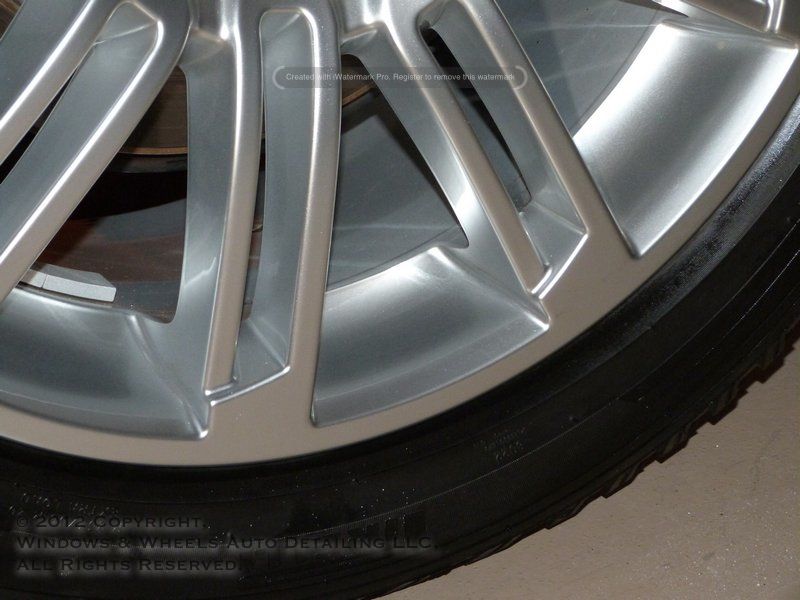
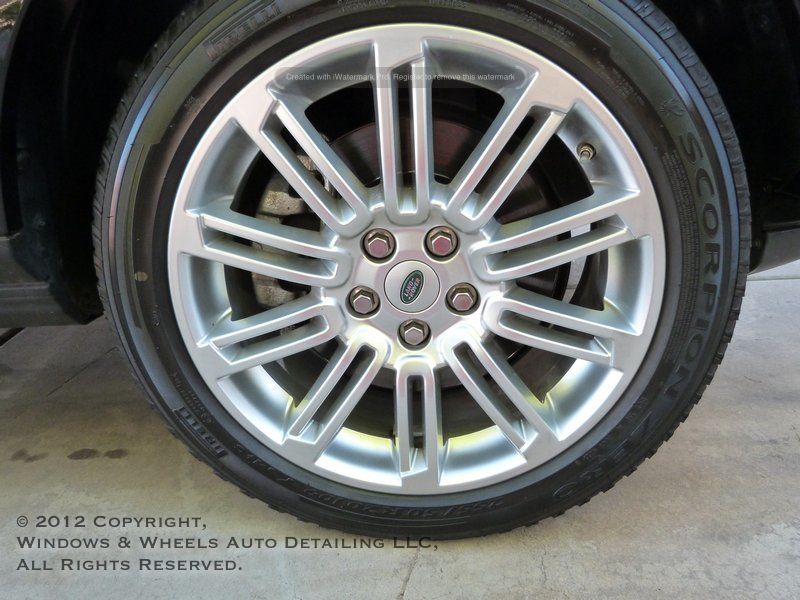
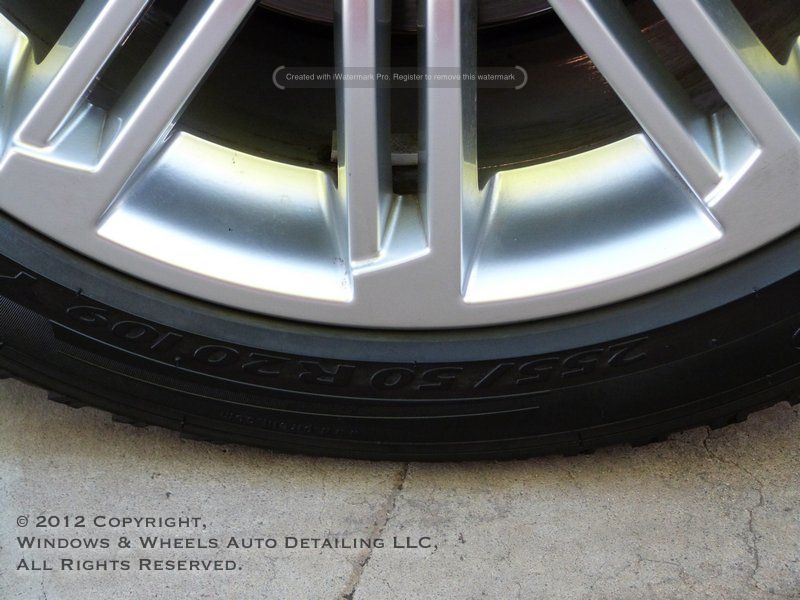
BUT, it's ok....we come prepared. We haven't dropped tons of money into all of these tools and supplies we have just so they can sit and look pretty. Oh no, they have to work just like we have to work. So first was cleaning up those nasty rims and tires...they took a good amount of time but...came out beautifully:
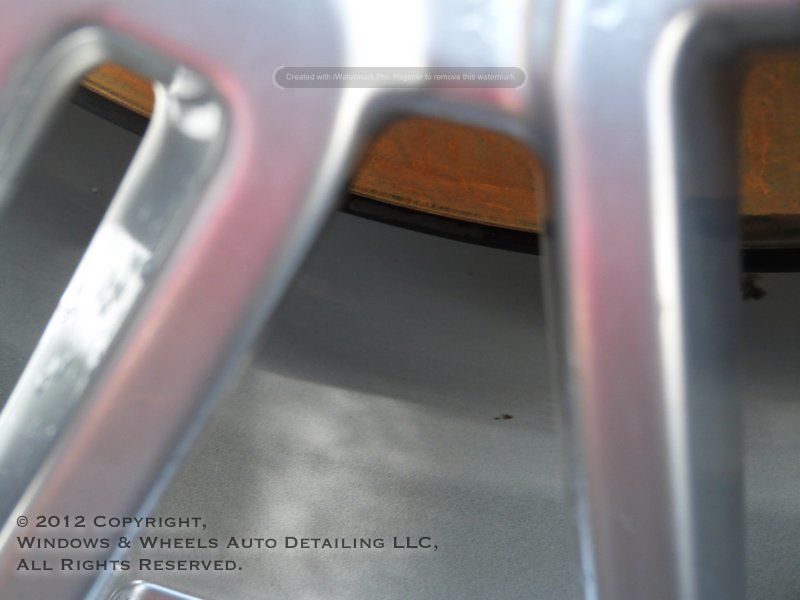
Stupid bug had to get in there and ruin my picture...
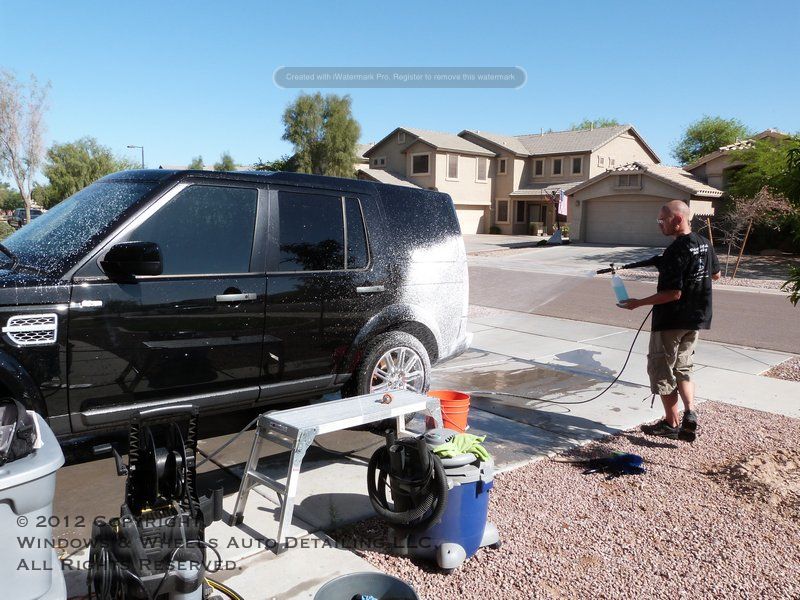
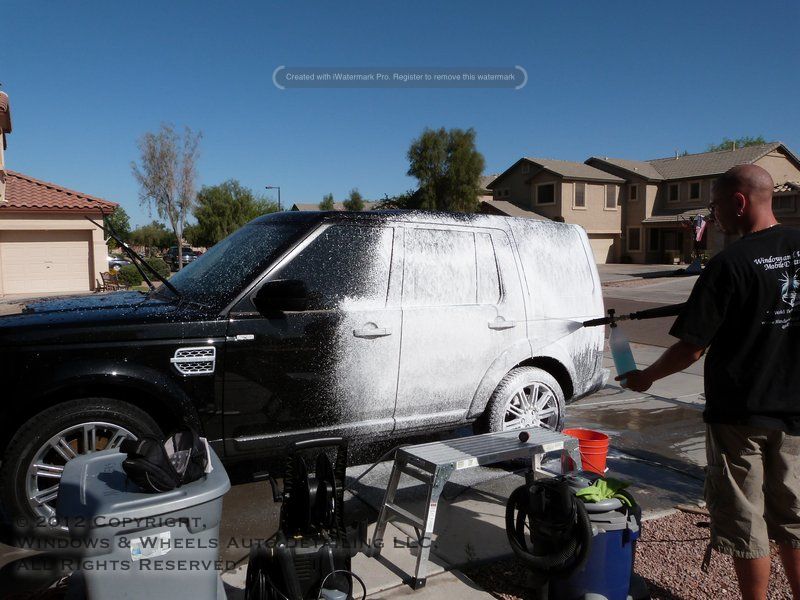
And as for the body of the vehicle, it was pressure washed to get rid of the bulk of the dirt..and then it was time to foam her up:
More please...
Snowing in Arizona:
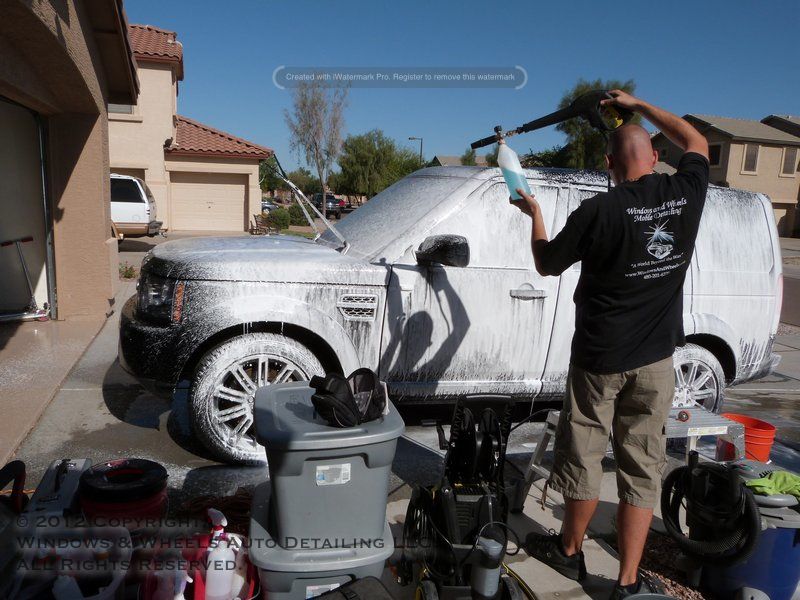
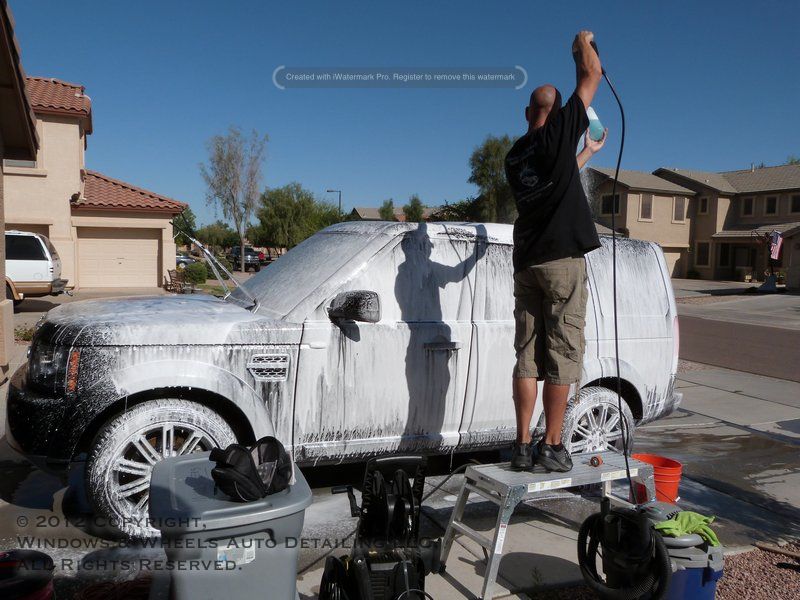
I'm tall but hey, even i need a little help on these big guys:
My sister and i then circled around hand washing it...having to re-foam a couple of times...because even though it was early morning...it was still already in the 90's...so we had to keep the paint wet while we washed...this takes more coordination than you'd think but...we pull it off. Next we rinsed it, pulled it in the garage and dried it off. While the pressure washing and foaming took care of most of the grime...there are still some tight spots that need to be addressed directly:
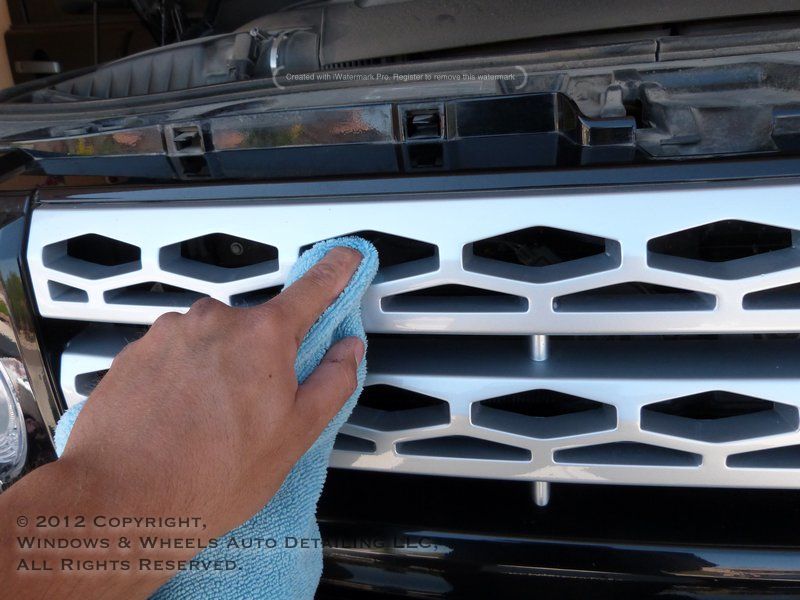
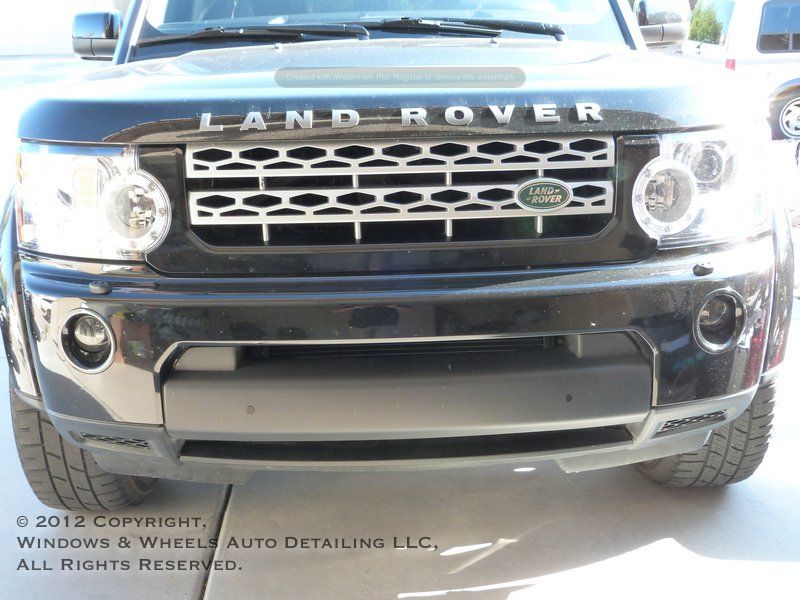
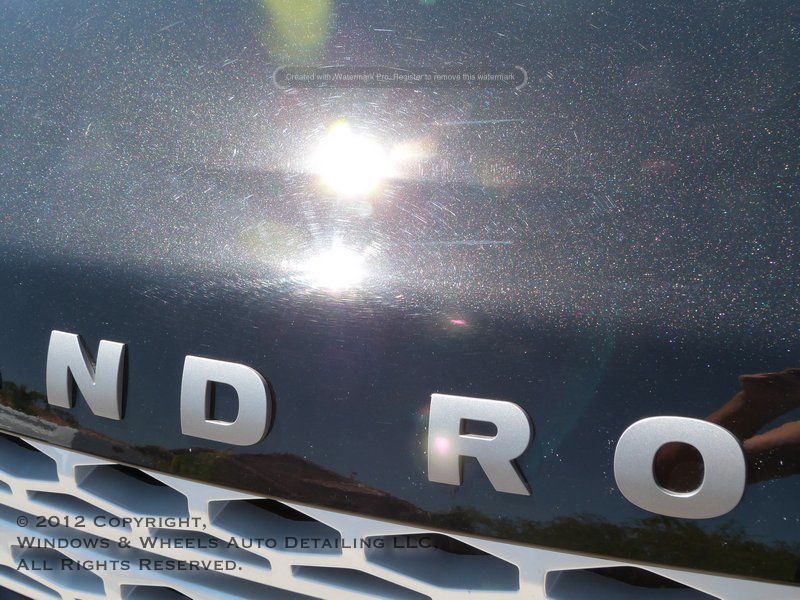
The front had been covered in bugs...and they got all up in the grille area...had to use some ONR and a microfiber to clean each small hole one at a time...but hey, ya do what ya gotta do right?
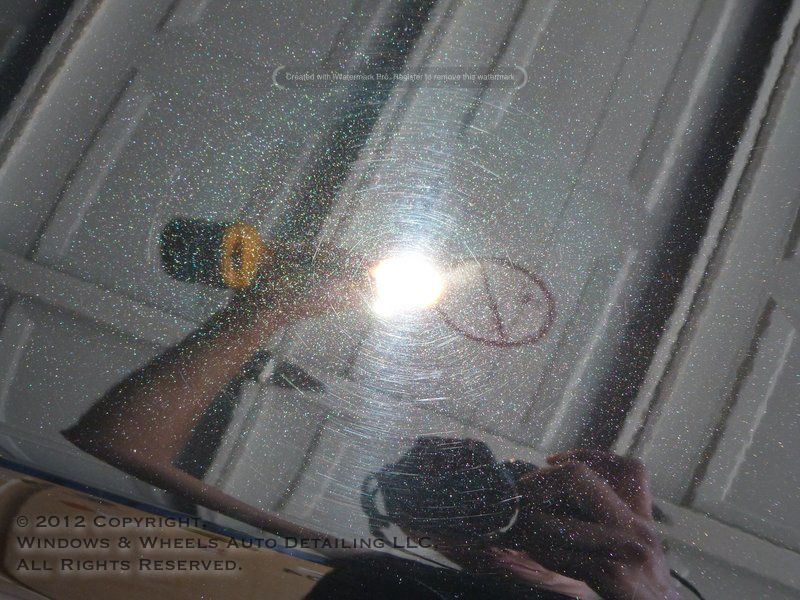
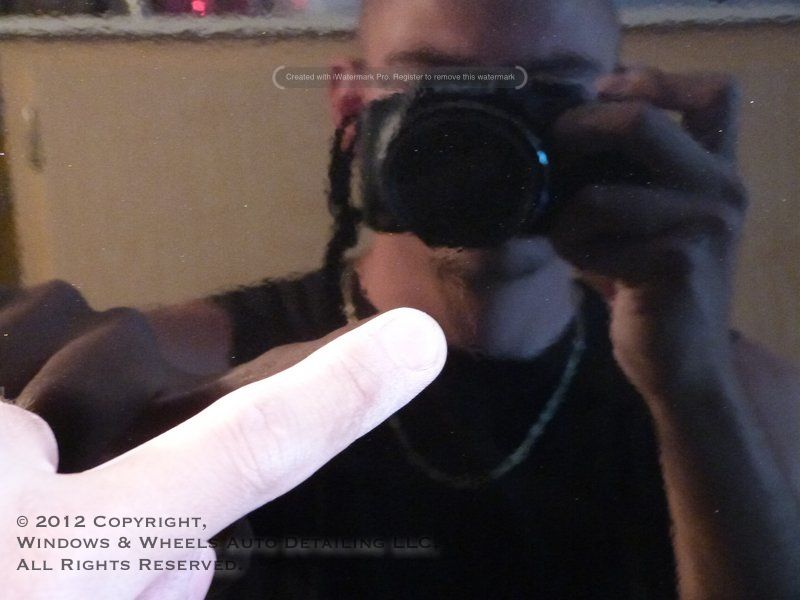
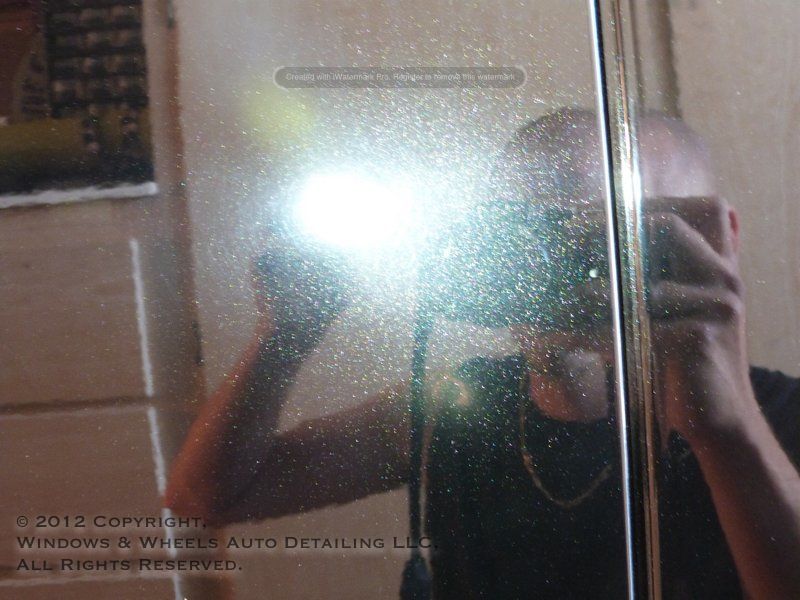
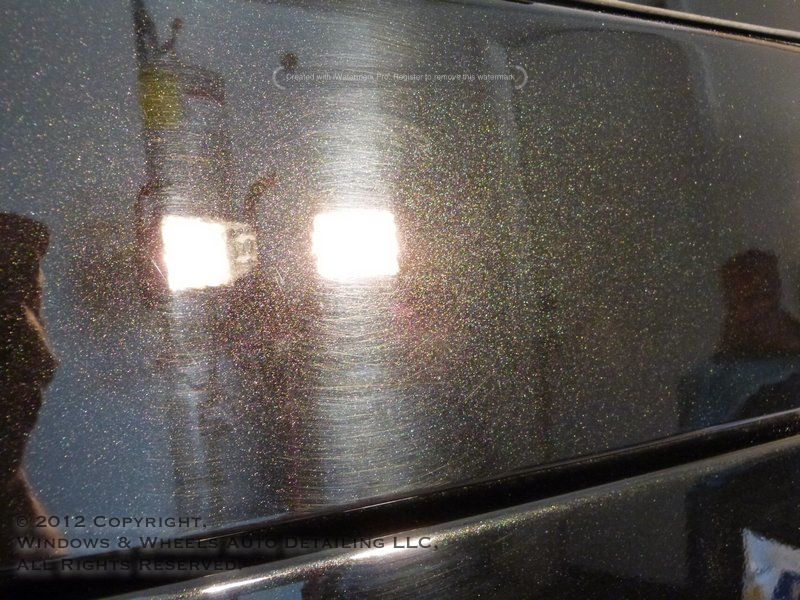
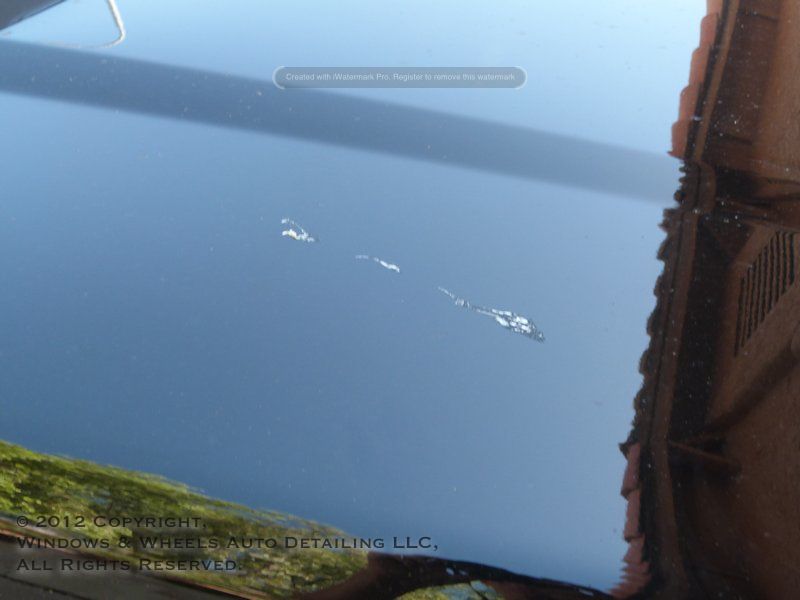
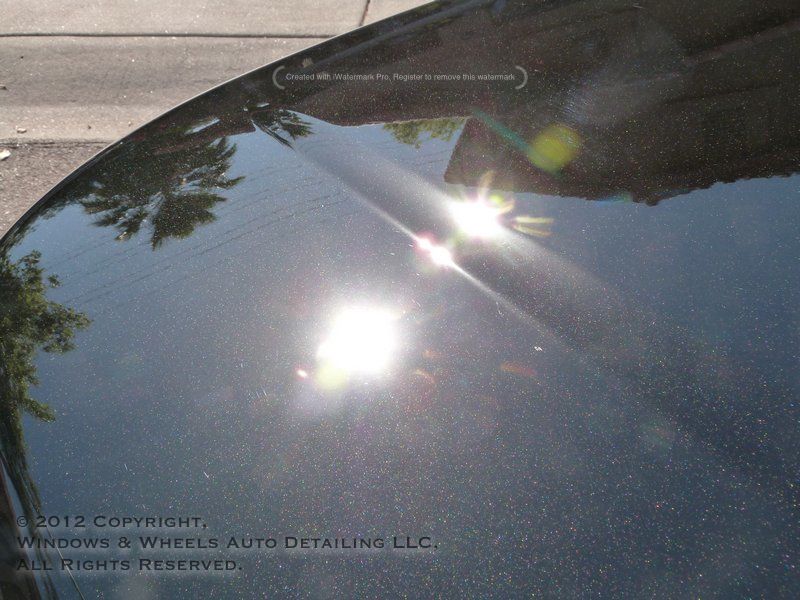
Now i know what you're all wondering...what did the paint look like under all that dirt? Well...it looks about as bad as you'd expect, super swirls.
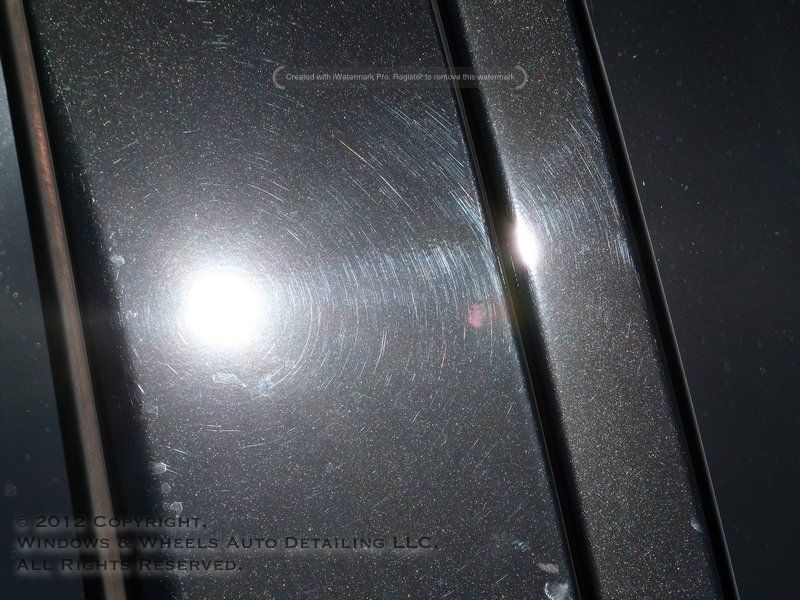
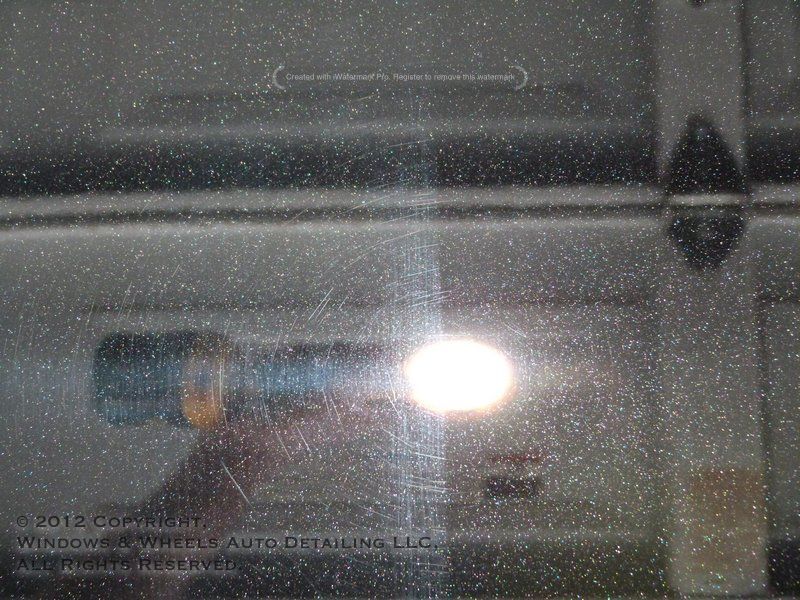
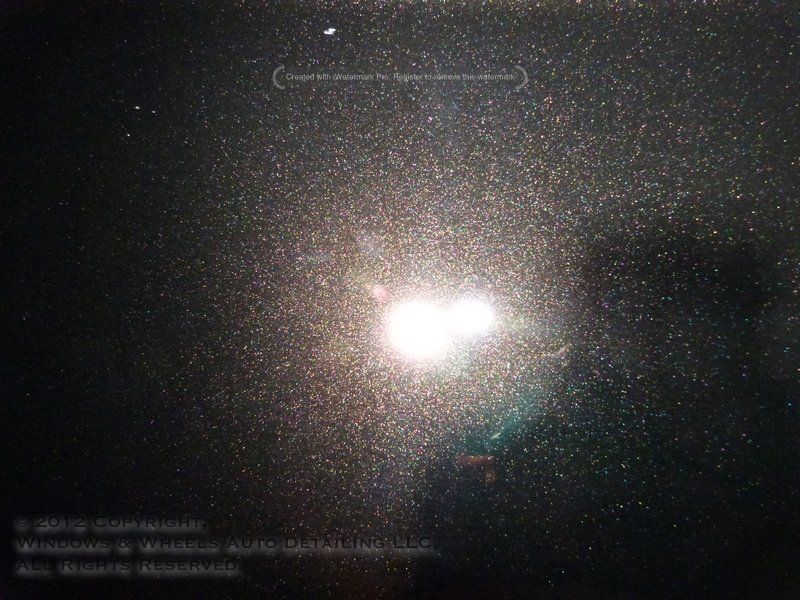
Our Halogens really lit these bad boys up:
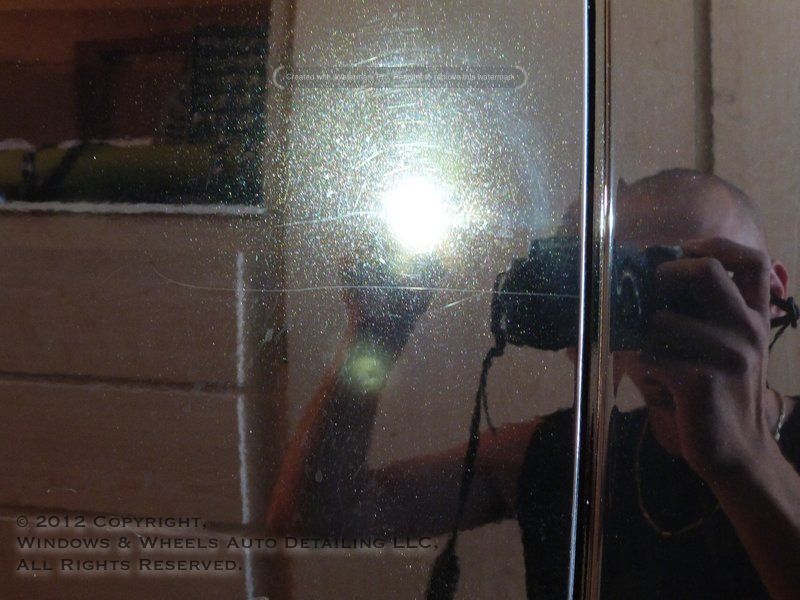
There were not only 1000's of them but they were deep too:
Maybe millions????
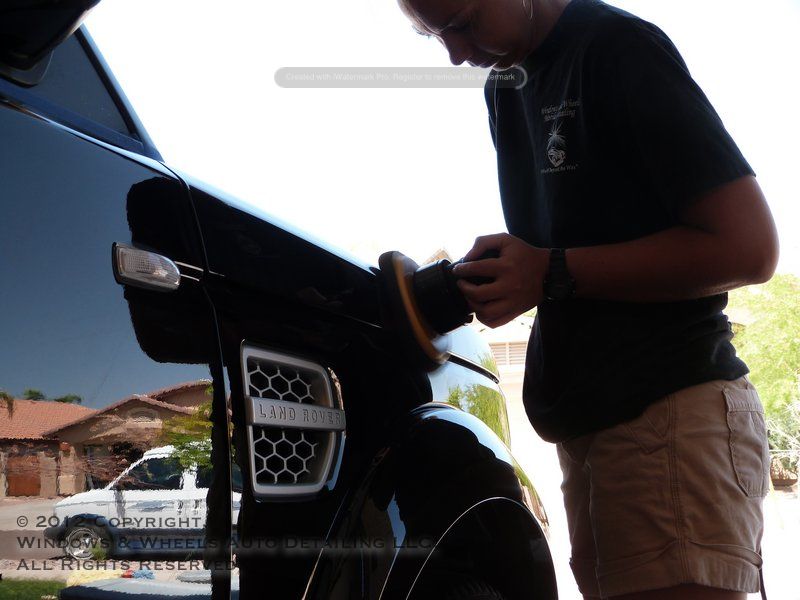
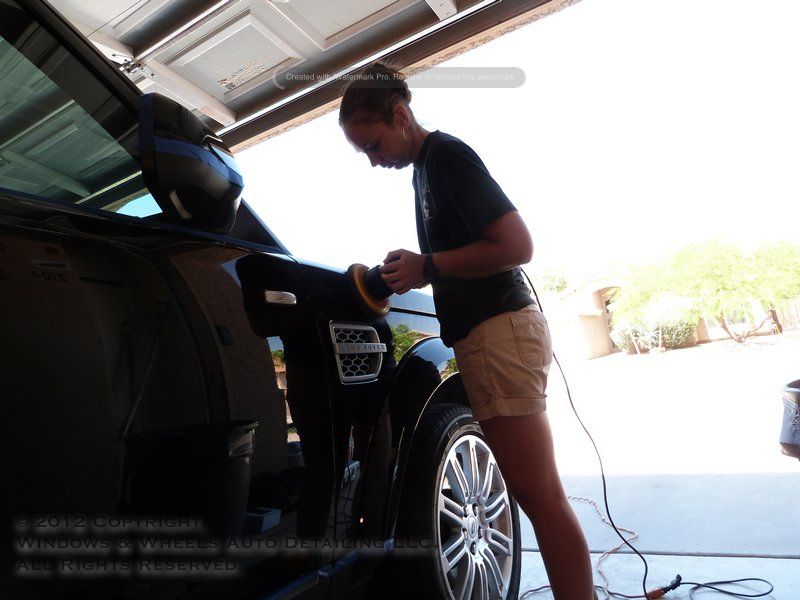
Doesn't matter...millions of swirls vs. Windows & Wheels....2 of us working hard core non stop (literally we didn't even stop for lunch or bathroom break in 12 hours...we were SERIOUS people), I'd put my money on us...
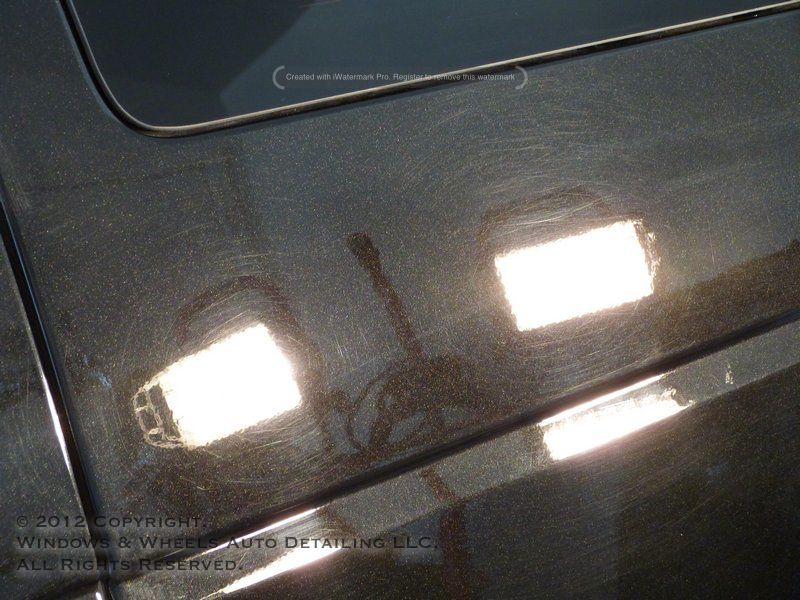
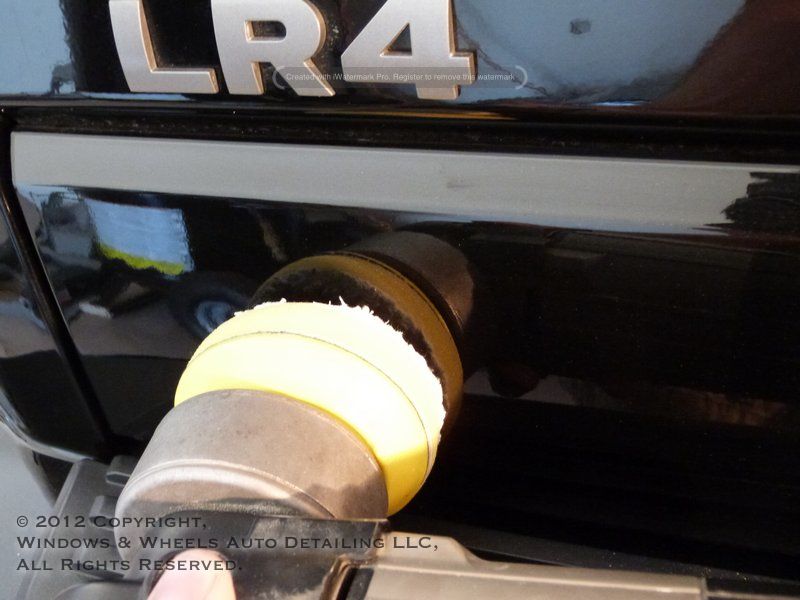
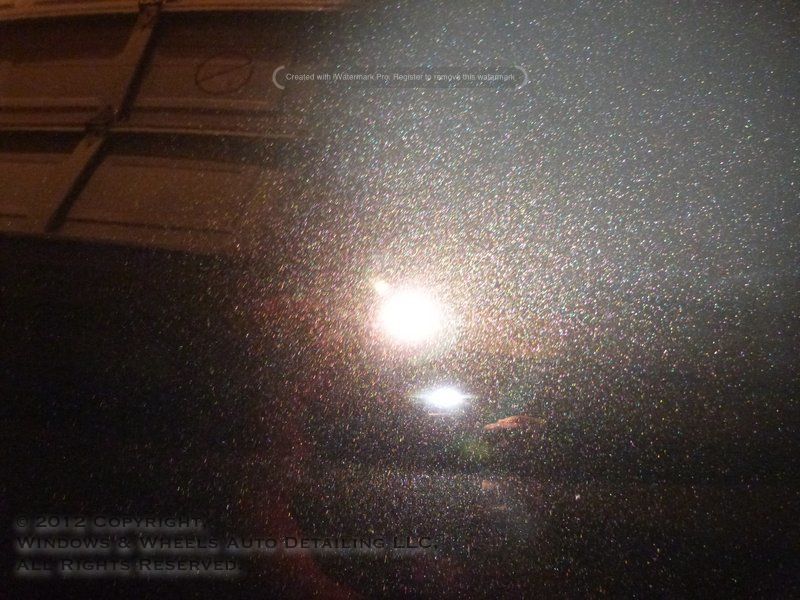
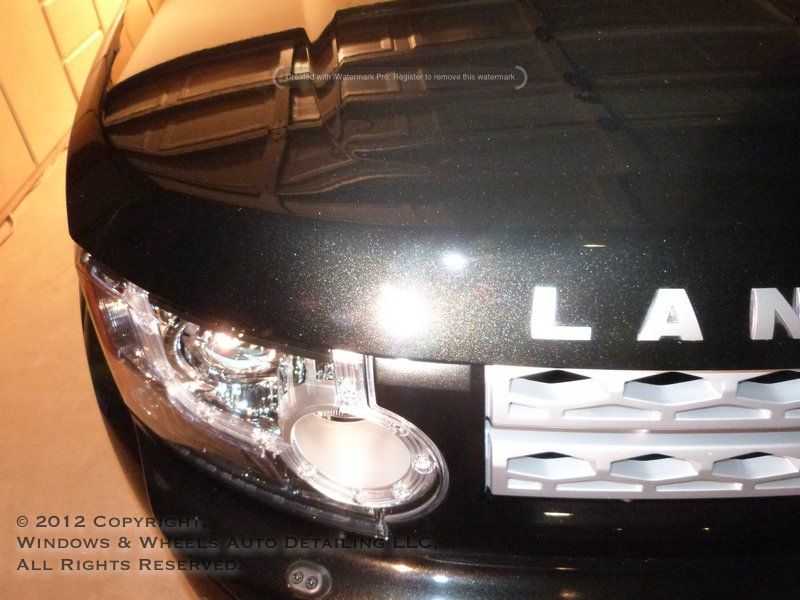
The hood was exceptionally messed up:
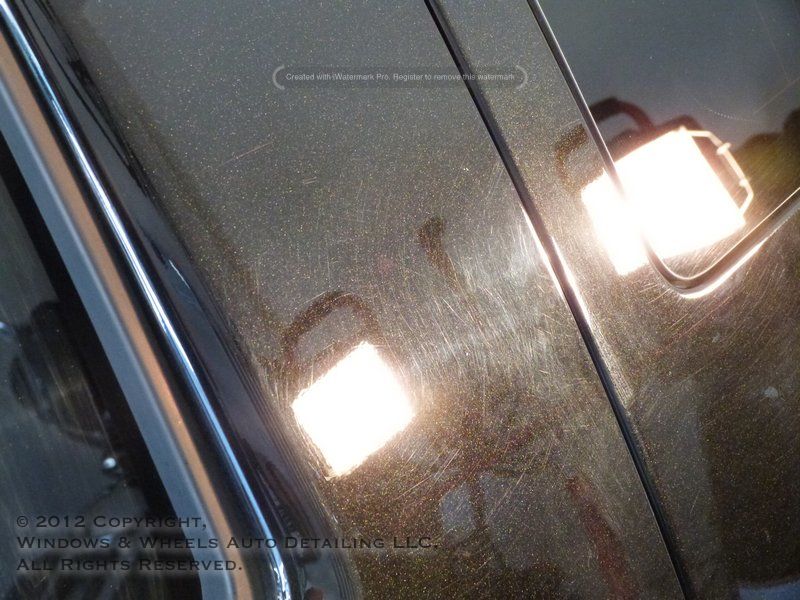
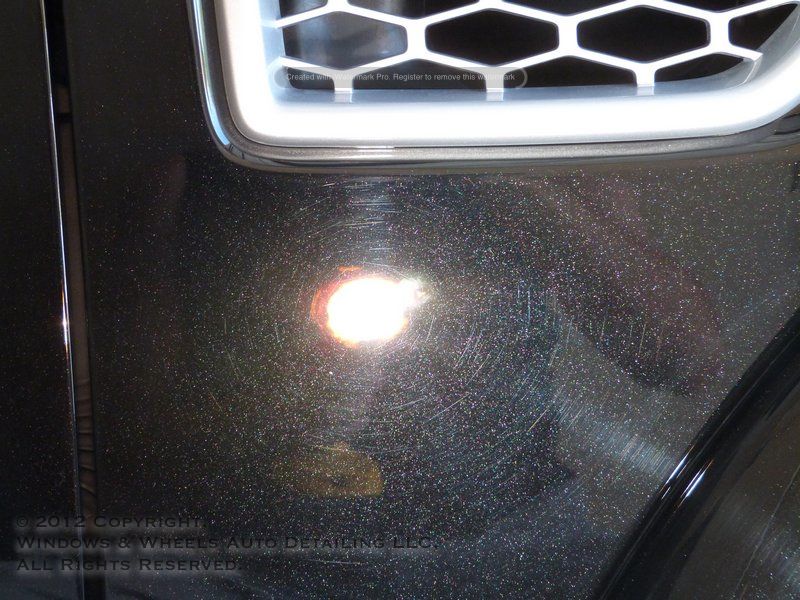
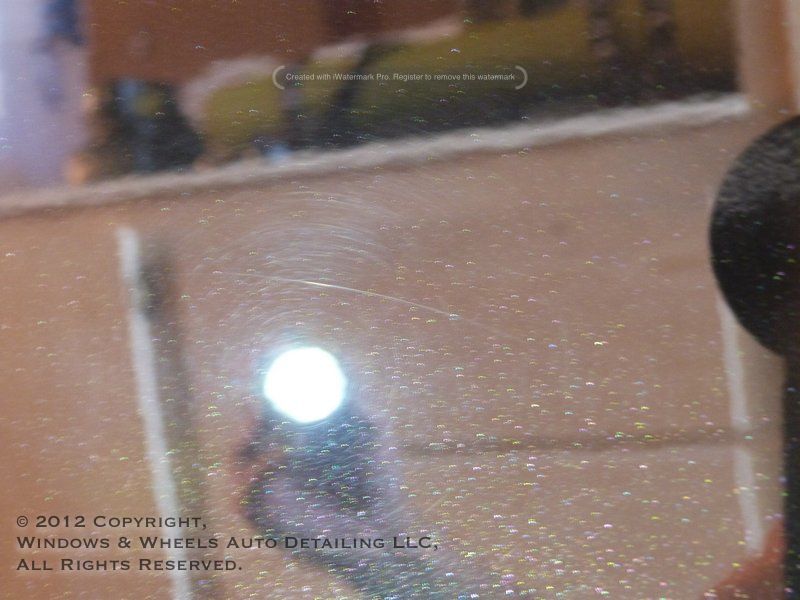
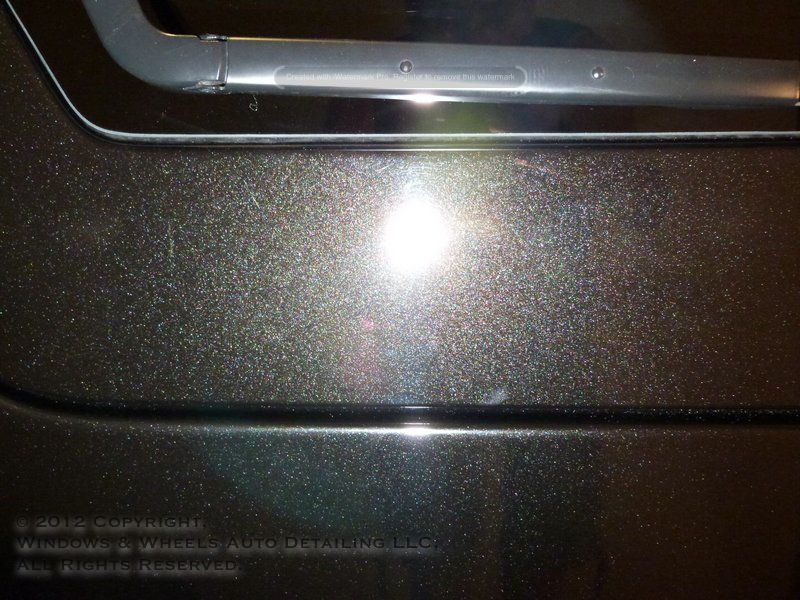
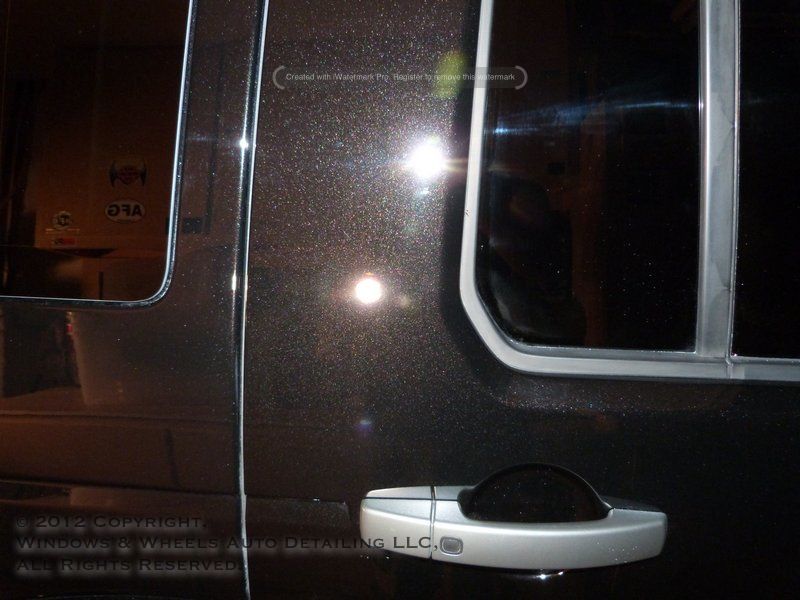
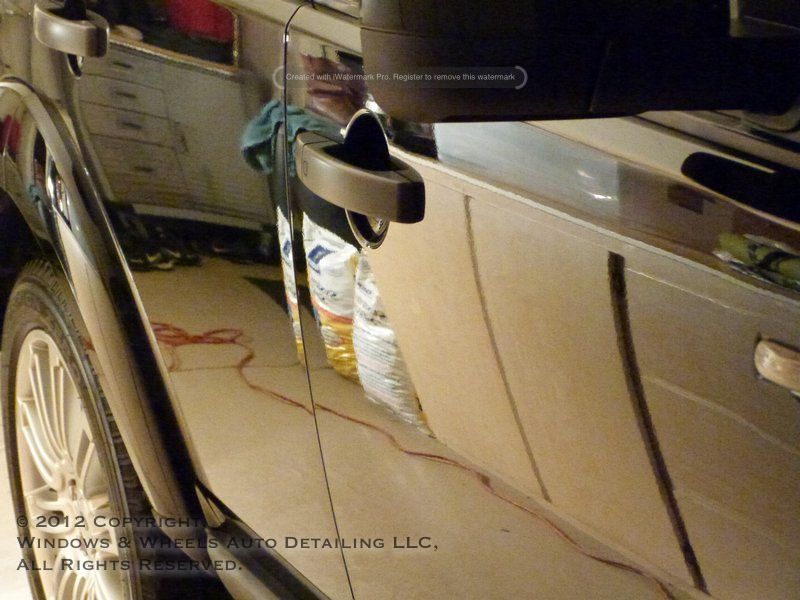
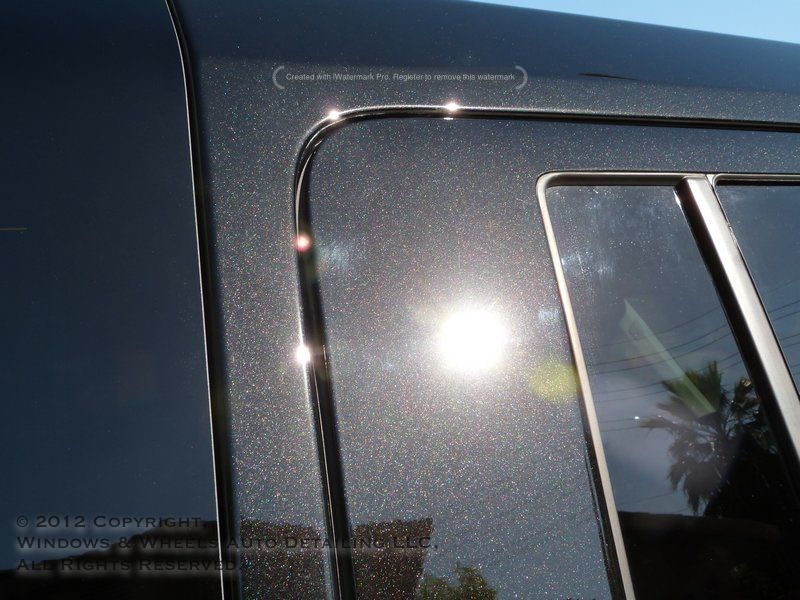
Near door handle:
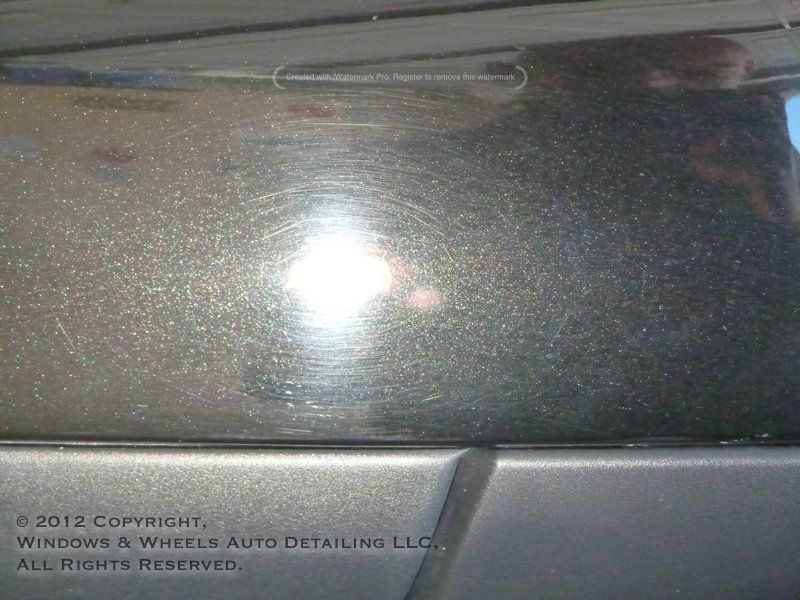
Wow! Wow wow wow!
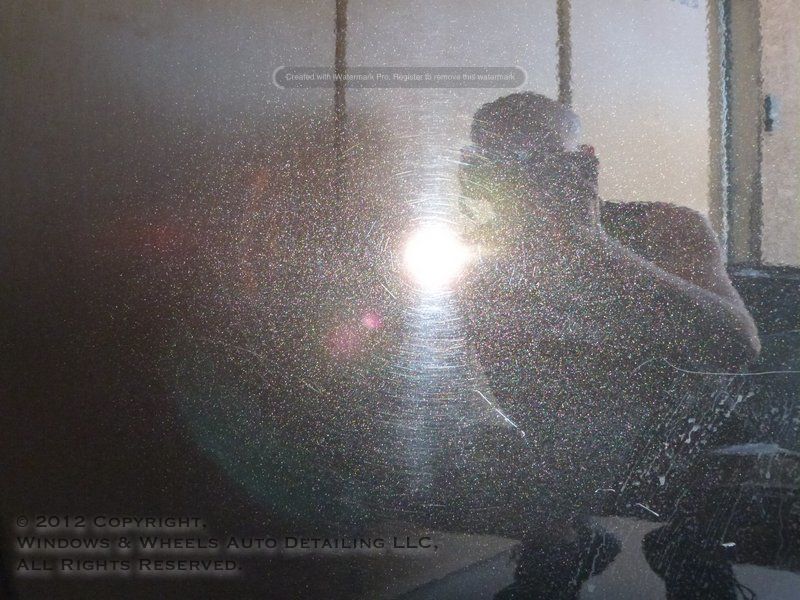
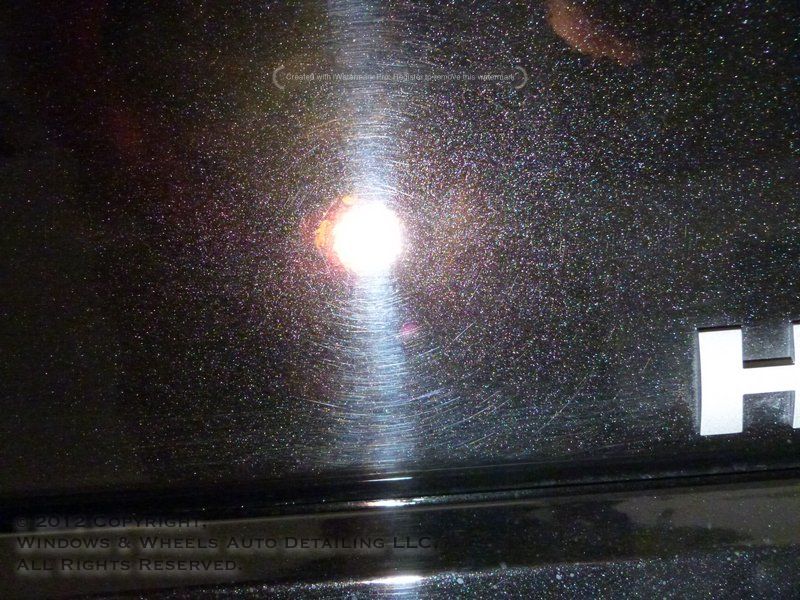
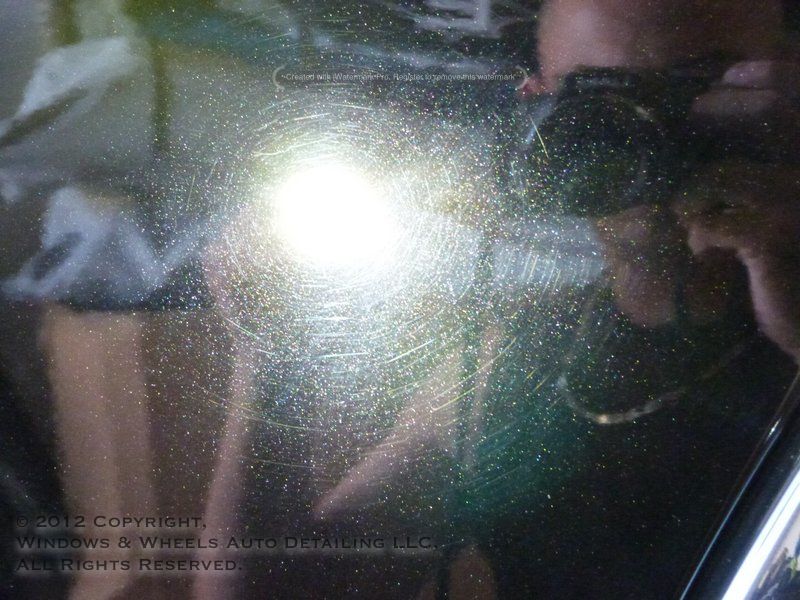
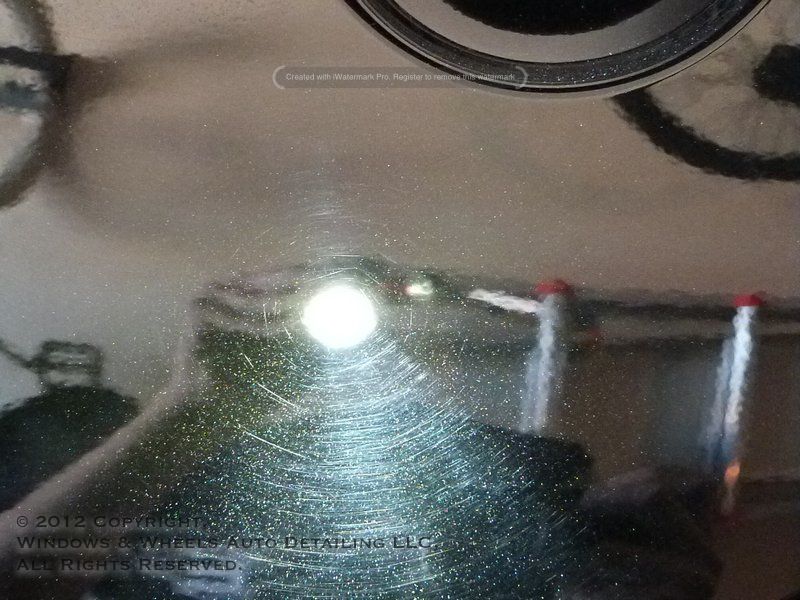
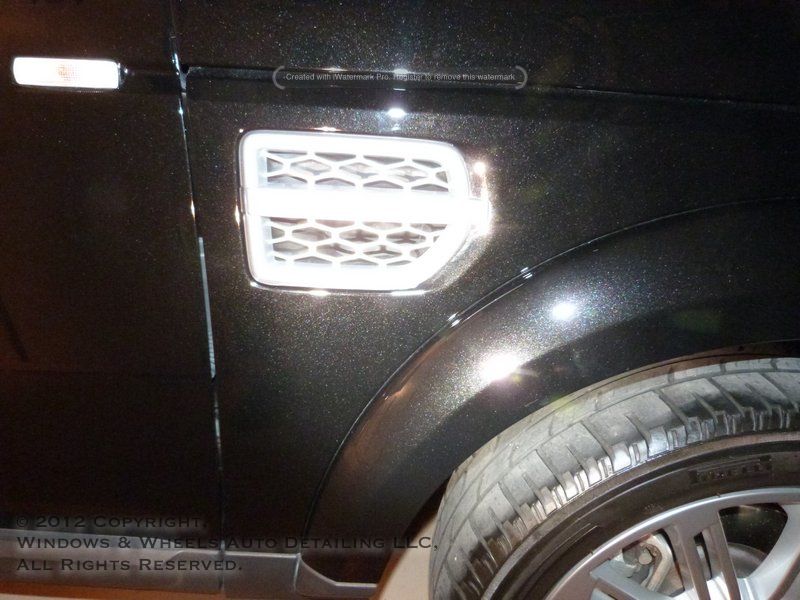
Front Quarter Panel:
Rear Hatch:
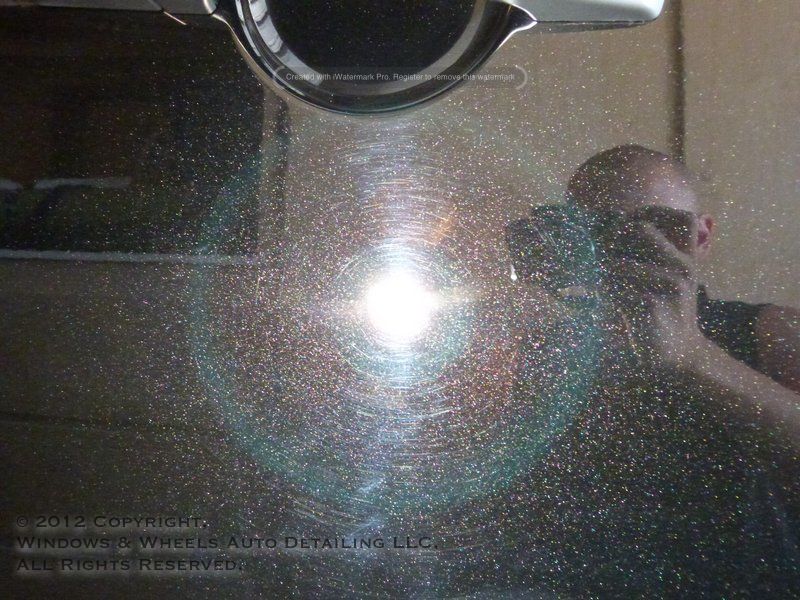
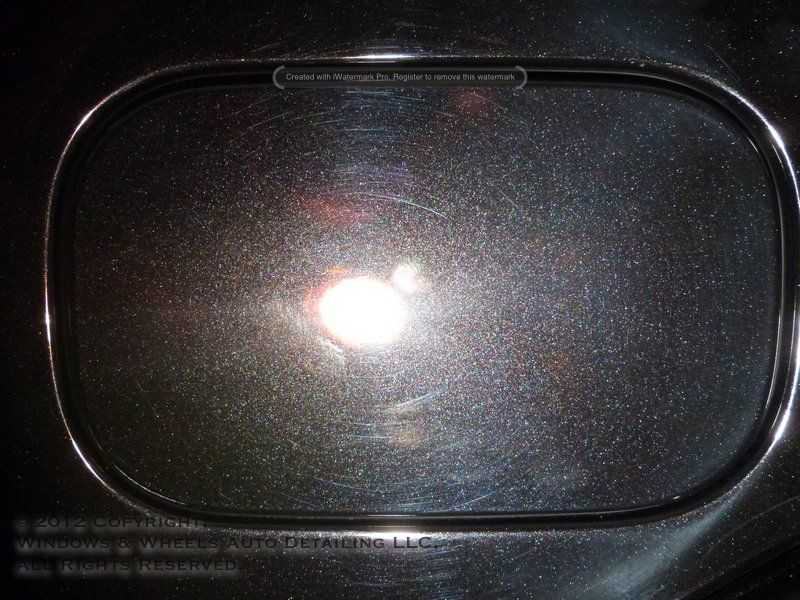
Gas Chamber:
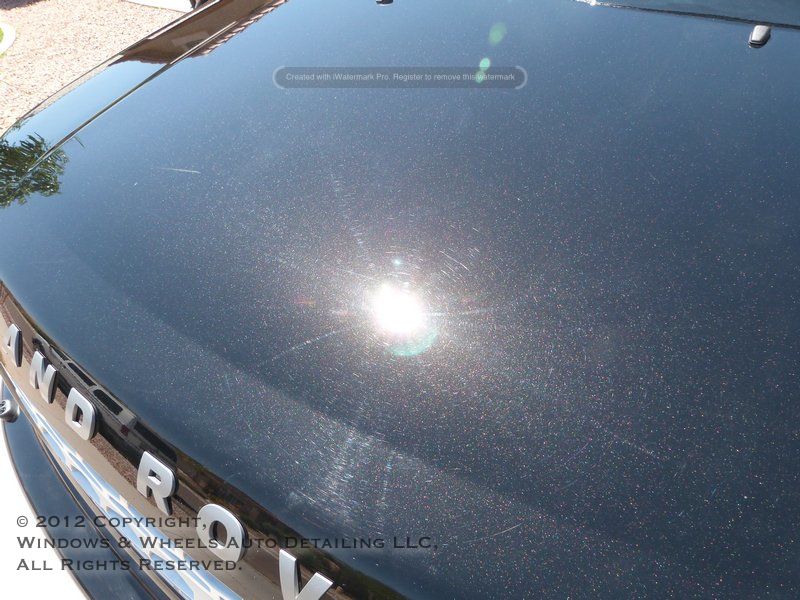
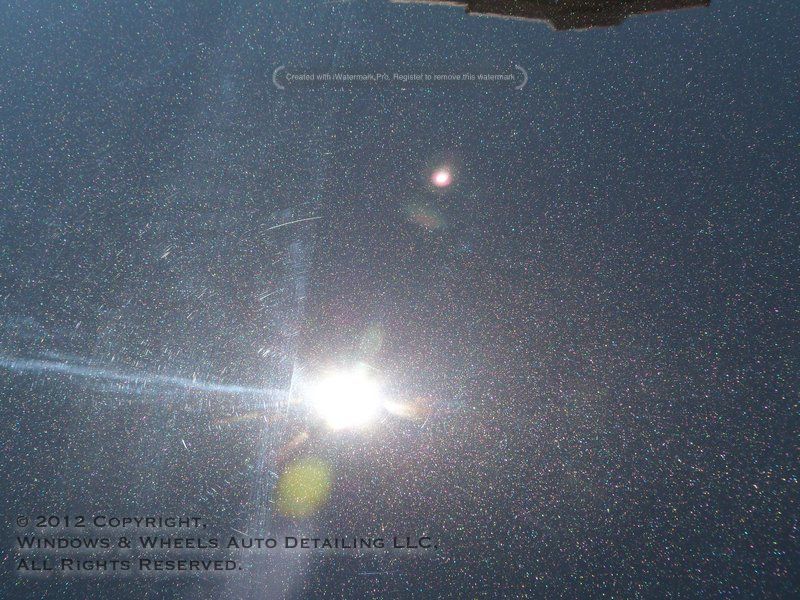
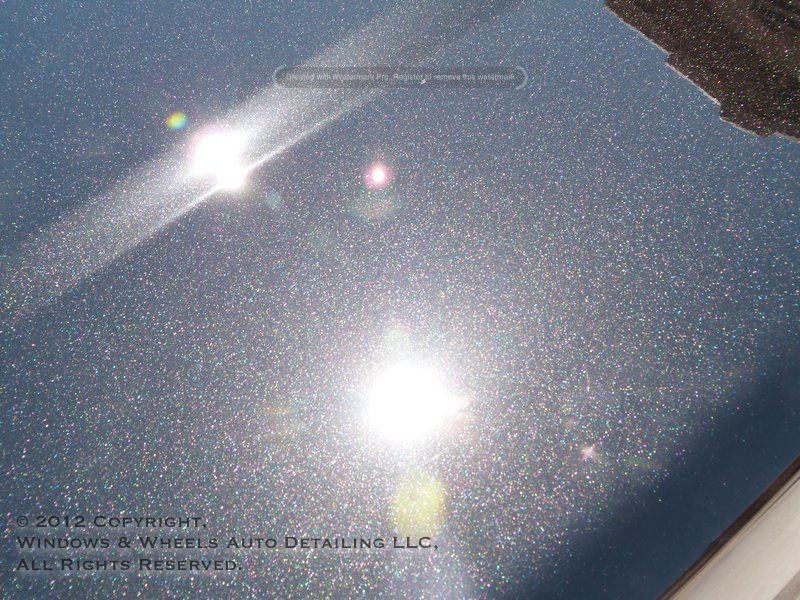
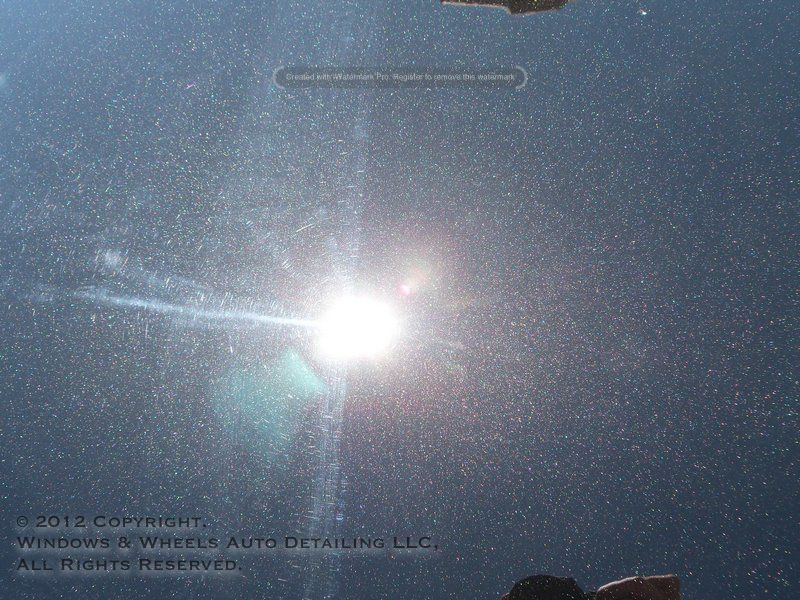
Lets be clear, this was not just swirled..this car was infested with these things! In direct sun light it of course was no better:

Subject: 2011 LR4 Rover
Color: Metallic Black
Condition: What do you think?
Process: Extensively clean, decontaminate, 2-step polish (compound/finial polish), Re-Wash, IPA Wipe-Down, Apply Opti-Coat to all paint, glass (except front windshield), hard plastic trim, lights and rims.
24 hours....yup...24 hours...thats how many man/woman hours Dani and I put into this one..and the next day we'd be dropping another 20+ hours into this Panamera: http://www.autopia.org/forum/click-...ction-engine-interior-our-first-200k-car.html
BUT, thats another write up (feel free to check it out).
Point being, we had a long weekend lol....here's what we were working with:
Here she is, and yup, she's black (of course)! I've never been a big fan of Rovers but gotta say this one was pretty sweet especially once you got up on it. For now however, it was dirty, real dirty...covered in bugs and brake dust. It had been hit by one of our Arizona Dust storms that many of you I'm sure have seen on the news:
[ame=http://www.youtube.com/watch?v=8W4Cx44XKZ4]Phoenix Dust Storm: Video of Doomsday Scenes in Arizona - YouTube[/video]
Check the link...no its not the end of the world, but it damn sure does look like it.
You add a little bit of rain to that..not enough to actually rinse the dust off...but enough to muddy it up...well, here's what ya get:
Thats right folks, welcome to Arizona! A 50 mile wide dust storm, add a pinch of rain and let bake in 113 degree weather and you have what you see above!
The whole ride looked like that:
The rims were covered in brake dust as well. BMW's, new Camaros, Vettes...seems like big power = big brake dust...guess you gotta stop these things some how!
Closer?
Yum yum right?
Oh and yeah, there were bugs:
BUT, it's ok....we come prepared. We haven't dropped tons of money into all of these tools and supplies we have just so they can sit and look pretty. Oh no, they have to work just like we have to work. So first was cleaning up those nasty rims and tires...they took a good amount of time but...came out beautifully:
Stupid bug had to get in there and ruin my picture...
And as for the body of the vehicle, it was pressure washed to get rid of the bulk of the dirt..and then it was time to foam her up:
More please...
Snowing in Arizona:
I'm tall but hey, even i need a little help on these big guys:
My sister and i then circled around hand washing it...having to re-foam a couple of times...because even though it was early morning...it was still already in the 90's...so we had to keep the paint wet while we washed...this takes more coordination than you'd think but...we pull it off. Next we rinsed it, pulled it in the garage and dried it off. While the pressure washing and foaming took care of most of the grime...there are still some tight spots that need to be addressed directly:
The front had been covered in bugs...and they got all up in the grille area...had to use some ONR and a microfiber to clean each small hole one at a time...but hey, ya do what ya gotta do right?
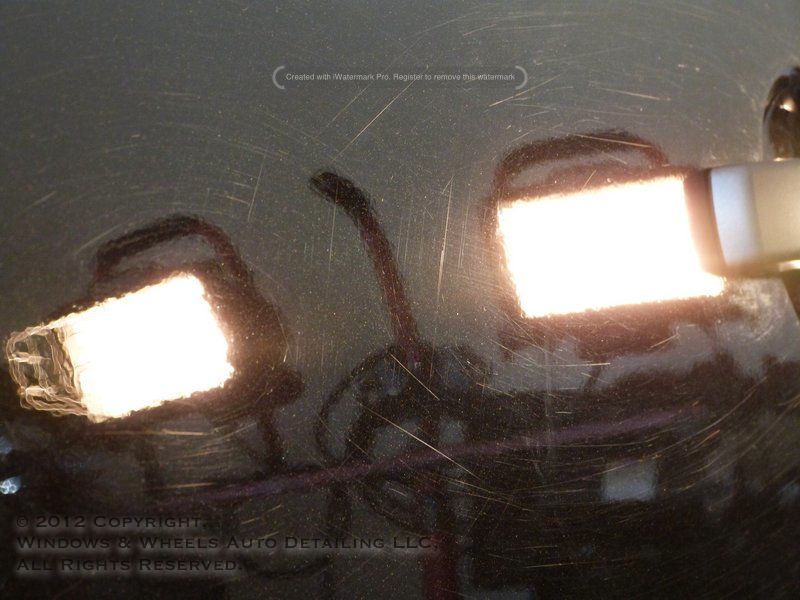
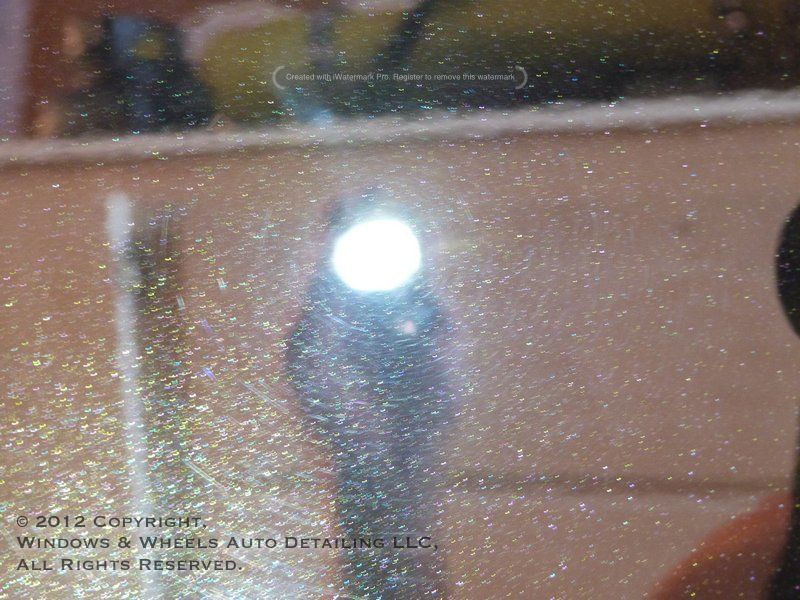
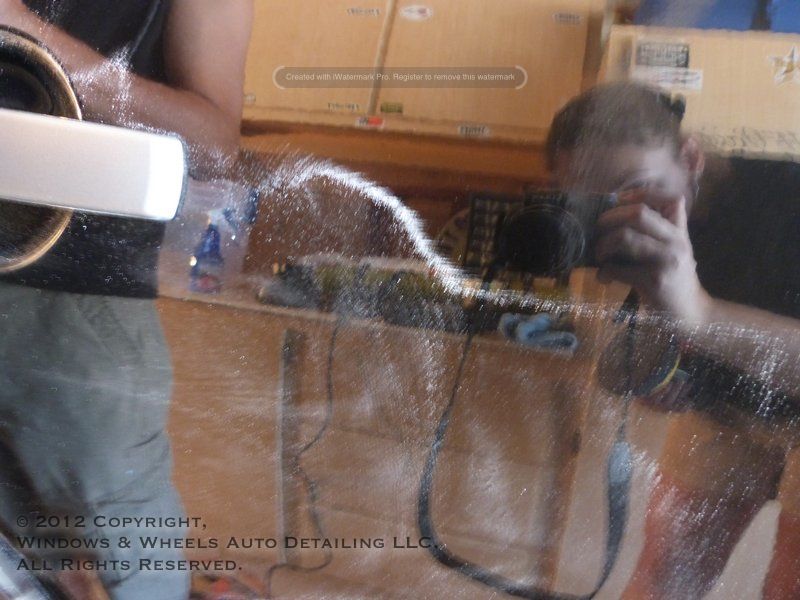
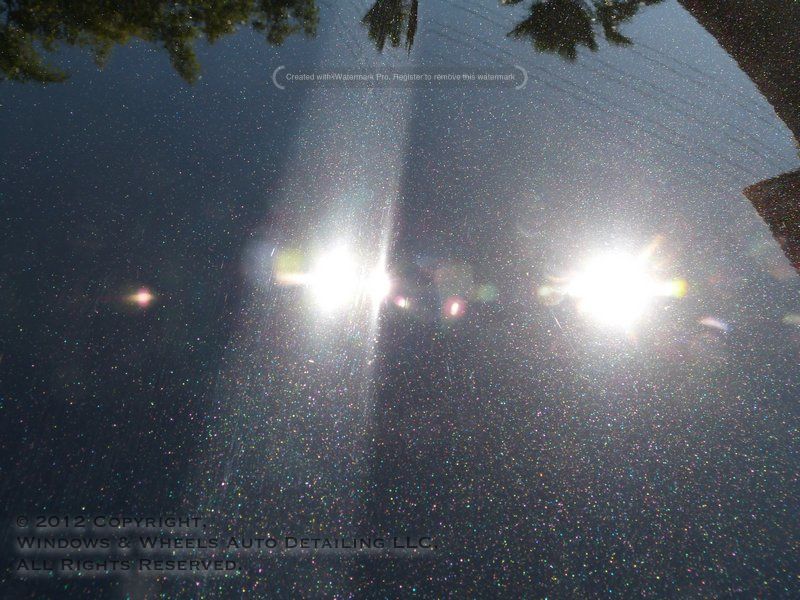
Now i know what you're all wondering...what did the paint look like under all that dirt? Well...it looks about as bad as you'd expect, super swirls.
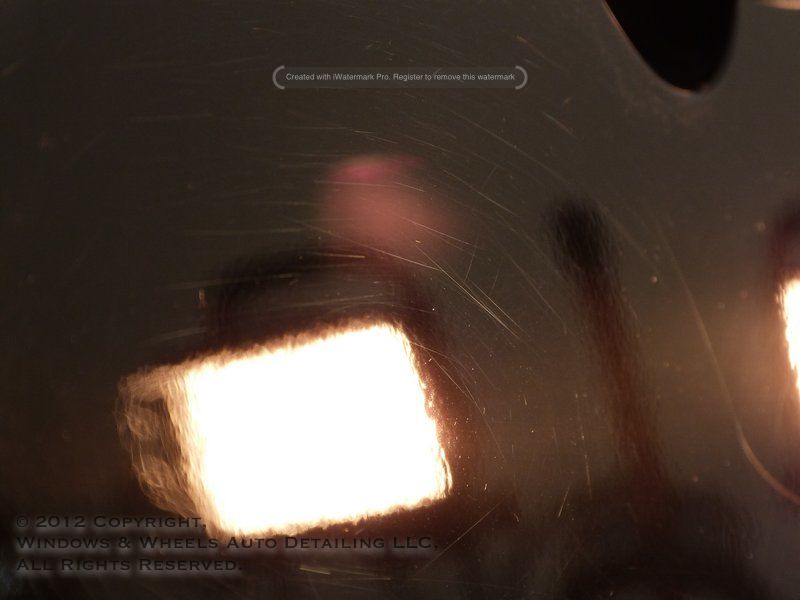
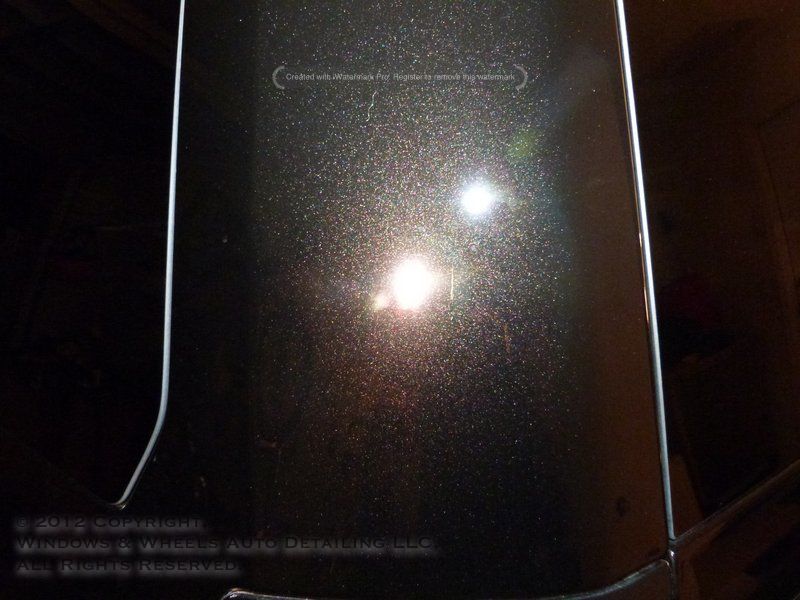
Our Halogens really lit these bad boys up:
There were not only 1000's of them but they were deep too:
Maybe millions????
Doesn't matter...millions of swirls vs. Windows & Wheels....2 of us working hard core non stop (literally we didn't even stop for lunch or bathroom break in 12 hours...we were SERIOUS people), I'd put my money on us...
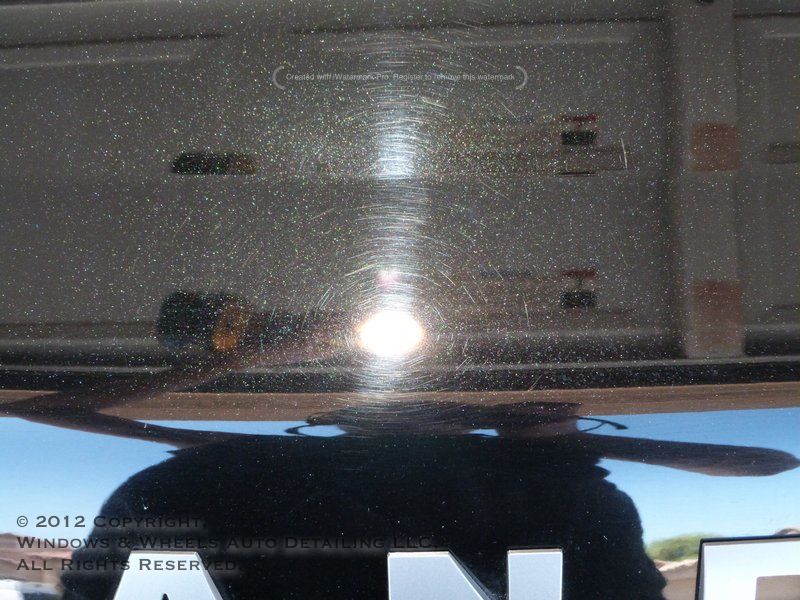
The hood was exceptionally messed up:
Near door handle:
Wow! Wow wow wow!
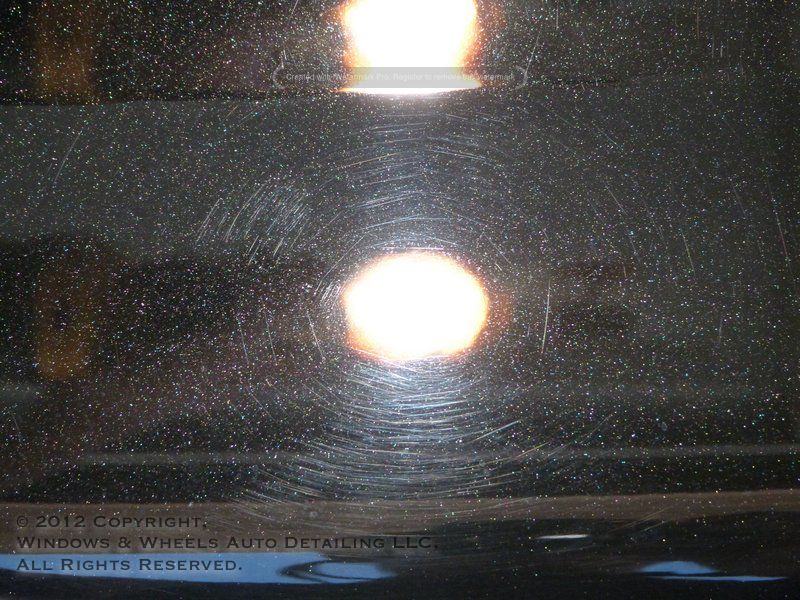
Front Quarter Panel:
Rear Hatch:
Gas Chamber:
Lets be clear, this was not just swirled..this car was infested with these things! In direct sun light it of course was no better:


")


 rops
rops