Meghan
Super Moderator
- Mar 3, 2006
- 15,033
- 0
Headlight Lens Restoration Guide:
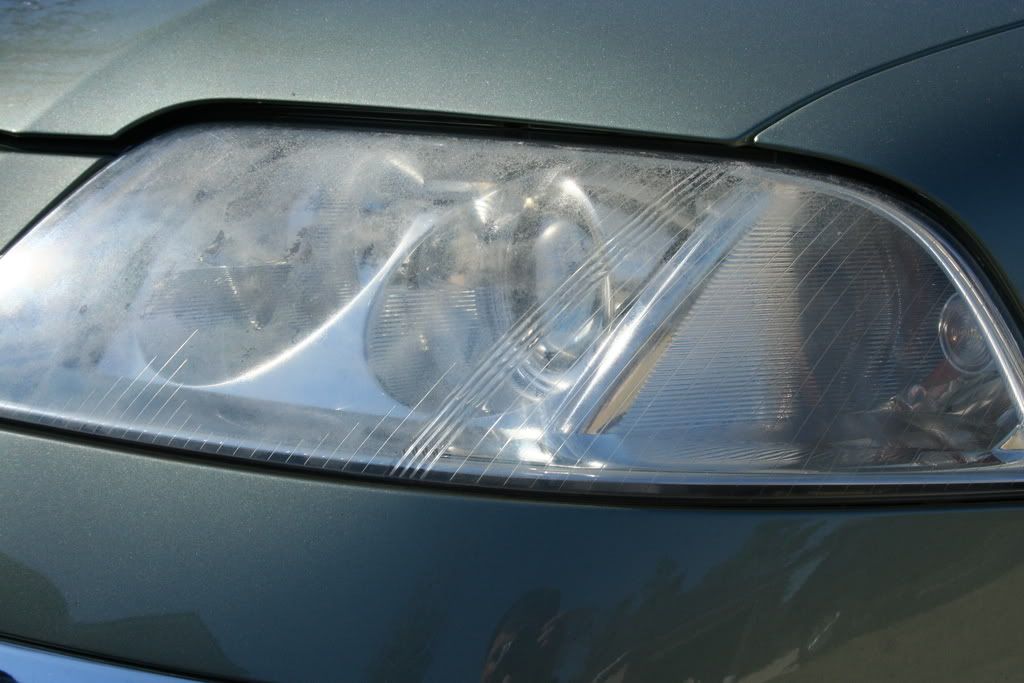
Cloudy, scratched headlight lens covers are a safety hazard as well as a blemish on your vehicle. This condition occurs because the plastic is overexposed to UV light. The cloudiness starts at the exterior surface of the lens cover and spreads inward. In intense sun climates, this damage can be apparent within a couple of years of purchasing a new car.
The good news is that this damage is very common and very fixable. This short tutorial will give you all the skills you need to restore your headlight lens covers.
Diamondite Headlight Lens/ Clear Plastic Restoration Guide
Polish headlights with the Diamondite Plastic Lens Kit to remove scratches, yellowing, and cloudiness. Enhance headlights’ performance and restore their like-new appearance with the industry’s finest headlight polishing system!
The Diamondite Clear Plastic Kit is a three step system to restore, clean, and protect your vehicle’s headlights. The system works with an electric drill or polisher using the included 4 inch pads. Remove cloudiness and oxidation caused by UV exposure, as well as light scratches and imperfections with the Diamondite Clear Plastic Kit.
Before you begin…
Tape off the area surrounding the headlights using painter’s tape. Clean off any loose debris using Diamondite Perfect Vision Glass Cleaner and a soft microfiber towel. Screw the drill adapter into the included backing plate and tighten with a wrench. Insert the adapter into your electric drill and tighten the chuck.
Step 1
Clear Plastic Enhancer
Press the included yellow cutting pad onto the backing plate. Apply Diamondite Clear Plastic Enhancer™ in an X pattern across the pad.
If you are using a drill or rotary polisher, set the maximum speed at 1800 OPM.
Work in an overlapping motion until cleaner breaks down into a clear film. Work up and down and side to side. There is no need to apply pressure to the machine.
Use the included soft microfiber towel to remove residue. Severely stained or scratched lenses may require a second treatment.
Note: Avoid polishing over the alignment dowels on the lens cover as they could tear the pad.
Step 2
Clear Plastic Restorer
Remove the yellow cutting pad and attach the included orange light cutting pad. Dispense Clear Plastic Restorer in an X pattern across the orange pad.
Work at a speed of 1800 RPM on your electric drill. Move the pad up and down and side to side for complete coverage. When the polish starts to dry, turn off the drill and slowly lift it off the headlight lens cover.
Wipe the headlight clean with the included microfiber towel. Repeat step 2 if necessary.
Step 3
Clear Plastic Liquid Armor
Mist the headlight lens with Clear Plastic Liquid Armor. Two or three pumps should be enough to cover the lens.
Use a microfiber towel to spread the sealant over the lens and flip the towel to buff dry.
Allow the sealant to cure for an hour and then apply another coat if desired.
Maintain the clear shine of your polished plastic headlights with Diamondite Plasti-Care Plastic Cleaner, Polish & Protectant. This aerosol spray cleans and shines plastic headlight covers, and it leaves a anti-static coating to keep them clean longer.
Diamondite® Clear Plastic System Kit
Last edited: