Made it out of the house with the credit card today, though I would post a picture of the damage...
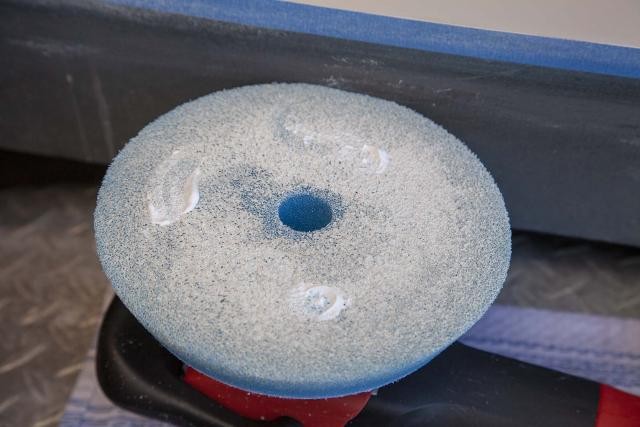
Tools and pads as follows; Flex 3401, 2 Rupes rotary wool pads (will try these on the Flex),
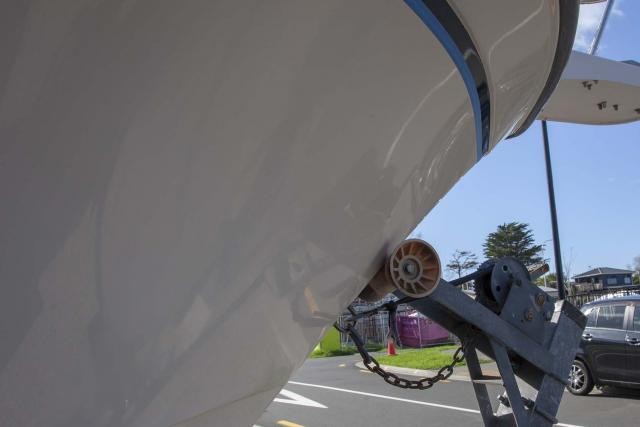
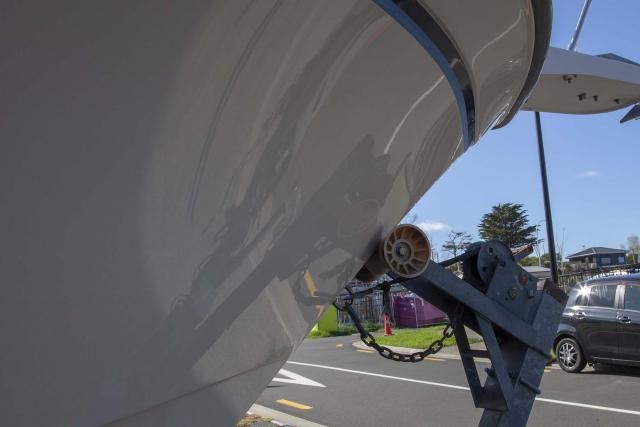
Here's the deal, any traditional wool pad will work on the BEAST - BUT - unlike a rotary polisher that spins in a circle, due to the 8mm oscillation action - you won't be able to get as close to an edge like a rub rail as you could a rotary. So just be aware of this when your sanding.
What I practice and what I teach in my wet sanding classes is,
DON'T sand where you cannot buff
Otherwise- you'll be trying to work your sanding marks out by HAND.
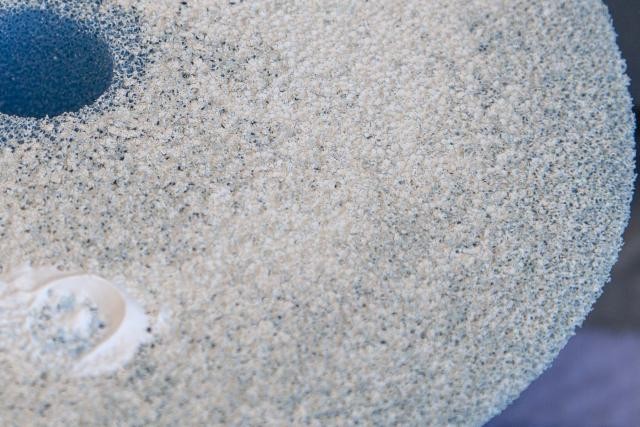
Also - I don't know why, it could just be my fault from PUSHING the BEAST too hard when buffing with wool pads - but when I use these types of pads on the BEAST it seems to generate a LOT of heat at the backing of the pad and this can lead to de-lamination of the adhesive between the velcro on the back of the pad and the pad liner. So don't full mad man when using the FLEX for compounding out sanding marks.
If it were me - I would stick with a rotary buffer to remove sanding marks and use the BEAST to remove holograms and polish to a clear, high gloss. This is a great combo.
6 Rupes coarse blue pads, 2 Rupes ultrafine pads (to polish the isinglass on the boat), some Rupes Zephir Gloss Coarse, and some UV wax (label blanked to respect the forum rules).
Sounds good. And remember - before going full comando on your boat - START WITH A TEST SPOT.
Test the PROCESS you think, hope, dream and pray will work on the boat to one small area all the way through from start to finish and then inspect the results. If you cannot make one small area look good you won't be able to make the entire boat look good.
The good news is - if you can make one small area look GREAT - you can make the entire boat look great. Sometimes you get close and all you need to do is tweak your technique.
I would like to say a HUGE THANK YOU to Aaryn NZ who has gone out of his way to help me locally here in New Zealand. He has even sent me a sample of the product he uses in his detail shop to try, along with making calls to track down a Flex on my behalf. Awesome stuff!
I told you so - he's a great guy and a great resource.
Thank you to Mike Phillips as well for all the product testing and suggestions! This has, without question, cut down on the pain I would have endured trying to figure all this out on my own!
Ah shucks.... I just do what I always do - help the world removes swirls one car at a time and in your case, one boat at a time.
Give me a few days to figure out how all this stuff works and I will be back with an update, and hopefully something others might one day find of use!
I'm already looking forward to you next post.
")
 rops:
rops: