How many tape raised body line while using DA?

WRXINXS

New member
Joined
Dec 5, 2011
Messages
1,280
Reaction score
0
I have corrected a few of my personal vehicles using a PC7424XP DA polisher and have not taped off the "Raised body lines", "Edges", "High Points", etc. Wondering how many of you do this when DA correcting? Or at least go easy around these points without taping?

Also, do you guys always tape of trim or just go real careful around it. I usually do not, and just dont butt up against it, but I got a little scuffing this past time that I used some Duragloss Wax eraser and rubbed in some Ultima Tire and Trim Guard plus and it seemed to fix it.

Drew
 
It depends how sharp or abrupt they are.

A high angle sharp edge is more susceptible to damage and a low angle let's say on a door is not. The high angle gets some protection whereas the low or shallow angle will not...


Yes

High or steep angle gets the green tape

Taped.jpg
 
what kind of tape do you use Bobby? Does it leave adhesive?
 
Hey Drew,

I like to use the green painters tape. I find it the easiest to use and leave's no residue at all. The blue works similarly but I find it tears more easily coming off the roll.

They're both very expensive in my opinion and while I haven't actually measured its thickness it seams thicker than masking tape therefore doesn't go as far...
 
So Bobby, since the tape is covering certain body panels, do you take the tape off and do those areas by hand last?
 
So Bobby, since the tape is covering certain body panels, do you take the tape off and do those areas by hand last?

It's very difficult to see finish defects on a sharp corner because of it's size and how if reflects light. The goal here is to use the narrowest tape you can get away with keeping the actual edge protected but not covering up the flat areas which will hide the surface defects.

If I used 1" wide tape to protect the edge above, once removed the areas adjacent to the corner would stick out like a sore thumb.

I like to use 1/2 or 3/8 inch wide tape to minimize non corrected areas. Once the tapes been removed I have several options that I can use. Narrower tape is available but this works for me when I need to use it.

  1. Seal or wax over such a small area, which I typically do and there's no difference because it's so small.
  2. Use a small polisher and pad with a finishing polish sneaking up close to this edge.
  3. Work the small area by hand using a foam pad and polish.

Thanks Bobby :D :xyxthumbs:
 
It depends how sharp or abrupt they are.

I agree with the above as it relates to new cars with what is assumed to be the majority of the factory finish.

Besides that, I don't tape-off raised body lines on new cars, I just practice not hammering on them.


When it comes to classic cars or any SIV with single stage paint then I'll tend to tape raised body lines off.

Also anytime I'm wetsanding both to protect them and also to make them visible.


So Bobby, since the tape is covering certain body panels, do you take the tape off and do those areas by hand last?


I call buffing the paint that was under the tape

Perfectionist Detailing

It's great if it's your own car or if you can get the customer to pay for the time it takes to this time intensive, labor intensive work.

Instead, for either the last machine polishing step or the machine waxing step, I remove the tape and run the polisher lightly over the area to remove the tape-line and bring up the gloss and clarity so the entire panel has a uniform look.

:)
 
Hey Drew,

I like to use the green painters tape. I find it the easiest to use and leave's no residue at all. The blue works similarly but I find it tears more easily coming off the roll.

They're both very expensive in my opinion and while I haven't actually measured its thickness it seams thicker than masking tape therefore doesn't go as far...


Bobby, the green tape, is that frog tape you're talking about?
 
I think I am going to try the Meguiars tape. Comes in three sizes.
 
Besides that, I don't tape-off raised body lines on new cars, I just practice not hammering on them.:)

I love the way you put this!! :props:

It takes a little practice but it's pretty easy if you pay attention to the to the edge of your pad as your polishing you'll quickly learn how easy it is.

With a rotary polisher it takes a little more practice.

When I'm polishing a relatively flat area that drops off a sharp edge, I tilt the pad slightly so it rotates off the edge and not up and against it creating a high stress point... it's easier to show someone than explain it...
 
I love the way you put this!! :props:

I use the term hammering and the term chopping.

Chopping is when you're using a wool pad and a compound with a rotary buffer to either remove deep, serious below surface paint defects or extreme oxidation off boats or single stage paint.


When I'm polishing a relatively flat area that drops off a sharp edge, I tilt the pad slightly so it rotates off the edge and not up and against it creating a high stress point... it's easier to show someone than explain it...


Very important to learn how to buff off an edge. I'll for sure be showing this in my class this weekend... here's an article on it too...


How to buff off an edge when using a rotary buffer


Right Technique
In these pictures the body of the rotary buffer is held in a way so that when the pad is spinning it is buffing or rotating OFF the edge.

rotation.jpg


:)
 
The blue 3M vinyl tape works best for reducing the size of your tape footprint.

You can see a few pictures of how we used it on the 1964 Chevy Delivery Truck at my last bootcamp class. I'll try to get some more pictures from this weekend's class.

Note: We now carry the blue vinyl tape here at Autogeek but I don't think it's on the store website yet. Customer Care can get it for you though.


Pictures and Comments - January 26th & 27th 2013 Detailing Boot Camp Class


Next we learn the importance of taping off things like pint-striping, edges and raised body lines....


This 1964 Sedan Delivery has a good paint job and a fairly new paint job and the painter applied a silver vinyl pinstripe to separate the lower red portion of the truck from the upper white portion of the truck.

To avoid any mistakes for the rest of the machine polishing steps we taped this pinstripe off as well as any raised body lines and panel edges.


Pablo, my detailing friend from Buenos Aires, Argentina was a real asset at this class and it was easy to tell he has a real passion for perfection...

2013_Jan_Detail_Class_124.jpg


Willis taping off the pin stripe...

2013_Jan_Detail_Class_125.jpg


2013_Jan_Detail_Class_126.jpg


Chris aka the Italian Guy taping off the silver pin stripe...

2013_Jan_Detail_Class_127.jpg


Me taping off the front leading edge of the hood...

2013_Jan_Detail_Class_128.jpg


The hood has a number of raised body lines in its design and for these we're going to use the 3M Blue Vinyl Tape...

2013_Jan_Detail_Class_129.jpg


2013_Jan_Detail_Class_130.jpg


Here's a taping-off tip...
Pull out a measure of tape about a foot or two long and then use the roll of tape to guide or steer the tape by your other hand as it presses it down.

2013_Jan_Detail_Class_131.jpg


I also cover this in a video here.

Video: How to tape-off car trim before machine polishing


Here's Joe mirroring what I've done on the passenger side to the driver's side...

2013_Jan_Detail_Class_132.jpg


2013_Jan_Detail_Class_133.jpg


Willis taping off and protecting the "new" rubber window molding...

2013_Jan_Detail_Class_134.jpg


Looking good...

2013_Jan_Detail_Class_135.jpg


Beautiful...

2013_Jan_Detail_Class_136.jpg


Here's Jeff taping off the perimeter of the gas cap lid...

2013_Jan_Detail_Class_137.jpg


2013_Jan_Detail_Class_138.jpg


Excellent work guys...


:xyxthumbs:
 
Mike,

Do you like using the Meguiars tape. Comes in three sizes 2", 1.5" and 3/4 inch. Would you think I would need anything smaller?

Thanks,
Drew
 
Mike,

Do you like using the Meguiars tape. Comes in three sizes 2", 1.5" and 3/4 inch. Would you think I would need anything smaller?

Thanks,
Drew


I do use it and somewhere in one of my articles is a sub-article specifically on the differences between Meguiar's Detailing Tape and 3M Painter's Tape.

Hang on and I'll find it... being meaning to peel the sub-article out and make it it's own article.


Sometimes I through the rules out the window and choose the tape by it's color so it will create dramatic contrast for the pictures or video.


:D
 
Found it... it's in this article, post #12

Tape it off and avoid a lifetime of ugly...


I spoke with Mike Pennington, the Director of Training for Meguiar's about some of the cool features for the new Meguiar's Tape and have summarized our conversation below...

The new Meguiar's Masking is really designed to be a great general purpose tape which lends itself well to use in the detailing world.


Product Attributes:
  • Excellent handling
  • Instant adhesion and good holding power
  • Resists curling and lifting
  • Solvent and moisture resistant
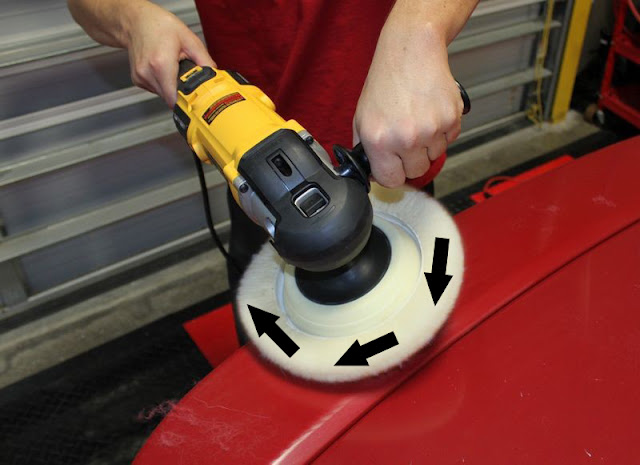
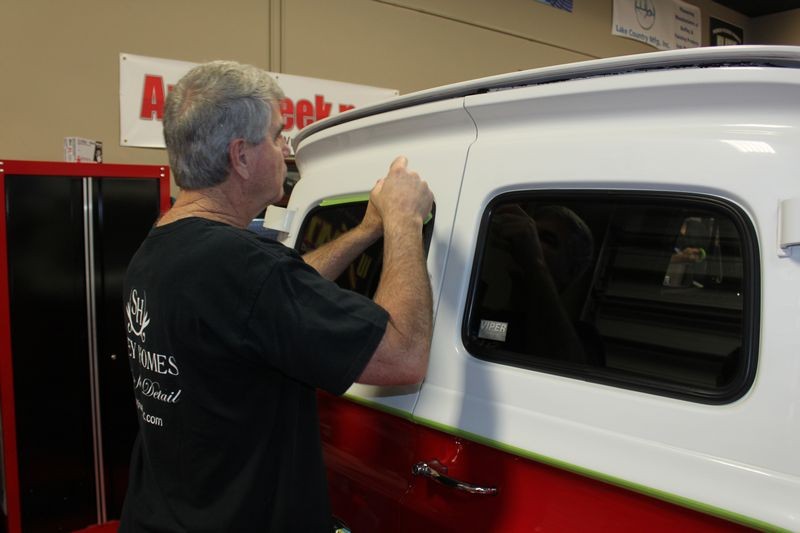
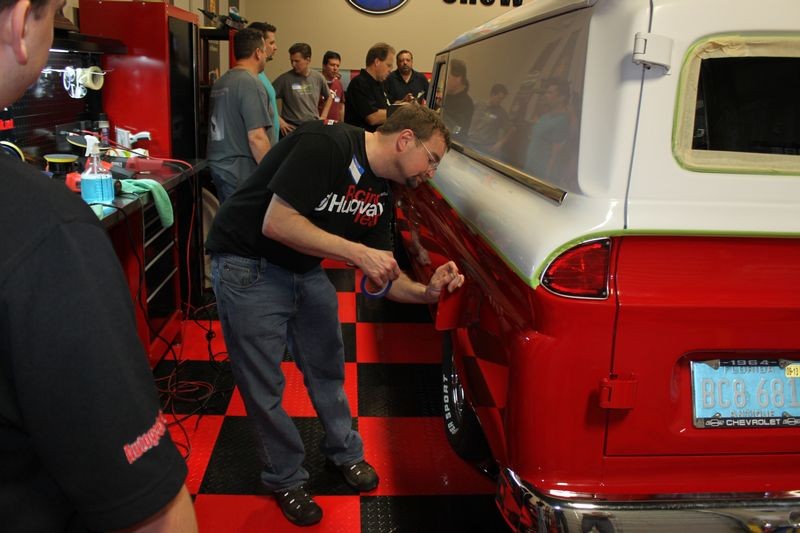
  • Ideal for automotive detail application

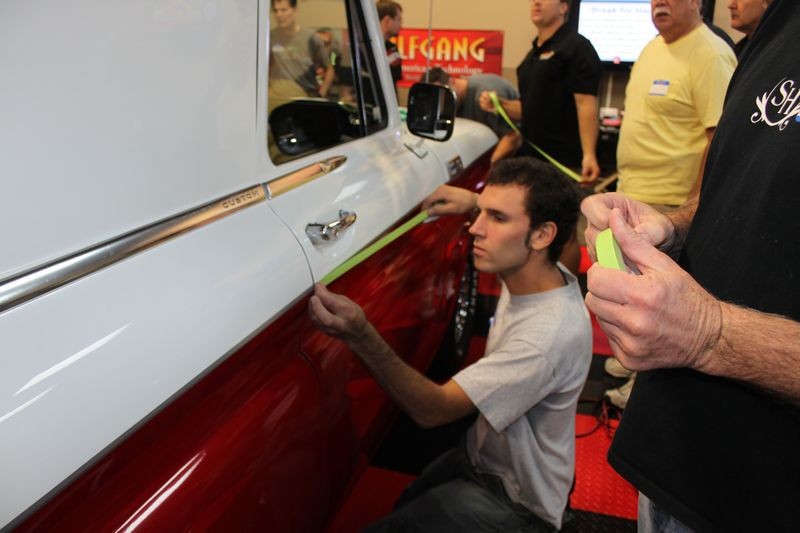
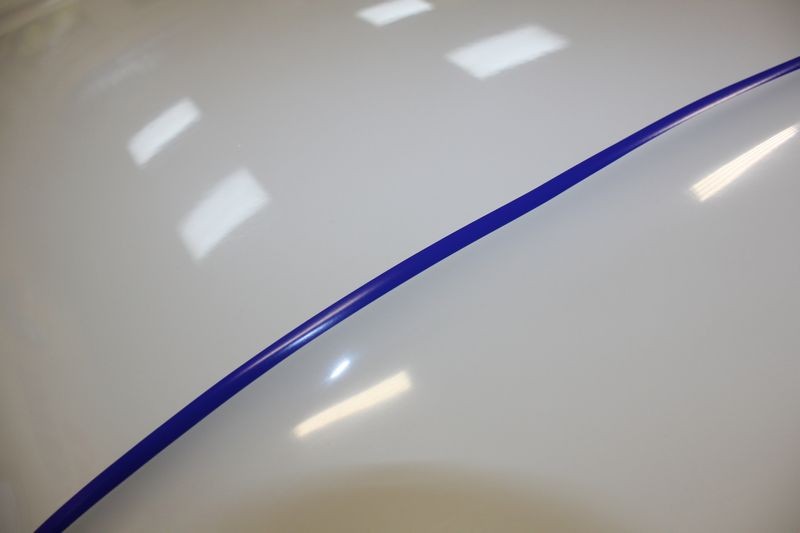
Normal painter's tape, usually the blue or green tape we commonly see and use when taping-off a car, is a fantastic tape, it is really an overkill from a design perspective for the detailing market.

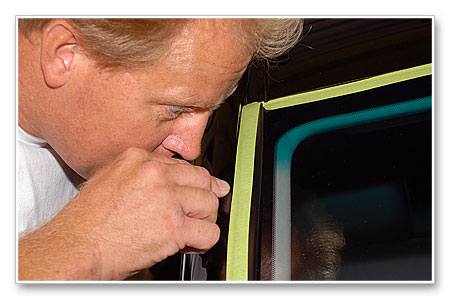
Normal painter's tape is purposefully constructed for application where a wet edge (critical edge) is present, that is where fresh paint is being applied and for this reason one of its main features is designed to prevent bleed-through. That is to say that painter’s tape is designed so that wet paint won't leak under it at the edges. This is an important feature when applying fresh paint.

When detailing cars, this is an unnecessary feature that affects price. The Meguiar's masking tape is more specific to the needs of detailing, it is safe enough to protect what you want to cover and protect from product residue but not over designed for its intended use. In addition, the Meguiar's tape has much improved adhesion performance over traditional painters tape when exposed to situations where water is present. (For example - Wet sanding)

Note that because Meguiar's tape is not designed for use where a critical edge is a factor, it is not recommended for use as an actual "Painter's Tape".

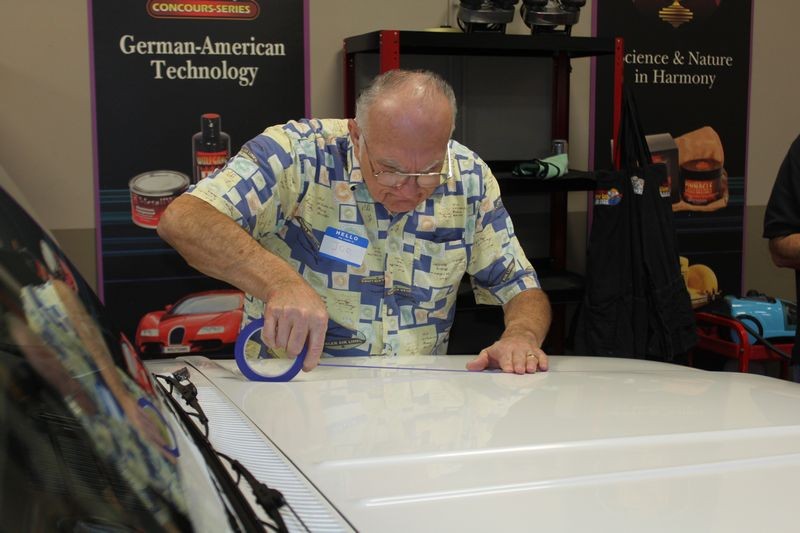
Painter's Tape and Detailing Masking Tape, different designs for different applications.

Hope this helps...

:xyxthumbs:


:)
 
So Bobby, since the tape is covering certain body panels, do you take the tape off and do those areas by hand last?


I actually wrote a detailed answer to this question in one of the first write-ups I posted to this forum after moving to Autogeek from Meguiar's.

Step-by-Step How-To Article using Pinnacle Products with the new PC 7424XP


Mike Phillips said:
Here we've taped-off the rubber gasket between the glass and the window frame and I'm pointing to show that there's about an 1/8th of an inch of paint that's not going to get buffed with either of the two polishing steps. After the correction steps we'll remove the tape and carefully wax these areas for a uniform look that will match the polished areas next to the tape line.

While not perfectionist detailing in some eyes, remember this is a daily driver, not a show car.

You can invest more time and just run the tape down the rubber and get it close to the edge of the panel if you want or just overhang a little like I did here. It's your choice based upon what you're trying to accomplish and how much time you want to invest.
detail-141.jpg


Another factor that will affect how much time you want to invest into the "little picture" is how much you're charing for your work. Doing fine detailing to small areas is very time consuming and most detailers already struggling charging as much as they want to get...


But that's what I do... I major on the majors... and minor on the minors unless someone is willing to pay for the time it takes to minor on the minors...


:)
 
Back
Top