Mike Phillips
Active member
- Dec 5, 2022
- 51,004
- 7
Man versus Machine
The human hand versus Meguiar's G110!
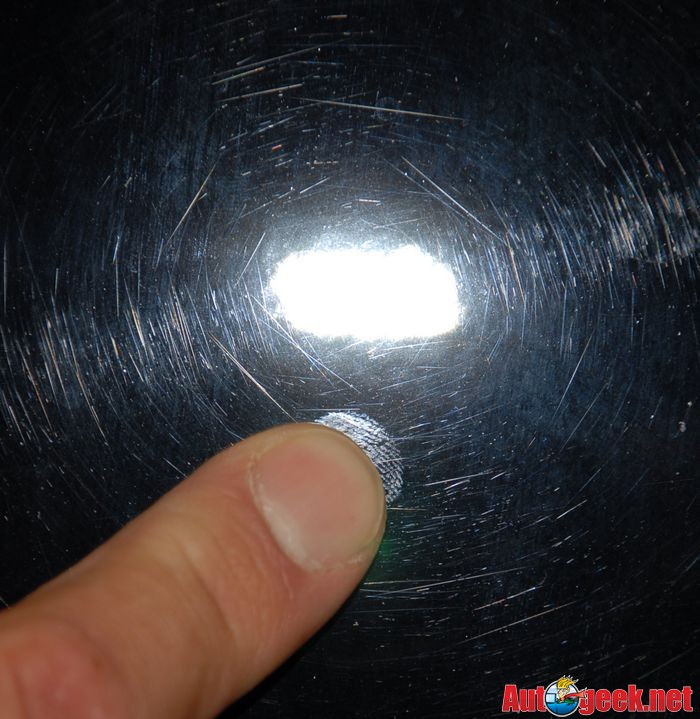
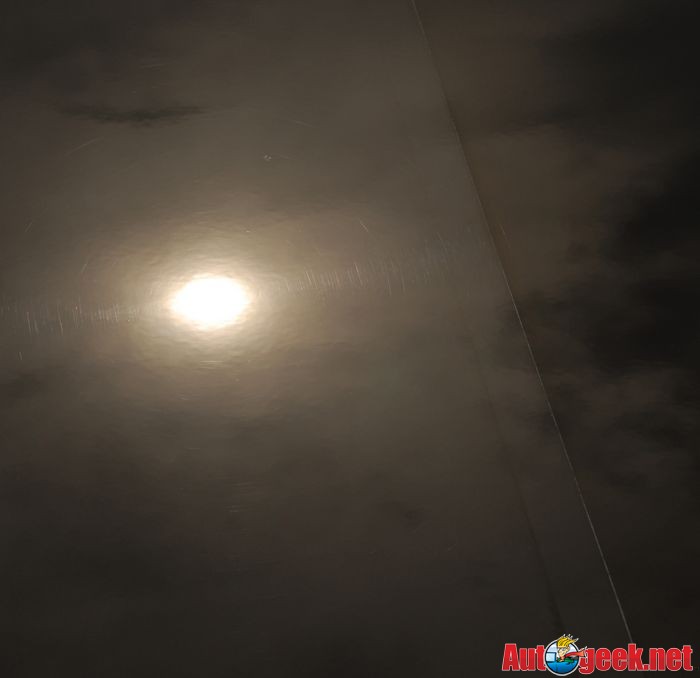
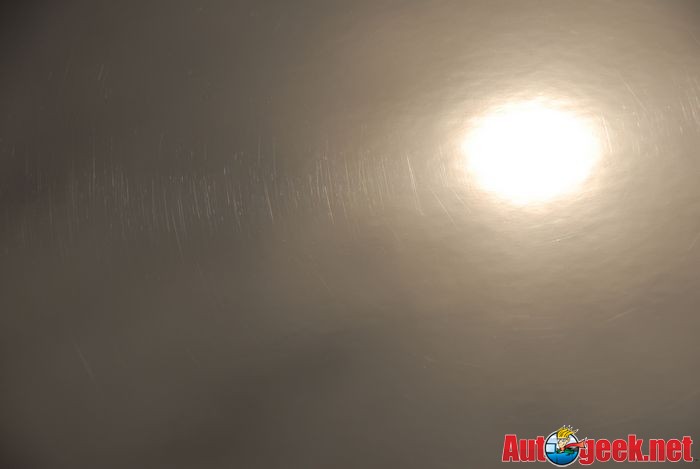
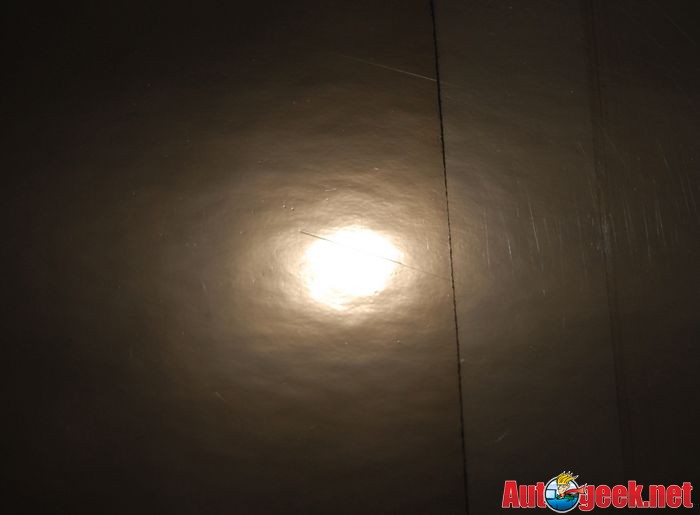
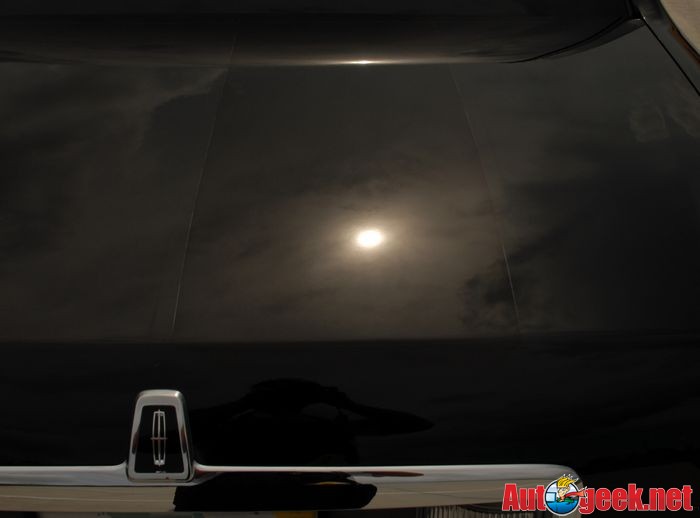
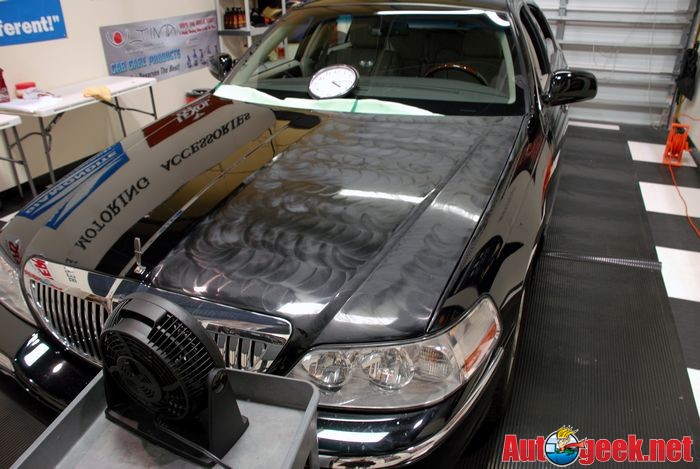
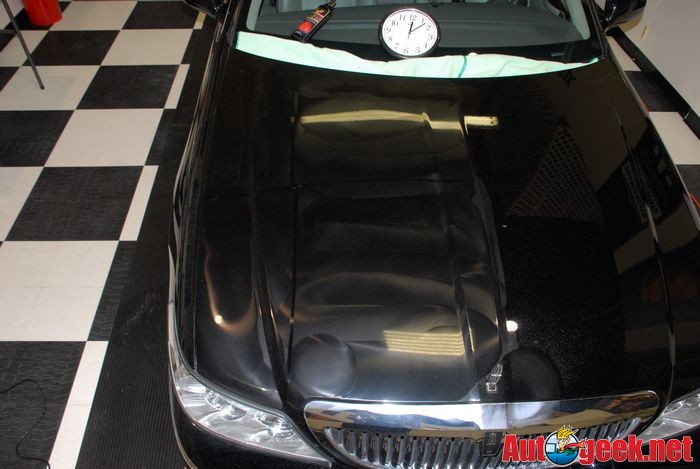
This Lincoln has moderate swirls and also straight-line scratches running from front to back, they look like the type of scratches inflicted from an automatic brush style car wash. Besides the car wash scratches which are all in the same direction, there are also plenty of what we call RIDS.
RIDS stands for Random, Isolated Deeper Scratches.
Instead of a noticeable pattern like the car wash scratches, RIDS run in all different directions as they are caused by normal wear and tear in a random fashion over time.
The goal of this project is not to remove each and every one of the deeper scratches as it's a daily driver and will see normal wear and tear the rest of its service life. Instead the goal is to remove the majority of the swirls as well as the lighter or shallow scratches to restore a beautiful, clear finish the owner will be proud of.
Hand versus Machine - Time Comparison
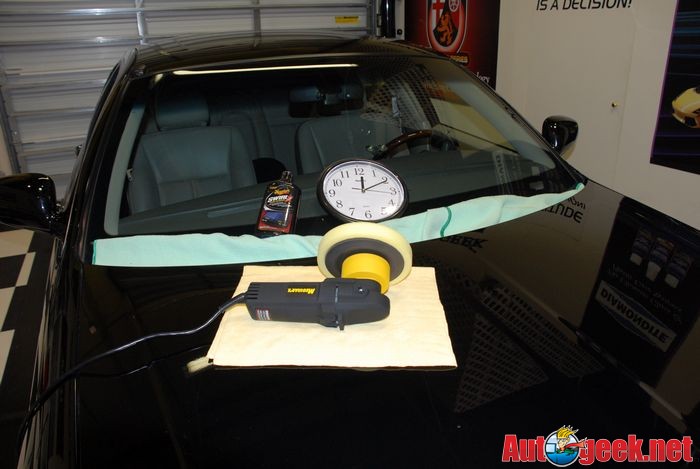
For this project we're going to use the Meguiar's Consumer Line of products by hand on one side and then the same products by machine on the other side to give people an idea of how much faster and easier it is to work with a dual action polisher instead of working by hand.
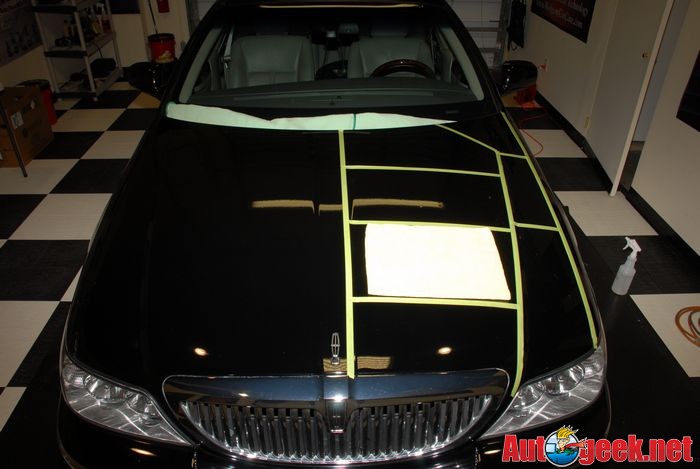
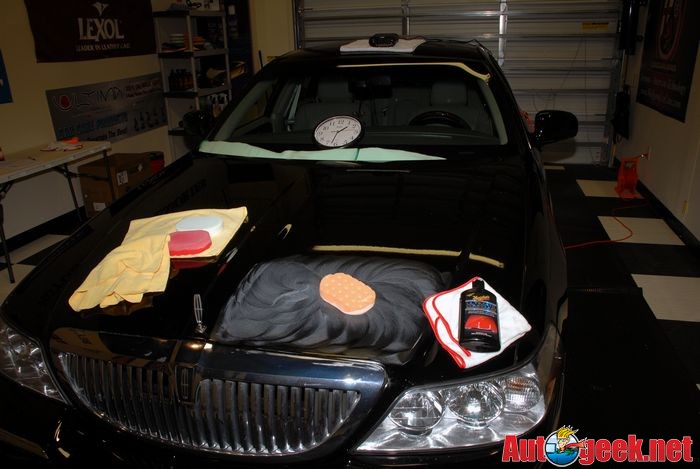
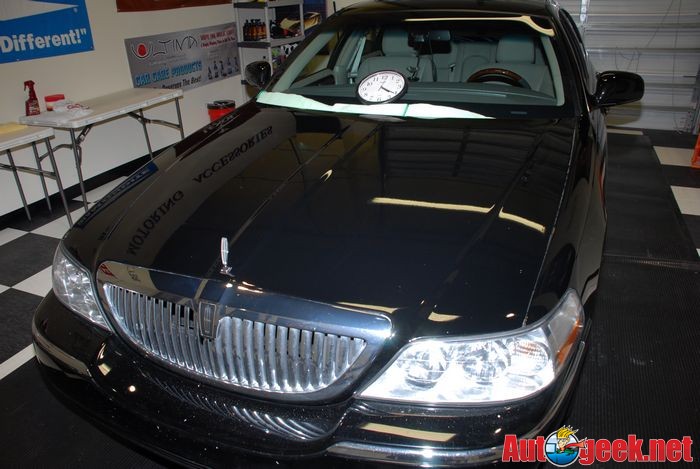
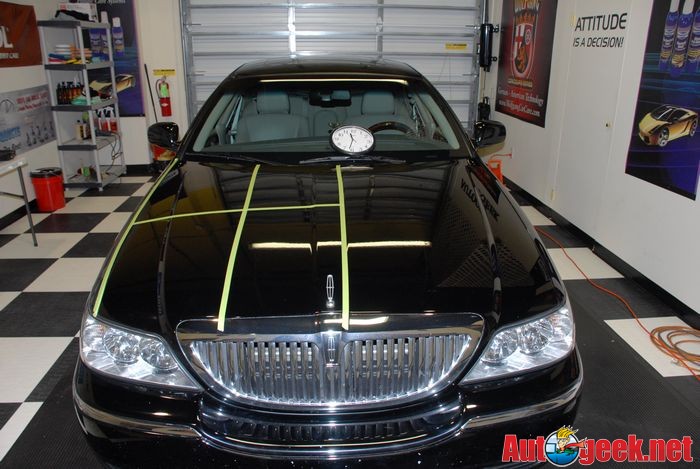
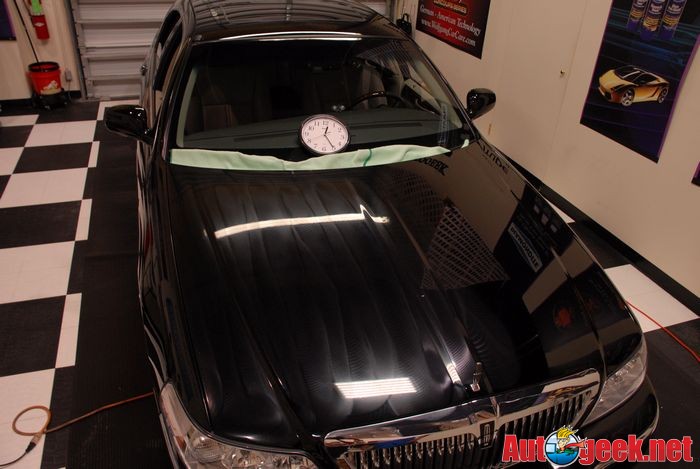
Here's our candidate car,

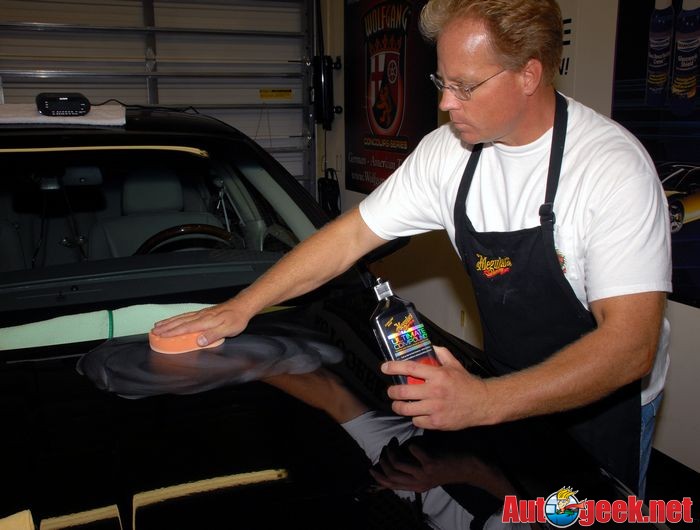
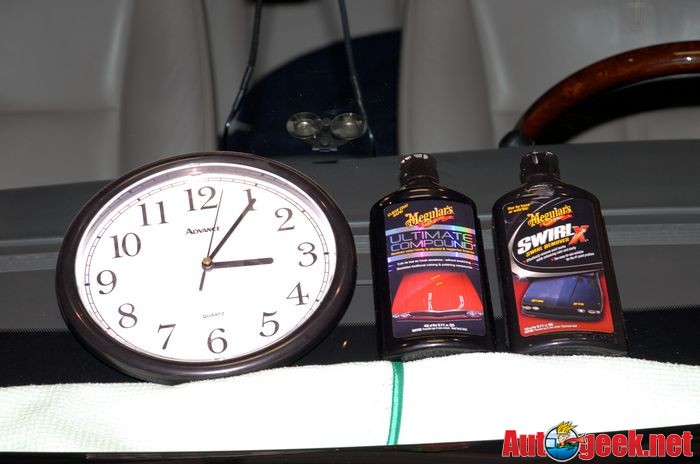
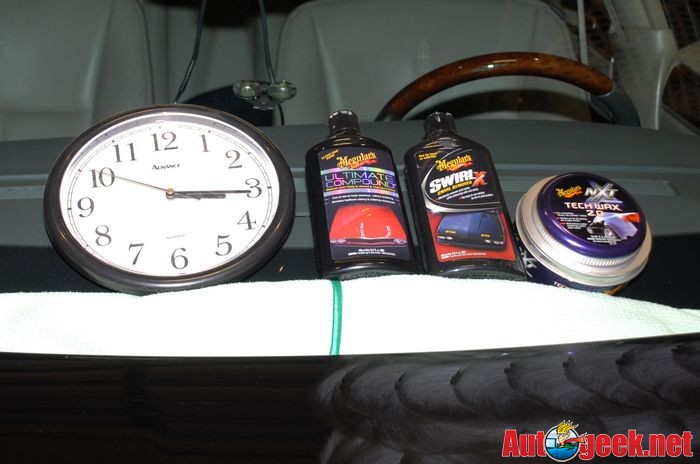
For the hand portion of this comparison we'll be using, Smooth Surface Clay Kit, Ultimate Compound, SwirlX, NXT Tech Wax and Supreme Shine Microfiber Polishing Cloths .

The car was washed the day before so we wiped her down using Quick Detailer and a microfiber polishing cloth and then inspected the paint for above surface bonded contaminants. It wasn't horribly contaminated but it did need a thorough claying.
For this we used the Meguiar's Smooth Surface Clay Kit and followed the technique described here,
Tips and Tricks for using detailing clay

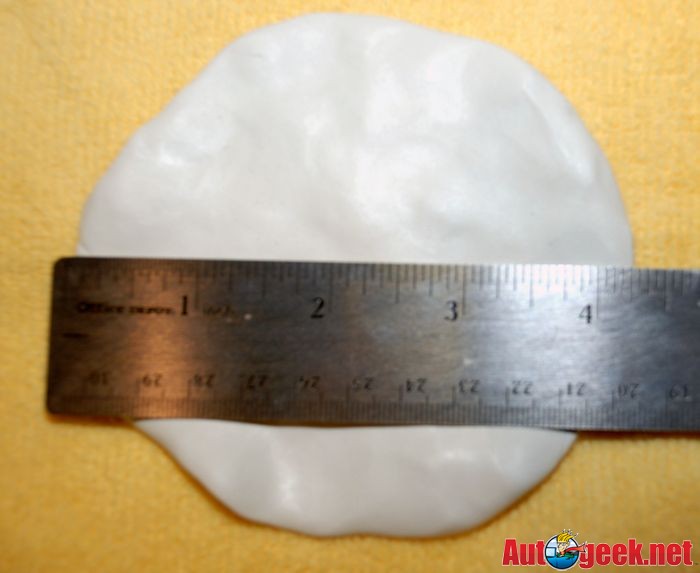
We kneaded our clay into a round patty about 4" to 4.5" in diameter as this way we can place our hand/fingers on top of it and it will cover all of our hand.
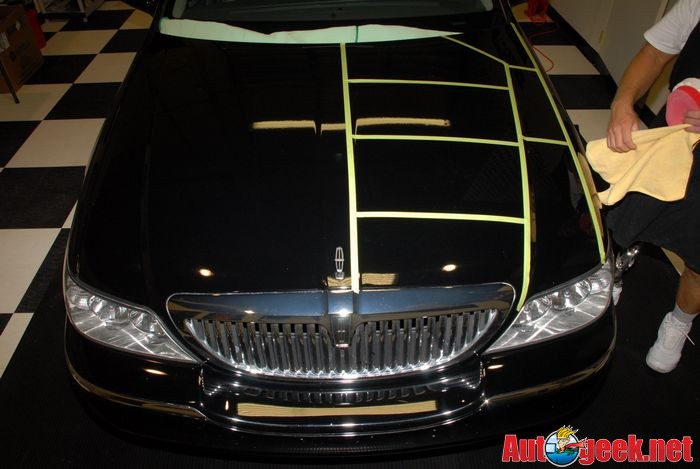
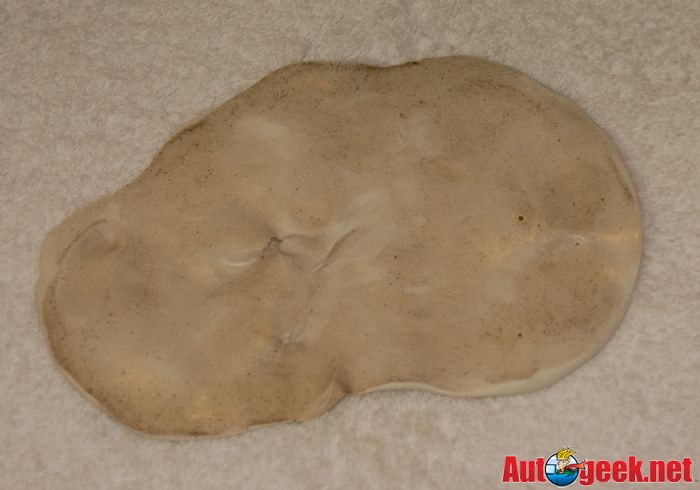
Here's the results from the hood.
Next up were going to do a Test Spot on the trunk lid and dial-in our system. After we prove the system works in our Test Spot on the trunk lid then we'll duplicate the system to one half of the hood of the car. For the other half we'll use the G110 Dual Action Polisher.
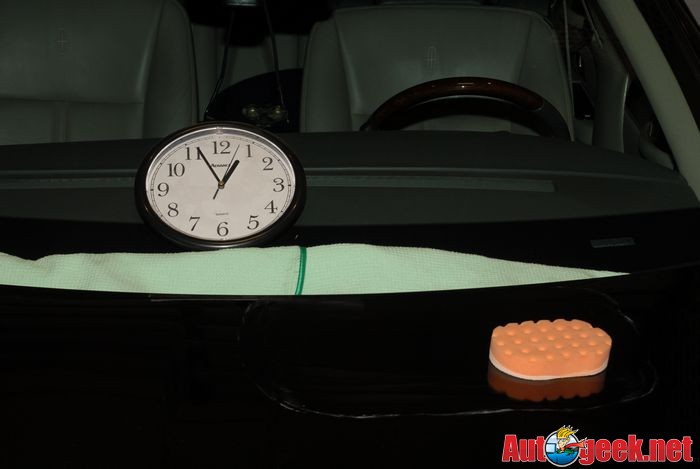
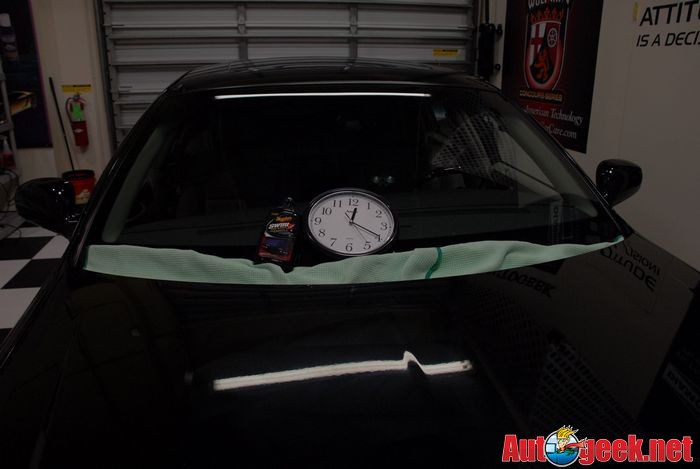
Besides showing how to use this system to remove swirls we'll also track how much time it takes us to restore just half the hood by hand and then half the hood using the G110 Dual Action Polisher to give people an idea of how much time can be saved when working by machine.
We don't want to persuade anyone to not detail their car by hand but simply to try to show the time savings when using a safe tool like the G110.
Test Spot by Hand
At the time of this article, (8/26/09), I had never used the CCS Euro Foam Hand Polish Applicators so the first thing I'm going to do is test them out and see how they work while doing my test spot.
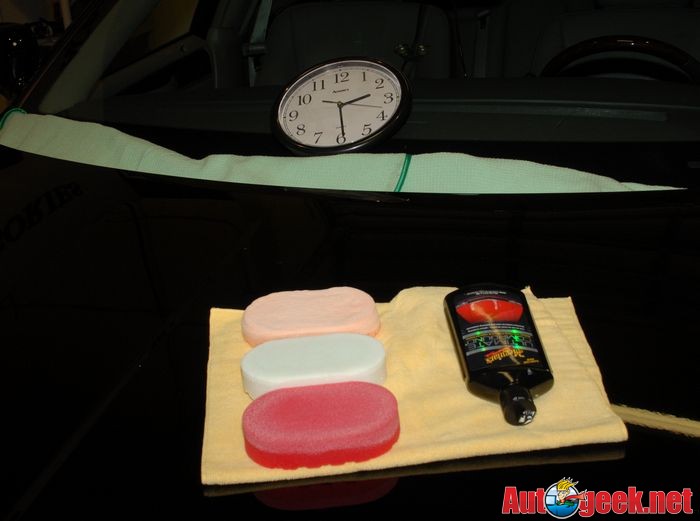
In the strip in the middle of the trunk-lid we're going to test out the three different levels of aggressiveness available in the CCS Euro Foam Hand Polish Applicators using Ultimate Compound.
Note: While Lake Country intended these pads to be used with the CCS pocket side facing down, you can also use the flat side, which I chose to do for this test because I want 100% of the surface of the applicator working against the paint. This is a big car and it's going to take a little passion behind the pad to work the defects out and I want everything possible working for me.
Testing out the CCS Euro Foam Hand Applicator Pads
First I tested each of the different foams with the Ultimate Compound to see how each foam formula worked to remove the defects.
Red Ultra Soft CCS Euro Foam Hand Polish Applicator
The red foam was too soft for applying and working compounds as I thought it would be but I wanted to try it for myself so that anytime these tools are discussed on our forum or in our classes, I can speak from real-world knowledge and hands-on experience.
White Polishing CCS Euro Foam Hand Polish Applicator
Then I tested the white polishing applicator pad and found that it worked well for with Ultimate Compound and SwirlX because of the increased firmness.
Orange Light Cutting CCS Euro Foam Hand Polish Applicator
Lastly, I tested the orange applicator pad and found the extra firmness and aggressive nature of this foam removed defects the fastest and the most effectively with Ultimate Compound but found it to aggressive to use with a cleaner/polish.
The visual results from my testing proved that for removing serious below surface defects, the fastest and most effective pad out of the three would be to use the orange applicator pad.
Now that I confirmed which foam pad worked best on this paint system for the heavy cutting step with the Ultimate Compound, I continued with my test spot by re-working the entire area with the Ultimate Compound and the orange applicator pad.
Large Oval Shape
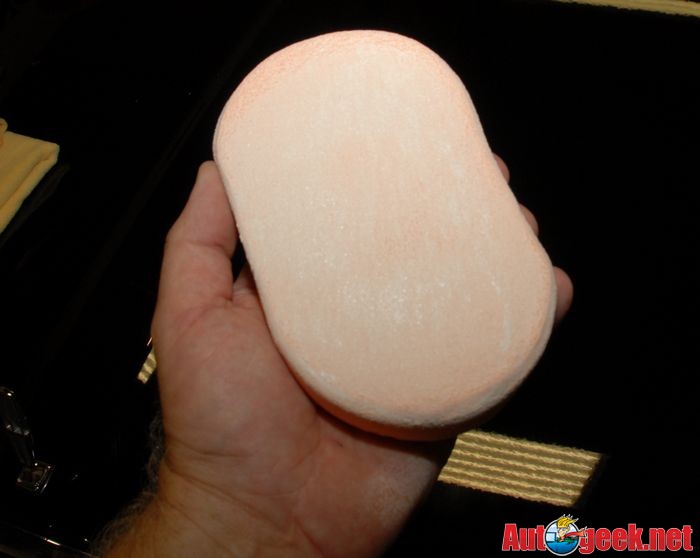
The CCS Hand Applicator Pads are oval in shape and comfortably fit your hand. What I really like about the orange cutting and the white polishing pads is they are firm enough to distribute the pressure from your hand evenly over the entire face of the pad in contact with the paint.
Softer foam pads tend not to offer this benefit and for some applications that’s okay but for working out defects where you’re going to need to invest a lot of time physically rubbing on the paint the firmer pads work better.

First Step process
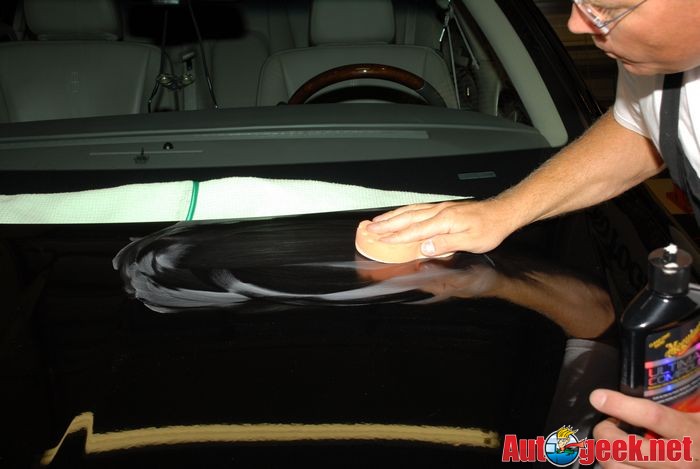
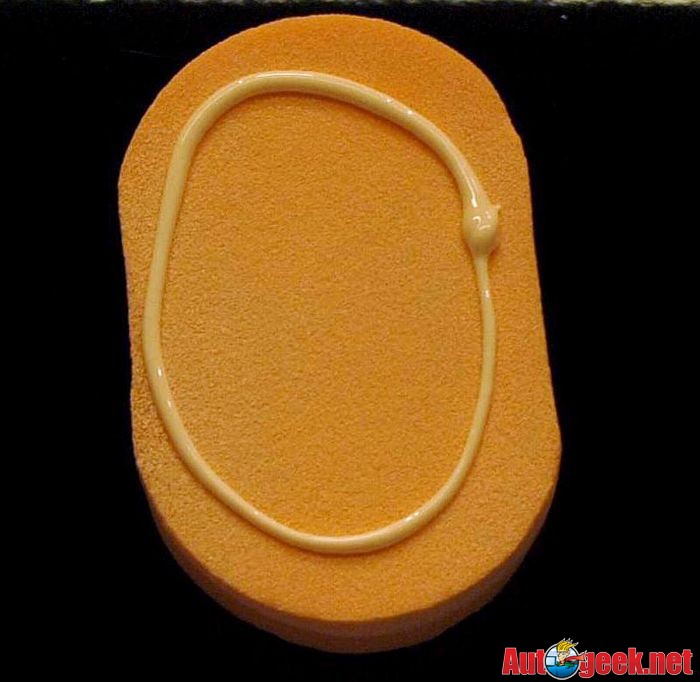
Here I’ve placed some Ultimate Compound on the face of the pad in the shape of a ring around the outer edges of the pad. You could also make an X-pattern or even spread the product over the face of the pad with your finger or some other tool if you like. I prefer to keep procedures like this as simple as possible as well as easy and fast to duplicate over and over again over the surface.
First Step Process
Always work clean, in this case after applying and working your product, remove any excess off the section in order to inspect your results and also to remove the spent product.
IMPORTANT
Whenever you’re using an aggressive compound on a clear coat finish, its normal to hope for great looking results afterwards, but don’t expect the end-results to look like you just wiped off a coat of wax as that’s not realistic.
Aggressive compounds are just that, aggressive. They are meant to be the FIRST step in removing serious below surface defects, they are not meant to create a show car finish after wipe-off even though Ultimate Compound will produce some very amazing results just by itself.
With some paint systems, it’s actually possible for a compound like the Ultimate Compound to finish out beautifully, but the visual results from my test section clearly showed that a second and even third step might be needed to refine the results to the highest level possible when working by hand.
Second Step Process
After compounding the entire test section, I moved on to the next step in my process and that was using SwirlX with a white applicator pad to refine the results from the aggressive compounding step.
Second Polishing Step using a less aggressive applicator pad by hand with SwirlX..
Third Step Process
Next we're going to use the soft, red finishing applicator pad with SwirlX.
Comment: The color of applicator pads.
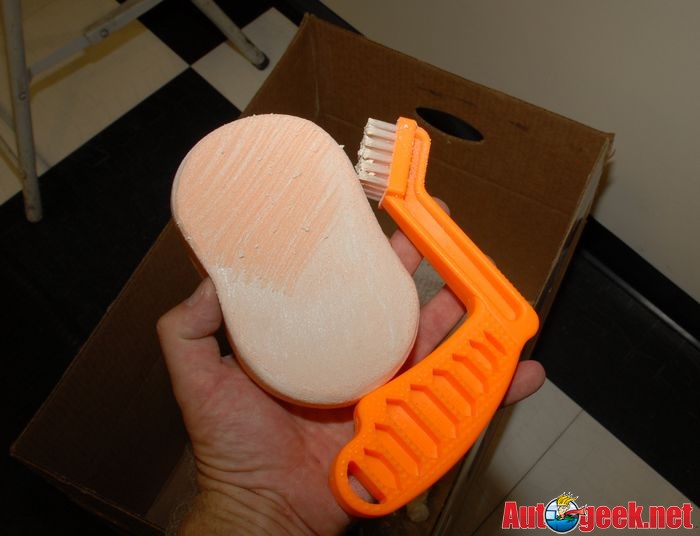
My personal preference is to use applicator pads that are light in color. The reason for this is because one of the best practices I preach and use myself is to turn your applicator pad over often and inspect for any dirt or abrasive particles that might somehow enter into the application process.
With a light colored applicator pad you can easily inspect and see if there are any contaminants on the face of your pad. With dark colored applicator pads it’s difficult to see dirt or abrasive particles and it's better to remove any abrasive particles if discovered than find out later you've been instilling scratches accidentally that now must be removed.
Third Step Process

Now that a majority of the below surface defects have been removed and the finish is polished to a clear, high gloss it’s time to seal the paint. Since this is an article on how to work by hand we chose the Meguiar’s NXT Paste Wax.
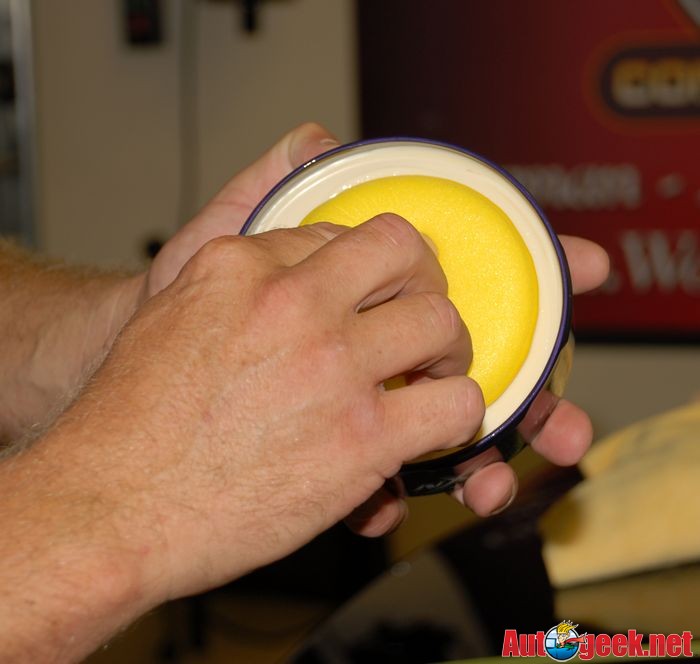
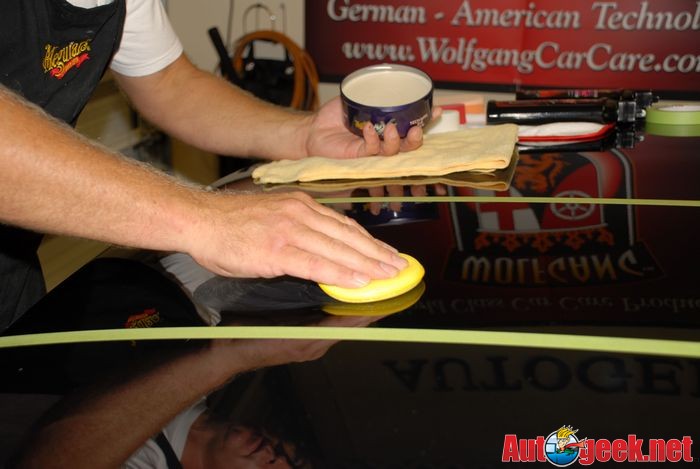
NXT Paste Wax comes with a purple foam applicator pad and while the foam is soft and gentle to the paint, for the reasons mentioned above on dark colored applicator pads, we substituted a small, round, basic yellow foam applicator pad to apply the wax. You could also use the red CCS finishing foam pad but it won’t fit into the can of wax so instead we opted for the small round applicator pads which are available in the Autogeek store.

Then we did our best to apply and work-in a thin layer of wax. It’s vital to apply a thin layer of wax because excessive wax takes longer to dry and is more difficult to remove.

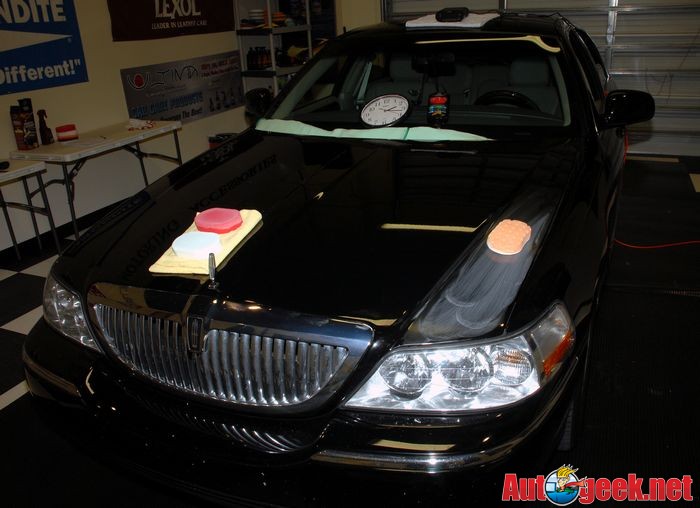
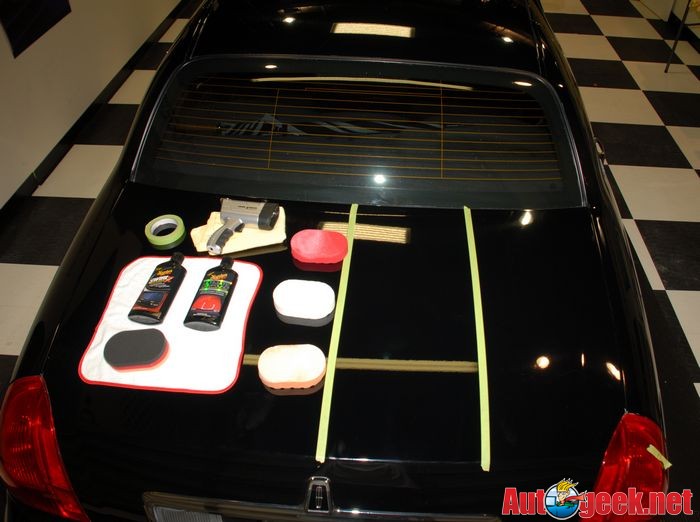
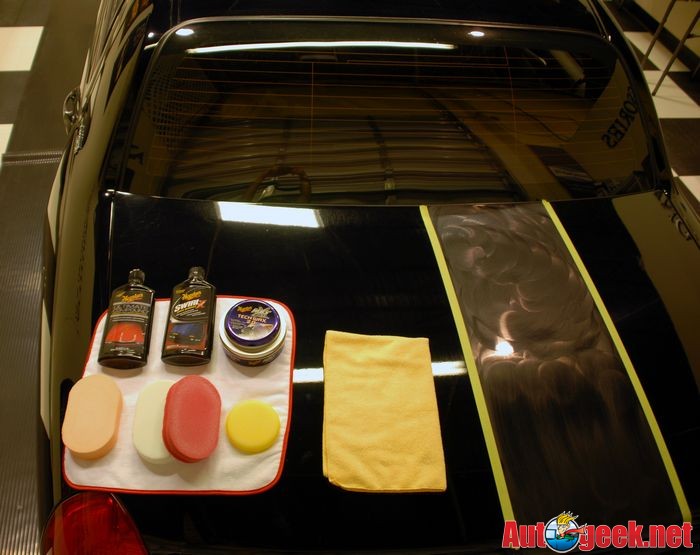
Below you can see the we products we used, matched to the applicator pads used with them. Off to the right side is our Test Spot with a thin coat of wax drying.
While the wax is drying we’re going to remove our painter’s tape.
Tip: Whenever you’re removing painter’s tape off automotive paints, always pull back on the tape at an angle as a safety precaution. With a factory finish it’s doubtful you would ever pull paint off the car, but with a re-paint, you never know the quality of the prep-work and paint-work and it’s just better to form the best practice of removing tape by pulling it off at an angle close to the surface.

Avoid pulling tape straight-up and off the paint


The human hand versus Meguiar's G110!
This Lincoln has moderate swirls and also straight-line scratches running from front to back, they look like the type of scratches inflicted from an automatic brush style car wash. Besides the car wash scratches which are all in the same direction, there are also plenty of what we call RIDS.
RIDS stands for Random, Isolated Deeper Scratches.
Instead of a noticeable pattern like the car wash scratches, RIDS run in all different directions as they are caused by normal wear and tear in a random fashion over time.
The goal of this project is not to remove each and every one of the deeper scratches as it's a daily driver and will see normal wear and tear the rest of its service life. Instead the goal is to remove the majority of the swirls as well as the lighter or shallow scratches to restore a beautiful, clear finish the owner will be proud of.
Hand versus Machine - Time Comparison
For this project we're going to use the Meguiar's Consumer Line of products by hand on one side and then the same products by machine on the other side to give people an idea of how much faster and easier it is to work with a dual action polisher instead of working by hand.
Here's our candidate car,

For the hand portion of this comparison we'll be using, Smooth Surface Clay Kit, Ultimate Compound, SwirlX, NXT Tech Wax and Supreme Shine Microfiber Polishing Cloths .

The car was washed the day before so we wiped her down using Quick Detailer and a microfiber polishing cloth and then inspected the paint for above surface bonded contaminants. It wasn't horribly contaminated but it did need a thorough claying.
For this we used the Meguiar's Smooth Surface Clay Kit and followed the technique described here,
Tips and Tricks for using detailing clay

We kneaded our clay into a round patty about 4" to 4.5" in diameter as this way we can place our hand/fingers on top of it and it will cover all of our hand.

Here's the results from the hood.

Next up were going to do a Test Spot on the trunk lid and dial-in our system. After we prove the system works in our Test Spot on the trunk lid then we'll duplicate the system to one half of the hood of the car. For the other half we'll use the G110 Dual Action Polisher.
Besides showing how to use this system to remove swirls we'll also track how much time it takes us to restore just half the hood by hand and then half the hood using the G110 Dual Action Polisher to give people an idea of how much time can be saved when working by machine.
We don't want to persuade anyone to not detail their car by hand but simply to try to show the time savings when using a safe tool like the G110.
Test Spot by Hand
At the time of this article, (8/26/09), I had never used the CCS Euro Foam Hand Polish Applicators so the first thing I'm going to do is test them out and see how they work while doing my test spot.
In the strip in the middle of the trunk-lid we're going to test out the three different levels of aggressiveness available in the CCS Euro Foam Hand Polish Applicators using Ultimate Compound.
Note: While Lake Country intended these pads to be used with the CCS pocket side facing down, you can also use the flat side, which I chose to do for this test because I want 100% of the surface of the applicator working against the paint. This is a big car and it's going to take a little passion behind the pad to work the defects out and I want everything possible working for me.
Testing out the CCS Euro Foam Hand Applicator Pads
First I tested each of the different foams with the Ultimate Compound to see how each foam formula worked to remove the defects.
Red Ultra Soft CCS Euro Foam Hand Polish Applicator
The red foam was too soft for applying and working compounds as I thought it would be but I wanted to try it for myself so that anytime these tools are discussed on our forum or in our classes, I can speak from real-world knowledge and hands-on experience.
White Polishing CCS Euro Foam Hand Polish Applicator
Then I tested the white polishing applicator pad and found that it worked well for with Ultimate Compound and SwirlX because of the increased firmness.
Orange Light Cutting CCS Euro Foam Hand Polish Applicator
Lastly, I tested the orange applicator pad and found the extra firmness and aggressive nature of this foam removed defects the fastest and the most effectively with Ultimate Compound but found it to aggressive to use with a cleaner/polish.
The visual results from my testing proved that for removing serious below surface defects, the fastest and most effective pad out of the three would be to use the orange applicator pad.
Now that I confirmed which foam pad worked best on this paint system for the heavy cutting step with the Ultimate Compound, I continued with my test spot by re-working the entire area with the Ultimate Compound and the orange applicator pad.
Large Oval Shape
The CCS Hand Applicator Pads are oval in shape and comfortably fit your hand. What I really like about the orange cutting and the white polishing pads is they are firm enough to distribute the pressure from your hand evenly over the entire face of the pad in contact with the paint.
Softer foam pads tend not to offer this benefit and for some applications that’s okay but for working out defects where you’re going to need to invest a lot of time physically rubbing on the paint the firmer pads work better.

First Step process
Here I’ve placed some Ultimate Compound on the face of the pad in the shape of a ring around the outer edges of the pad. You could also make an X-pattern or even spread the product over the face of the pad with your finger or some other tool if you like. I prefer to keep procedures like this as simple as possible as well as easy and fast to duplicate over and over again over the surface.
First Step Process

Always work clean, in this case after applying and working your product, remove any excess off the section in order to inspect your results and also to remove the spent product.
IMPORTANT
Whenever you’re using an aggressive compound on a clear coat finish, its normal to hope for great looking results afterwards, but don’t expect the end-results to look like you just wiped off a coat of wax as that’s not realistic.
Aggressive compounds are just that, aggressive. They are meant to be the FIRST step in removing serious below surface defects, they are not meant to create a show car finish after wipe-off even though Ultimate Compound will produce some very amazing results just by itself.
With some paint systems, it’s actually possible for a compound like the Ultimate Compound to finish out beautifully, but the visual results from my test section clearly showed that a second and even third step might be needed to refine the results to the highest level possible when working by hand.
Second Step Process
After compounding the entire test section, I moved on to the next step in my process and that was using SwirlX with a white applicator pad to refine the results from the aggressive compounding step.
Second Polishing Step using a less aggressive applicator pad by hand with SwirlX..

Third Step Process
Next we're going to use the soft, red finishing applicator pad with SwirlX.
Comment: The color of applicator pads.
My personal preference is to use applicator pads that are light in color. The reason for this is because one of the best practices I preach and use myself is to turn your applicator pad over often and inspect for any dirt or abrasive particles that might somehow enter into the application process.
With a light colored applicator pad you can easily inspect and see if there are any contaminants on the face of your pad. With dark colored applicator pads it’s difficult to see dirt or abrasive particles and it's better to remove any abrasive particles if discovered than find out later you've been instilling scratches accidentally that now must be removed.
Third Step Process

Now that a majority of the below surface defects have been removed and the finish is polished to a clear, high gloss it’s time to seal the paint. Since this is an article on how to work by hand we chose the Meguiar’s NXT Paste Wax.
NXT Paste Wax comes with a purple foam applicator pad and while the foam is soft and gentle to the paint, for the reasons mentioned above on dark colored applicator pads, we substituted a small, round, basic yellow foam applicator pad to apply the wax. You could also use the red CCS finishing foam pad but it won’t fit into the can of wax so instead we opted for the small round applicator pads which are available in the Autogeek store.

Then we did our best to apply and work-in a thin layer of wax. It’s vital to apply a thin layer of wax because excessive wax takes longer to dry and is more difficult to remove.


Below you can see the we products we used, matched to the applicator pads used with them. Off to the right side is our Test Spot with a thin coat of wax drying.

While the wax is drying we’re going to remove our painter’s tape.
Tip: Whenever you’re removing painter’s tape off automotive paints, always pull back on the tape at an angle as a safety precaution. With a factory finish it’s doubtful you would ever pull paint off the car, but with a re-paint, you never know the quality of the prep-work and paint-work and it’s just better to form the best practice of removing tape by pulling it off at an angle close to the surface.

Avoid pulling tape straight-up and off the paint

