So.. As the title states, I've never done machine polishing. In fact, I'd say using a Meguires hand polish is about as far as I've gone in the polishing world. My dad has painted several show winning vehicles so I knew that if I got stuck, I could always ask for help, but I wanted to do this on my own.
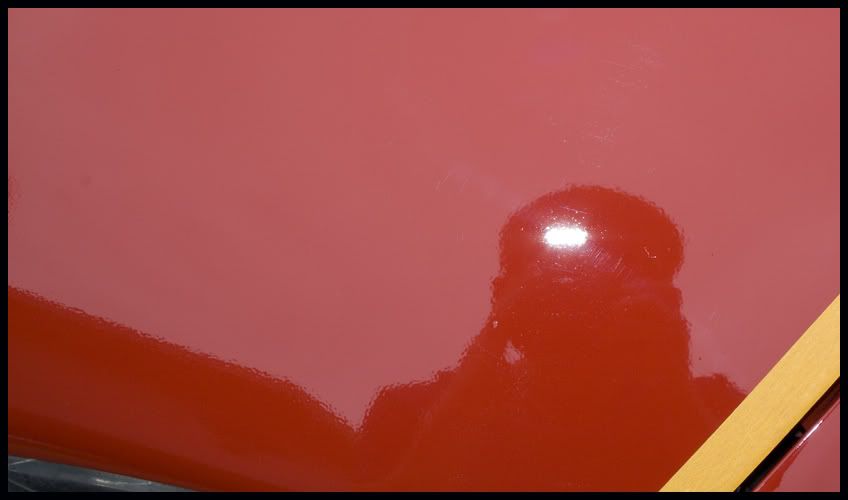
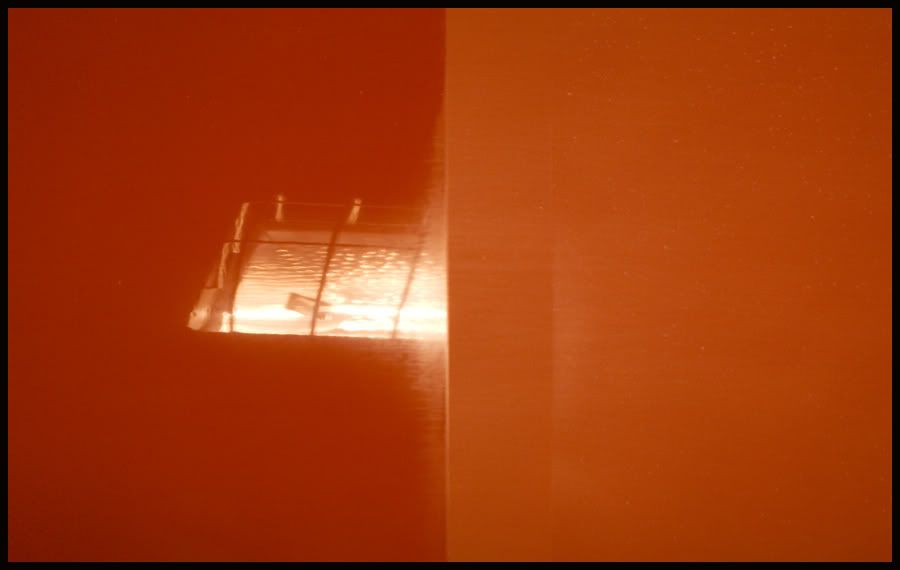
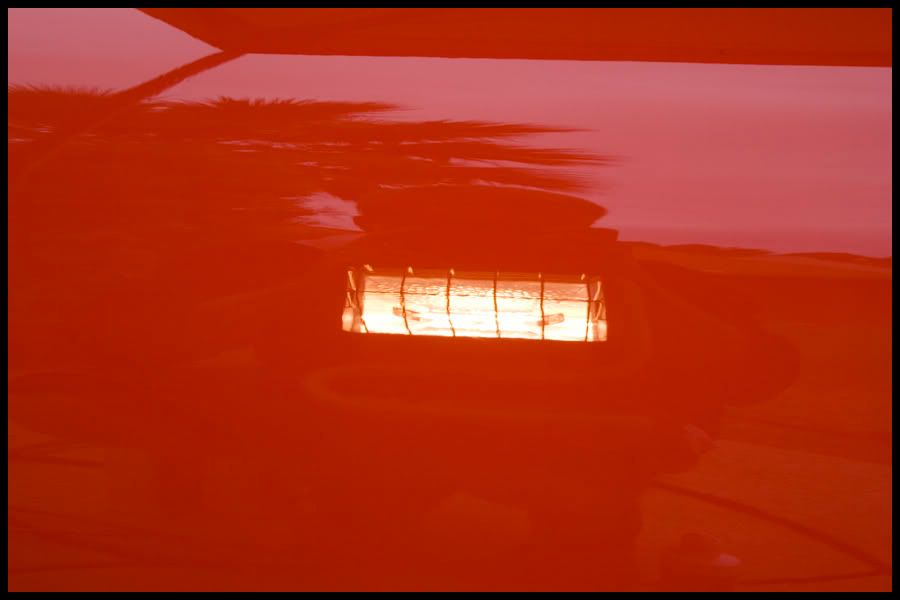
The Problem: (Orange Peel)
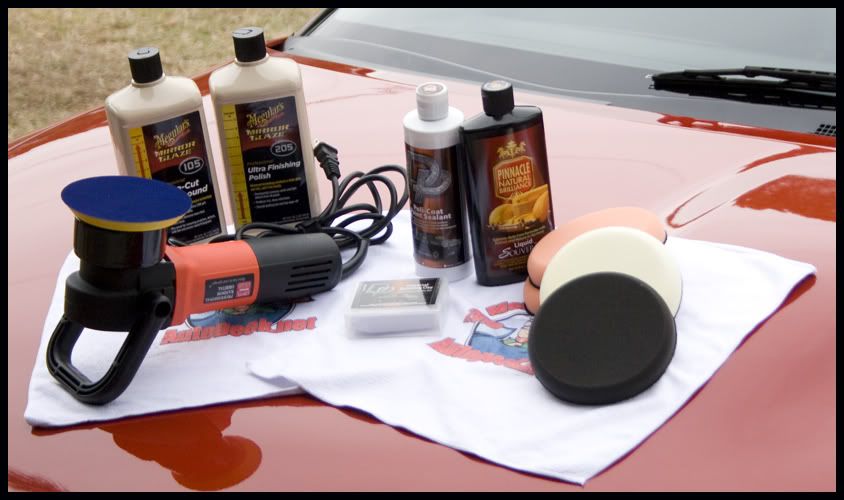
Products used:
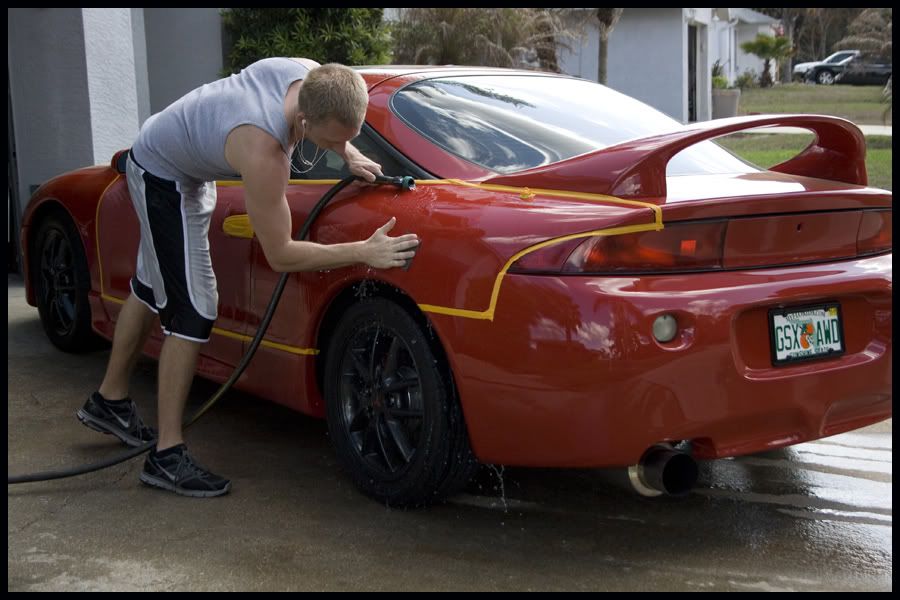
I was all by myself today so I ended up working through some really good picture opportunites (notes for the future..)
Wash:
Foam Cannon using DP Xtreme Foam
2 Bucket Method w/ Grit Gaurds & Meguires Gold Class Shampoo
Clay:
DP Universal Clay & DP Rinseless Diluted
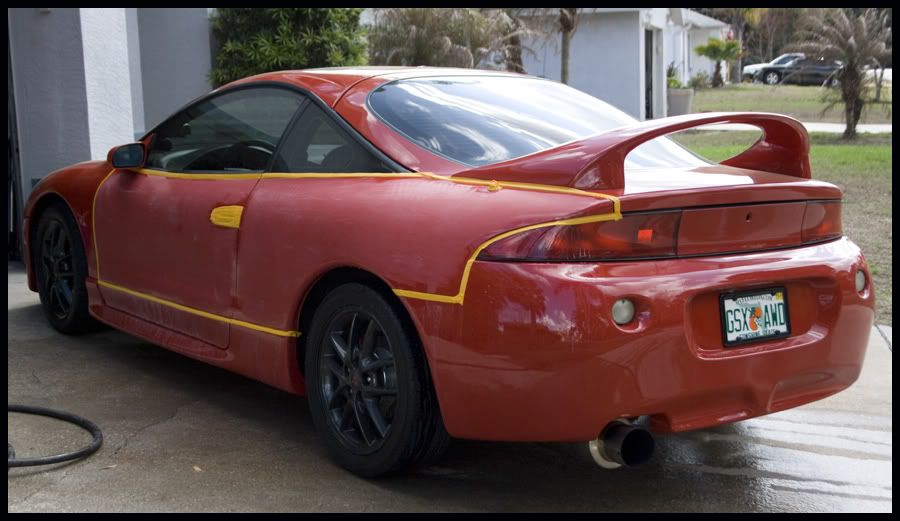
Sanding:
1500 to within 3/4" of edge (taped edges)
2500 across entire area
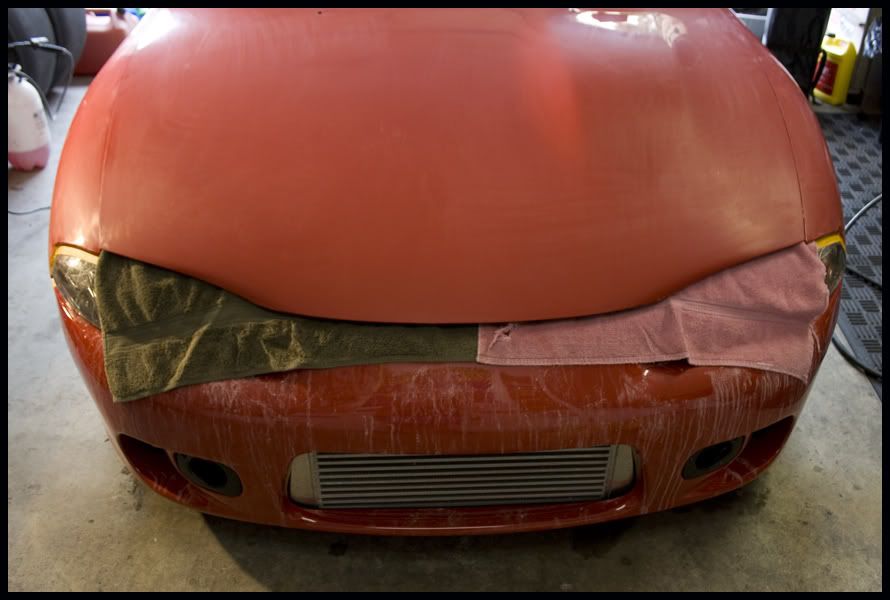
I realize the car wasn't finished in this picture. Goes to show you how "all over the place" my mind was.. When I finally stepped back and looked at this, I almost freaked out cause I wasn't sure it was all going to come out. But I knew that AG wouldn't lead me in the wrong direction, so I stayed faithful and kept on sanding.
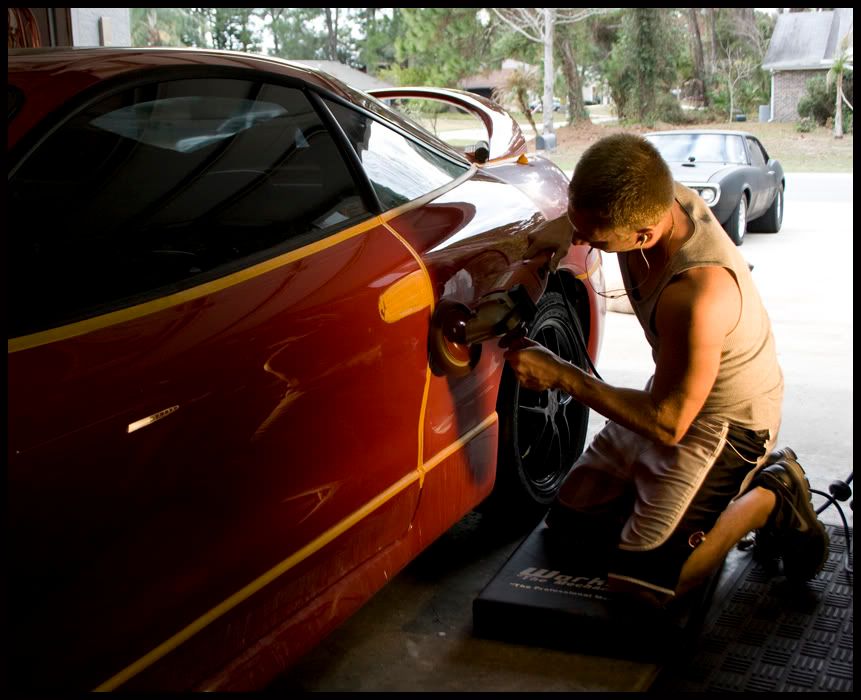
Here comes the new kid and his Griot's with 5.5" lc flat pads.. Btw, I love this combo. I was thinking that it was going to be like a rotary and take me for a ride, but it was actually a piece of cake. One thing I did notice though, was how long it was taking to pull out these scratches. I was using 105 and a orange pad for a while. I have 4 pads and used all 4 to do a hood and 2 fenders.
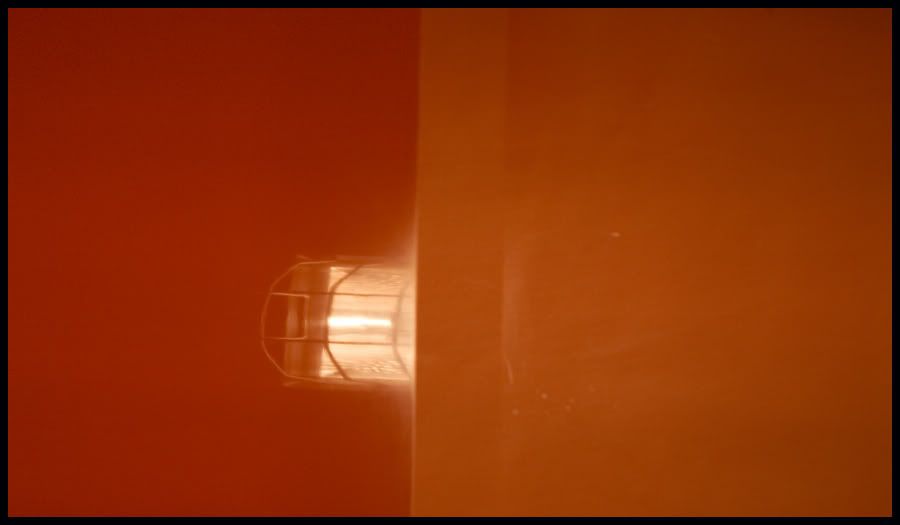
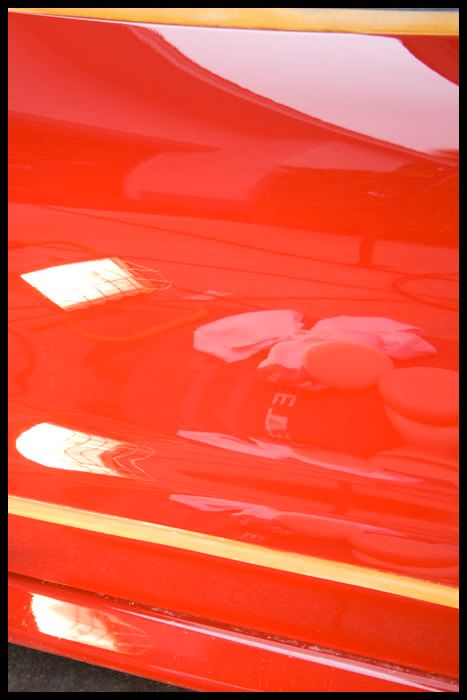
50/50 Shot: (After 105 & LC Orange)
At this point, I was sold. I knew that if I kept at it, I could finish this.. I moved on to the passenger side and kept on going.. (Refer back to missing picture opportunities)
Process:
M105 w/ Orange lc flat
M105 w/ White lc flat
M205 w/ White lc flat
M205 w/ Black lc flat
DP Poli-Coat w/ Black lc flat
Pinnacle Liquid Souveran w/ MF Applicator
*One thing that killed my time was after I was done with M105, I realized that a piece of sand or some grit from the sand paper, while sanding in the beginning. It wasn't visible when the whole hood was sanded, but as soon as the whole thing was buffed out, it was VERY clear. I went back over it with 1500 and then 2500. It set me back about an hour (read title, yes I'm a newbie...") )
)
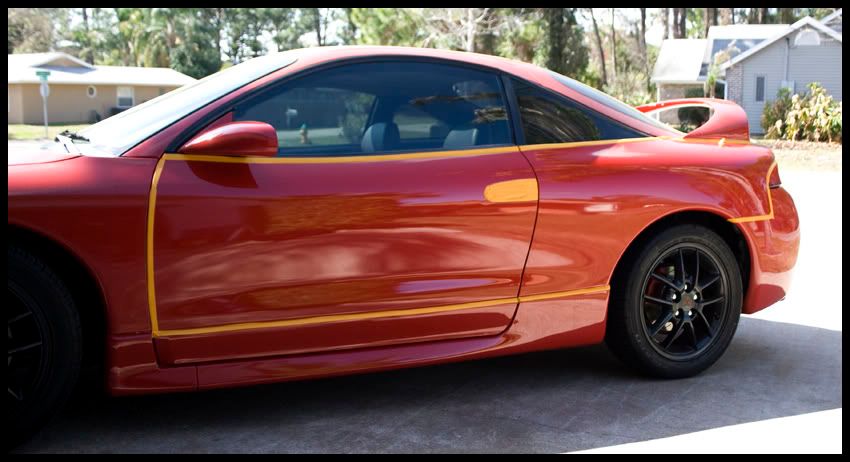
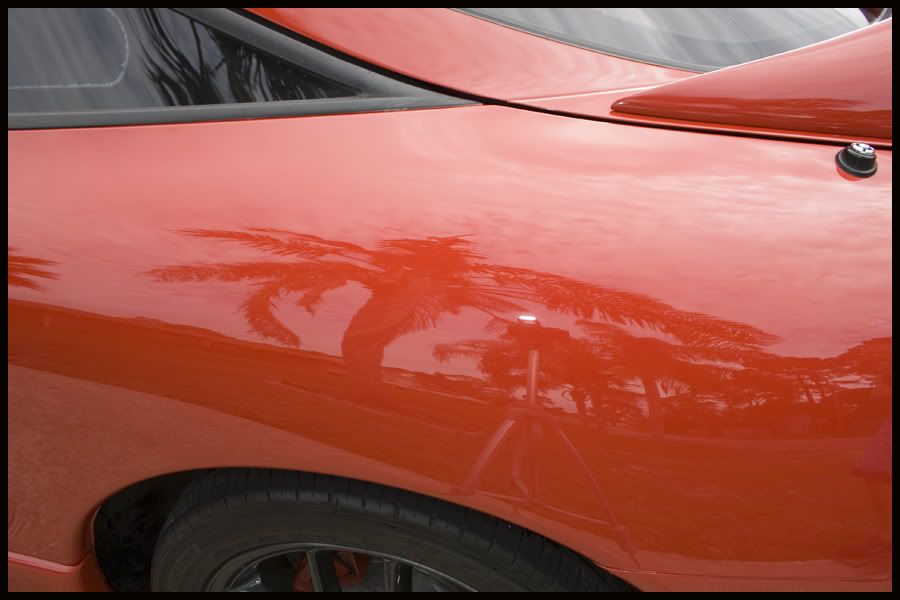
After Shots:
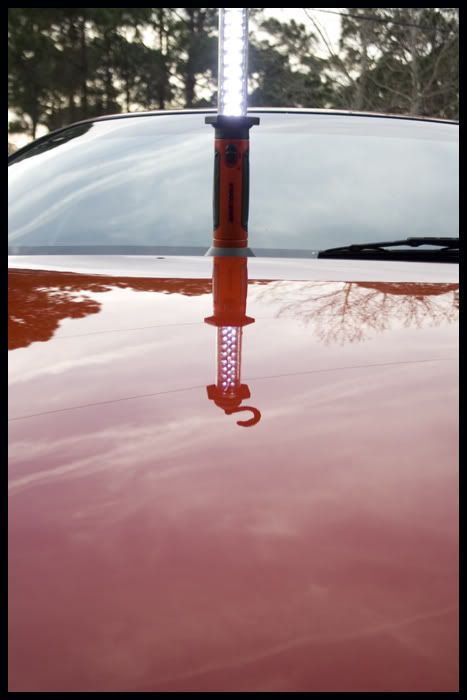

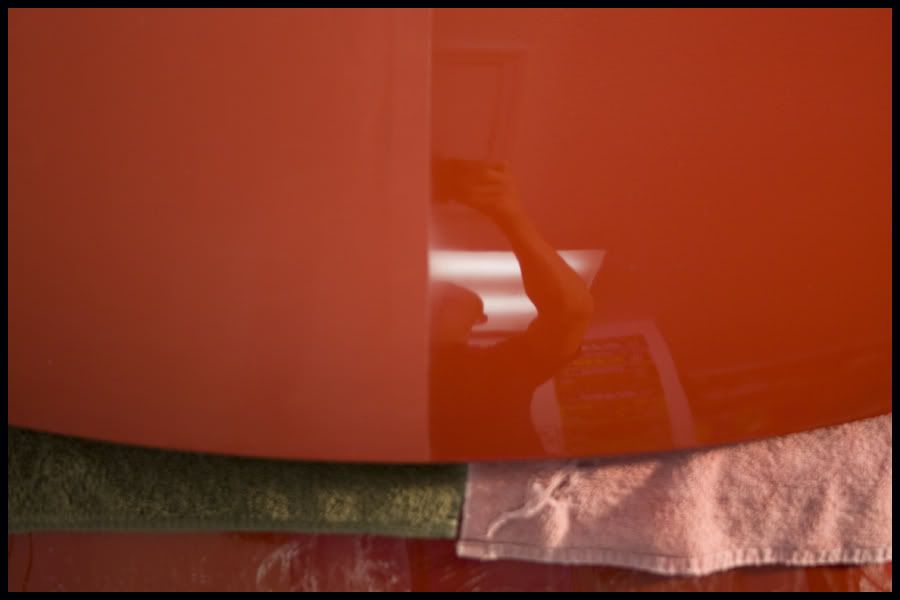
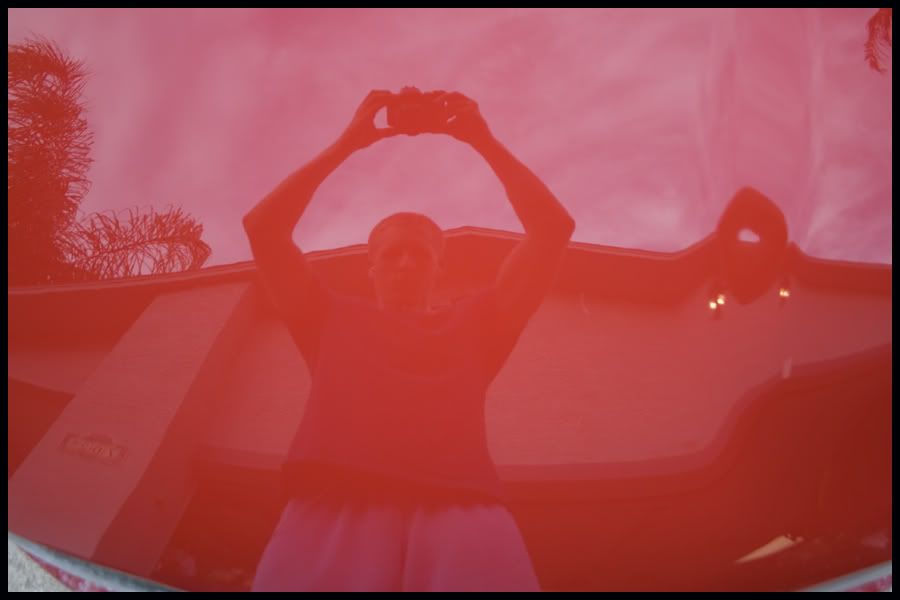
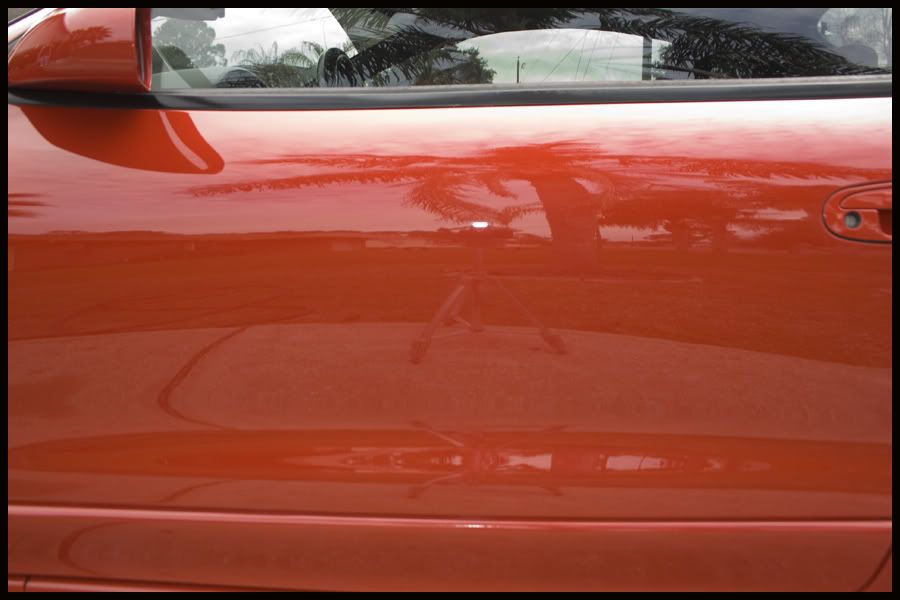
And finally, my reflection shot:
To finish up:
Wash:
Foam Cannon using DP Xtreme Foam
2 Bucket Method w/ Grit Gaurds & Meguires Gold Class Shampoo
Wheels:
APC+ 4:1 w/ Daytona Speed Brush
Sealed with Collinite 845
Tires
Optimum Tire Shine w/ MF Applicator
---------------------------------------------------------------------------------------------------
I wasn't going for absolute perfect paint, but I wanted it to be pretty close. It is a daily driver, and knowing that up front helped in my expectations. I can see a few very faint scratches here and there, but it won't bother me. Would you say those are probably a few sand scratches that didn't get buffed out? Still learning...
Thank you to all who've posted on these forums. I've probably read one of your posts (especially if your post count is over 1000). I'll be sure to keep reading and contribute when I can.. With more pictures of course!
Nick
2gHiBoost
The Problem: (Orange Peel)
Products used:
I was all by myself today so I ended up working through some really good picture opportunites
(notes for the future..) Wash:
Foam Cannon using DP Xtreme Foam
2 Bucket Method w/ Grit Gaurds & Meguires Gold Class Shampoo
Clay:
DP Universal Clay & DP Rinseless Diluted
Sanding:
1500 to within 3/4" of edge (taped edges)
2500 across entire area
I realize the car wasn't finished in this picture. Goes to show you how "all over the place" my mind was.. When I finally stepped back and looked at this, I almost freaked out cause I wasn't sure it was all going to come out. But I knew that AG wouldn't lead me in the wrong direction, so I stayed faithful and kept on sanding.
Here comes the new kid and his Griot's with 5.5" lc flat pads.. Btw, I love this combo. I was thinking that it was going to be like a rotary and take me for a ride, but it was actually a piece of cake. One thing I did notice though, was how long it was taking to pull out these scratches. I was using 105 and a orange pad for a while. I have 4 pads and used all 4 to do a hood and 2 fenders.
50/50 Shot: (After 105 & LC Orange)
At this point, I was sold. I knew that if I kept at it, I could finish this.. I moved on to the passenger side and kept on going.. (Refer back to missing picture opportunities)
Process:
M105 w/ Orange lc flat
M105 w/ White lc flat
M205 w/ White lc flat
M205 w/ Black lc flat
DP Poli-Coat w/ Black lc flat
Pinnacle Liquid Souveran w/ MF Applicator
*One thing that killed my time was after I was done with M105, I realized that a piece of sand or some grit from the sand paper, while sanding in the beginning. It wasn't visible when the whole hood was sanded, but as soon as the whole thing was buffed out, it was VERY clear. I went back over it with 1500 and then 2500. It set me back about an hour (read title, yes I'm a newbie...
)After Shots:
And finally, my reflection shot:
To finish up:
Wash:
Foam Cannon using DP Xtreme Foam
2 Bucket Method w/ Grit Gaurds & Meguires Gold Class Shampoo
Wheels:
APC+ 4:1 w/ Daytona Speed Brush
Sealed with Collinite 845
Tires
Optimum Tire Shine w/ MF Applicator
---------------------------------------------------------------------------------------------------
I wasn't going for absolute perfect paint, but I wanted it to be pretty close. It is a daily driver, and knowing that up front helped in my expectations. I can see a few very faint scratches here and there, but it won't bother me. Would you say those are probably a few sand scratches that didn't get buffed out? Still learning...
Thank you to all who've posted on these forums. I've probably read one of your posts (especially if your post count is over 1000). I'll be sure to keep reading and contribute when I can.. With more pictures of course!
Nick
2gHiBoost
 rops:
rops: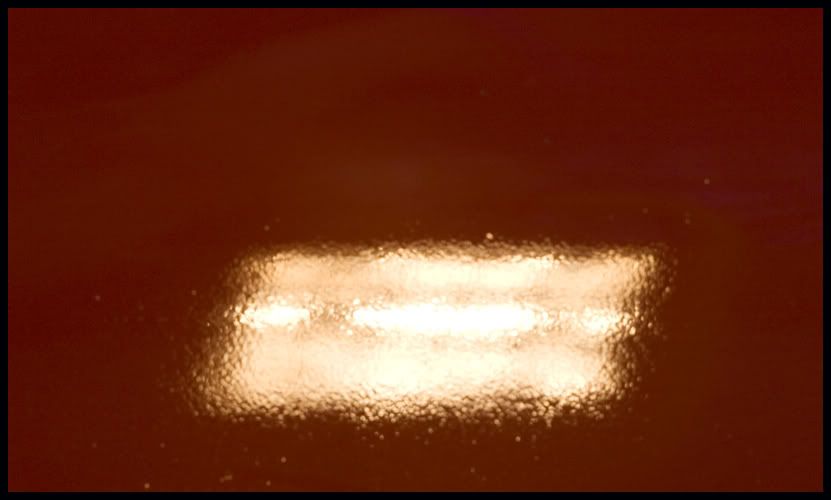
")