- Thread starter
- #21
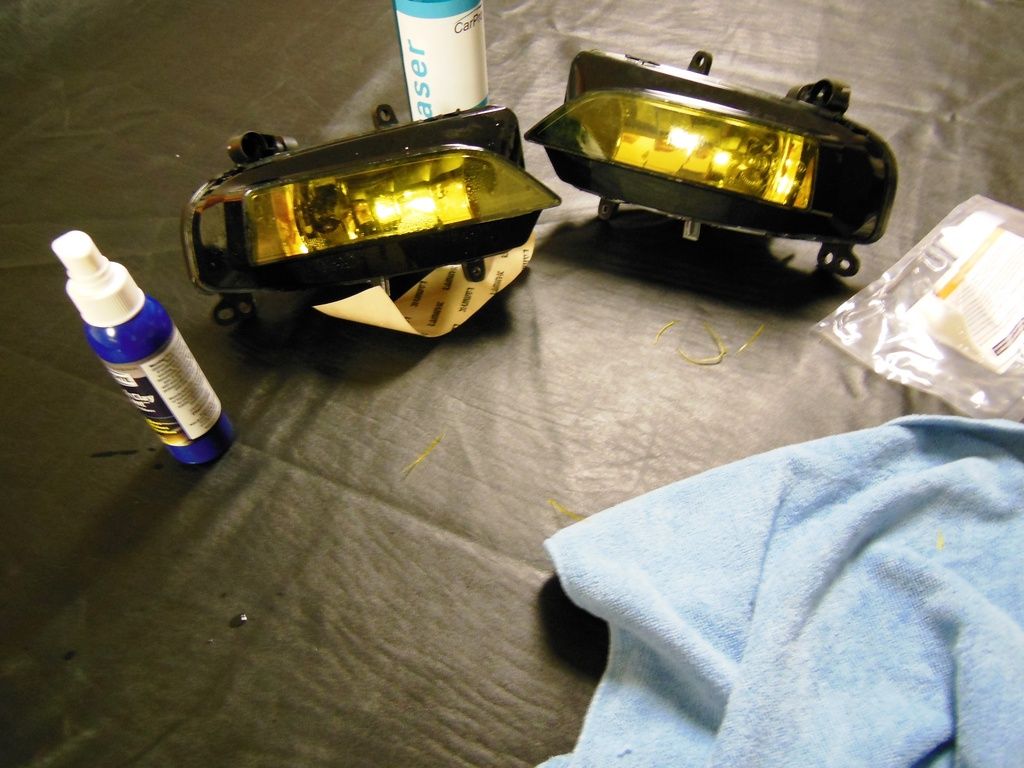
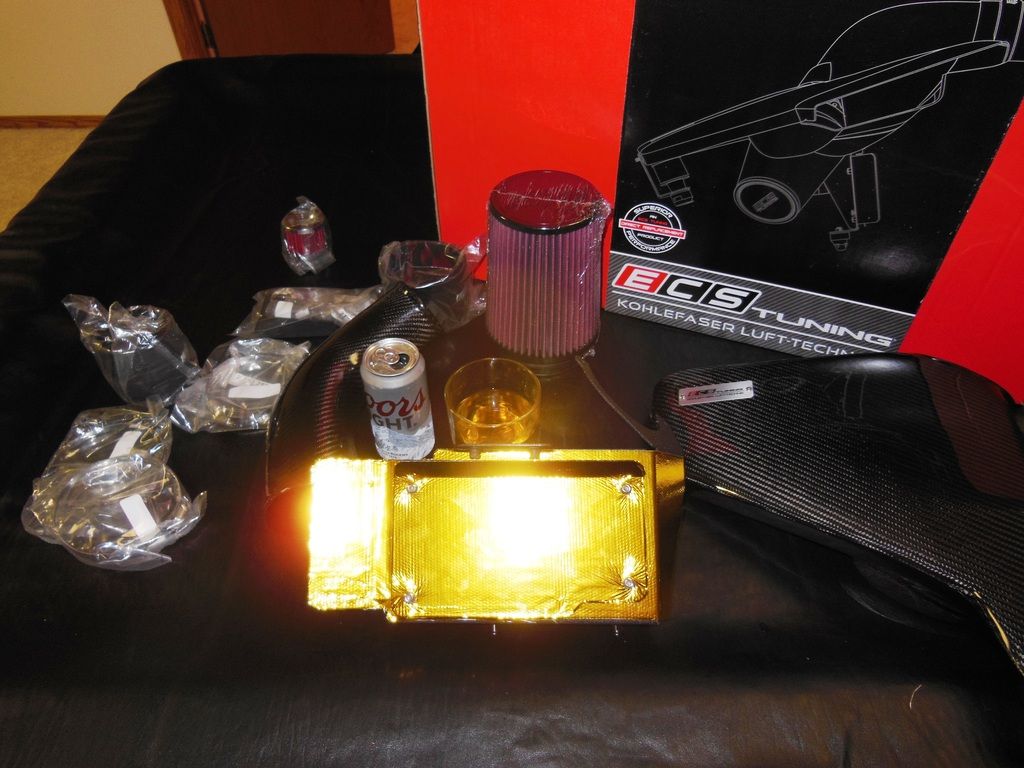
Next up, yellow Lamin-X for the fogs. I thought about doing yellow bulbs as well, but was concerned with light output.
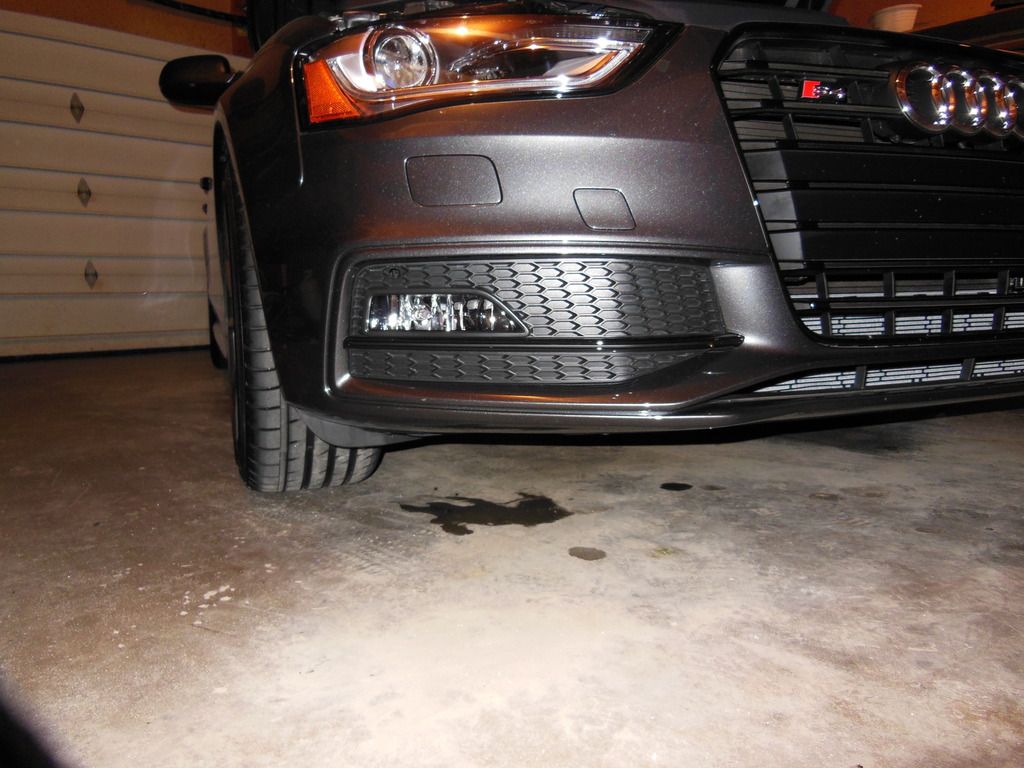
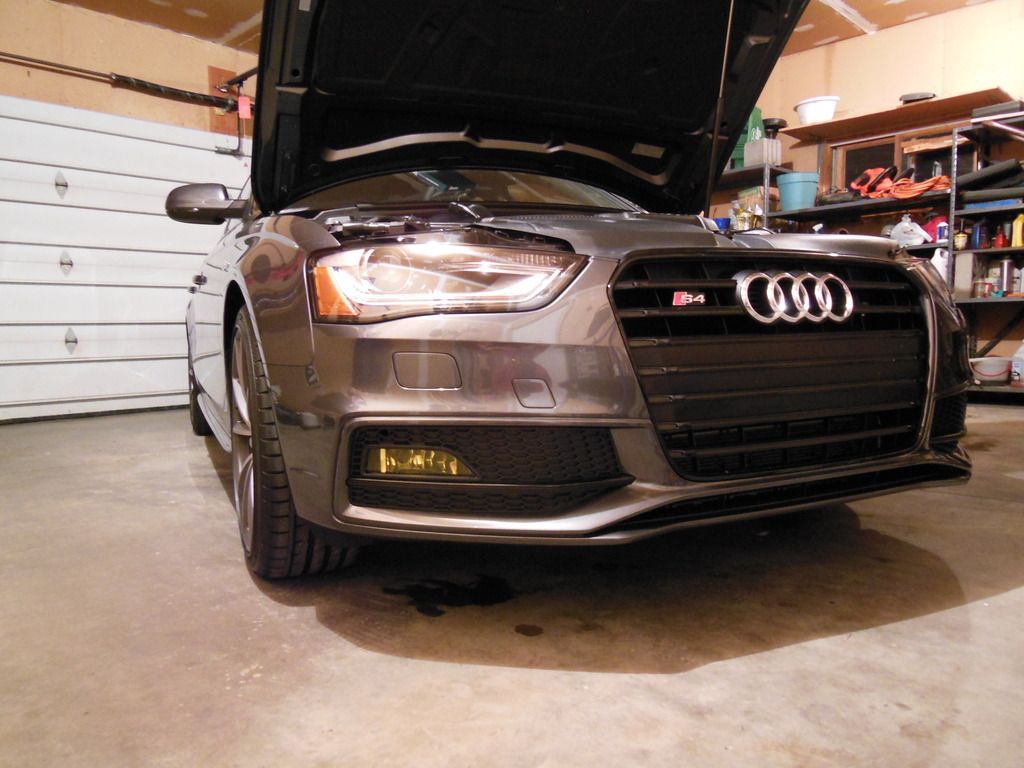
Factory
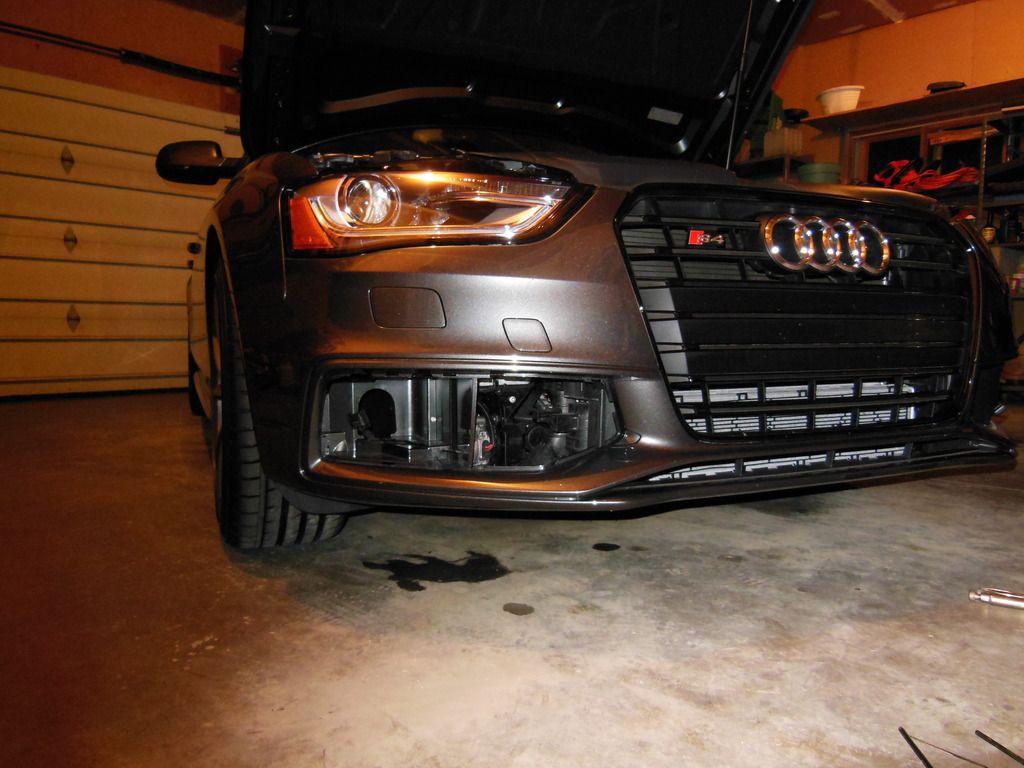
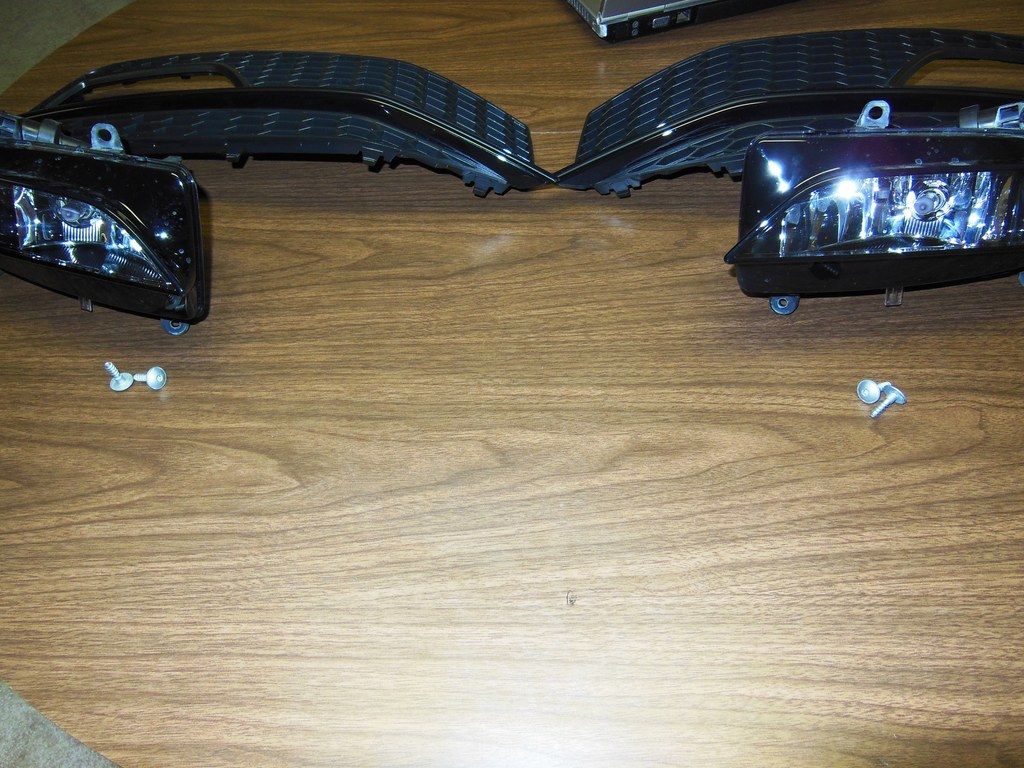
Removed
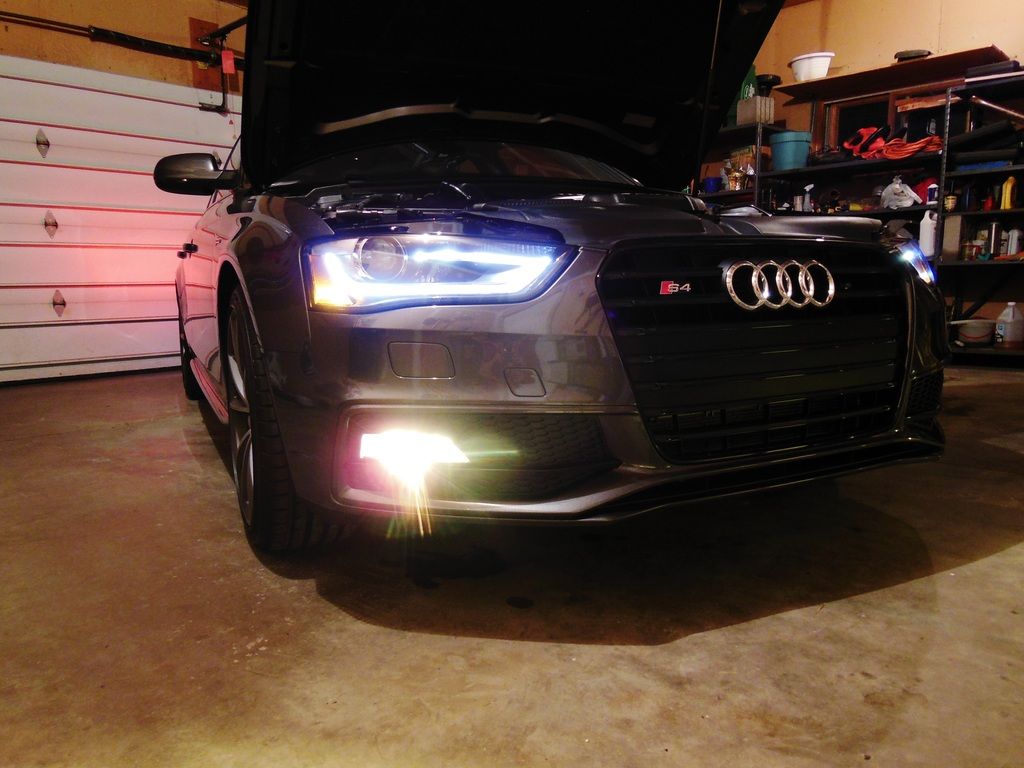
What it will look like
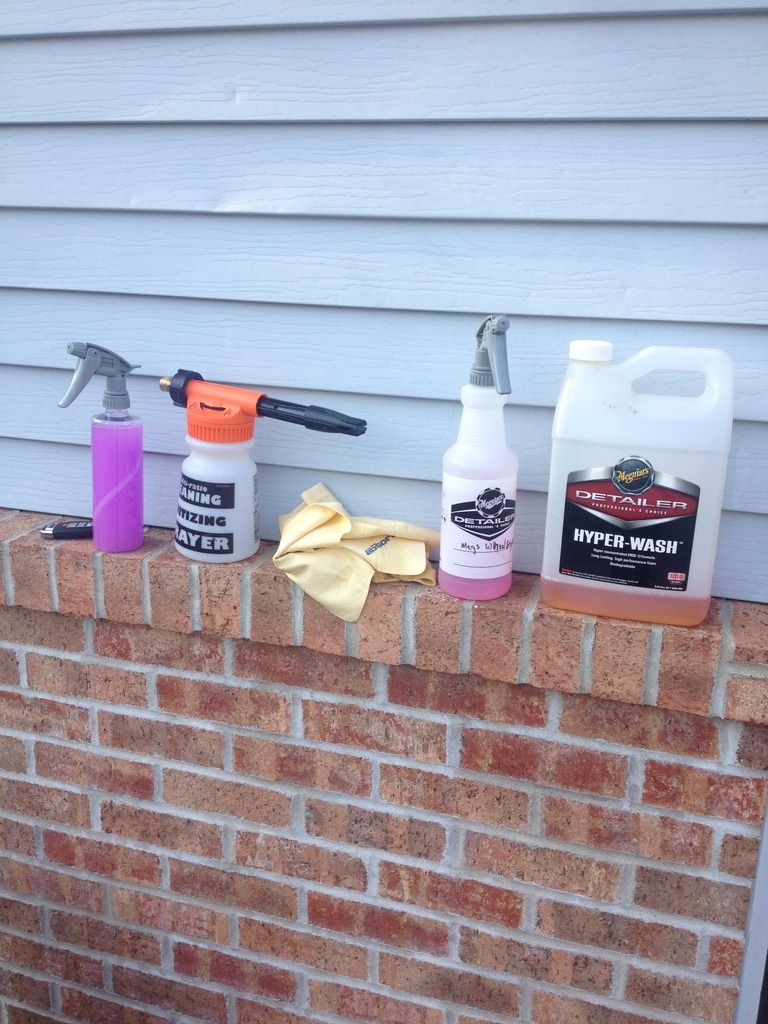
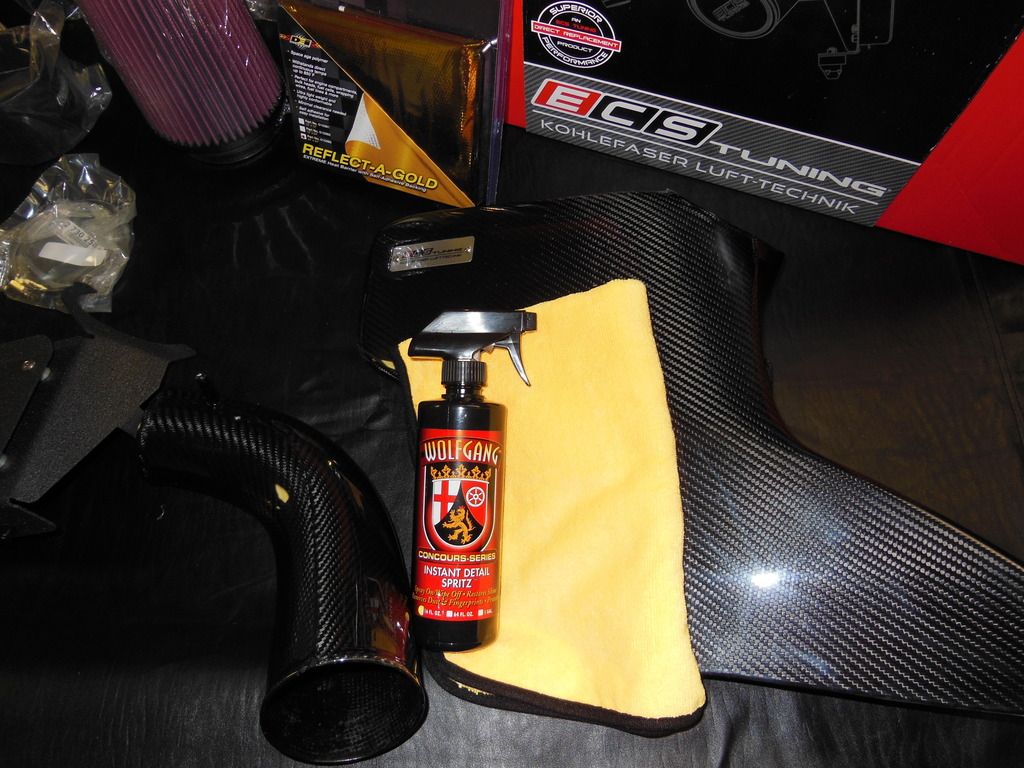
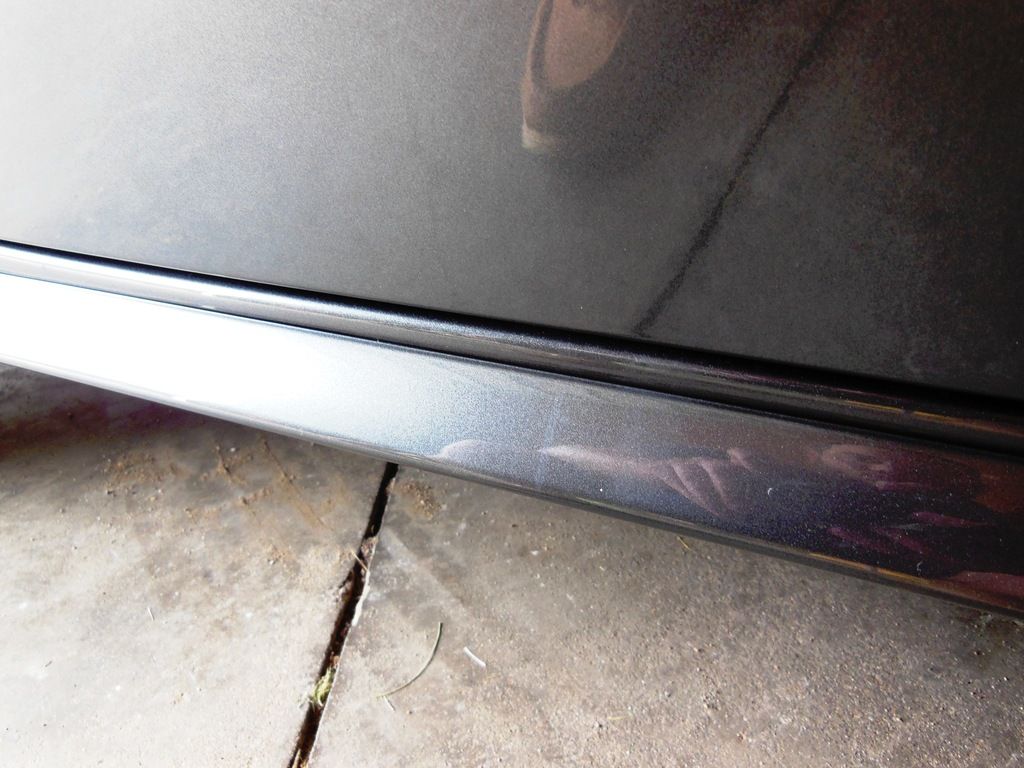
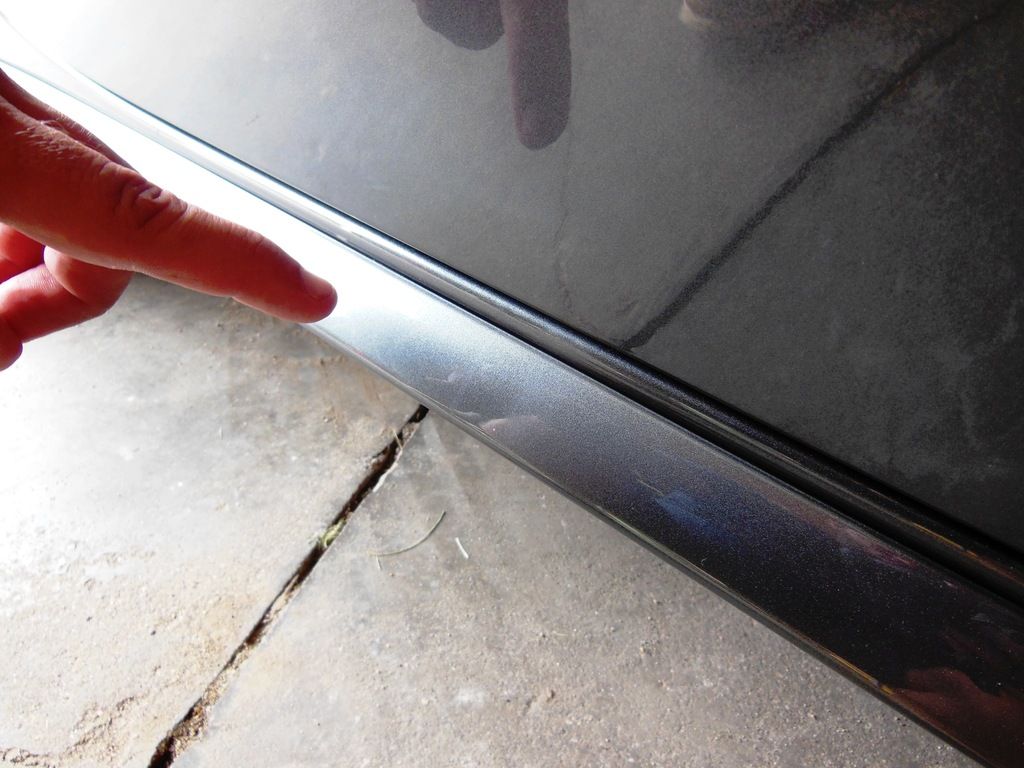
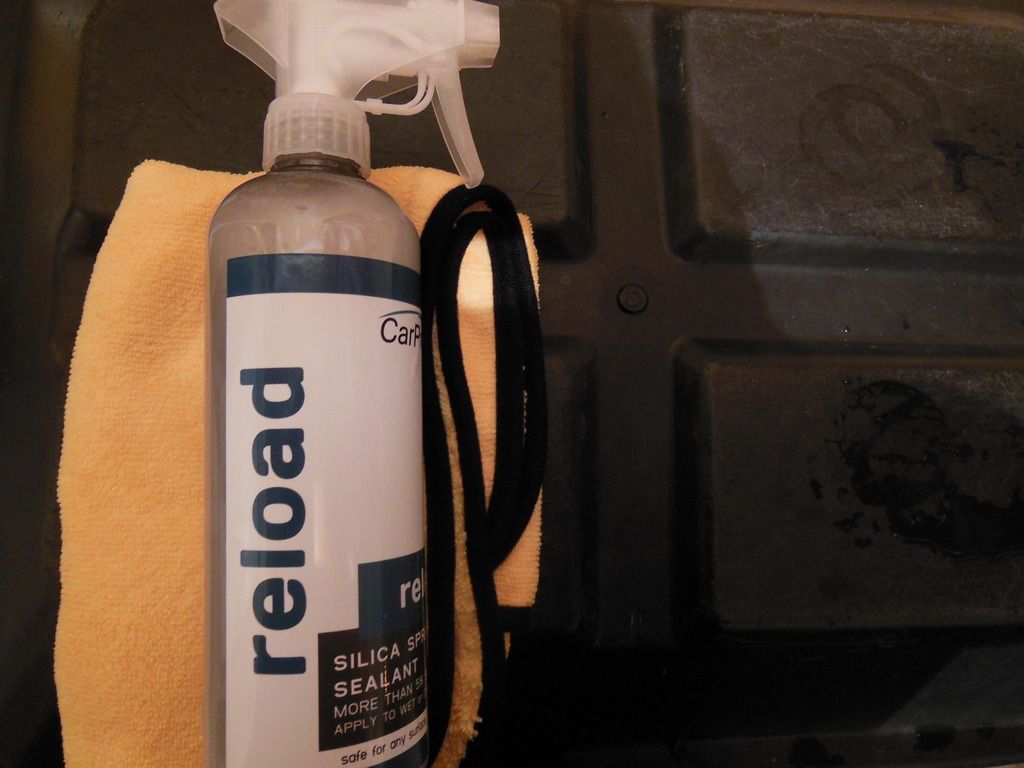
No one to my knowledge has a pre-cut template for the B8.5. So, I had to make my own. I used the spray bottle to the left as a way to control slip/stretch when installing the film. Don't remember what it was off the top of my head. But, it worked well.
Installed
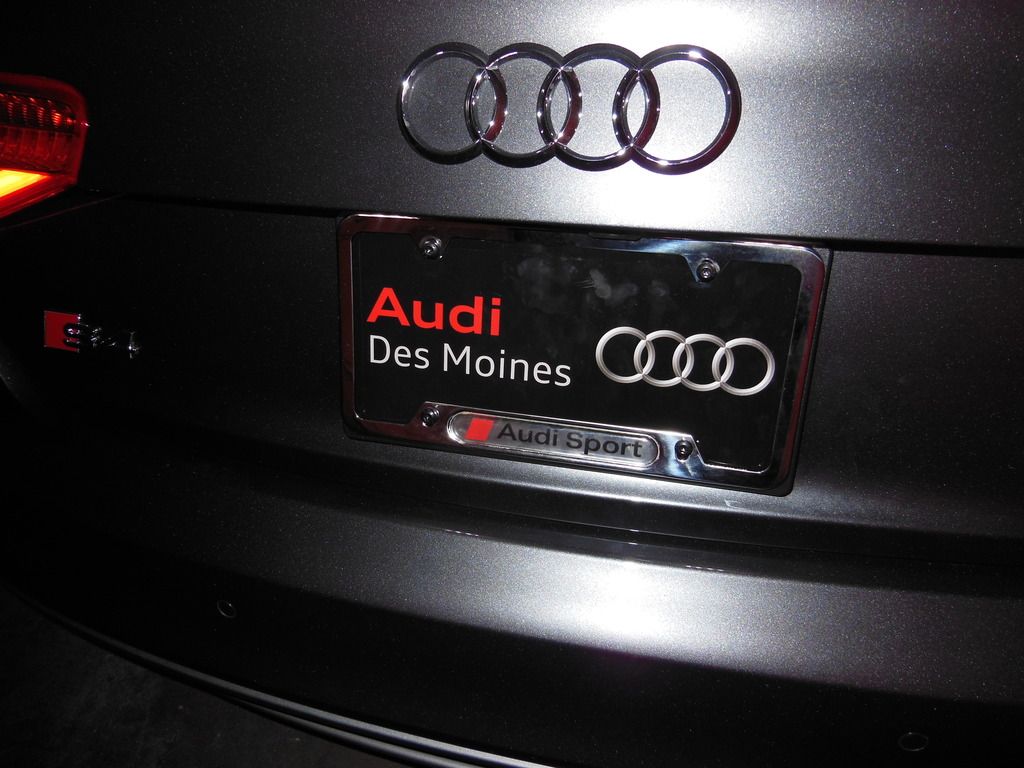
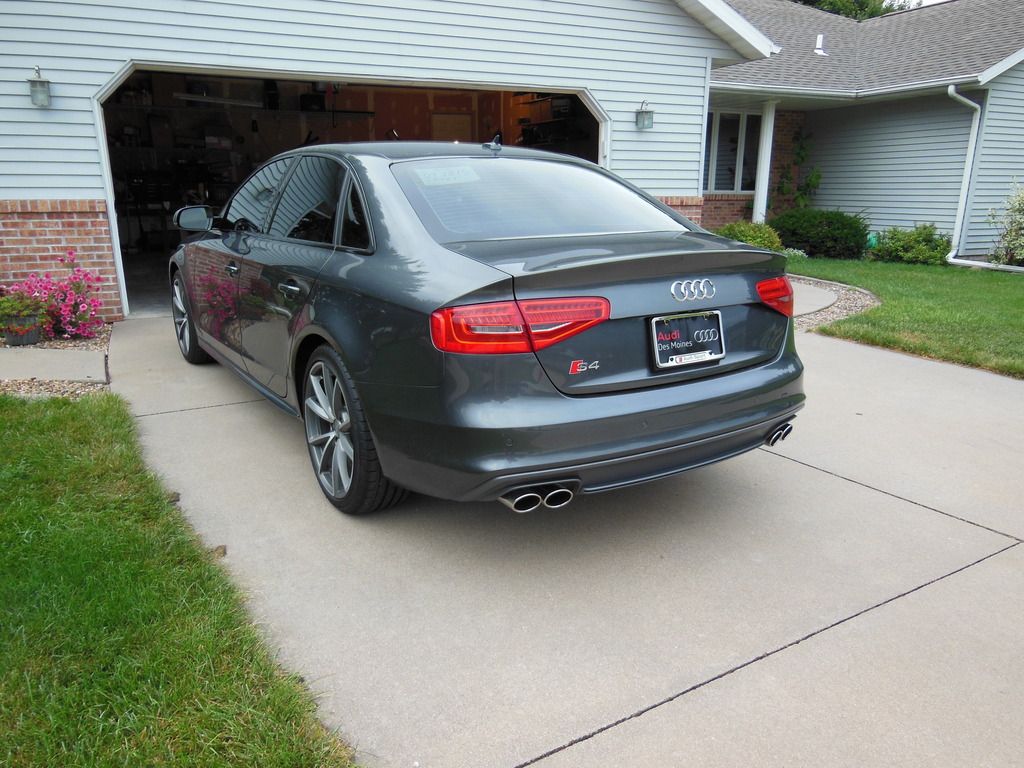
Next up, Audi Sport plate frame.
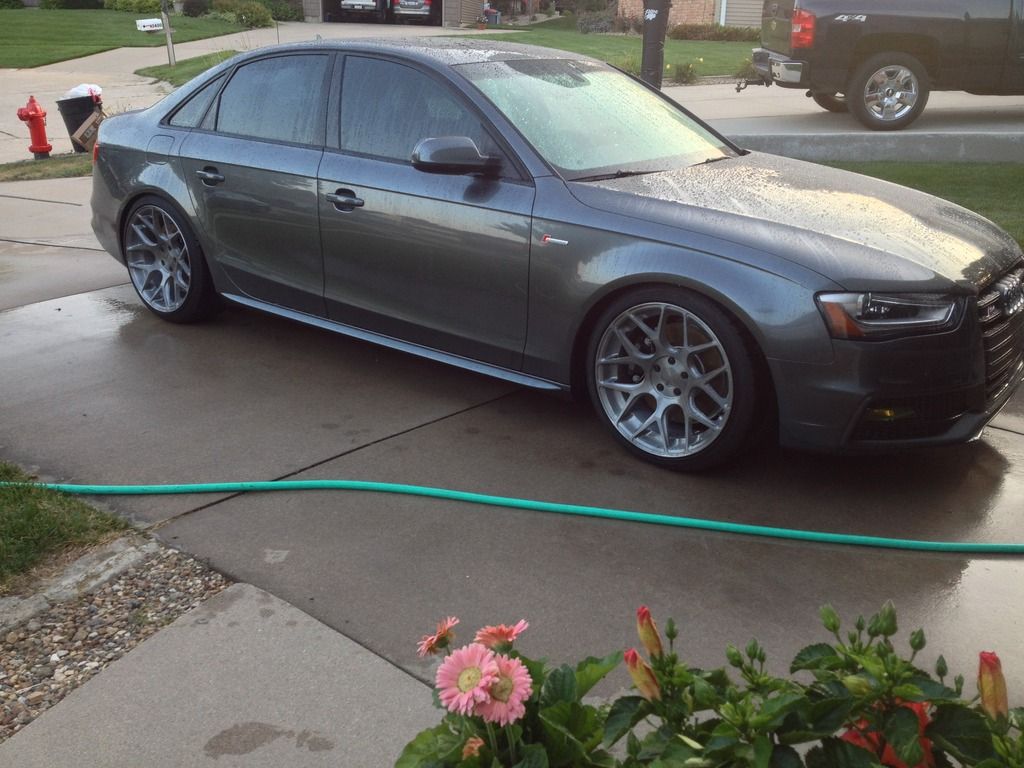
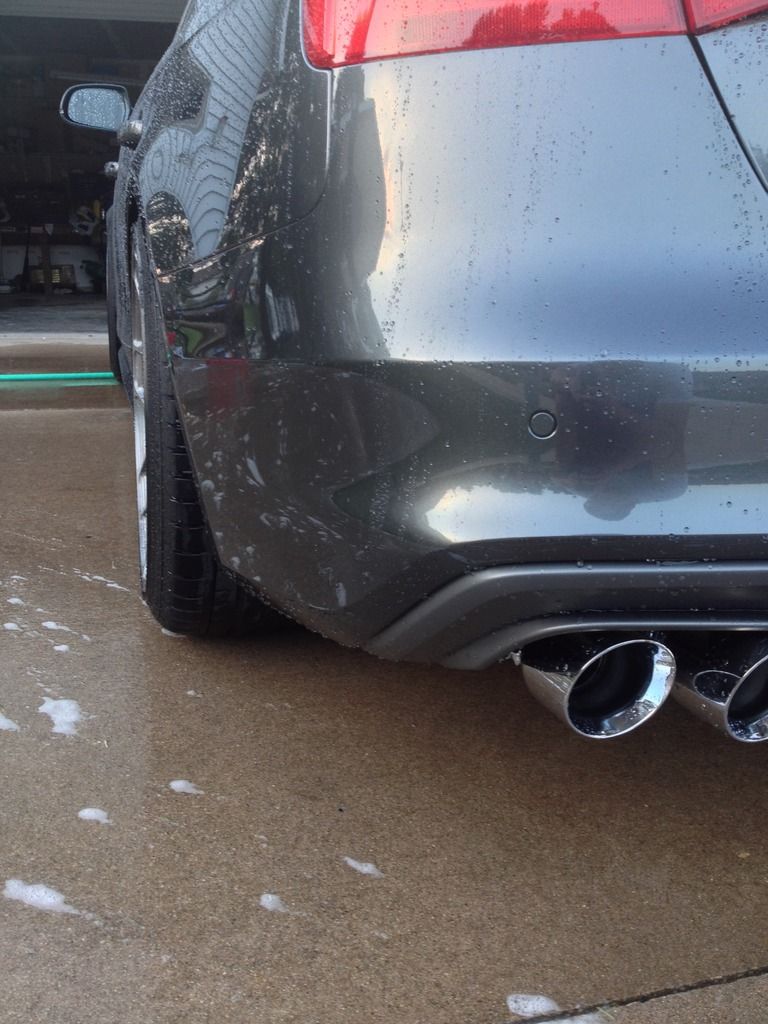
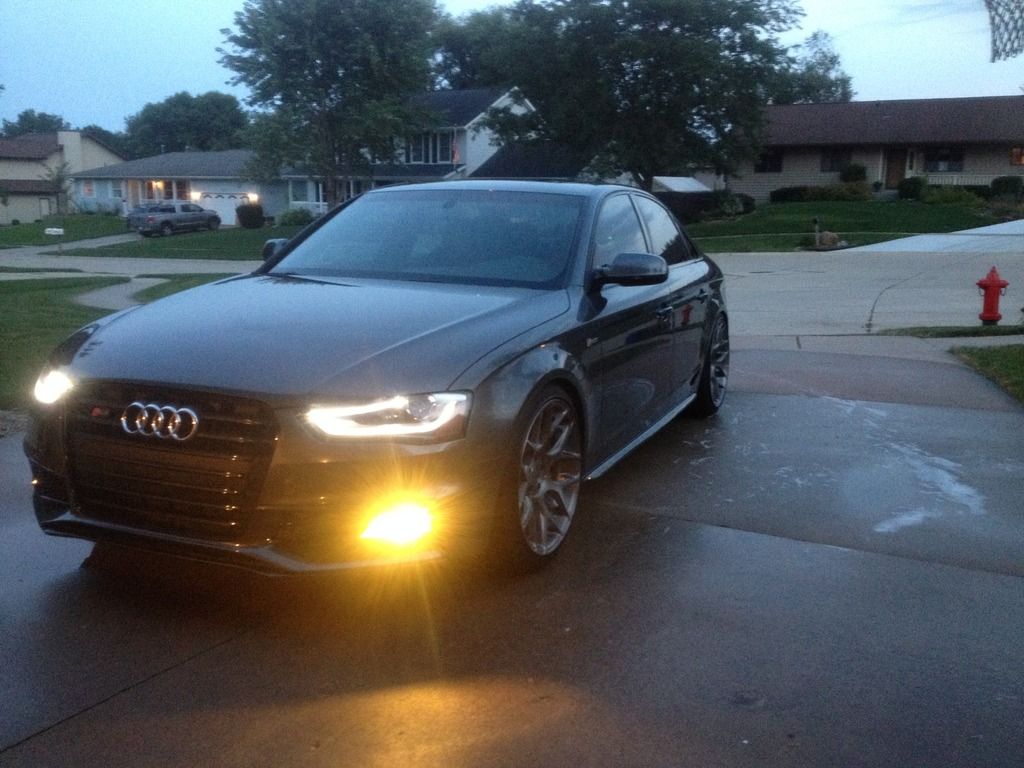
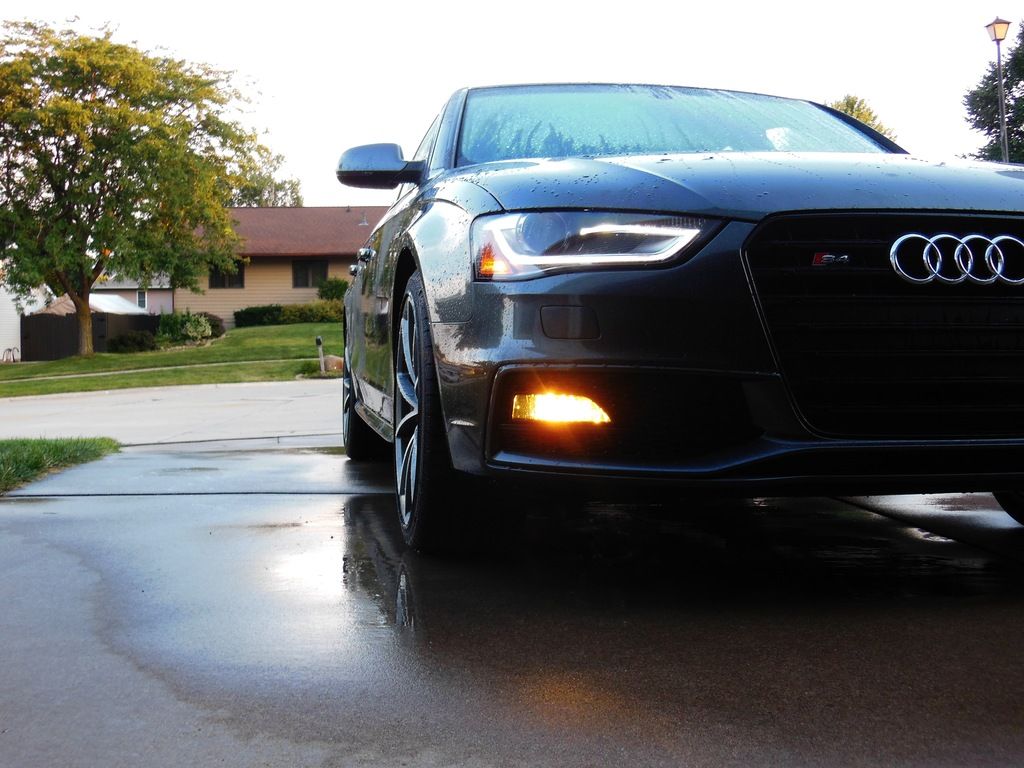
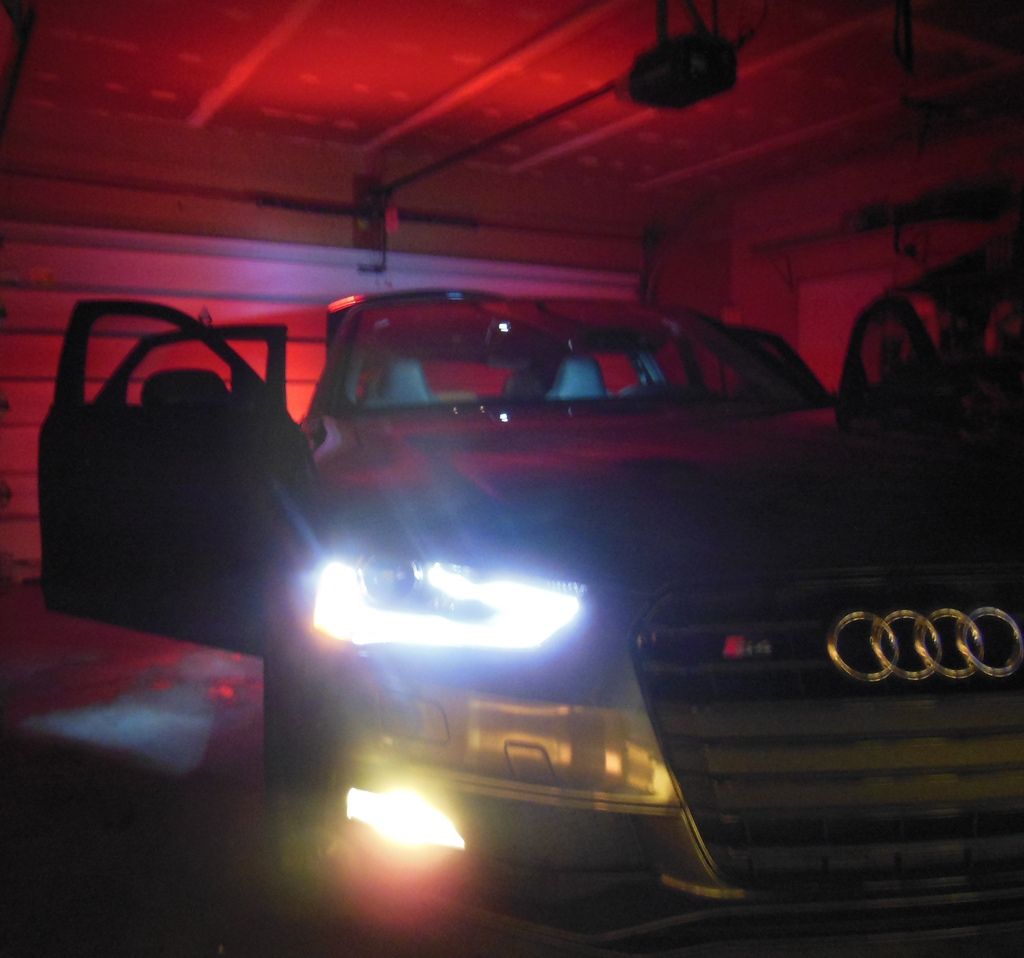
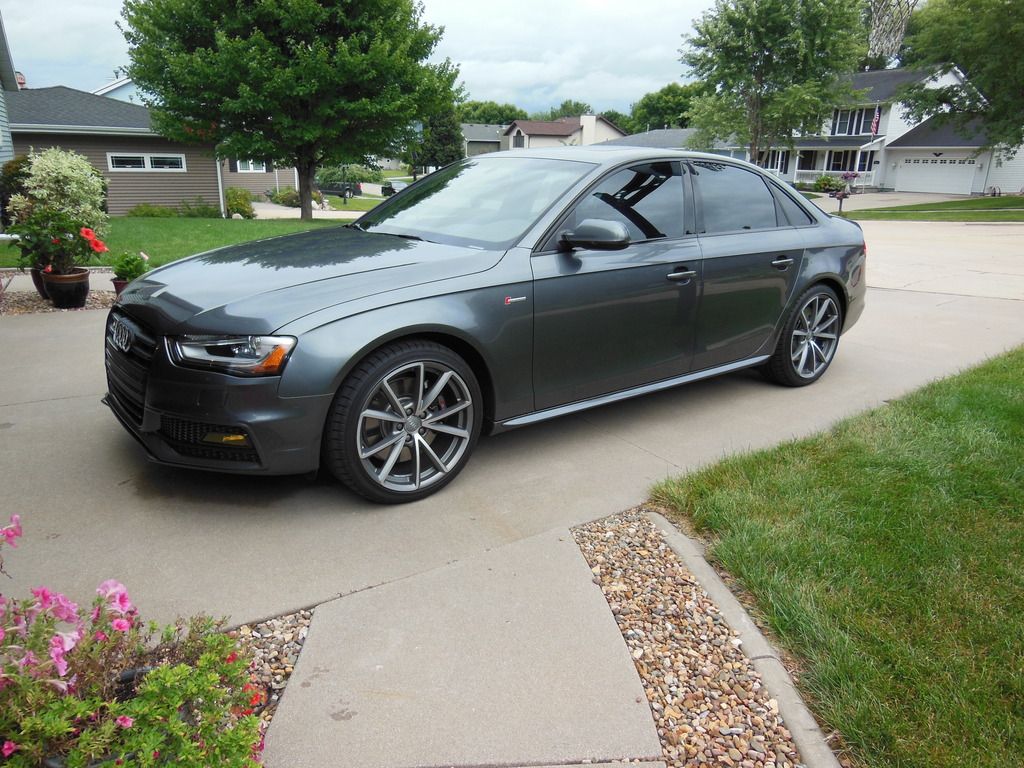
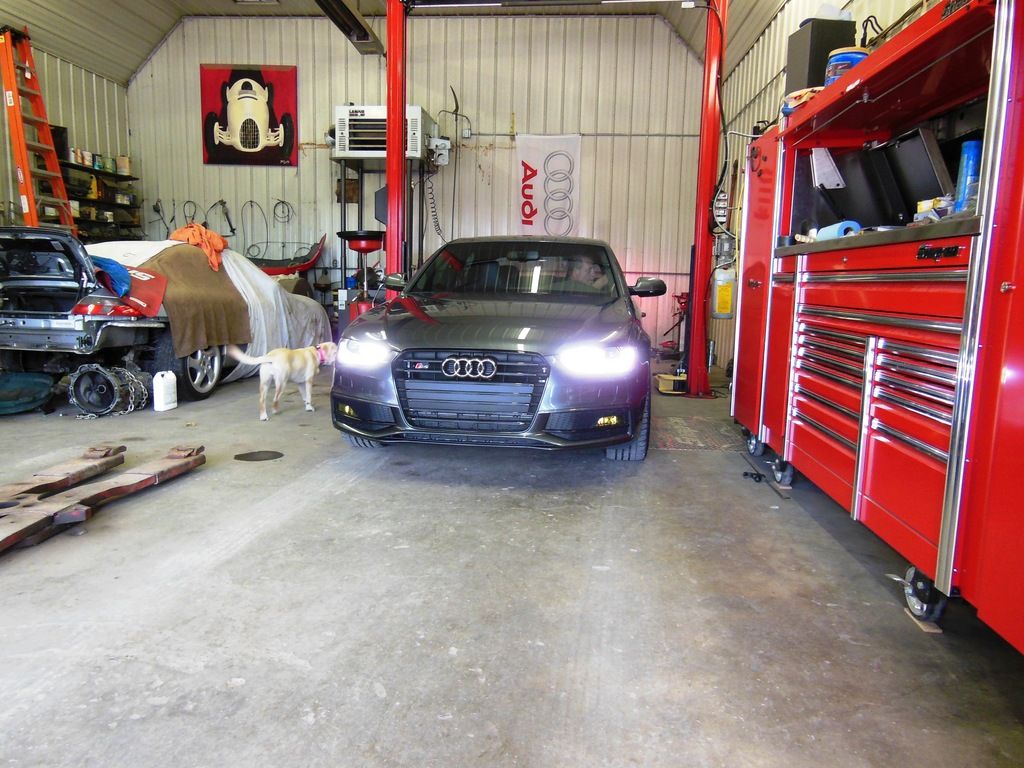
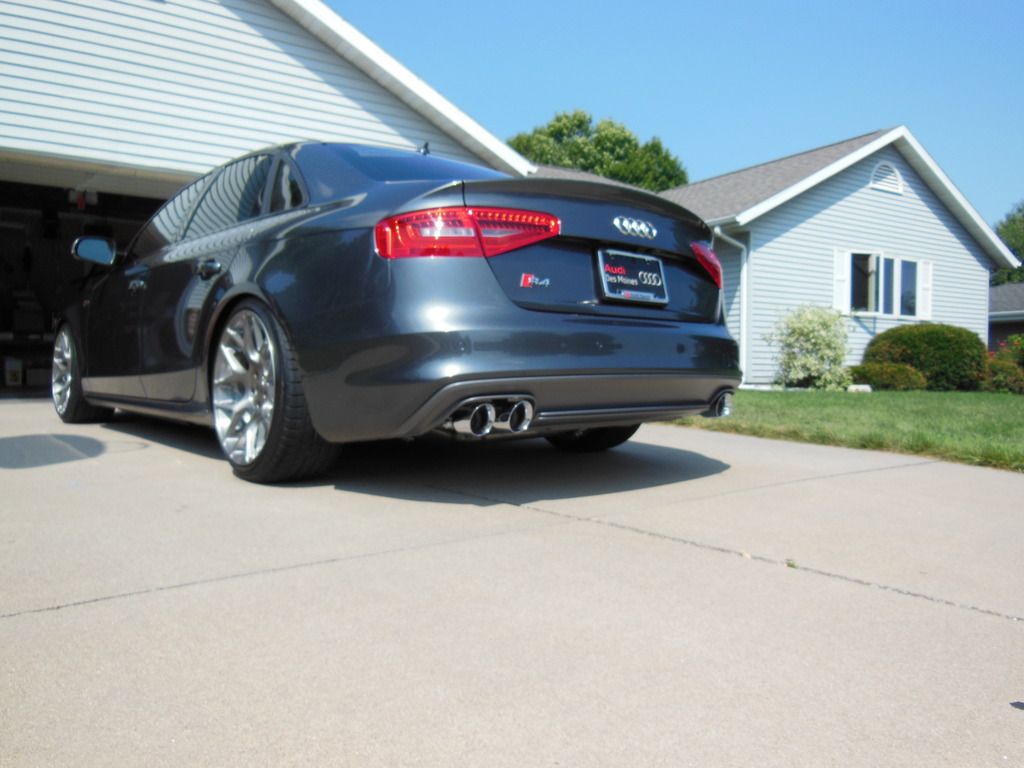
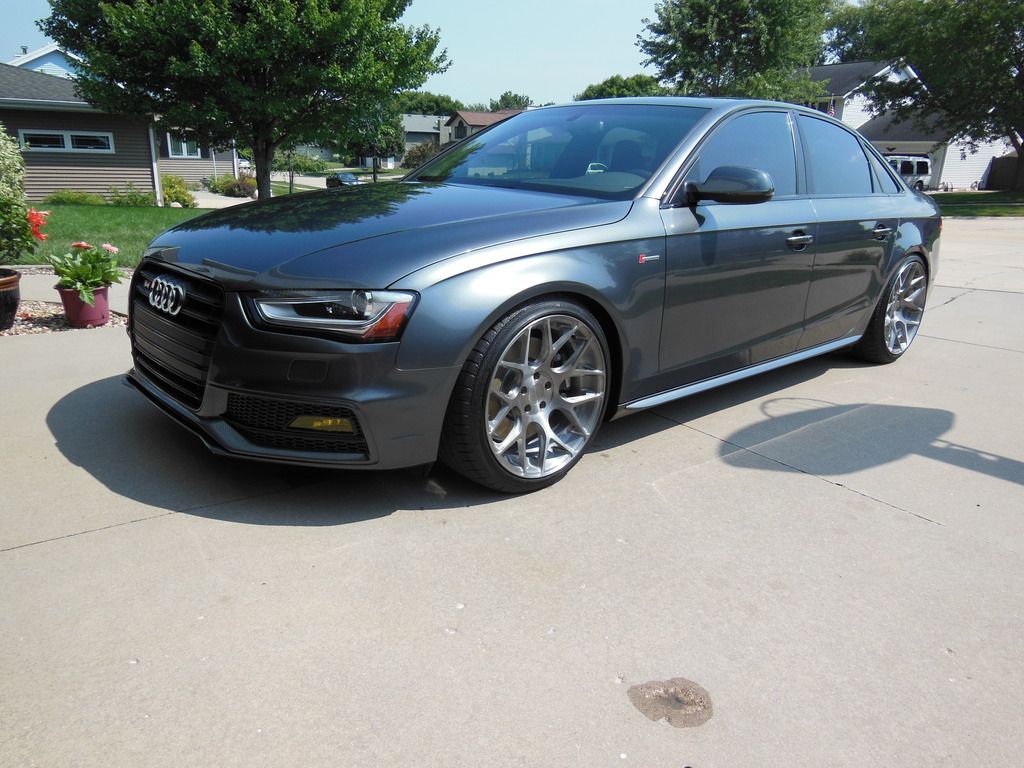
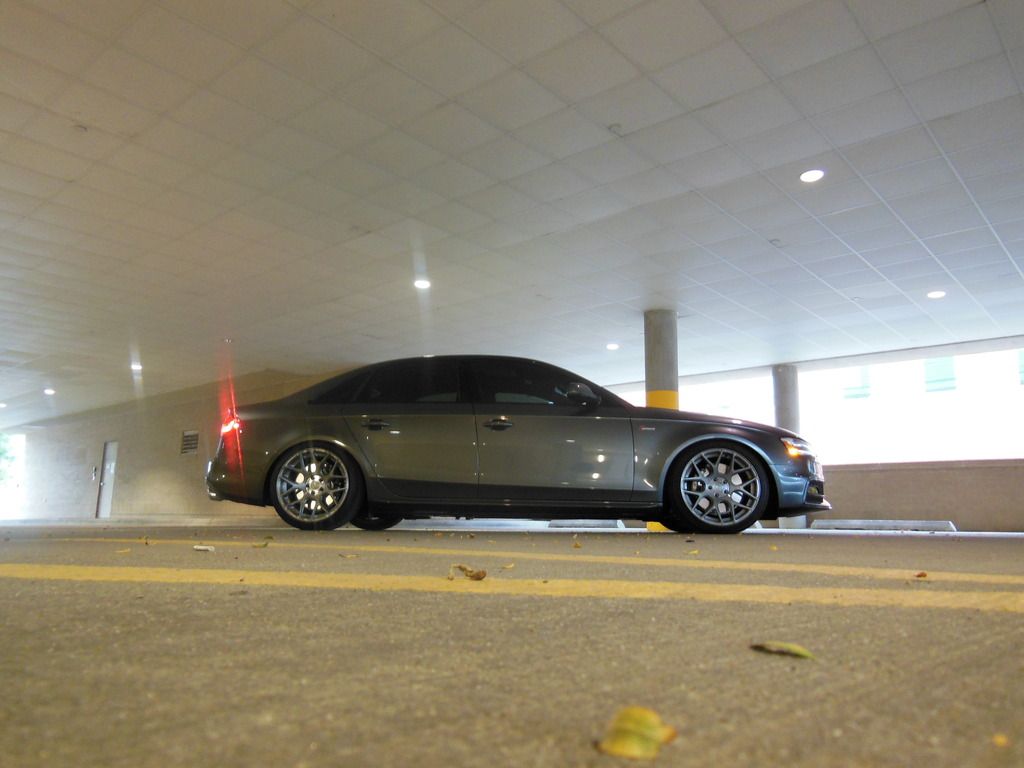
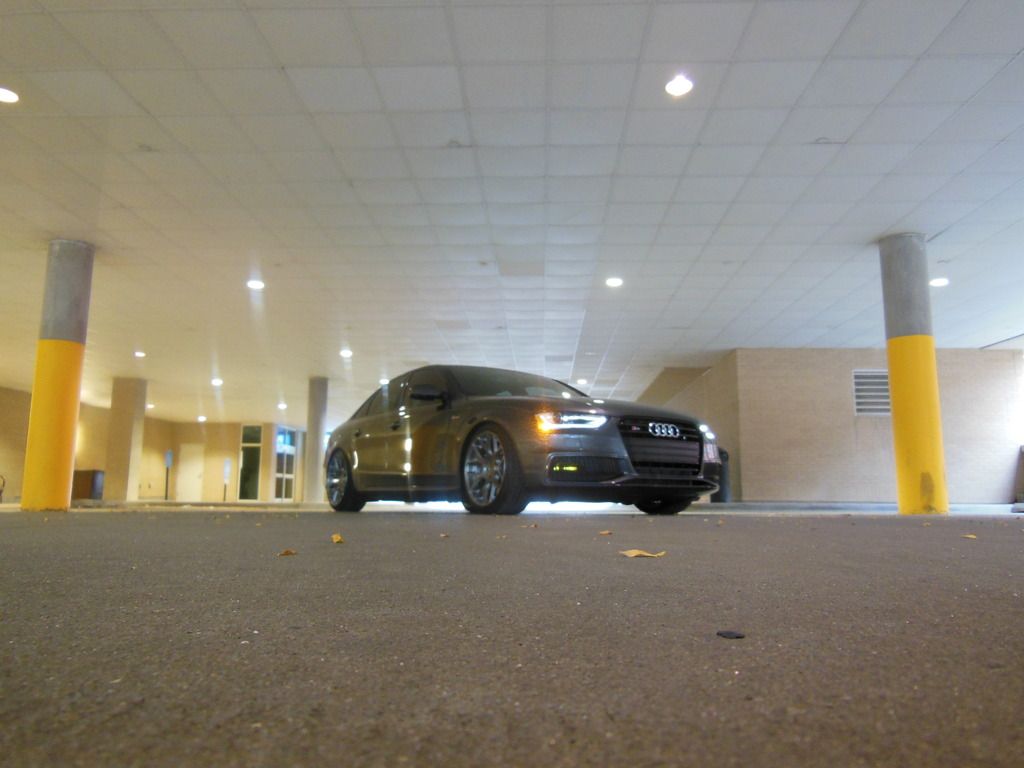
A few more pictures after a wash

-DL
Factory
Removed
What it will look like
No one to my knowledge has a pre-cut template for the B8.5. So, I had to make my own. I used the spray bottle to the left as a way to control slip/stretch when installing the film. Don't remember what it was off the top of my head. But, it worked well.
Installed
Next up, Audi Sport plate frame.
A few more pictures after a wash
-DL


 rops:
rops:

")