My own car - 1999 VW Passat 2.8 V6 4Motion (and usually the test bed for most products)

PrismDetailing

New member
Joined
Feb 25, 2014
Messages
190
Reaction score
0
Its a 1999 V6 Syncro (looks like the 4motion badge has replaced the syncro) with 44k and a fsh. Unfortunately at present i only have a couple of pictures so far:

IMG_2254.jpg

IMG_2255.jpg

IMG_2257.jpg

IMG_2256.jpg

IMG_2260.jpg

IMG_2253.jpg


the mileage is amazing for the year:

IMG_2258.jpg
 
Well today i thought i would see the true extent of the dealer prep, gave the car a good snowfoam with Chemical Guys Citrus Snowfoam, then washed with Dodo Juice Born to be Mild, dried with a Dodo Juice Supernatural dryin towel, paintwork was then clensed with Dodo Juice Lime Prime, at this stage the true amount of defects to be corrected was visable, few scratches here and there, a long one on the bonnet, and a couple down the side...but nothing i cannot fix ! Decided to wax the car with Dodo Juice Light Fantastic (specifically for lighter coloured cars) and was well impressed with the results (been a long time since i last used Light Fantastic).....Had the car out for a 180 mile round trip today and it was fantastic, quite, refined and still no issues :)

Some pics from today after light fantastic was applied, really gave a bit more gloss to the tired paintwork....

6550e555.jpg

a5cfdde2.jpg


im sure more updates will come as i discover more with the car and try new things :)
 
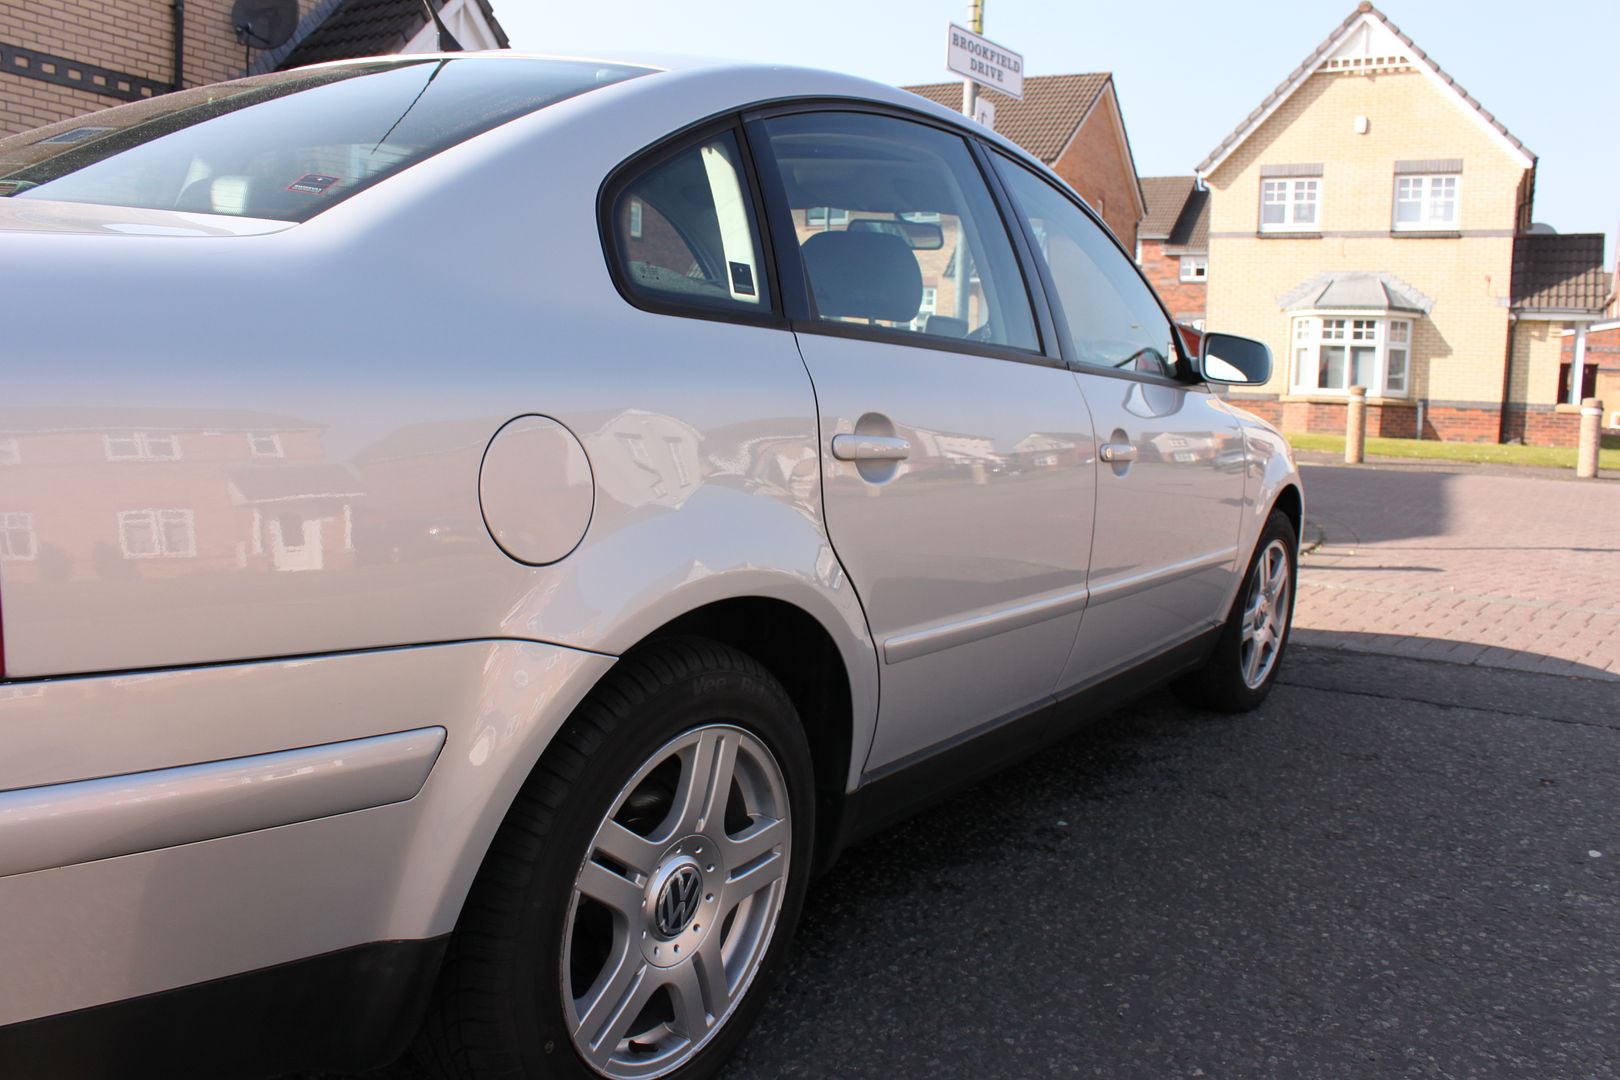
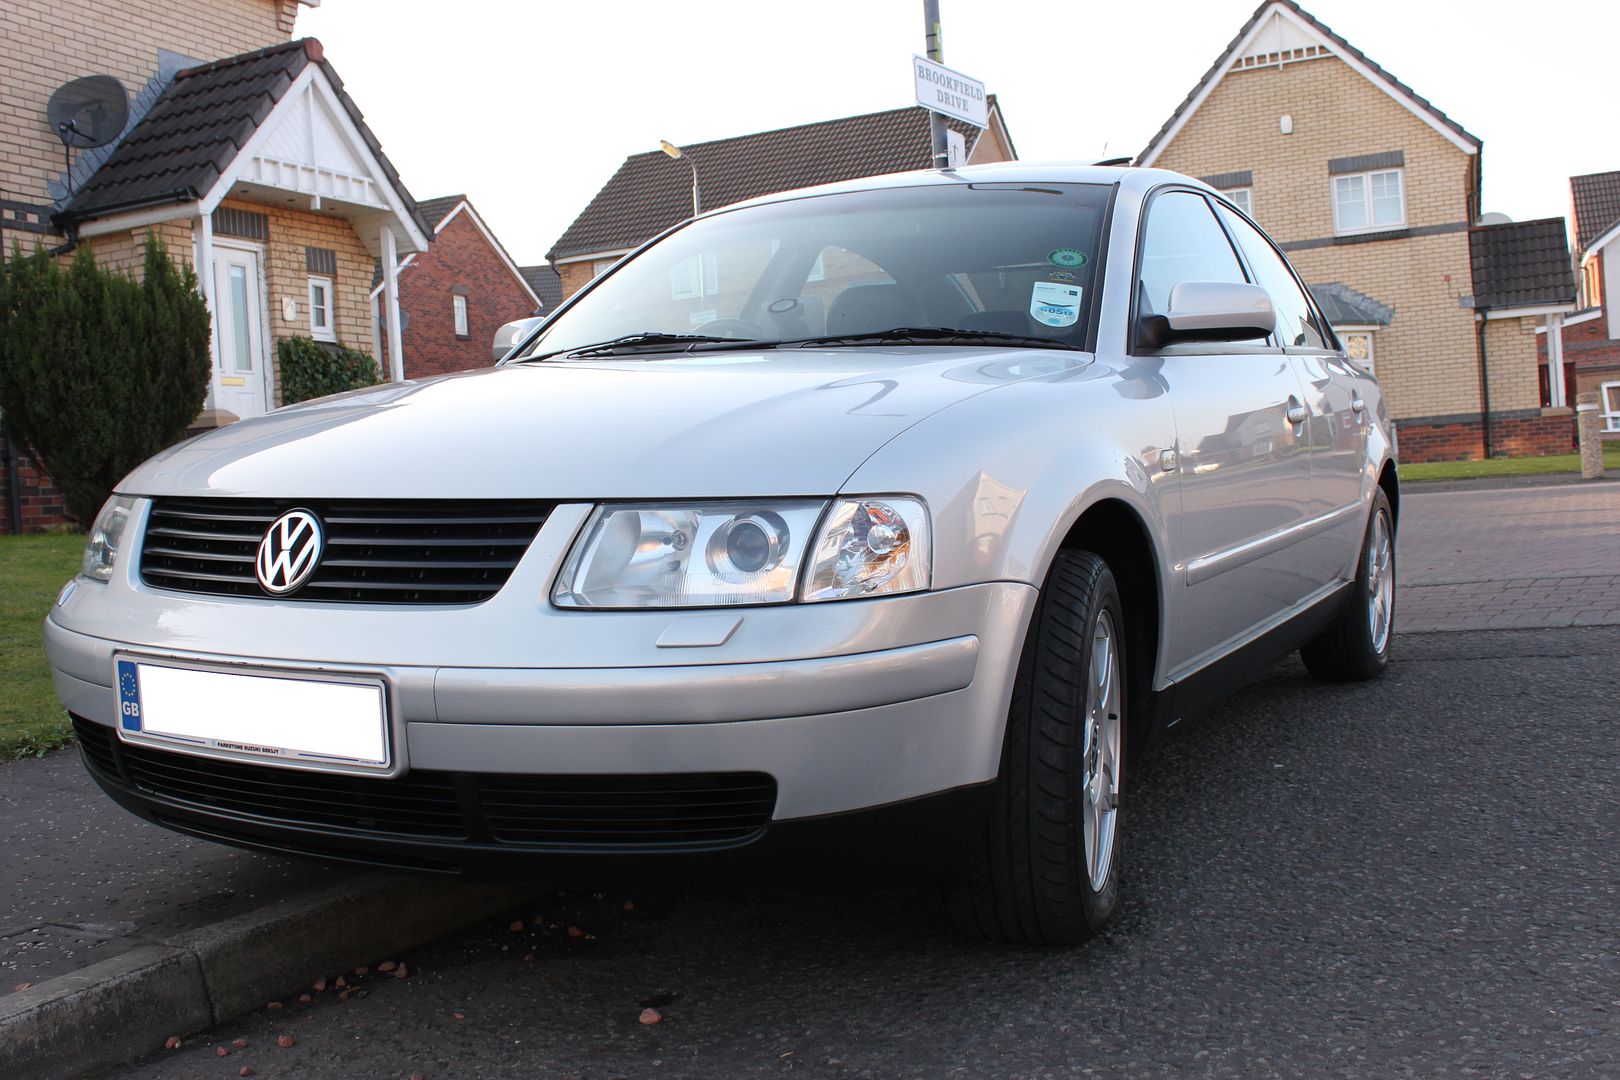
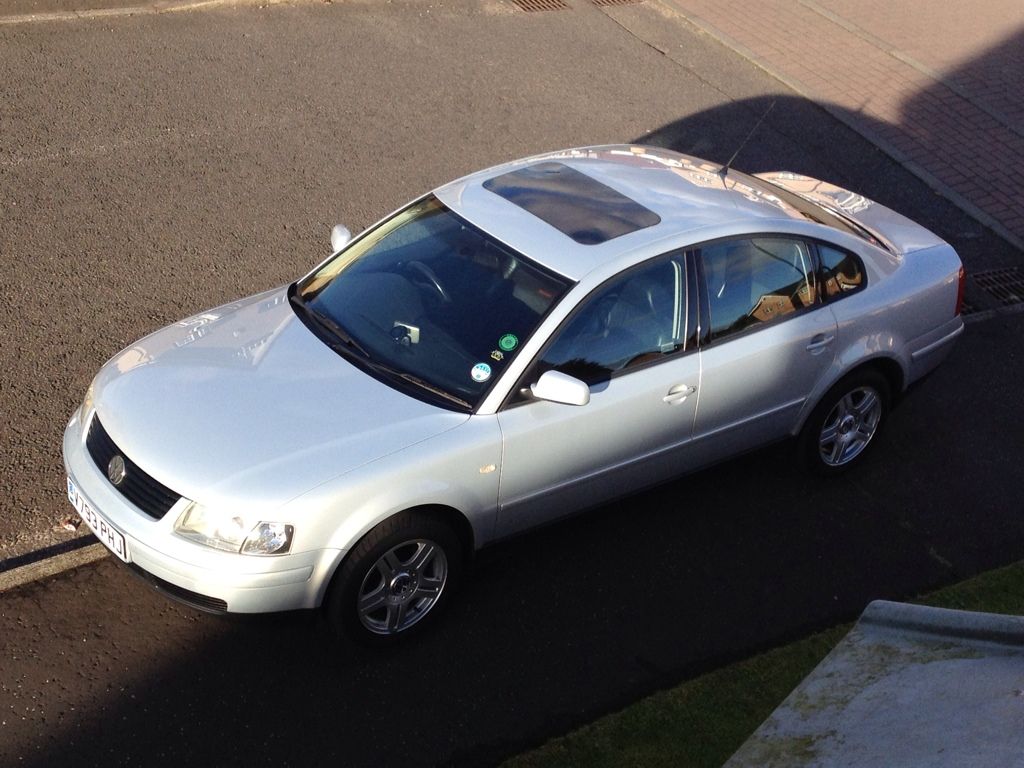
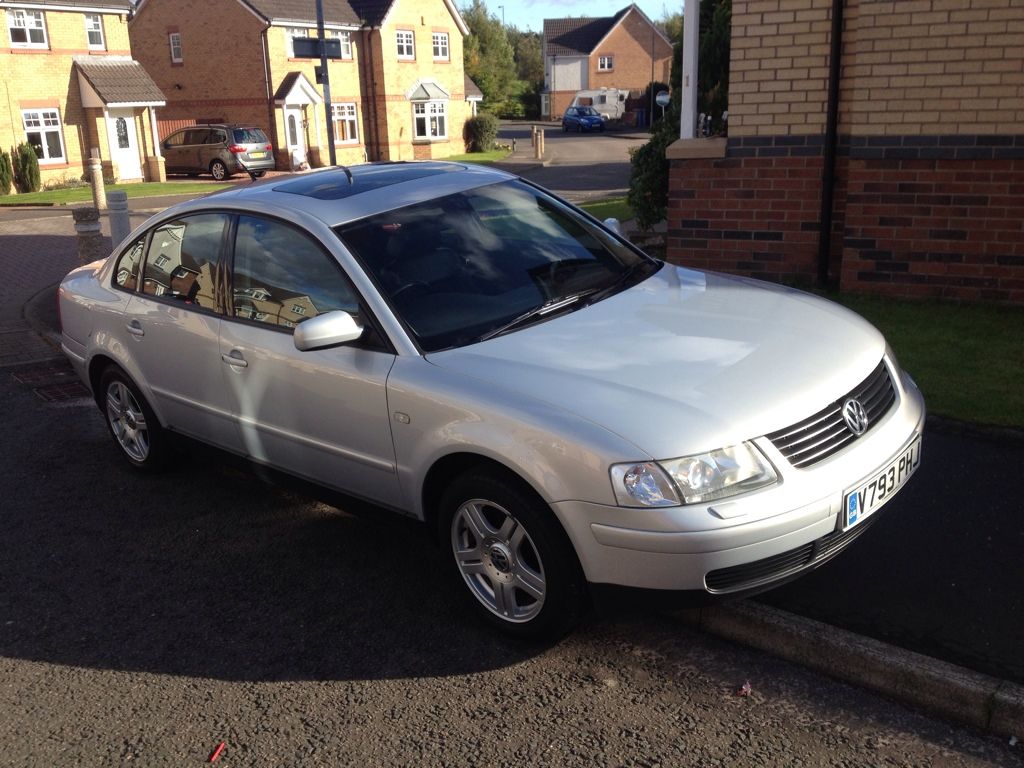
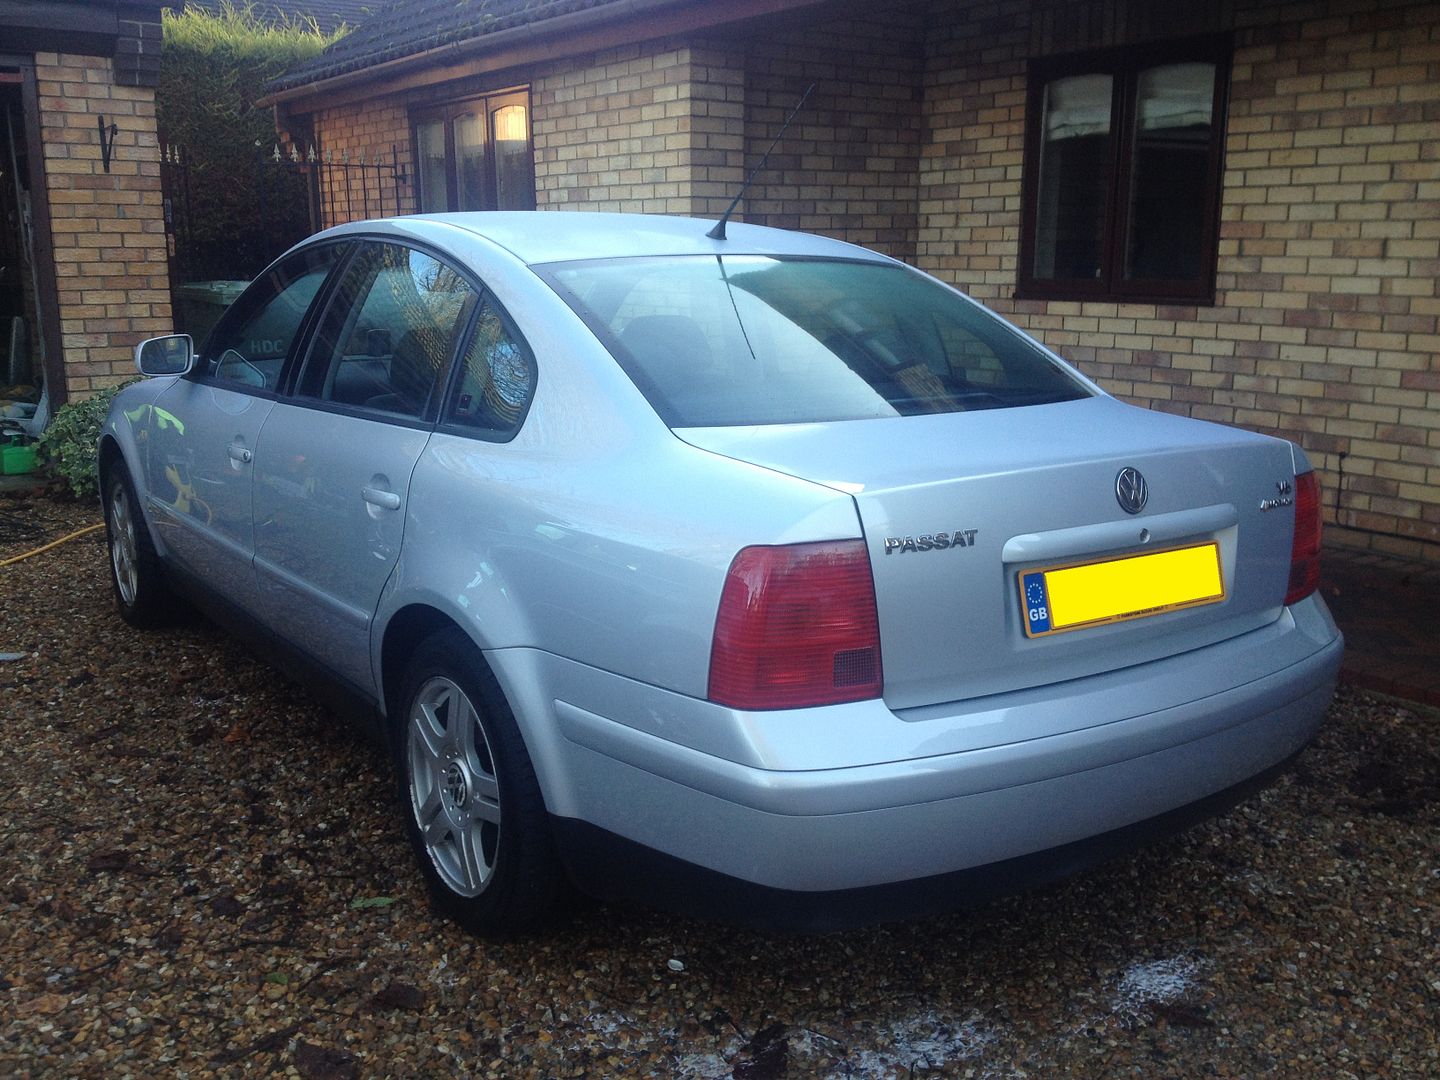
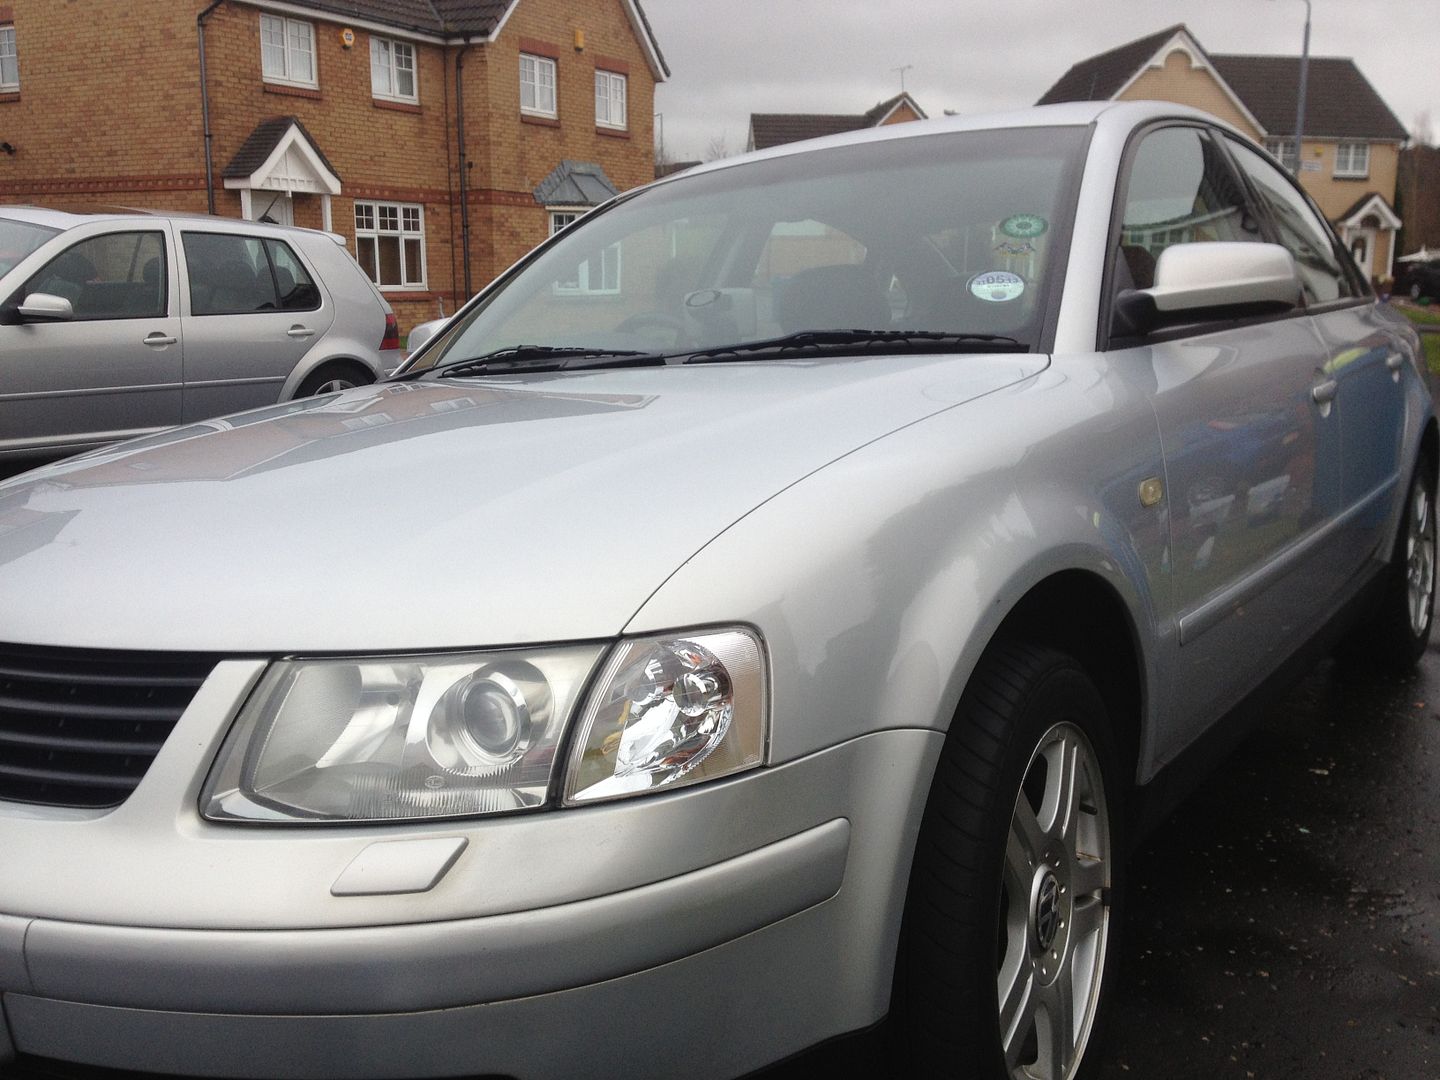
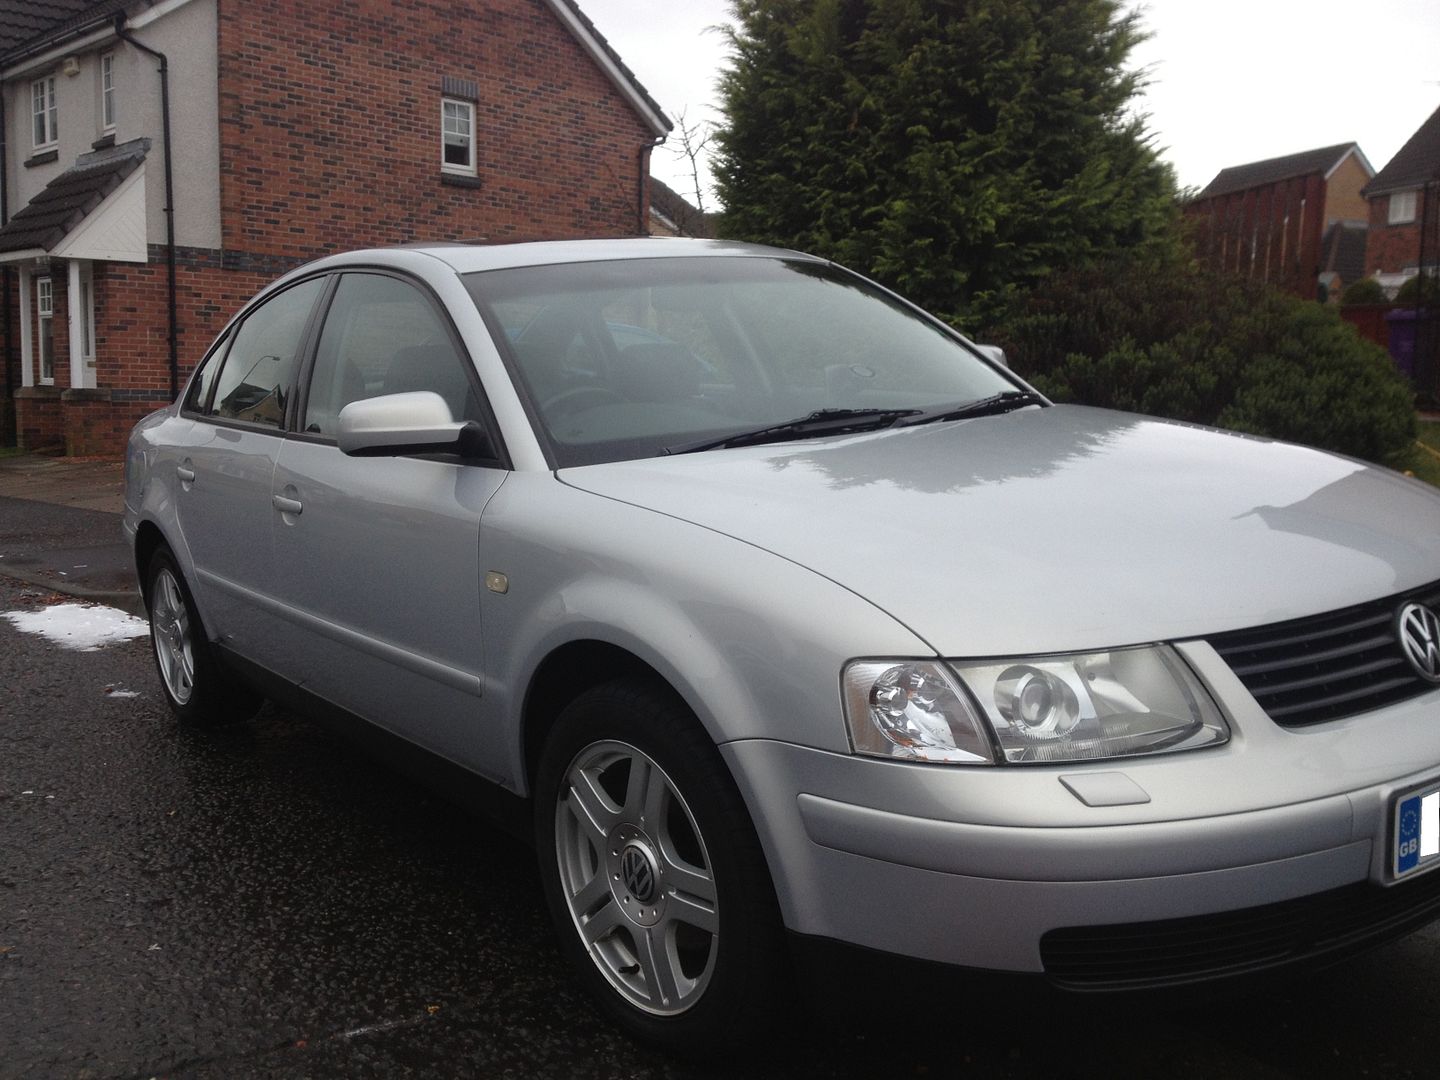
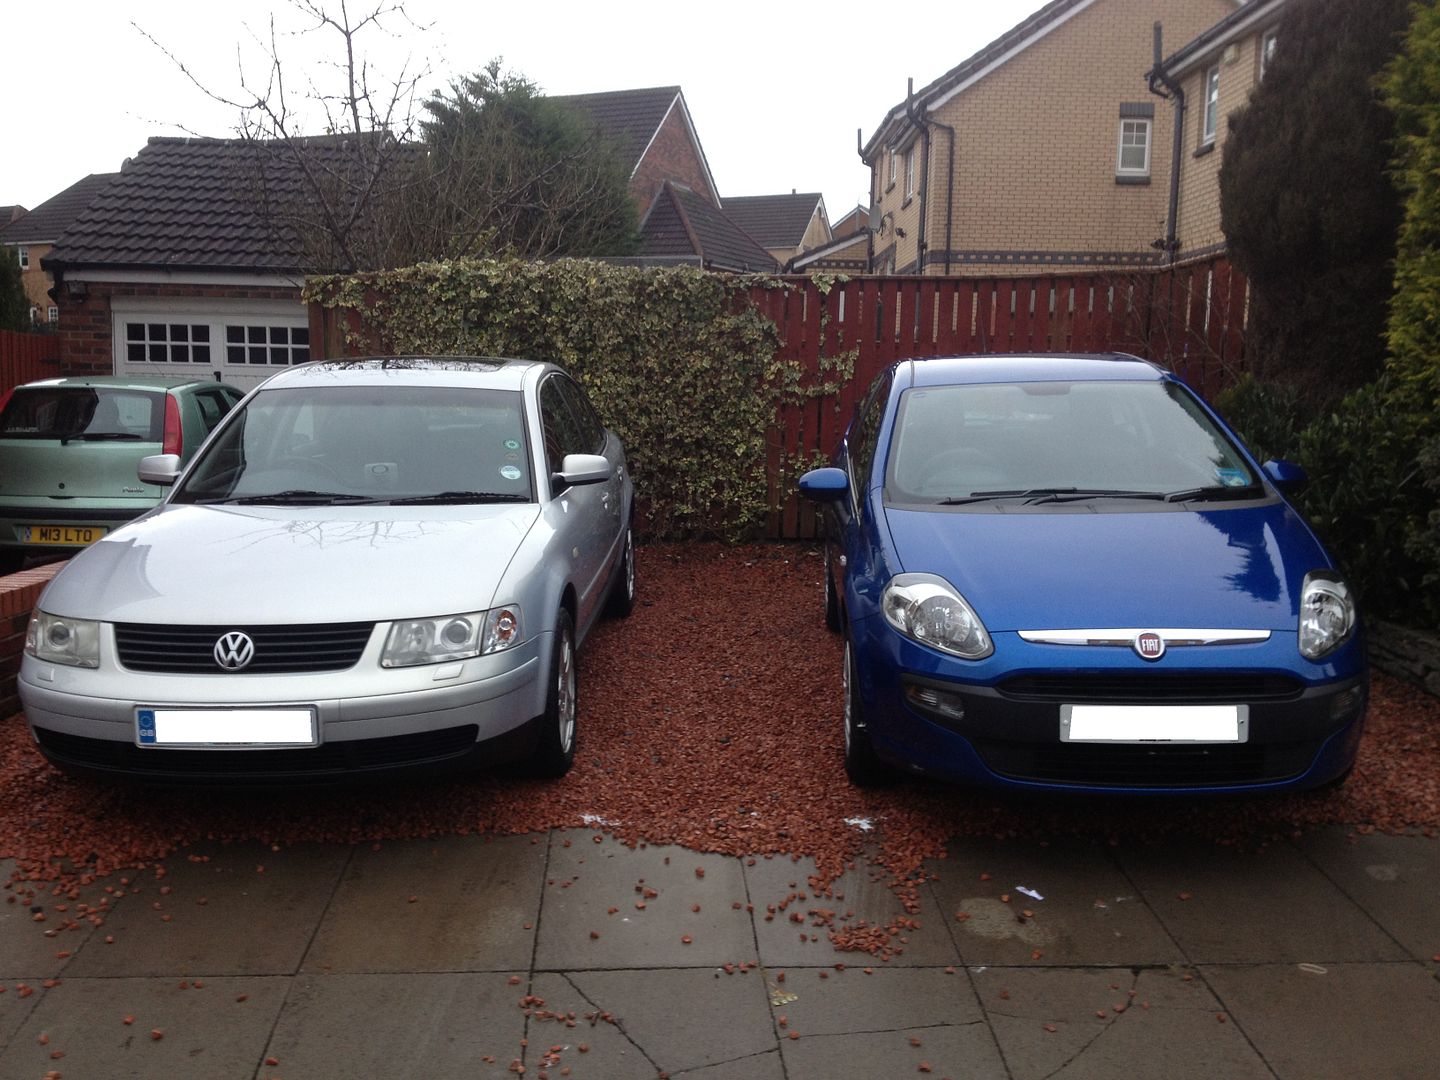
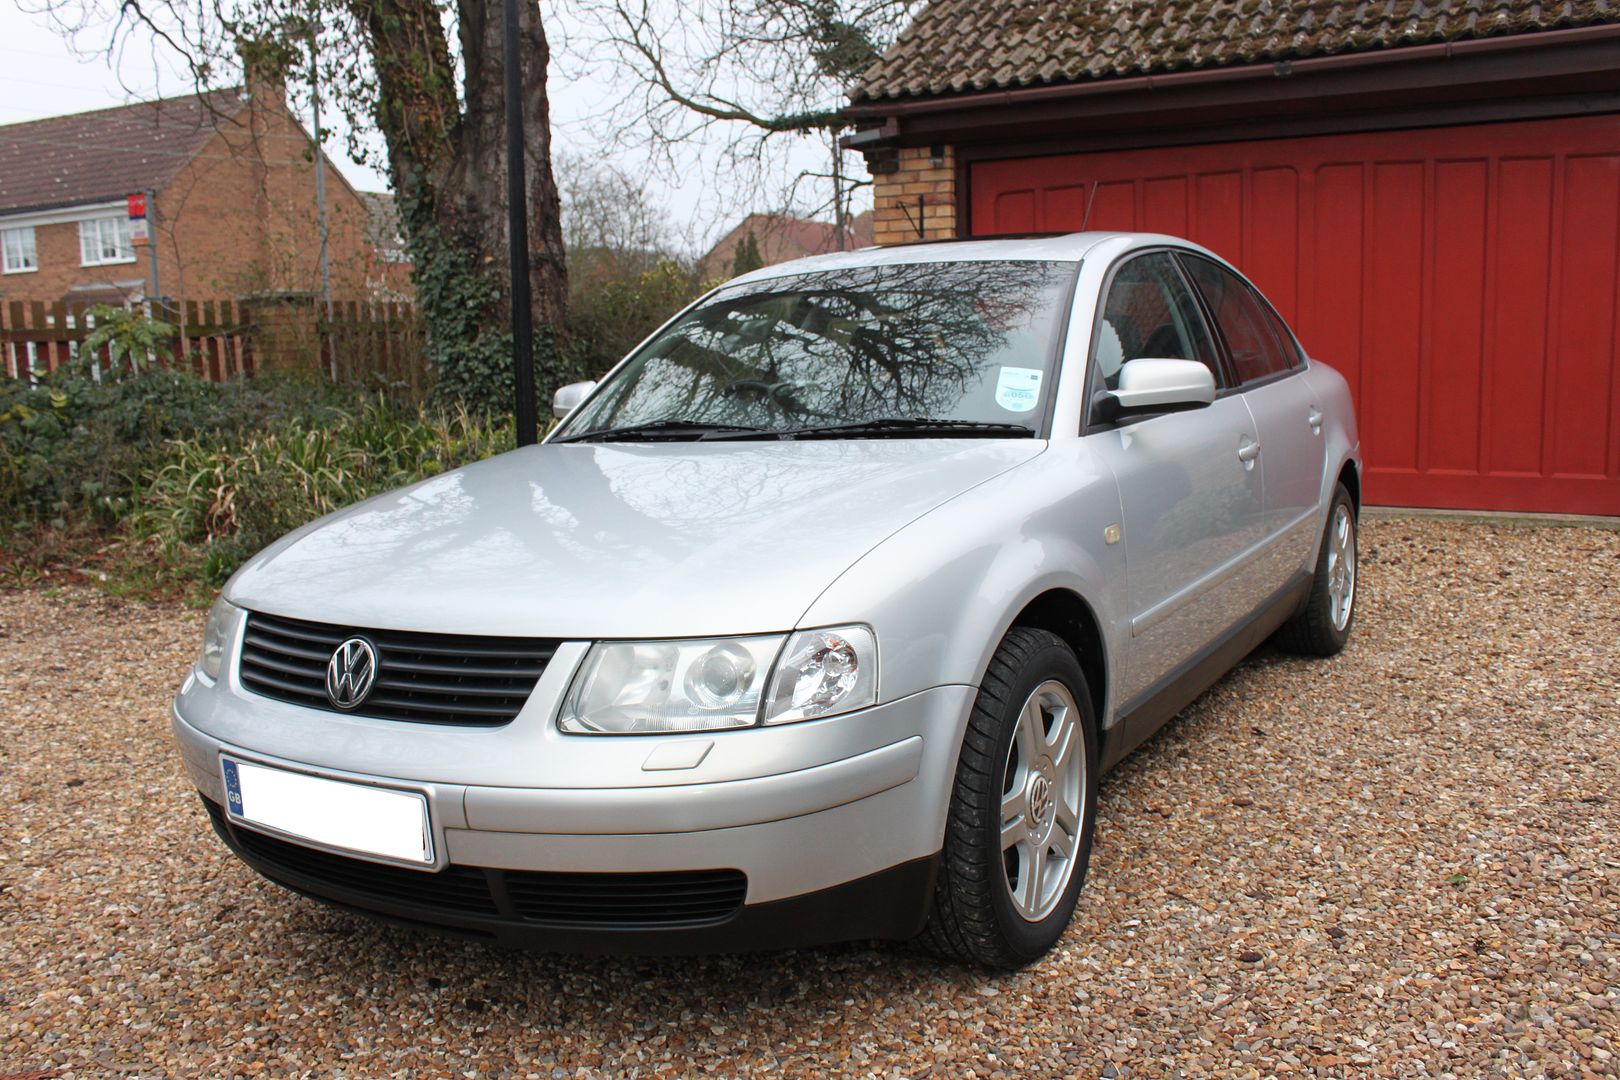
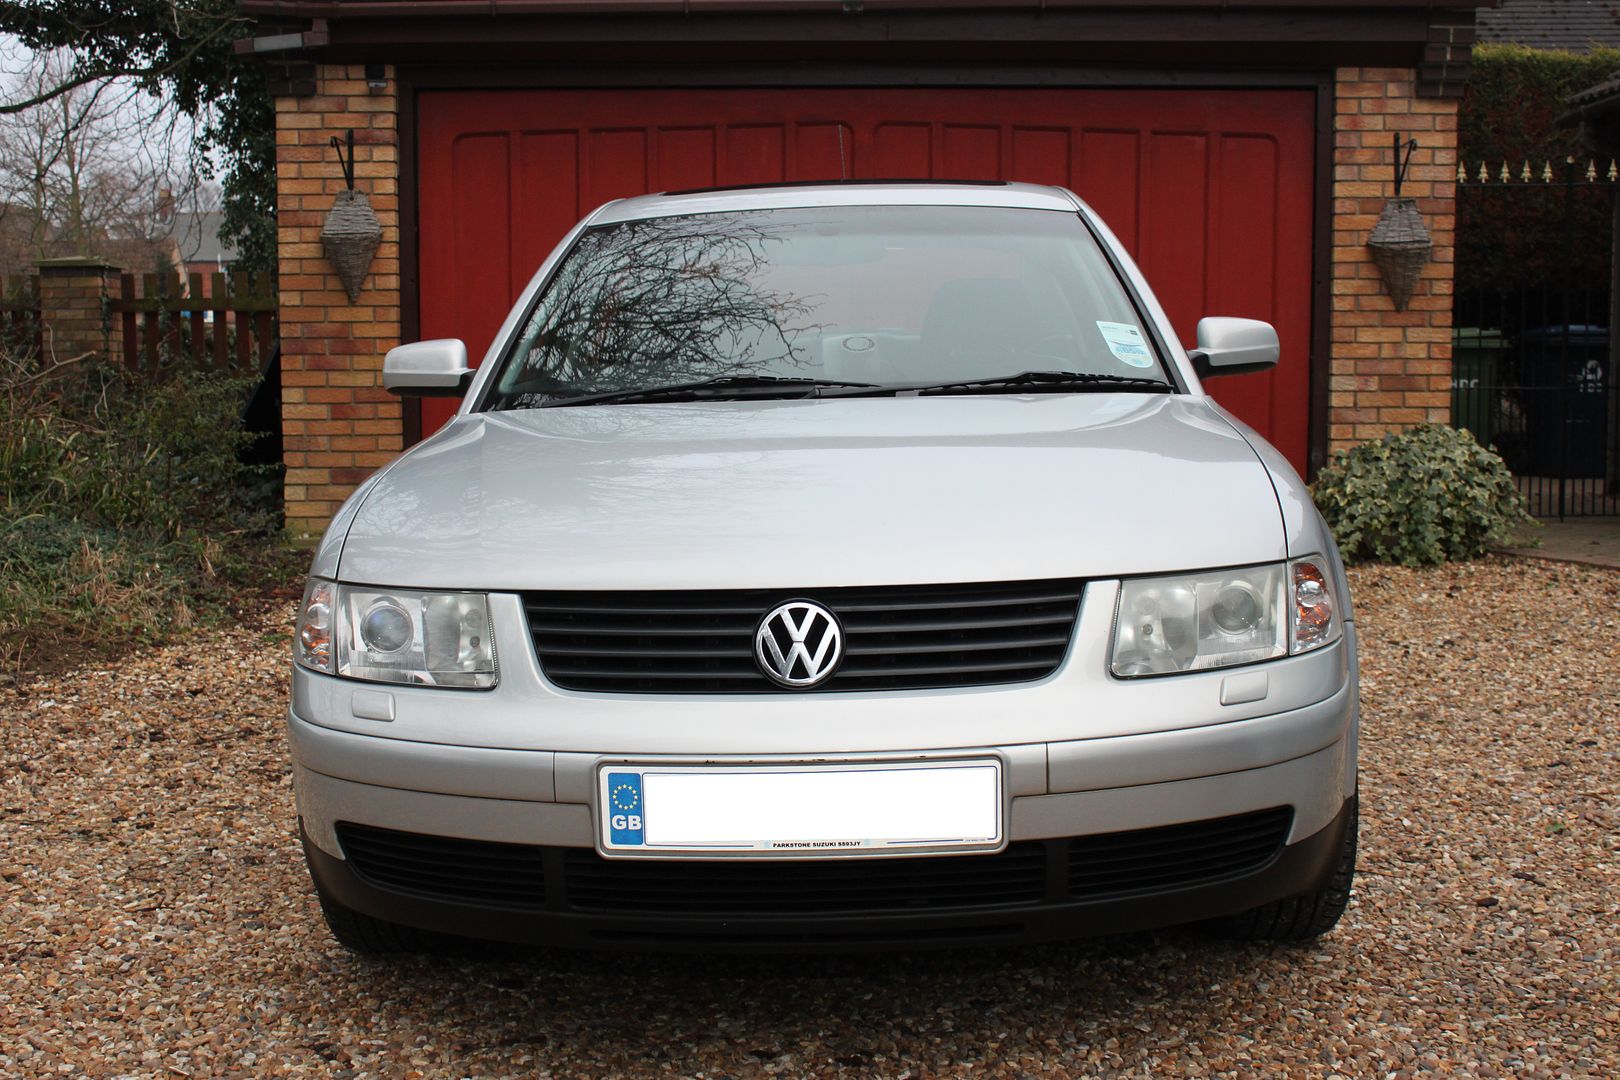
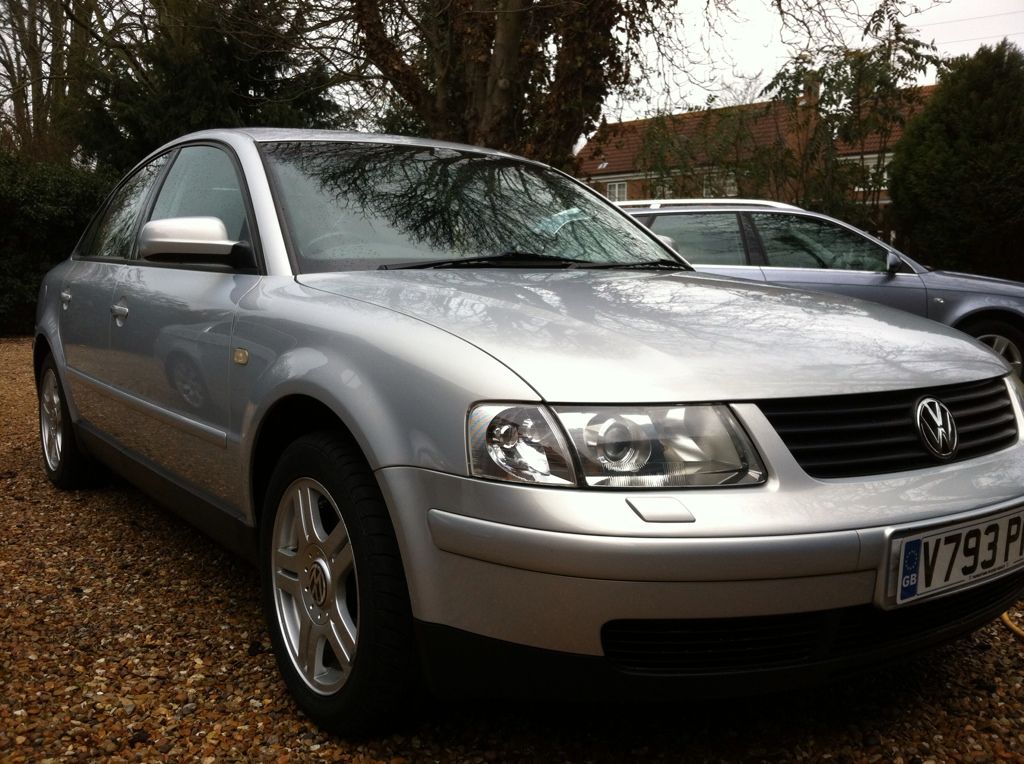
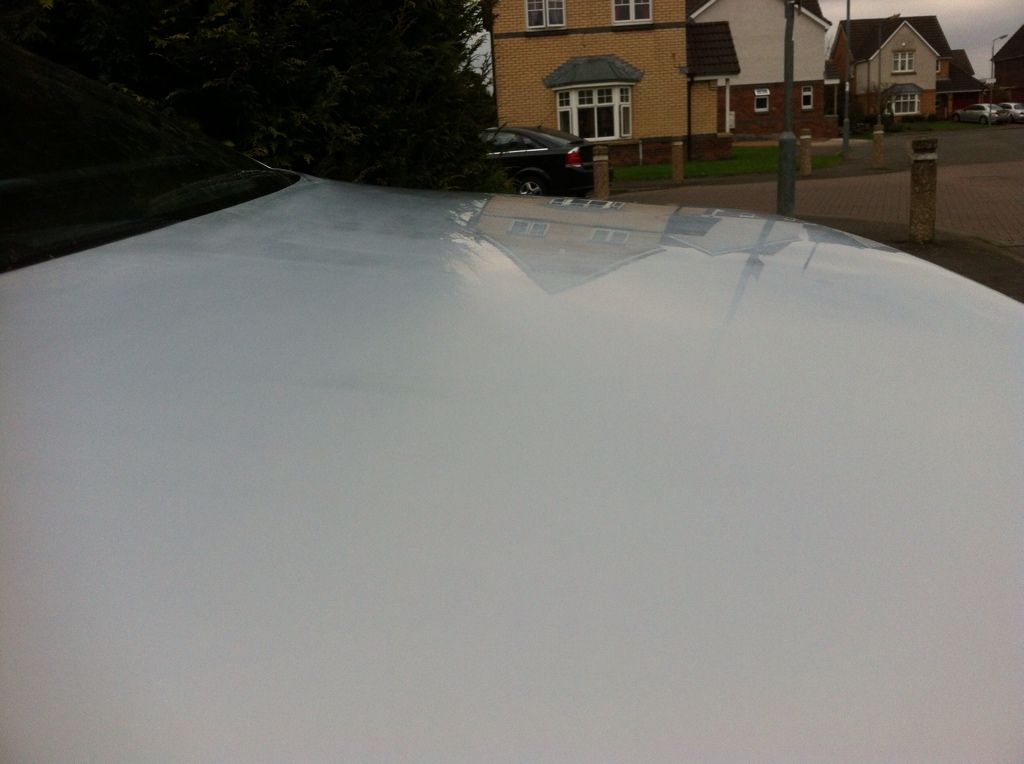
Well on the way home yesterday the car was running great, got an average of 30mpg for the journey, which was not too bad as i was held up in a traffic jam for near 45 mins :( 
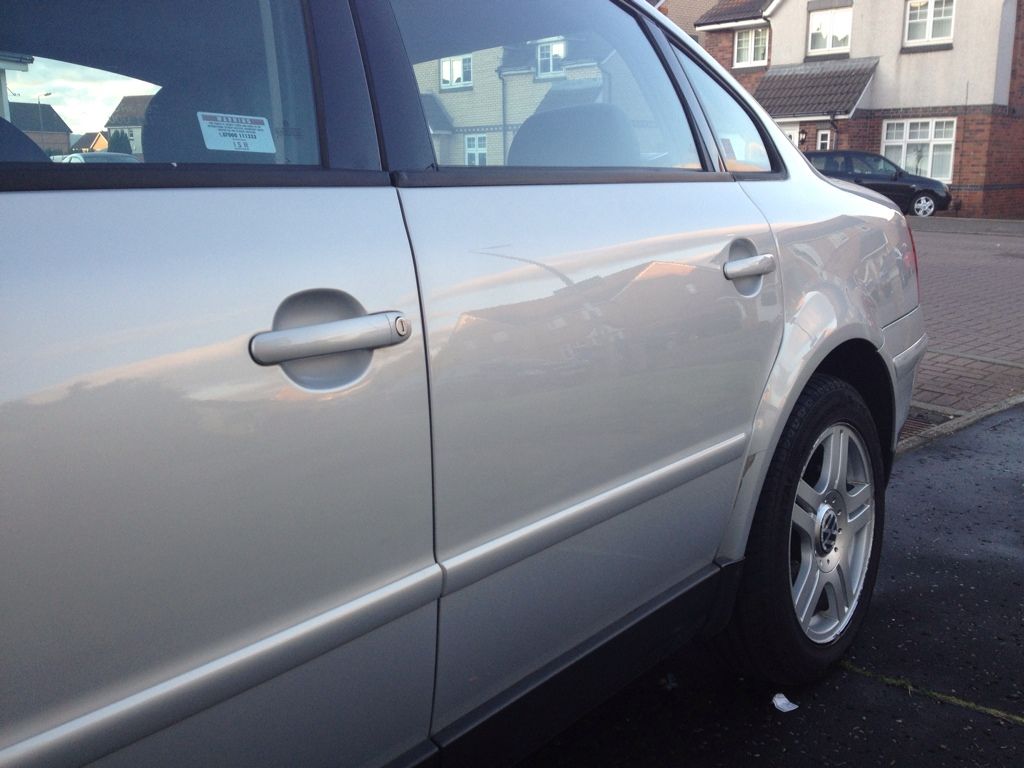
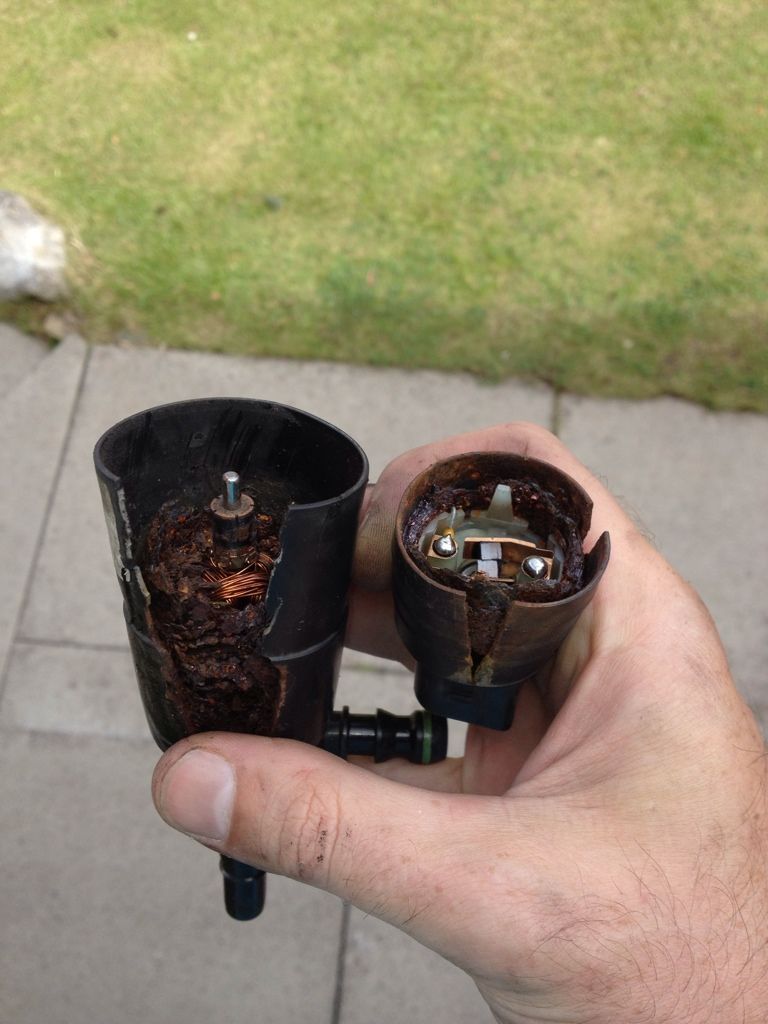
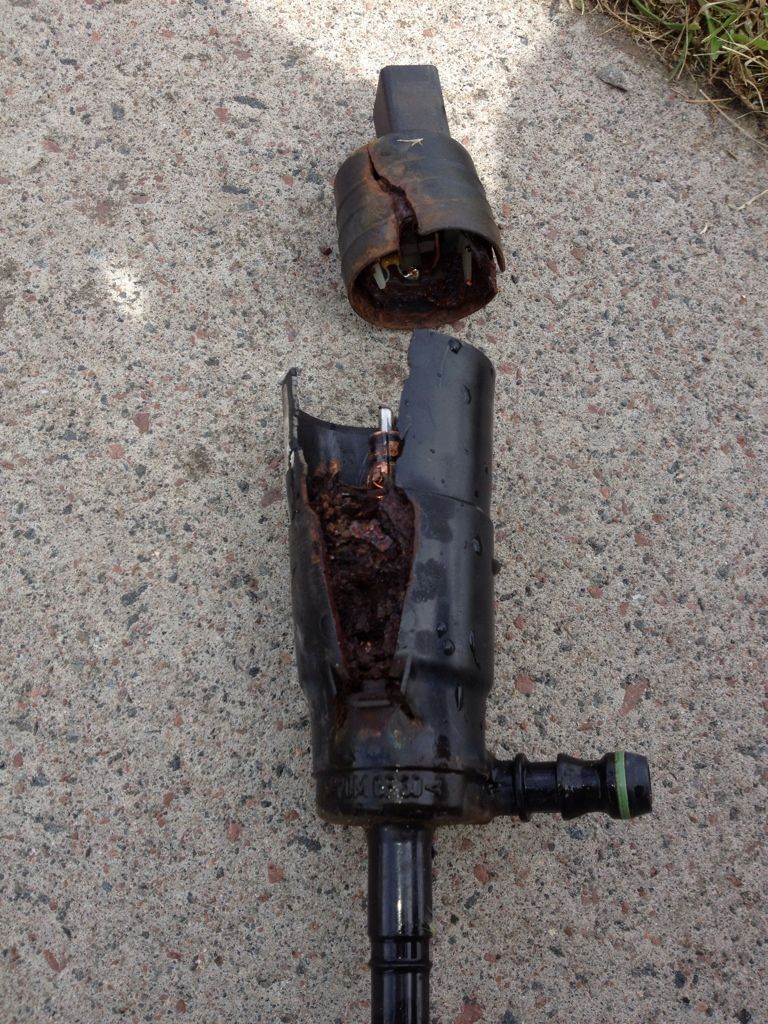
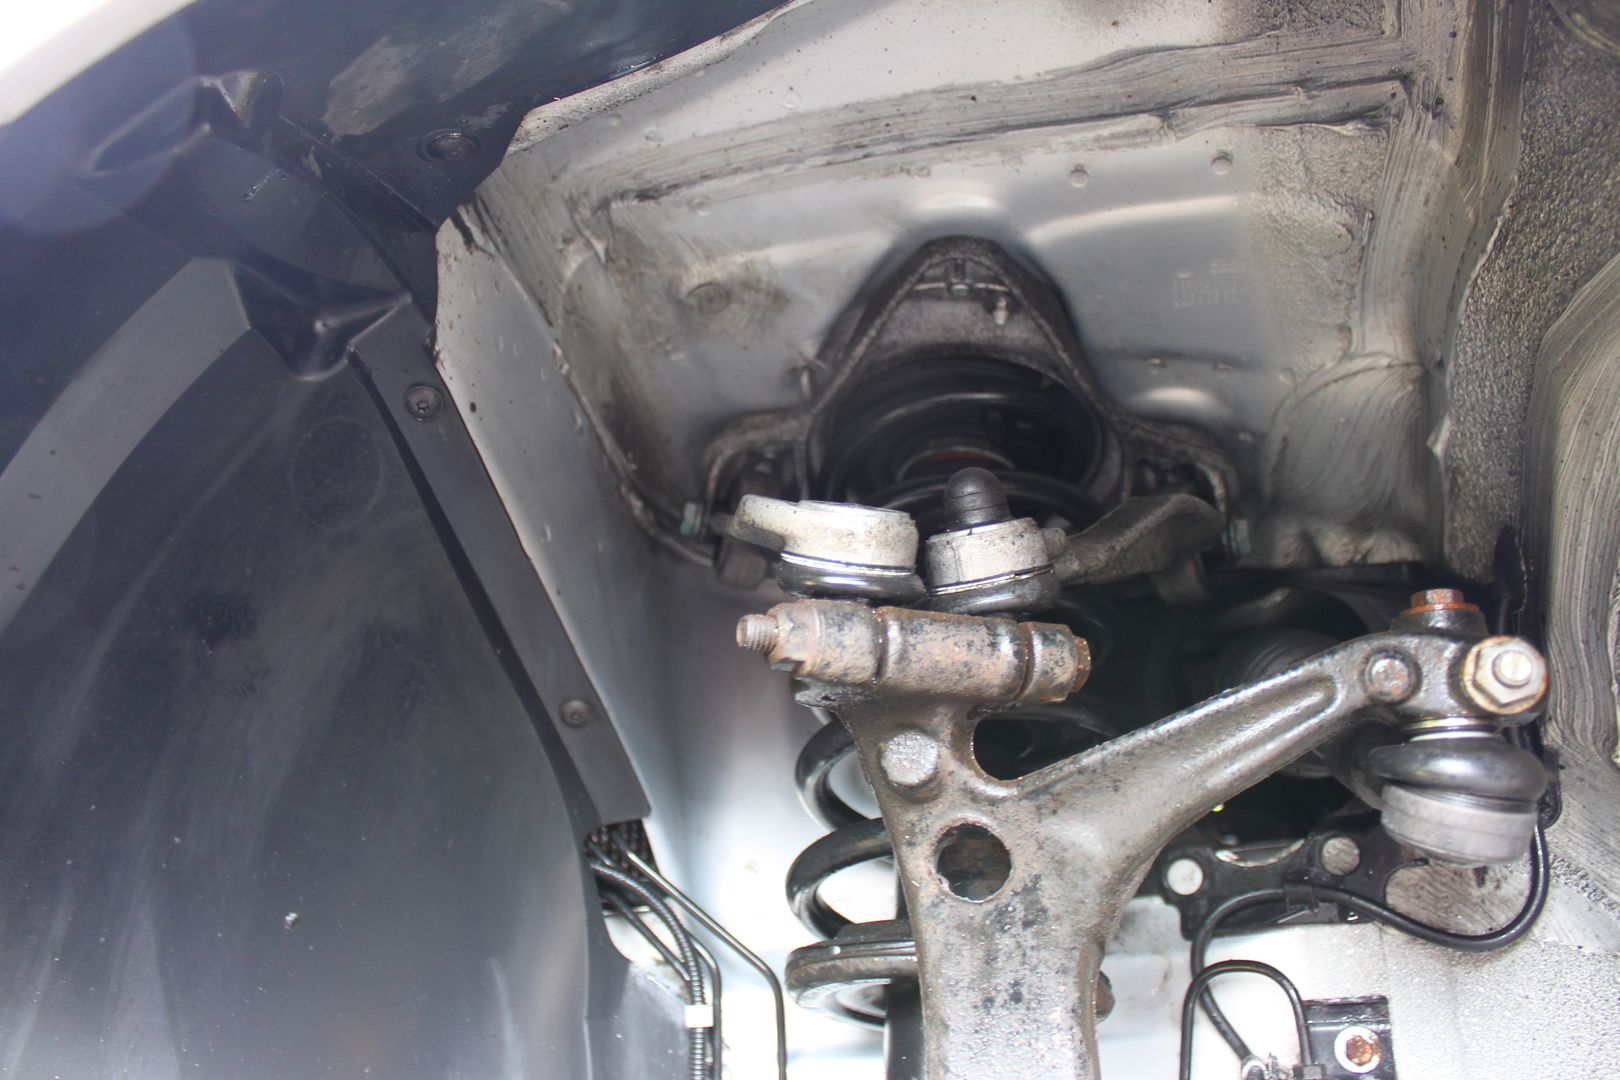
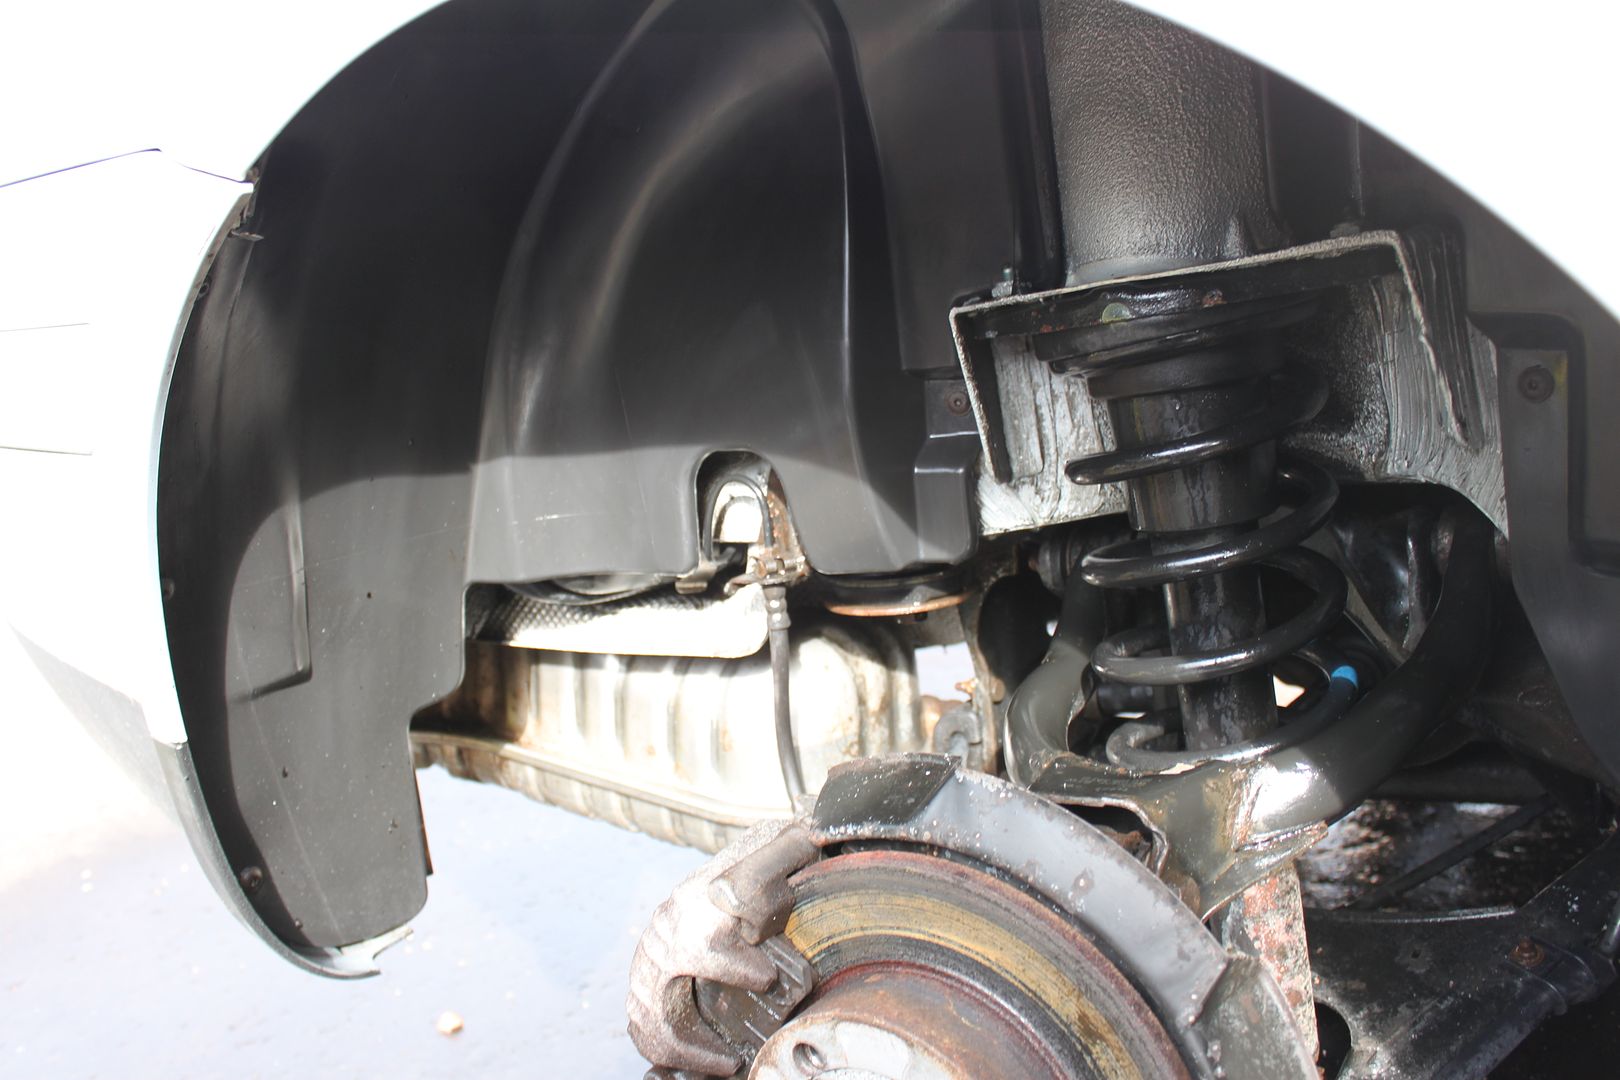
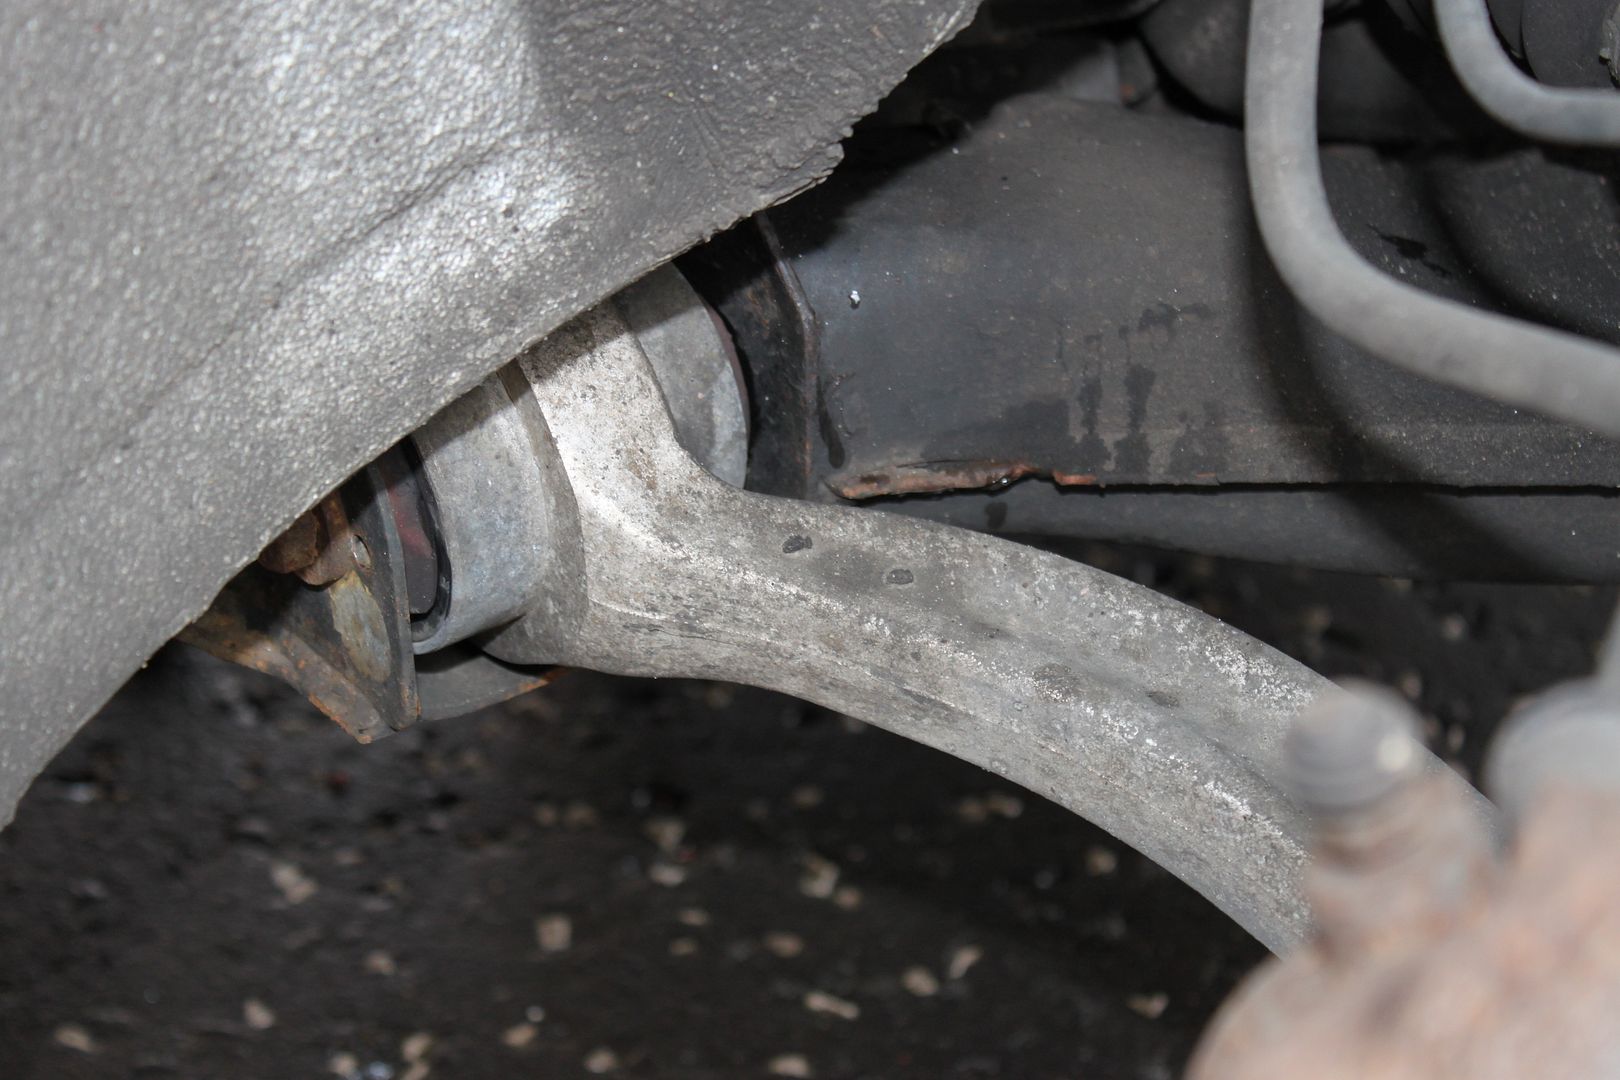
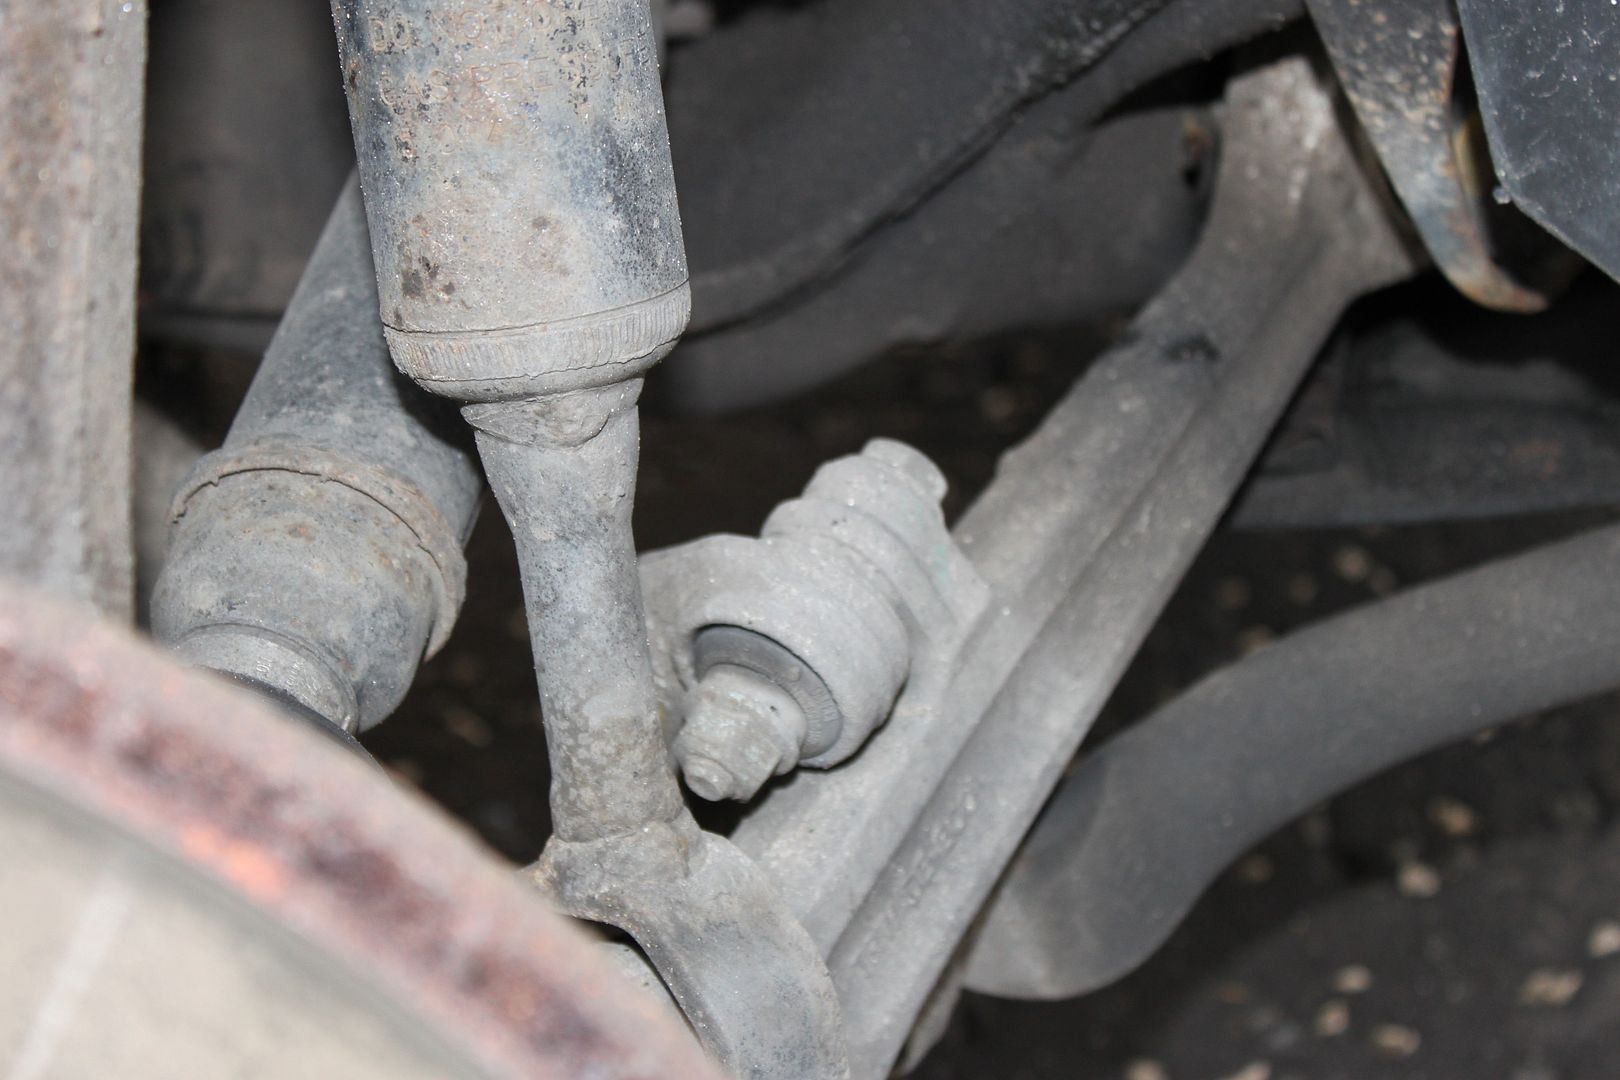
but unfortunately the front passenger window mechanism broke :( 
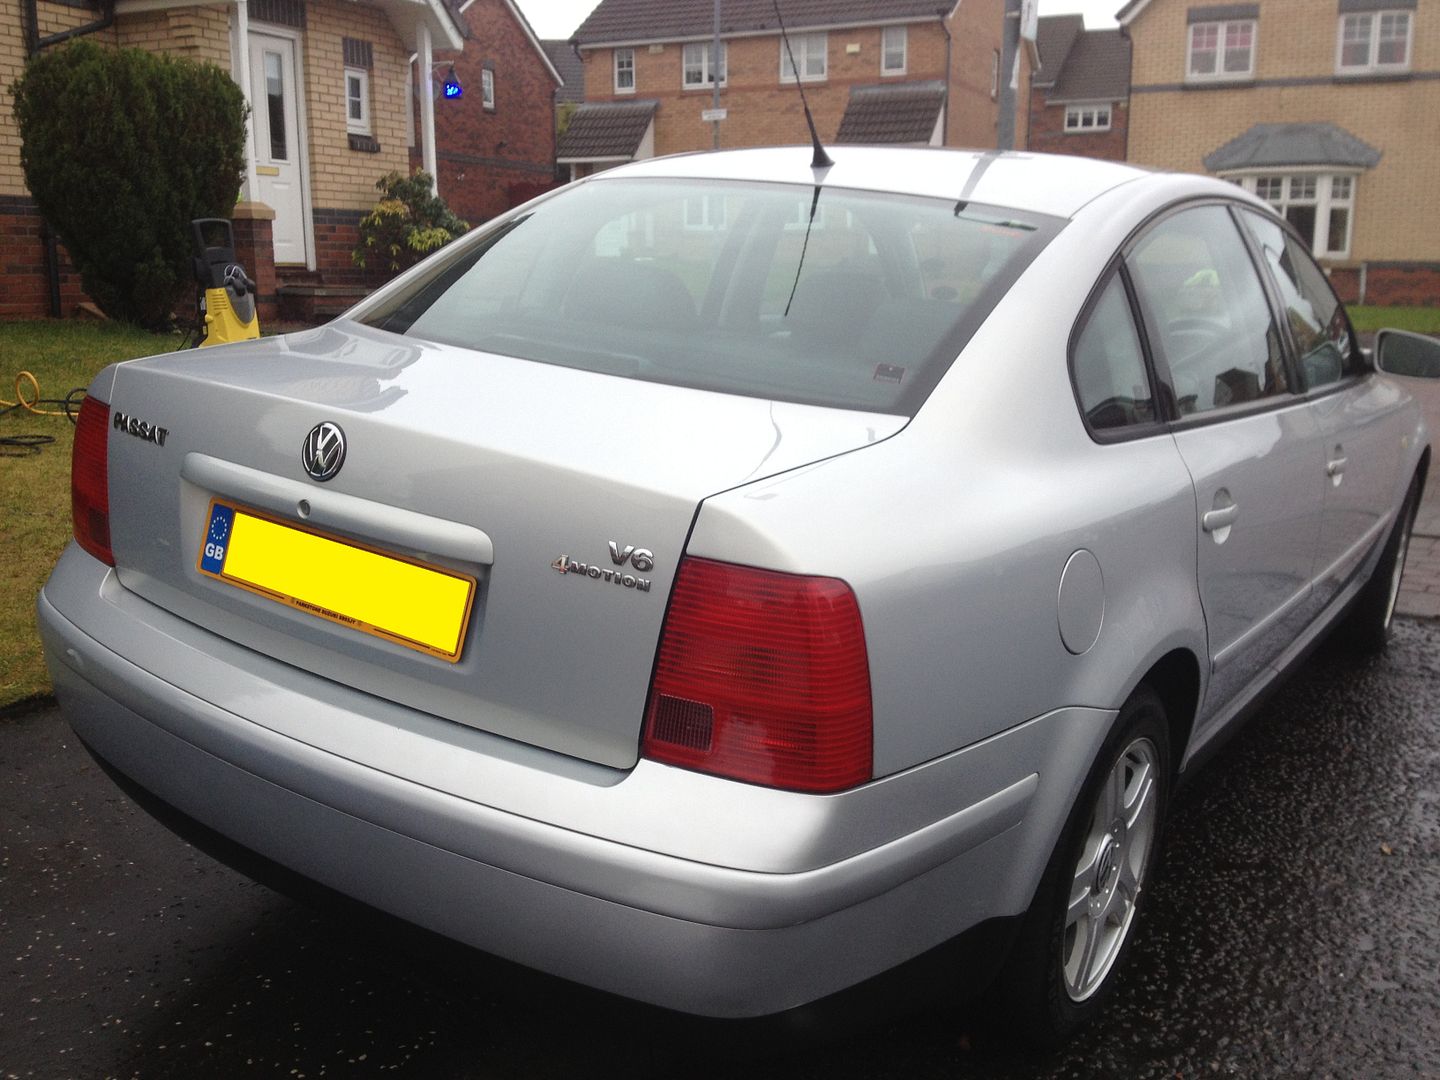
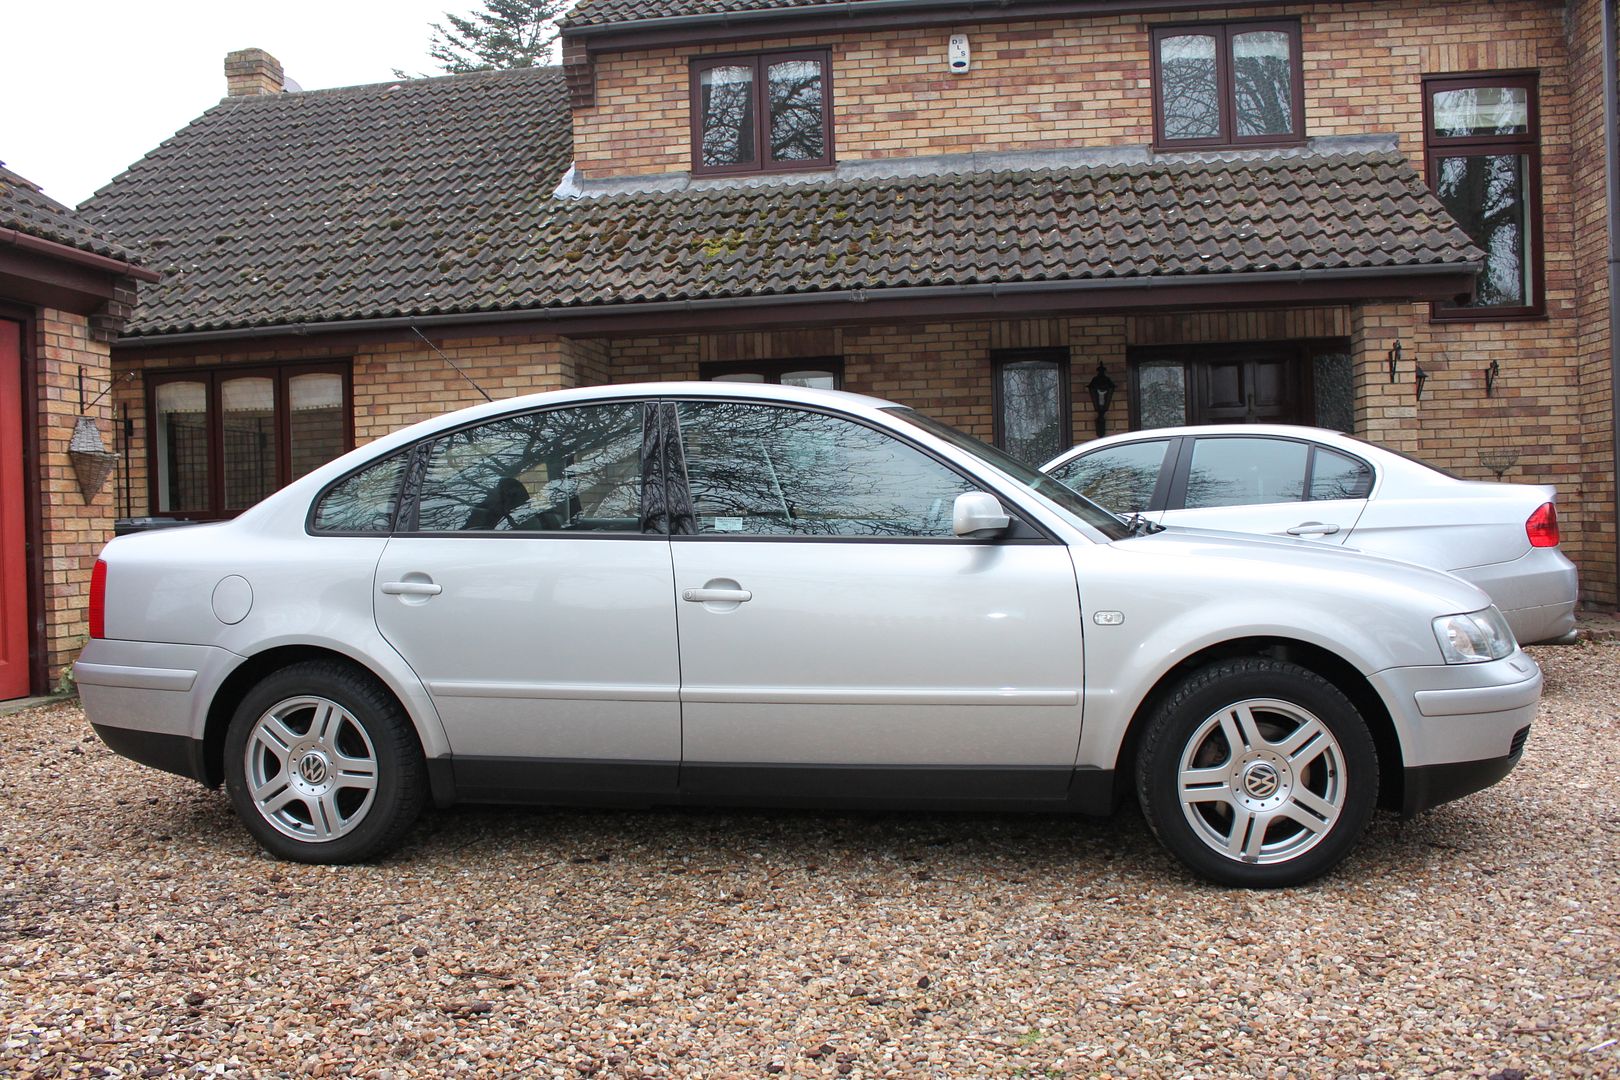
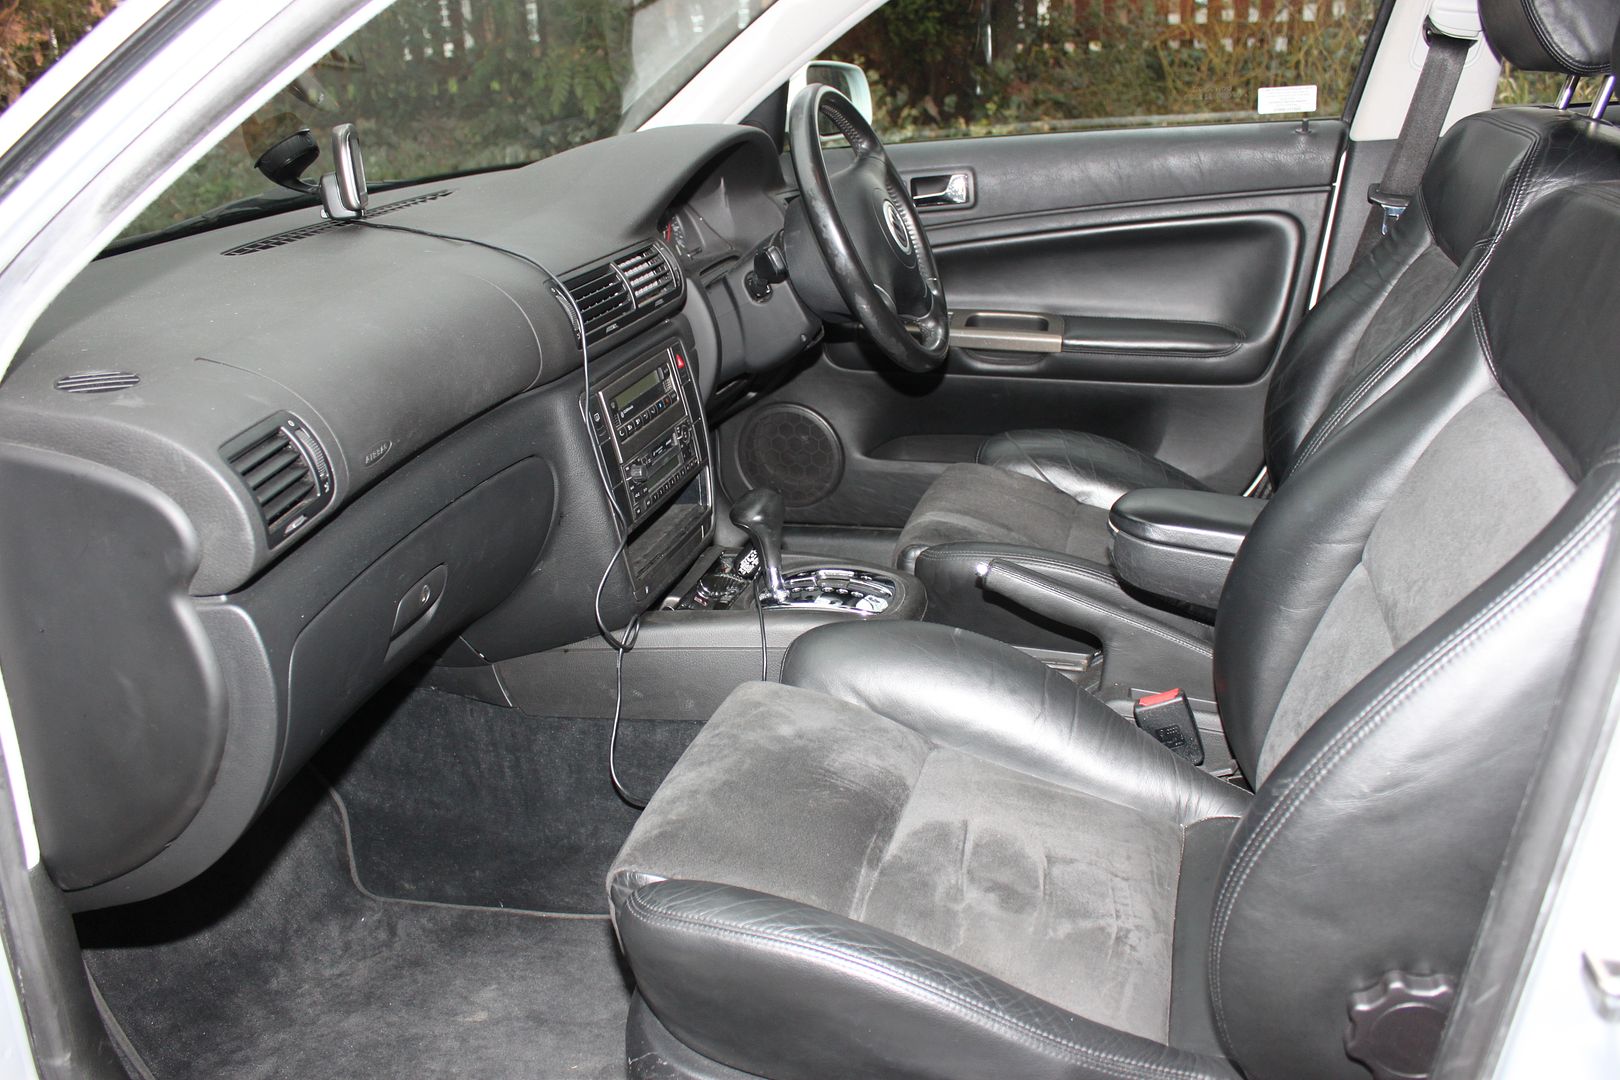
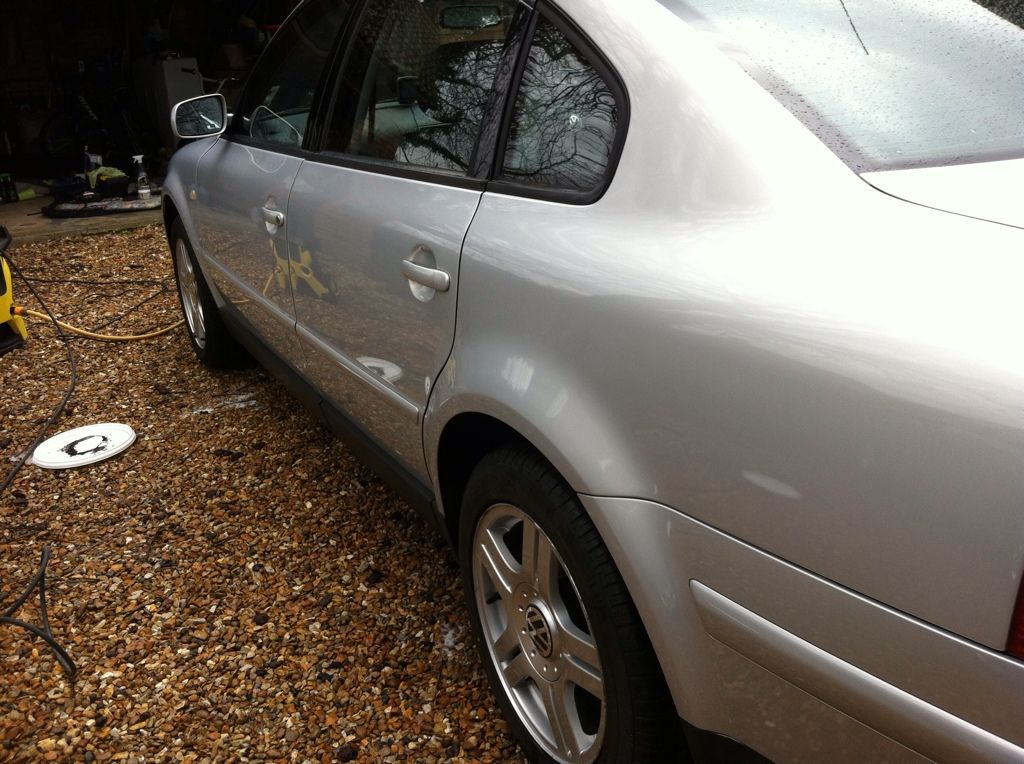
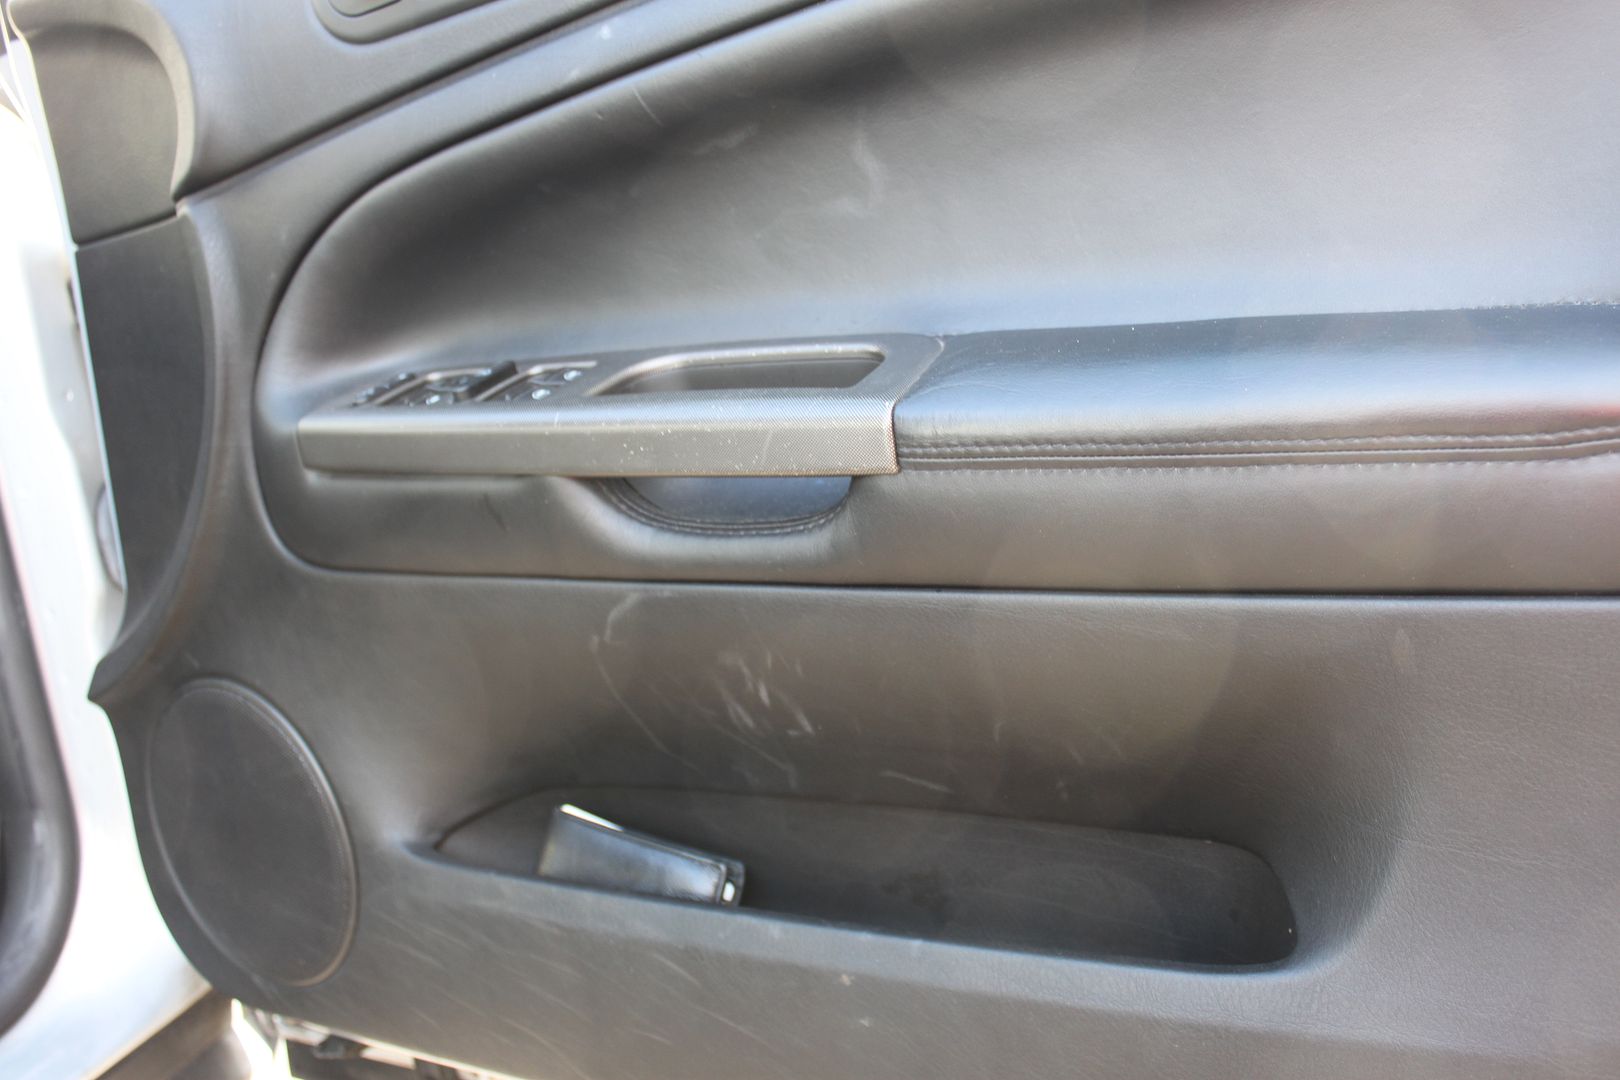
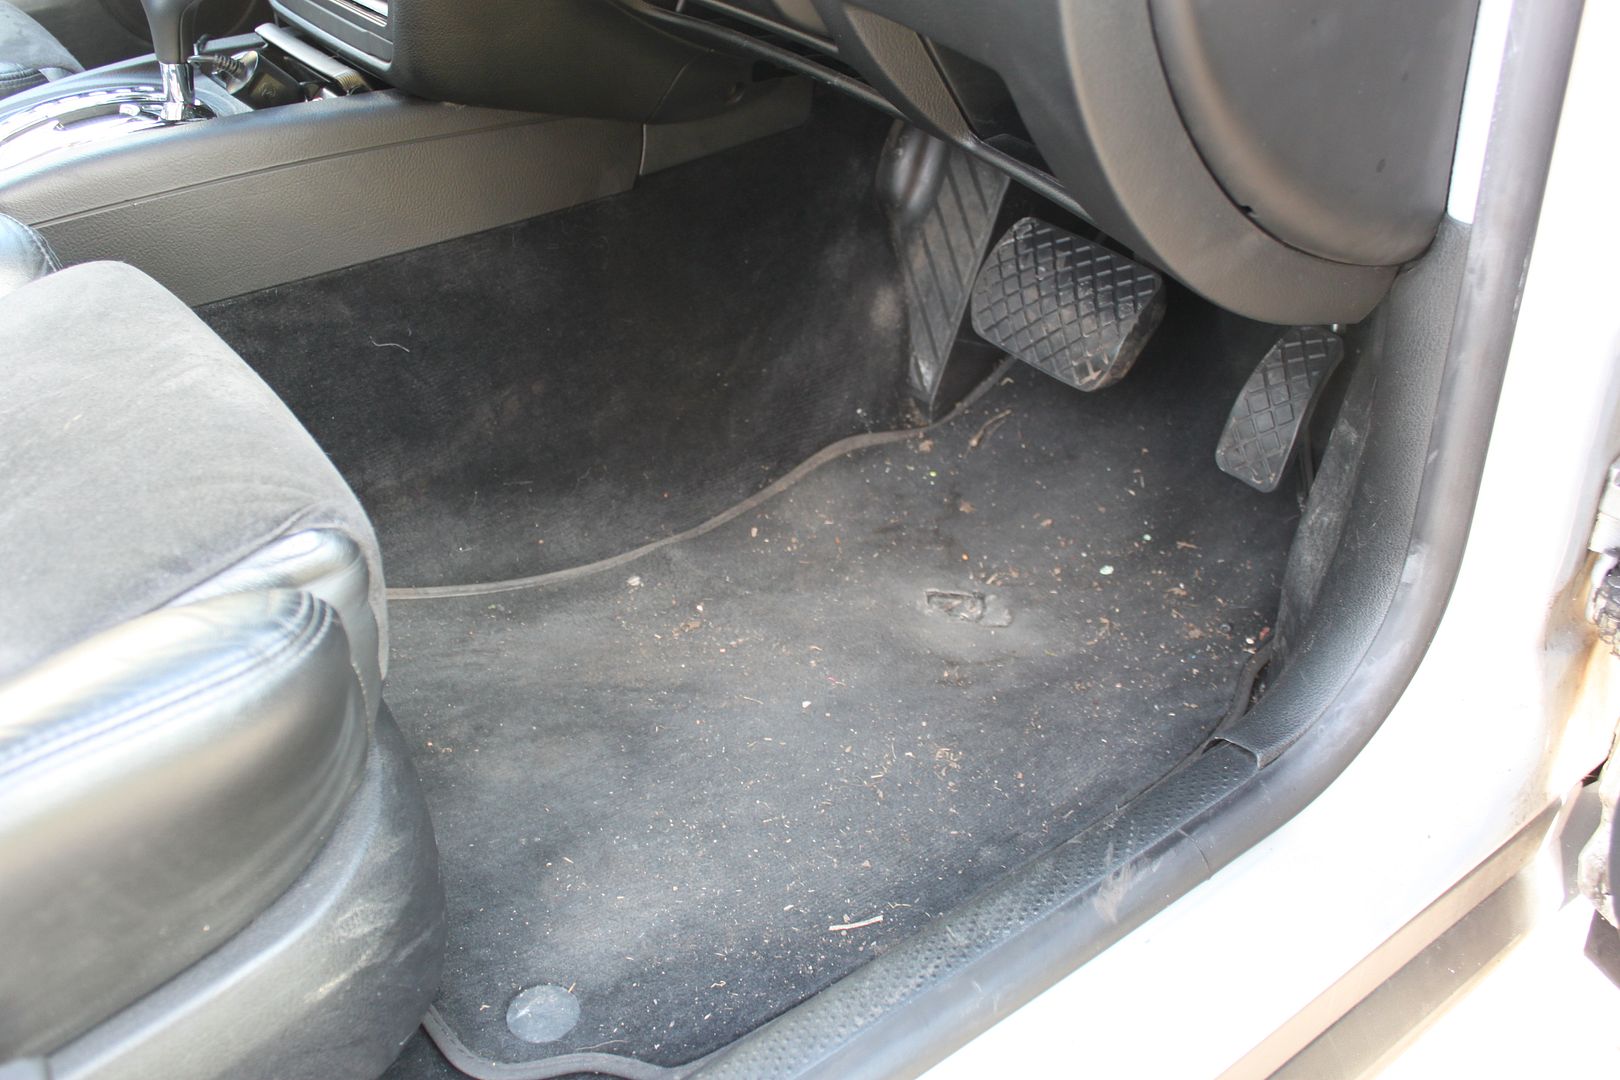
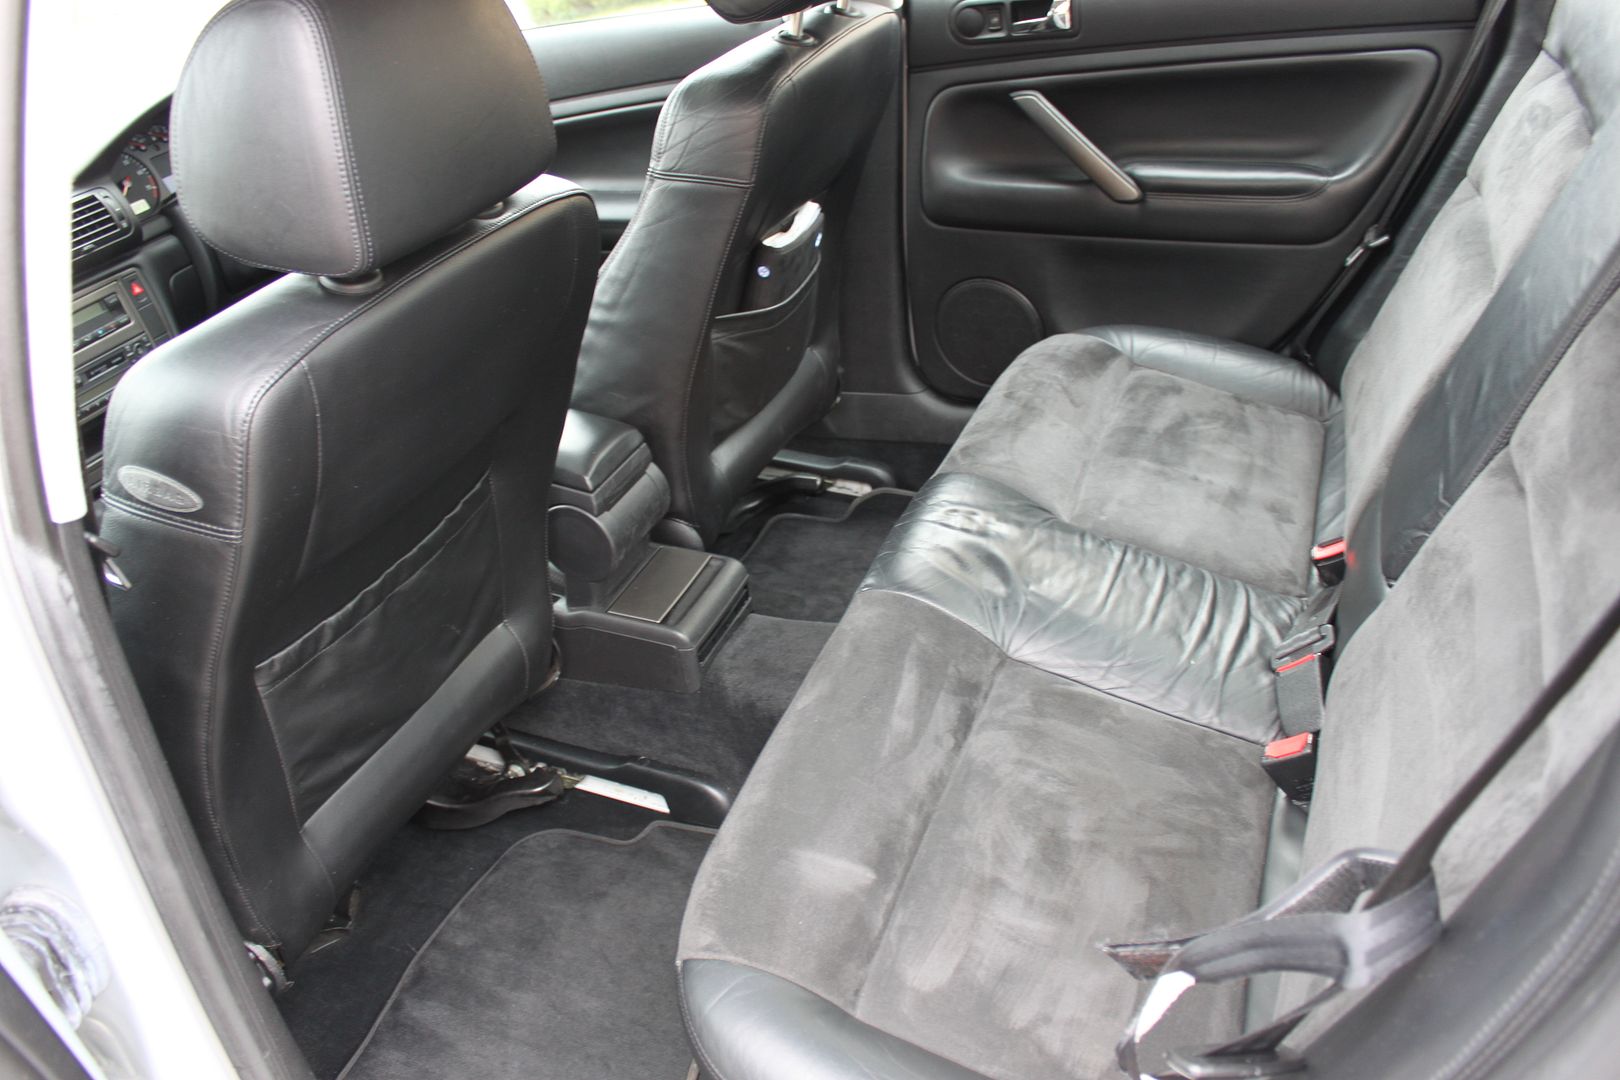
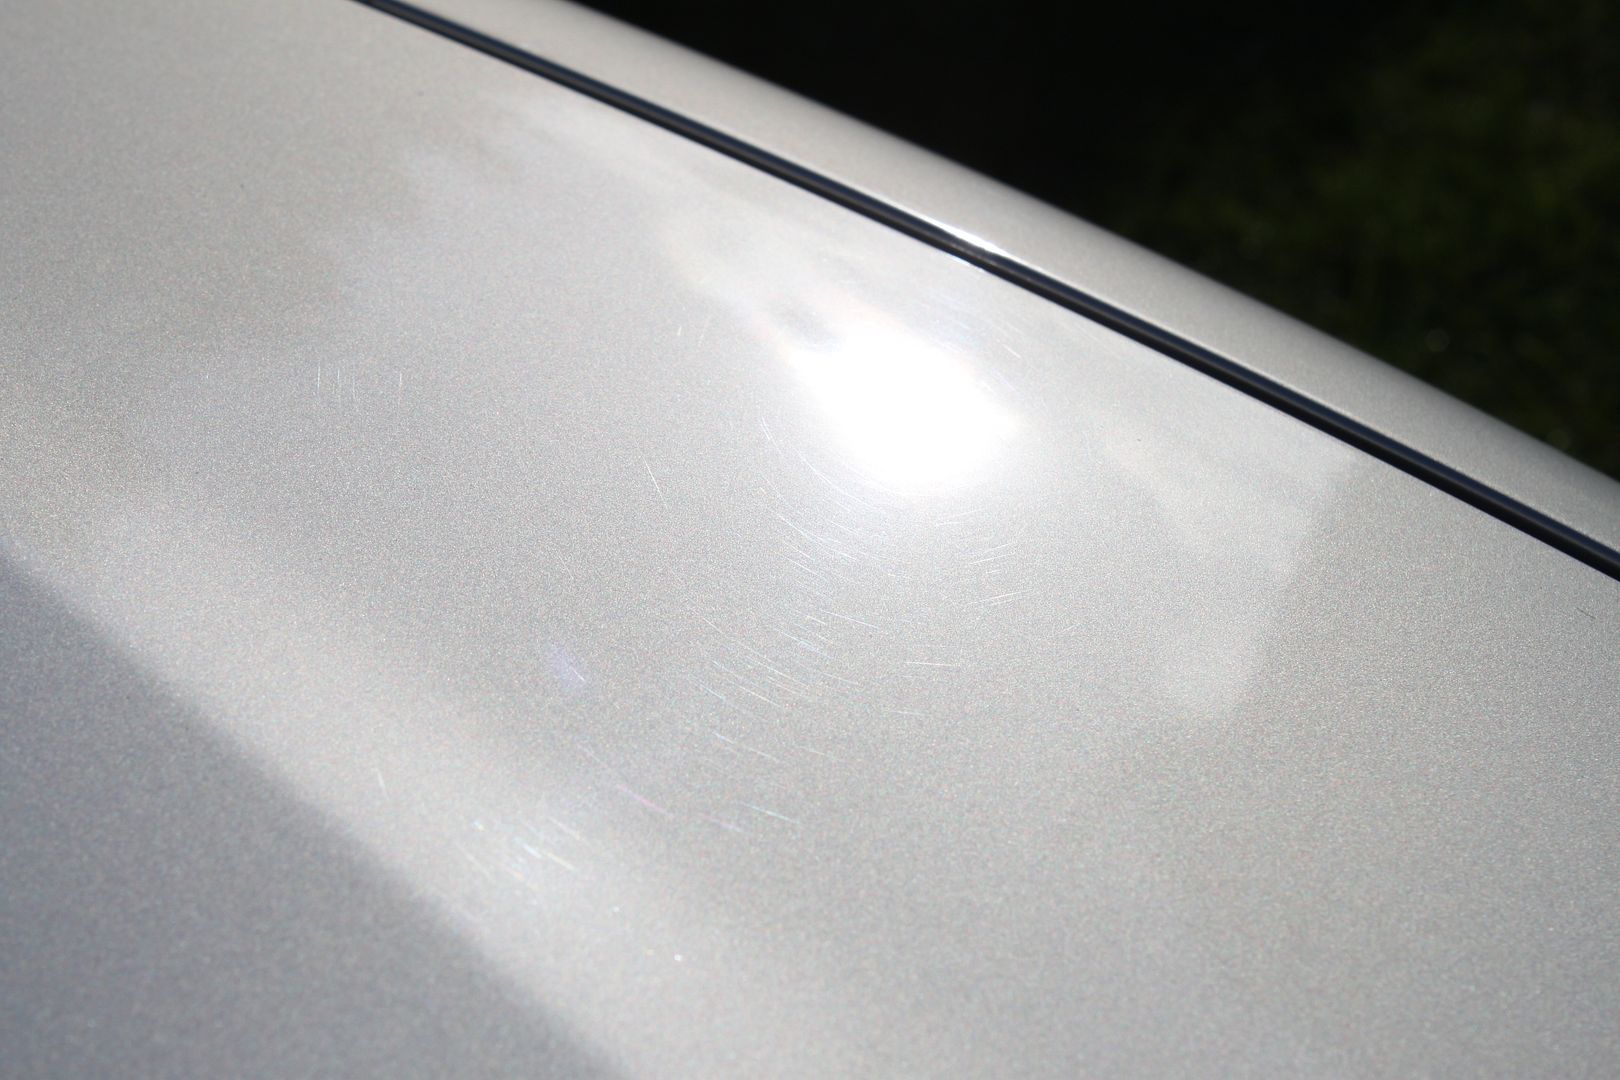
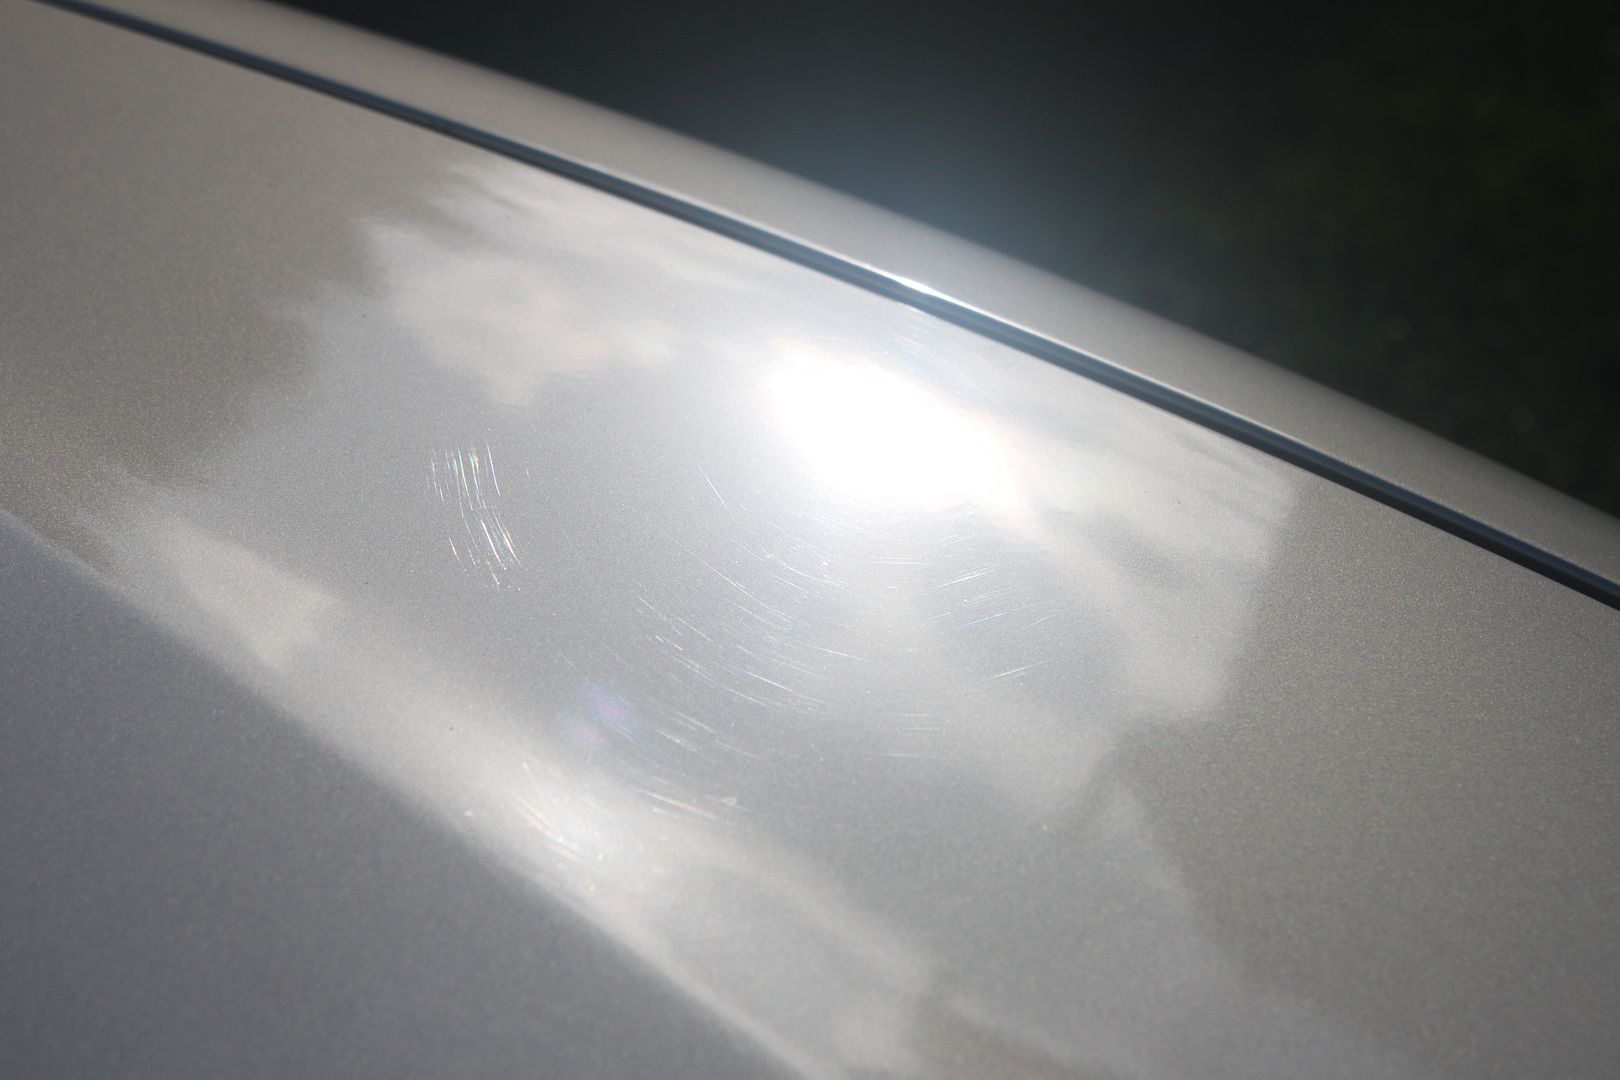
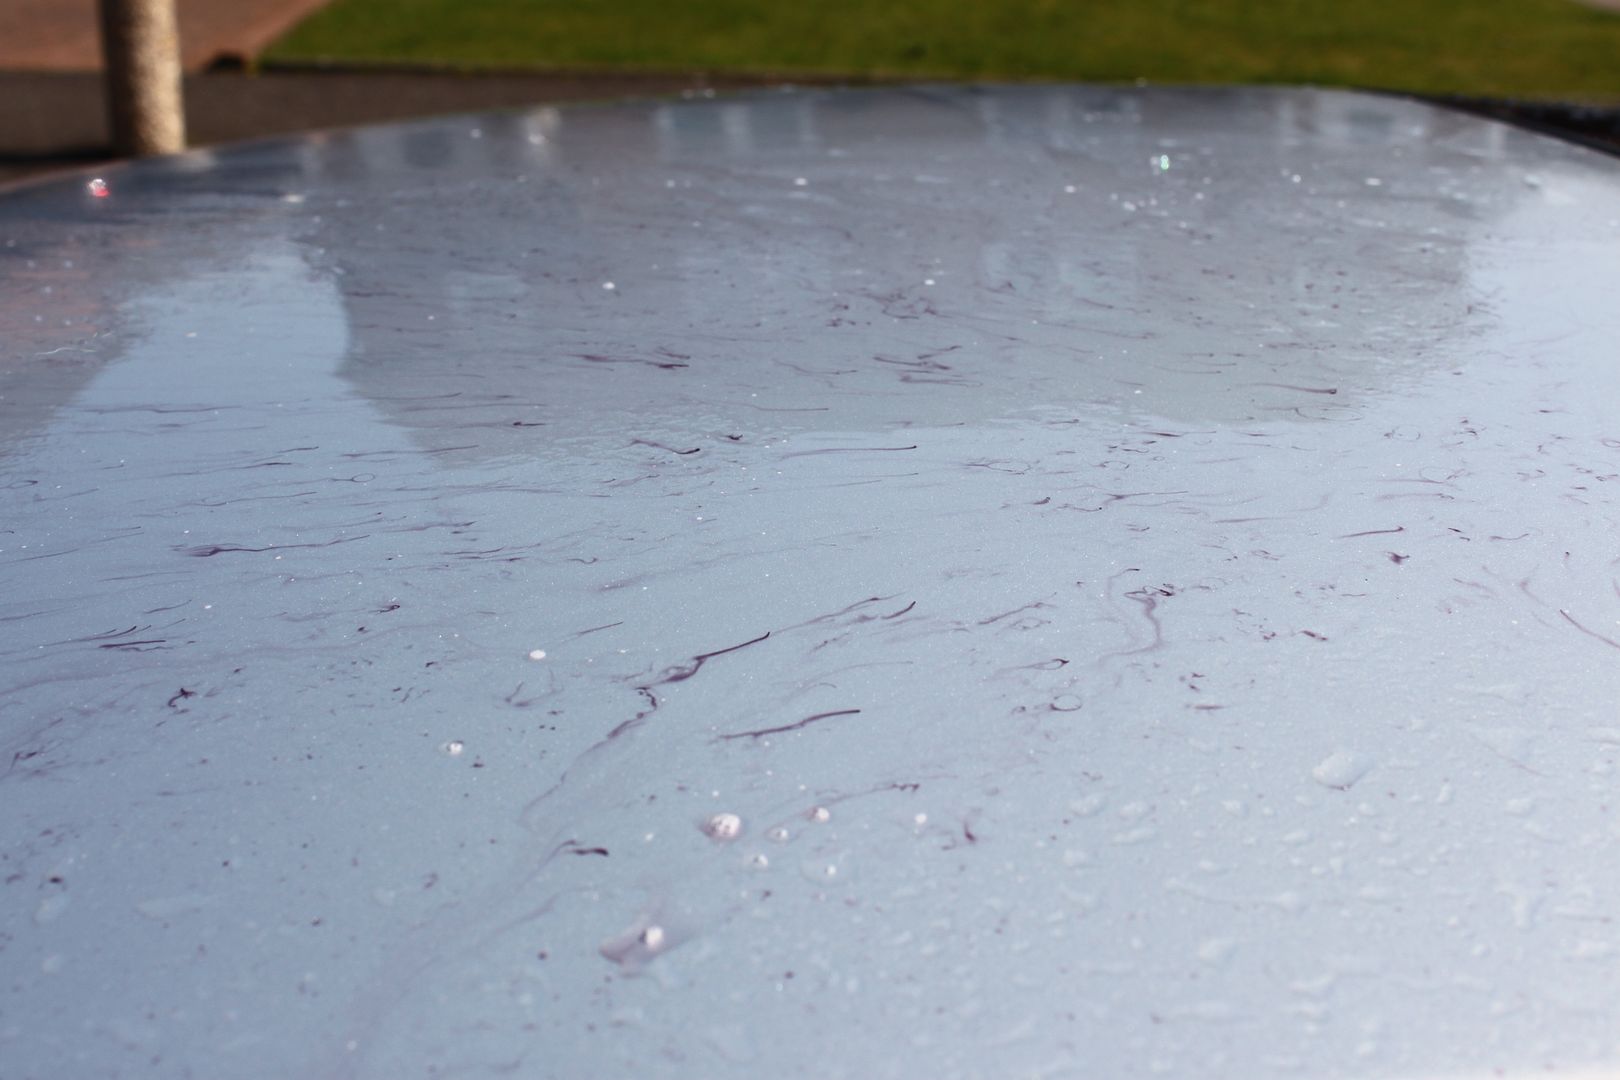
so thats in to be fixed as of tomorrow....but today i thought i should get on with cleaning the car....so i started ot the interior, it didnt look in the worse condition, but definately not to my standards:

IMG_2343.jpg

IMG_2344.jpg

IMG_2347.jpg

IMG_2348.jpg

IMG_2349.jpg

IMG_2350.jpg

IMG_2357.jpg

IMG_2358.jpg

IMG_2360.jpg

IMG_2363.jpg


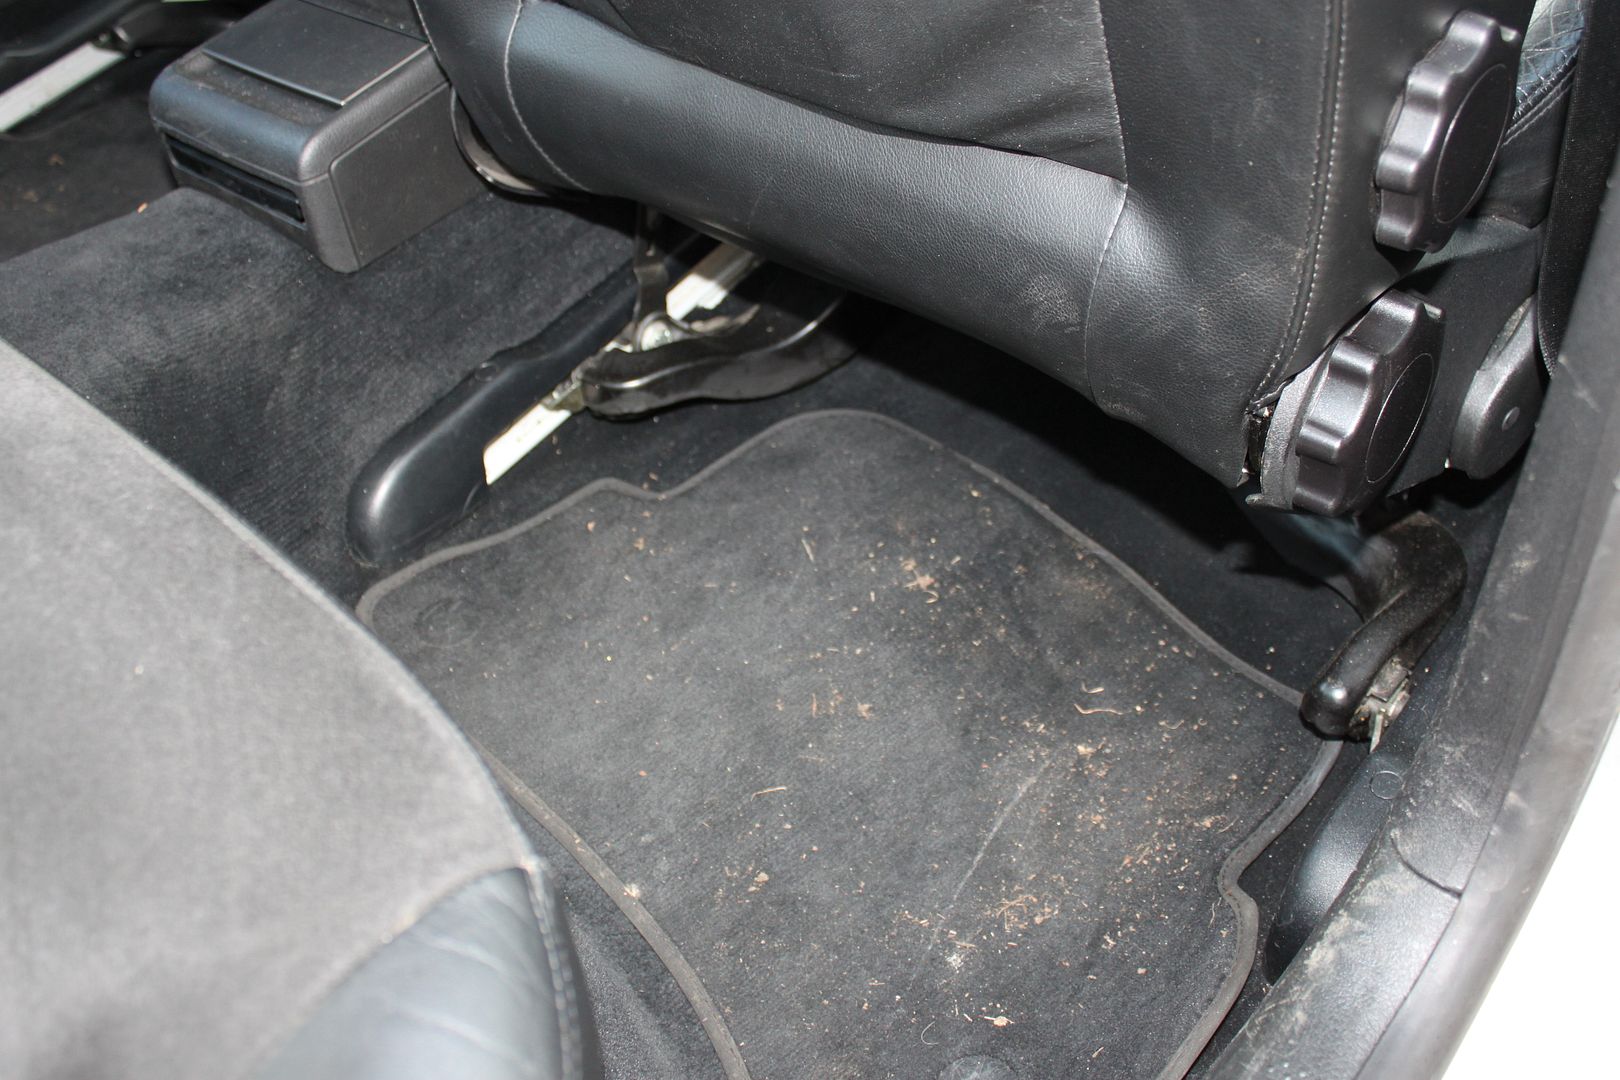
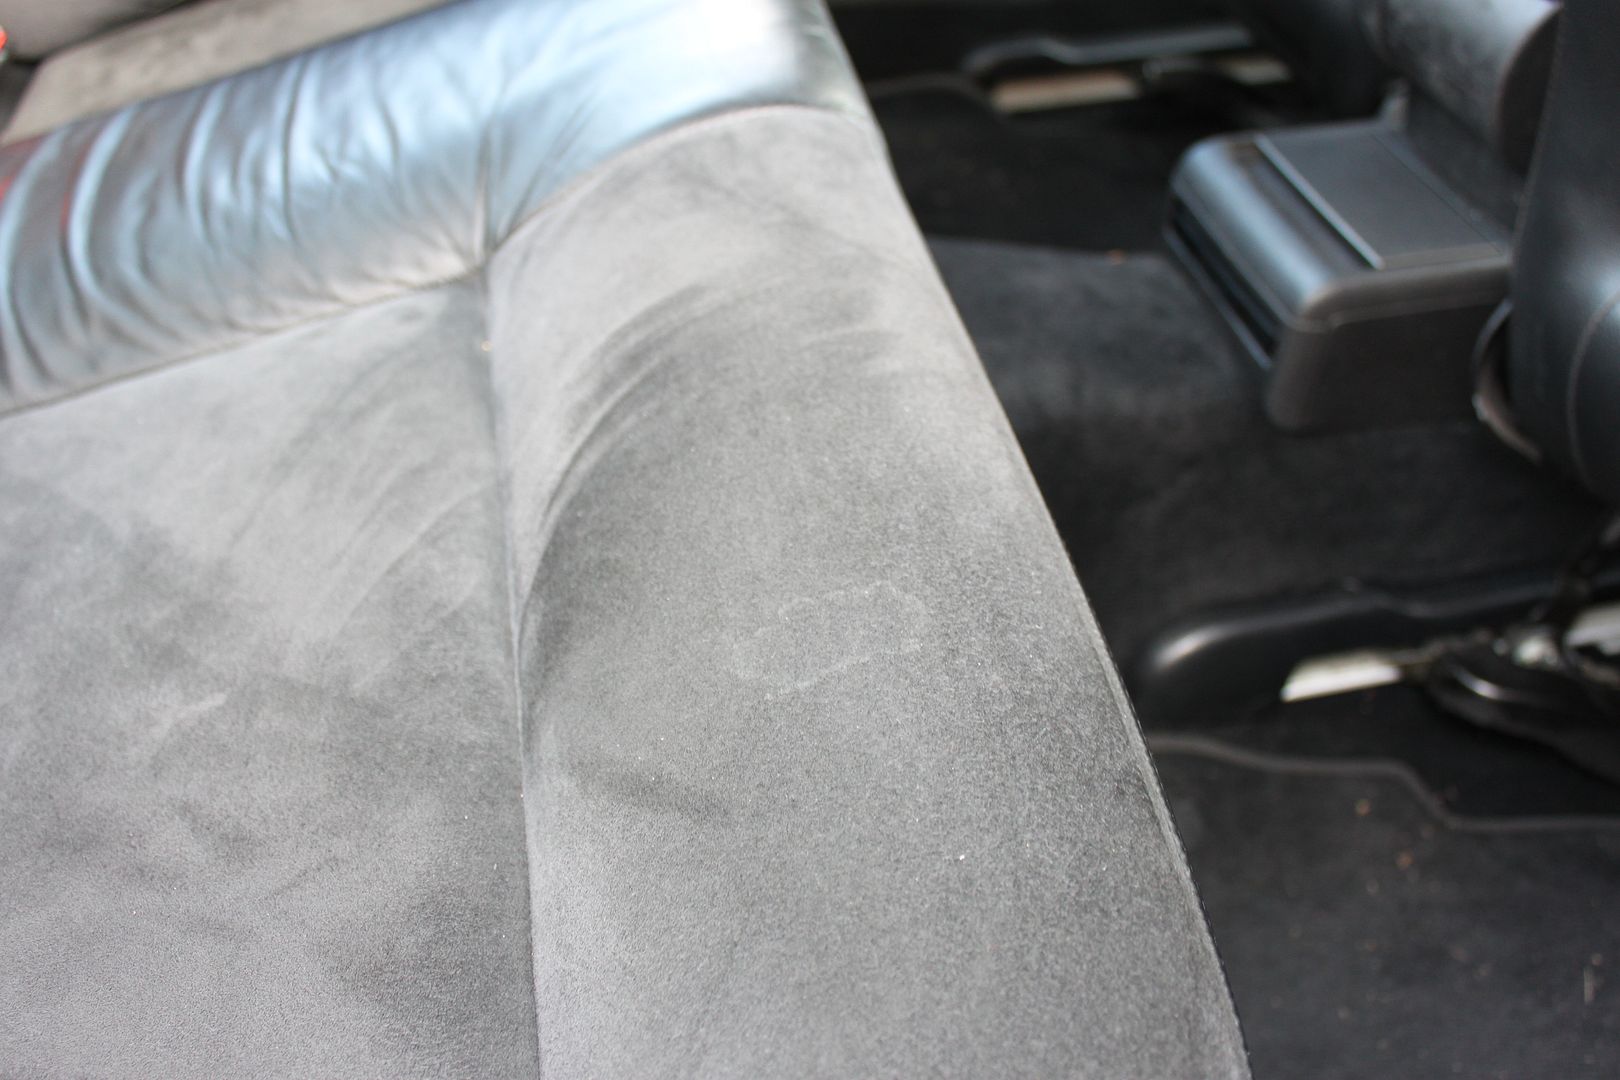
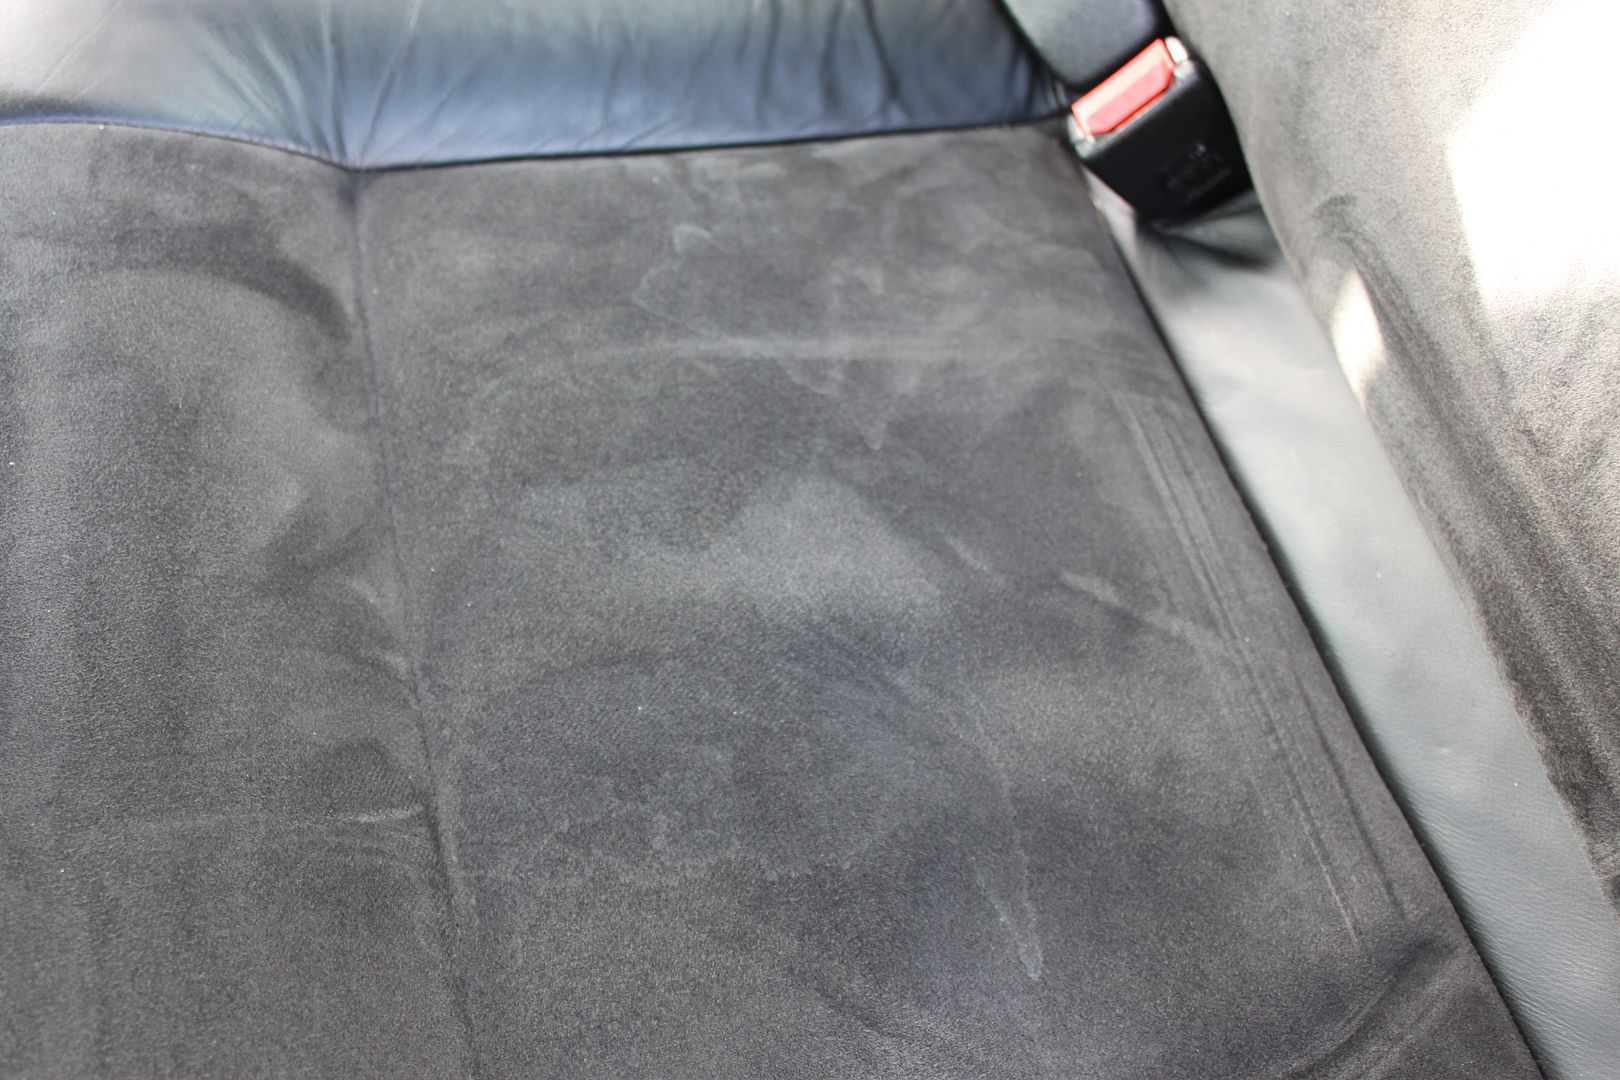
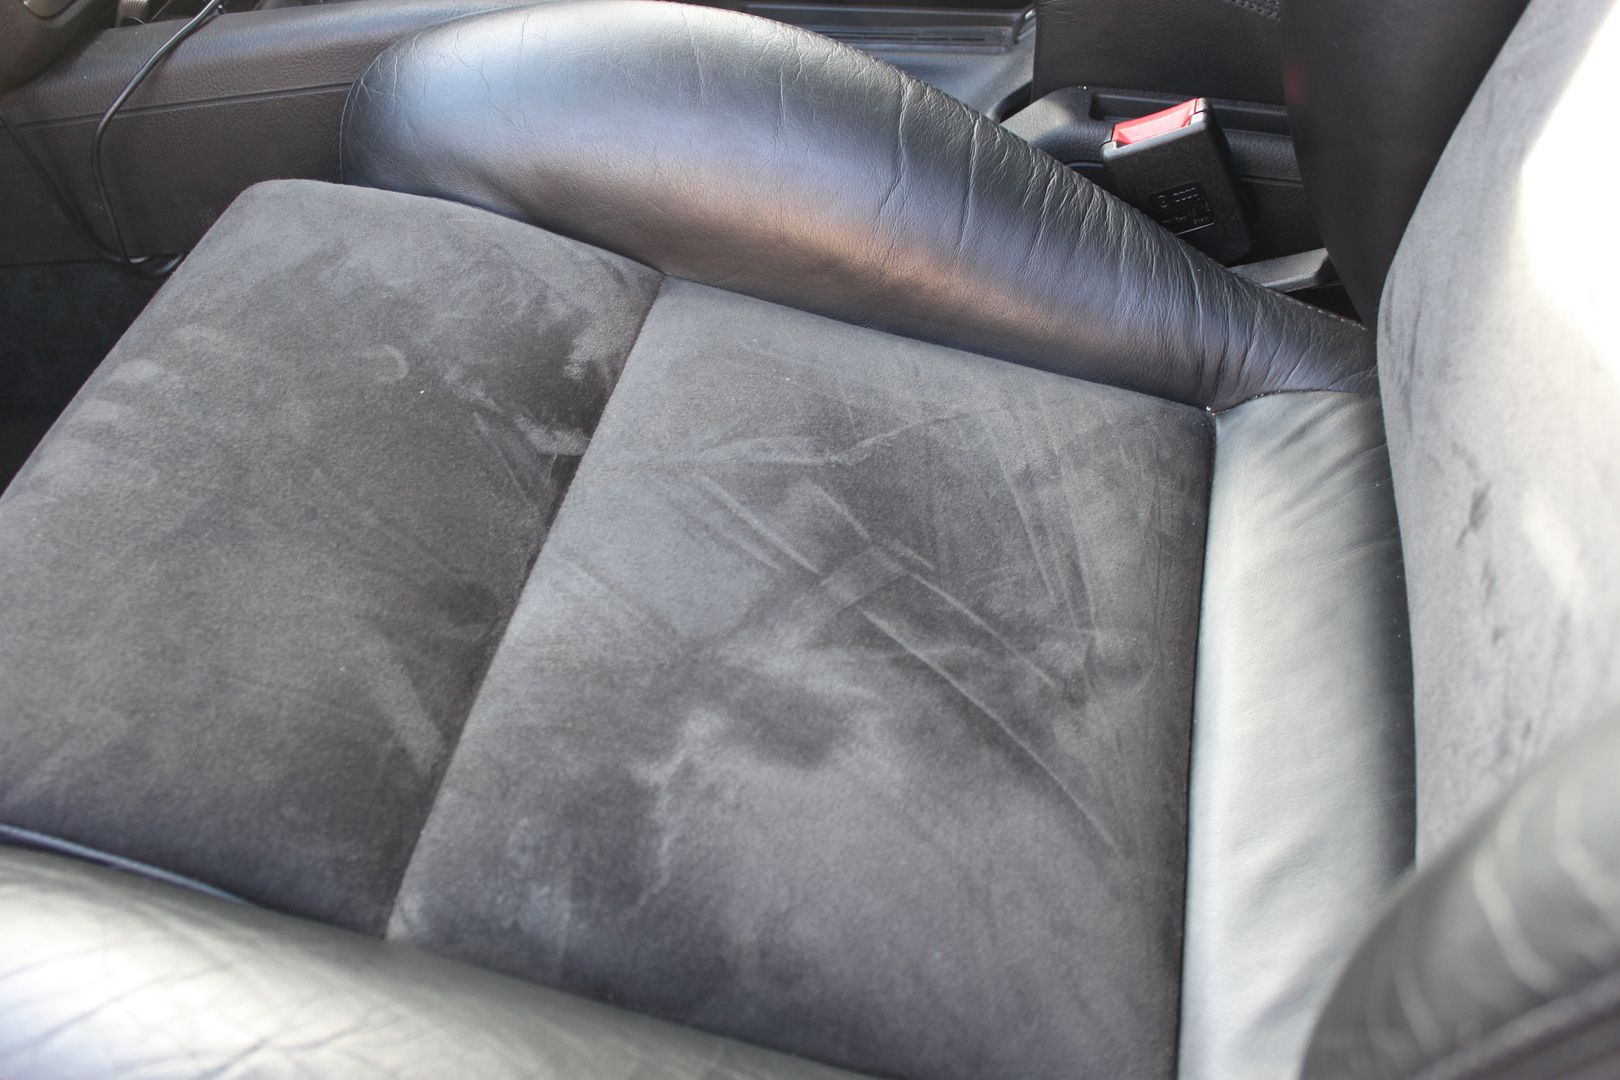
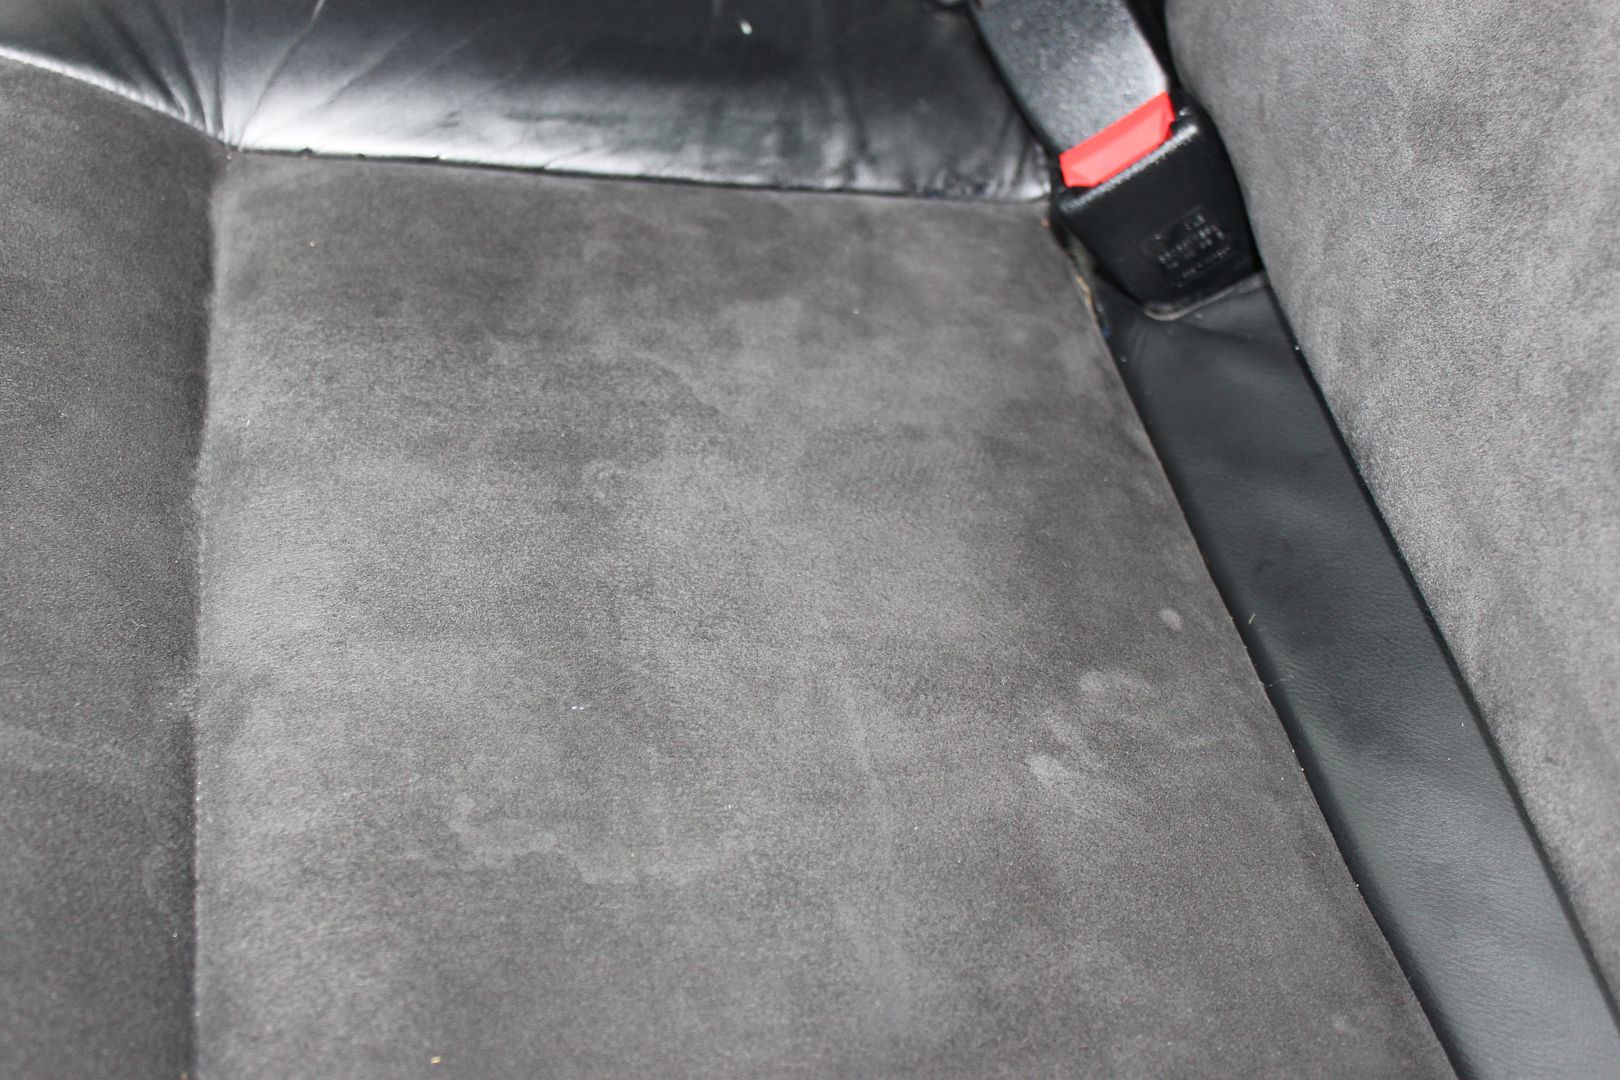
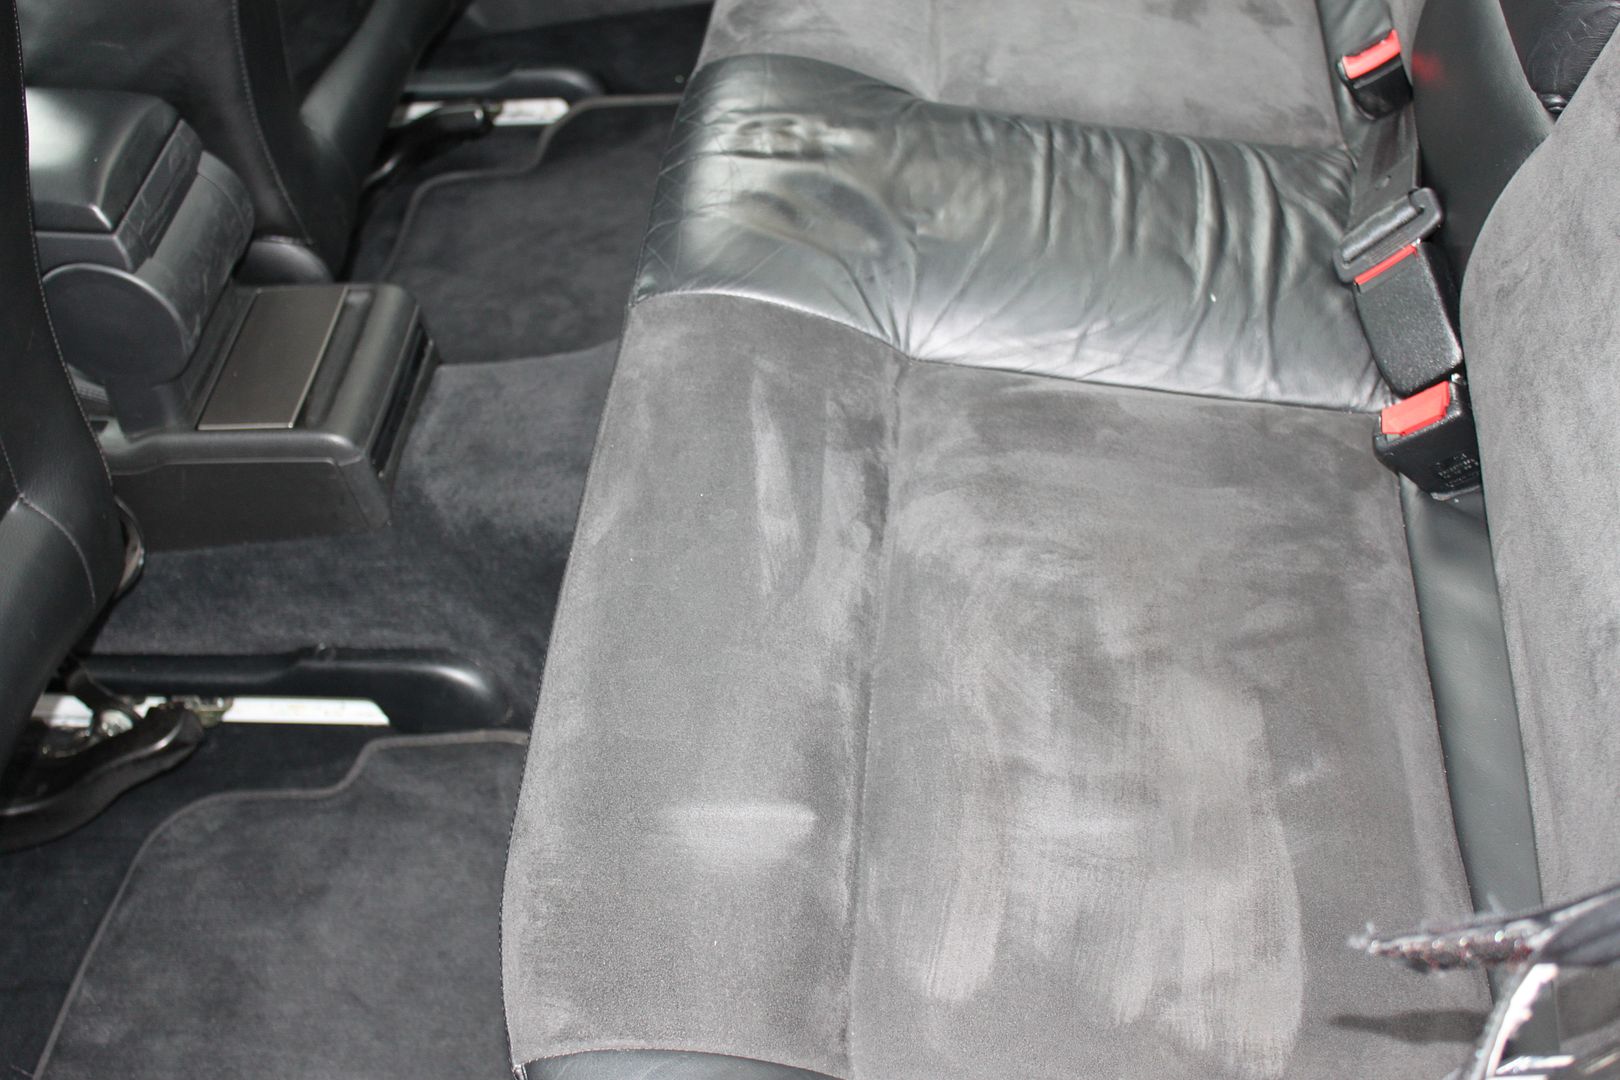
Some of the seats had a bit of staining on them:

IMG_2351.jpg

IMG_2352.jpg

IMG_2361.jpg


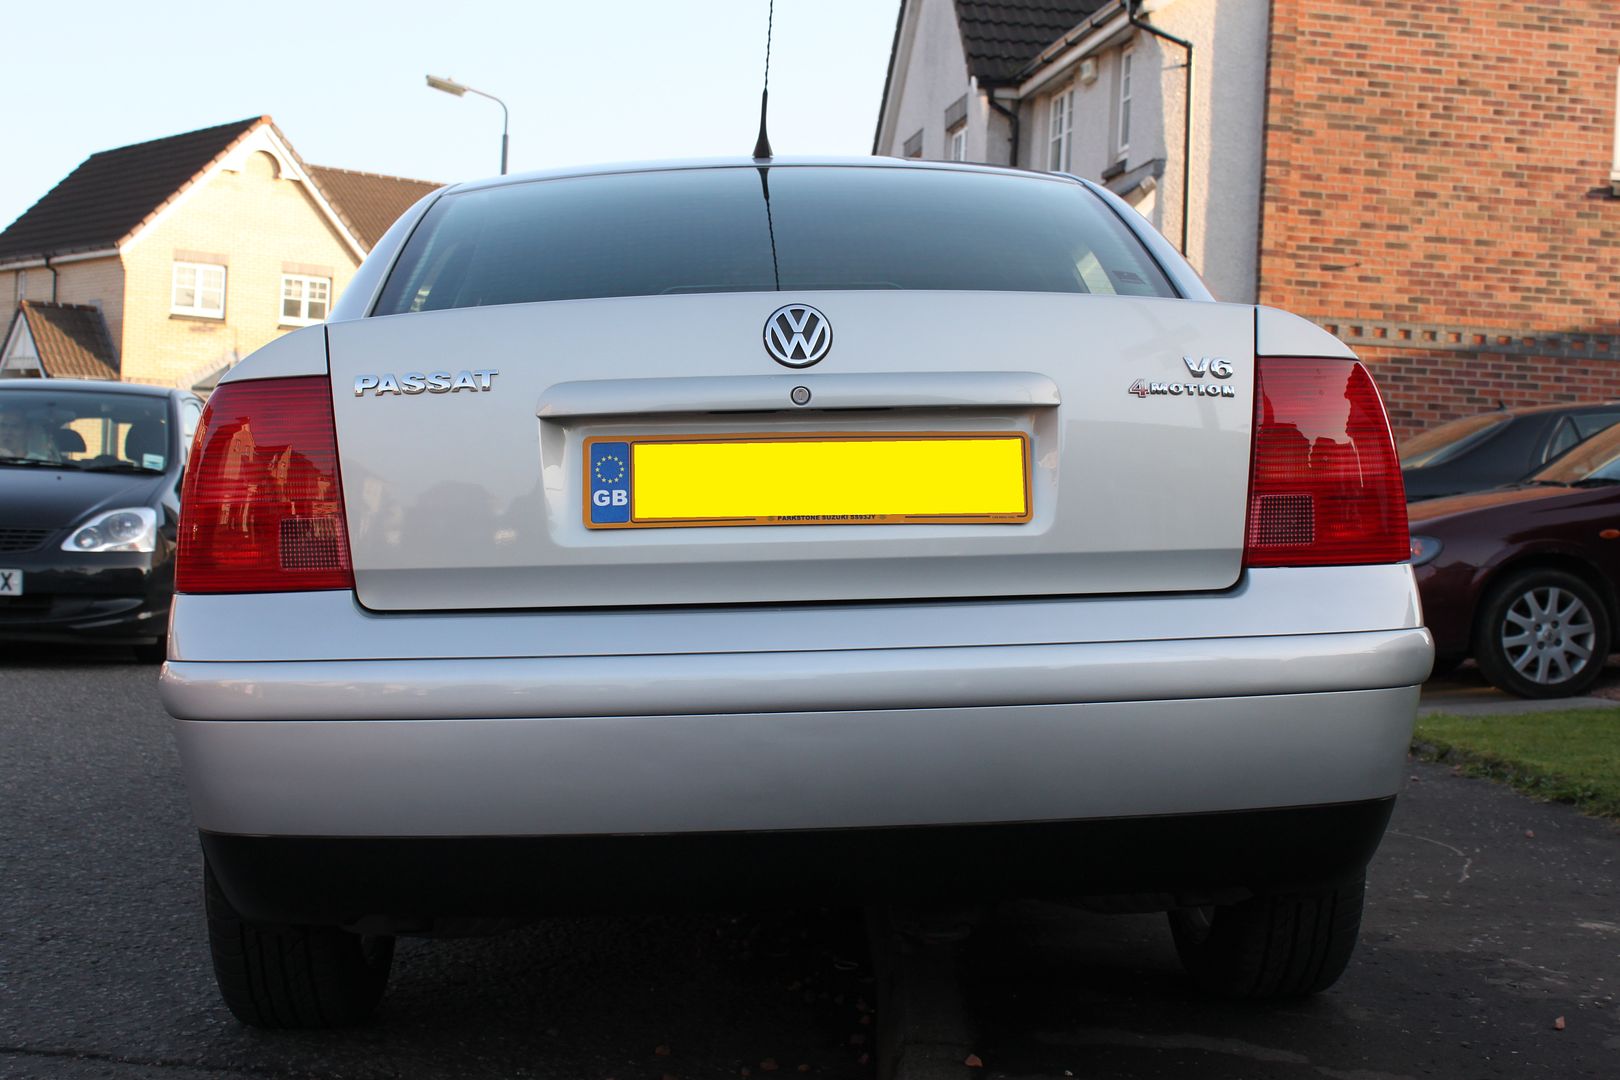
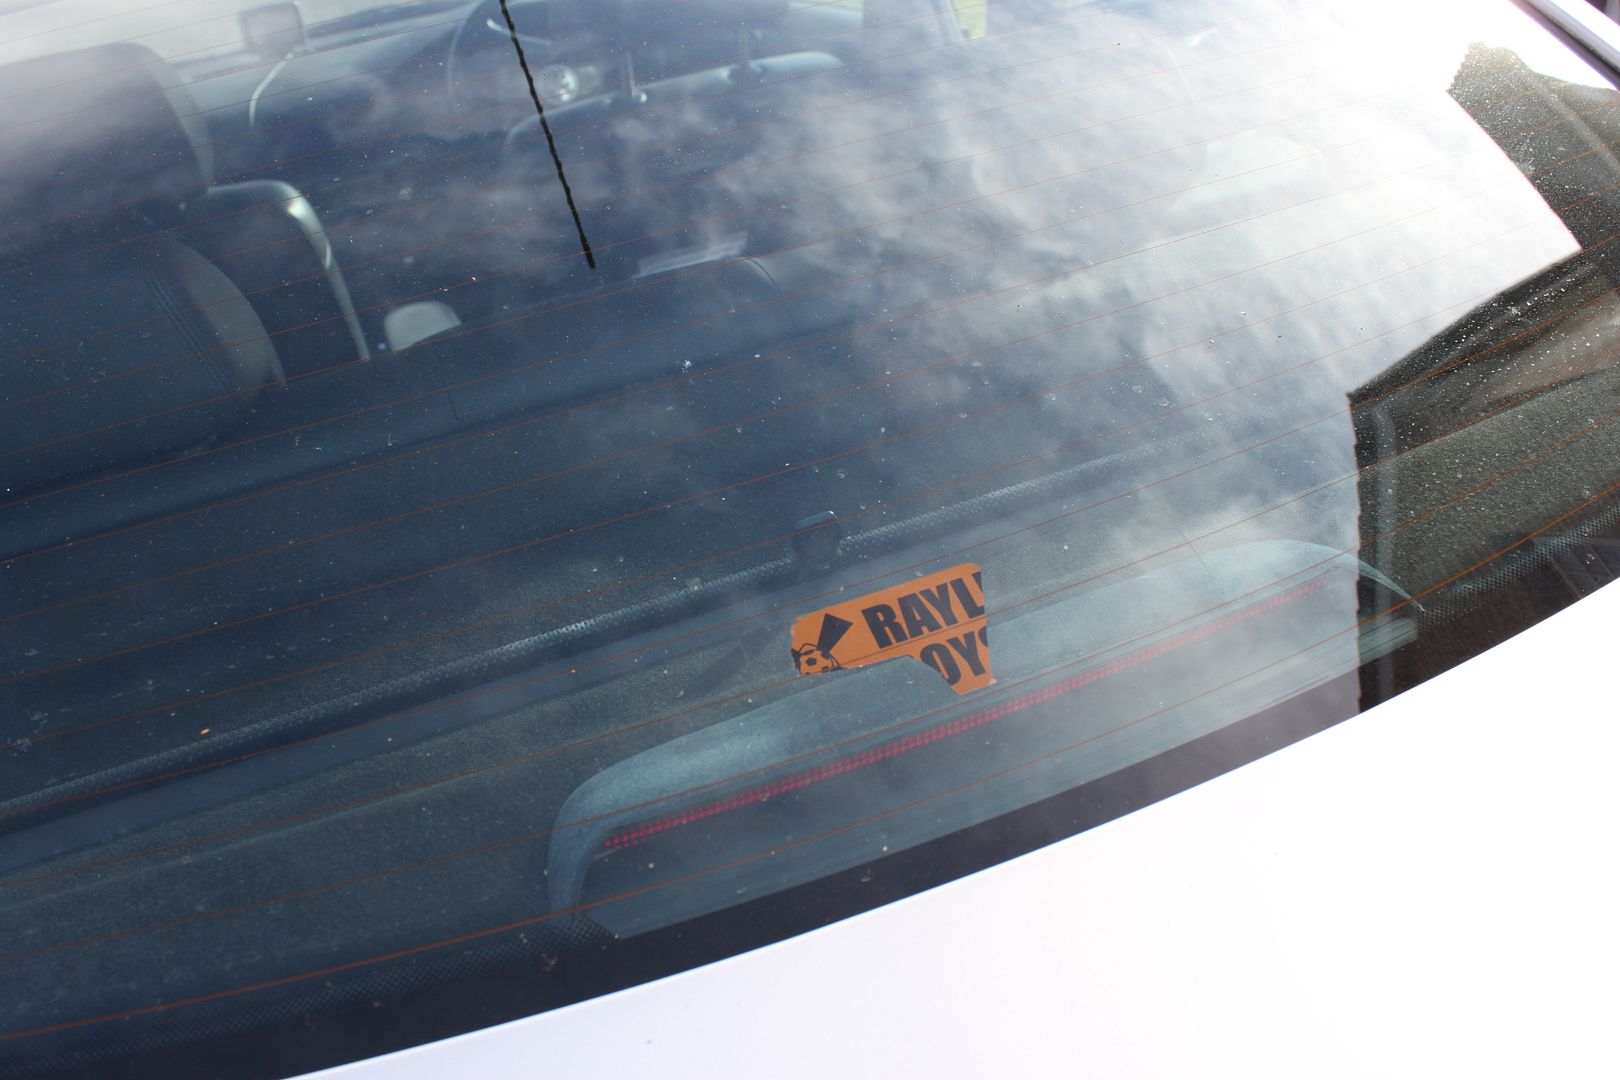
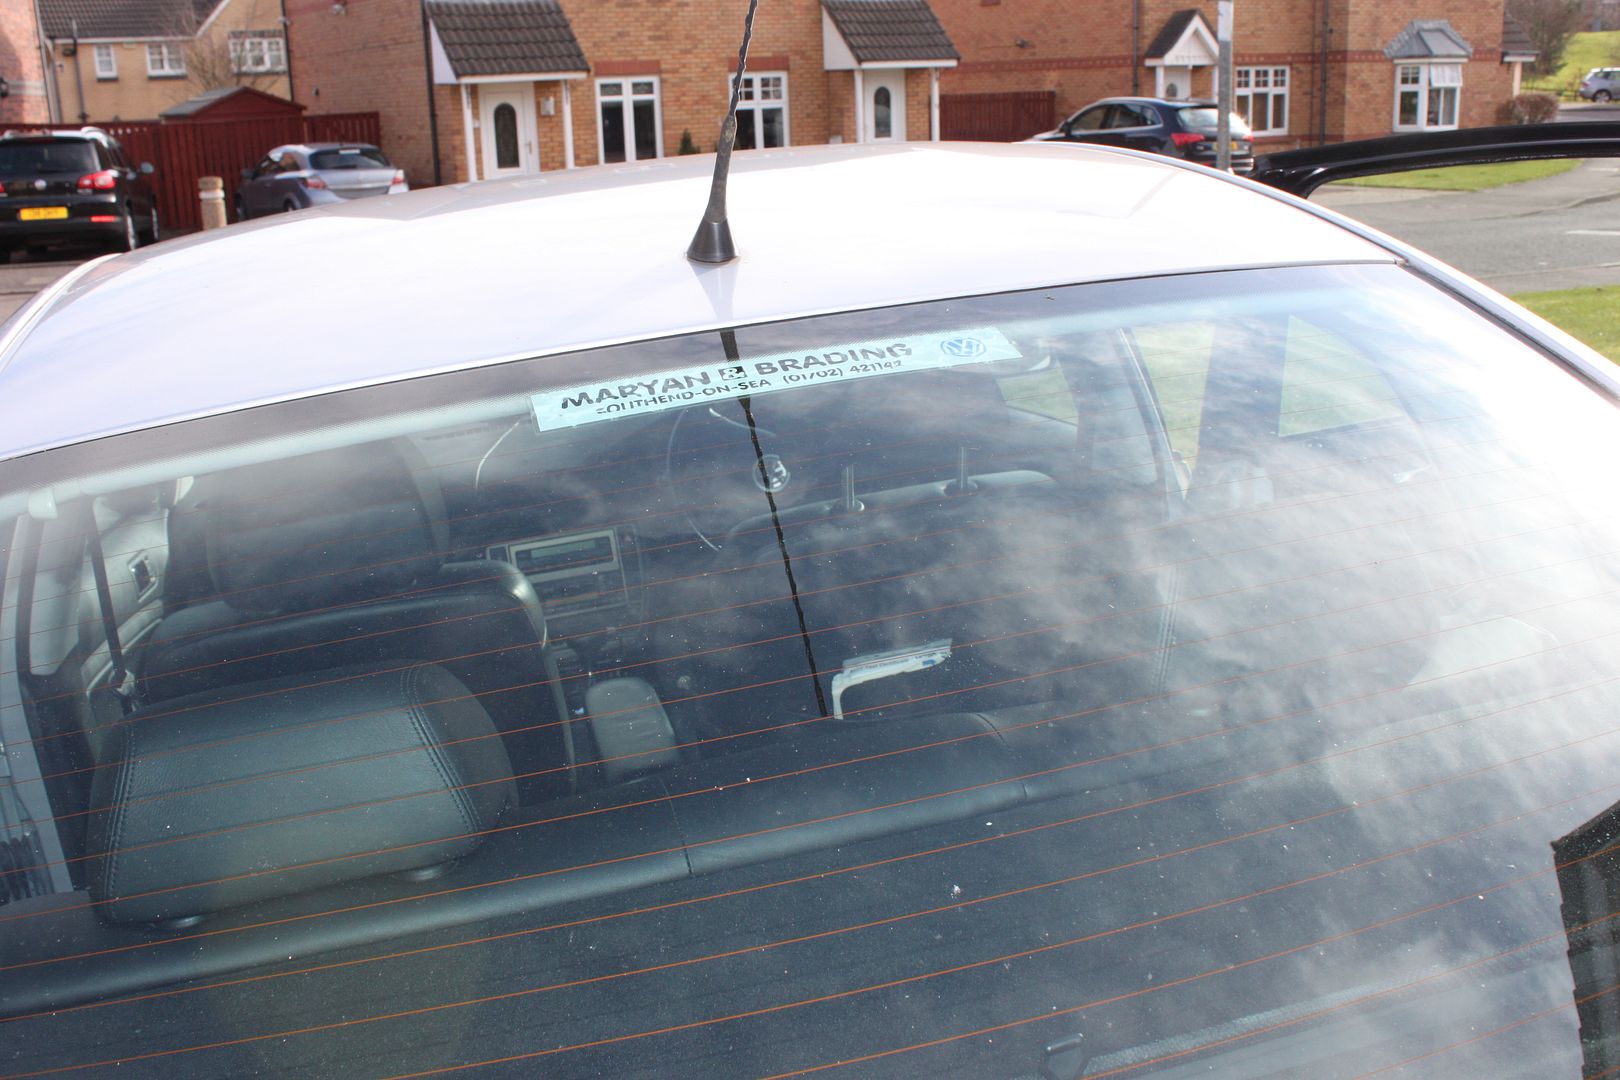
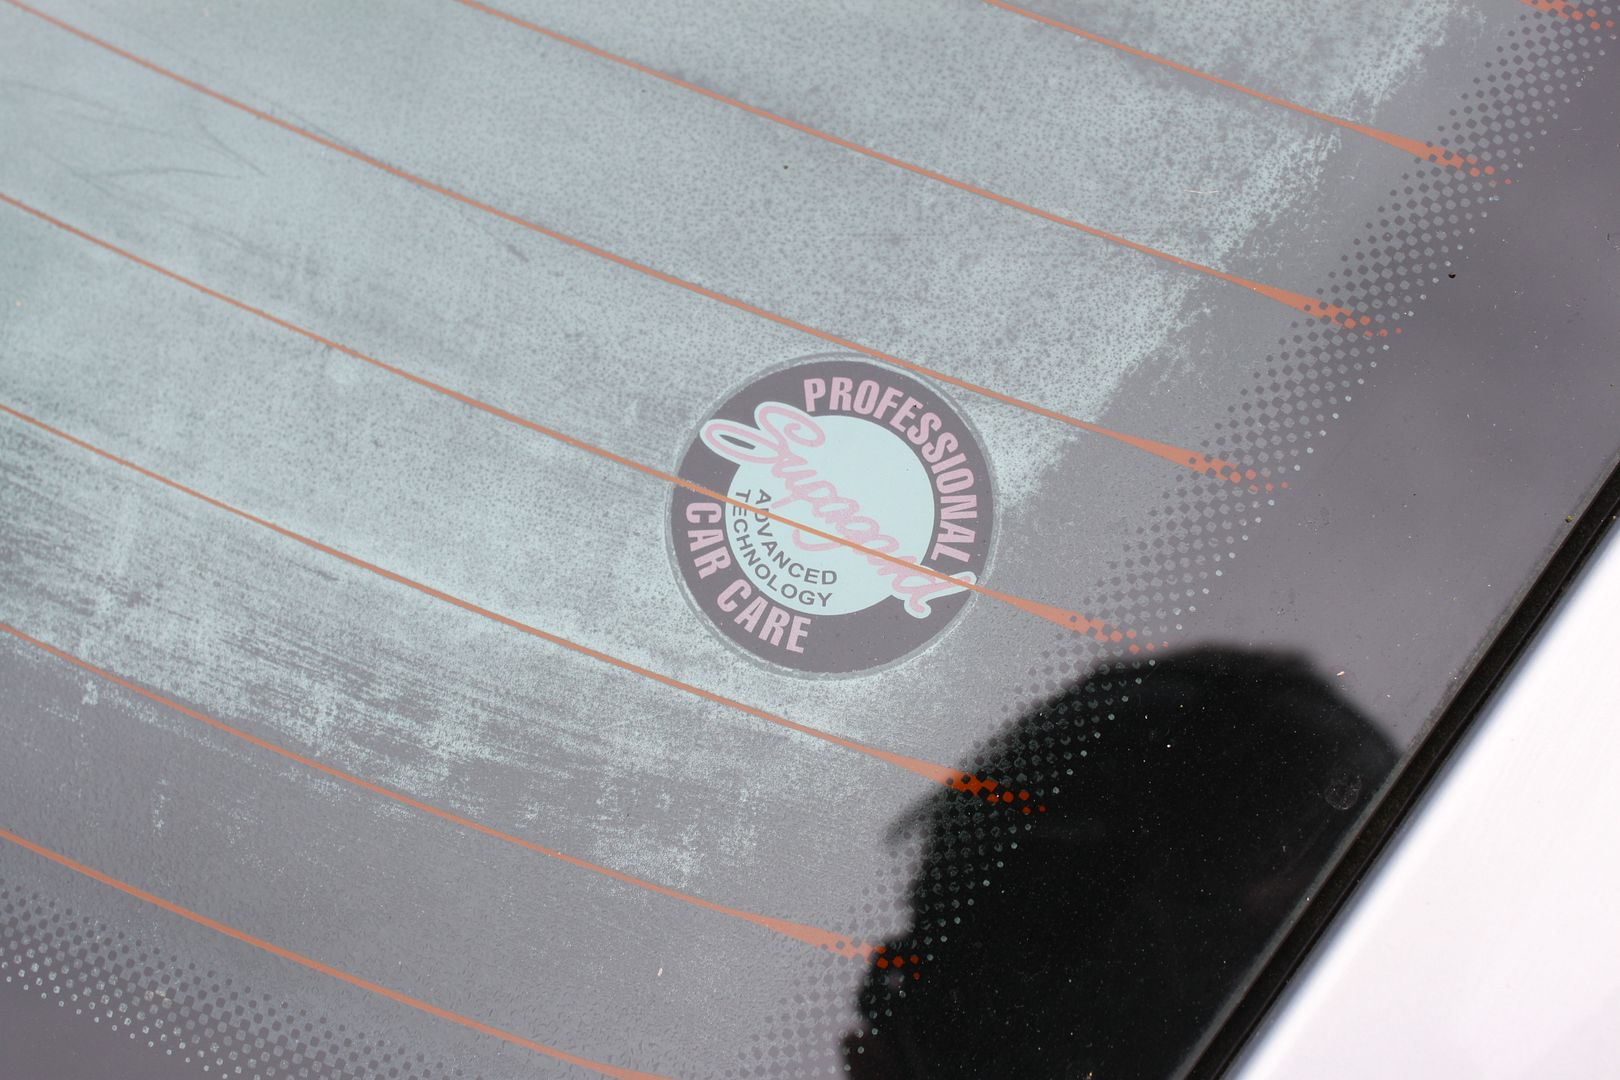
The rear window had 3 stickers on them, probably been there for 13 years and were glued in place, i had previously attempted to remove the sticker at the bottom, but it wasnt happening, the other was the dealer sticker and a Supaguard sticker:

IMG_2354.jpg

IMG_2355.jpg

IMG_2356.jpg

IMG_2374.jpg


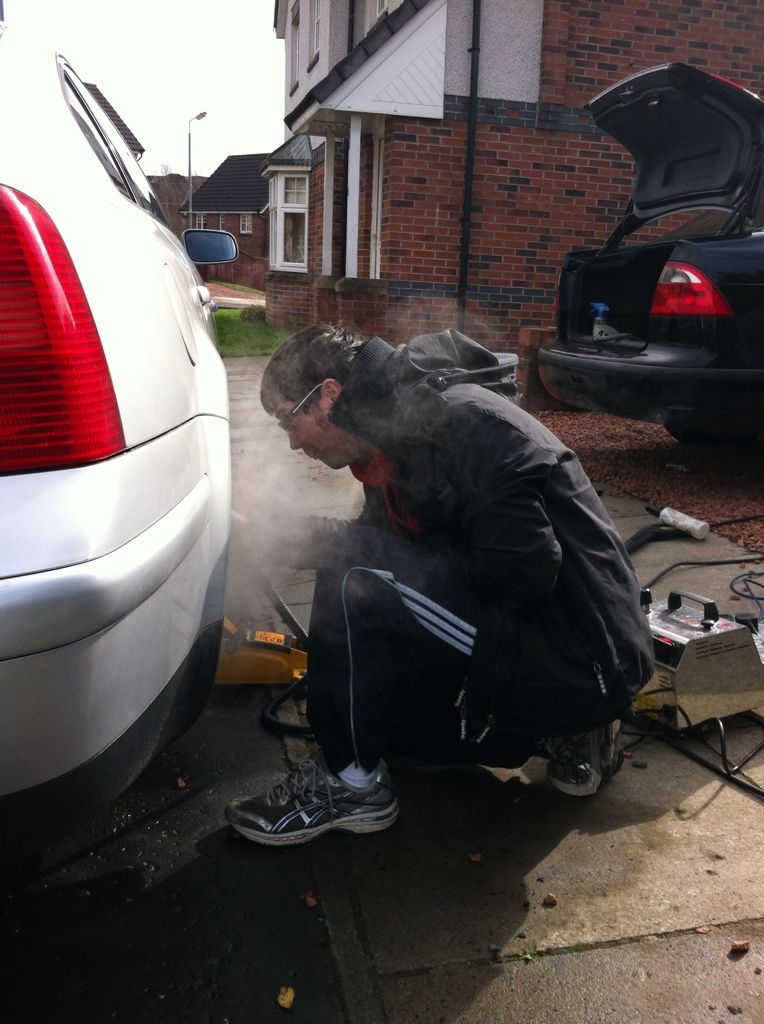
These were removed very easily using the steam cleaner.

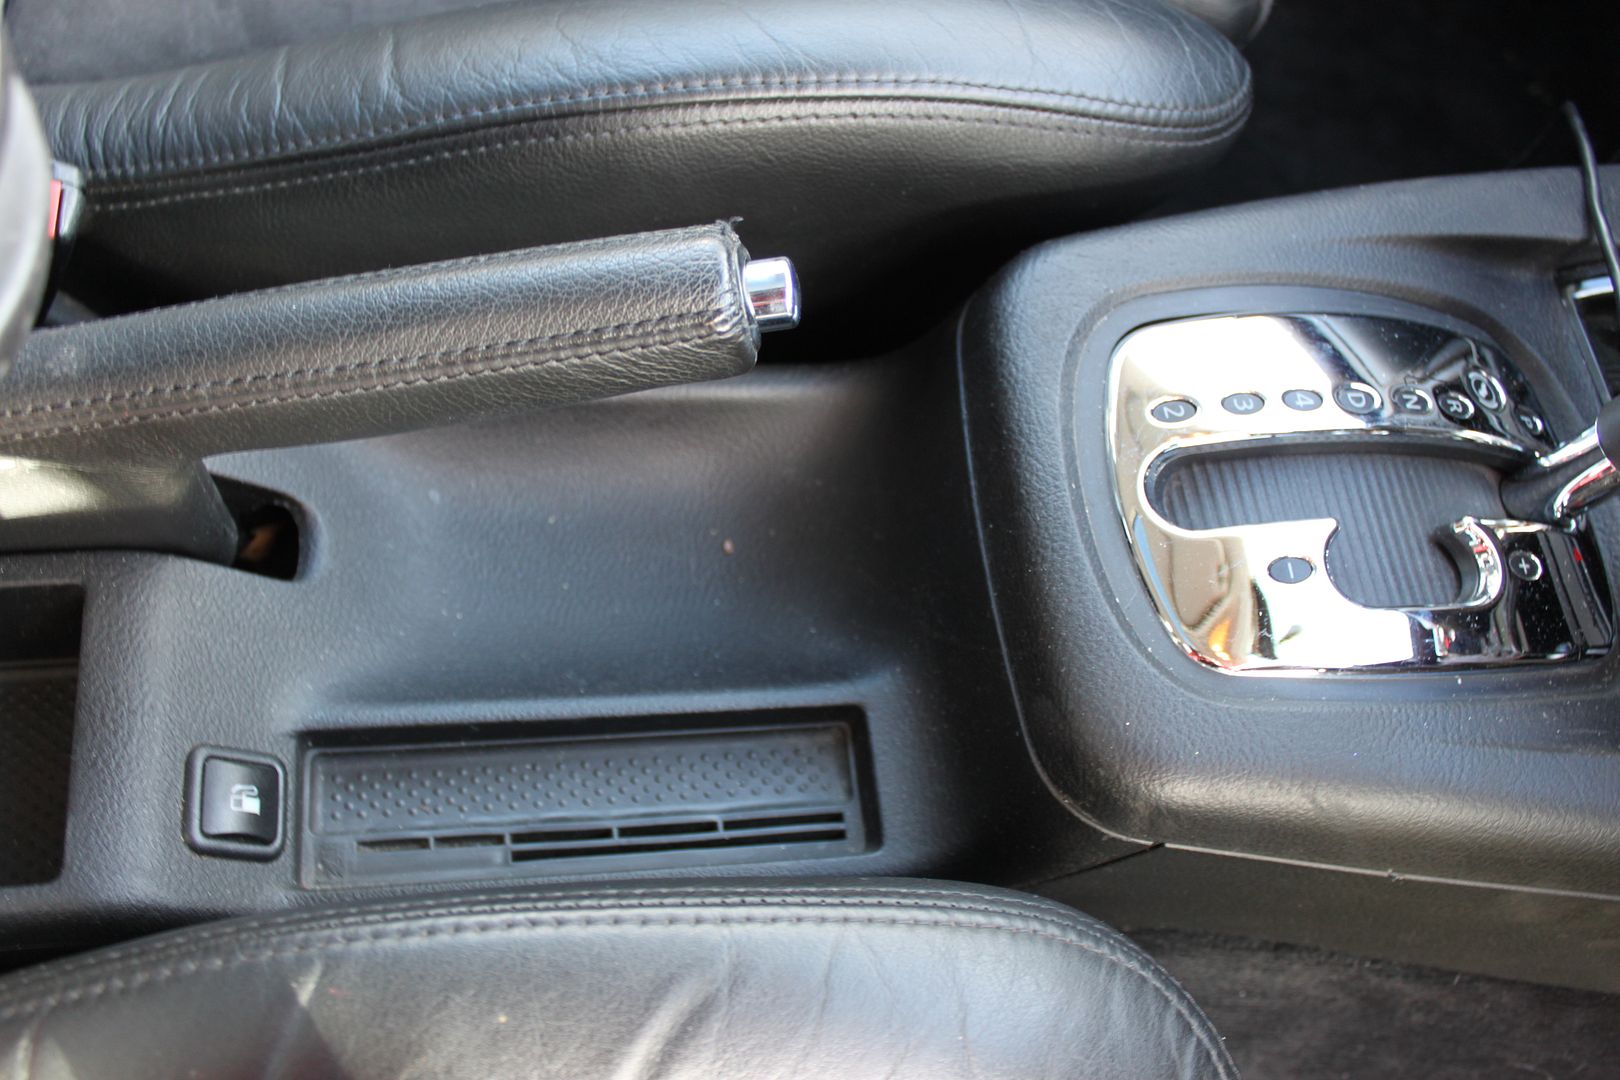
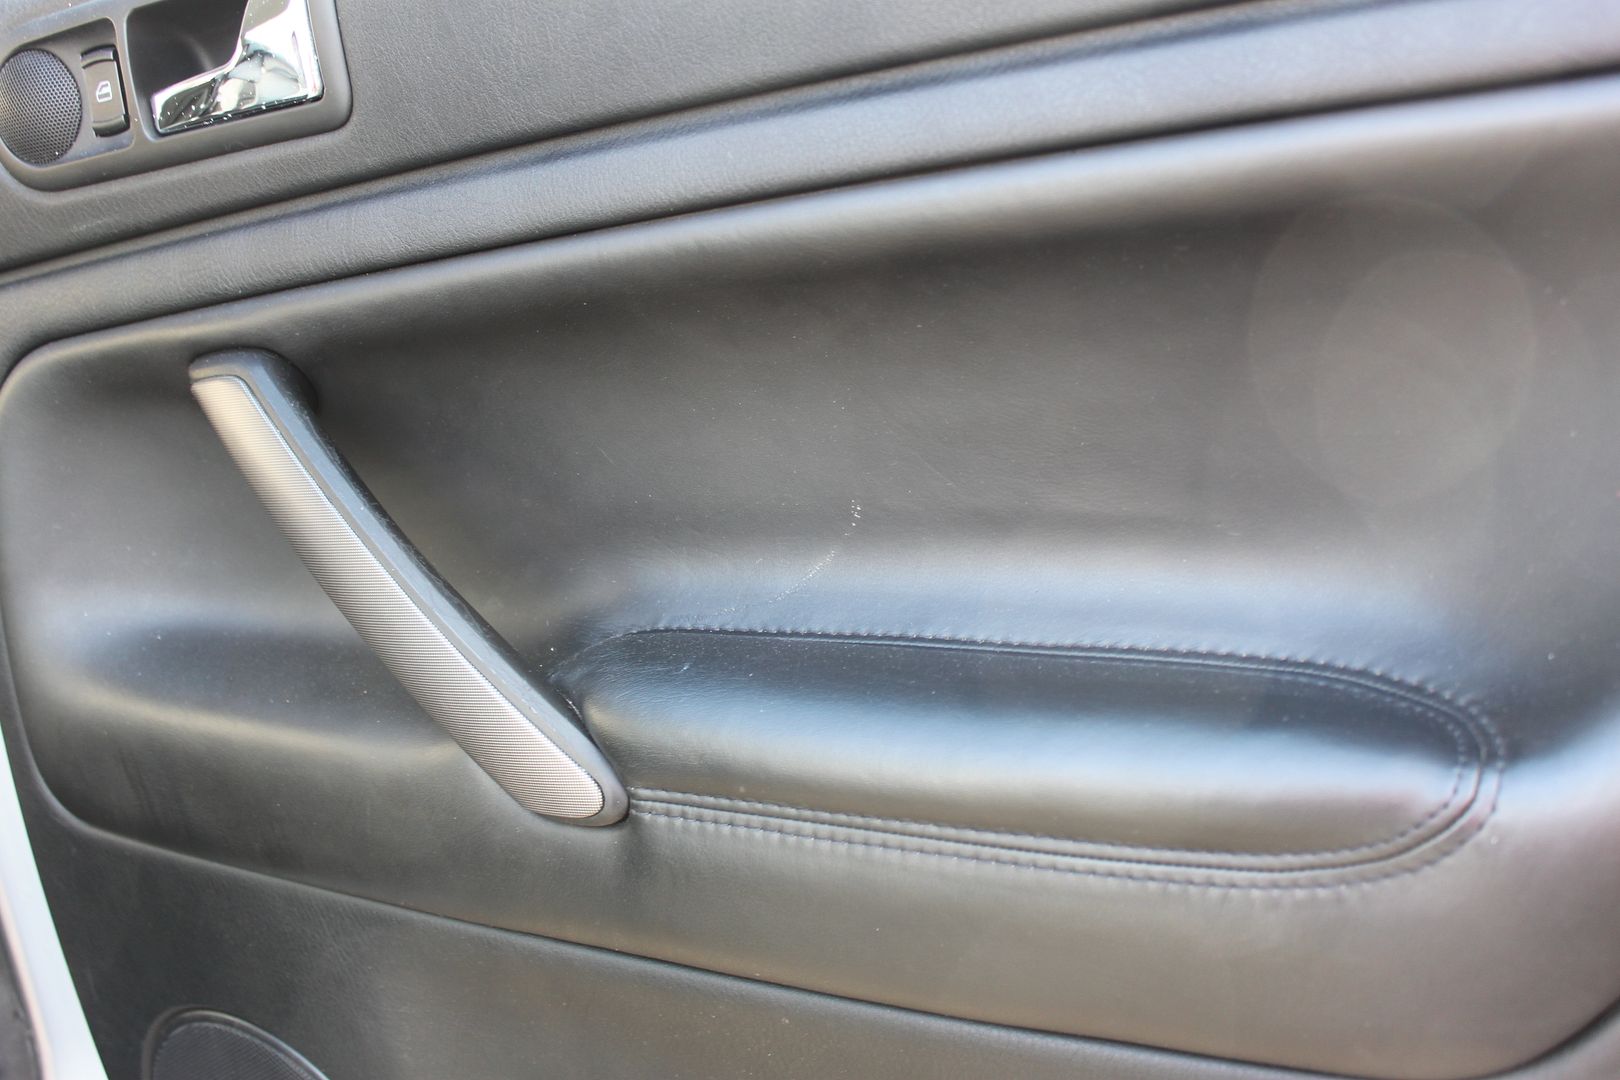
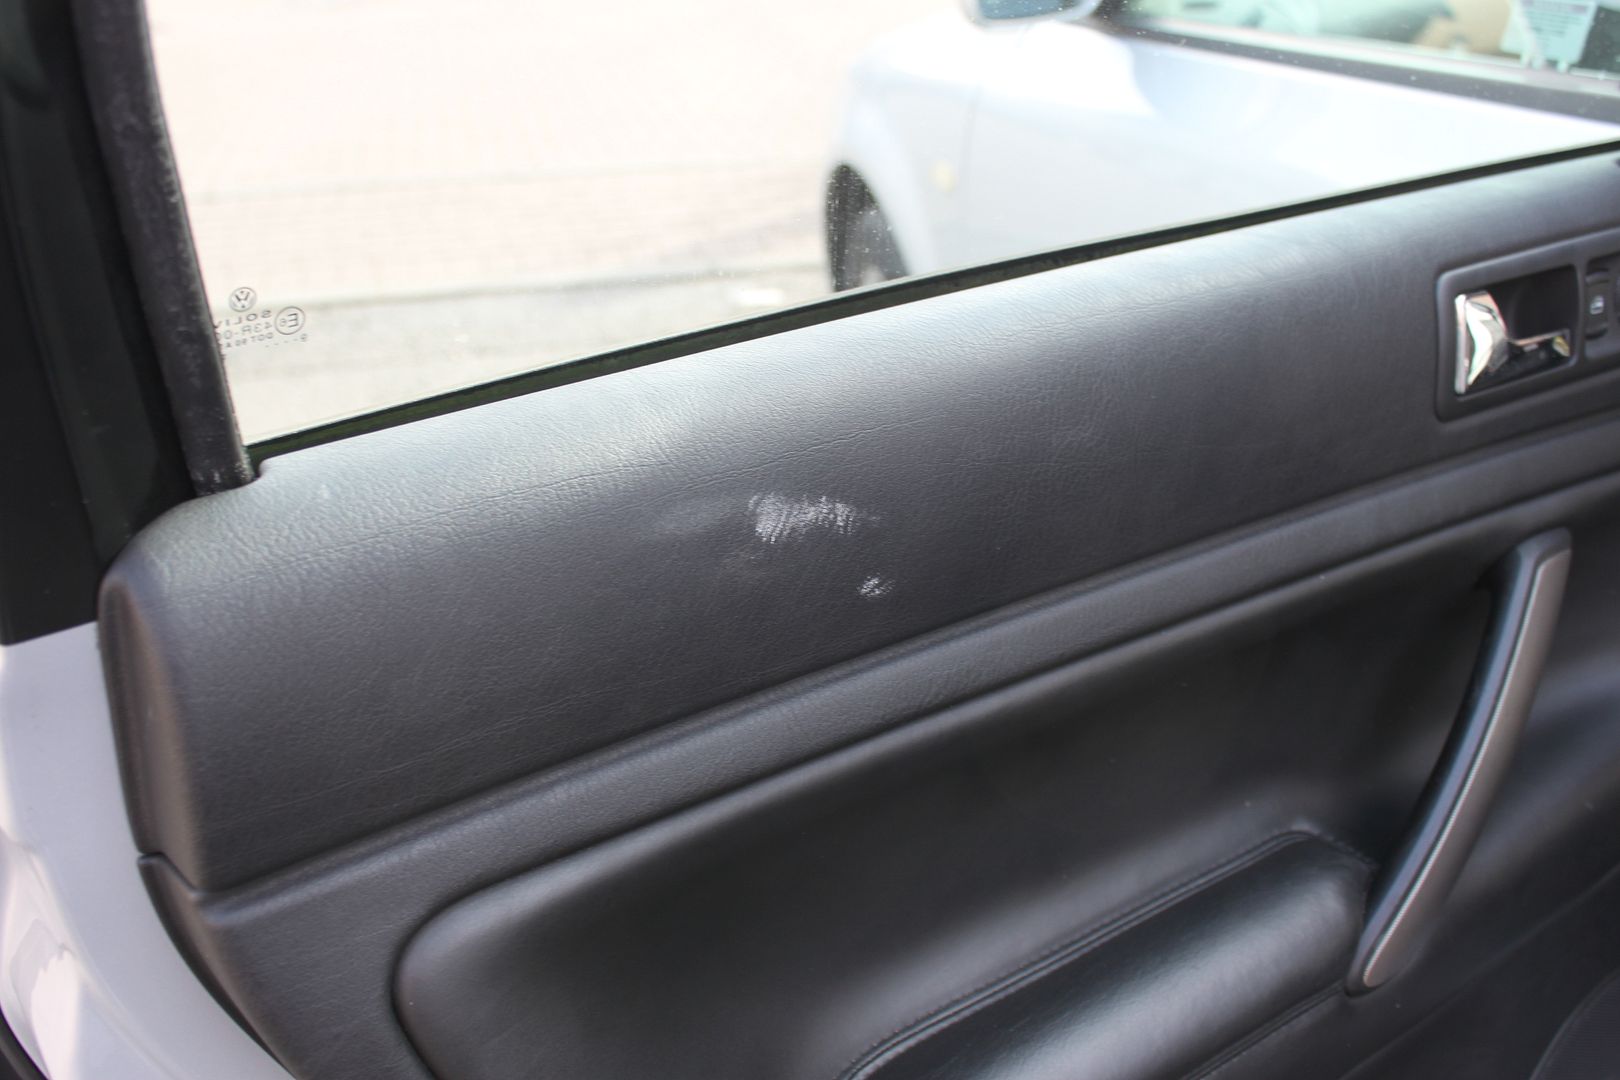
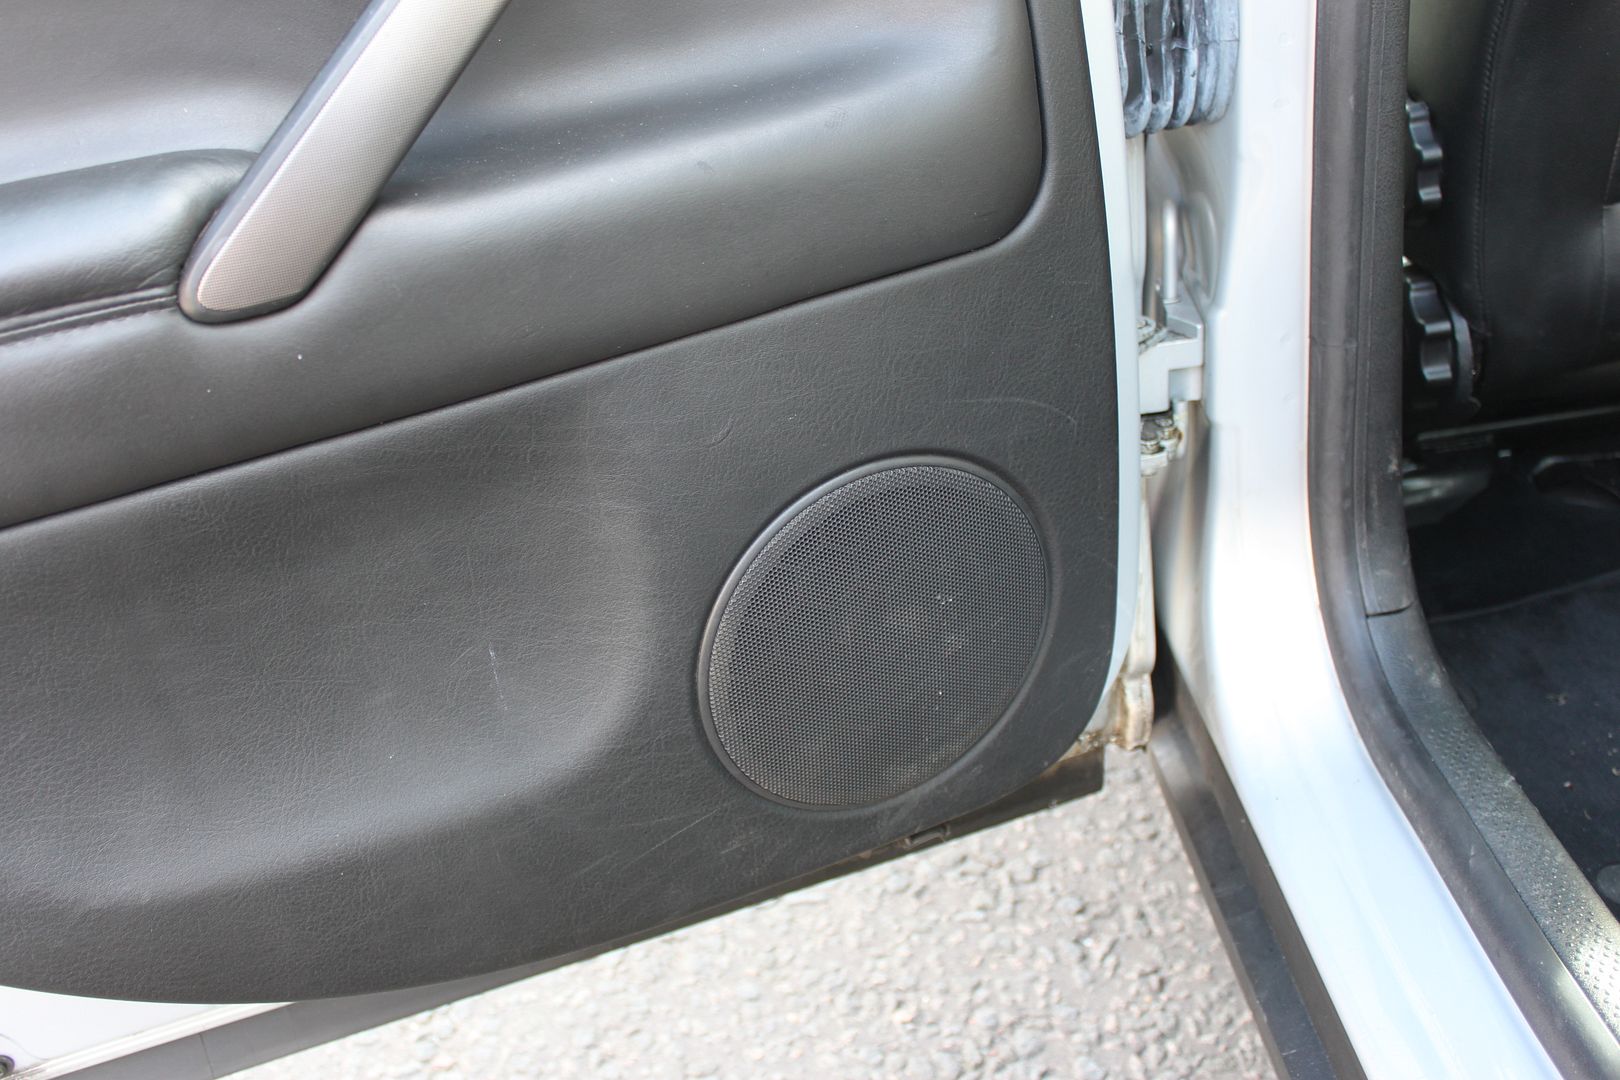
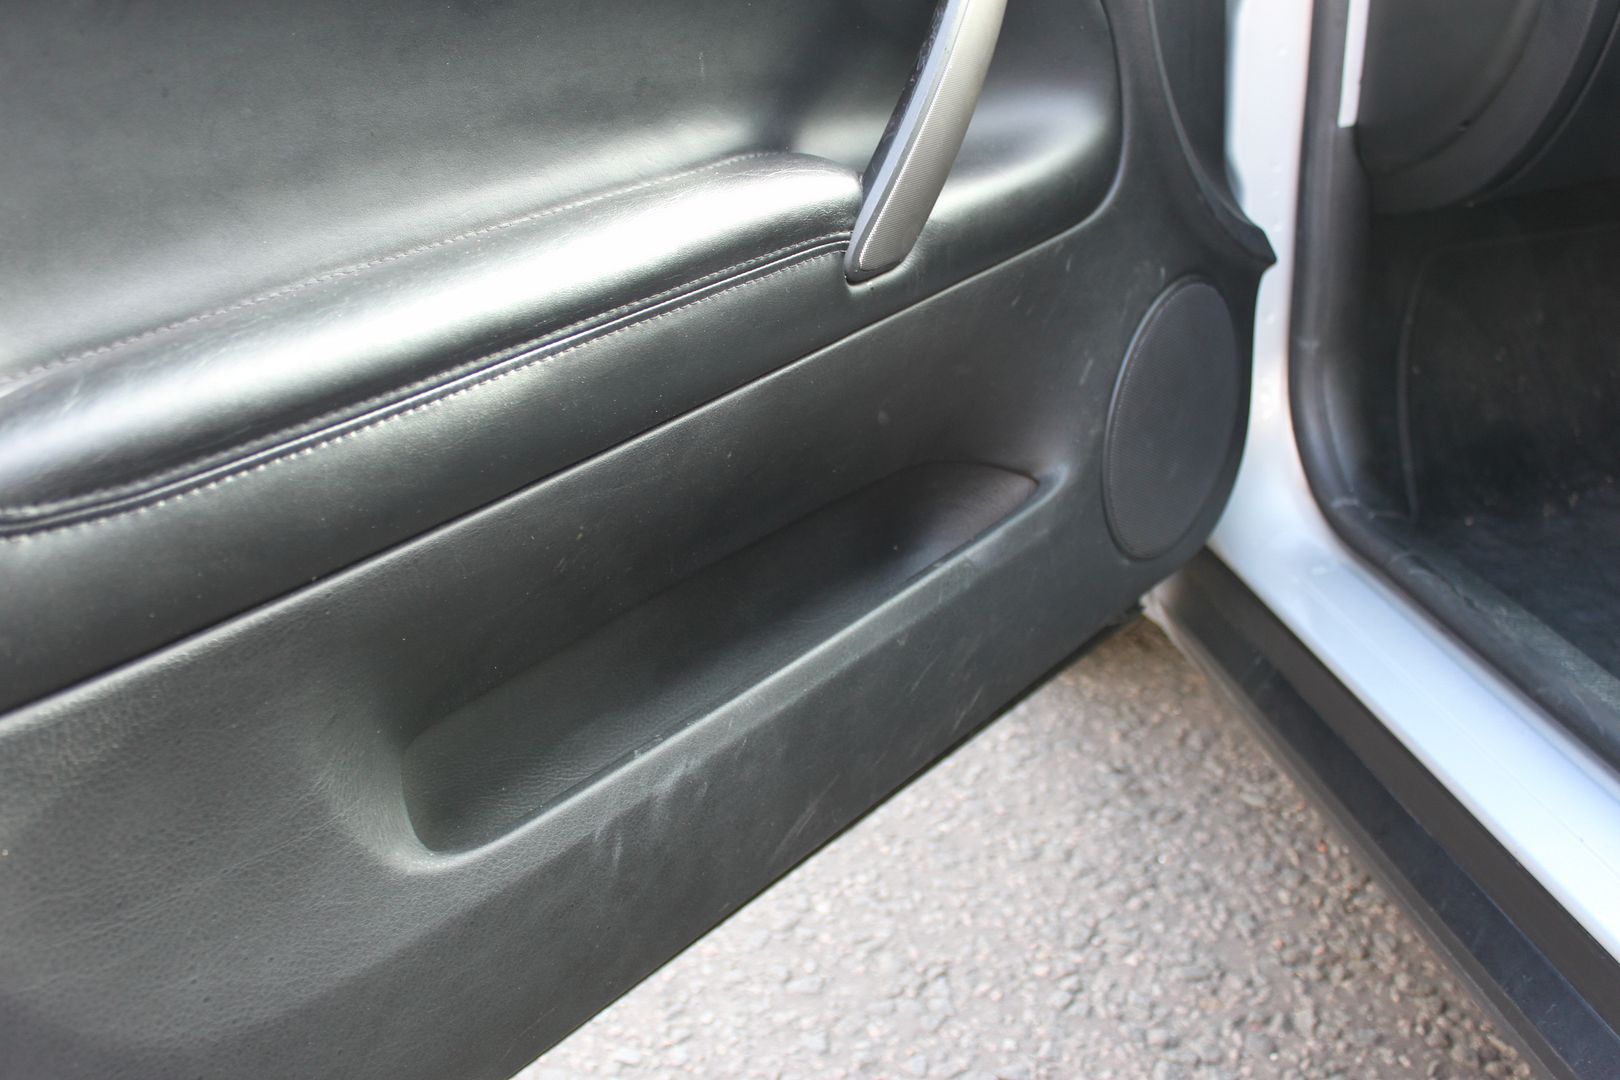
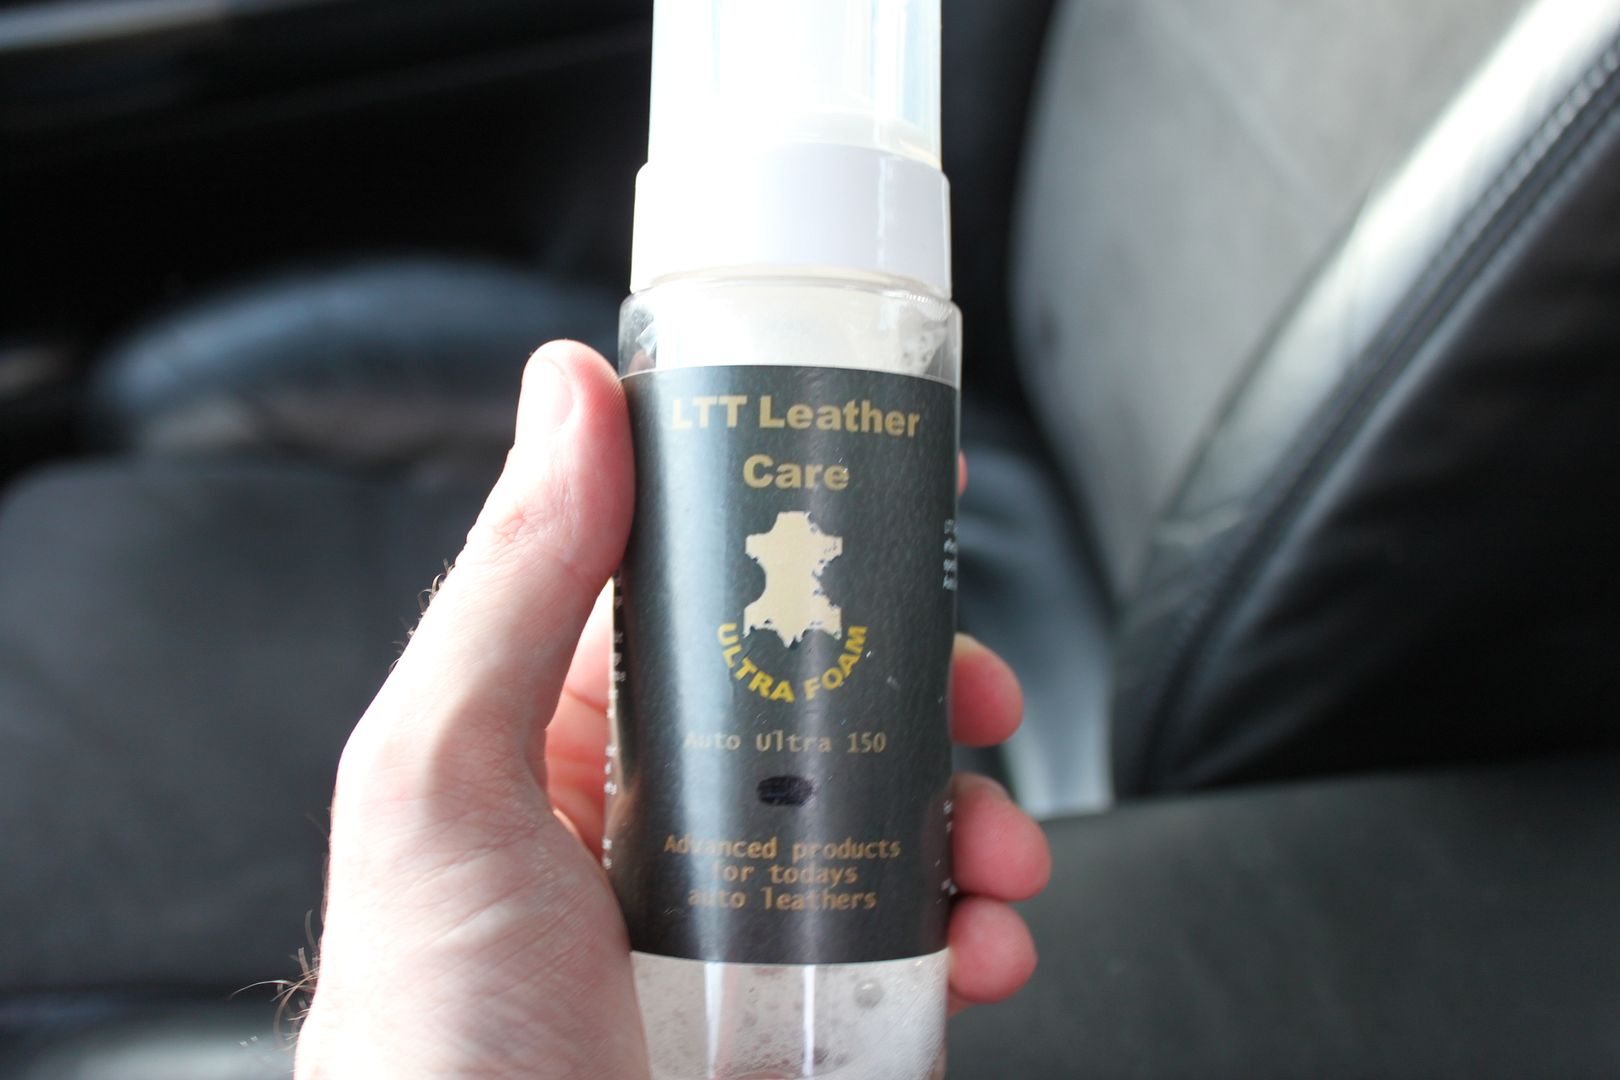
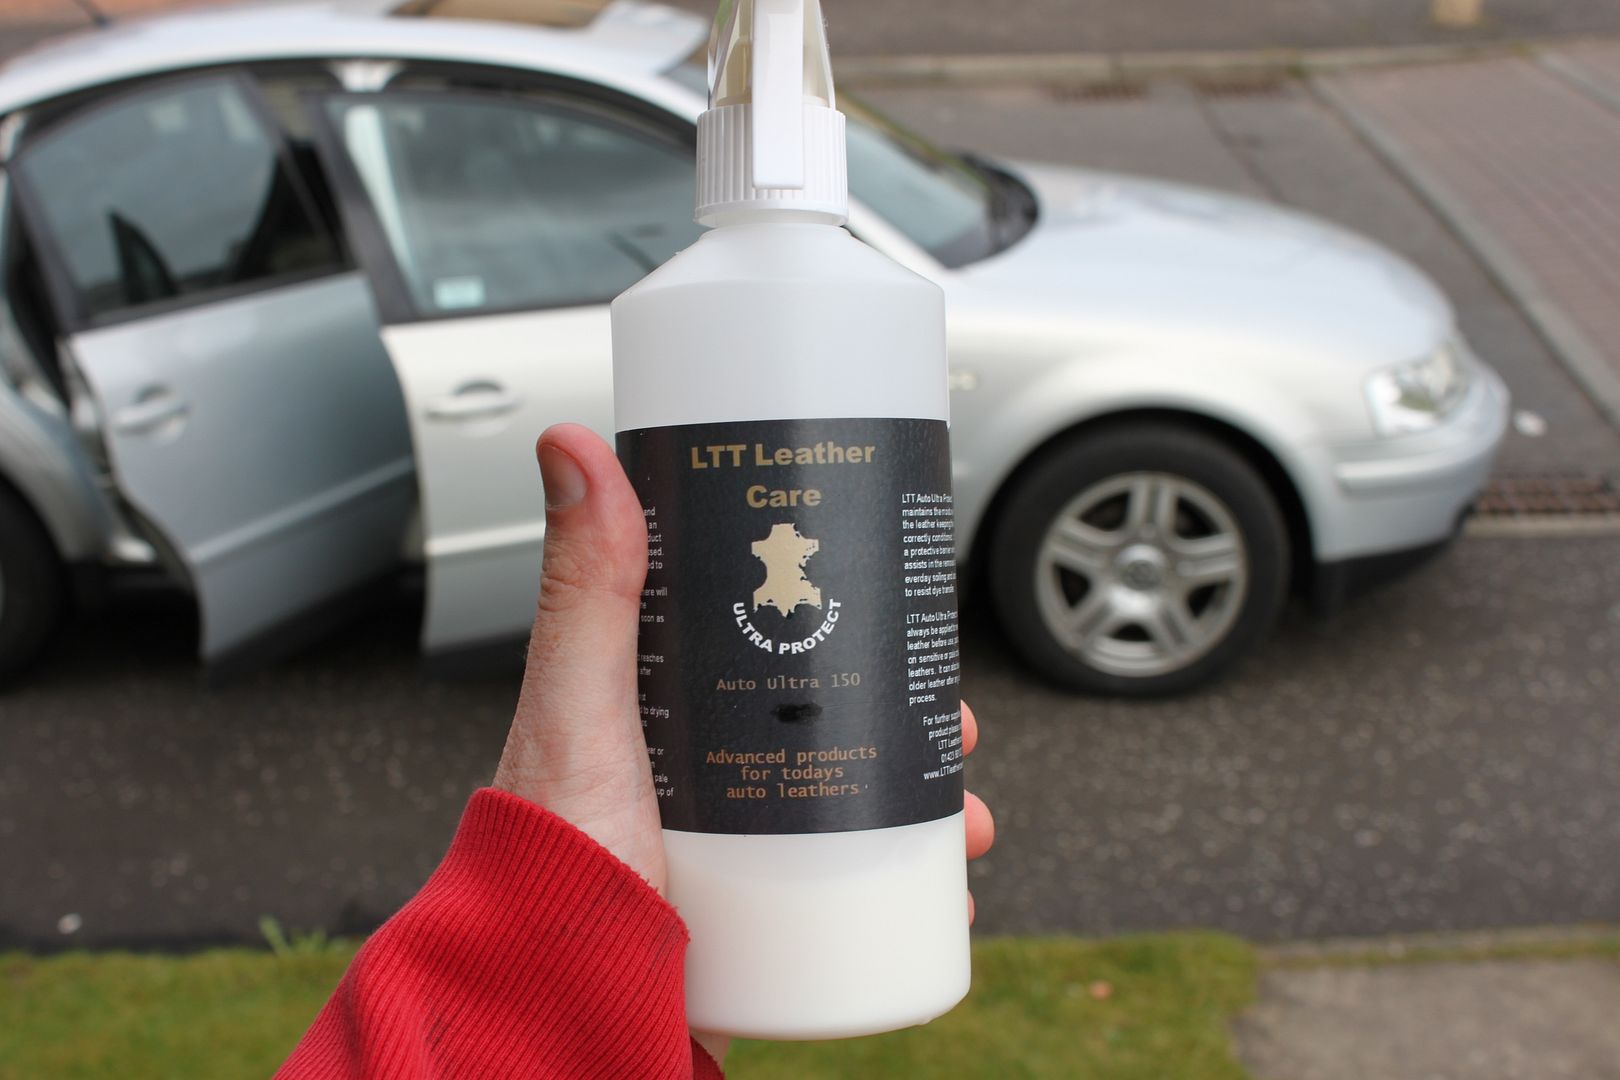
So i started with the leather on the seats and door cards, using LTT Ultra Clean, massaging it into the leather with my hands then wipe clean:
IMG_2370.jpg


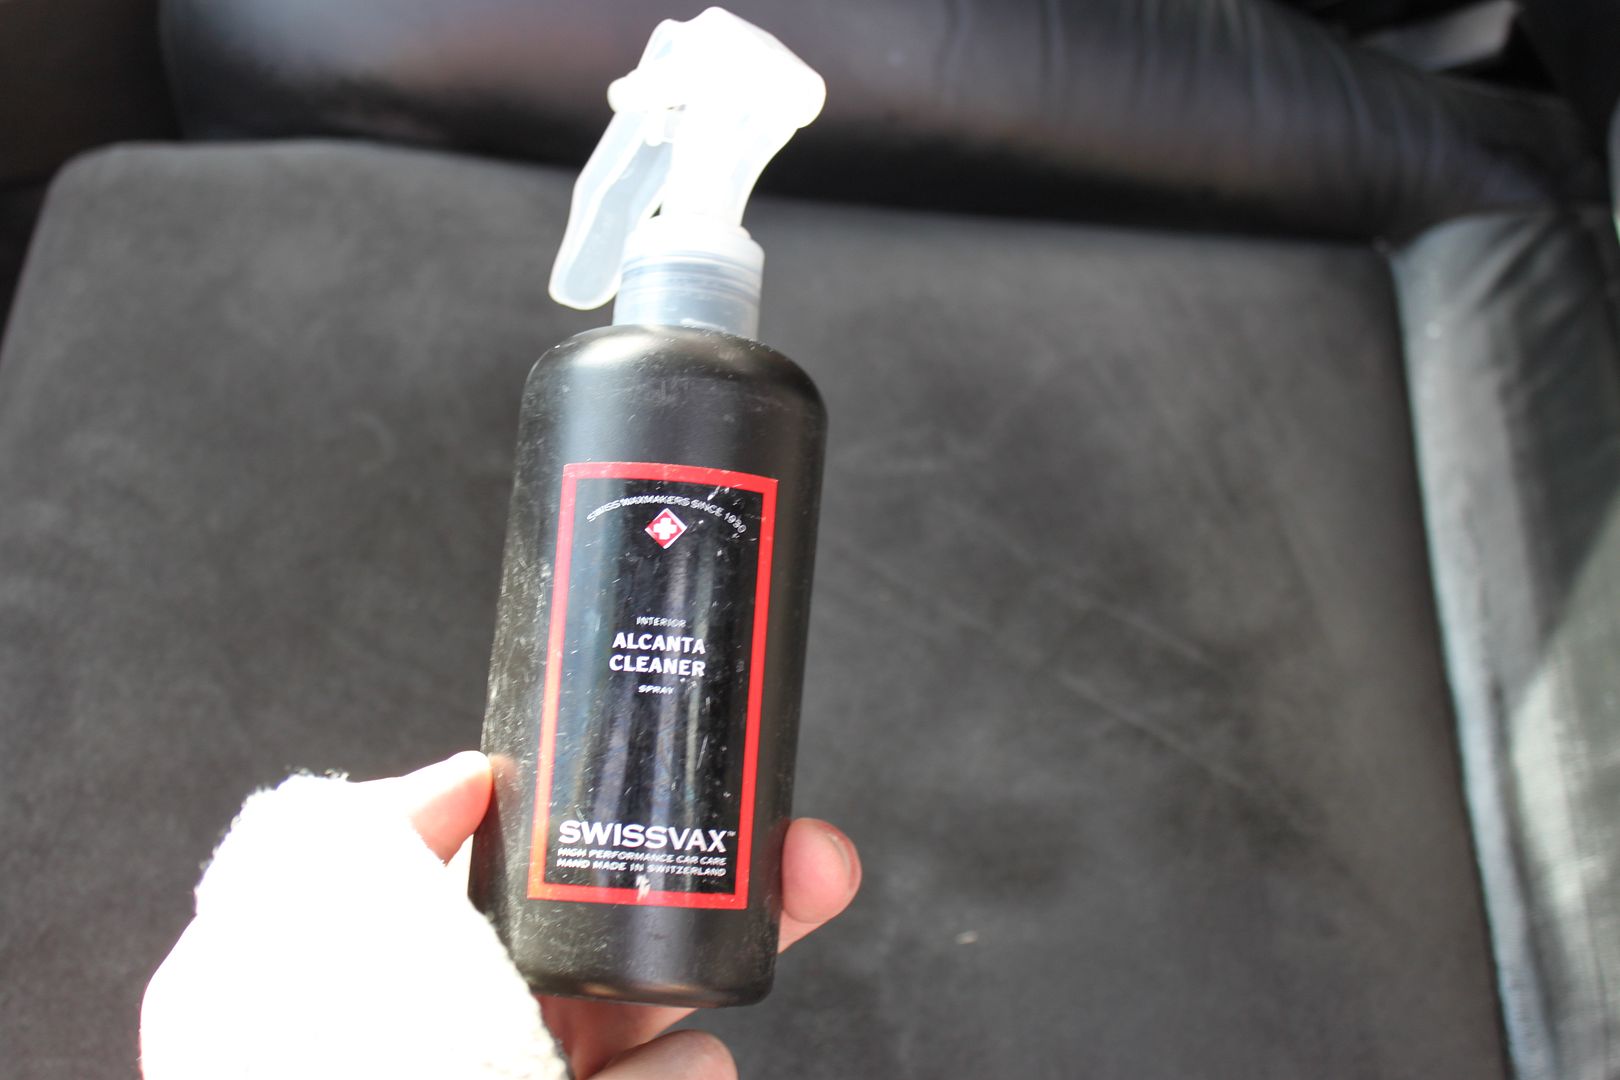
Then onto the alcantara with Swissvax Alcanta which didnt remove the stains unfortunately:
IMG_2371.jpg

IMG_2372.jpg


So i moved onto using the steam cleaner and this removed the stains without any problem:
IMG_2388.jpg


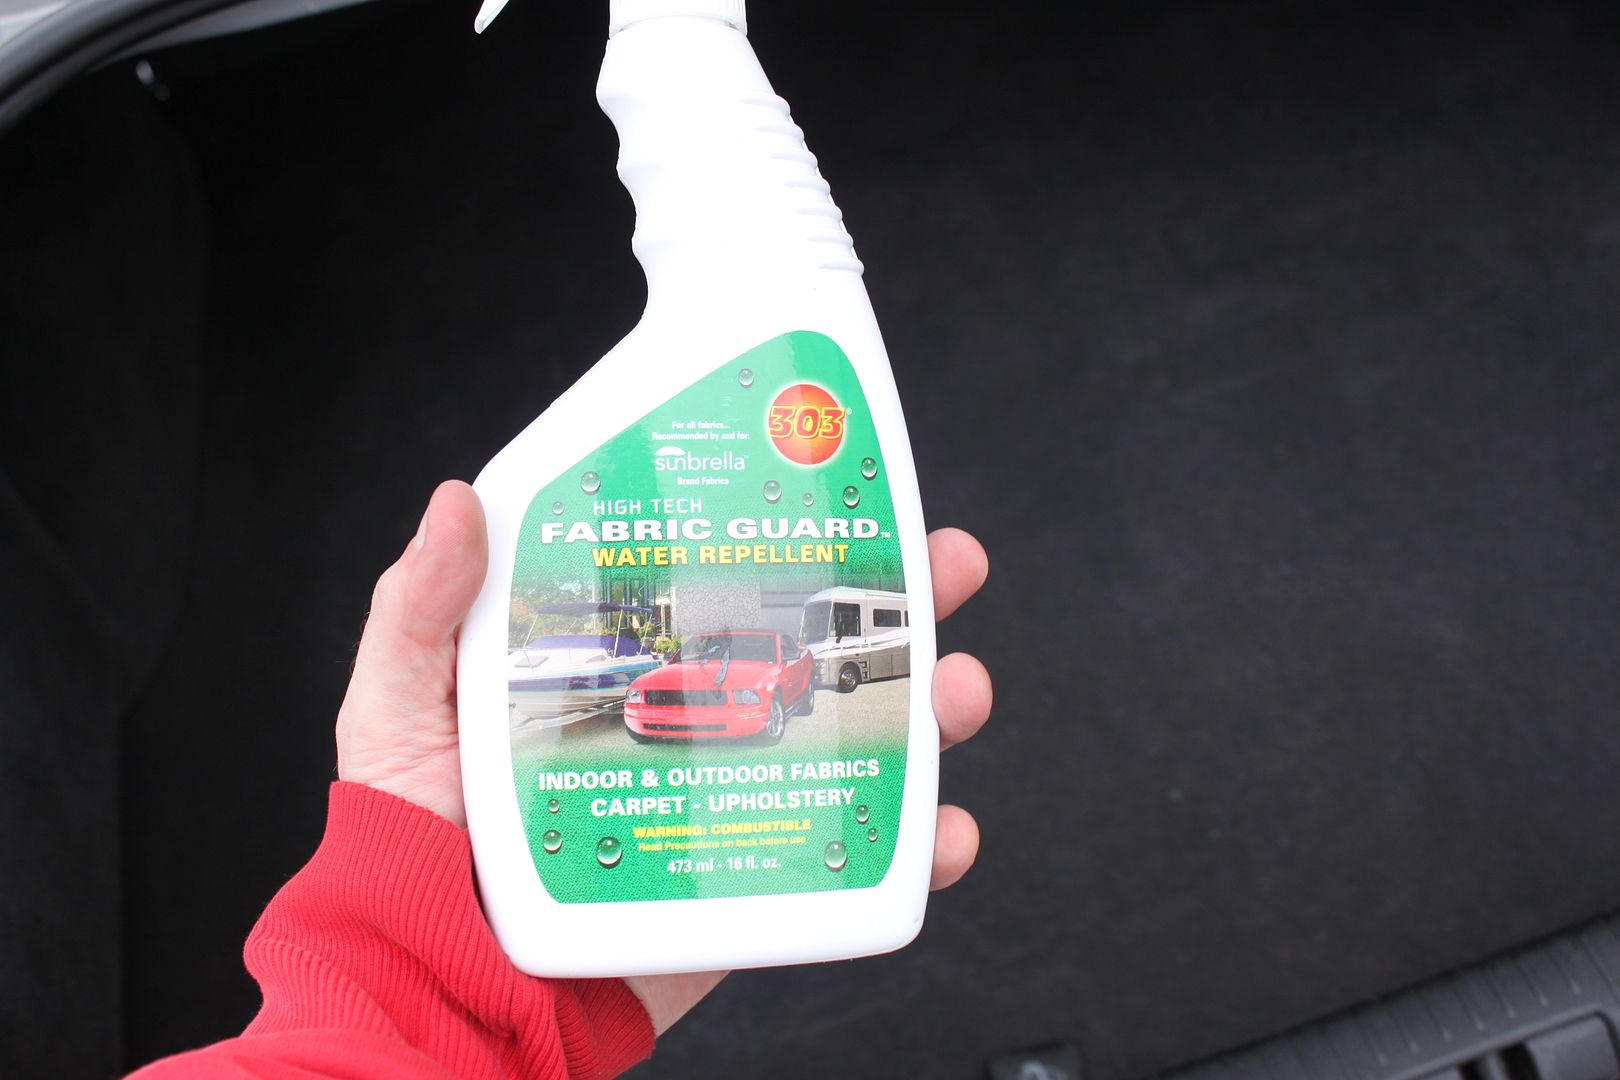
The leather was protected with LTT Auto Protect and the alcantara was protected using 303 Fabric Guard:
IMG_2373.jpg

IMG_2391.jpg


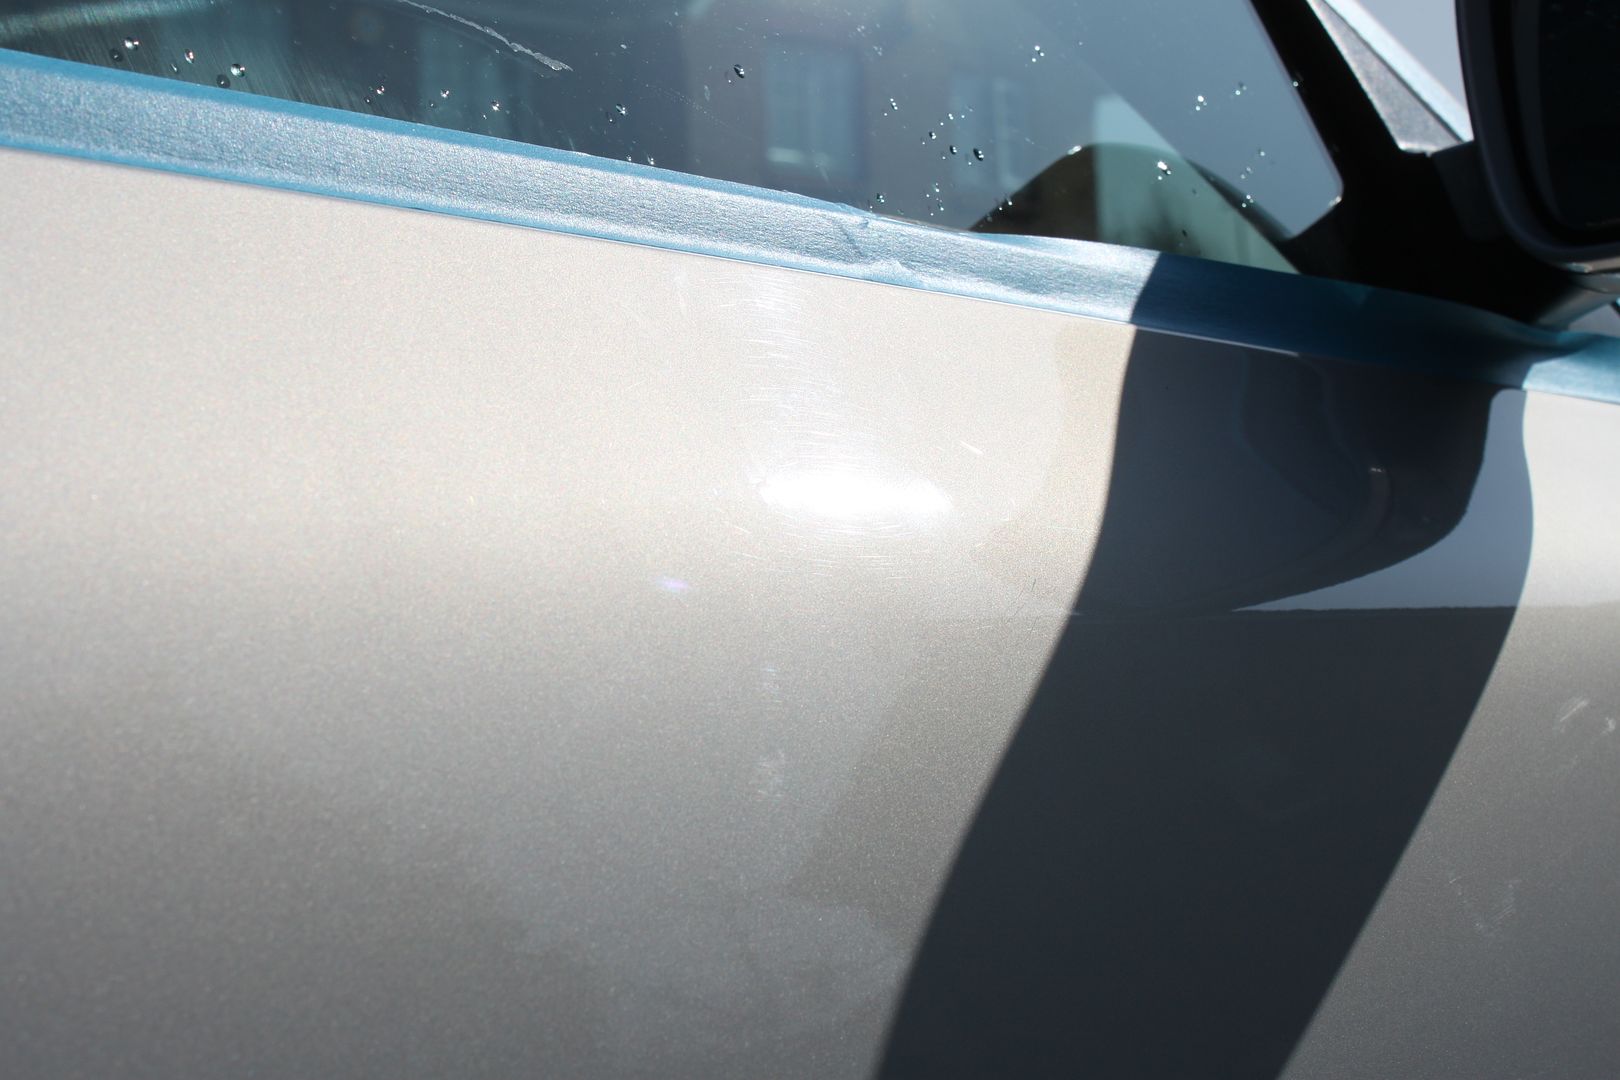
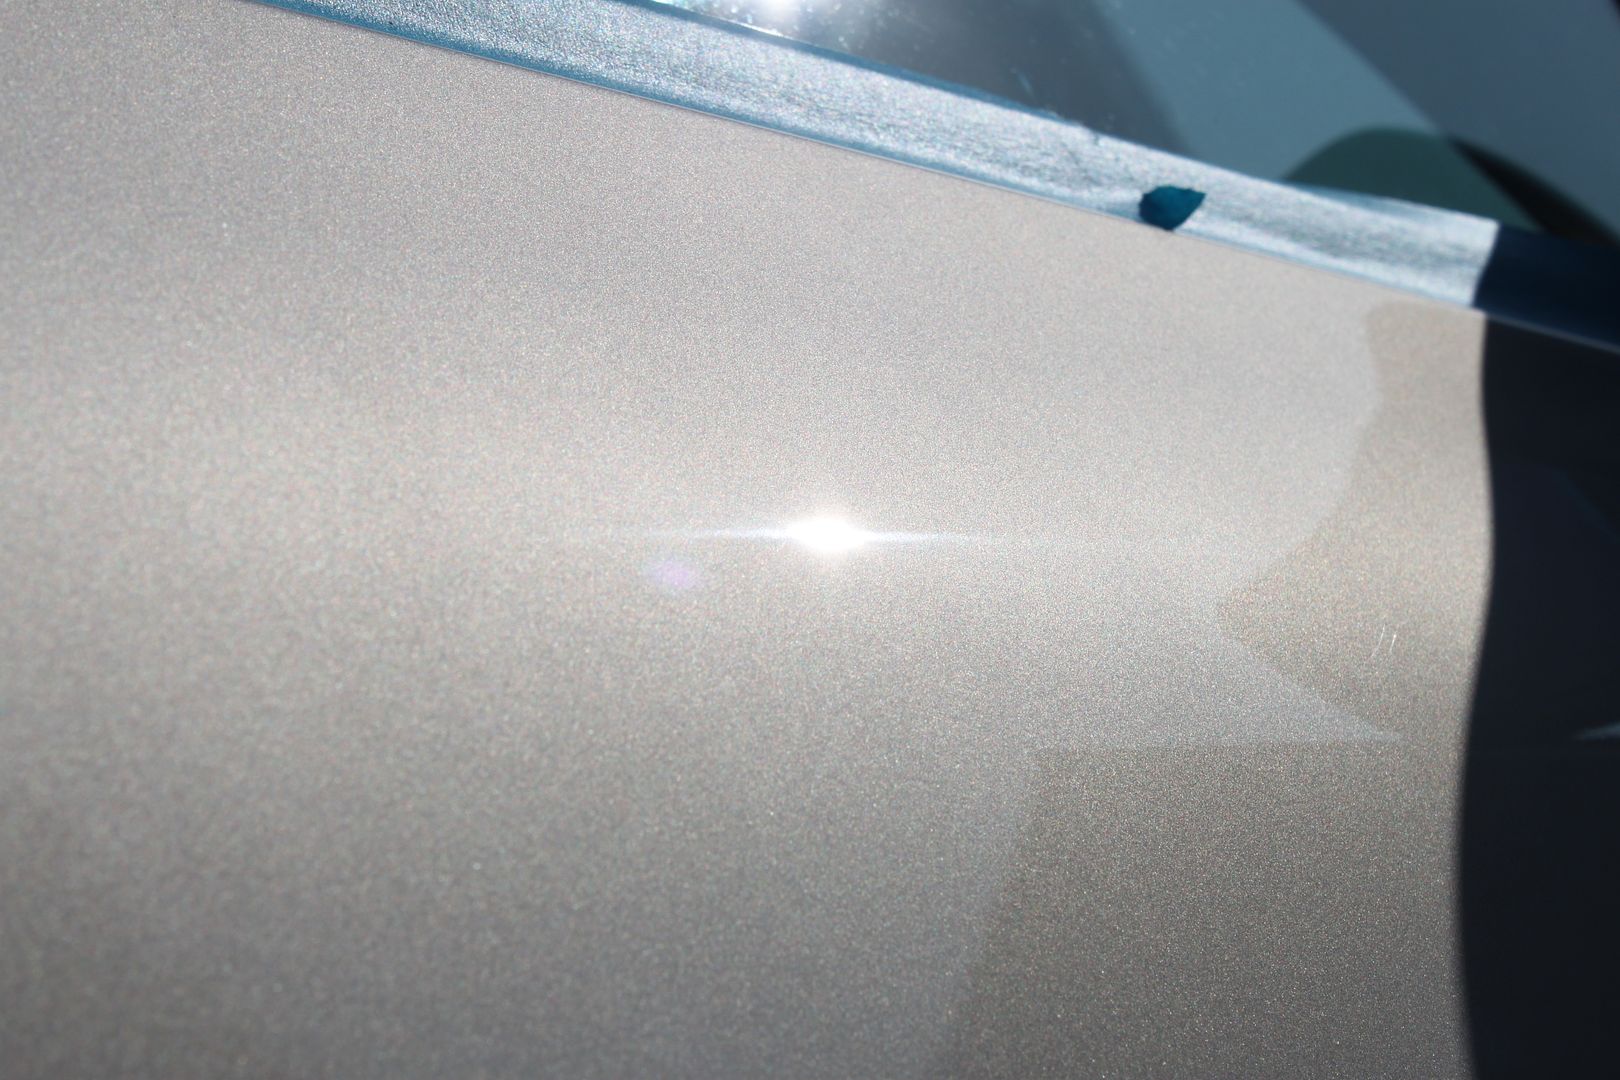
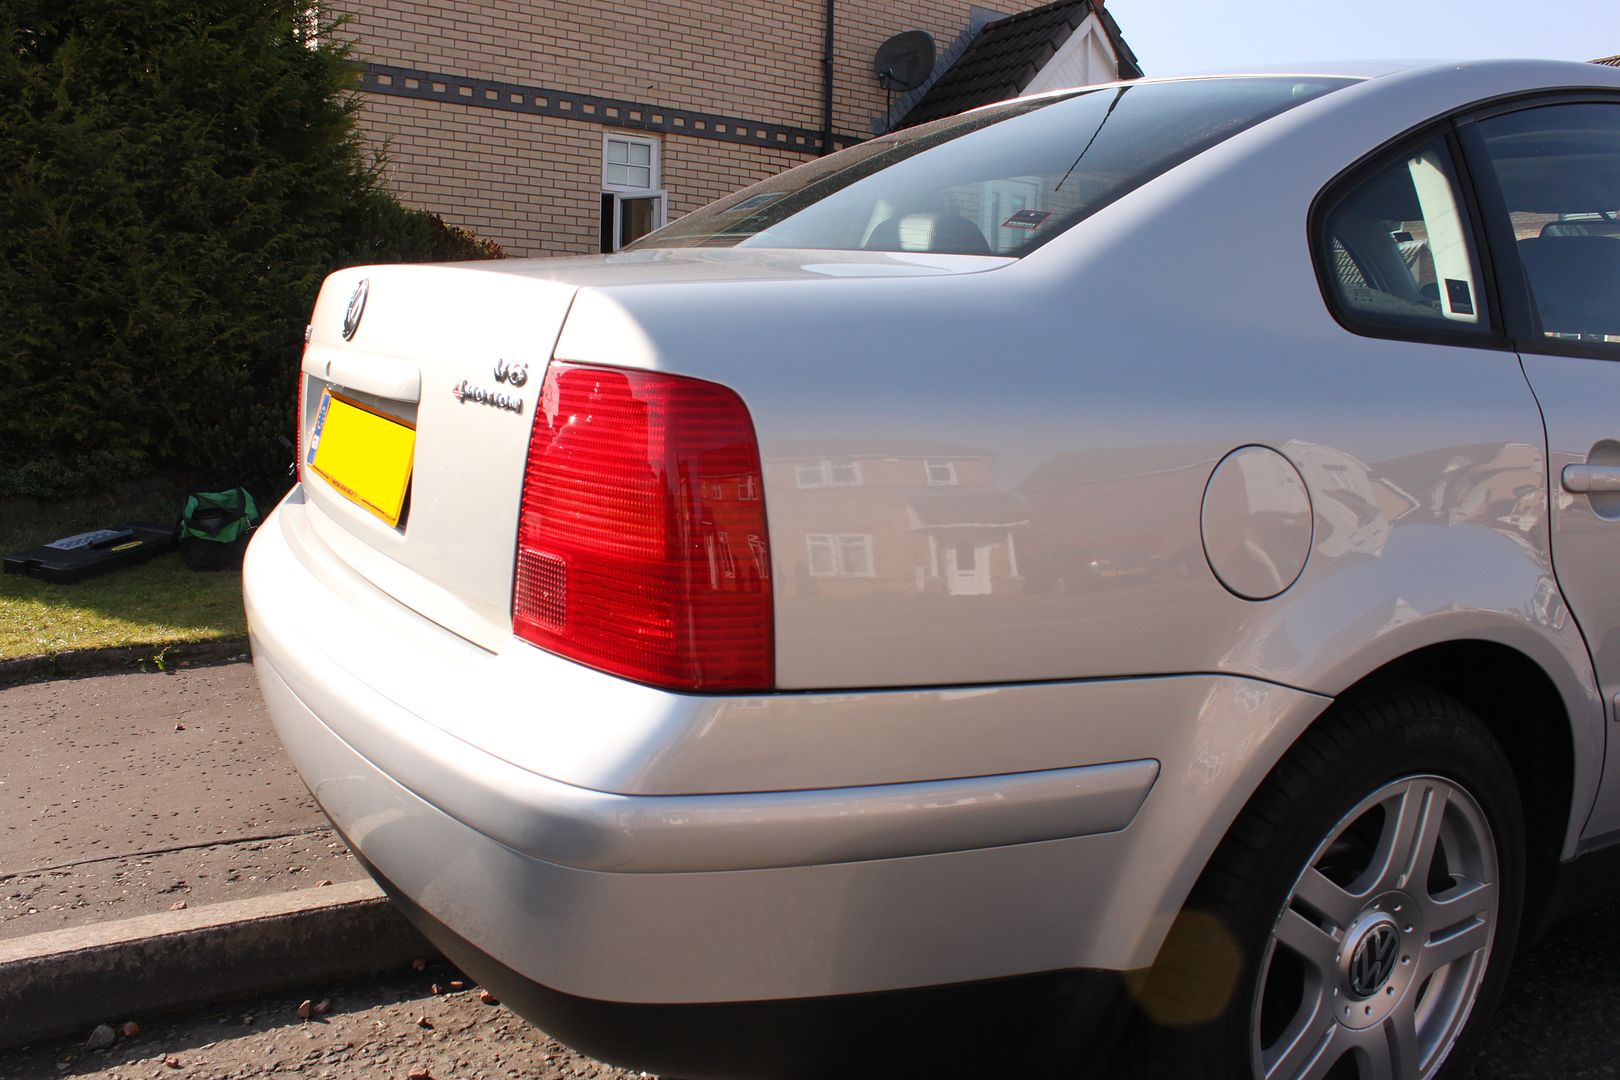
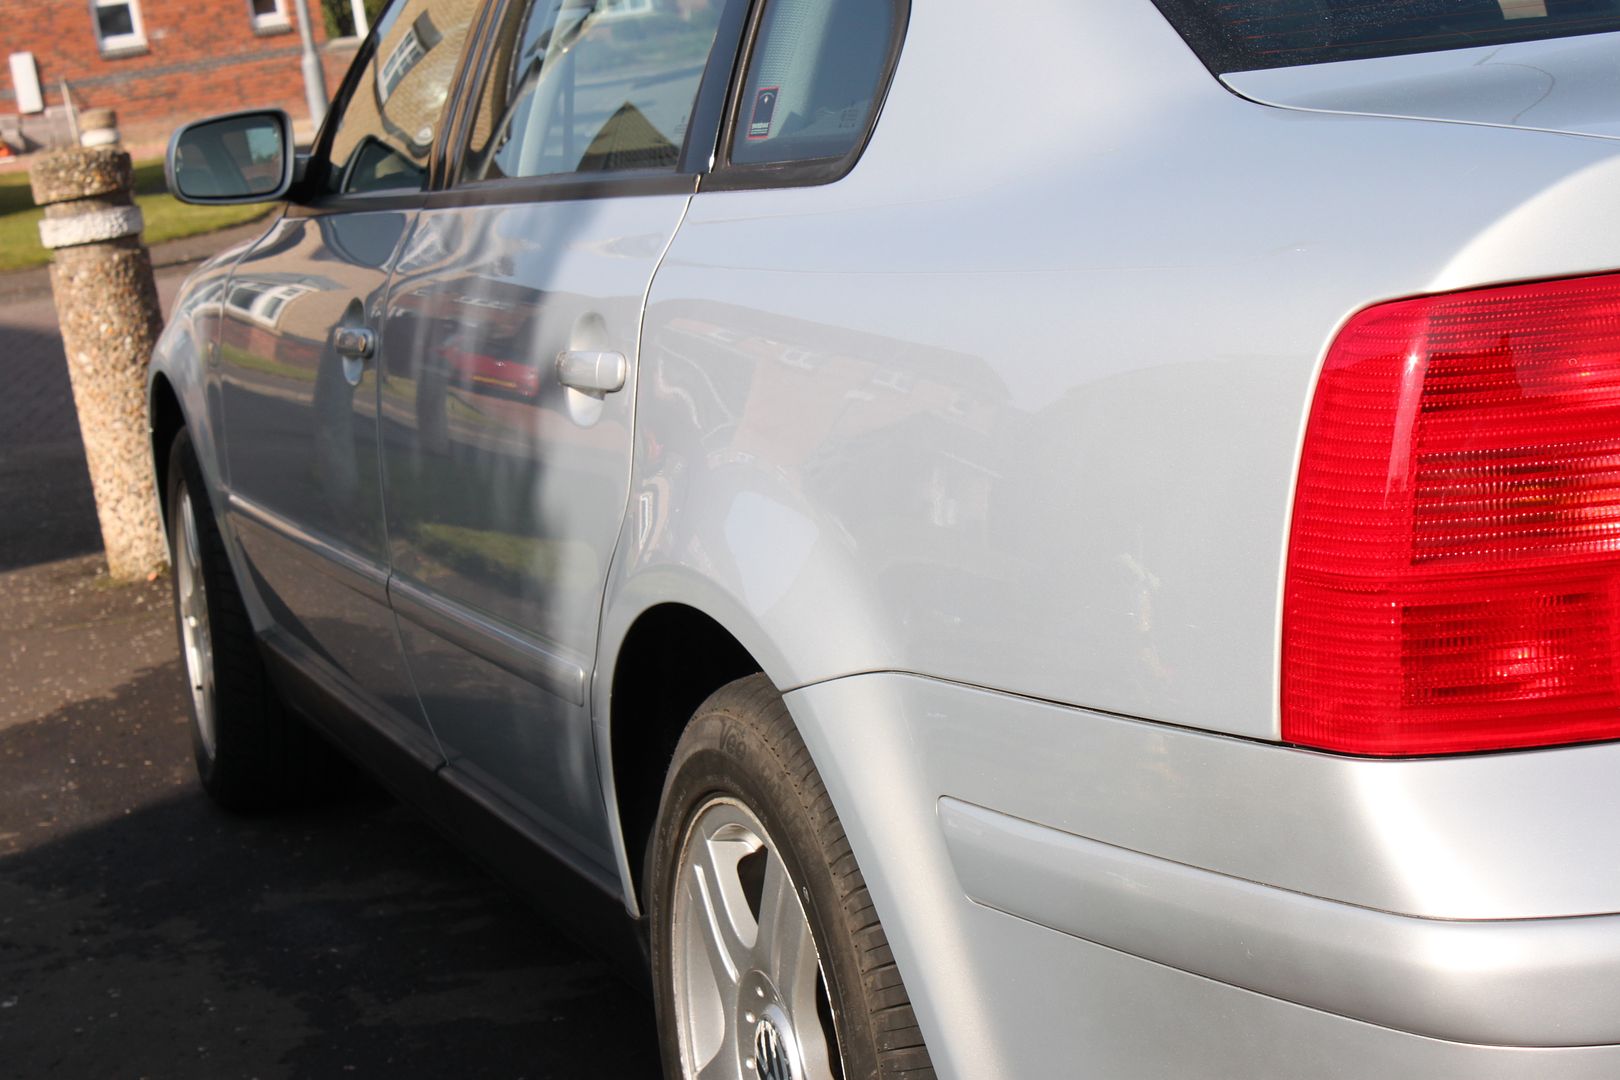
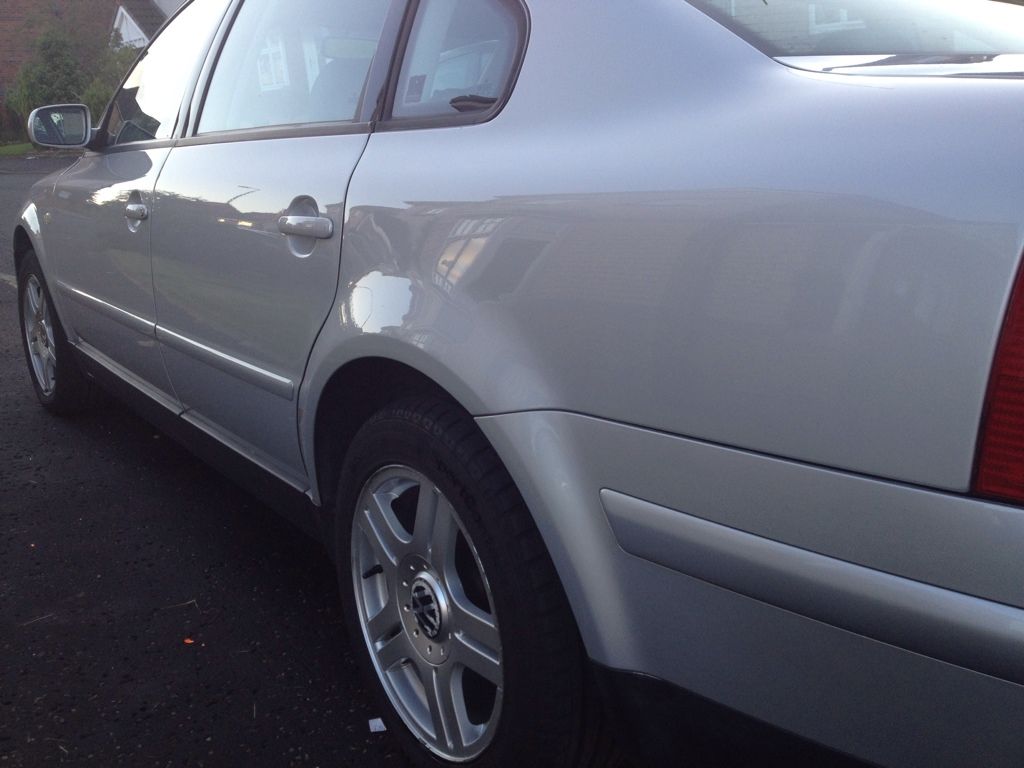
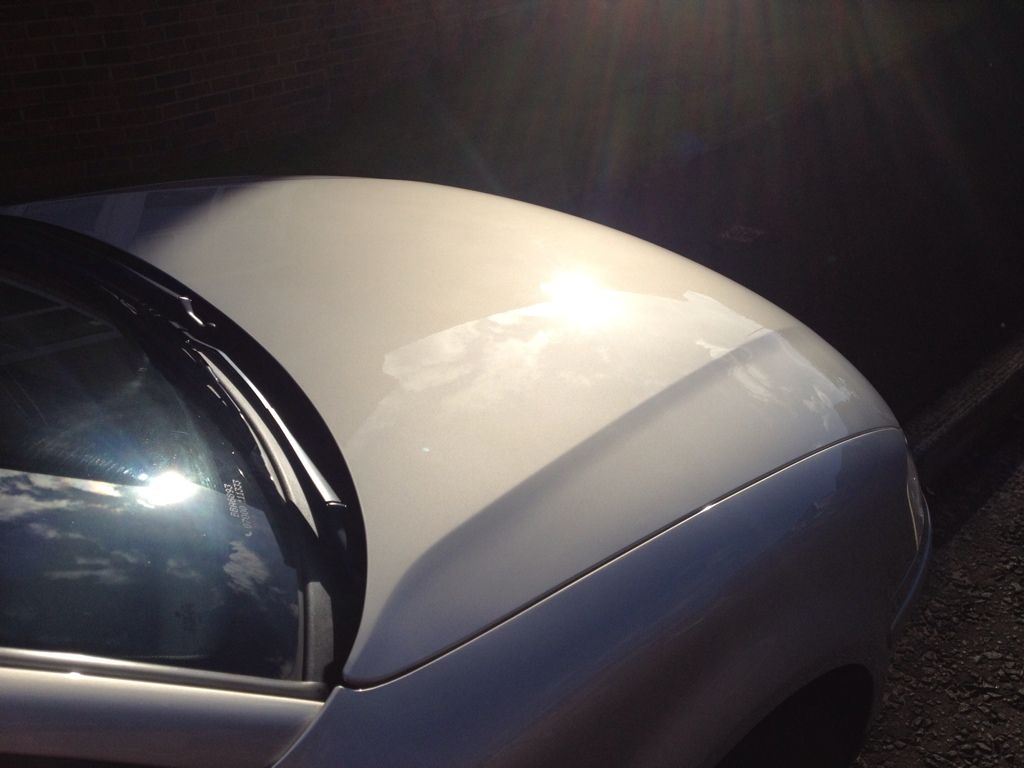
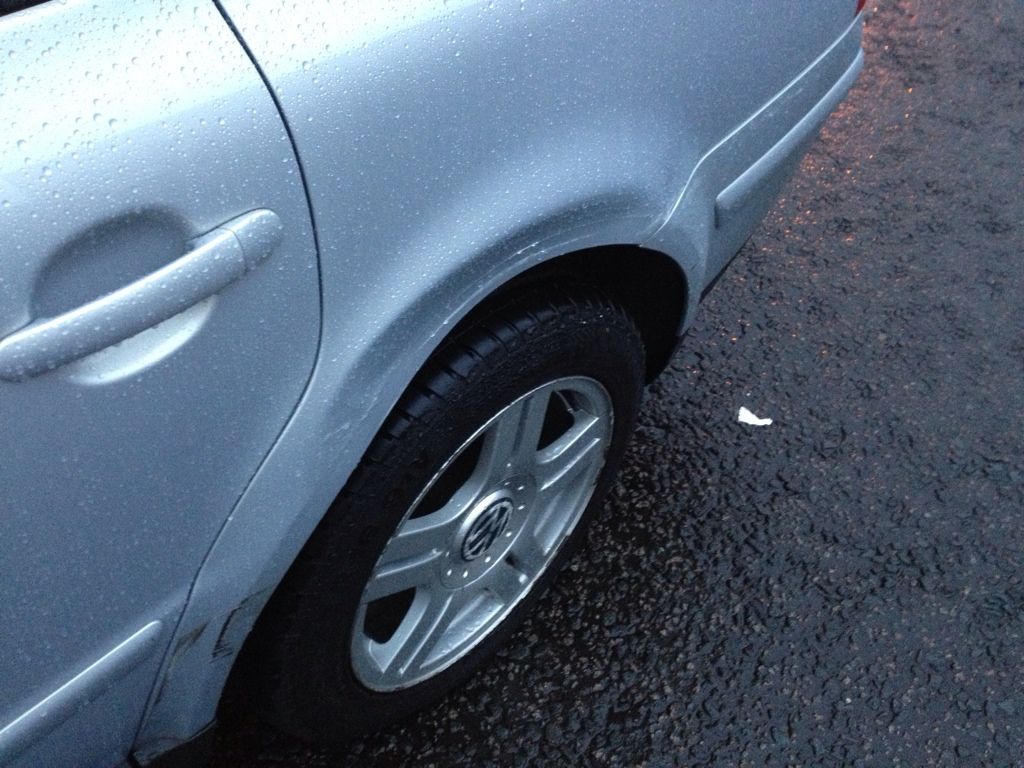
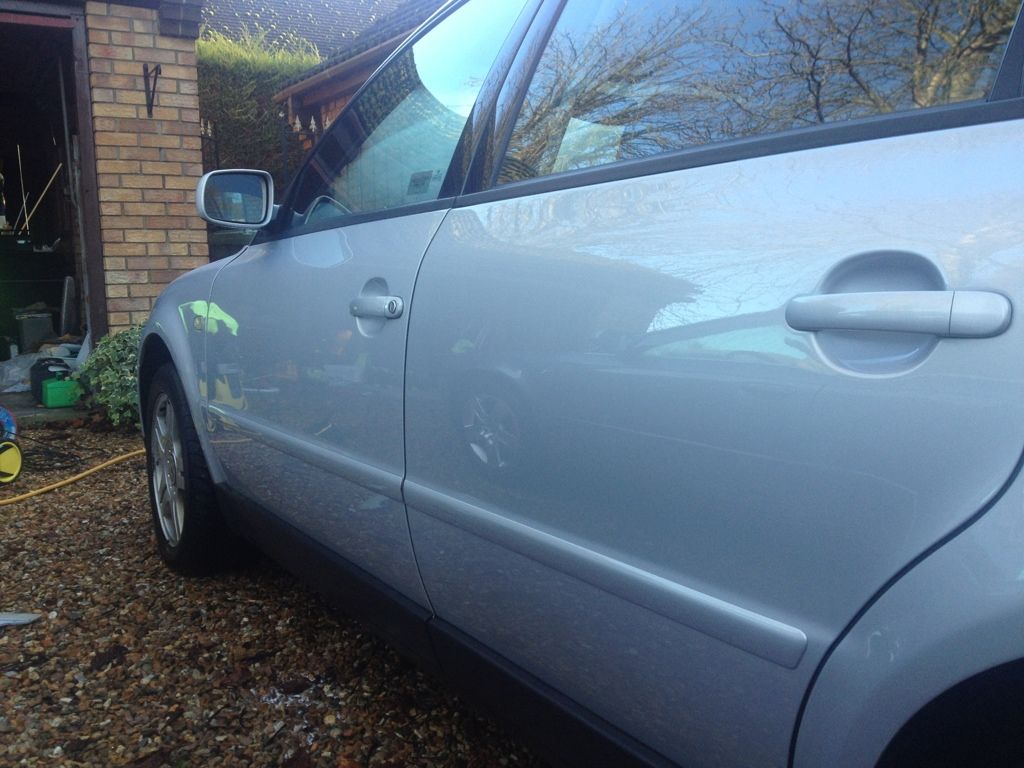
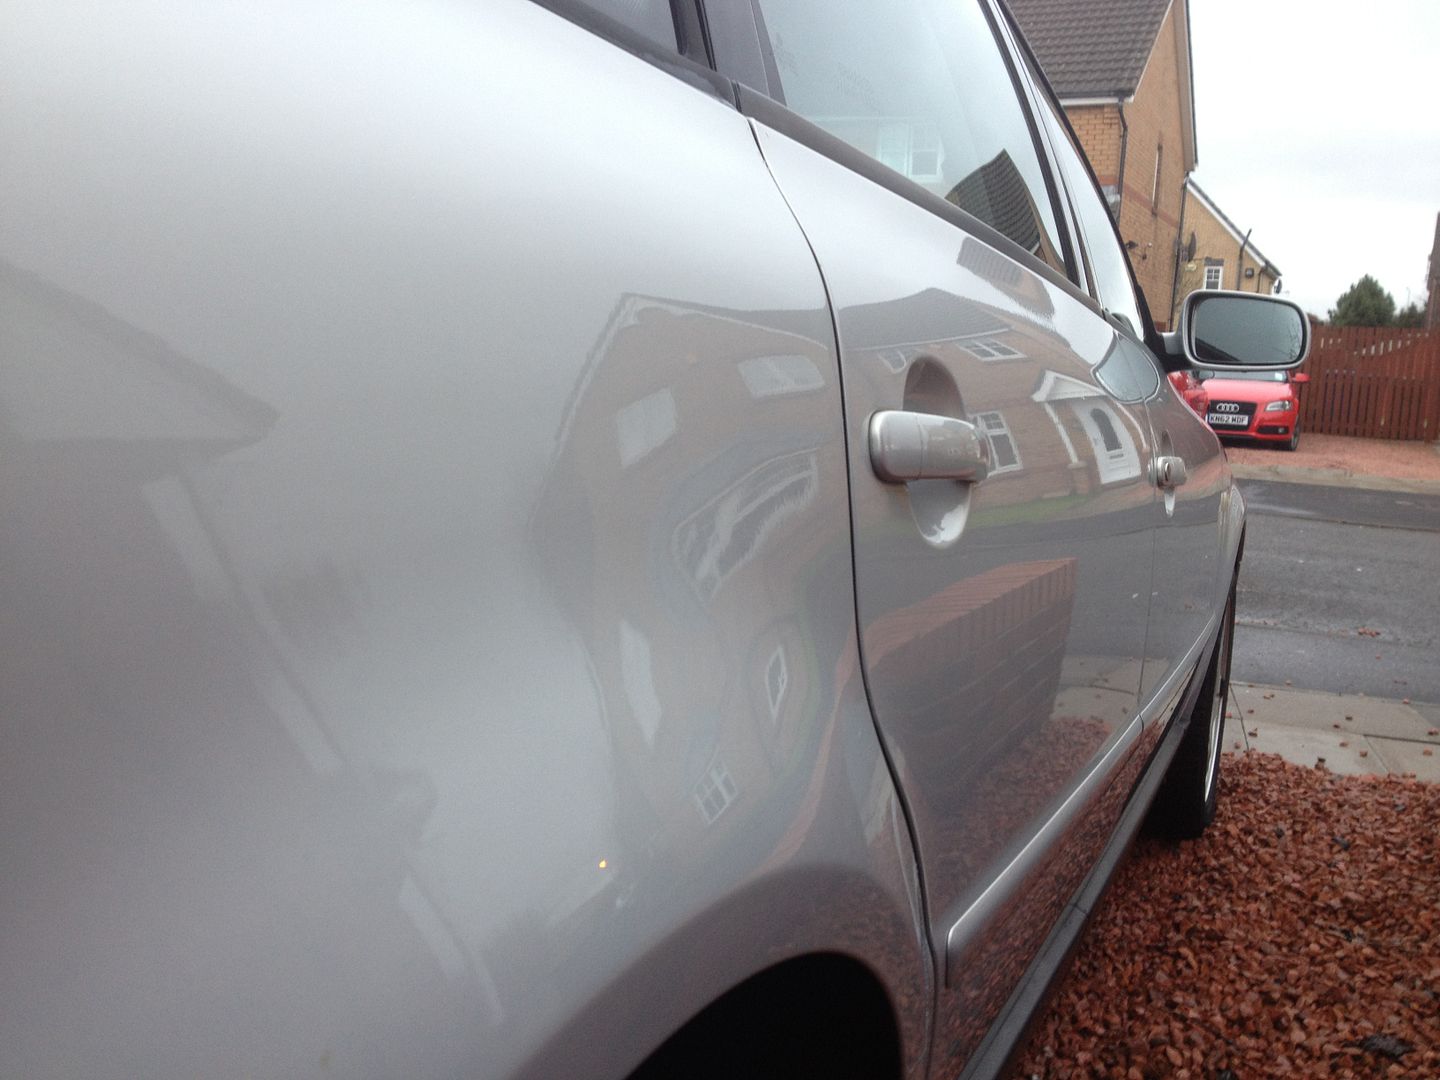
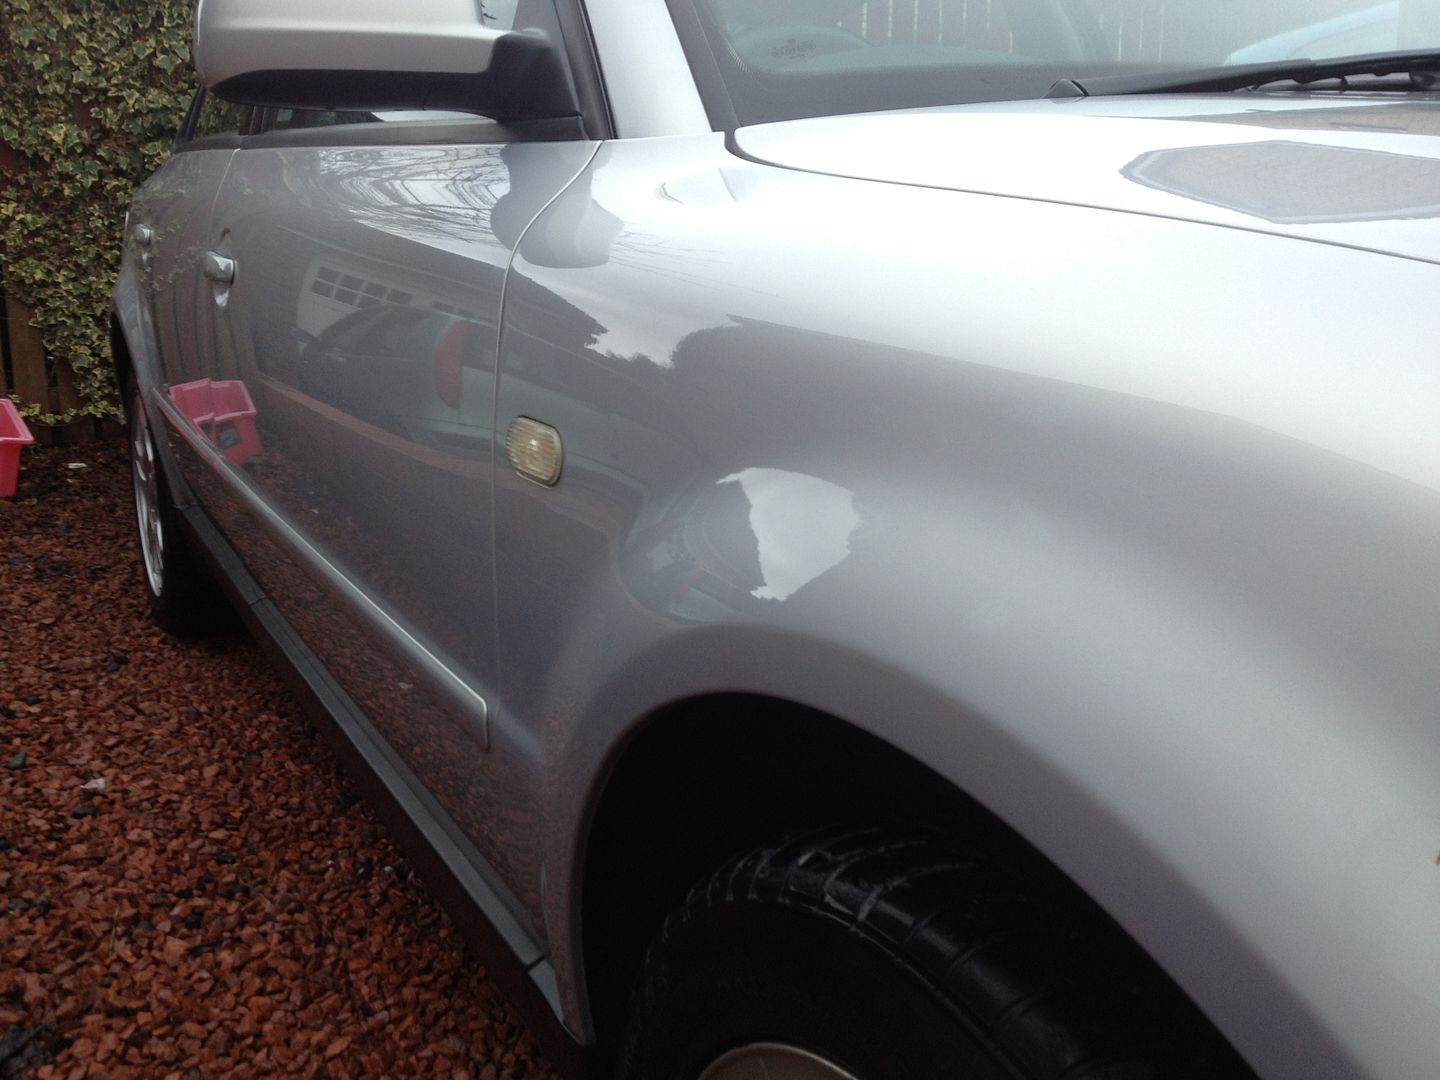
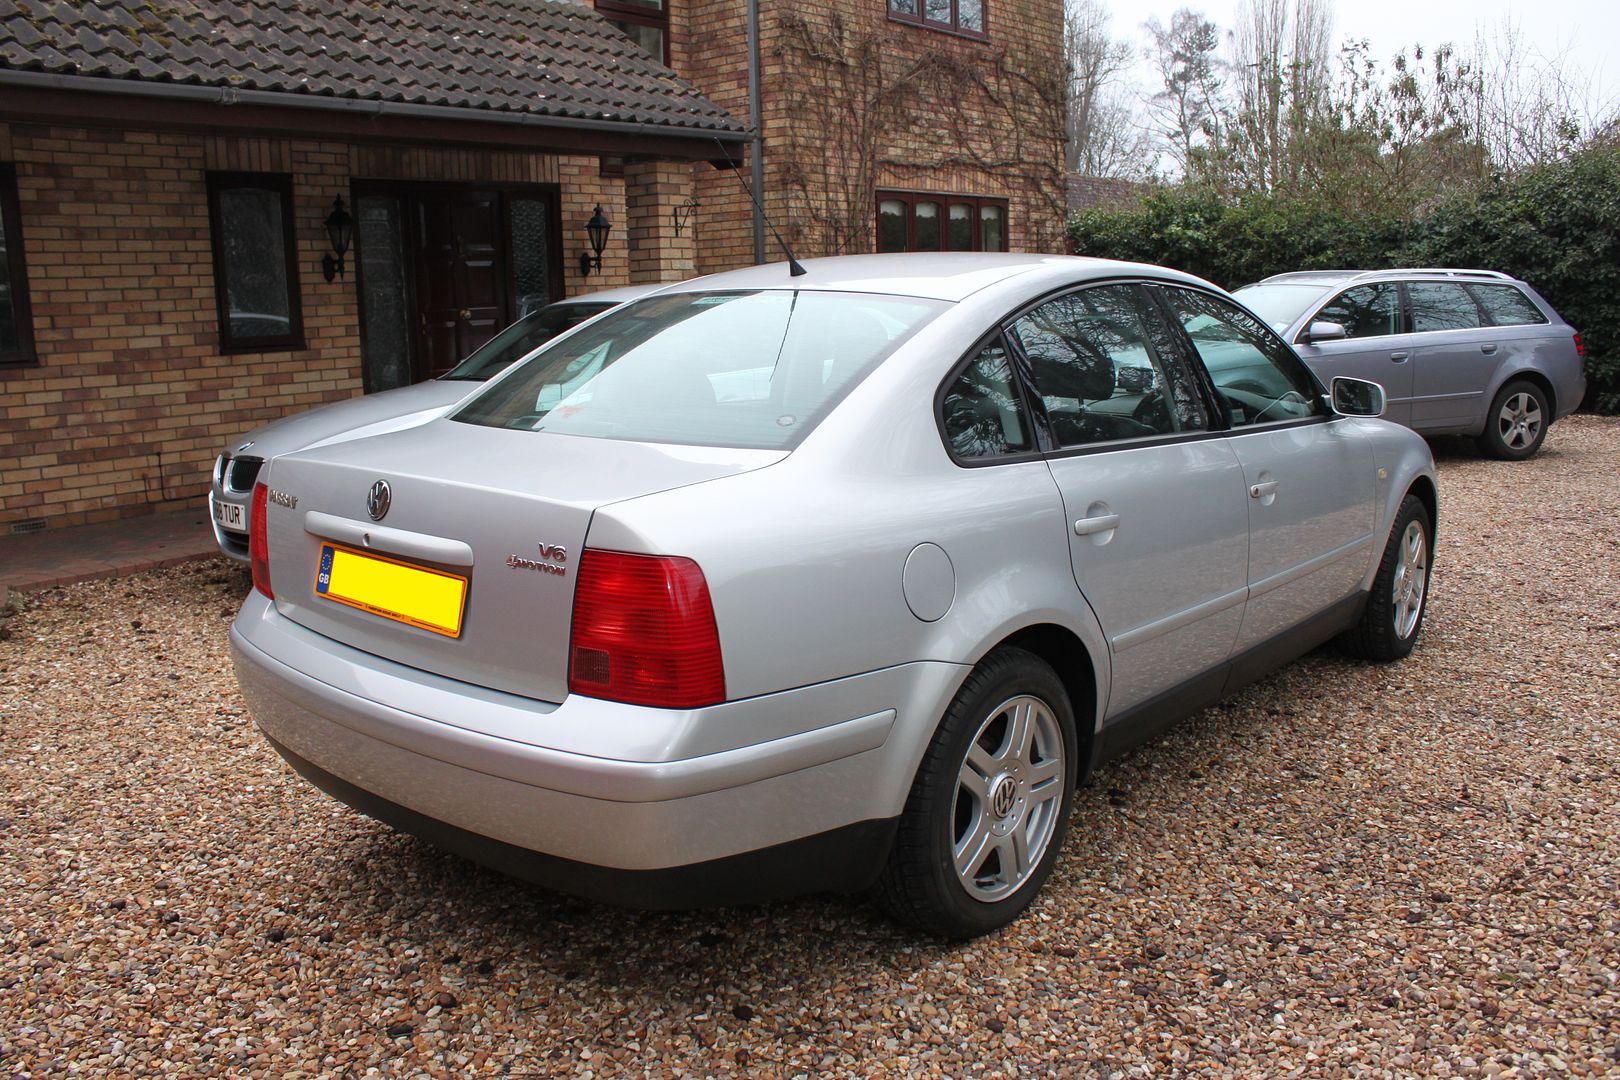
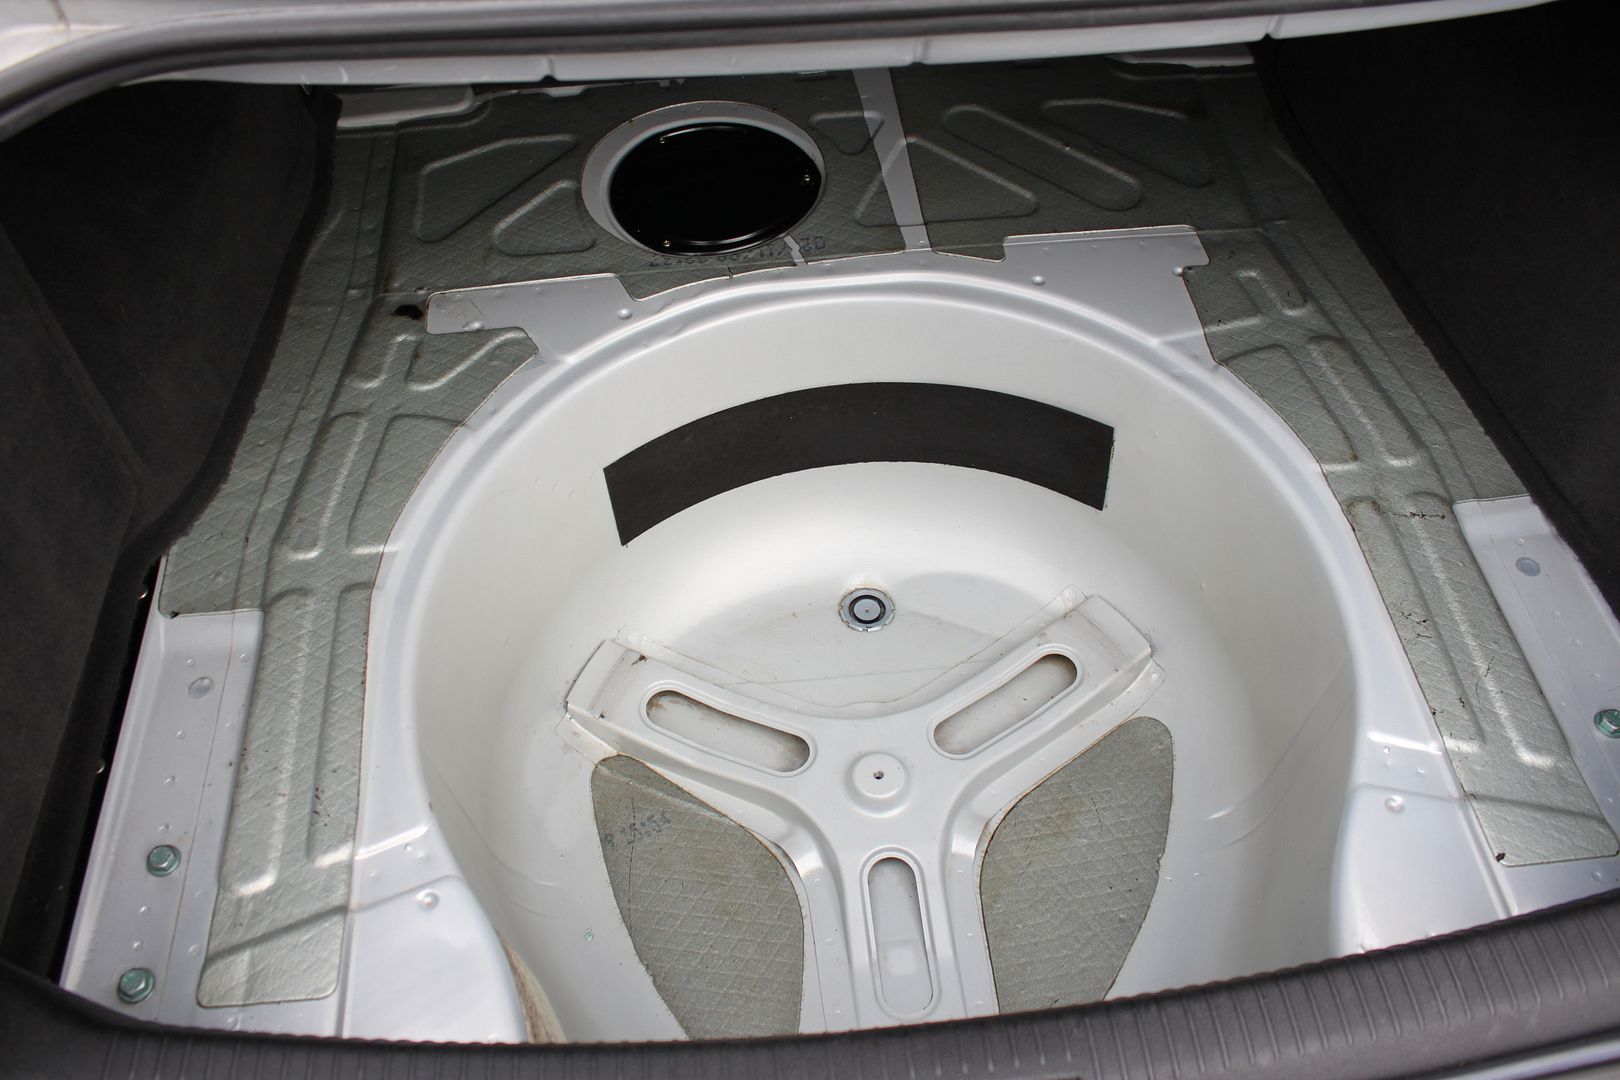
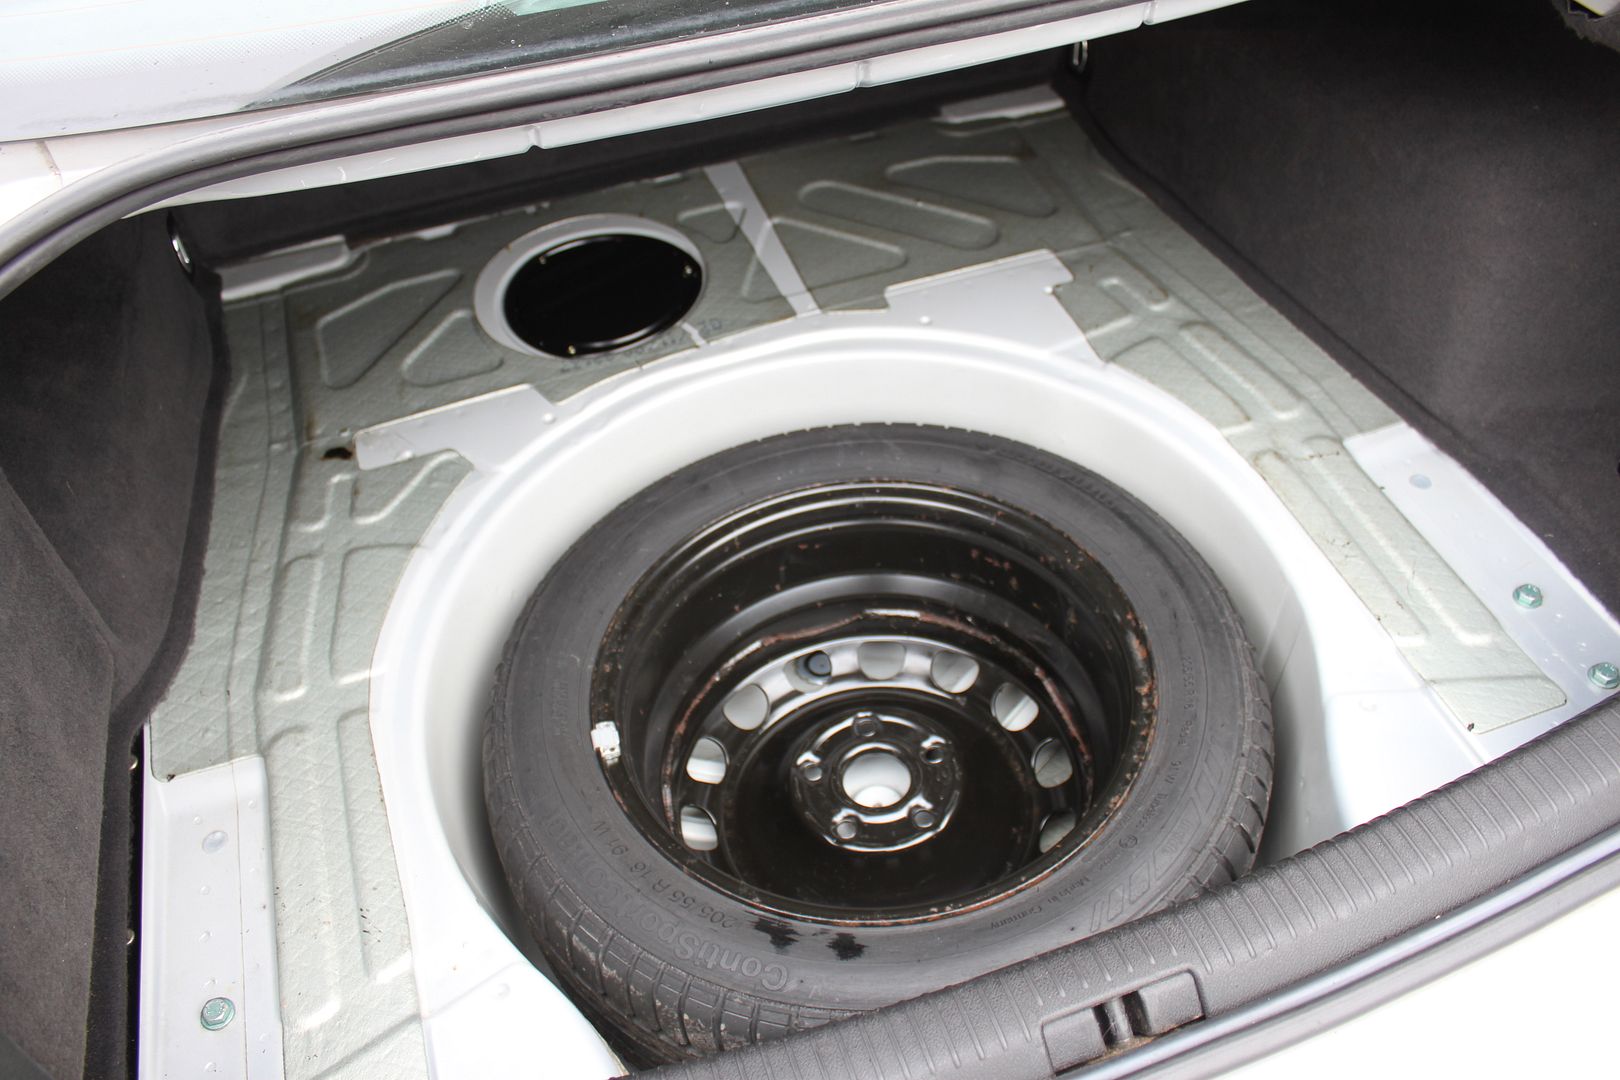
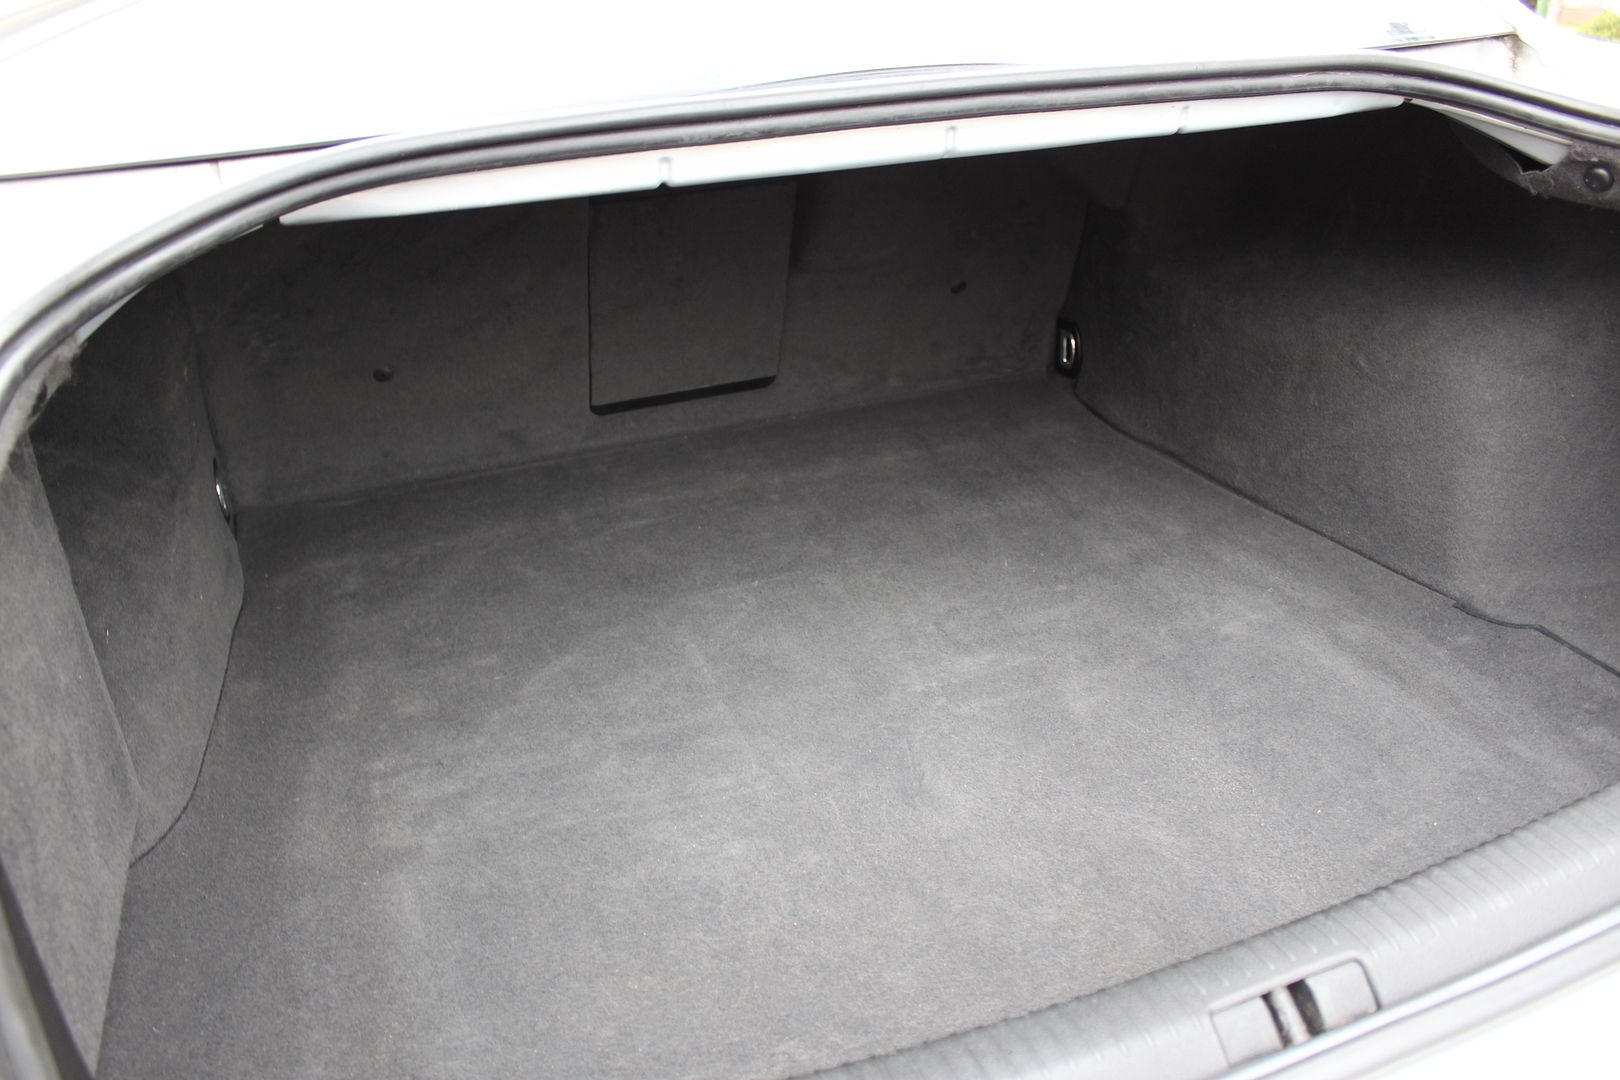
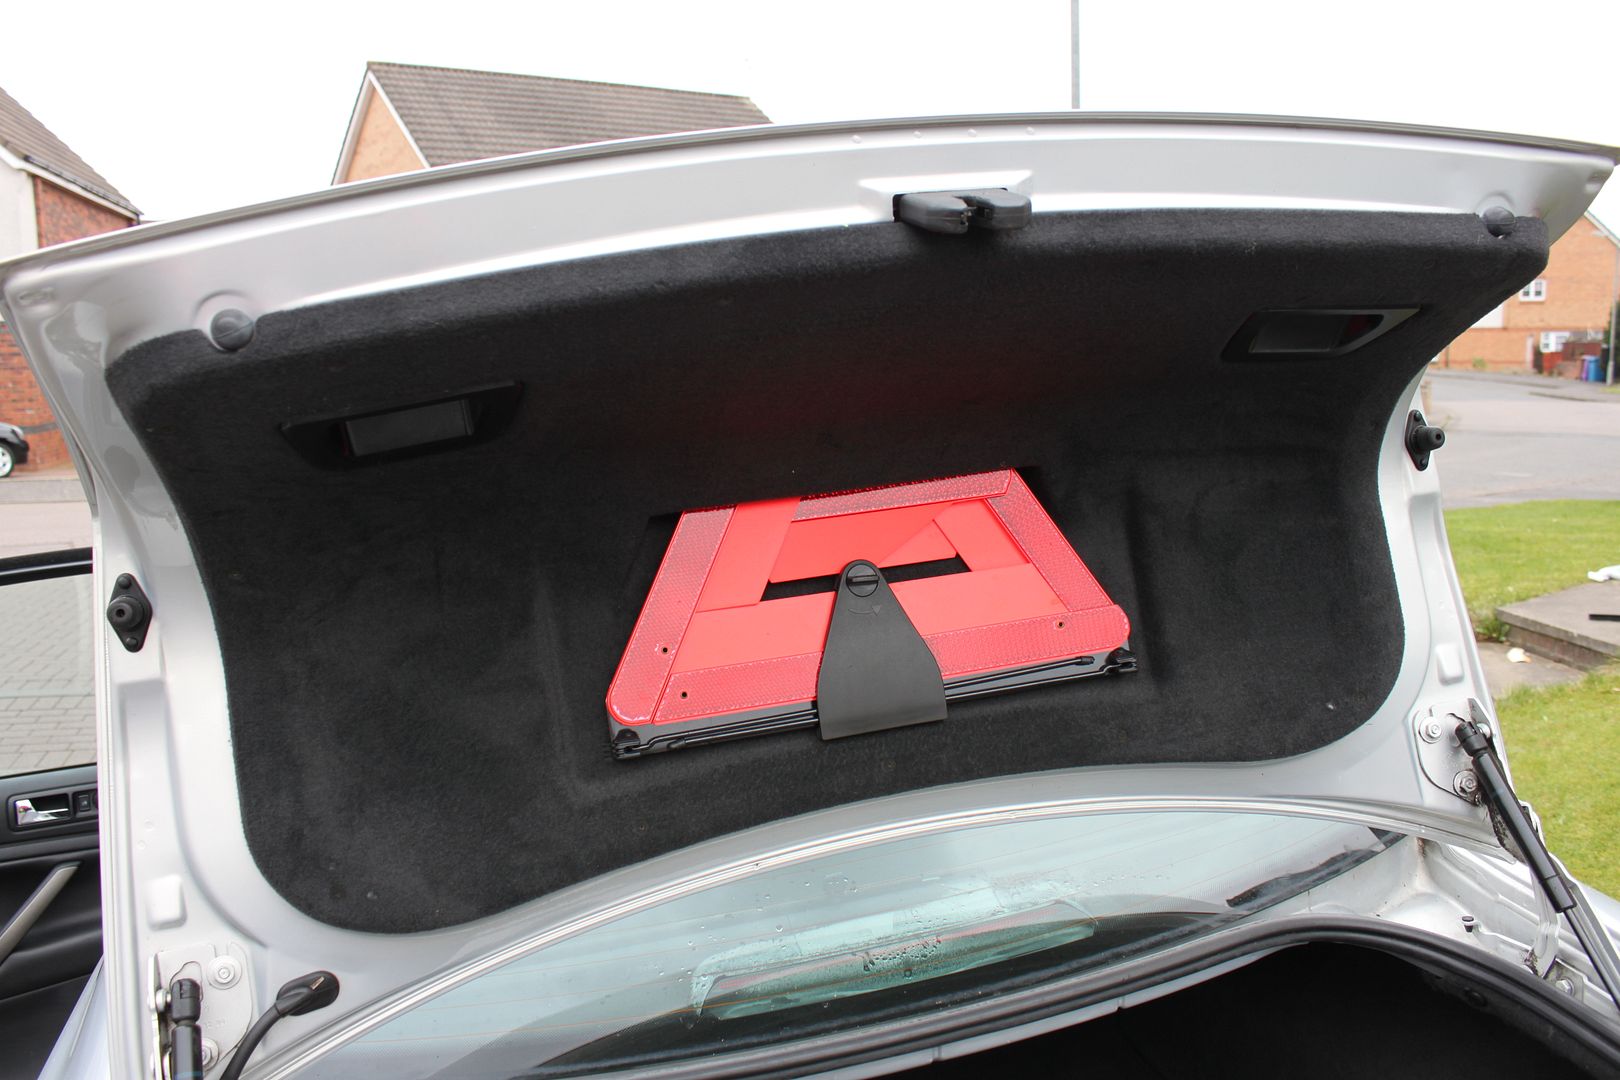
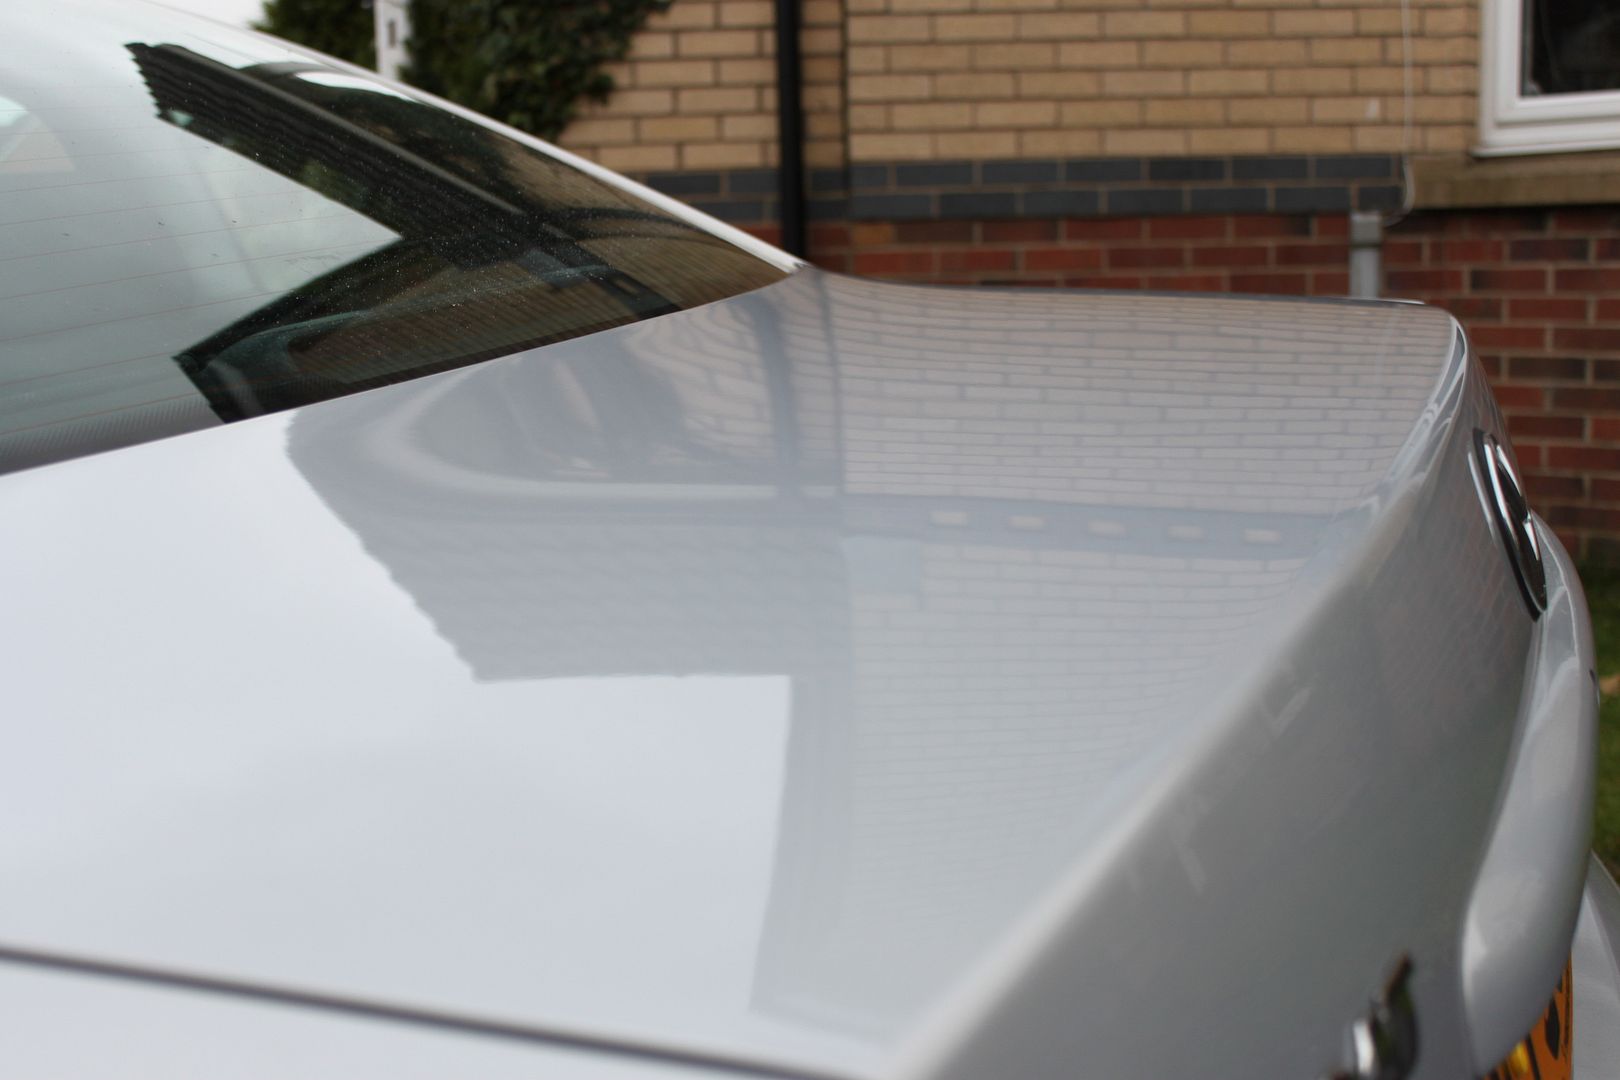
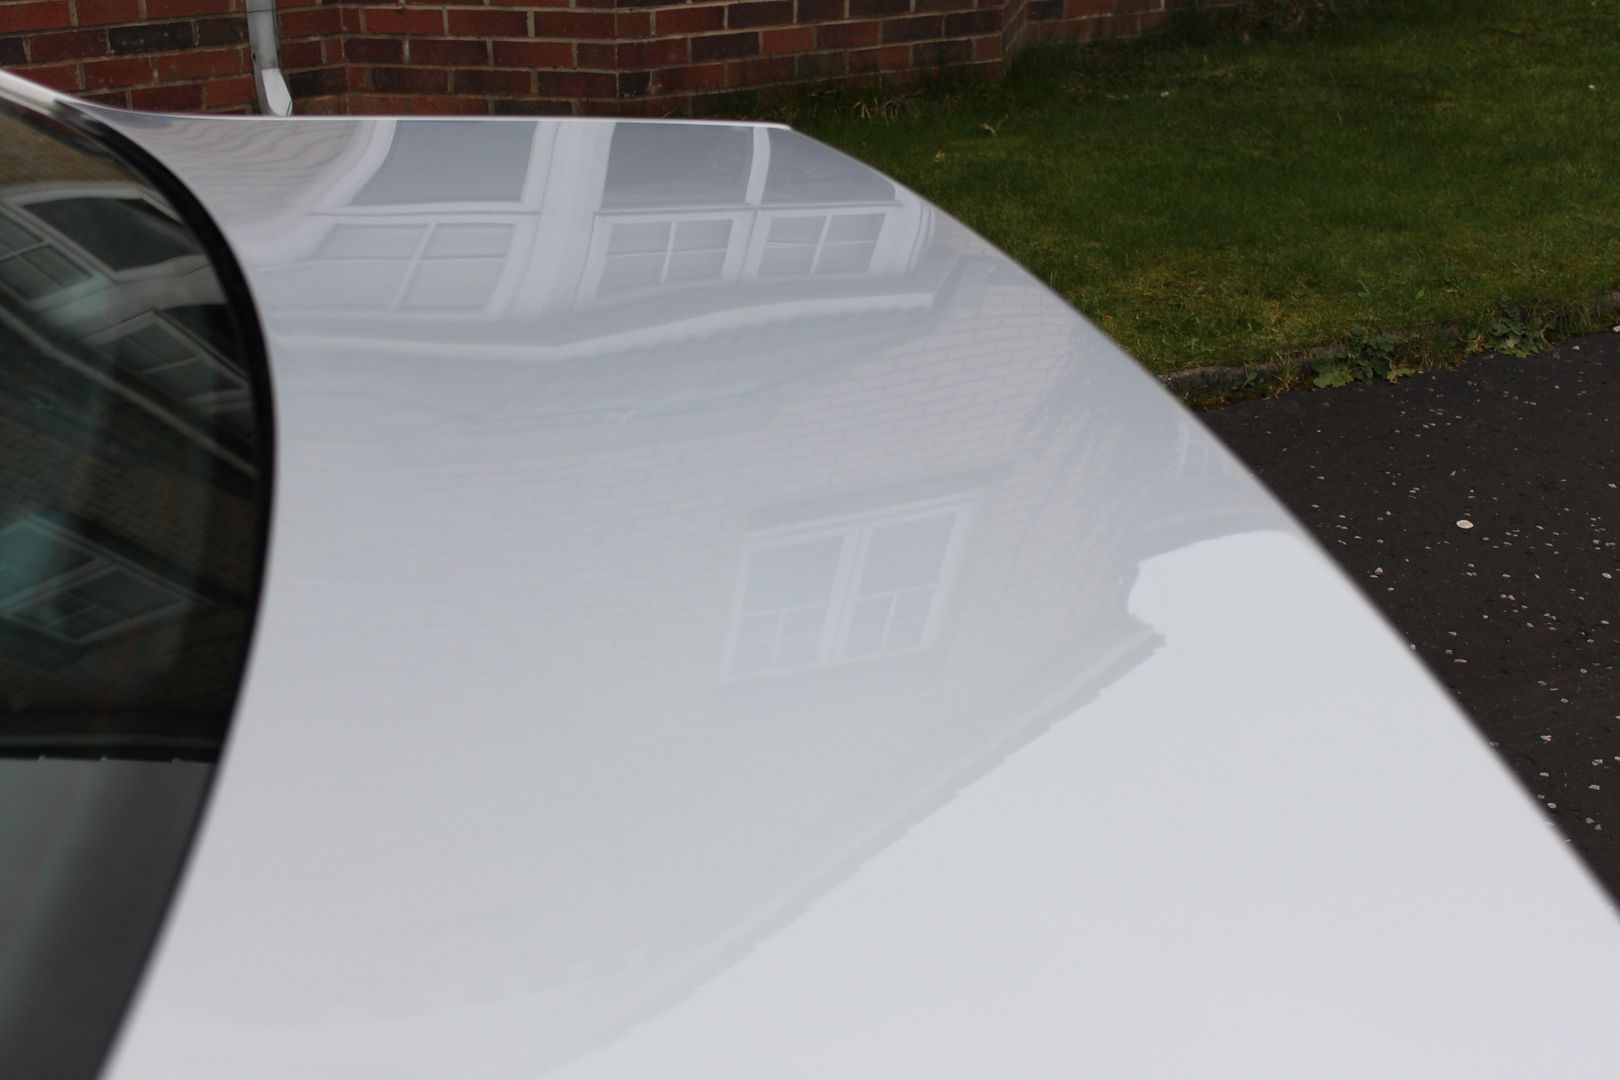
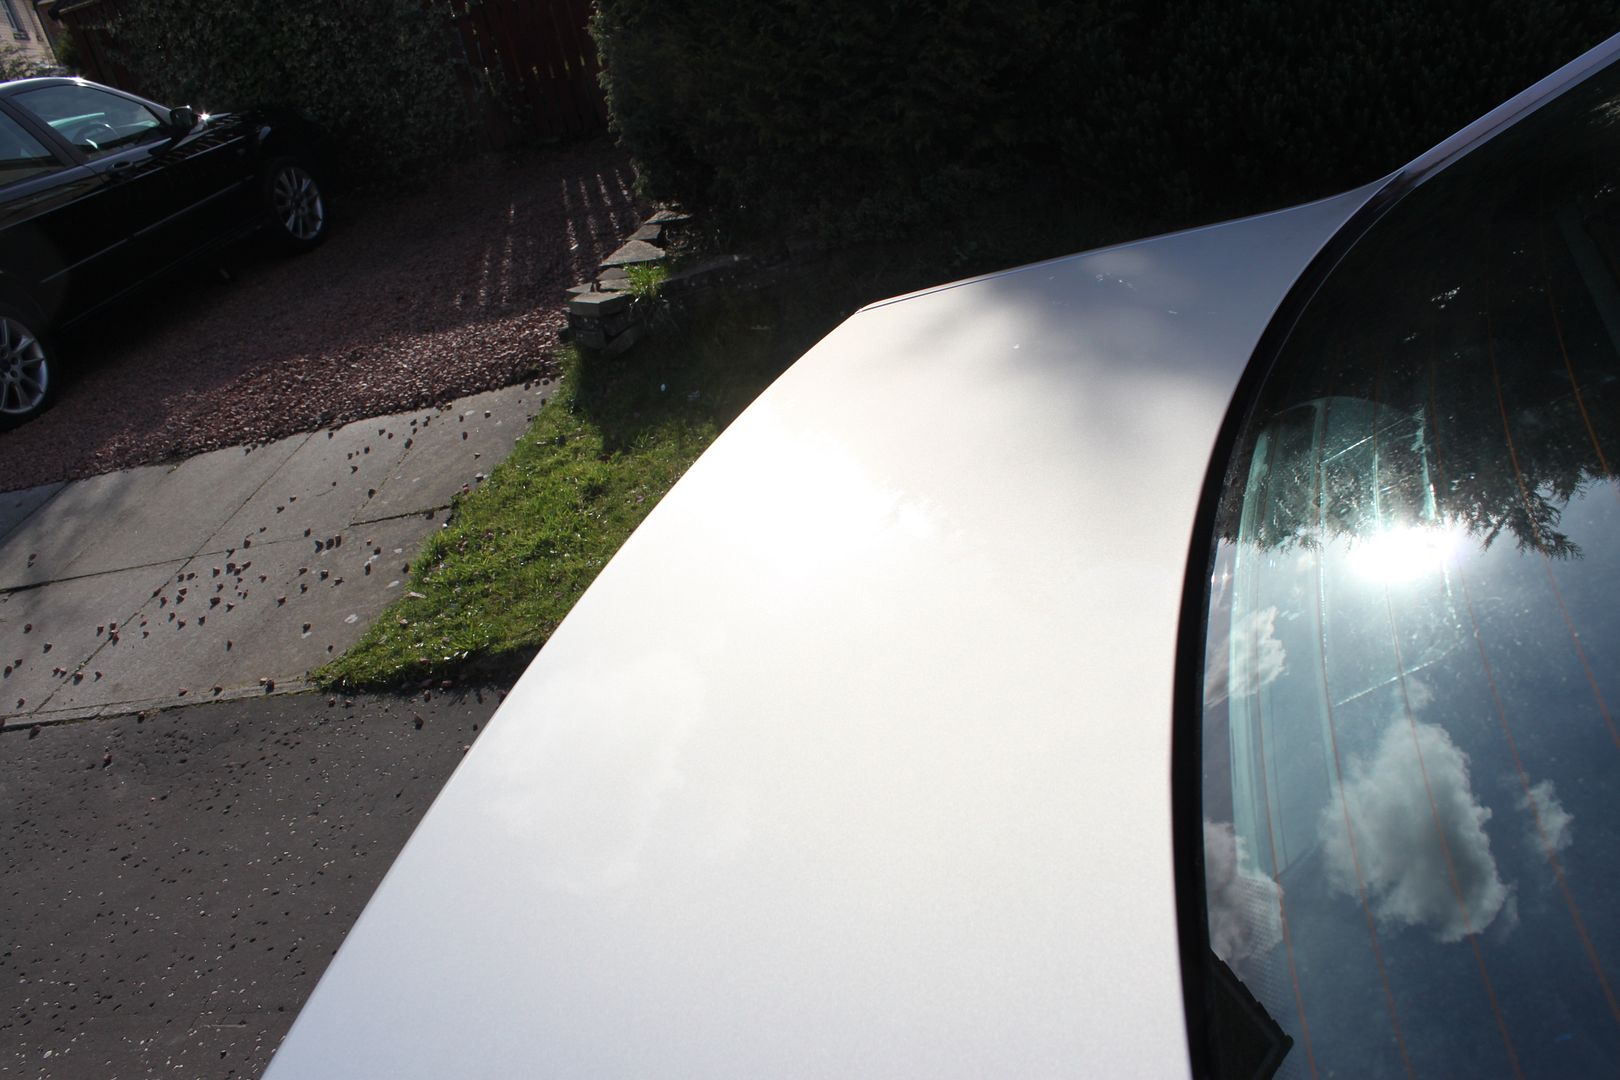
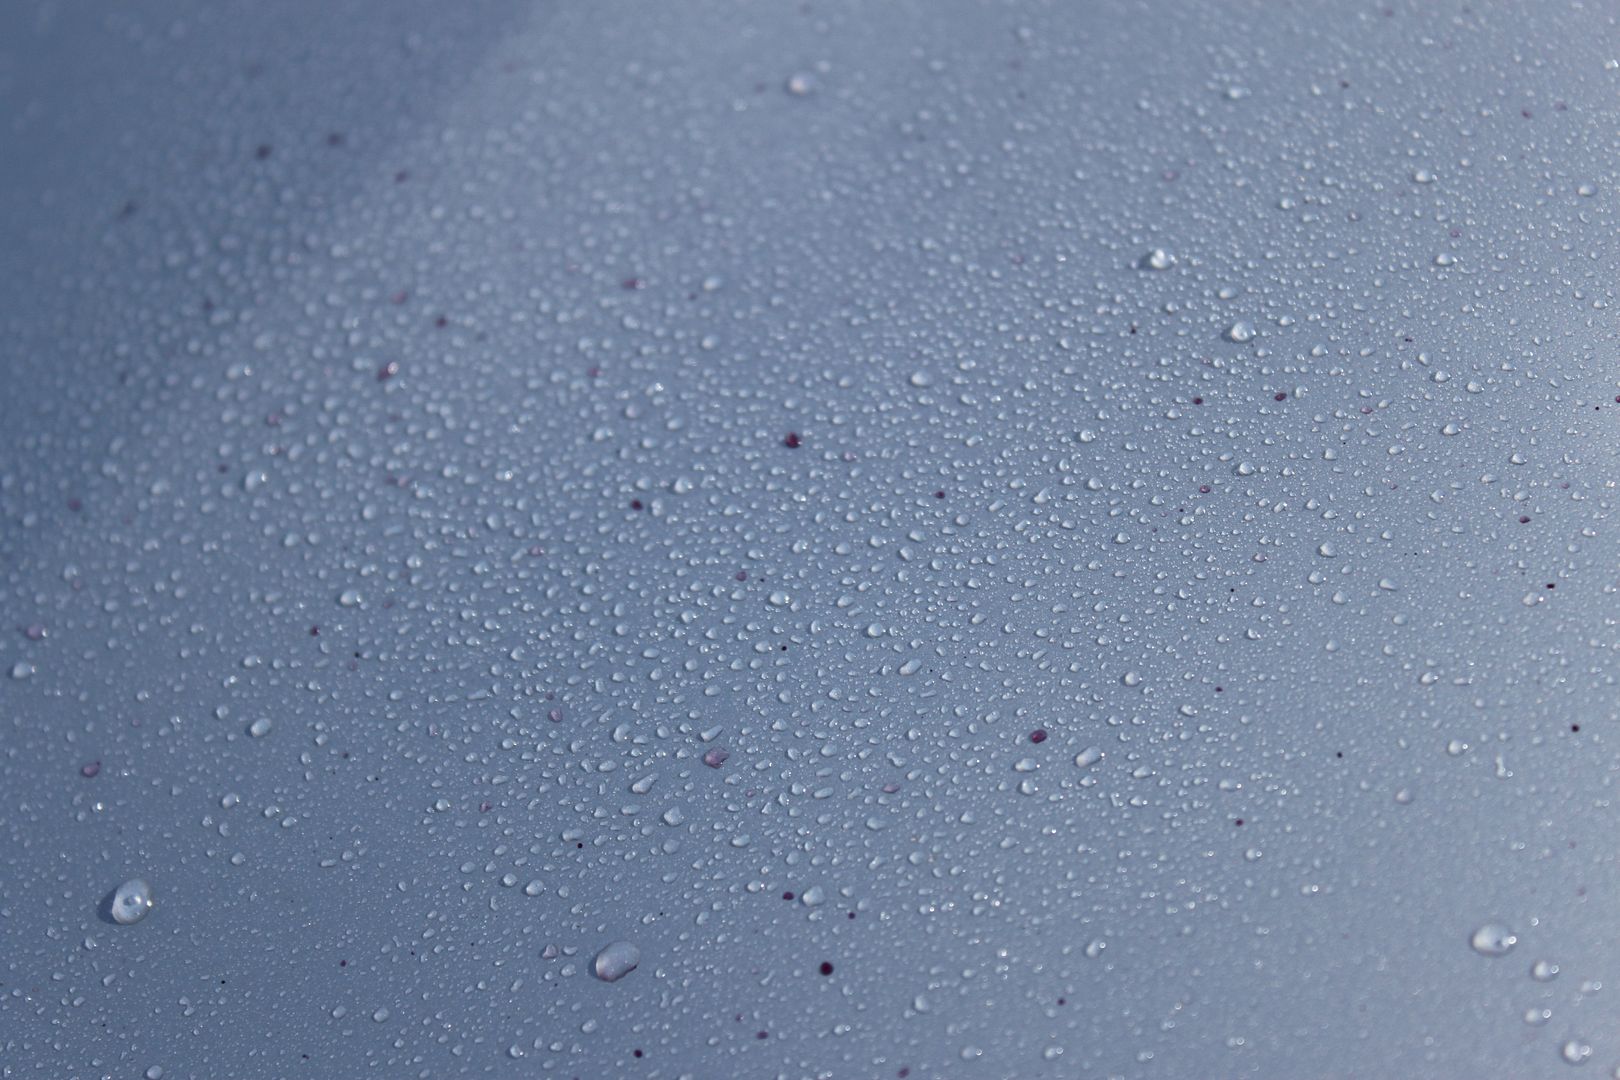
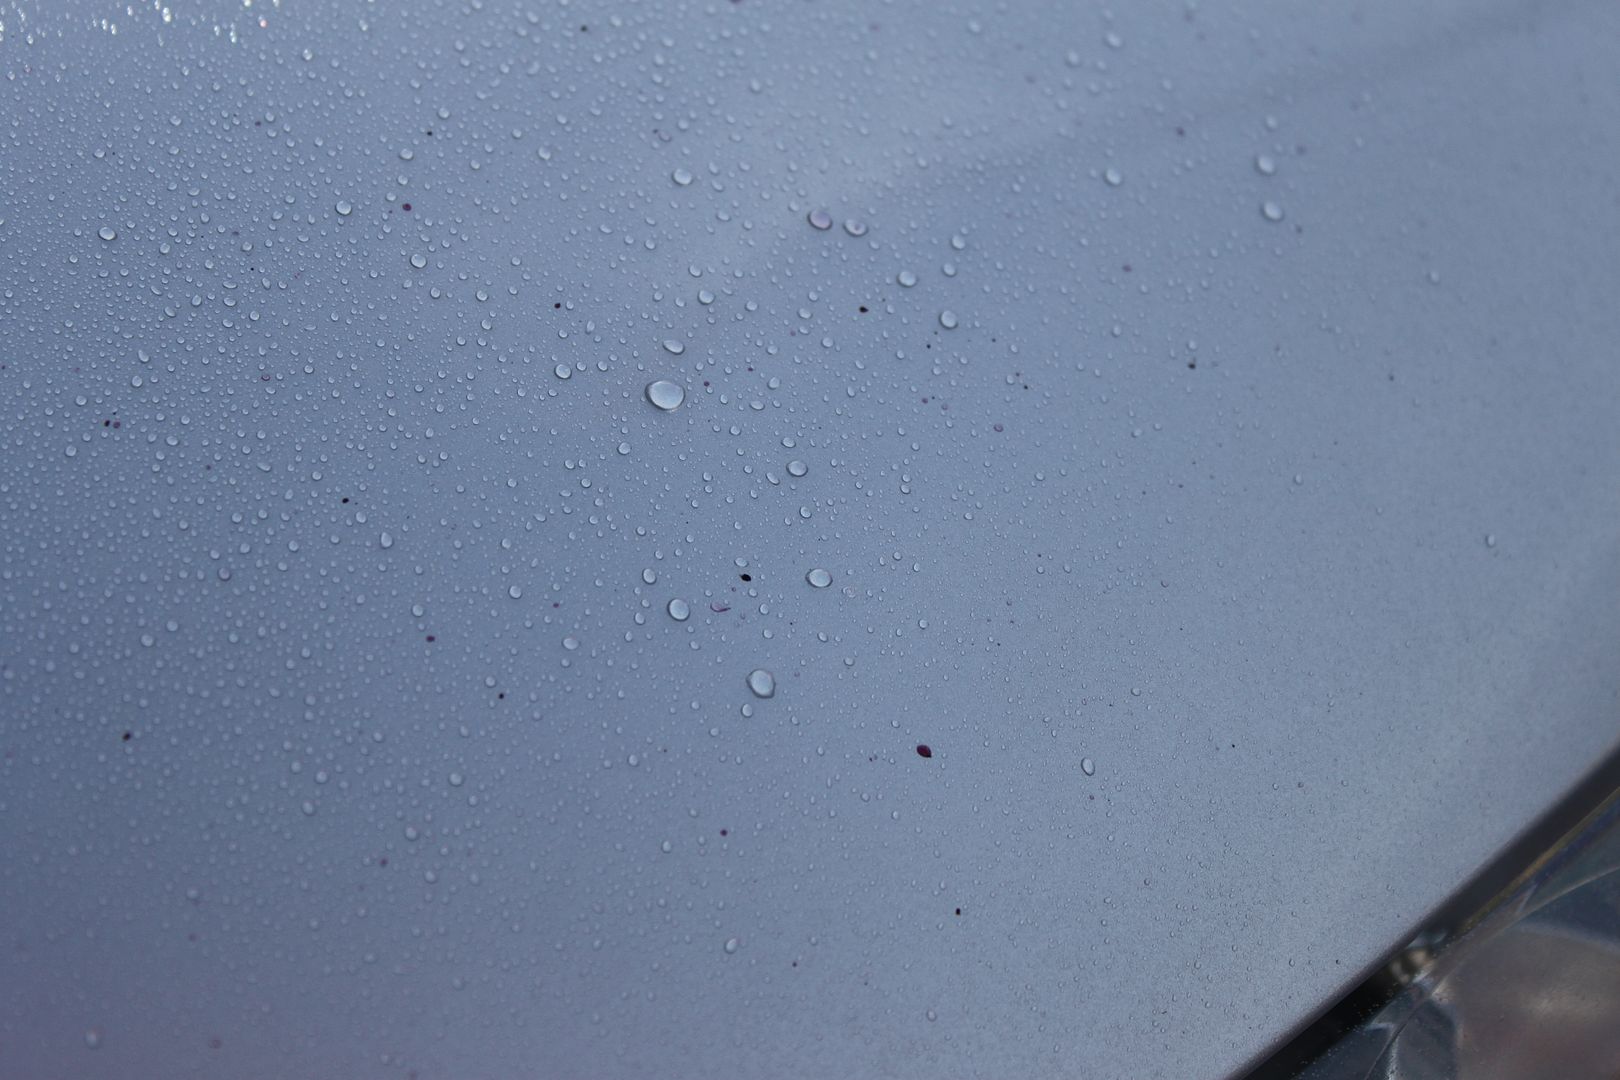
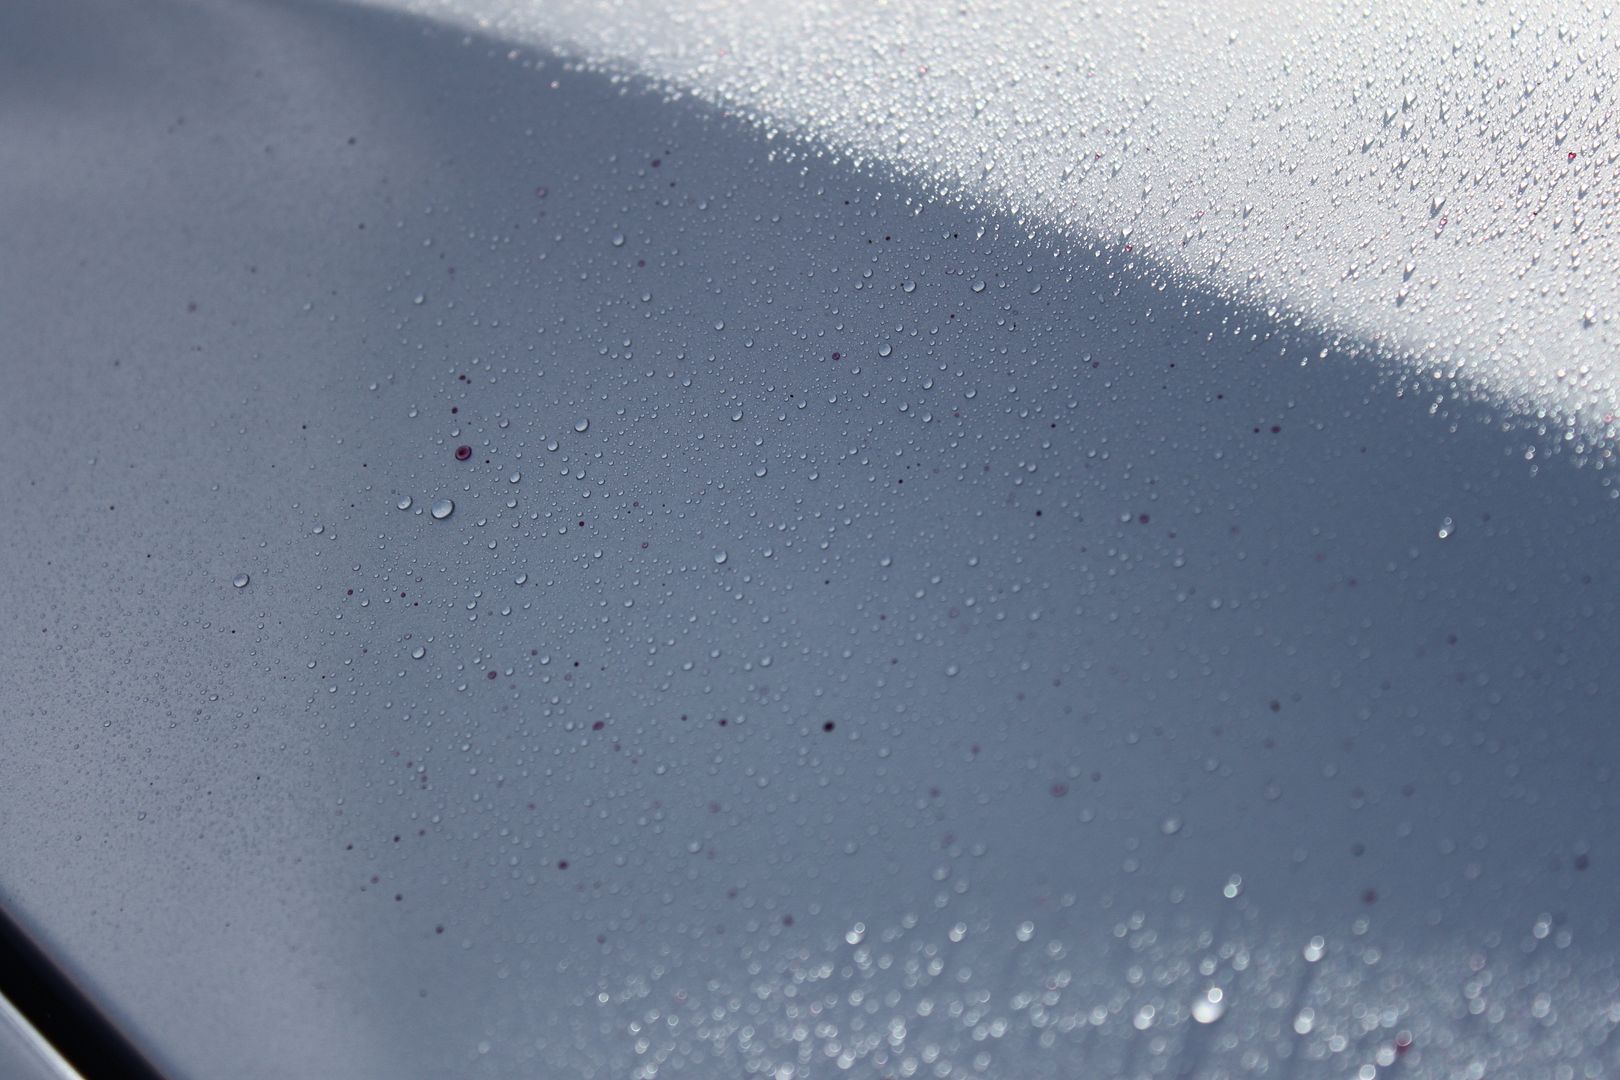
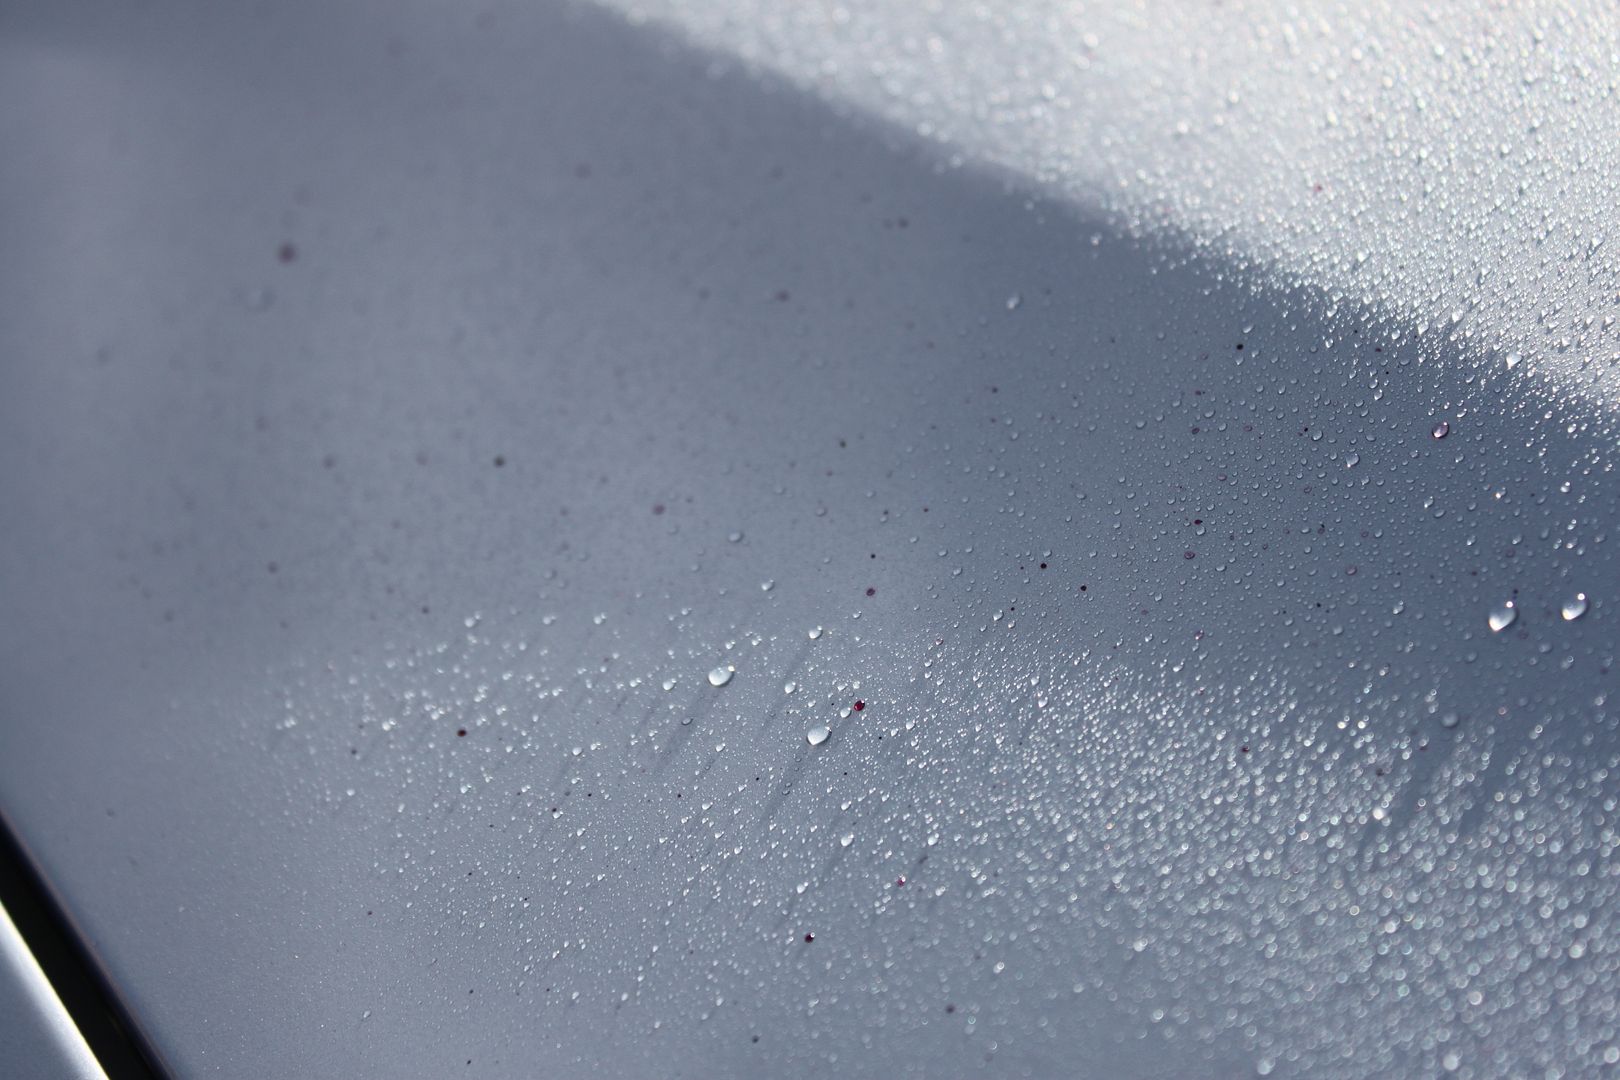
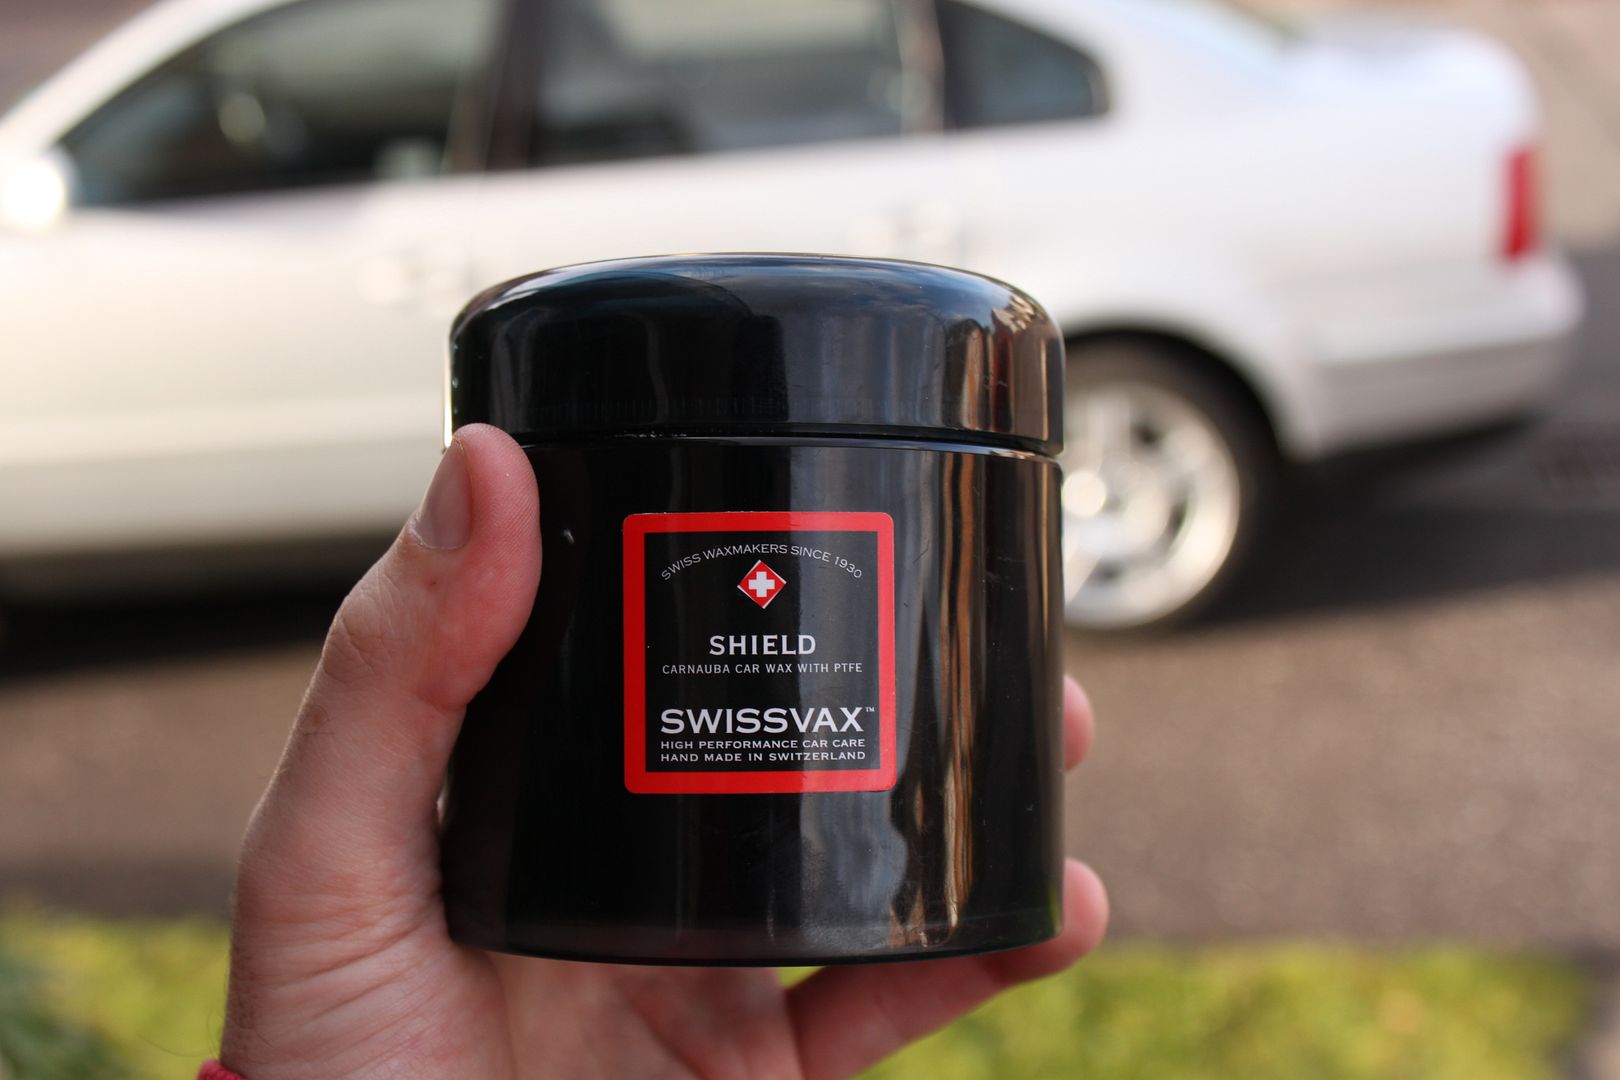
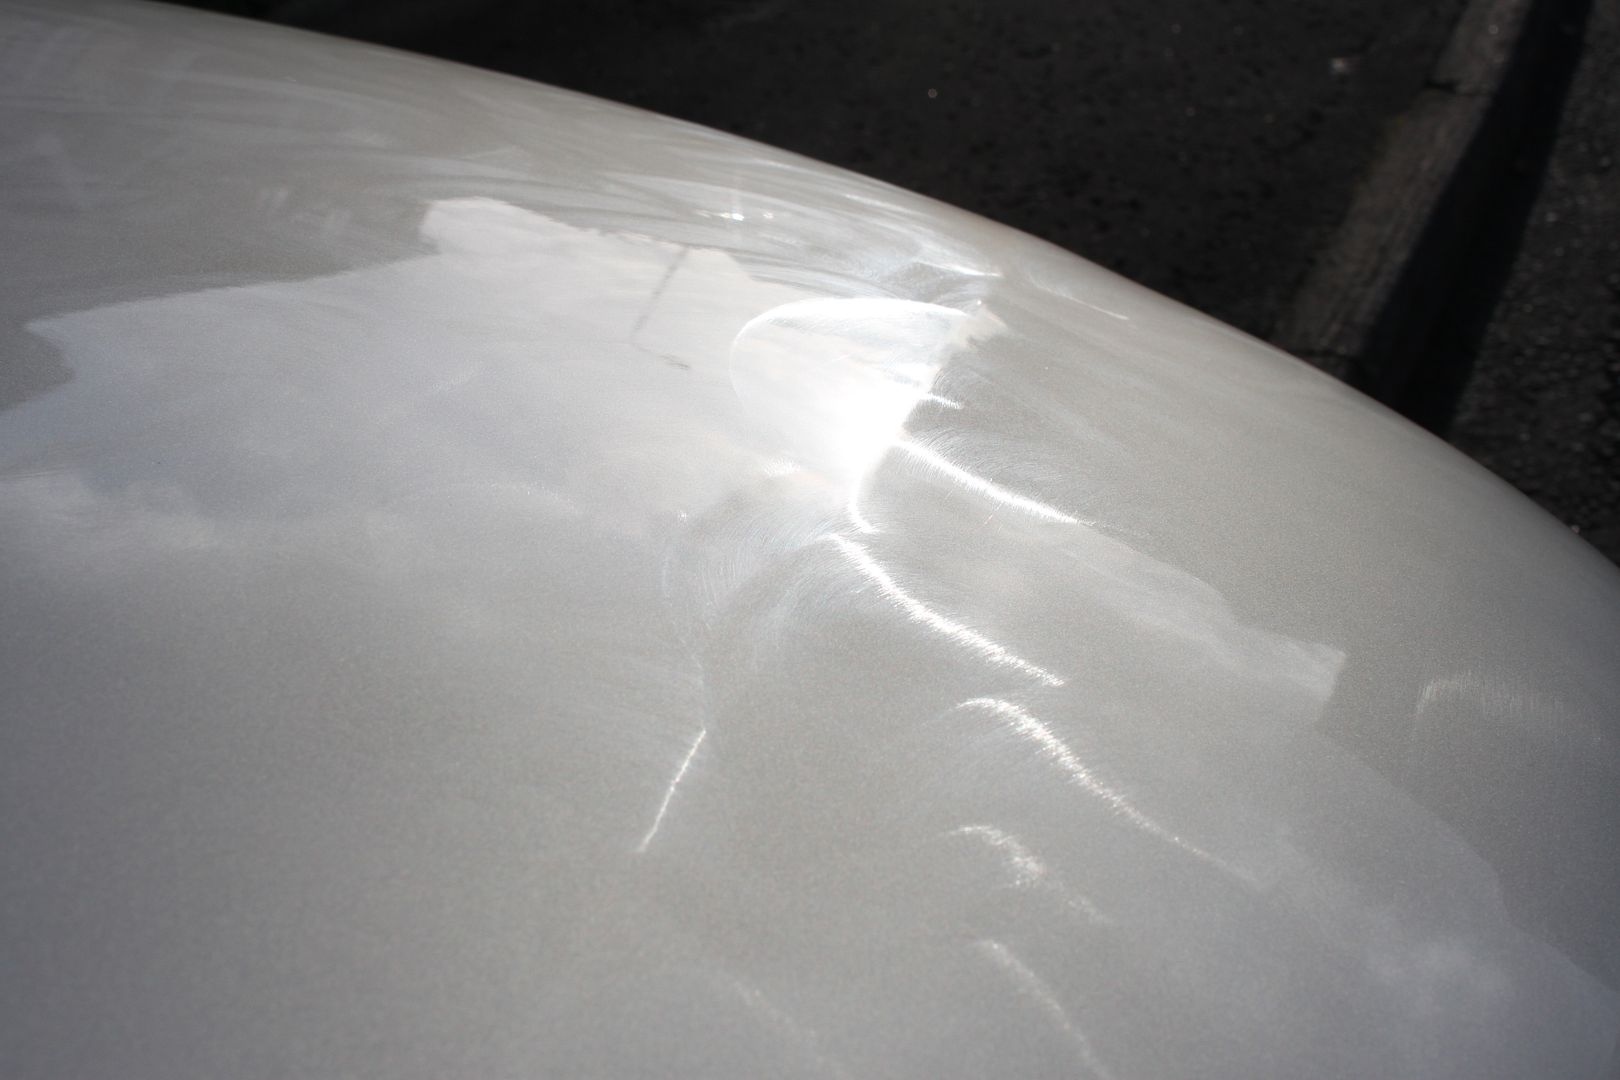
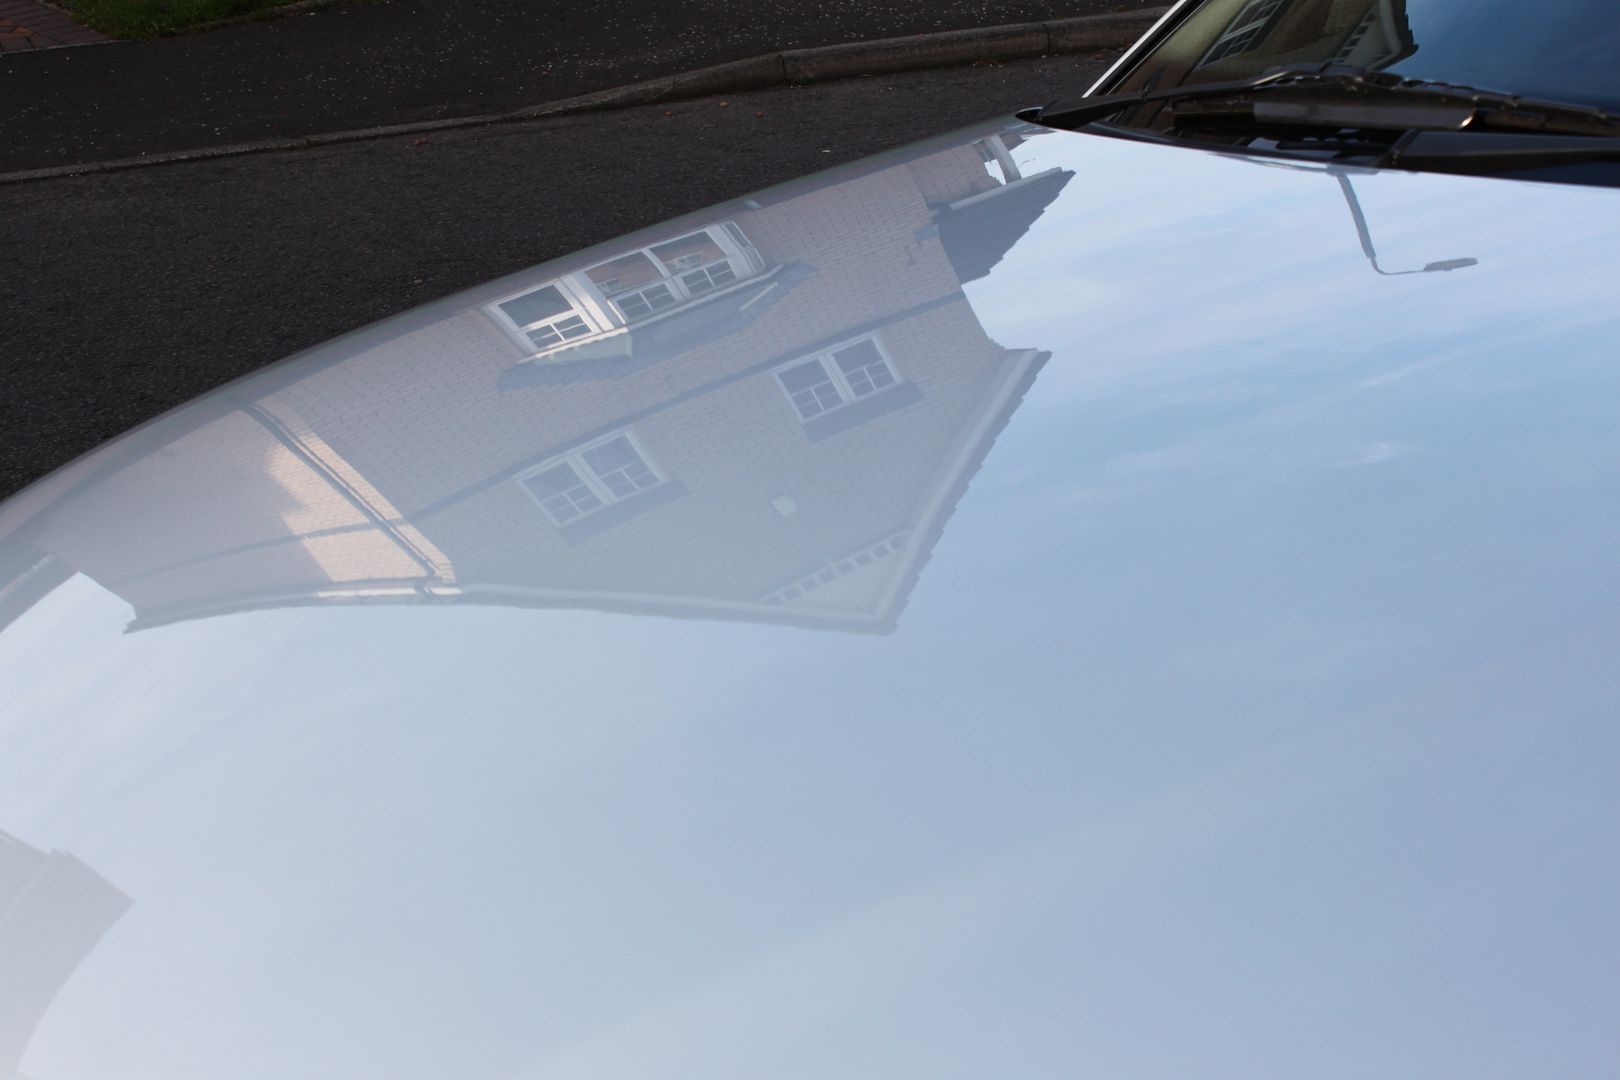
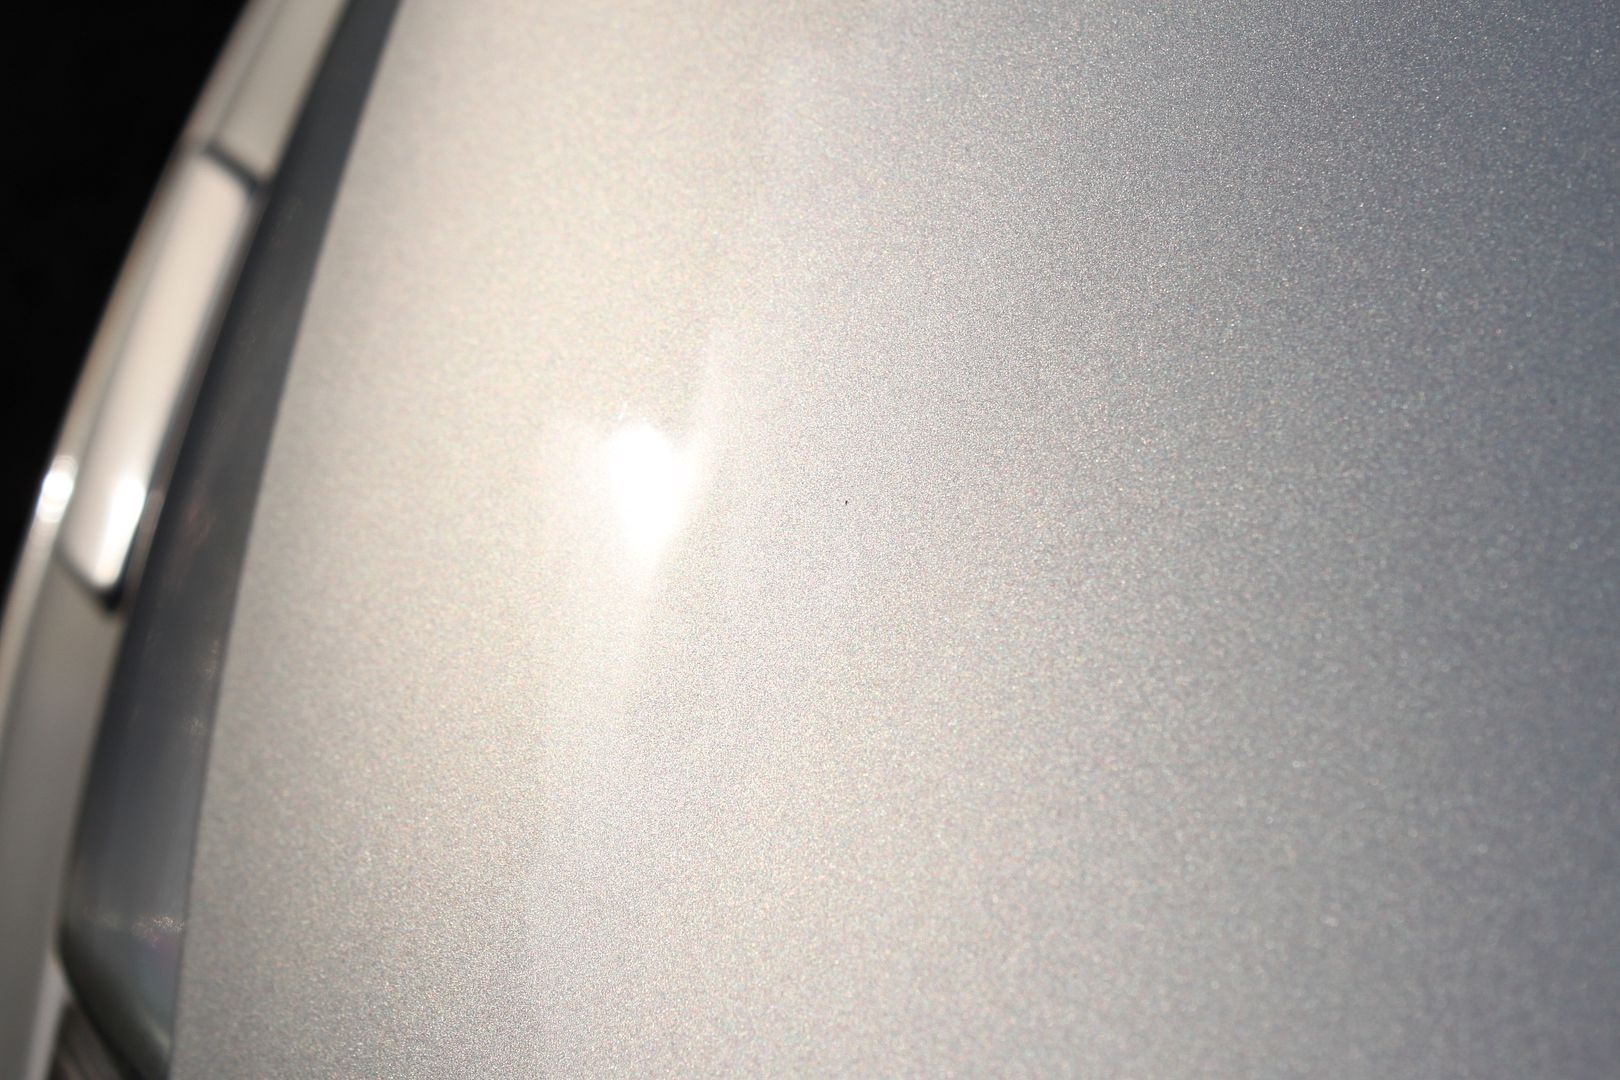
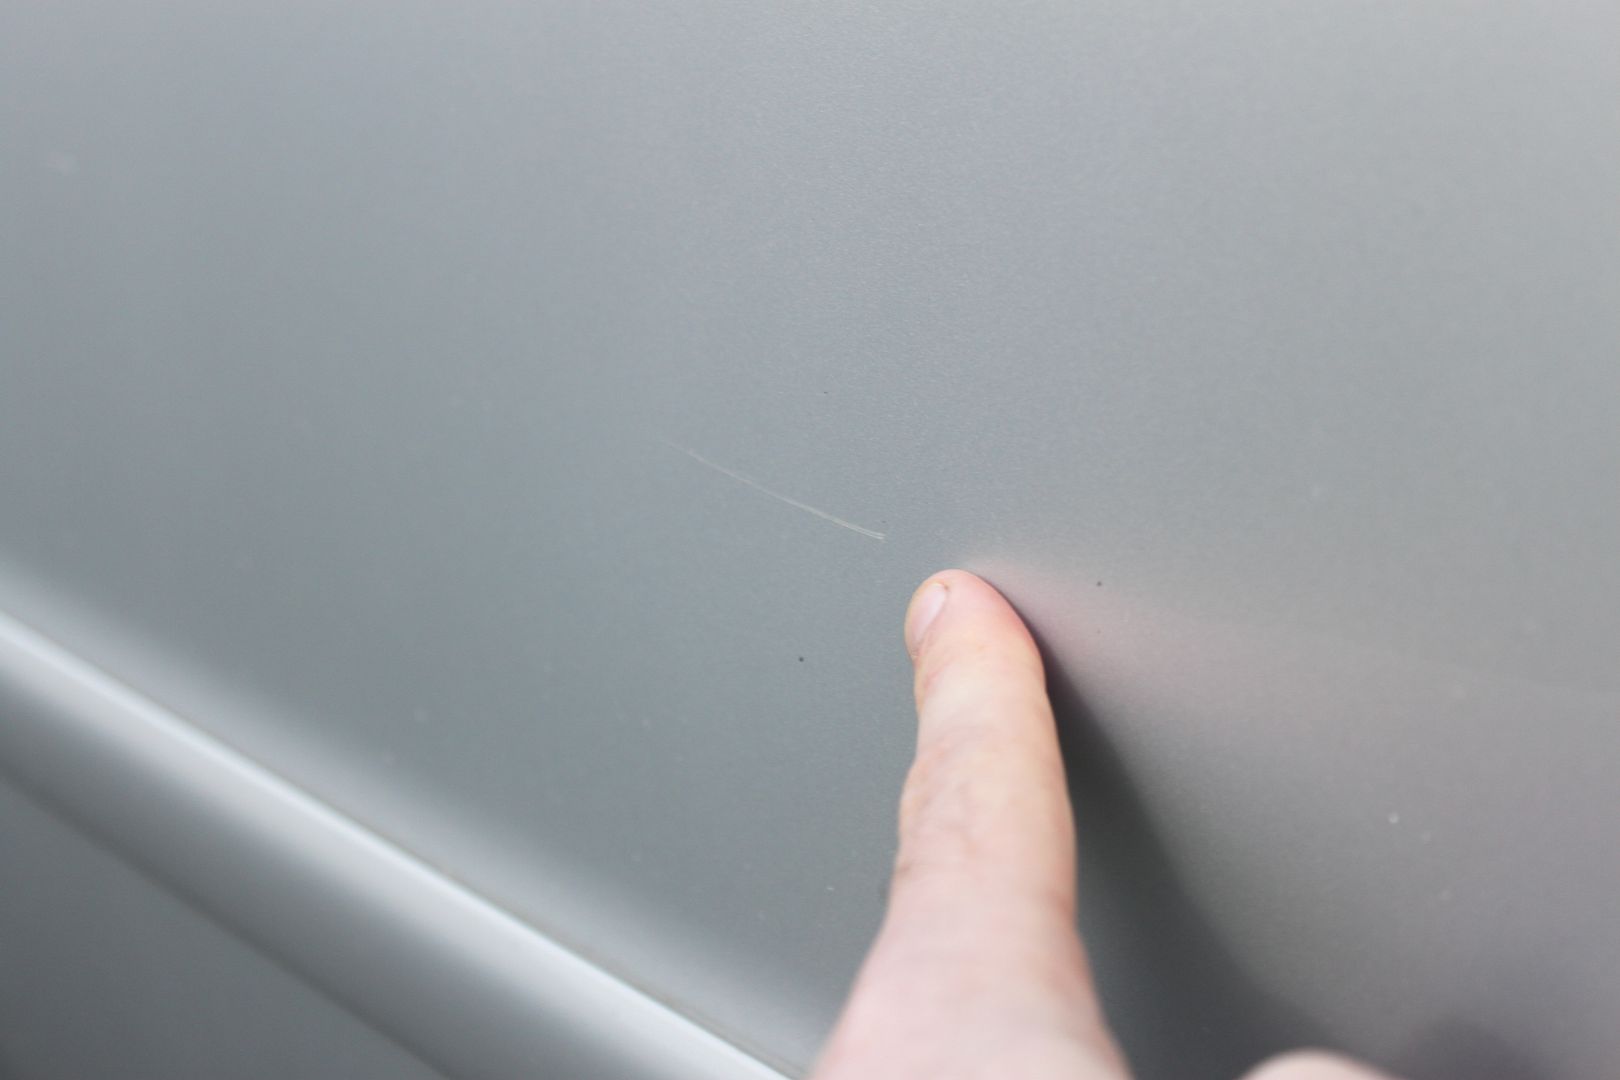
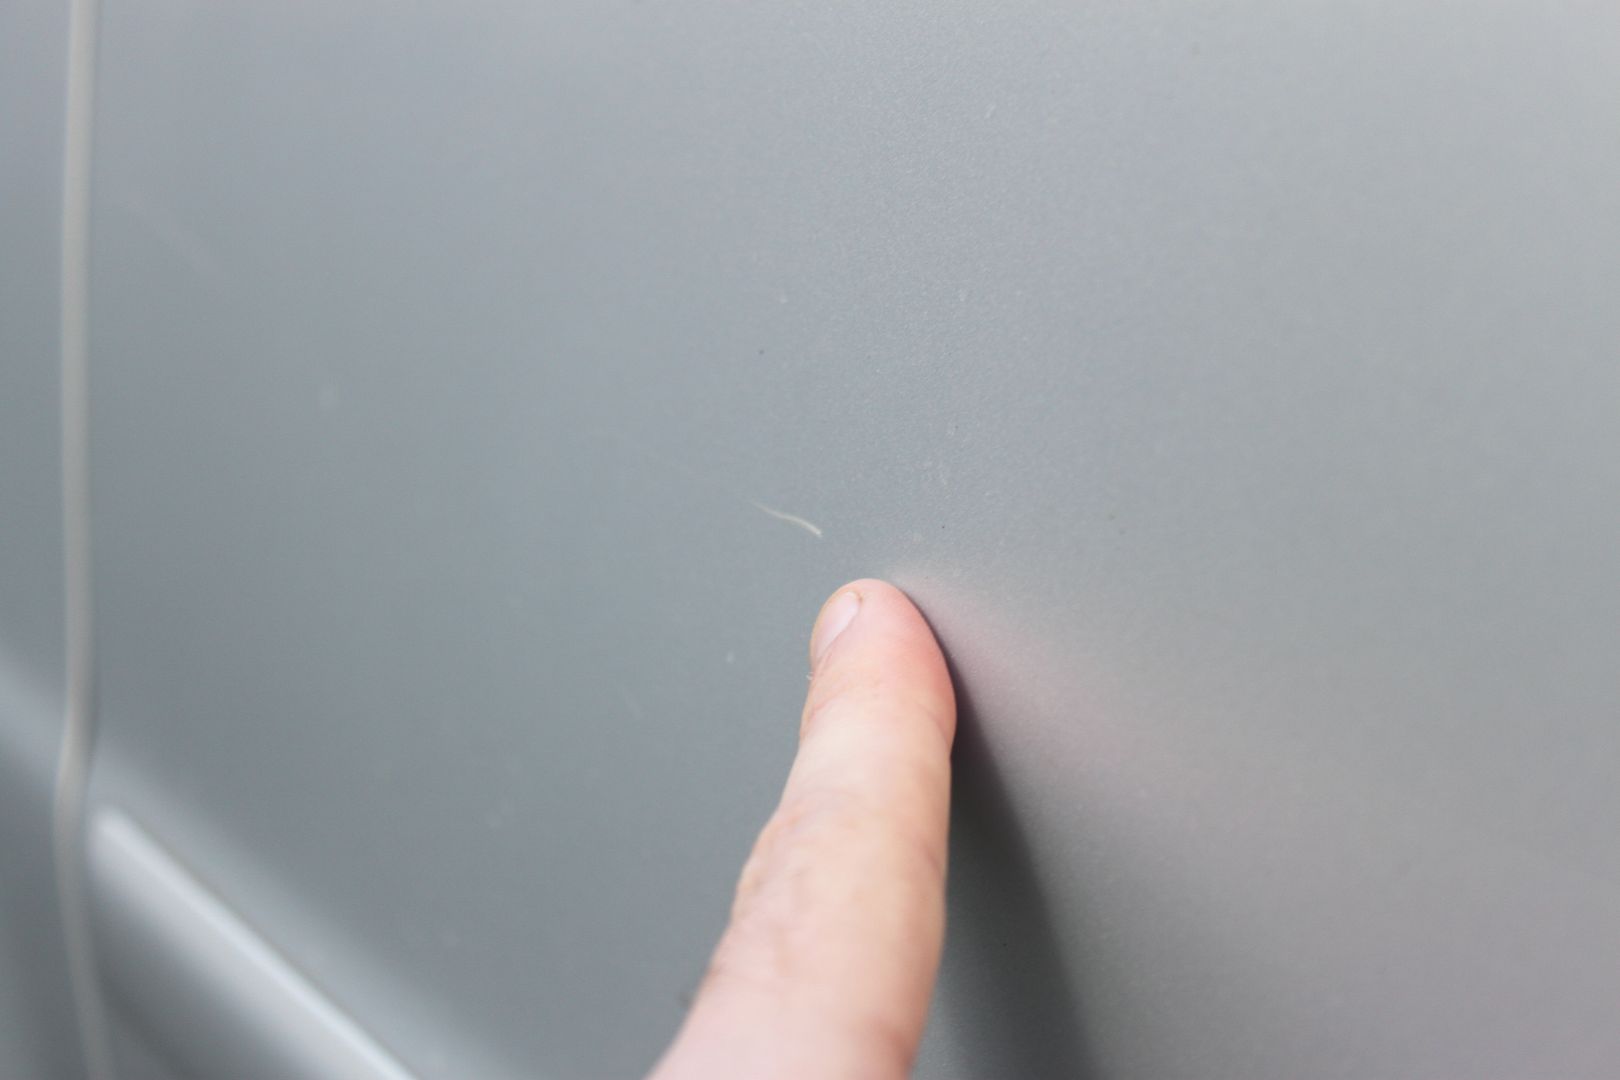
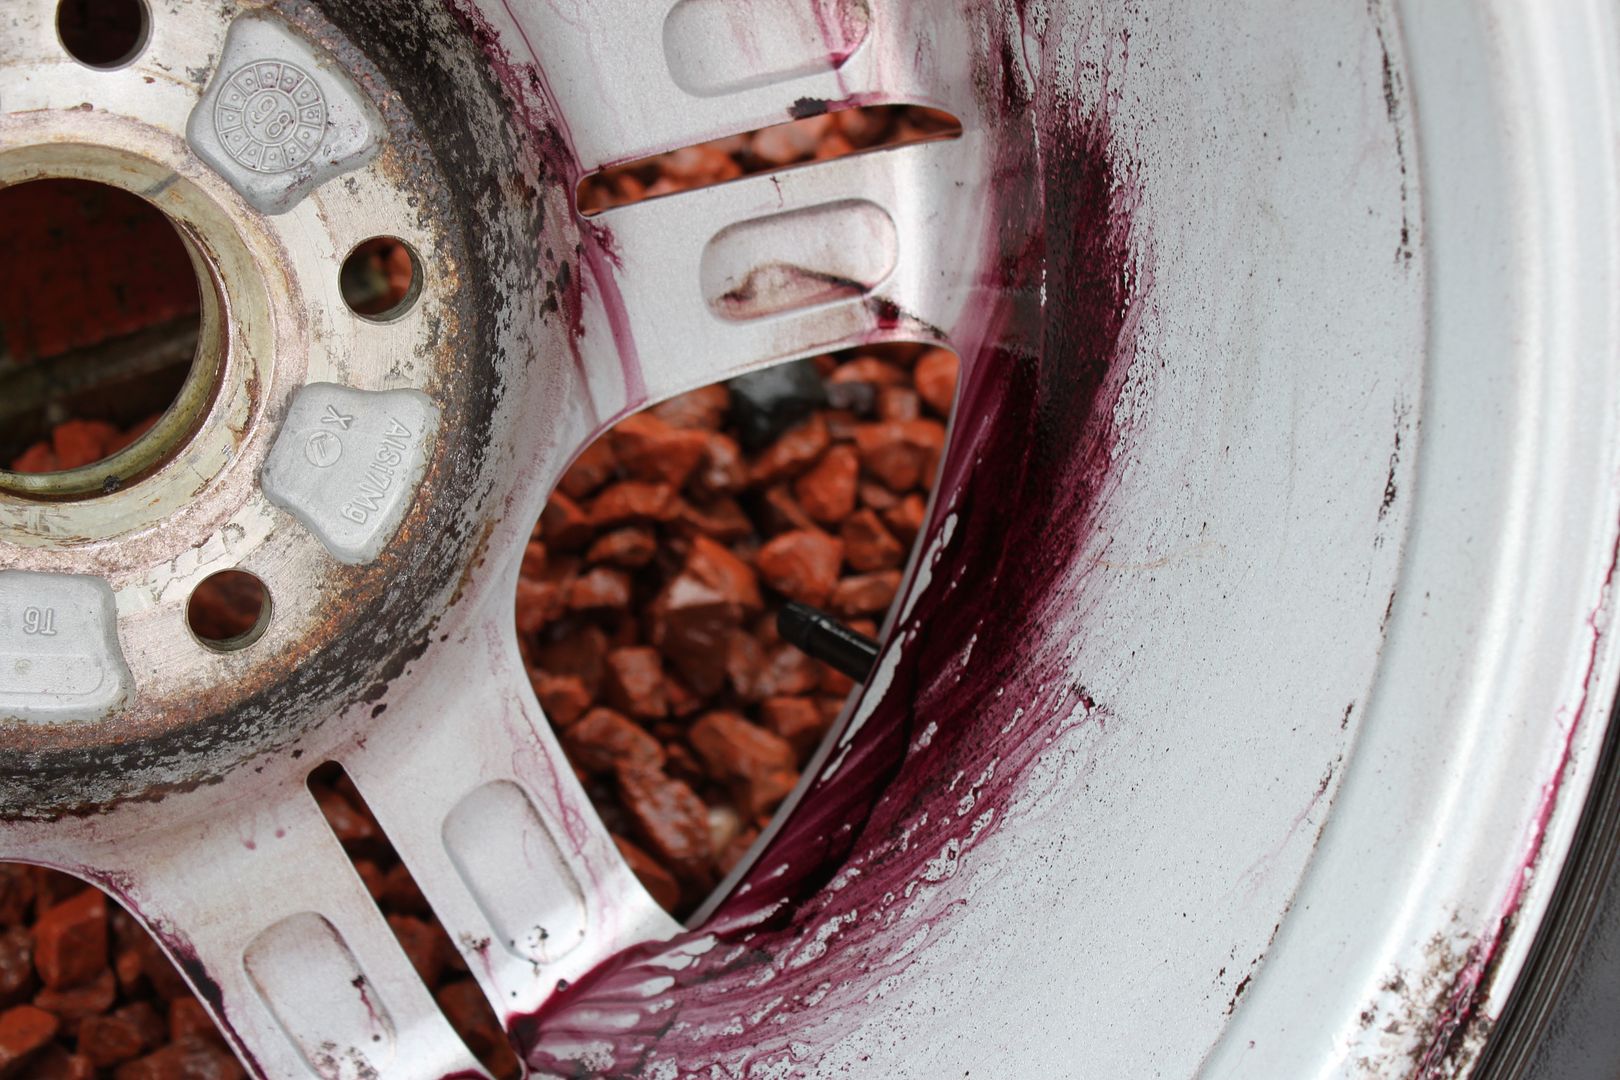
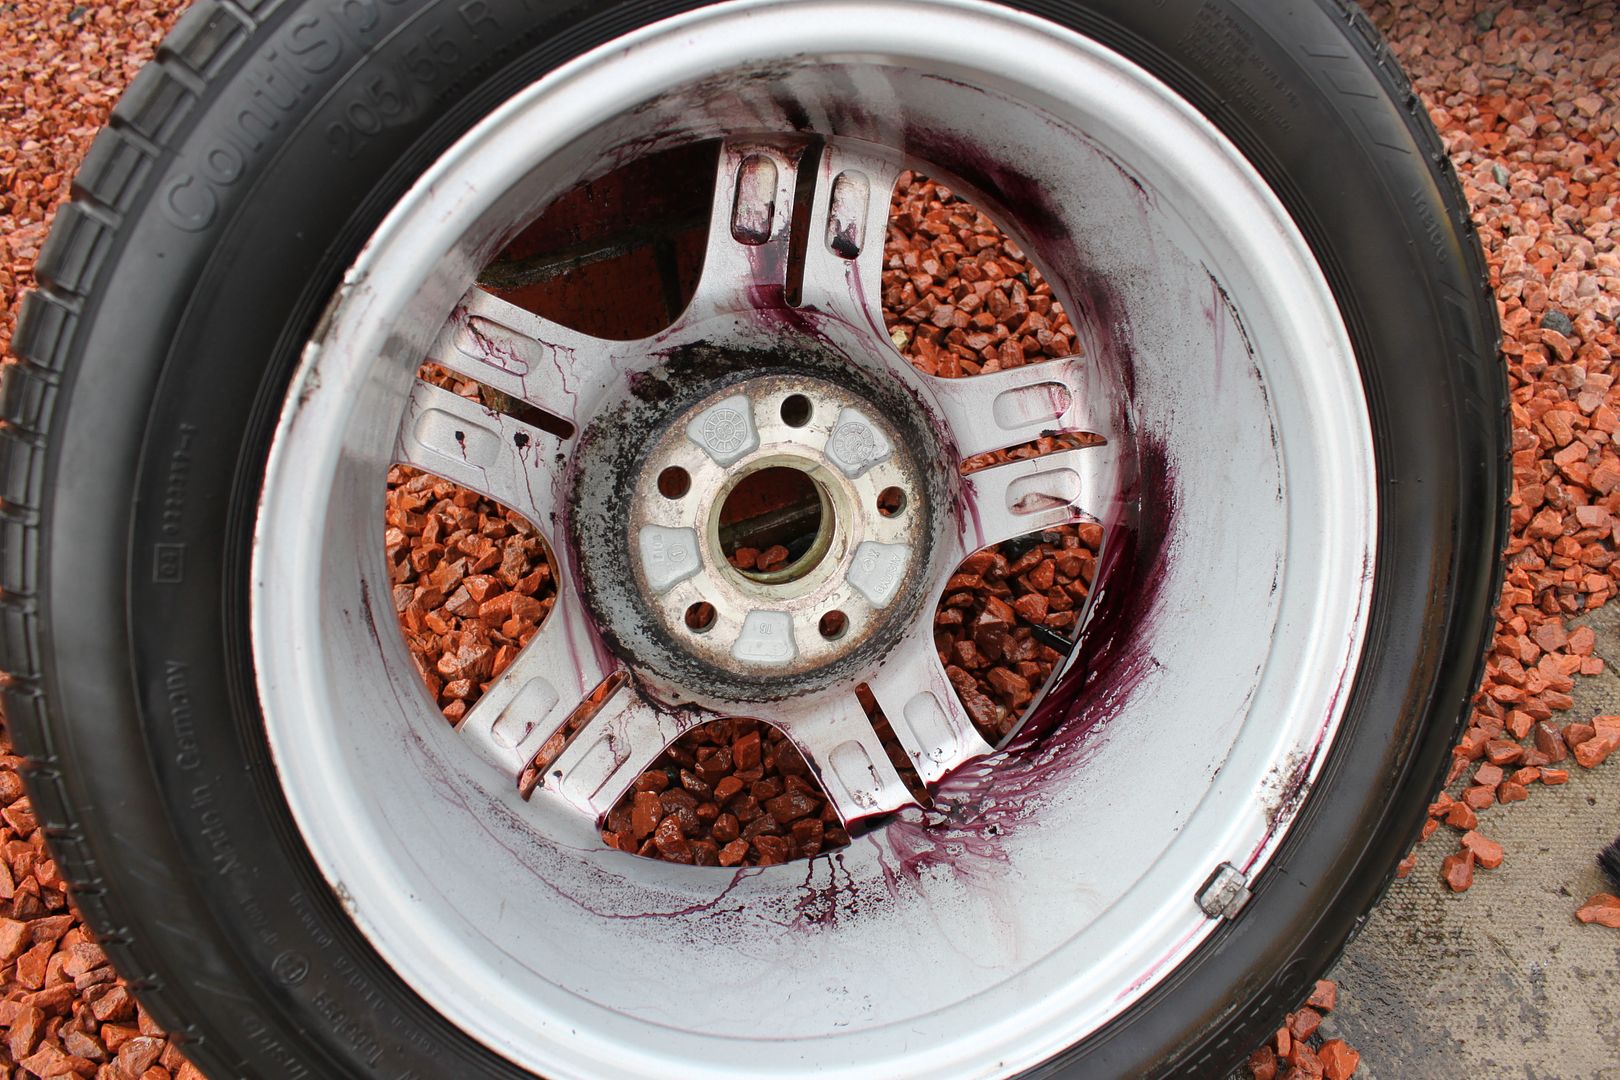
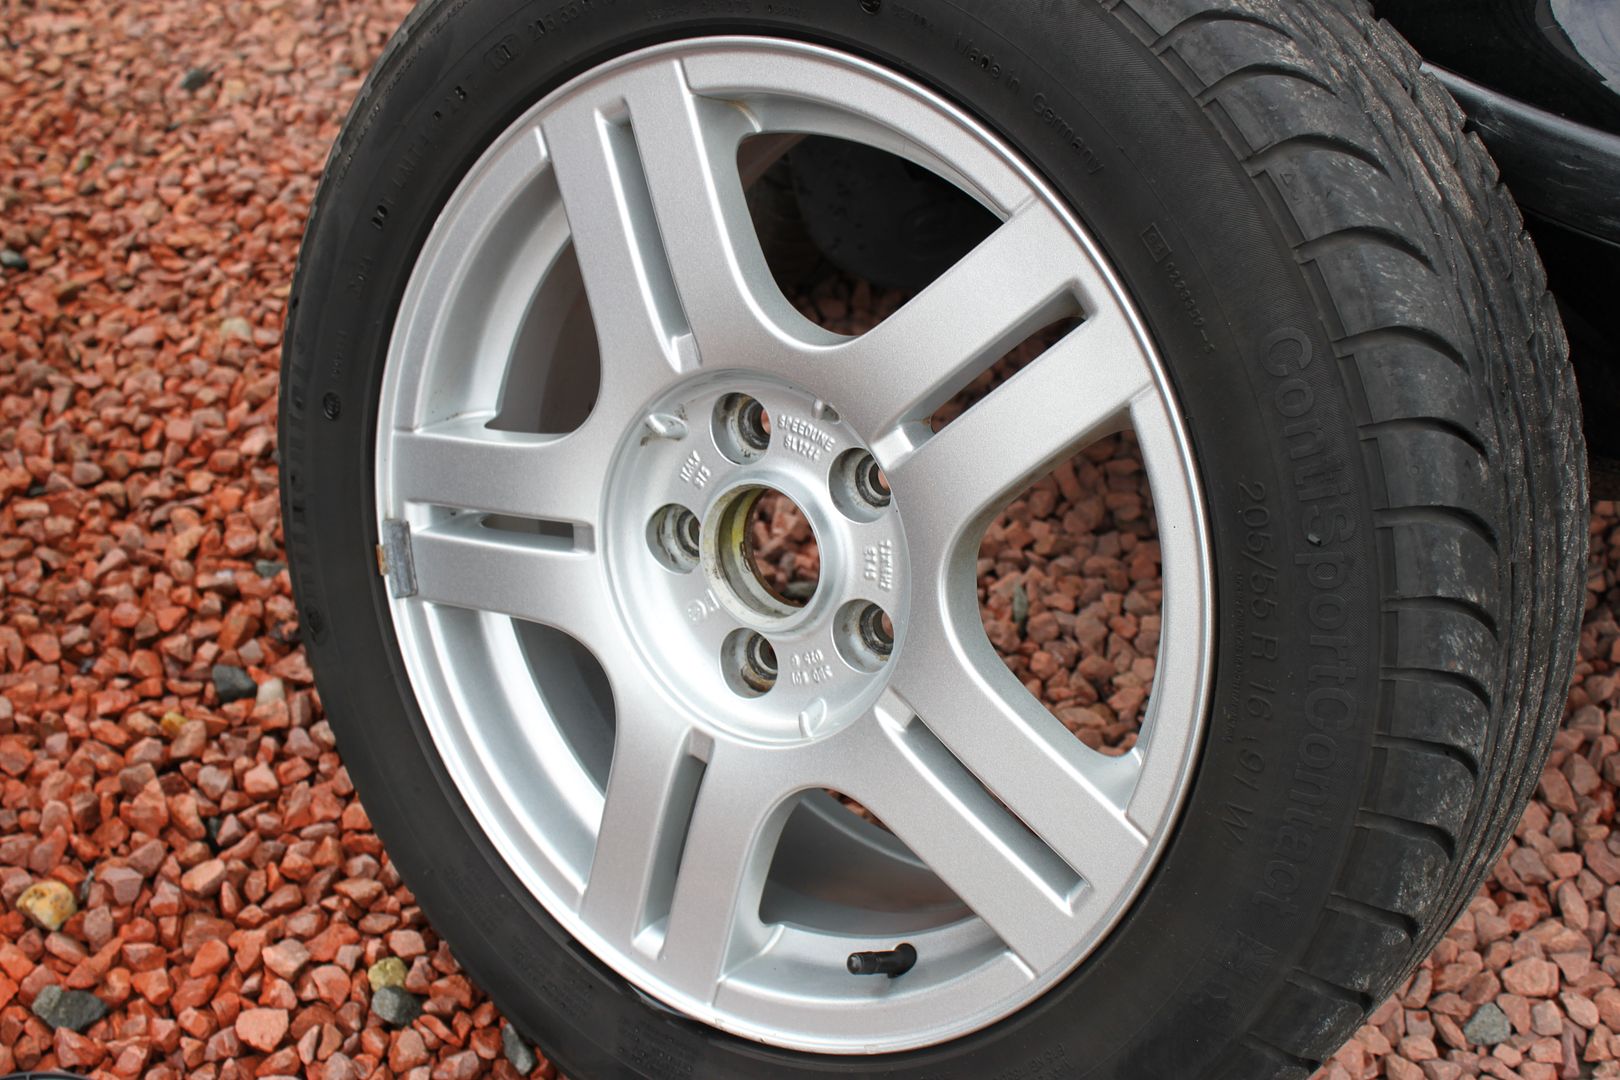
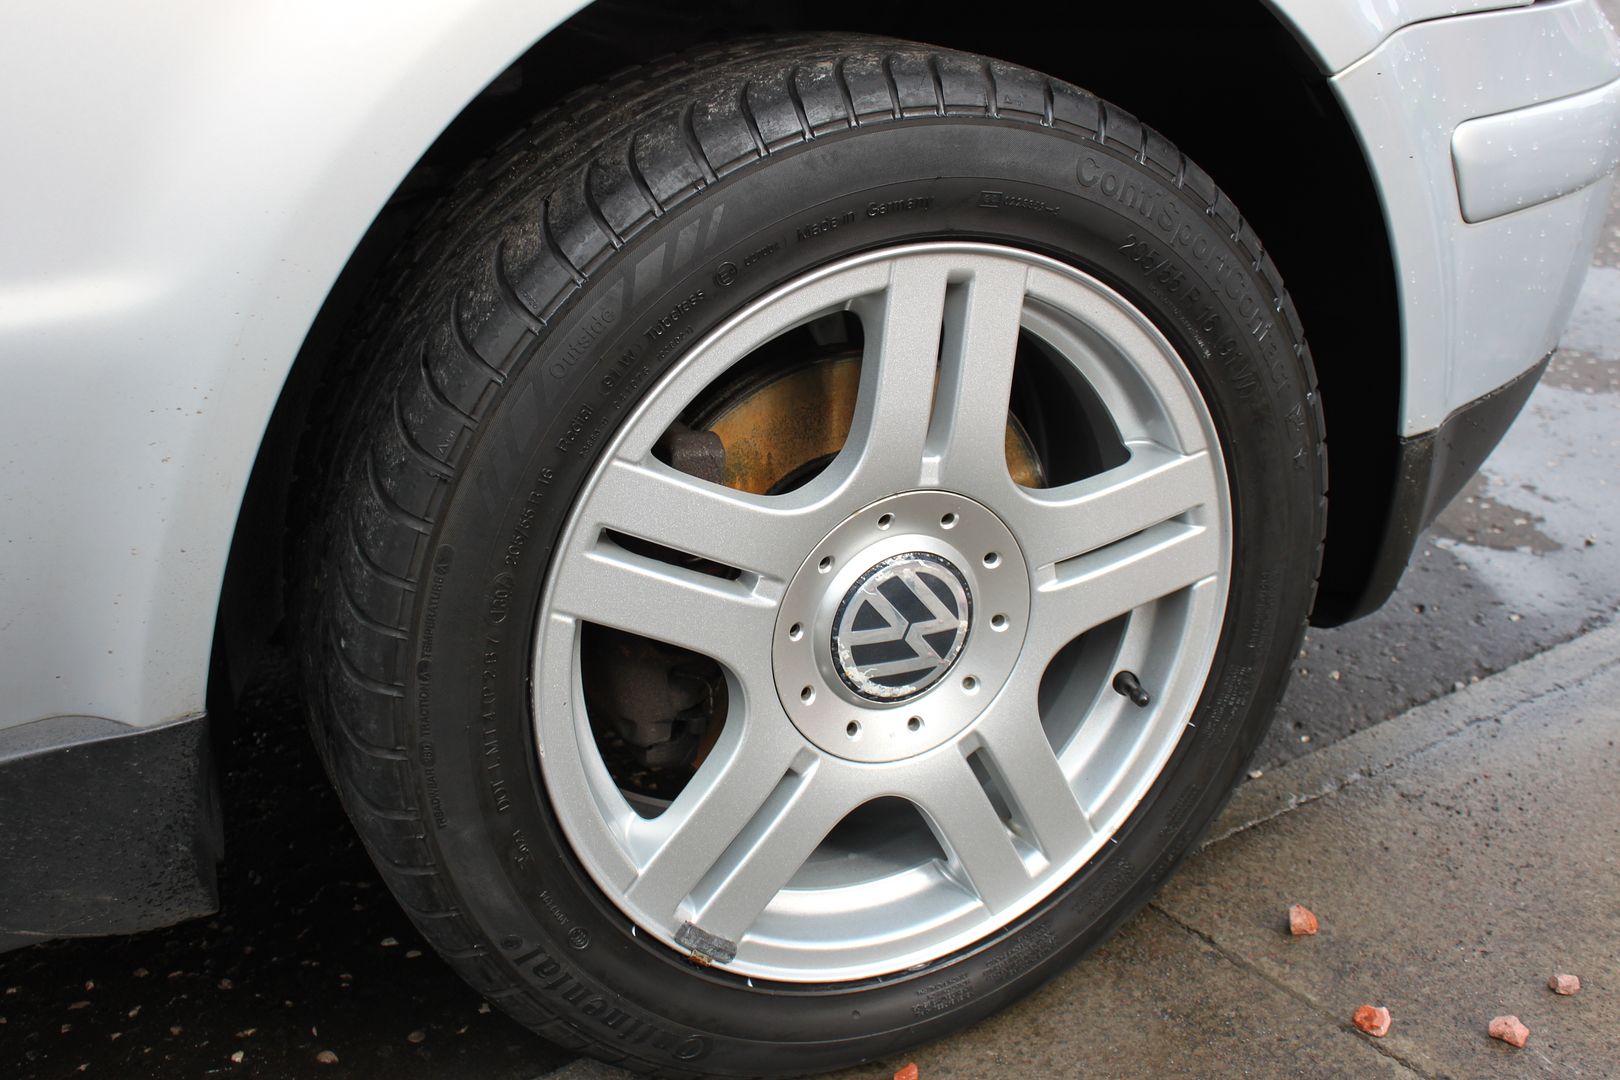
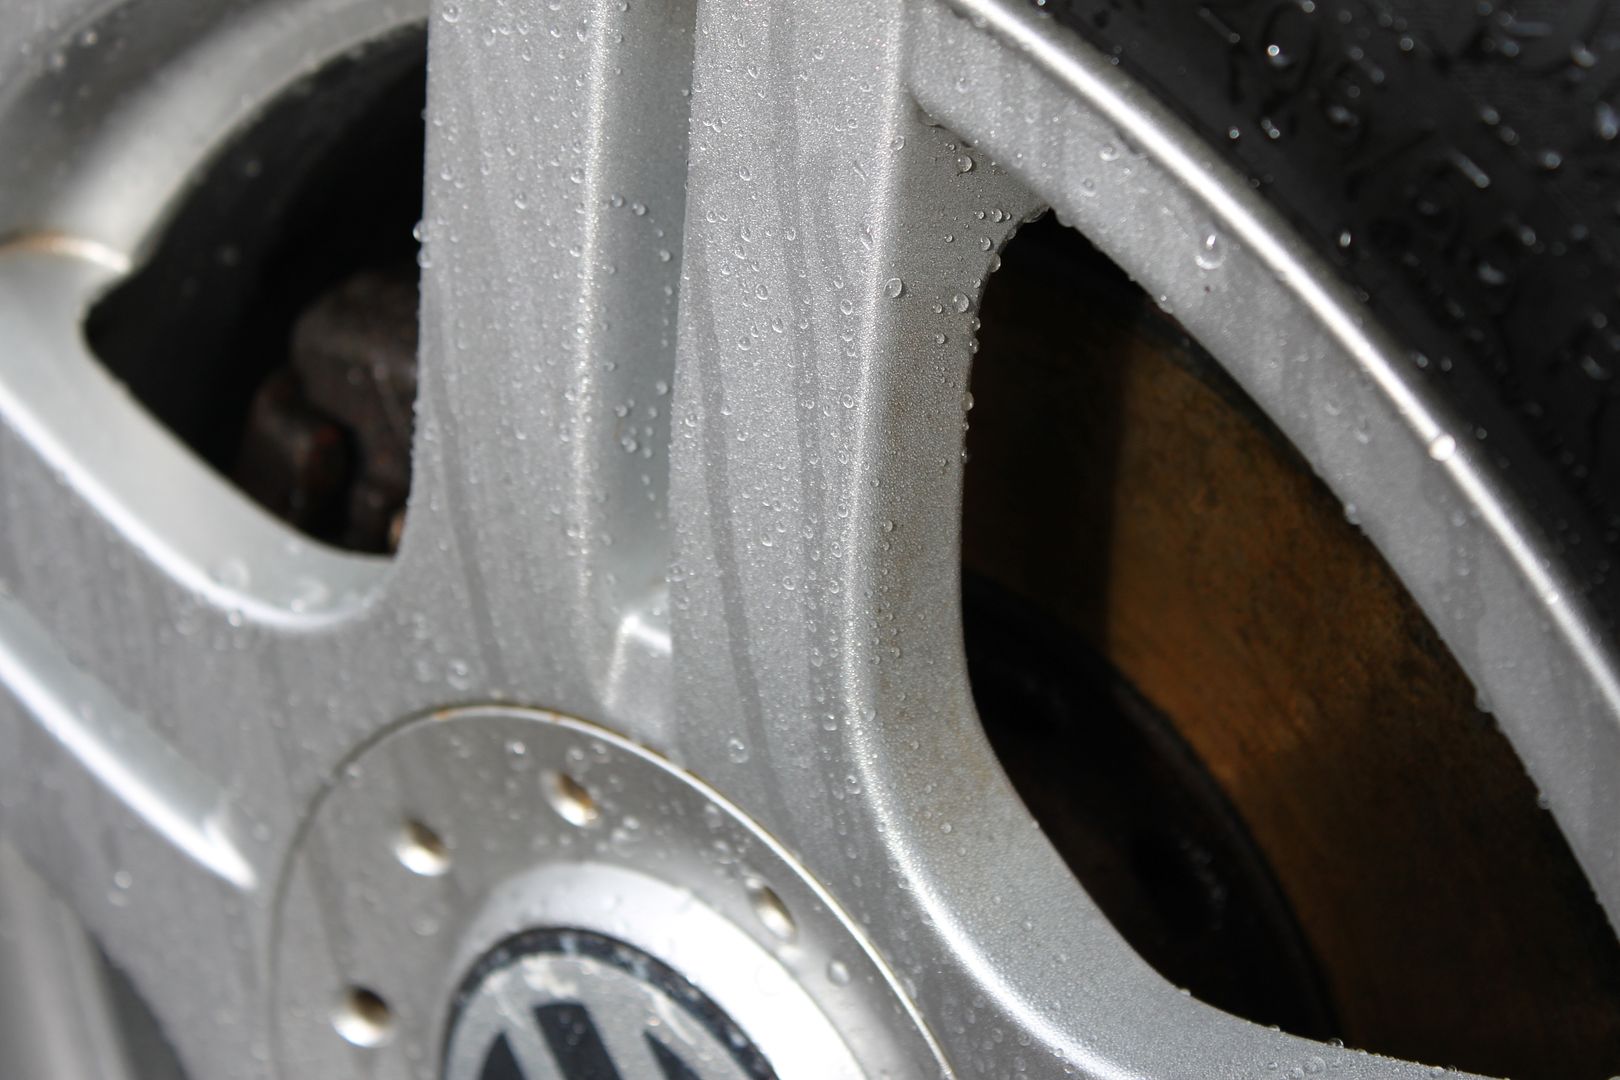
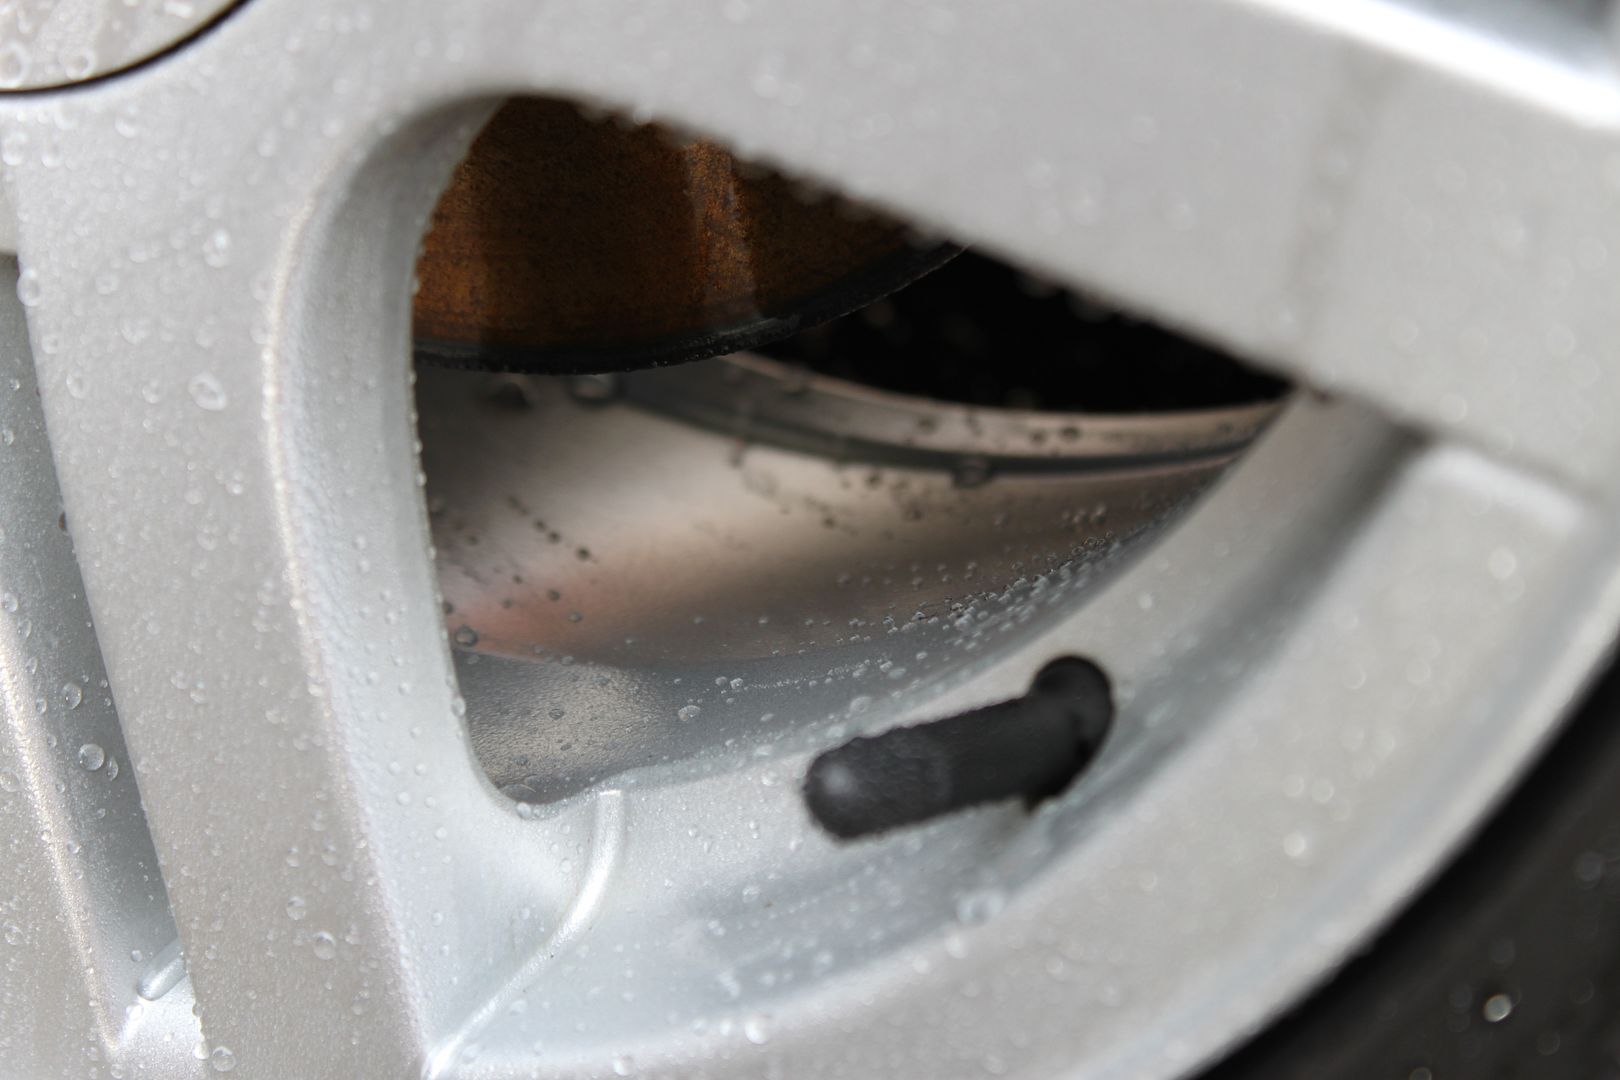
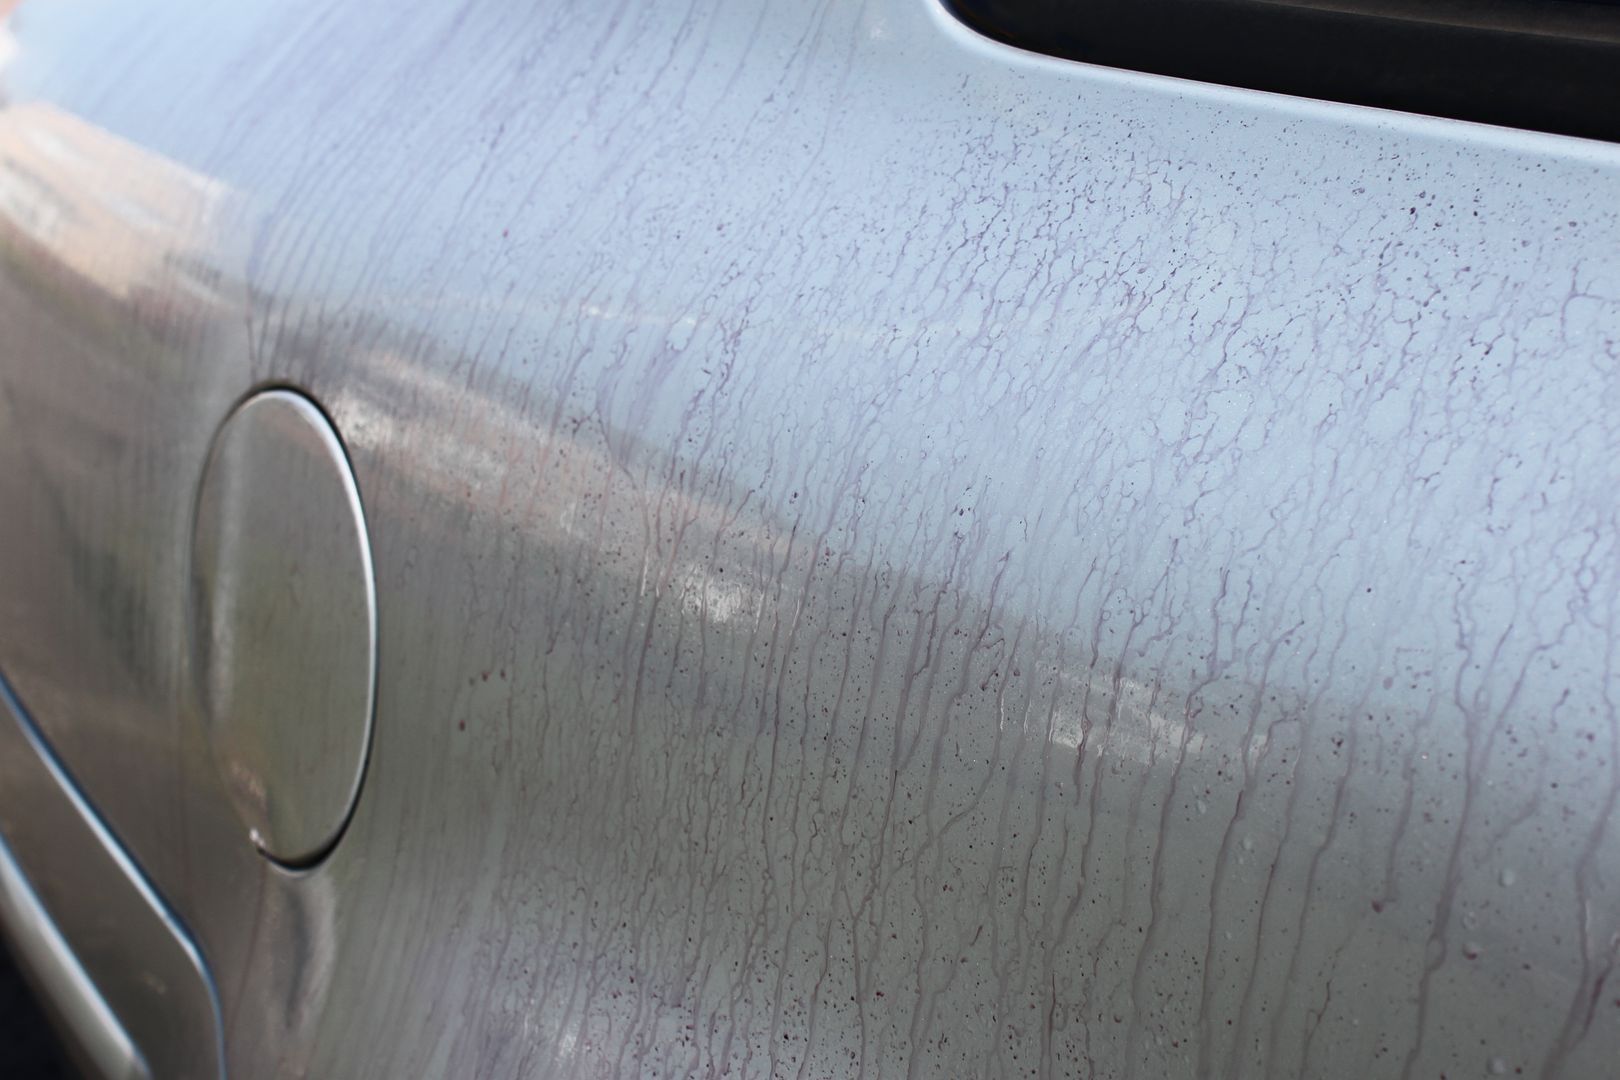
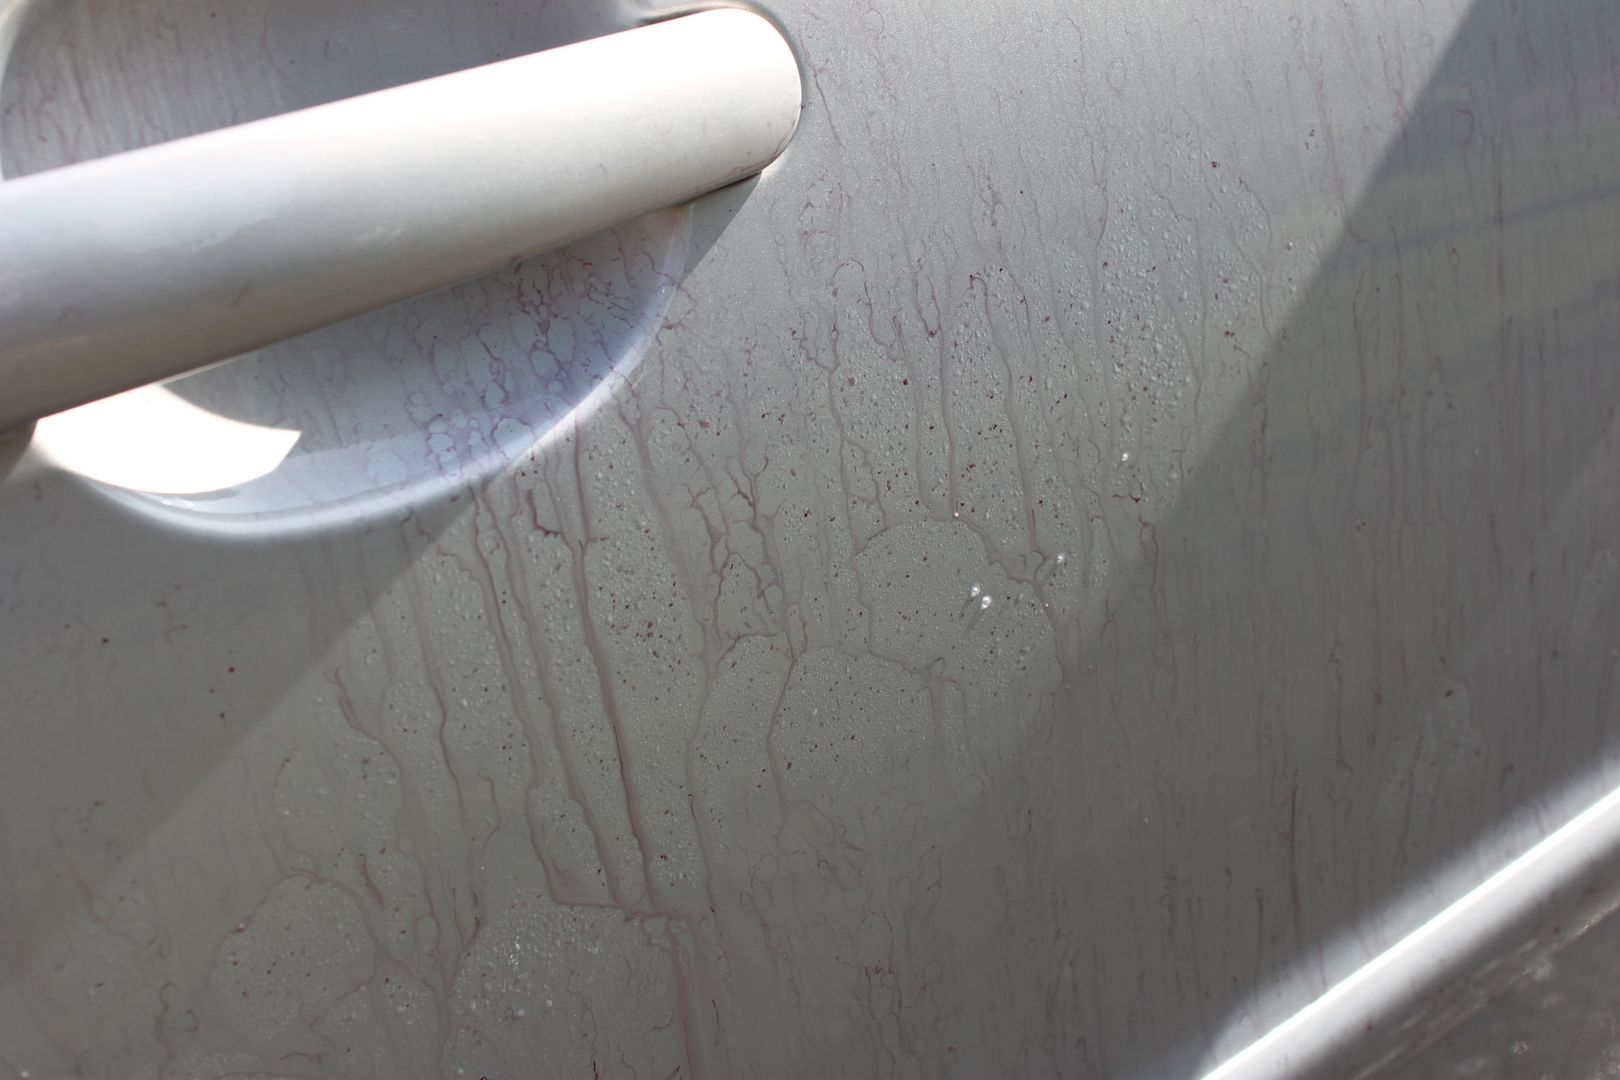
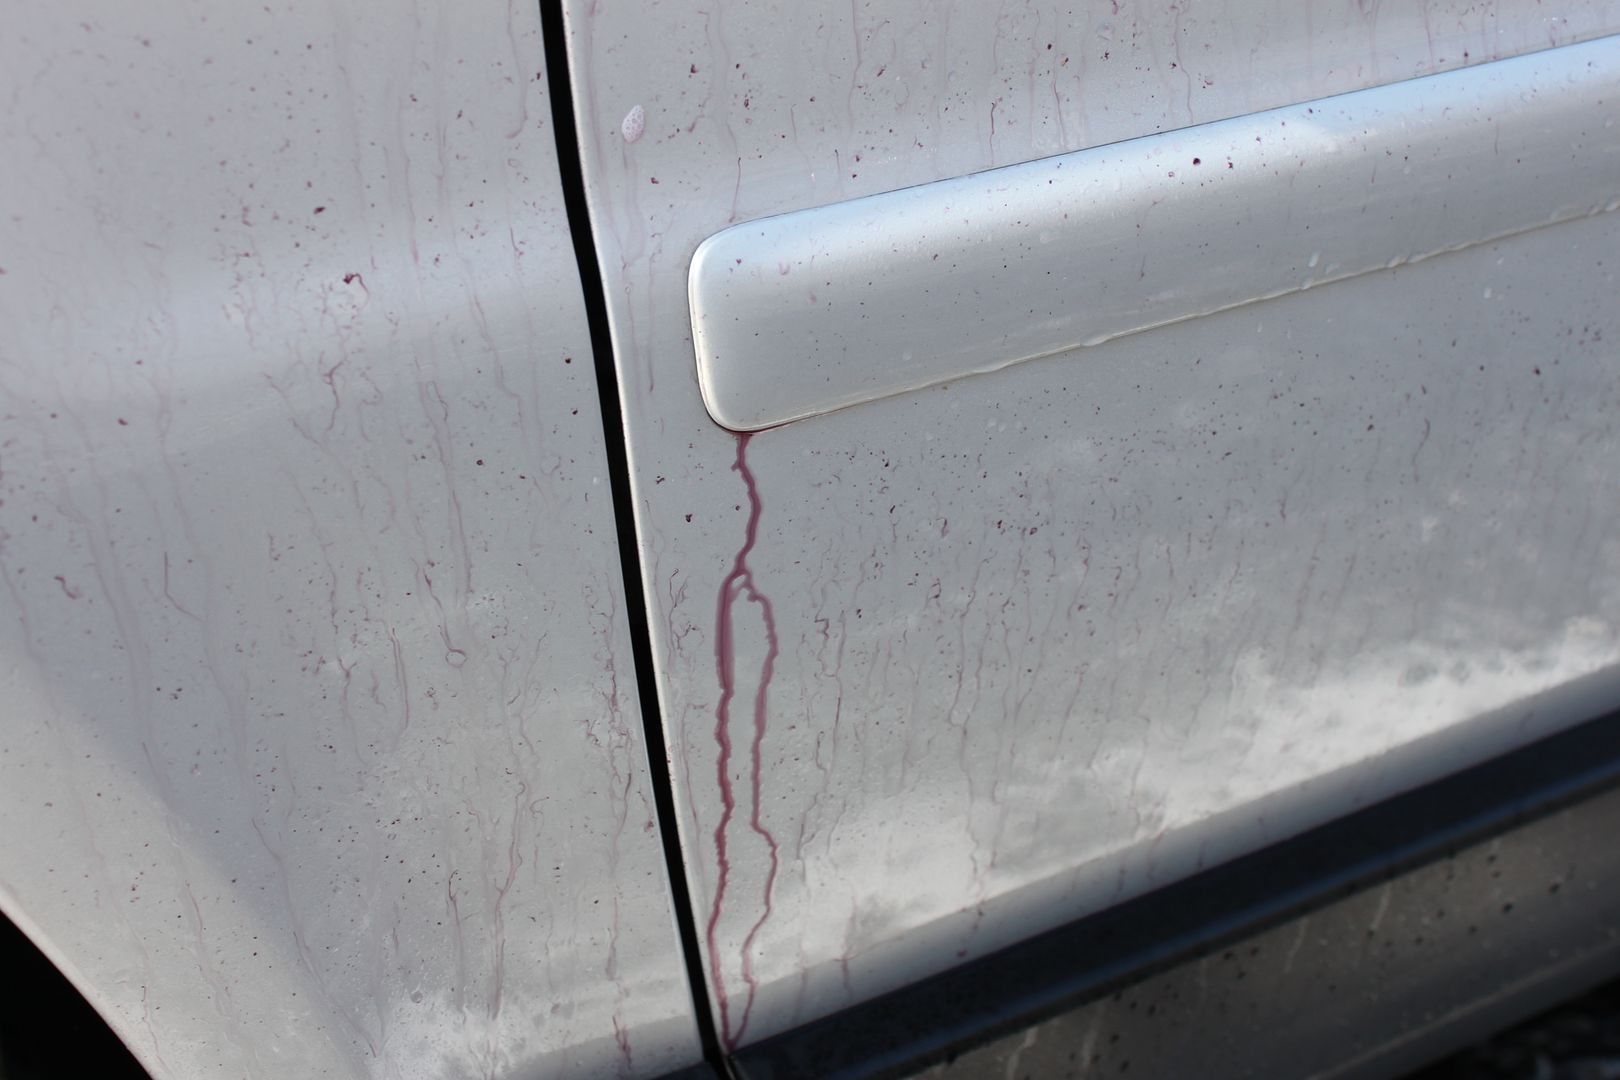
Onto the boot, unfortunately a small bottle of oil had leaked inside the spear wheel area on the way home, so i had to clean this then i cleansed the visible paintwork with Dodo Juice Lime Prime and waxes with Dodo Juice Light Fantastic:
IMG_2381.jpg

IMG_2382.jpg


The boot lining was hoovered then steam cleaned then protected with 303 Fabric Guard:
IMG_2387.jpg

IMG_2386.jpg


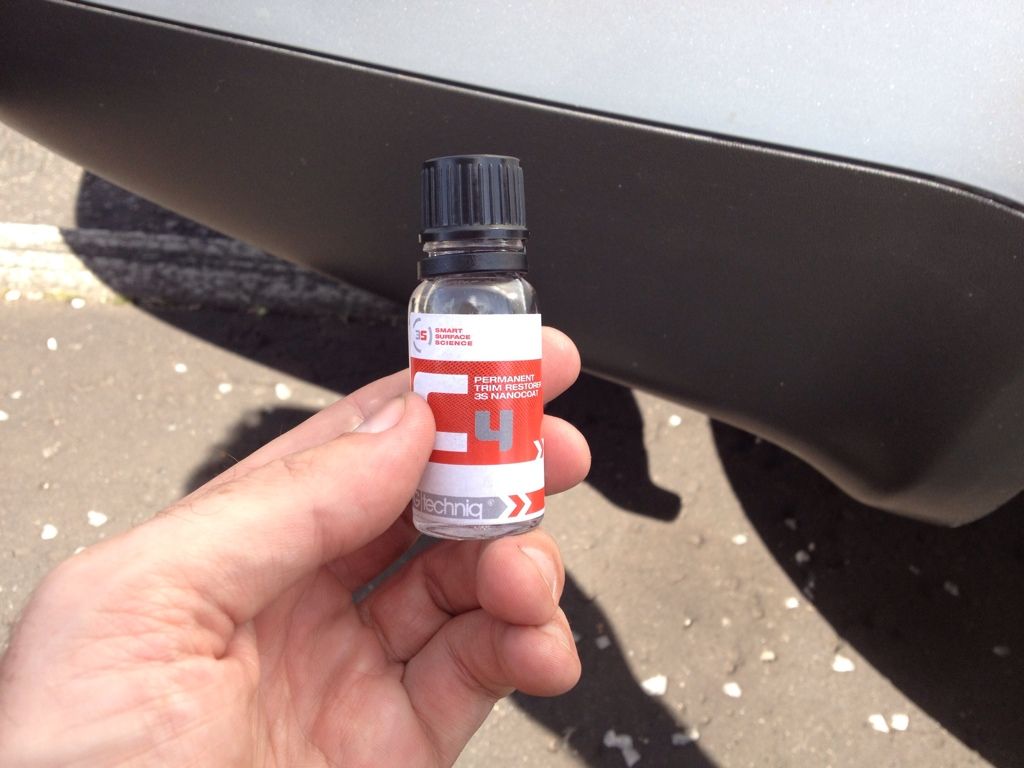
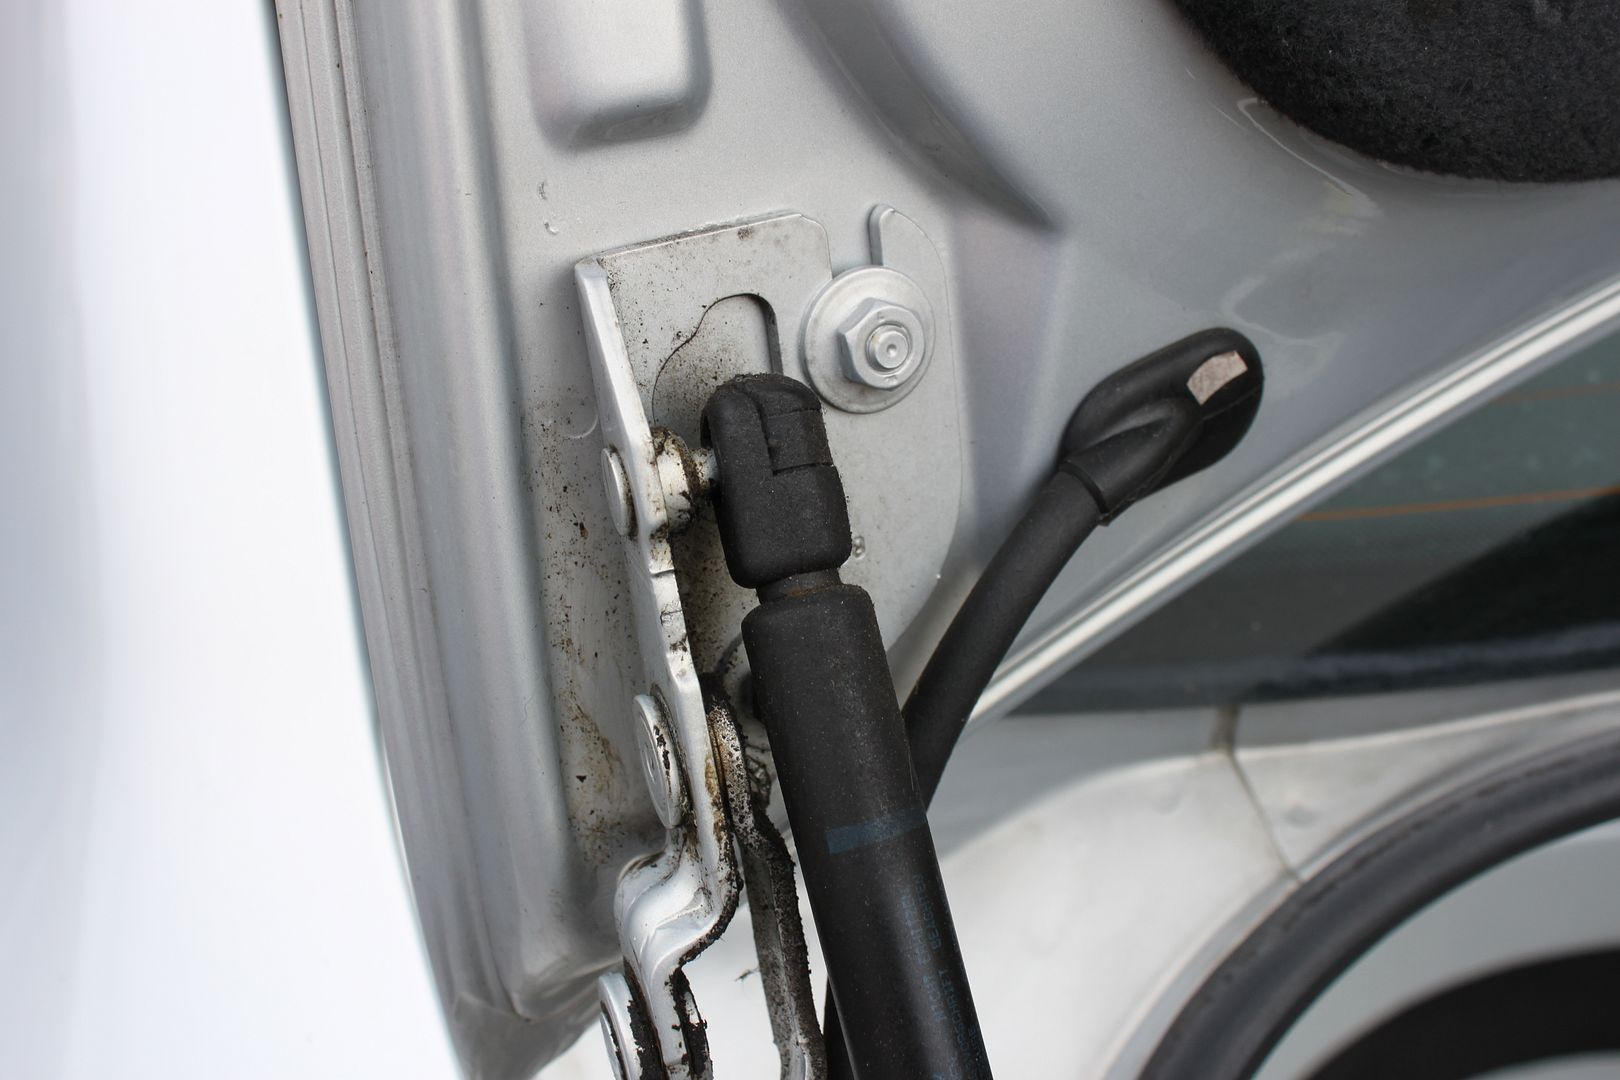
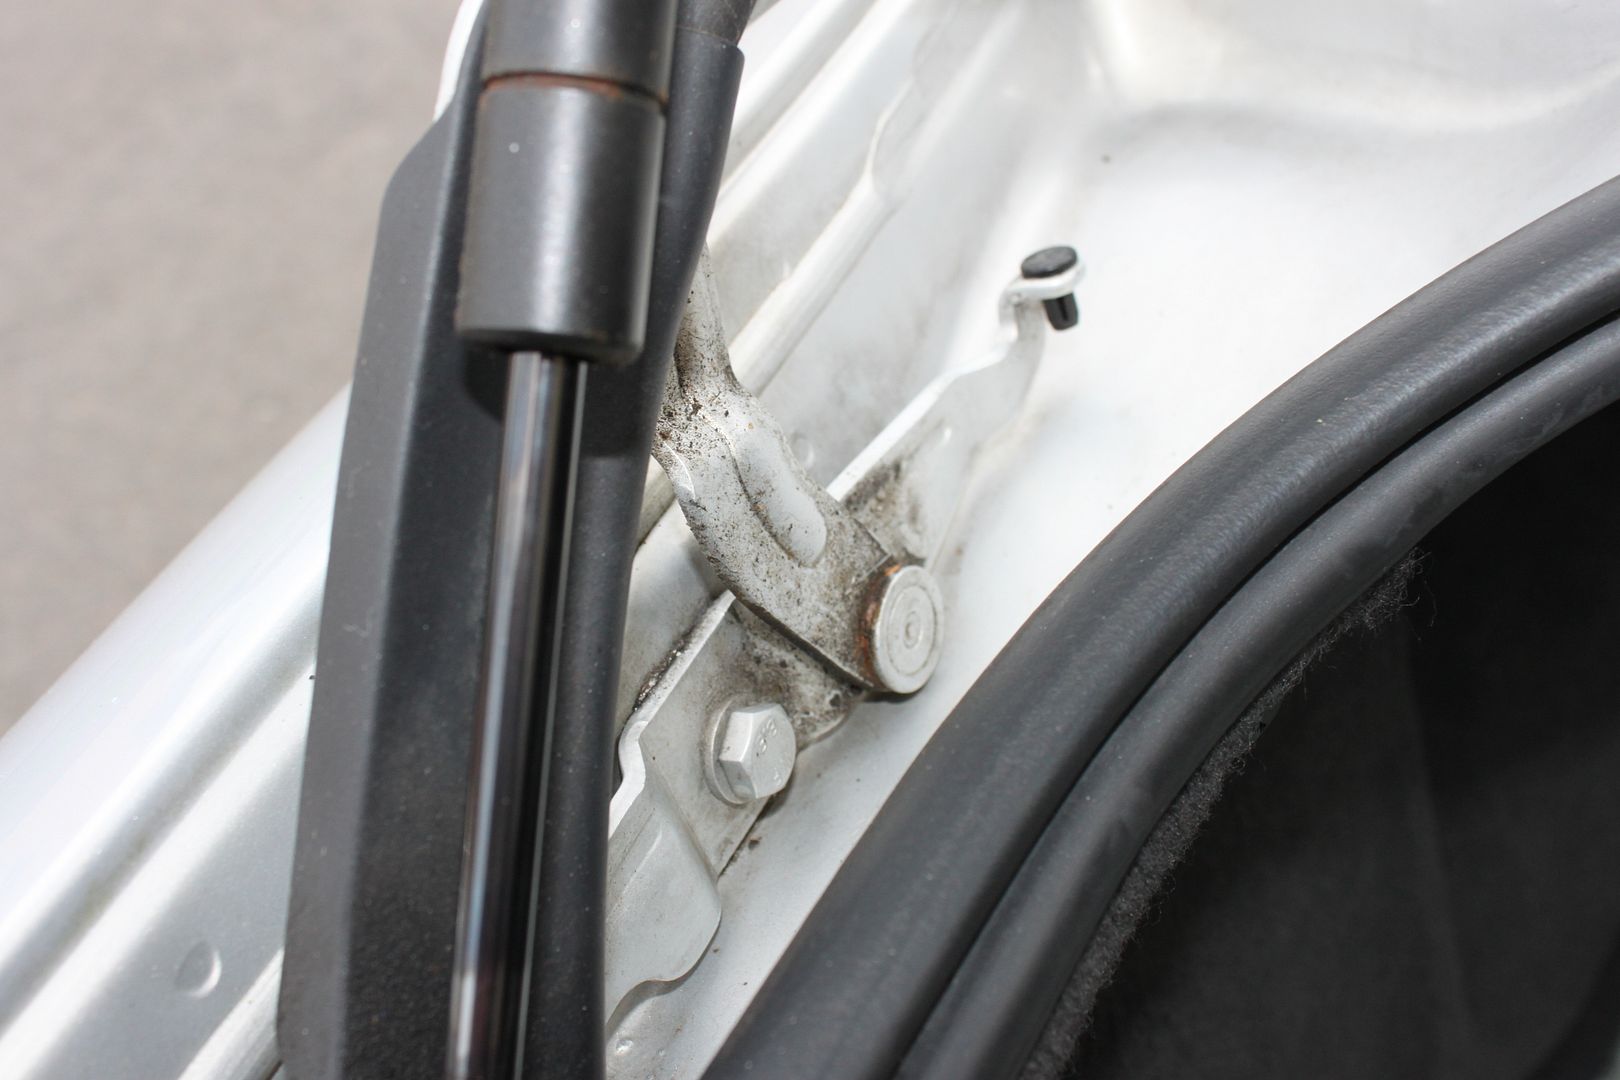
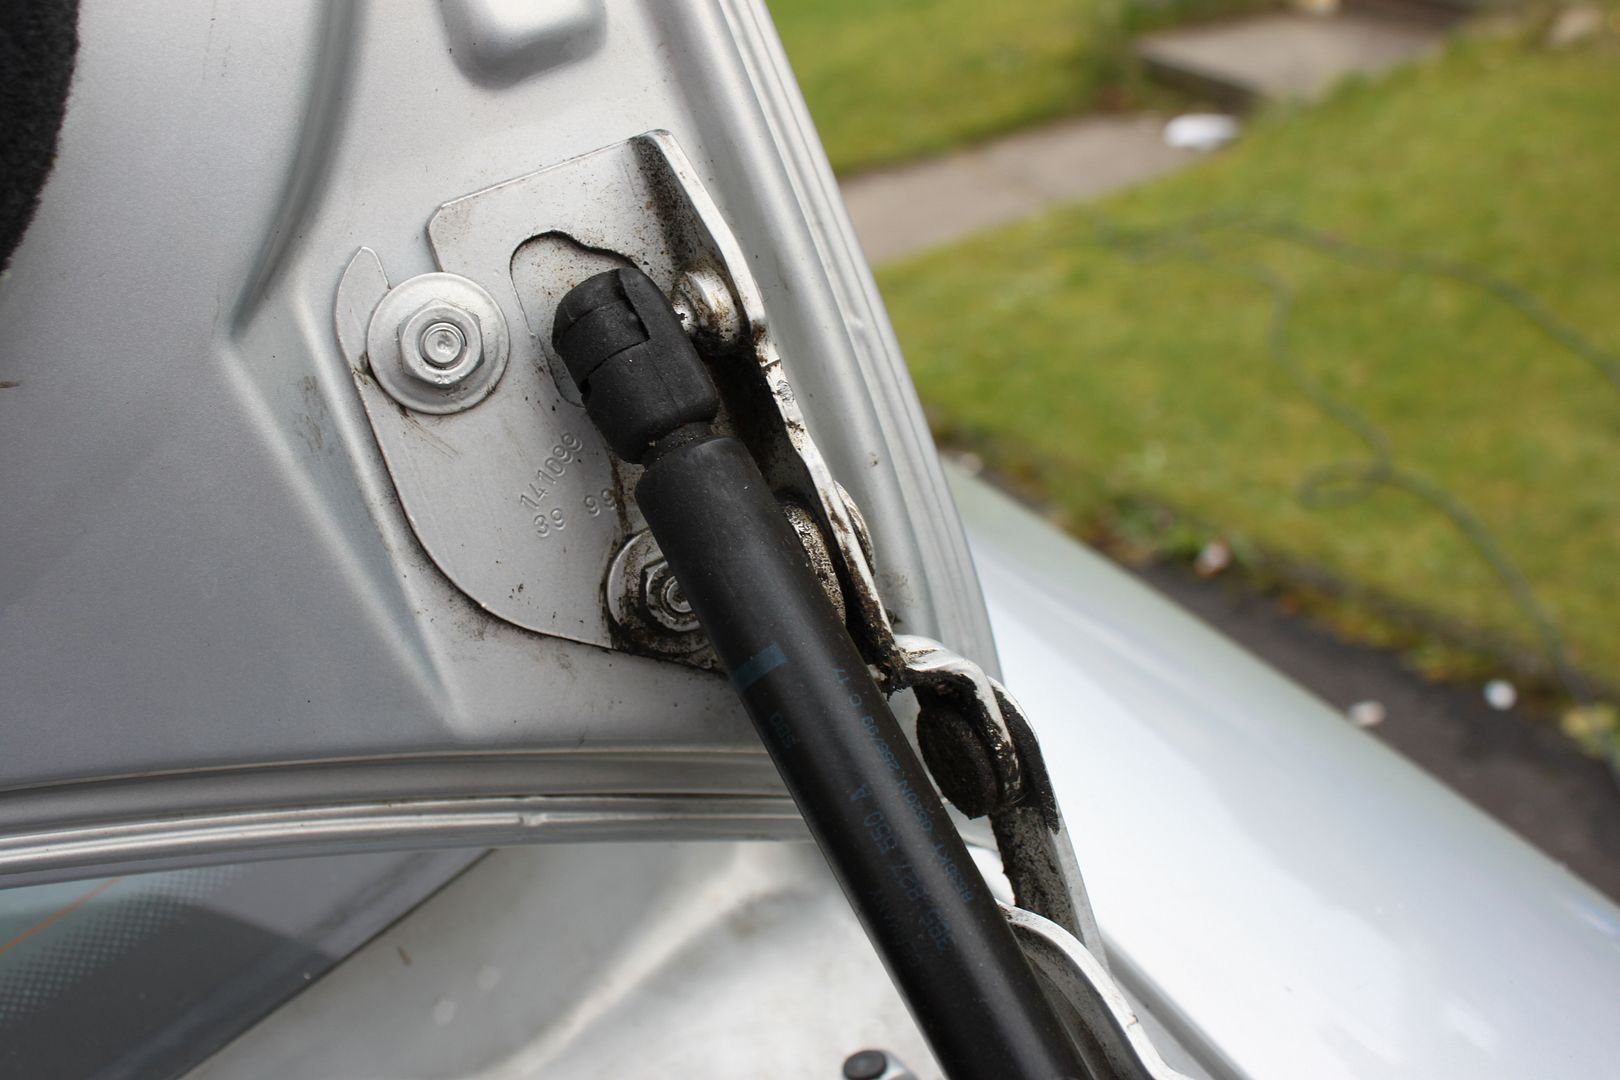
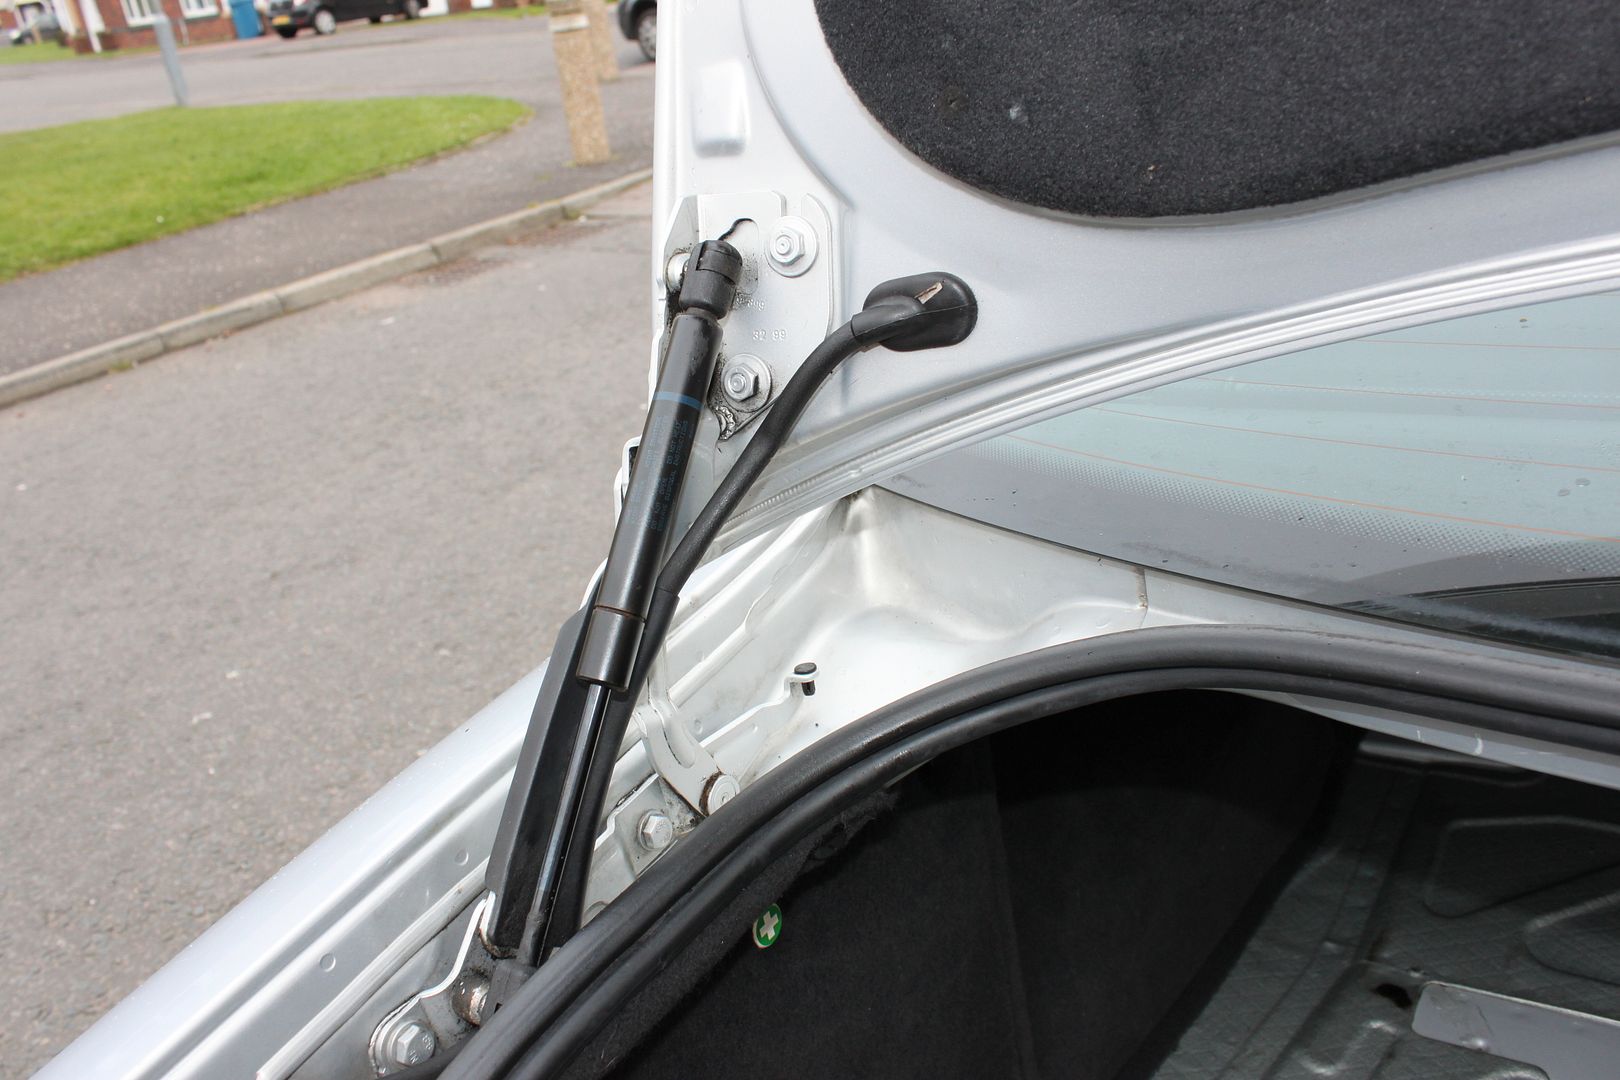
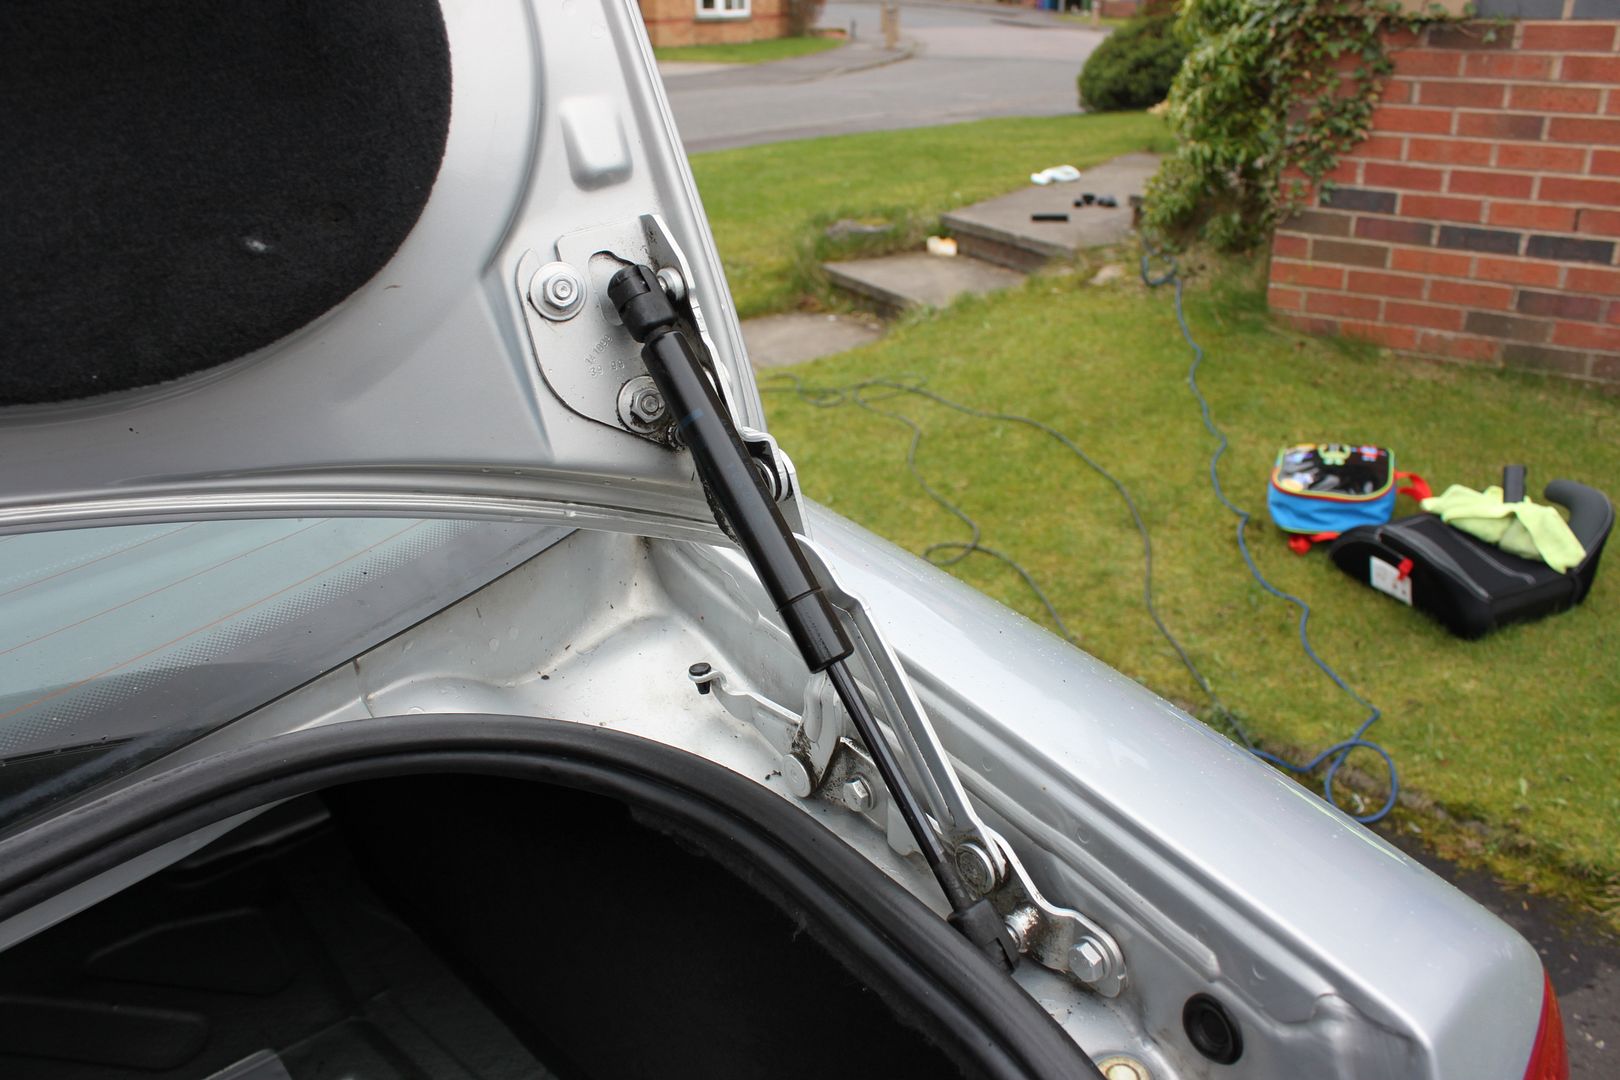
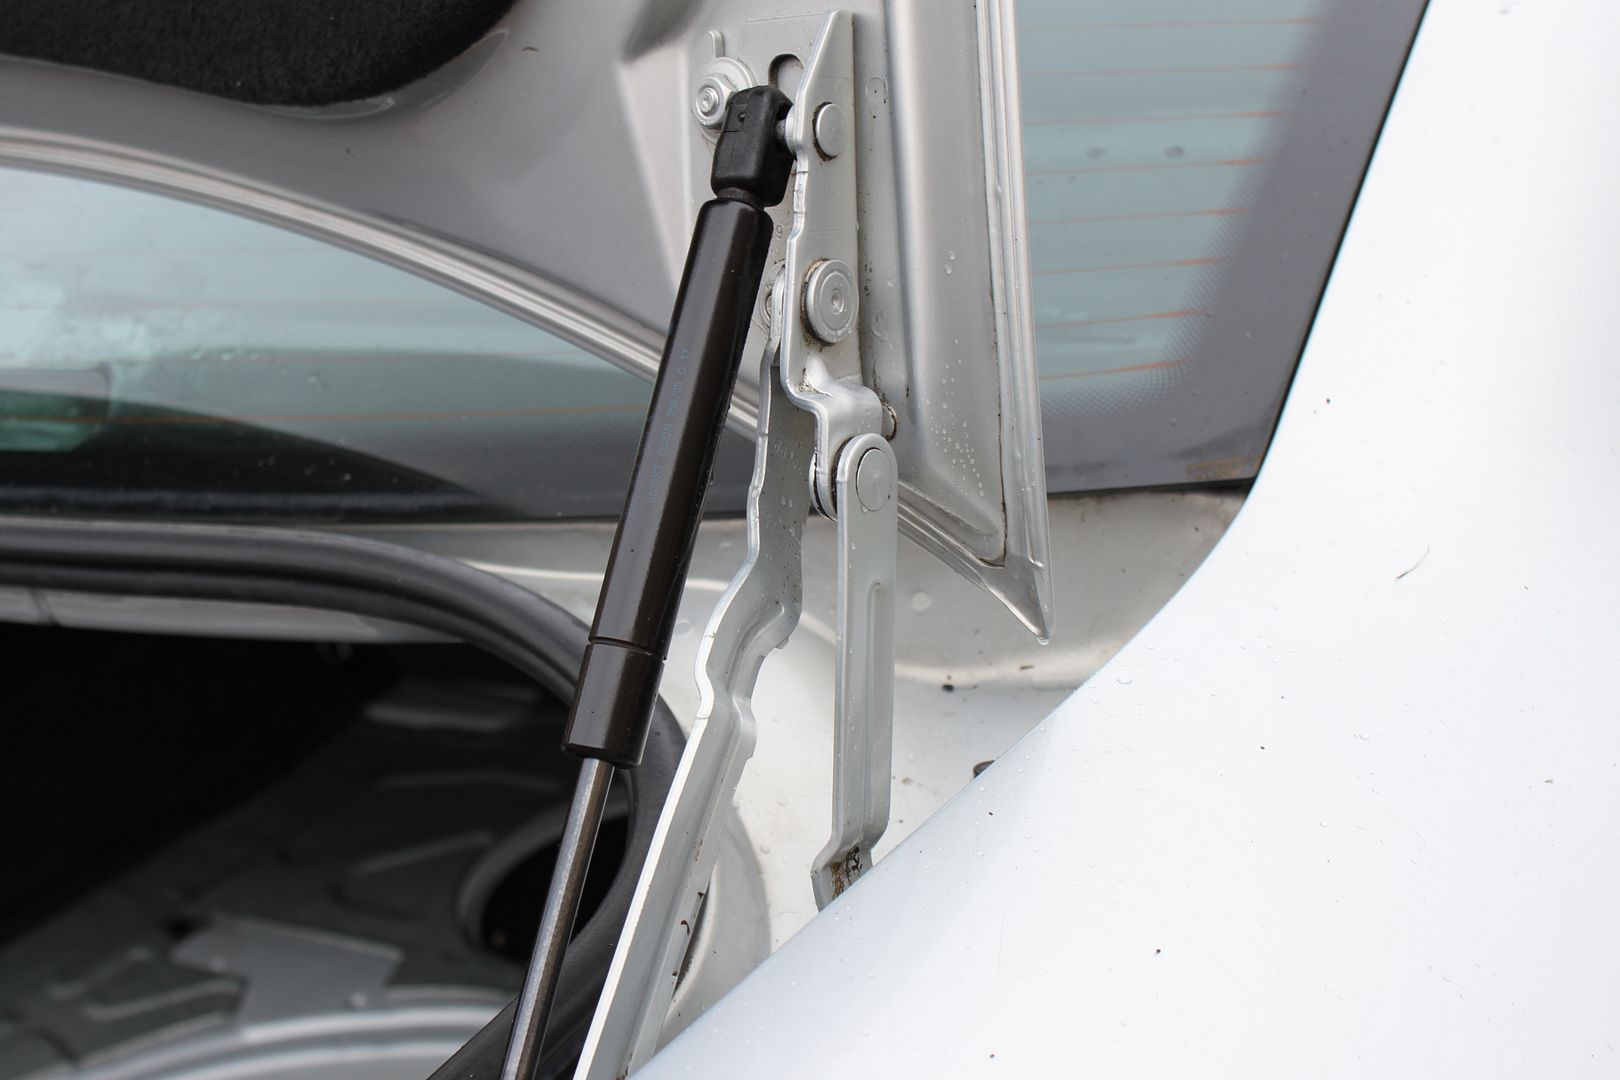
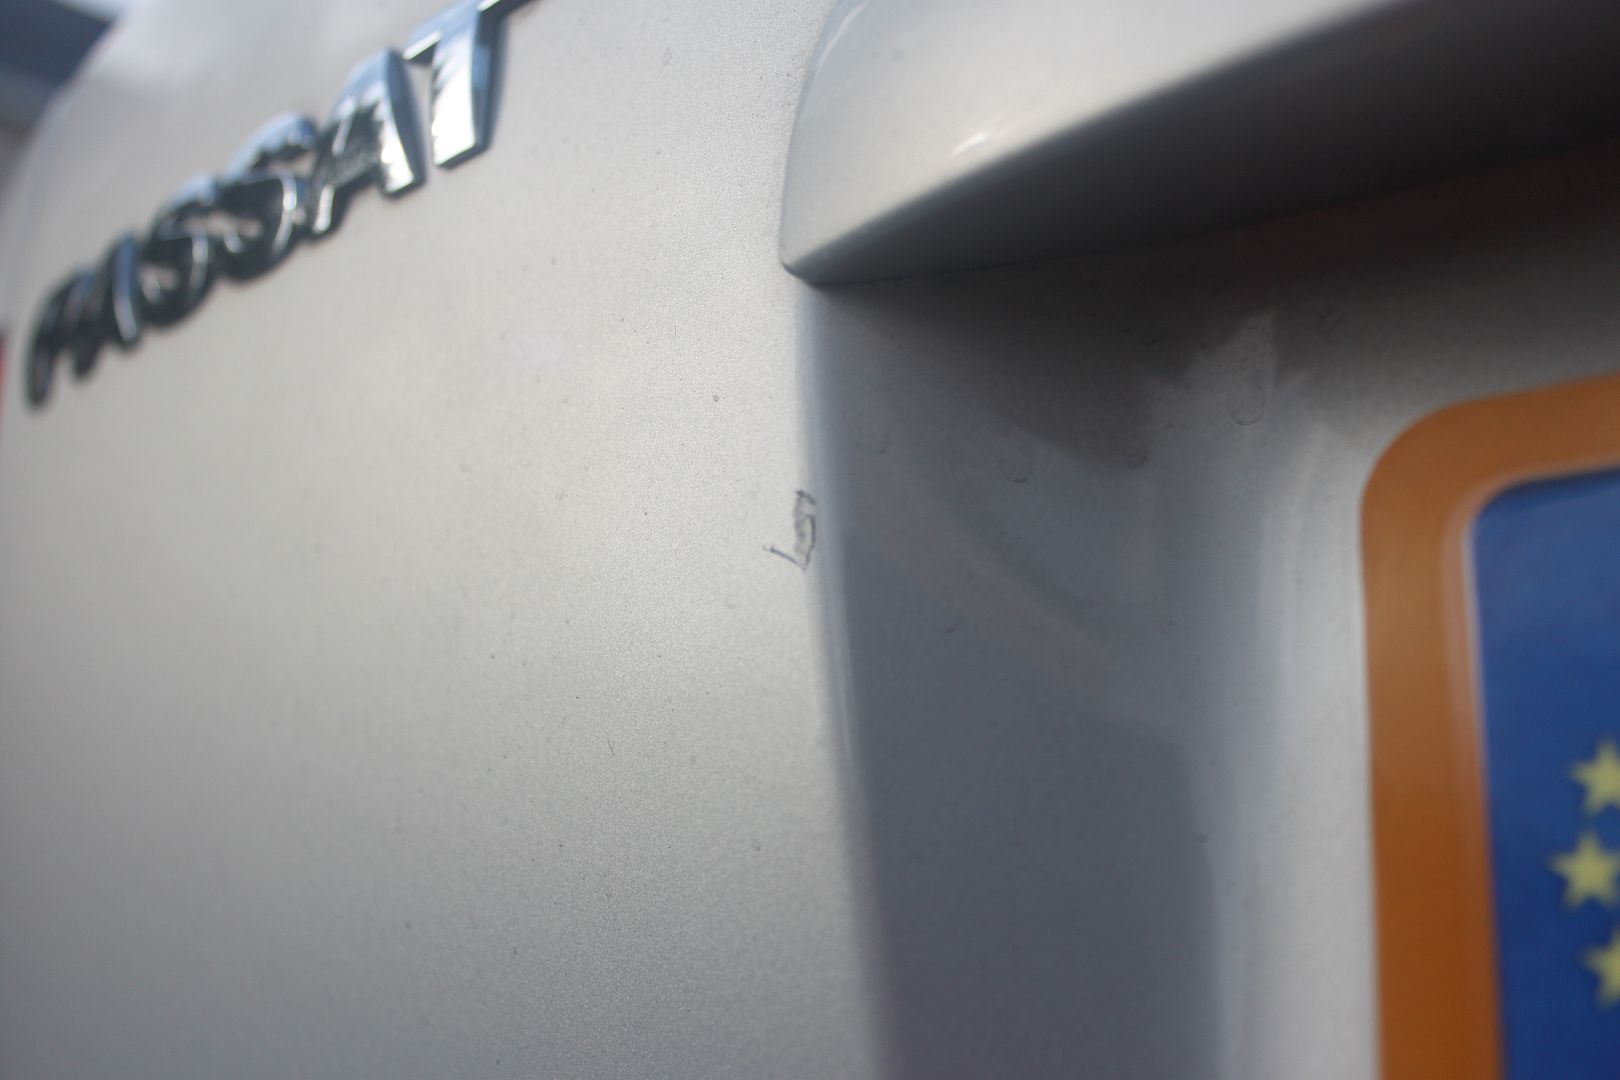
Whist working on the boot i decided to clean the hinges:
IMG_2377.jpg

IMG_2378.jpg

IMG_2379.jpg

IMG_2380.jpg


Using only the steam cleaner and a cloth....there is more work needed on this area ! ! :
IMG_2383.jpg

IMG_2384.jpg

IMG_2385.jpg


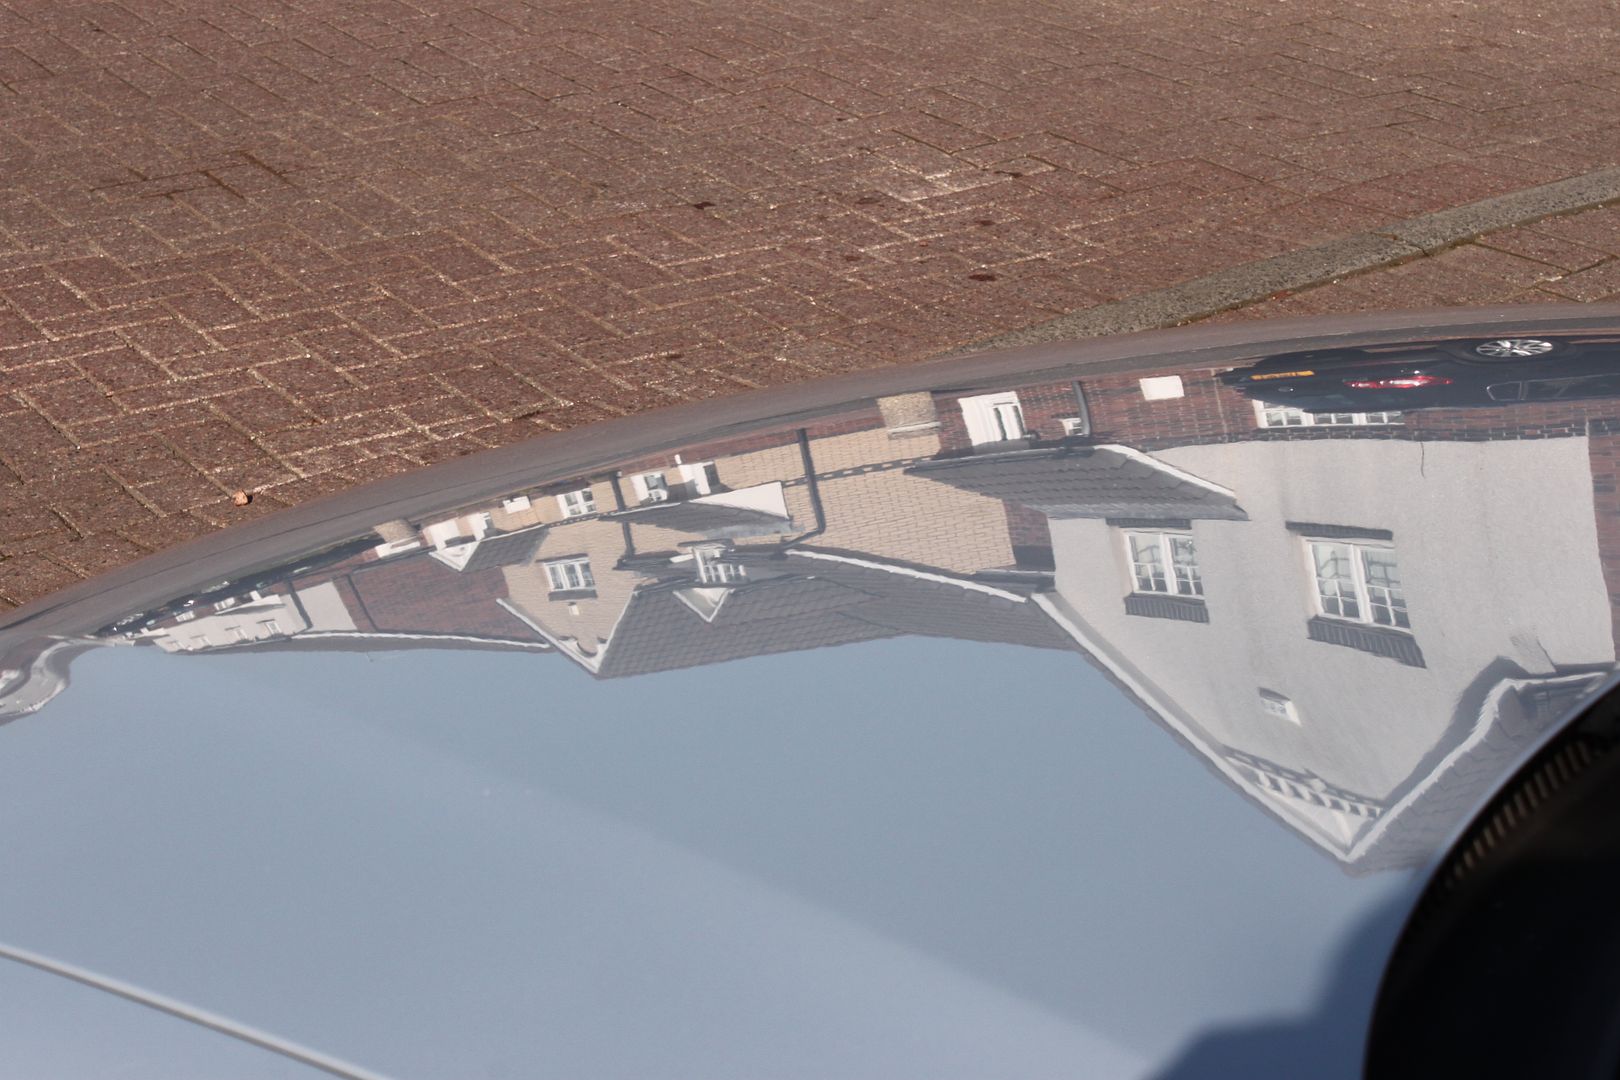
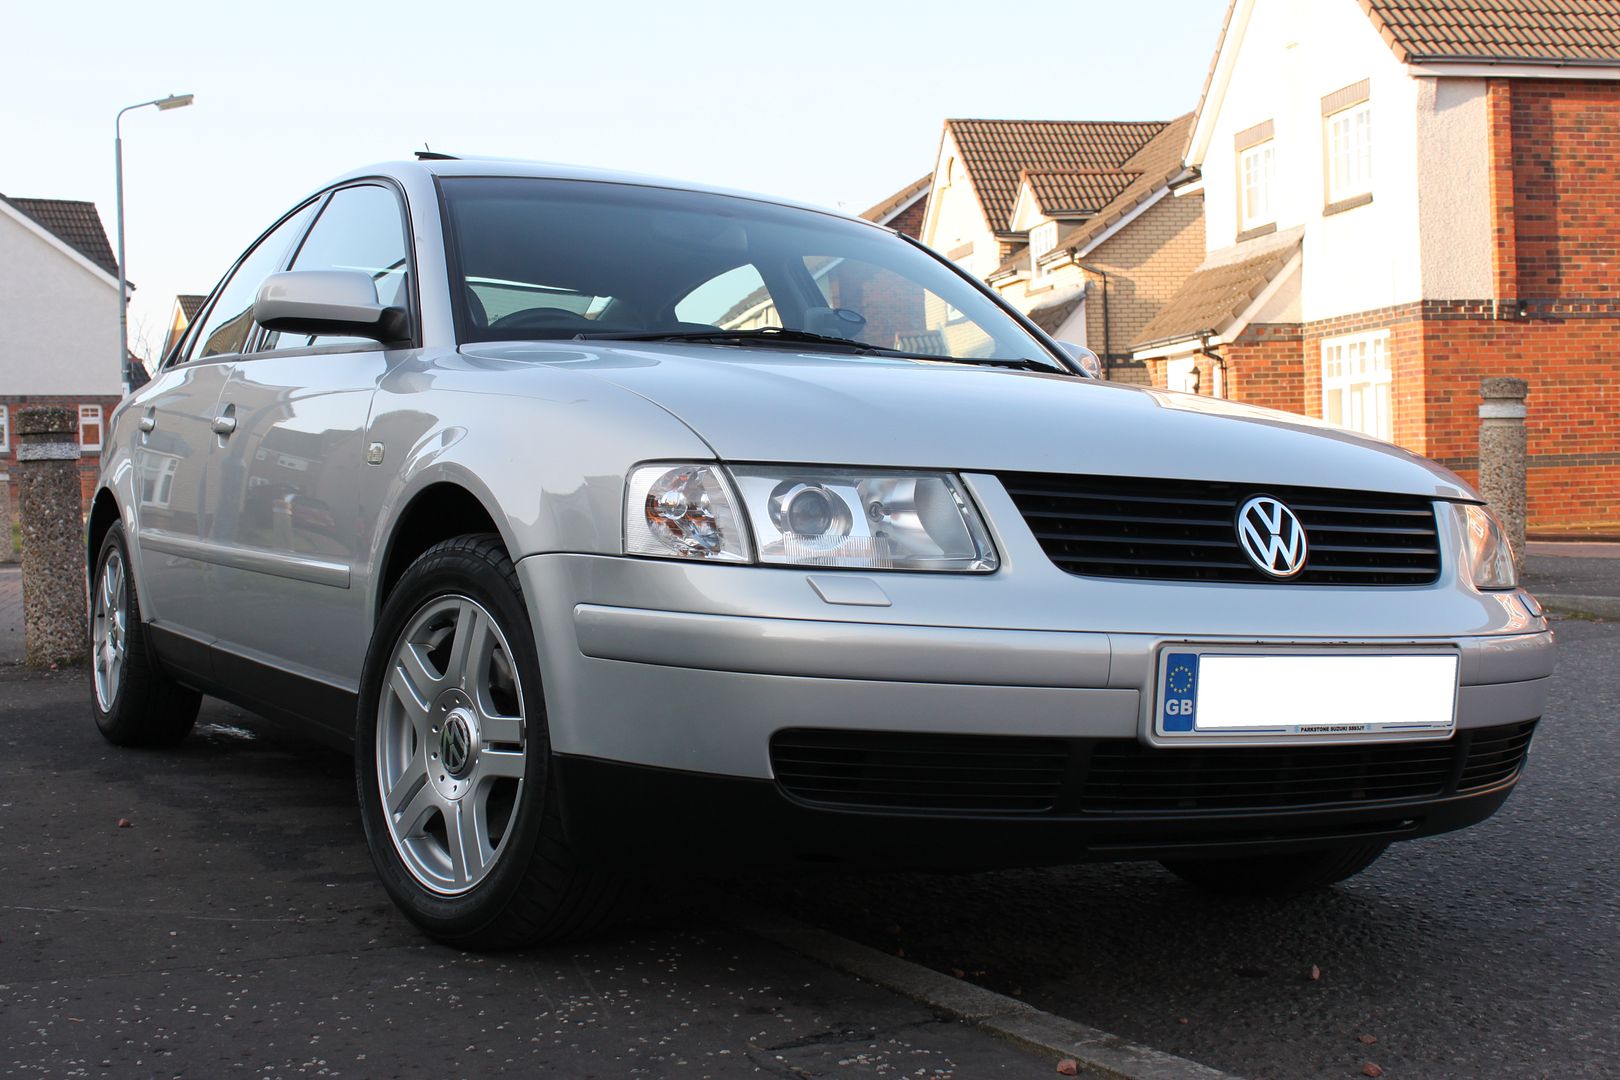
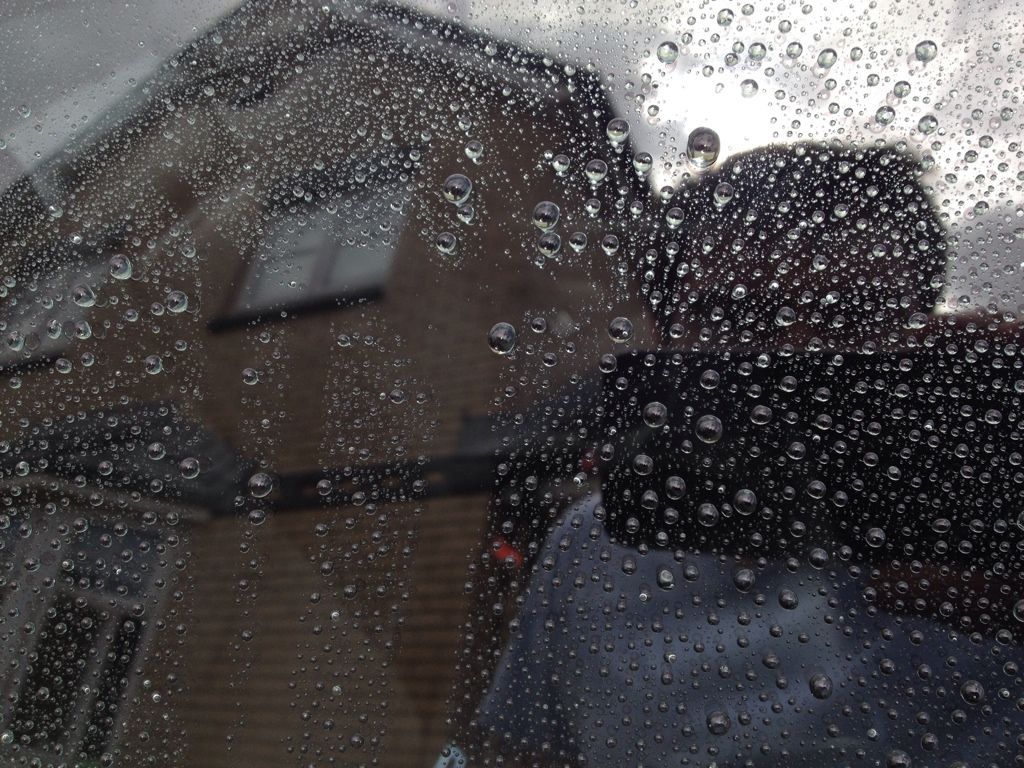
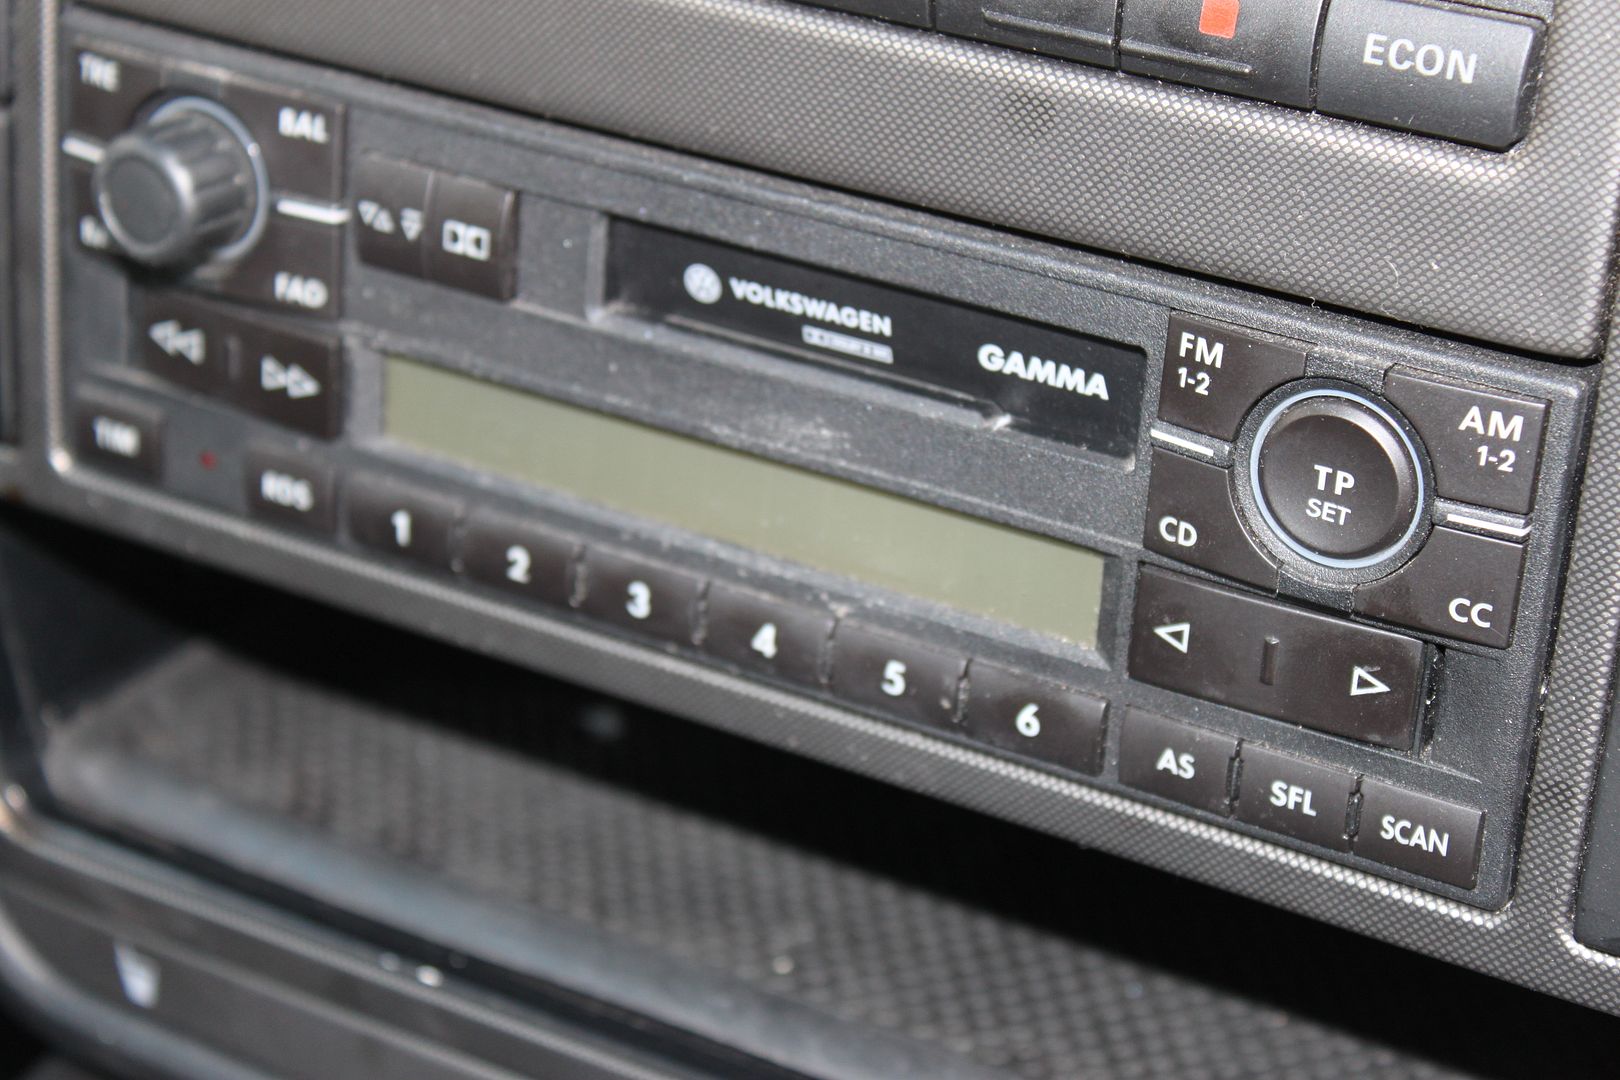
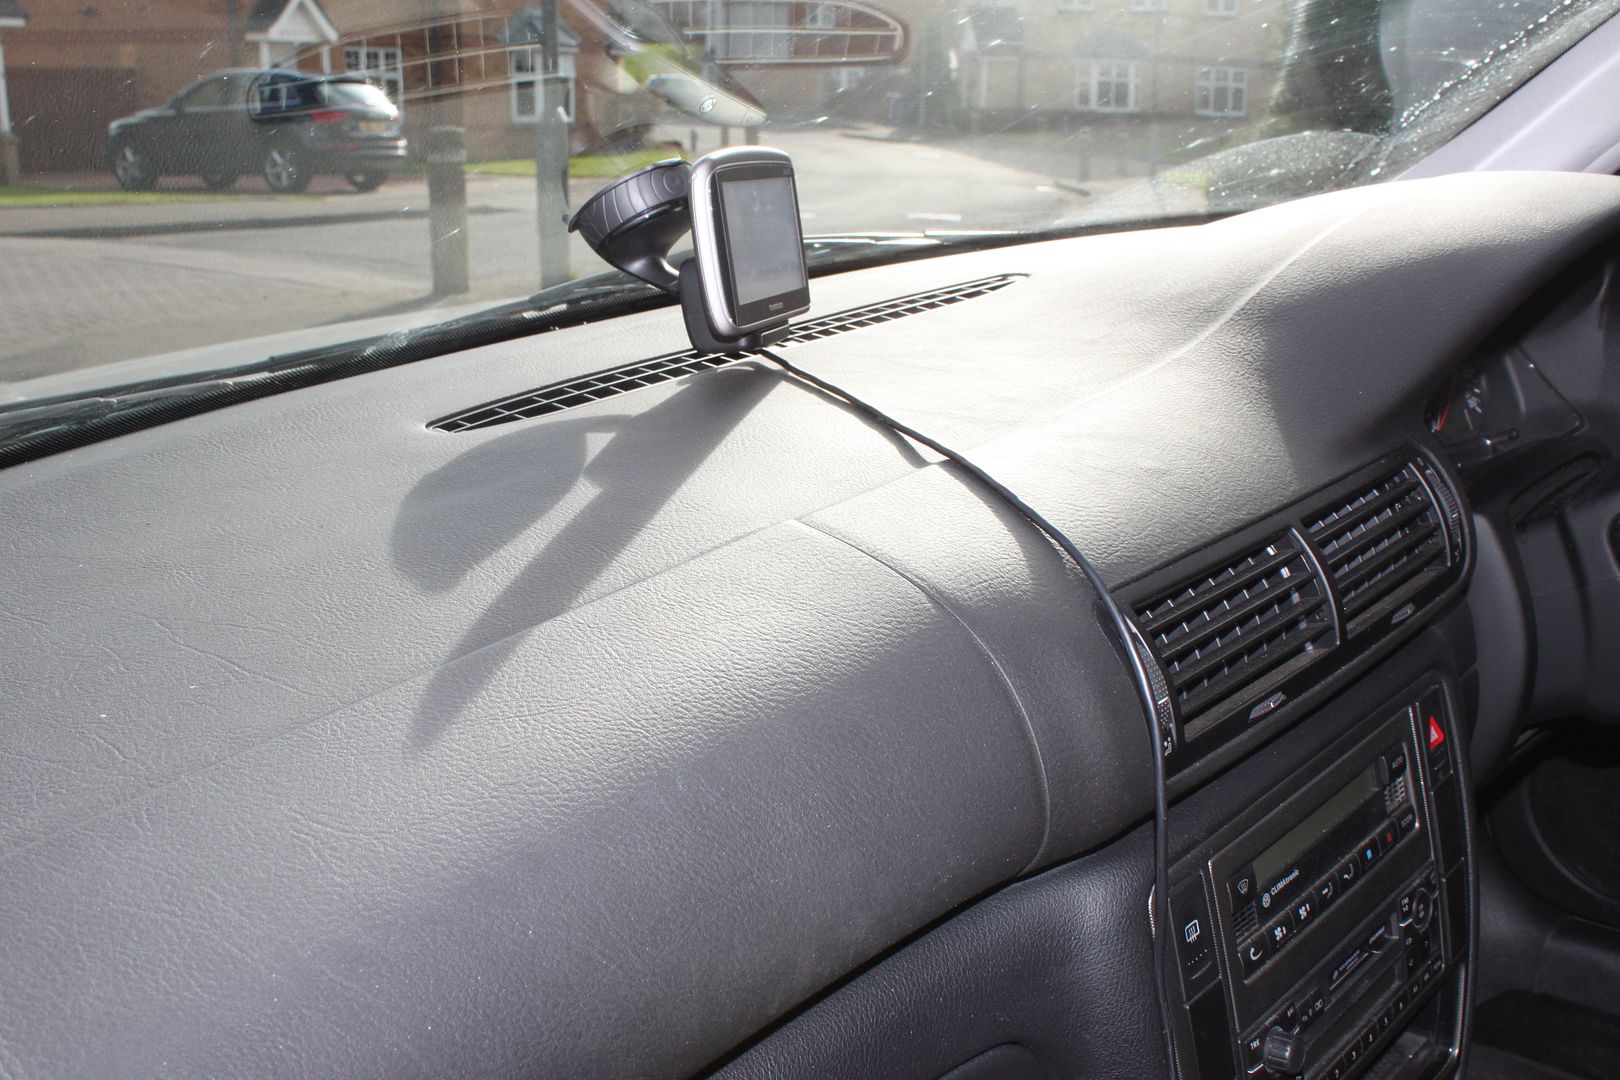
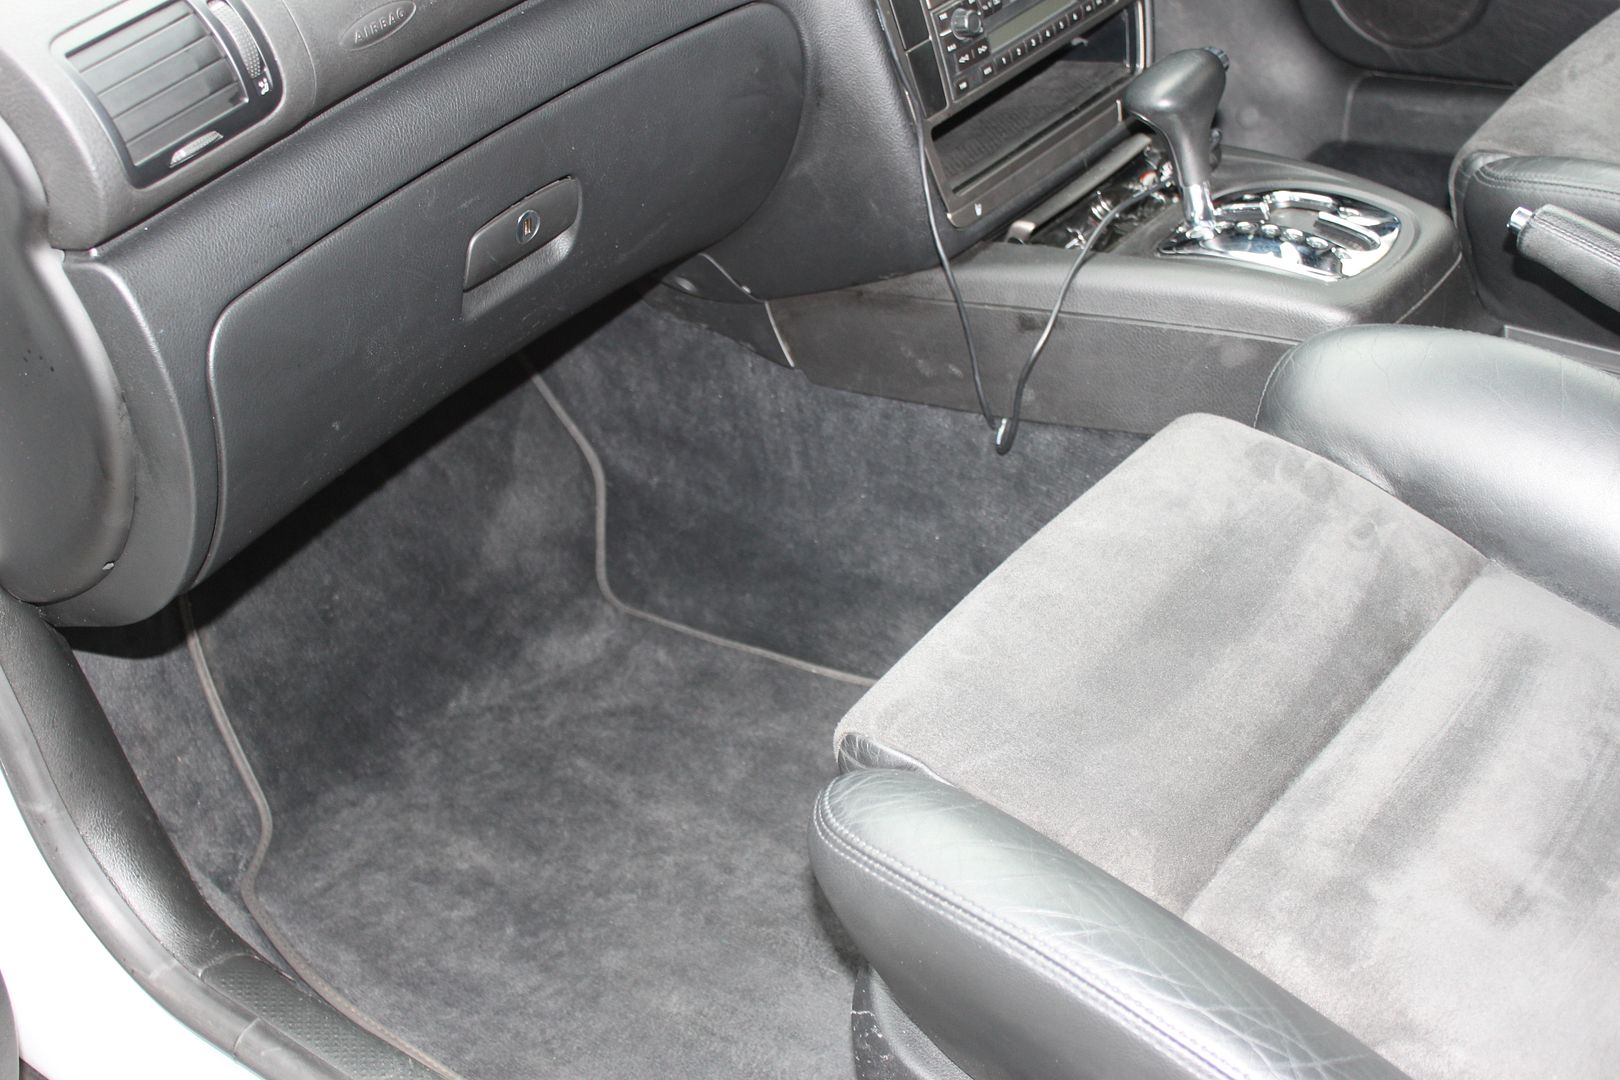
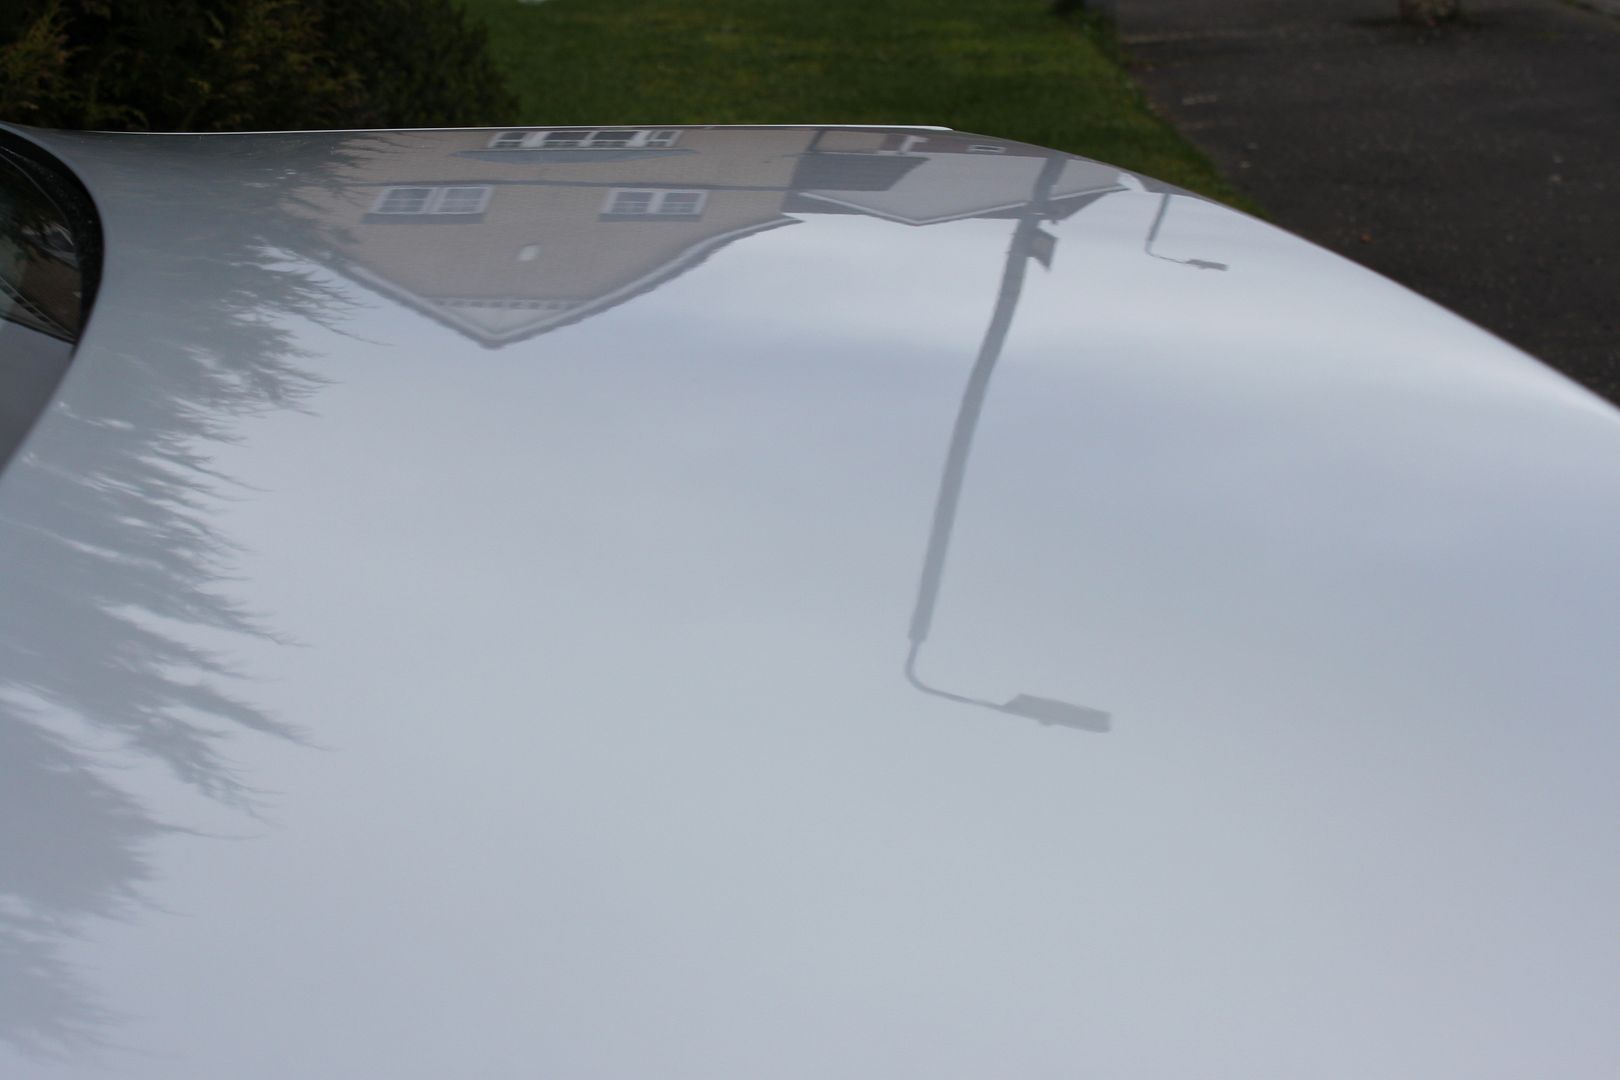
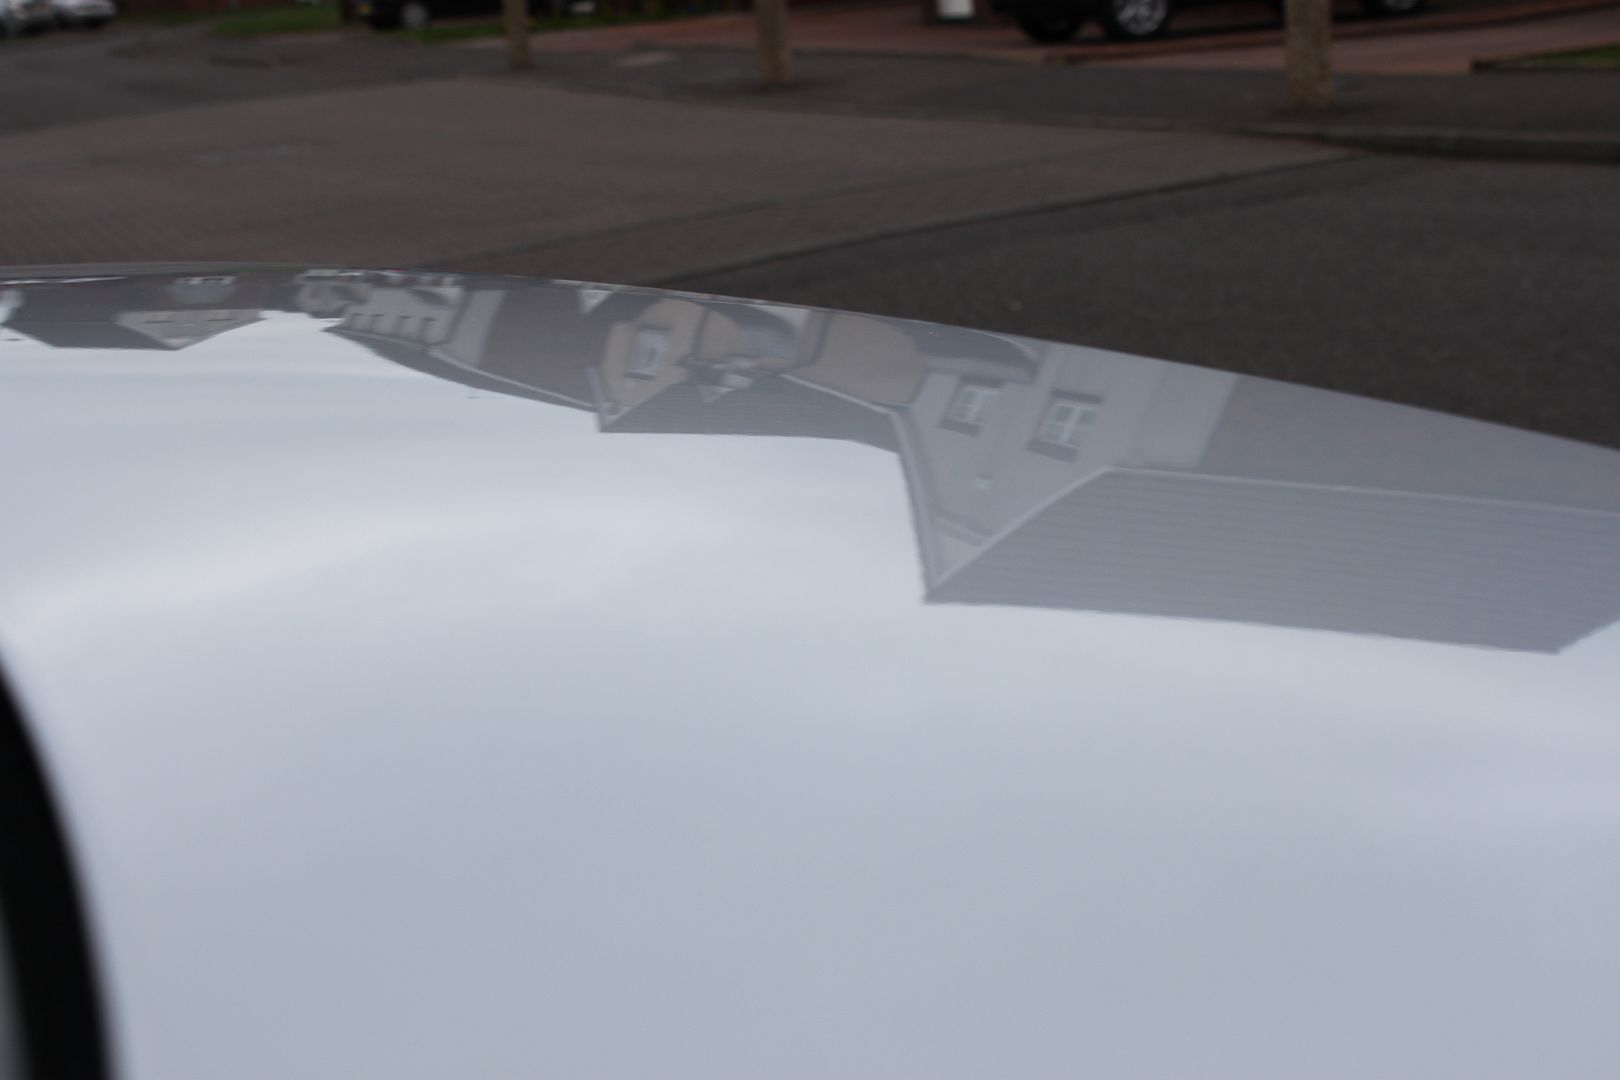
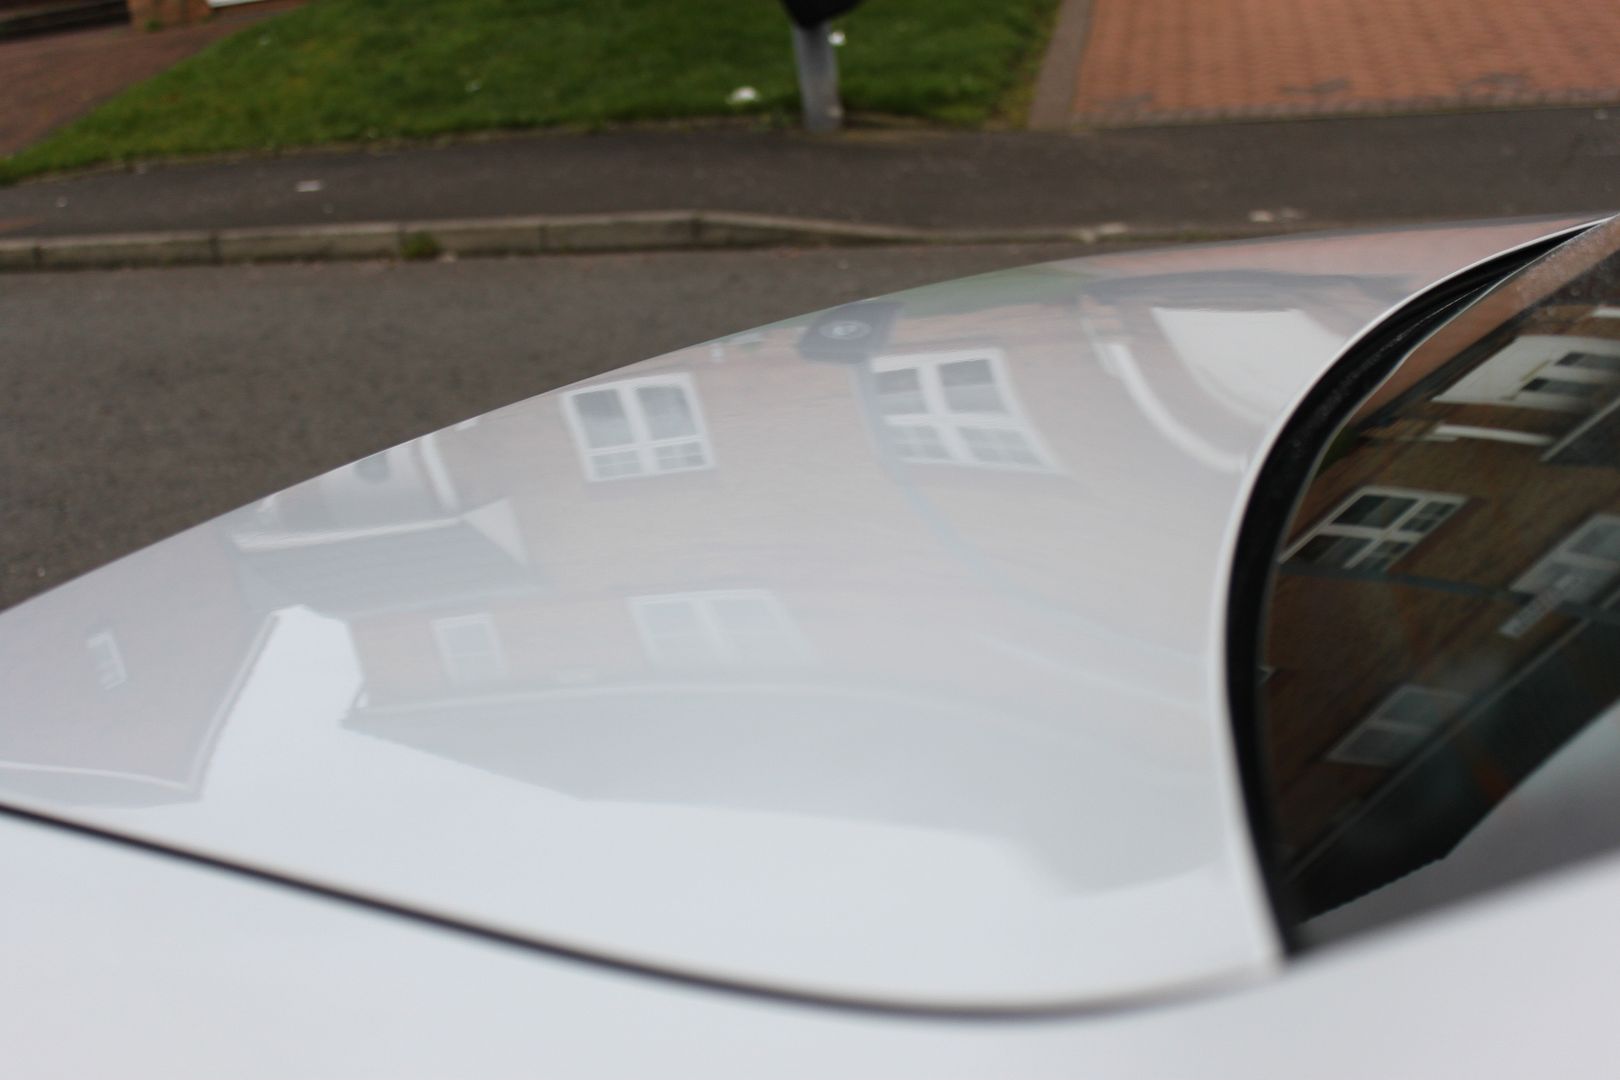
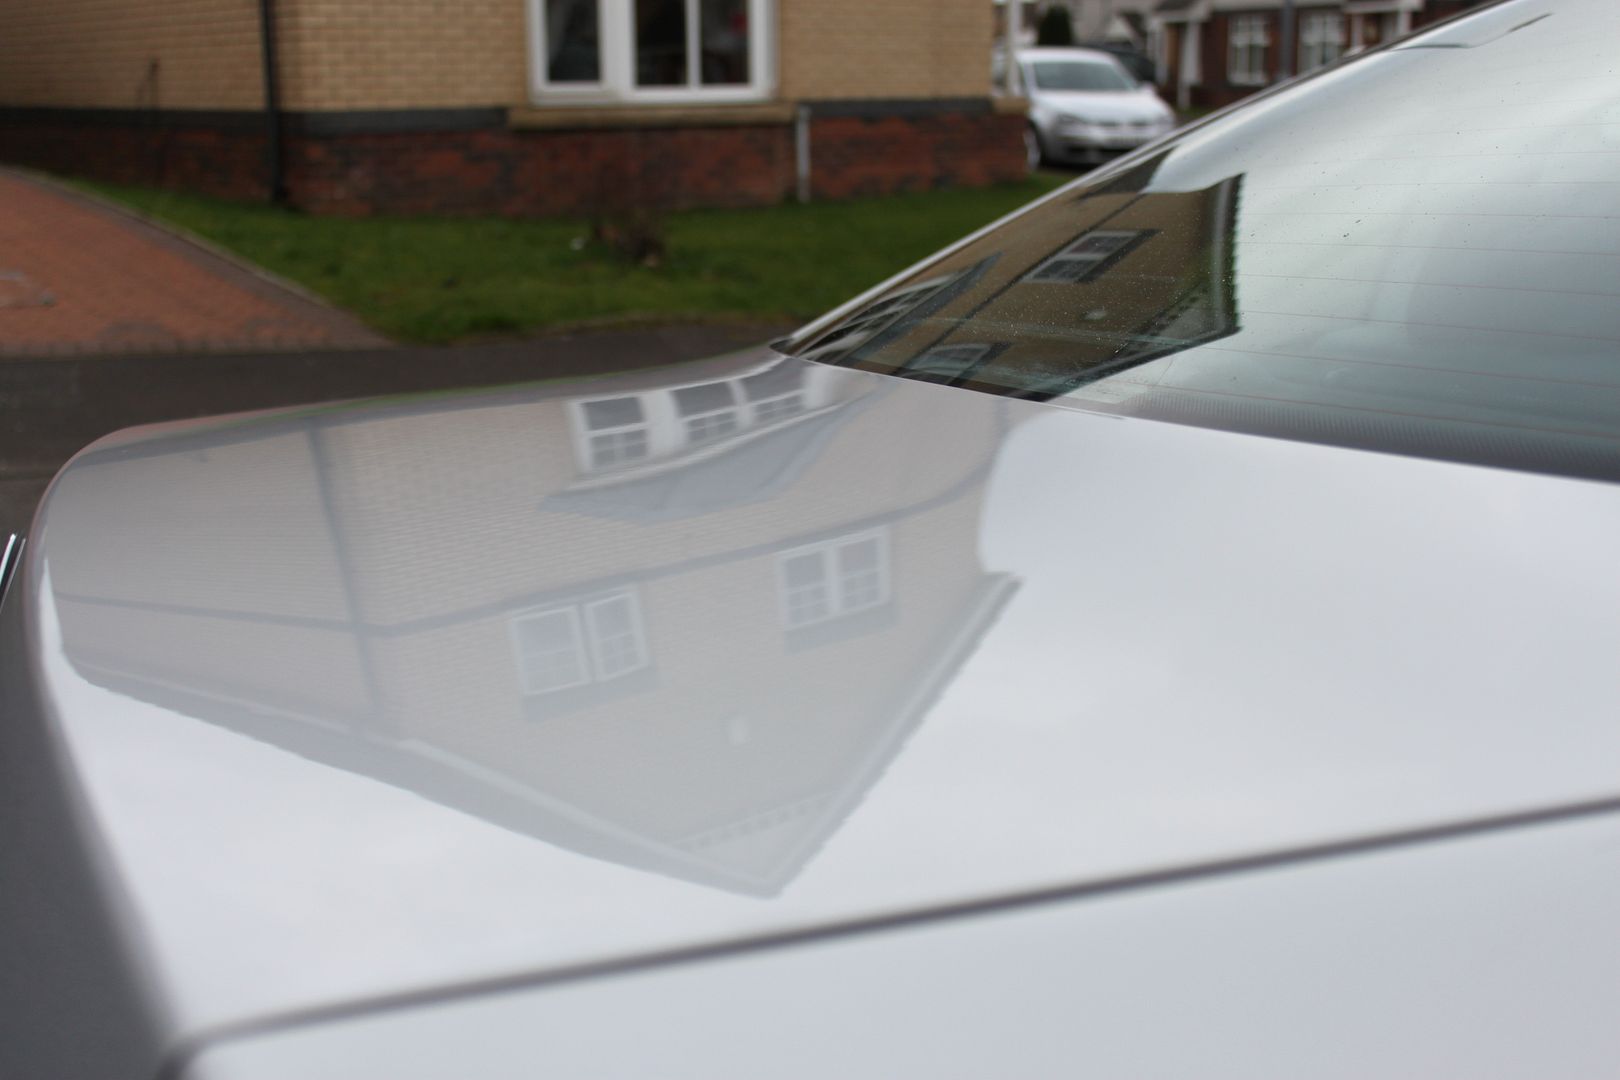
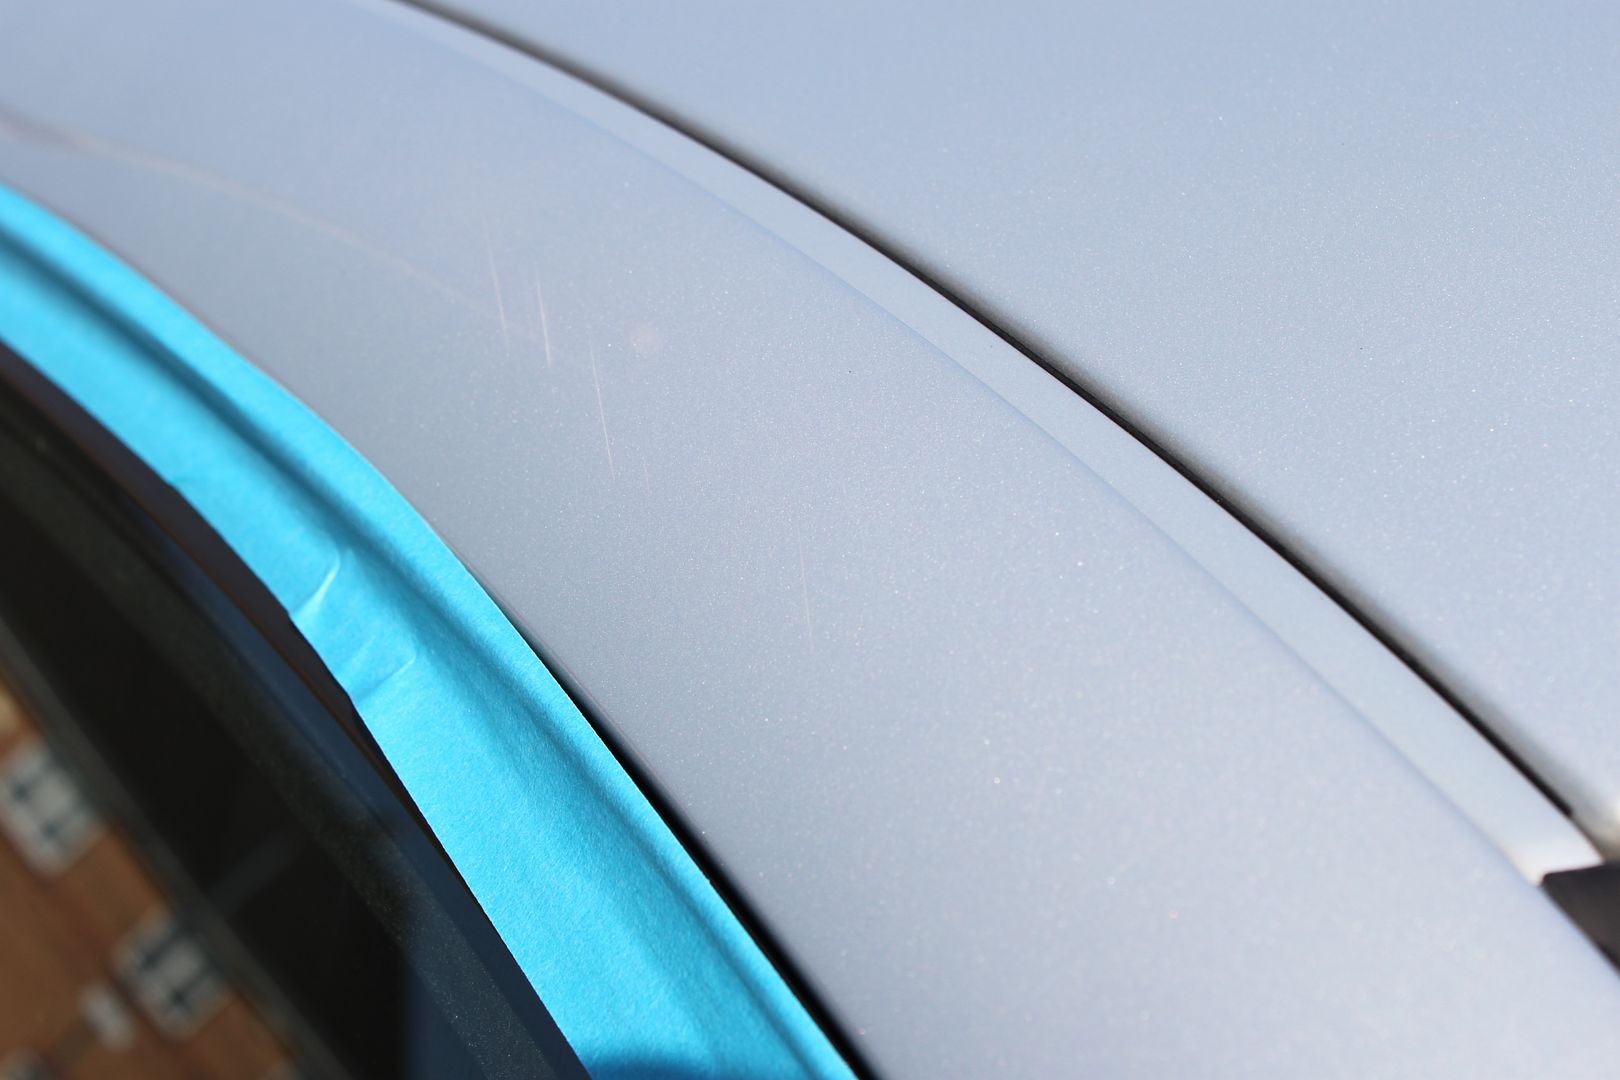
Cleaned the glass with Dodo Juice Clearly Menthol and cleaned the interior plastics with Swissvax Quick Interior Finish ended up looking like:

IMG_2390.jpg

IMG_2389.jpg


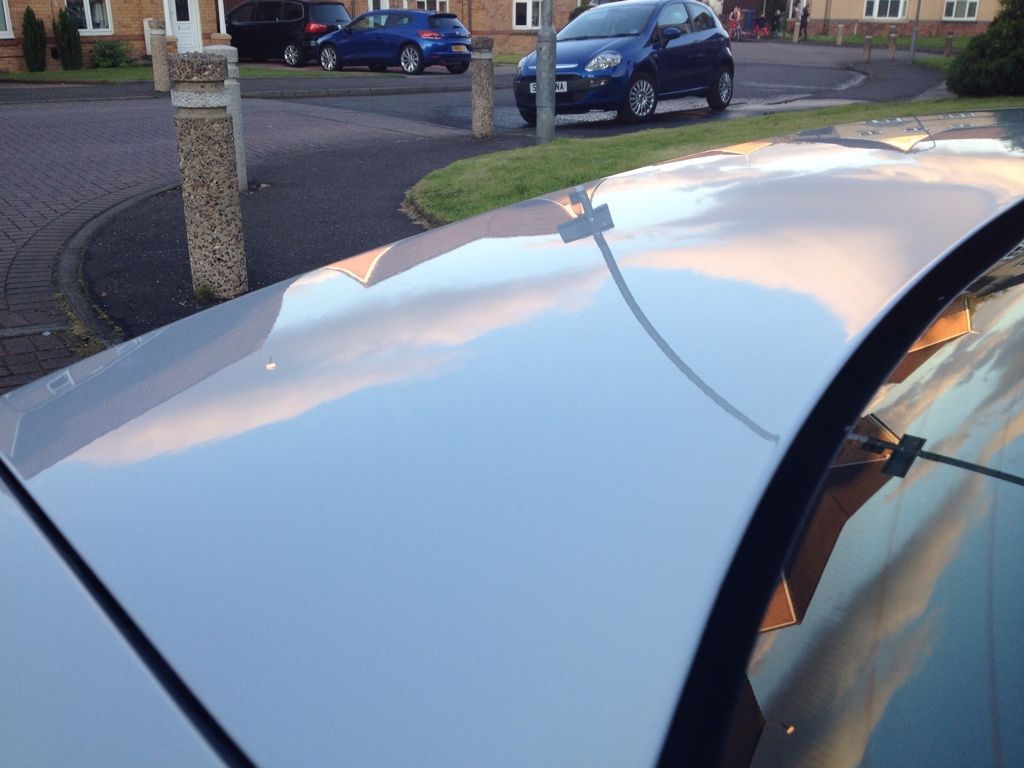
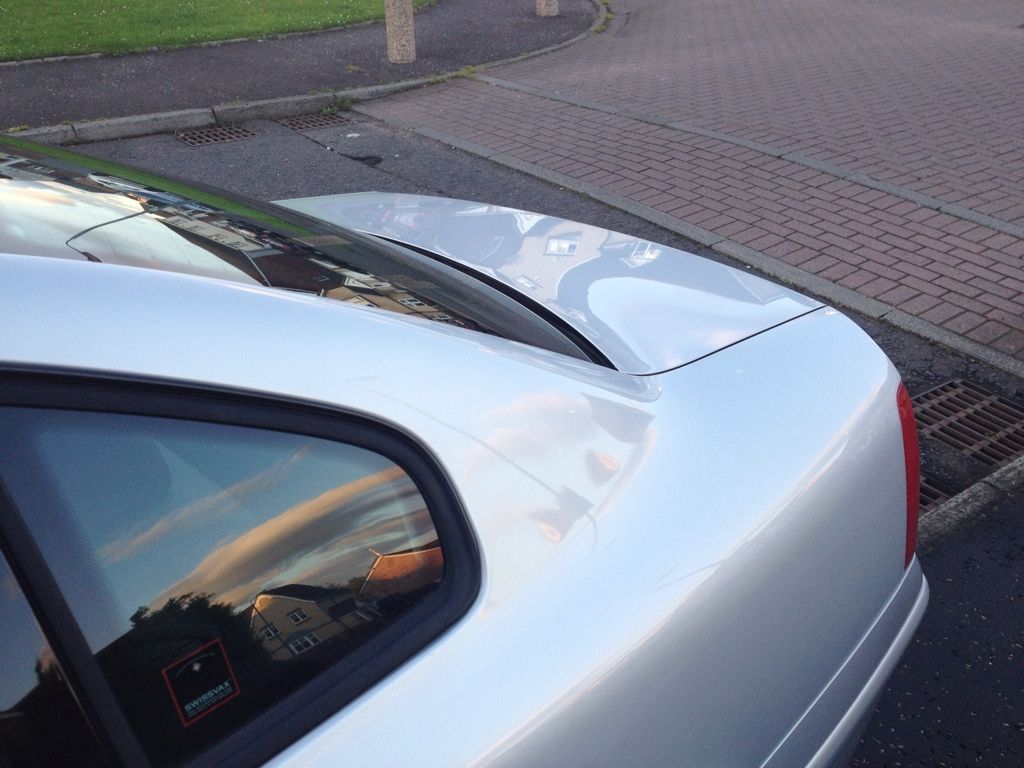
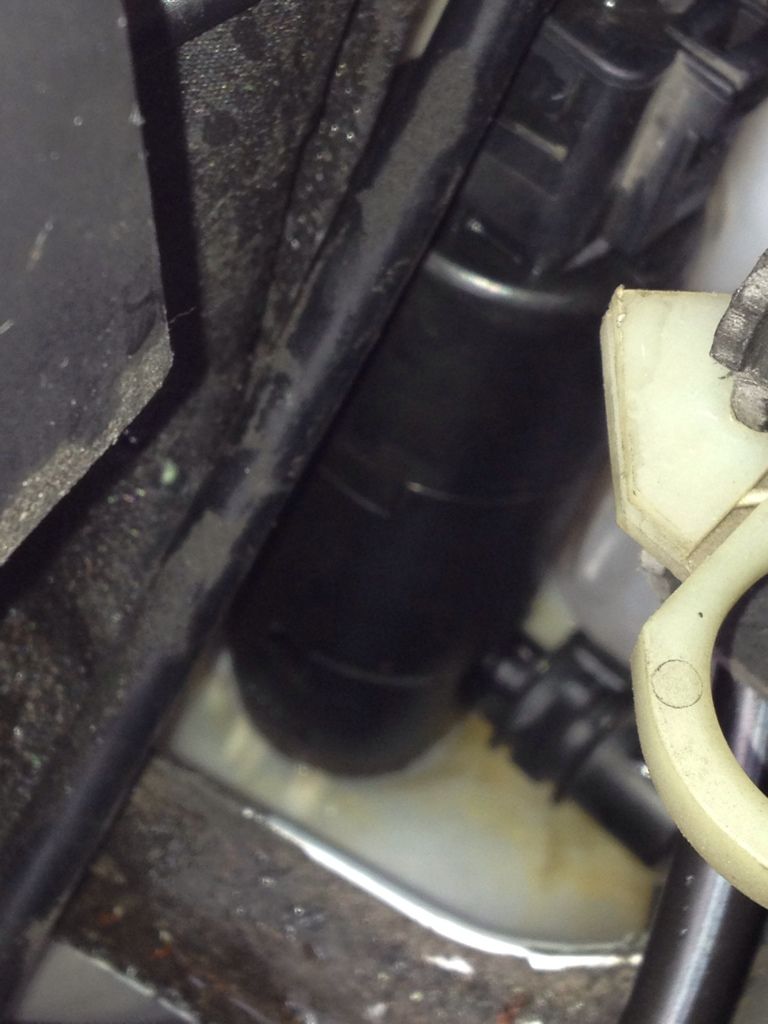
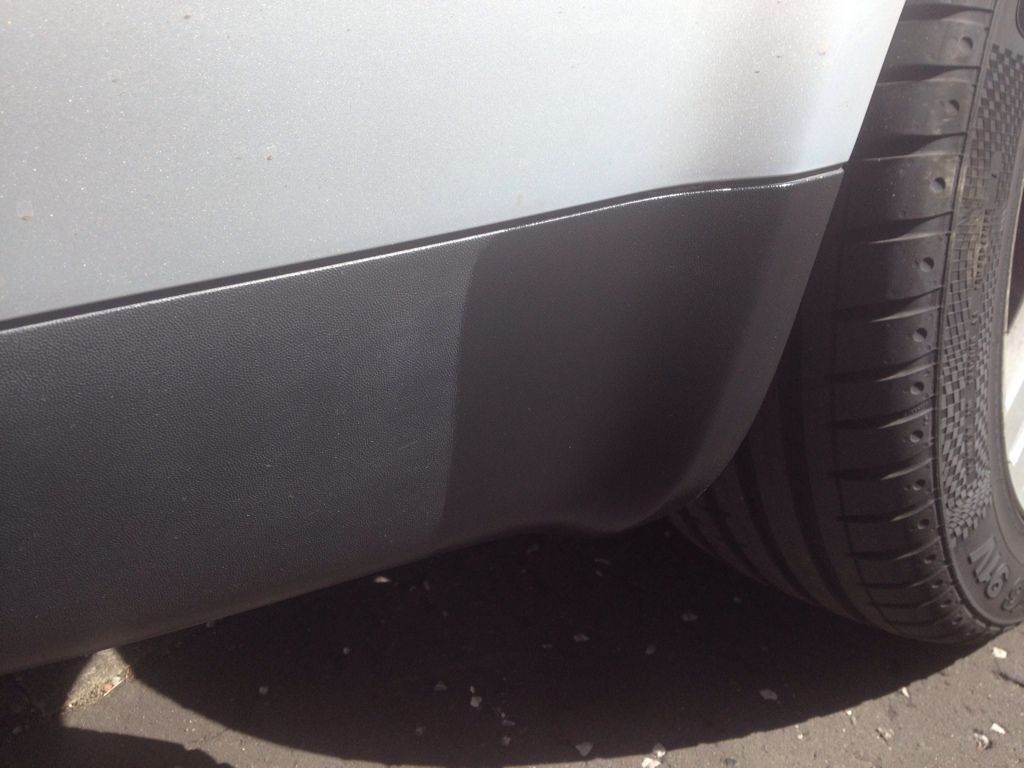
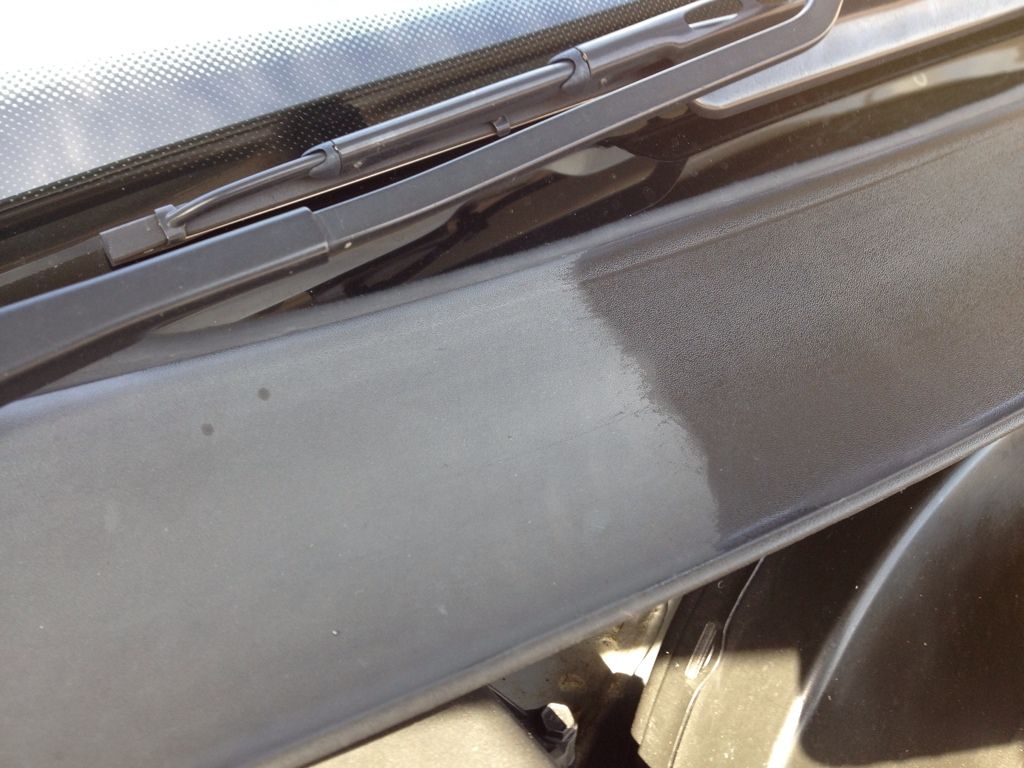
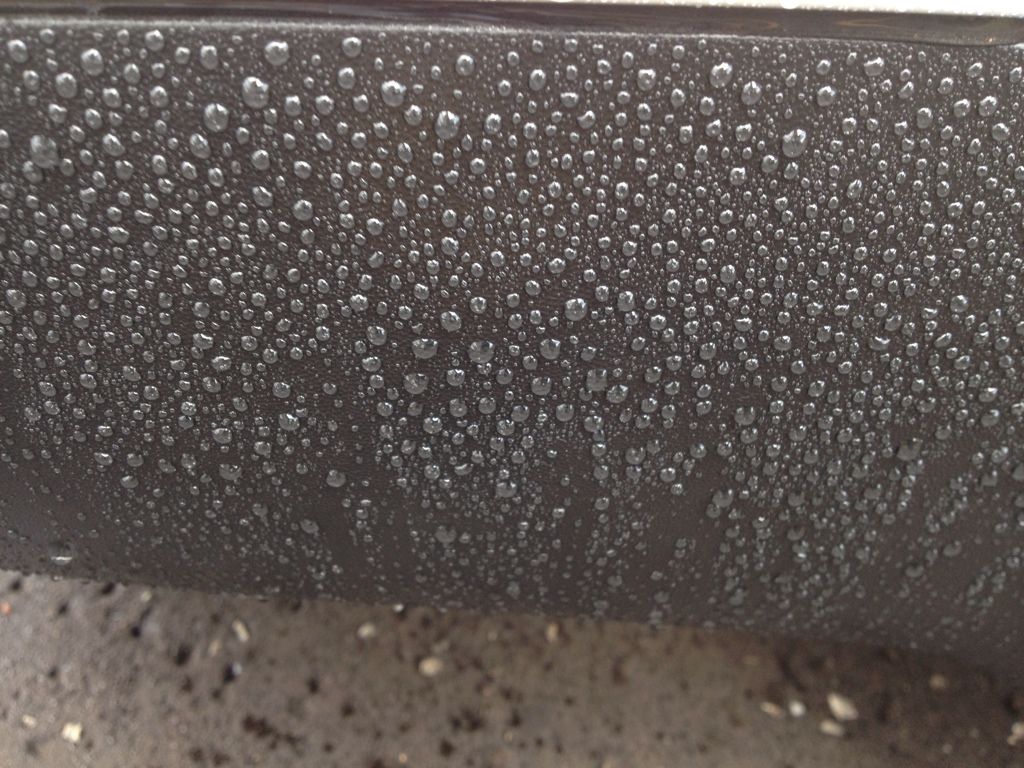
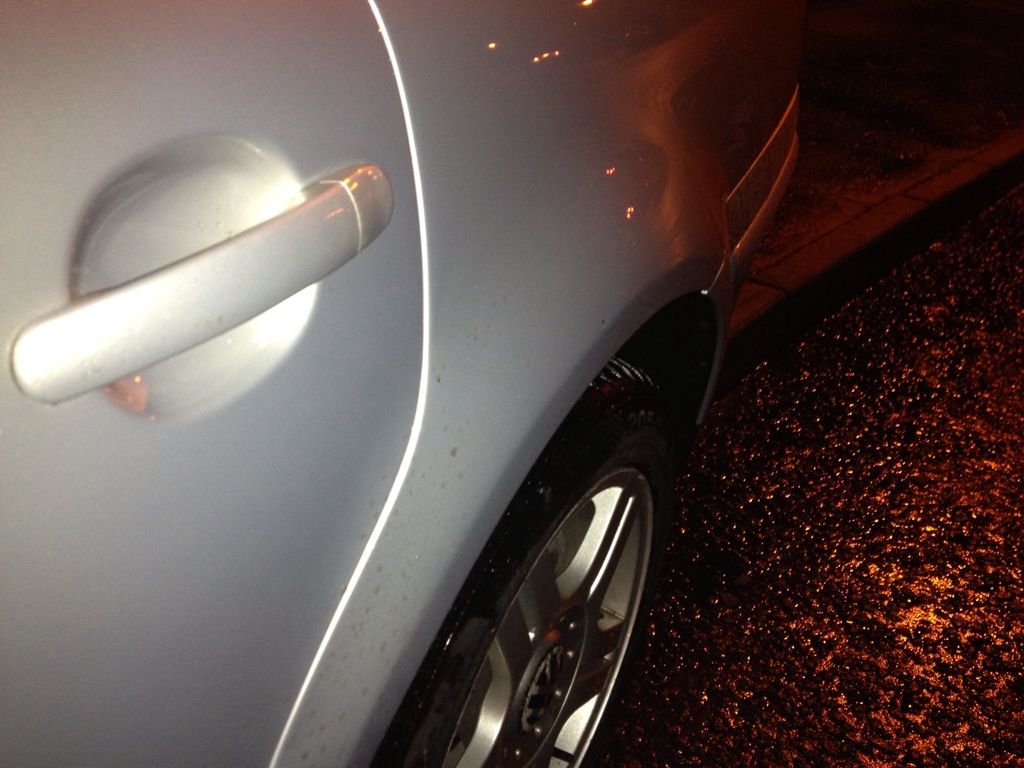
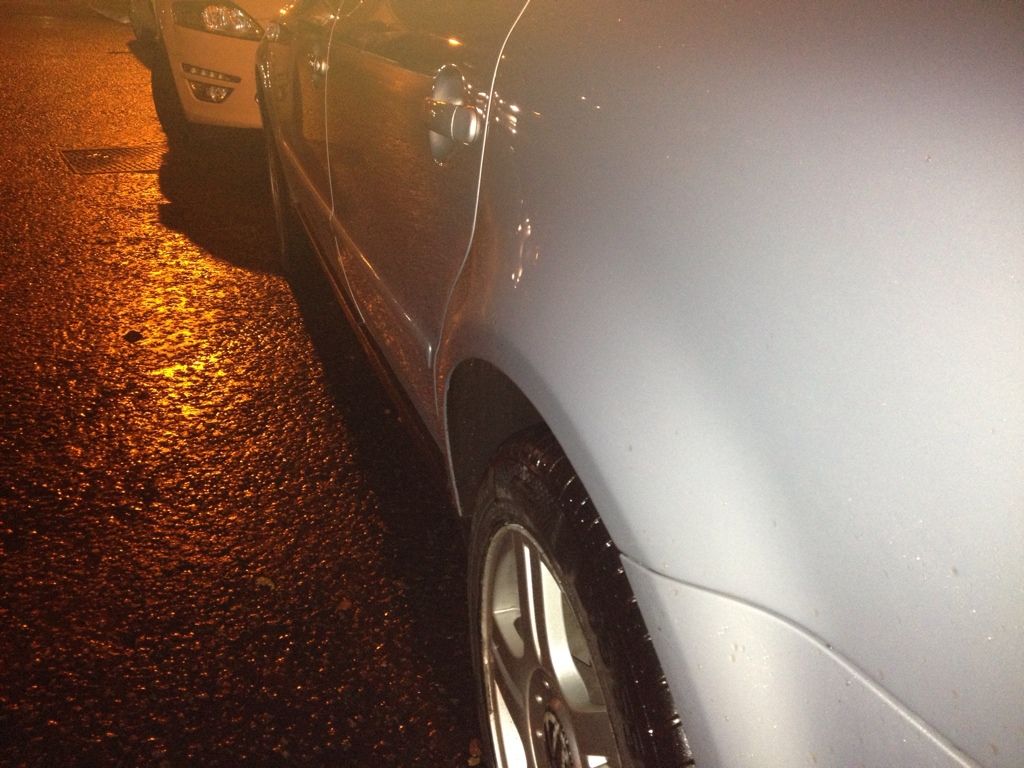
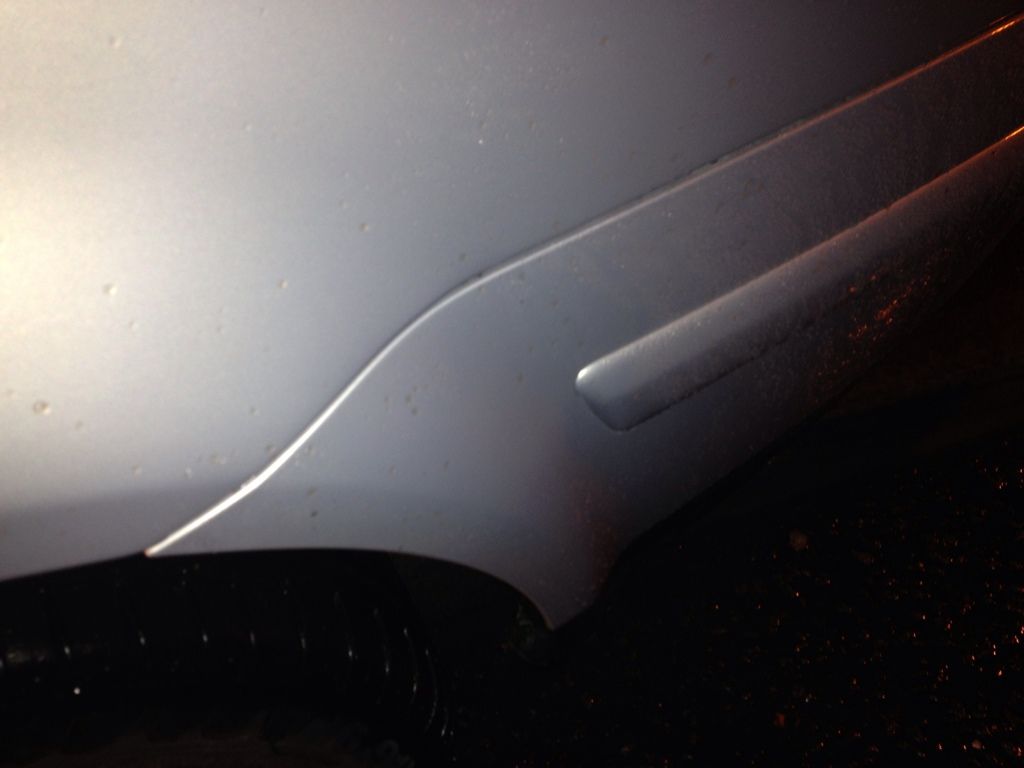
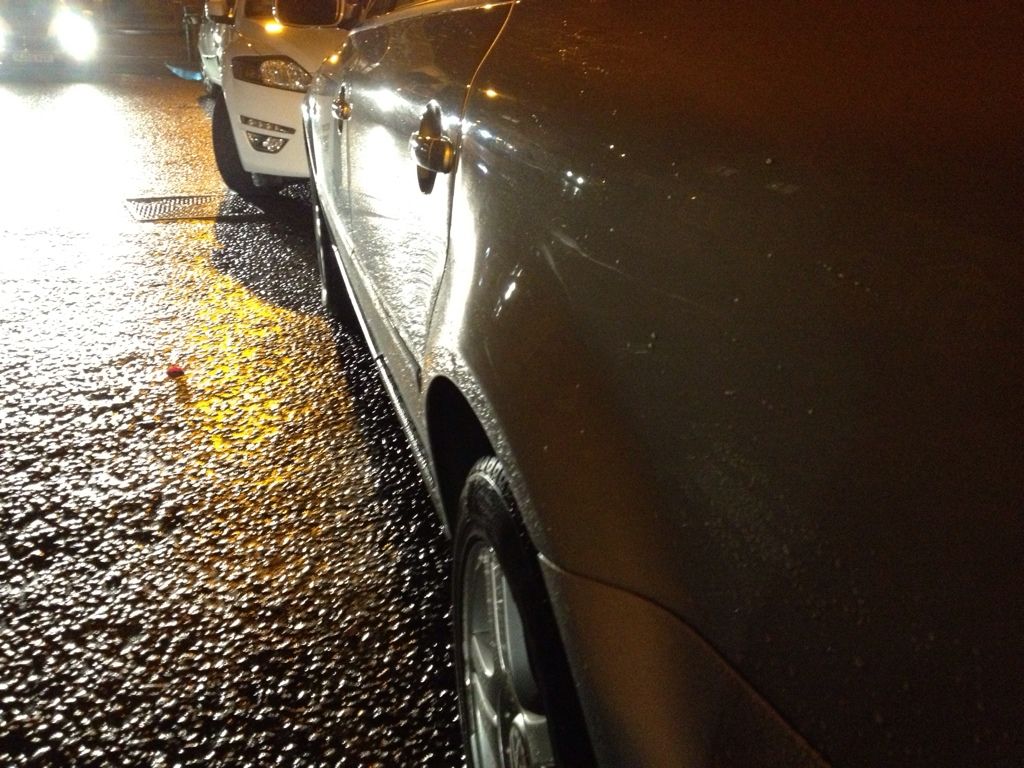
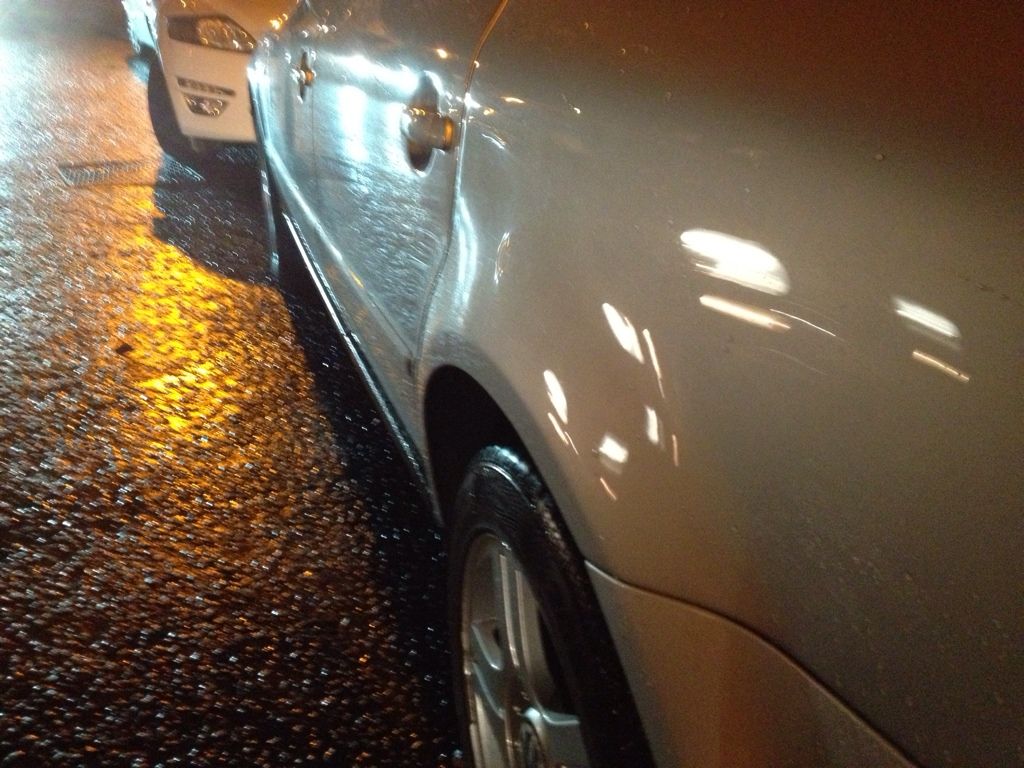
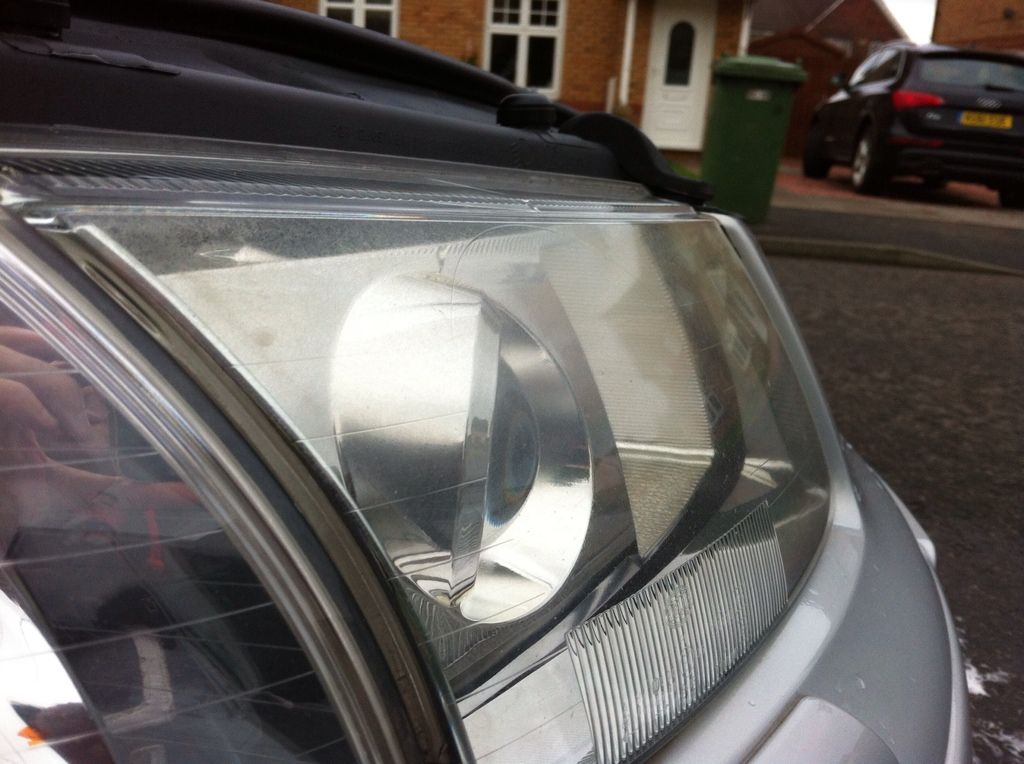
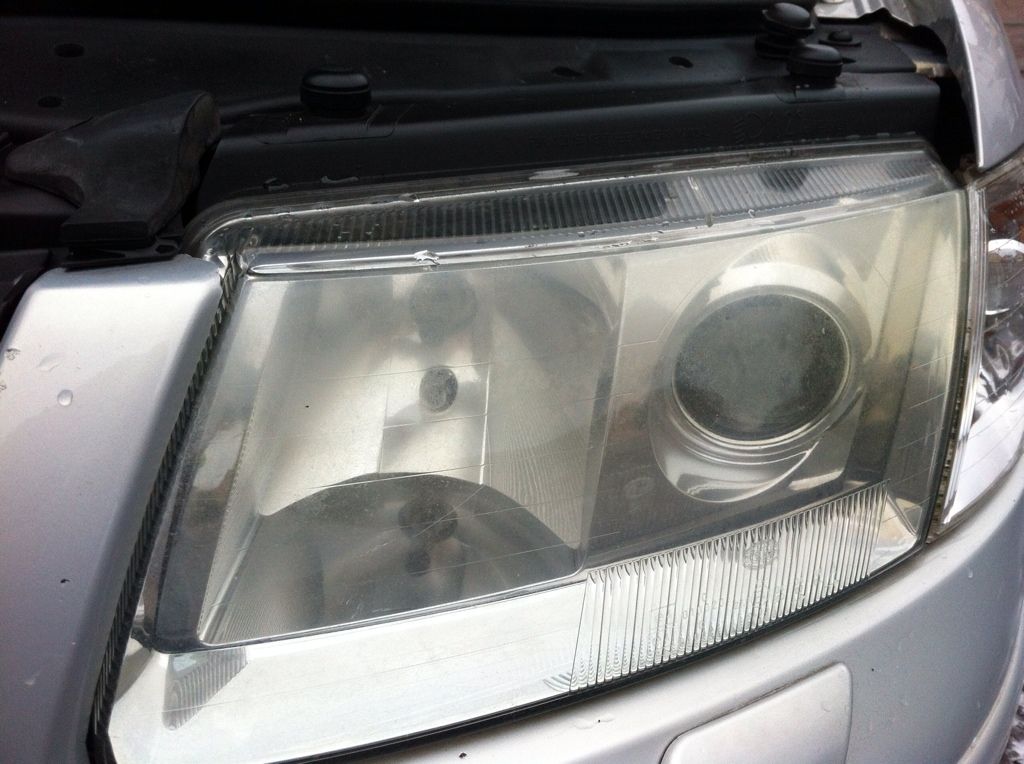
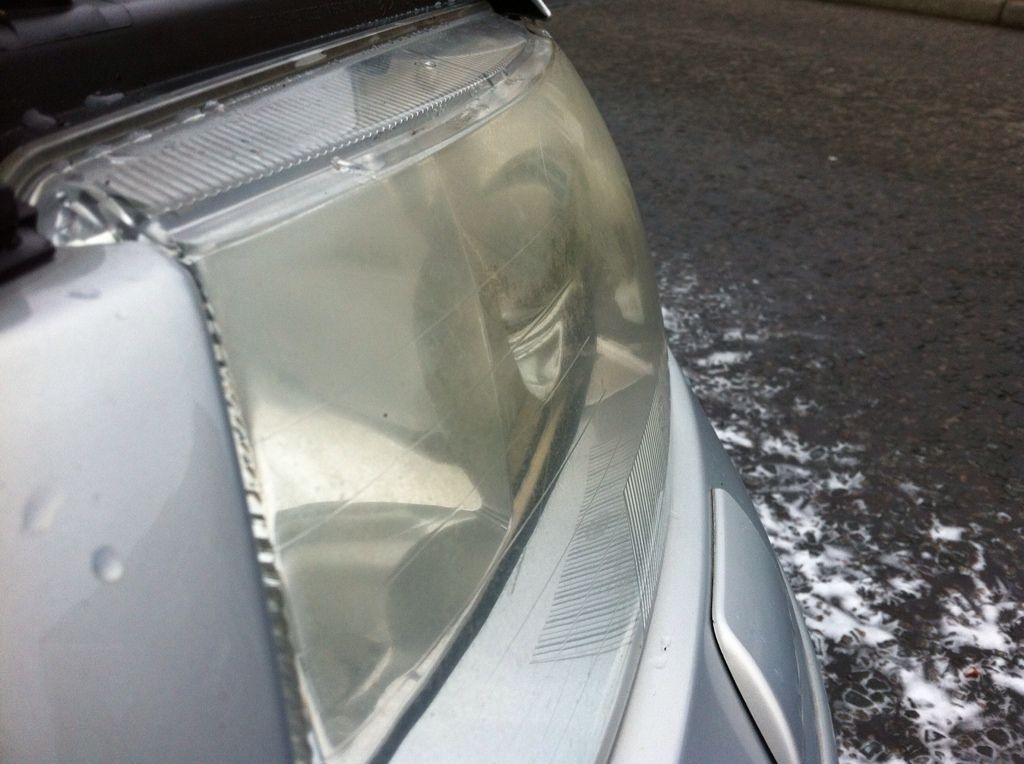
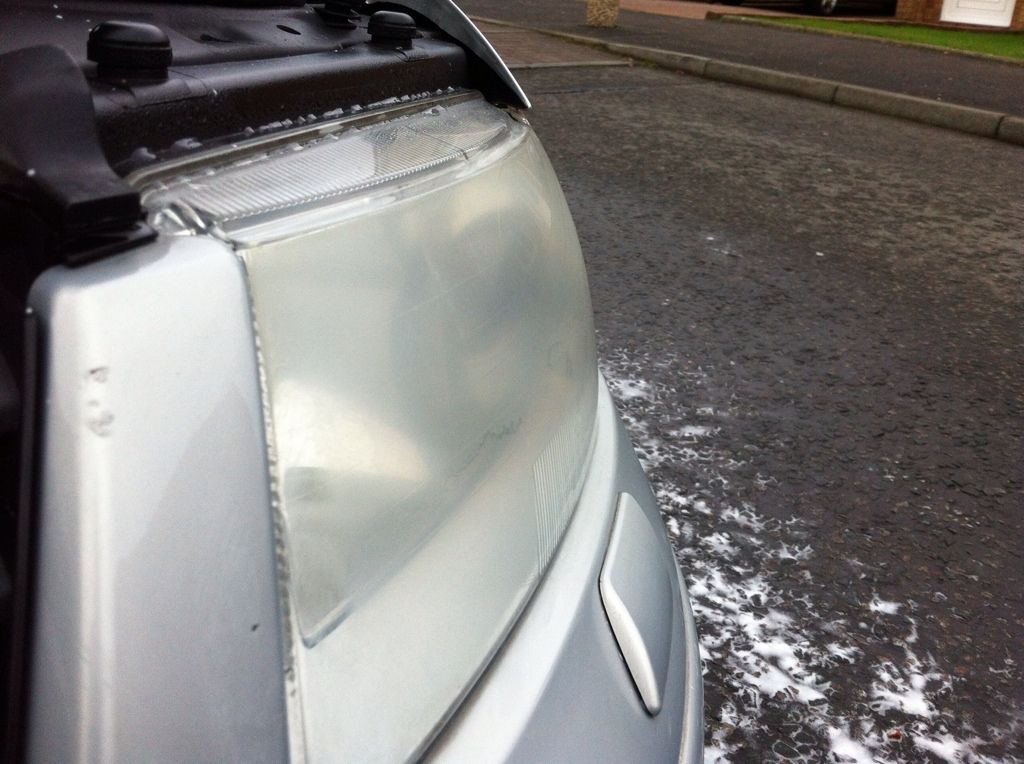
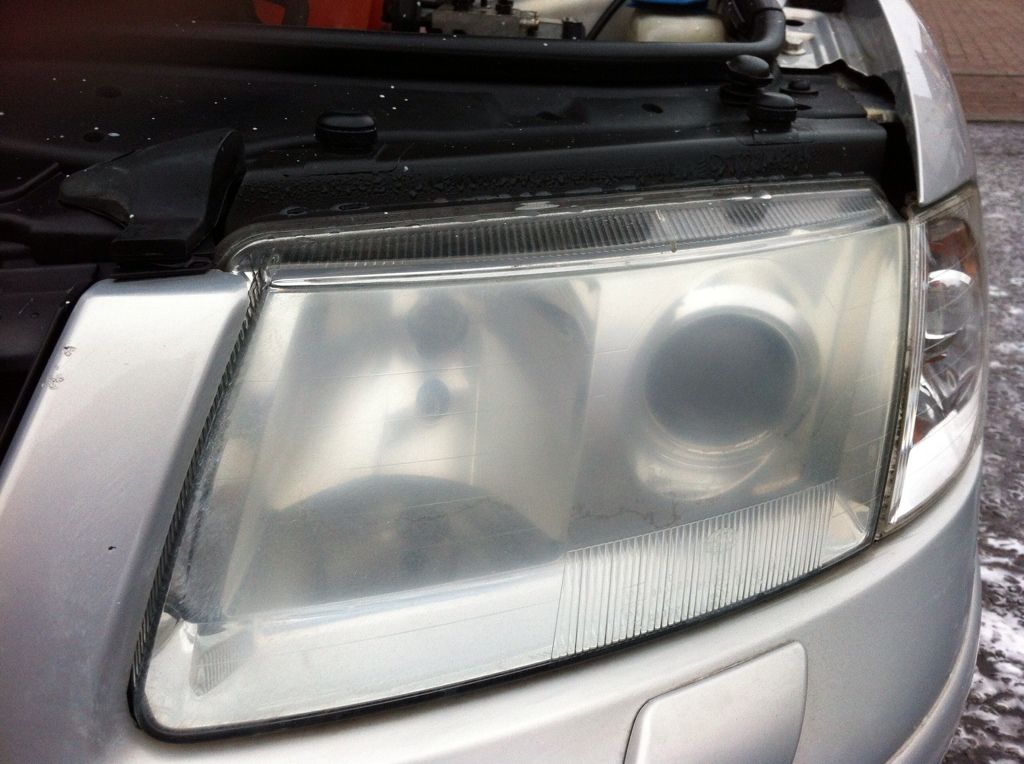
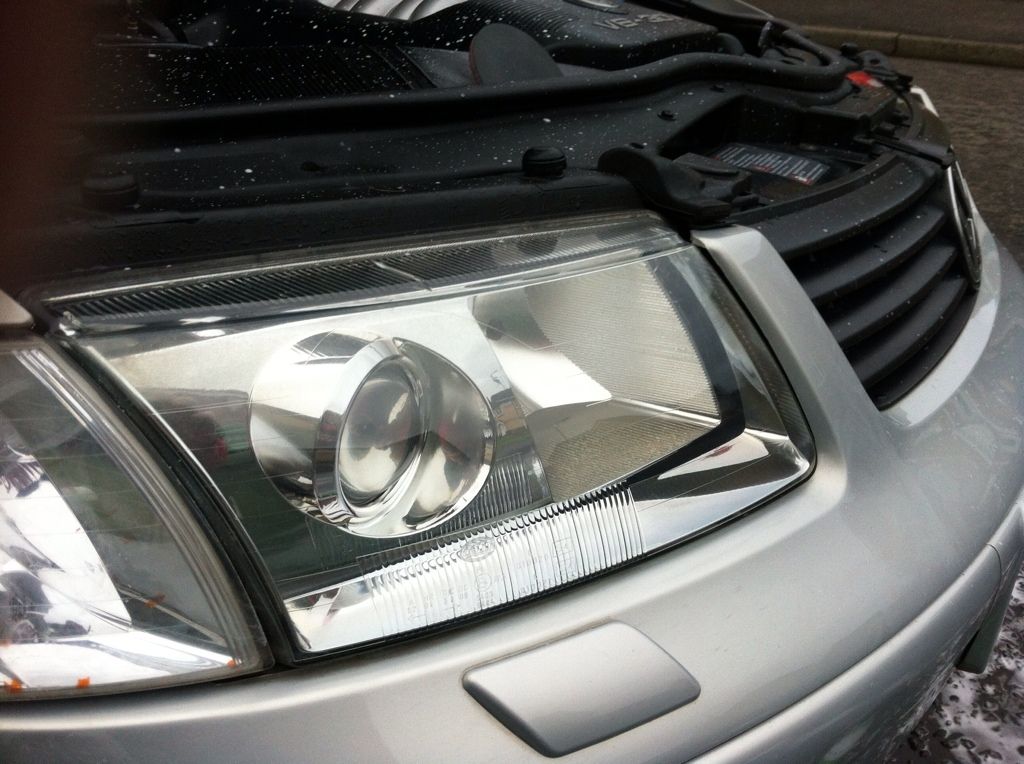
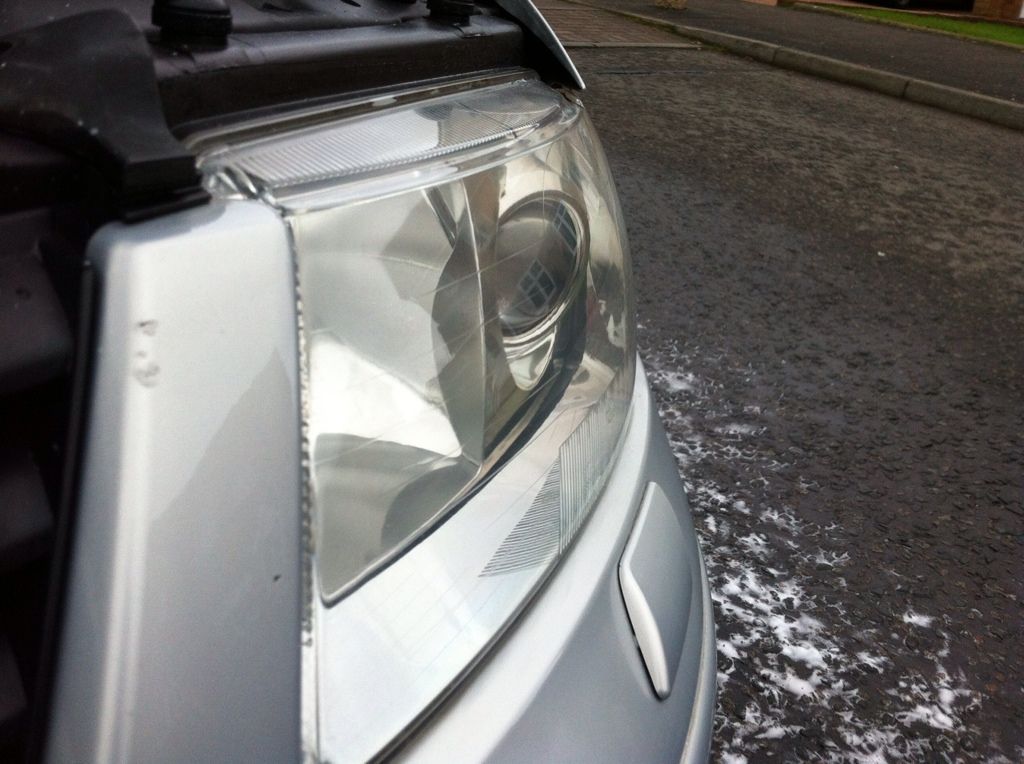
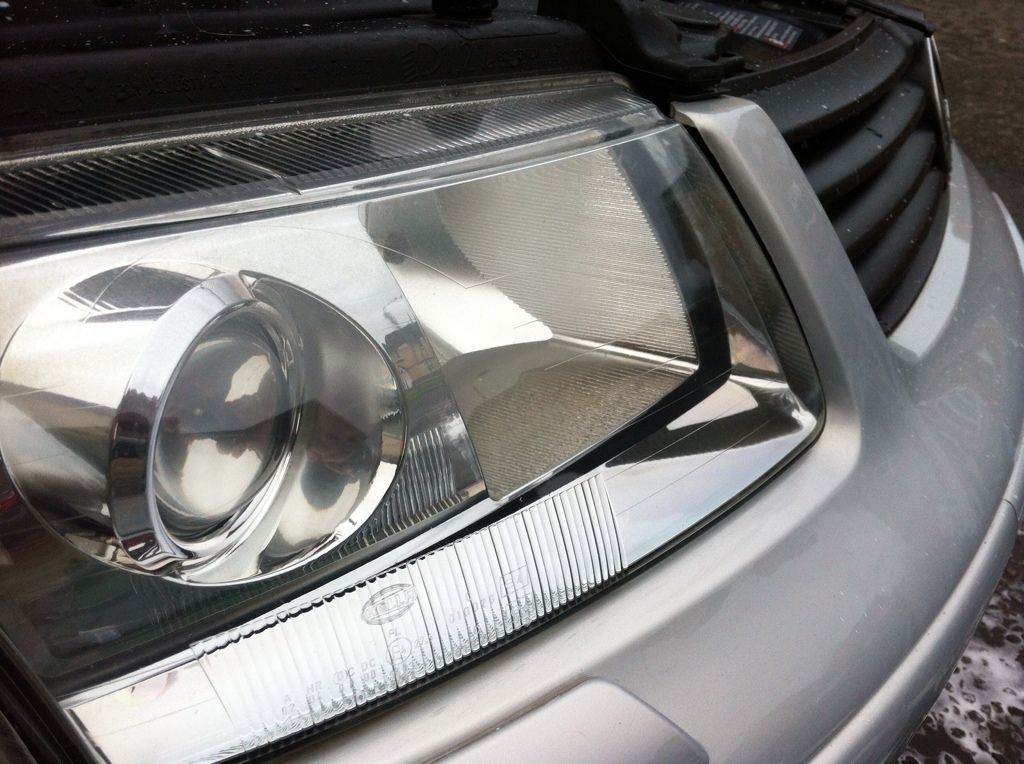
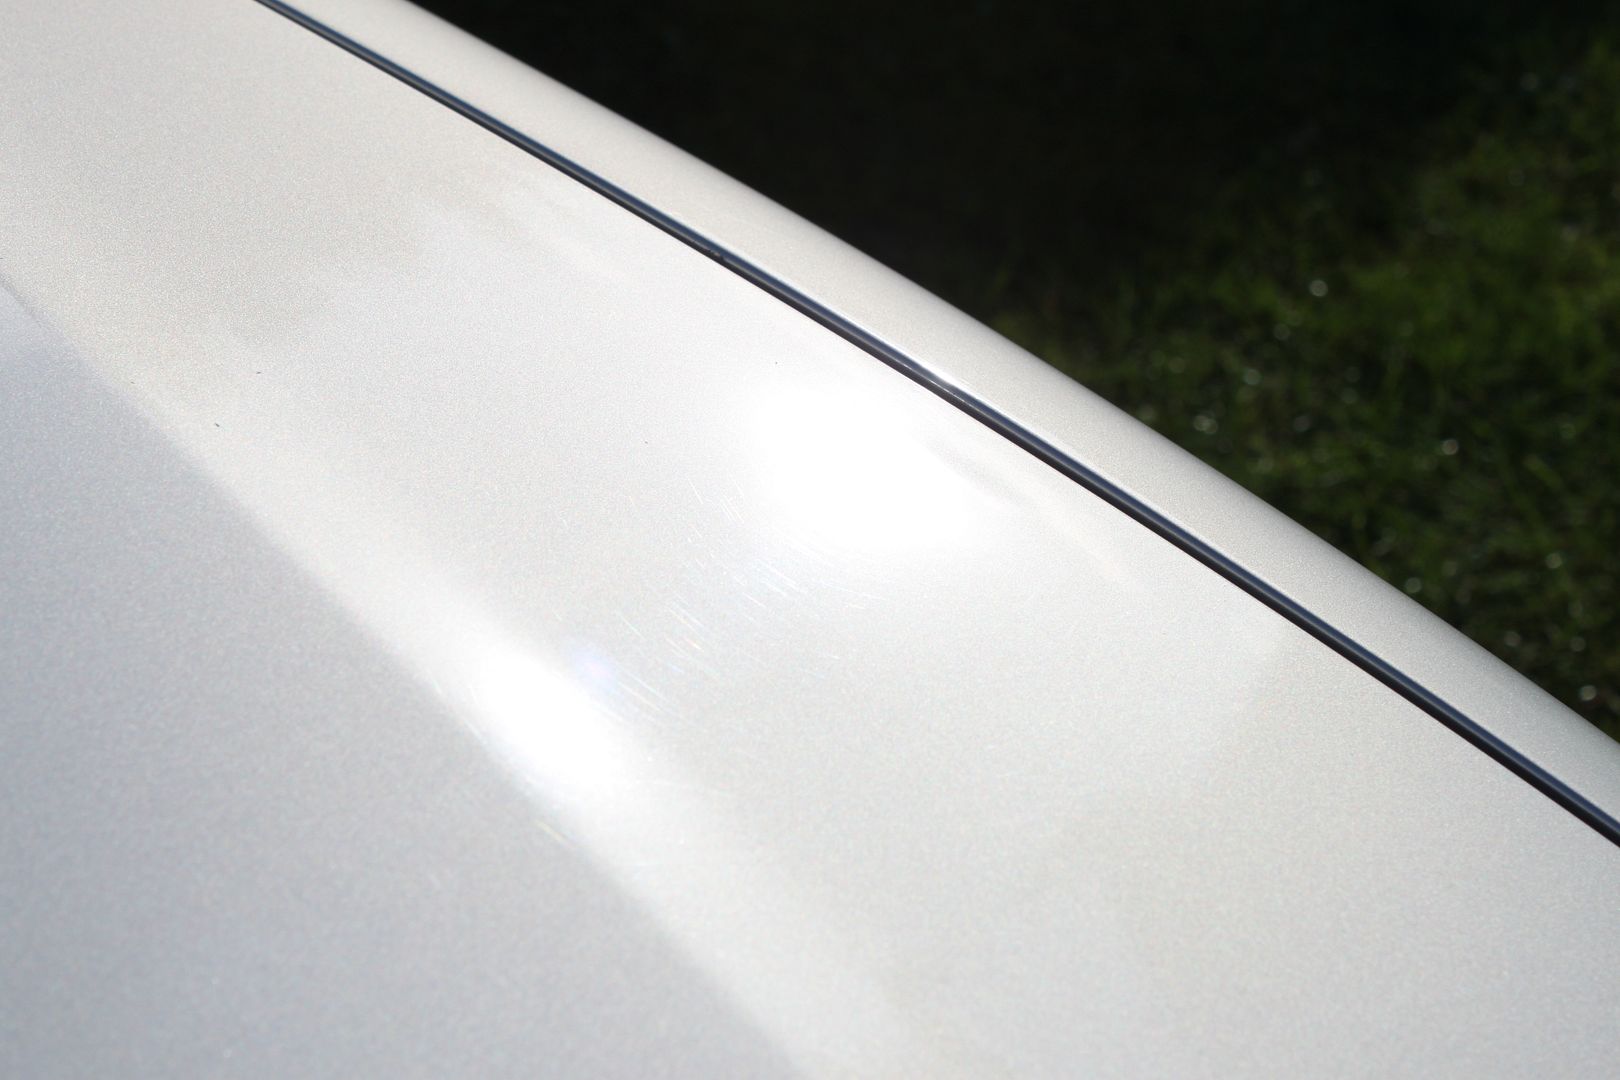
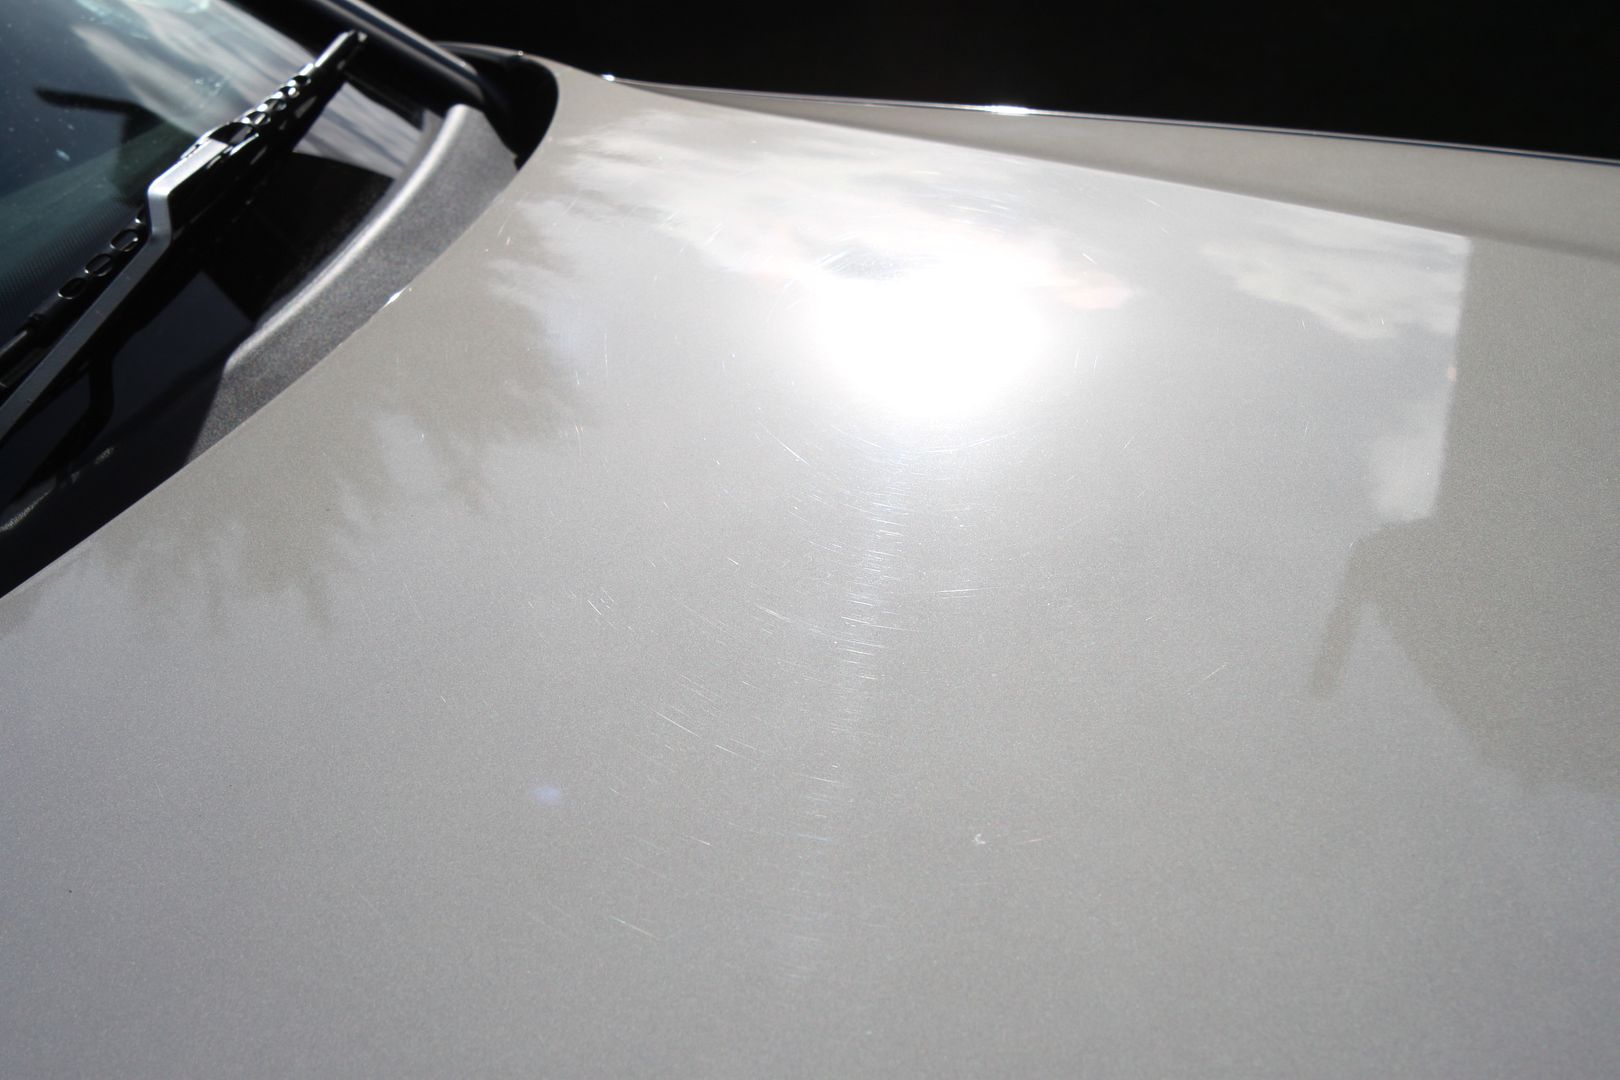
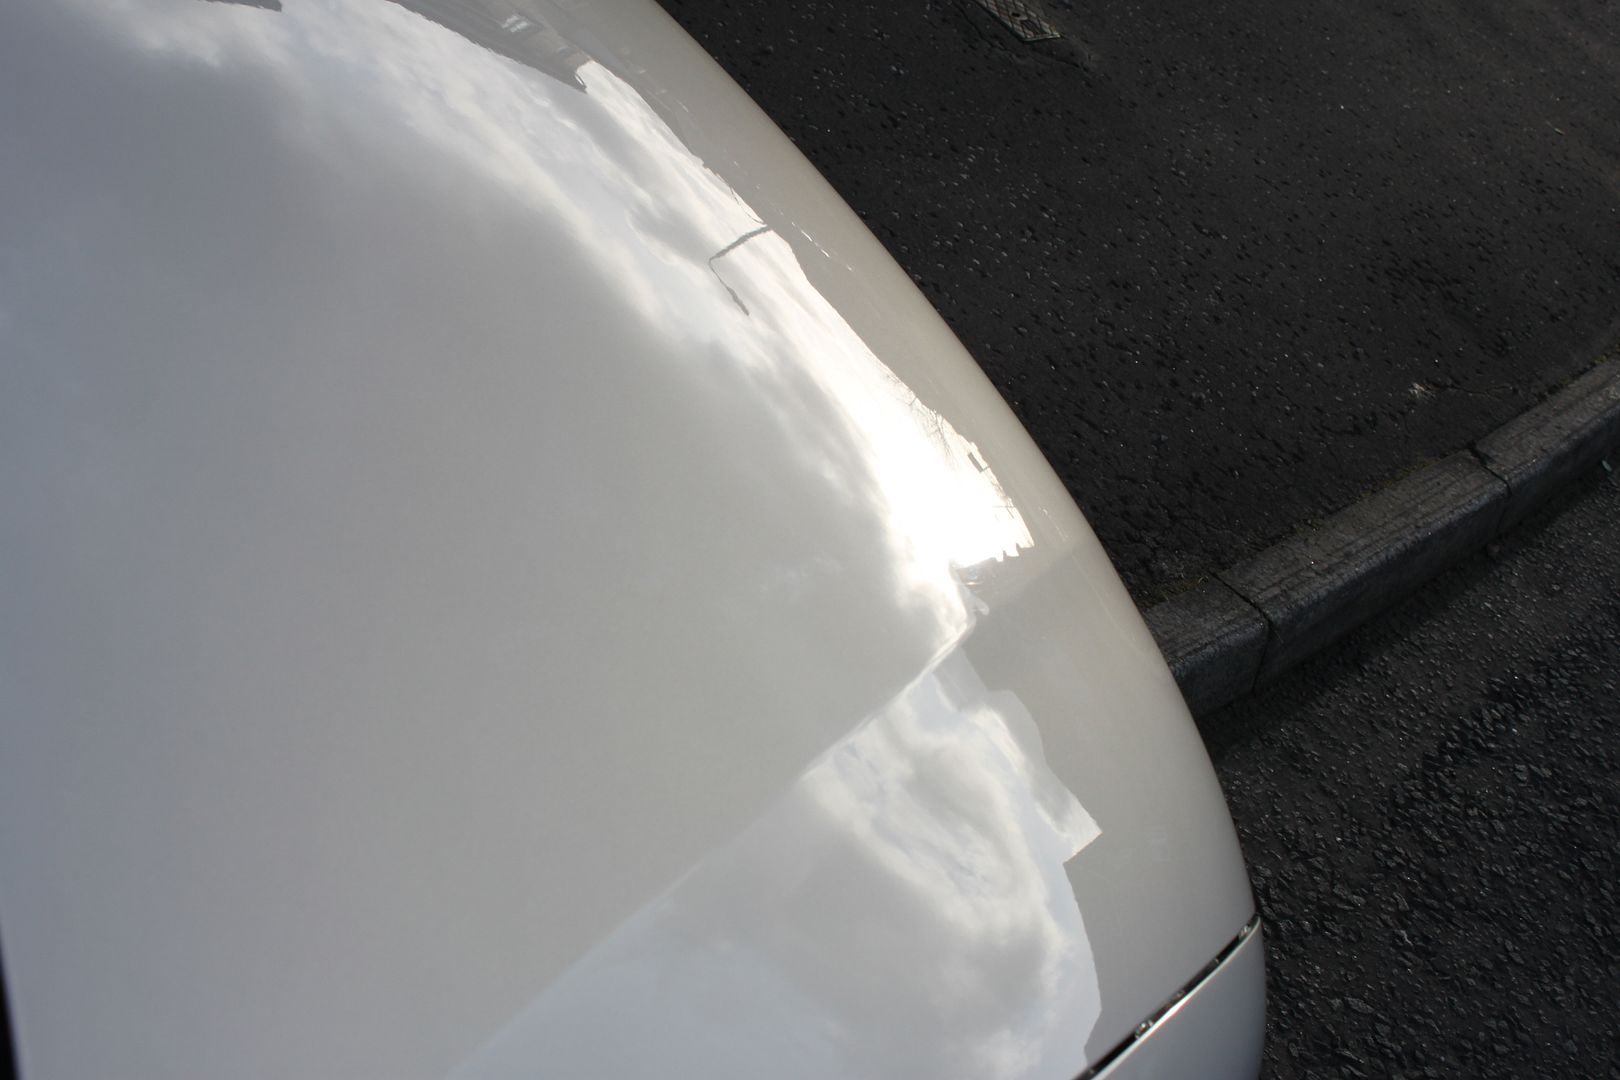
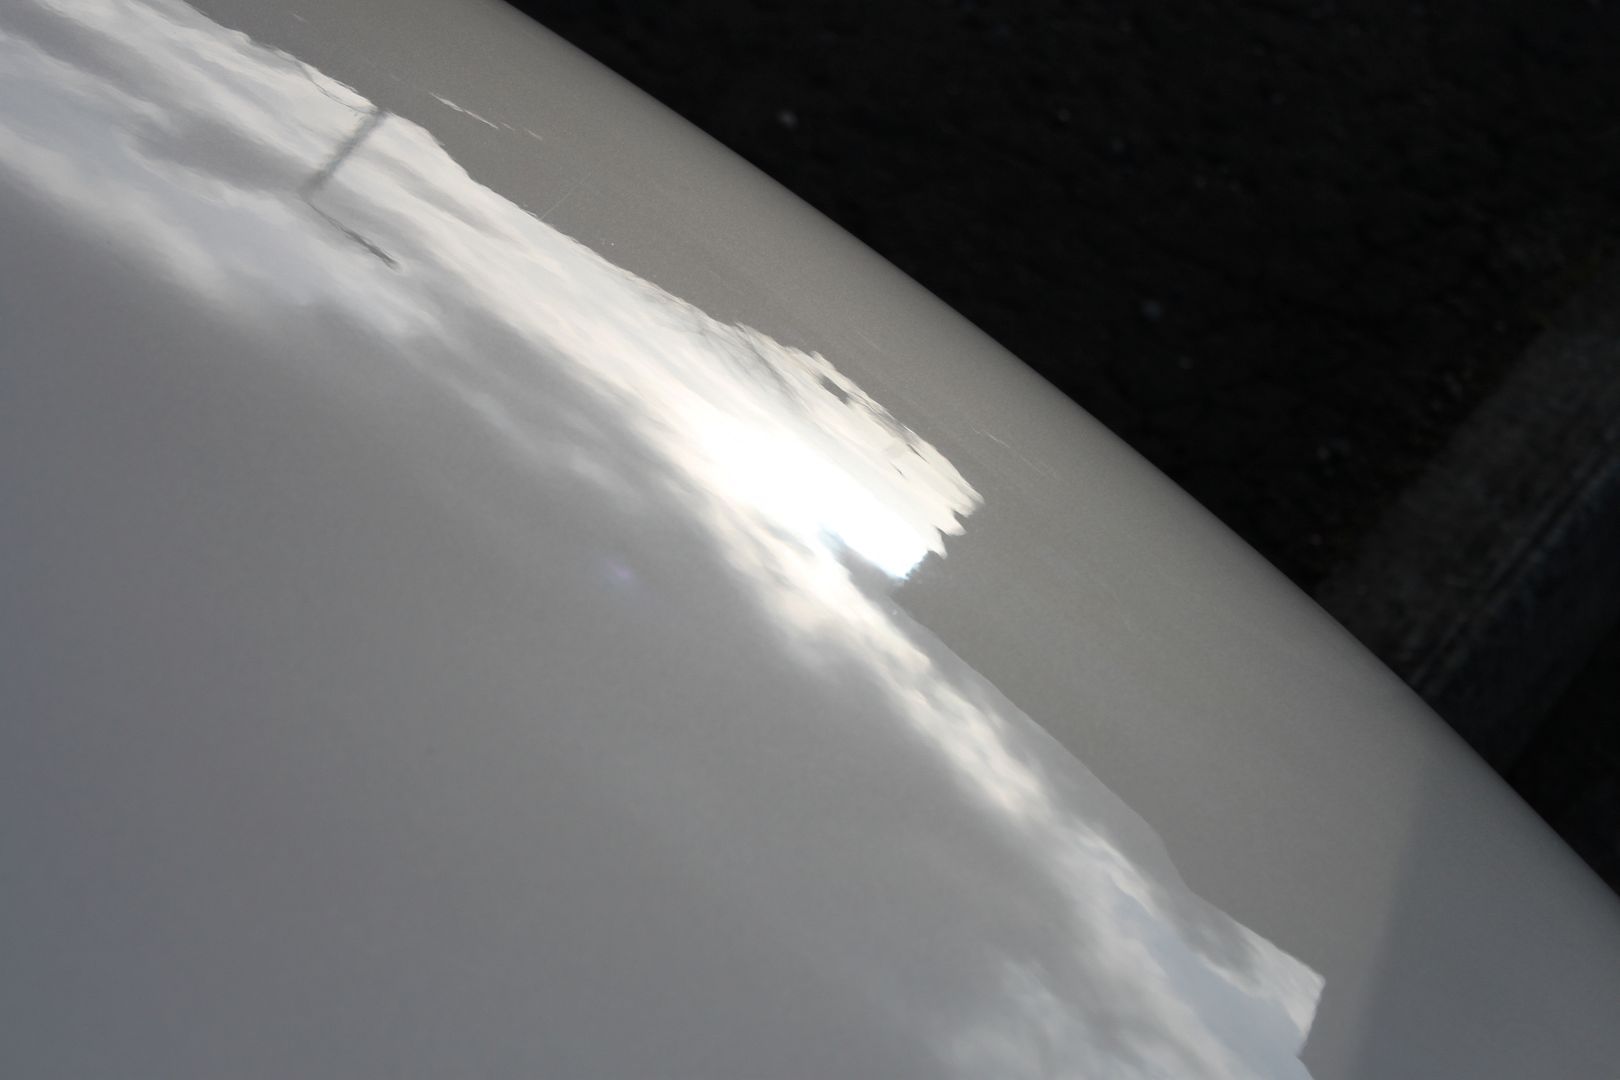
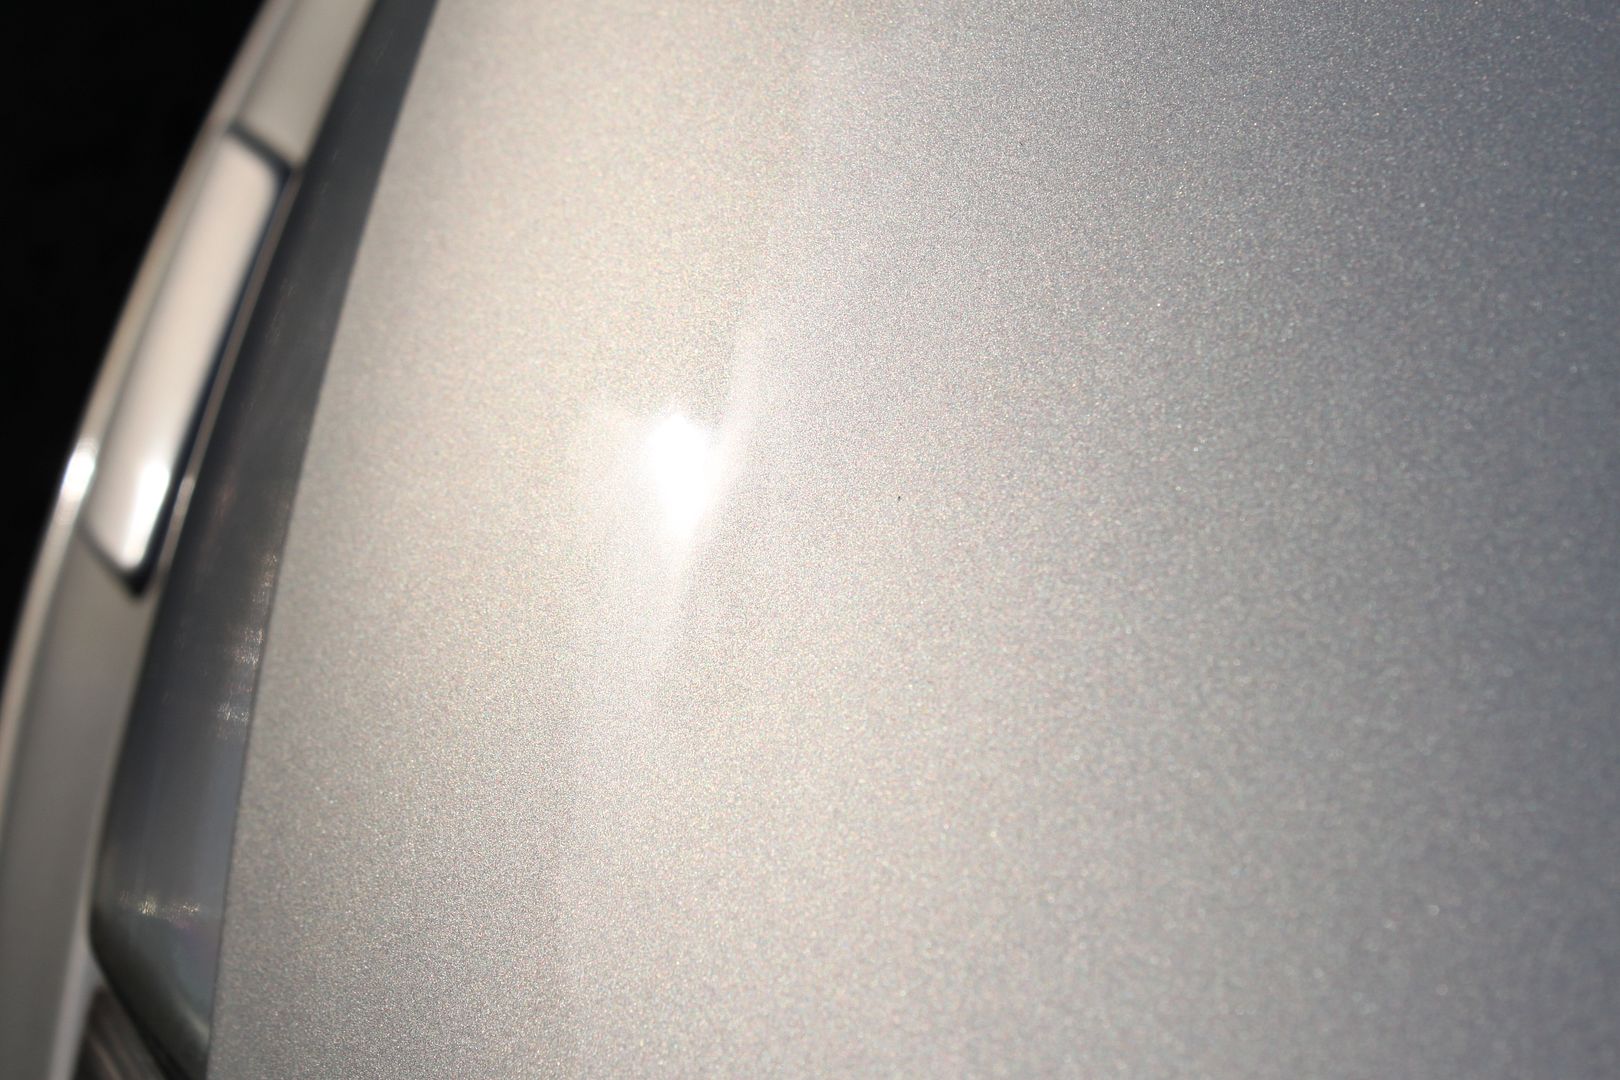
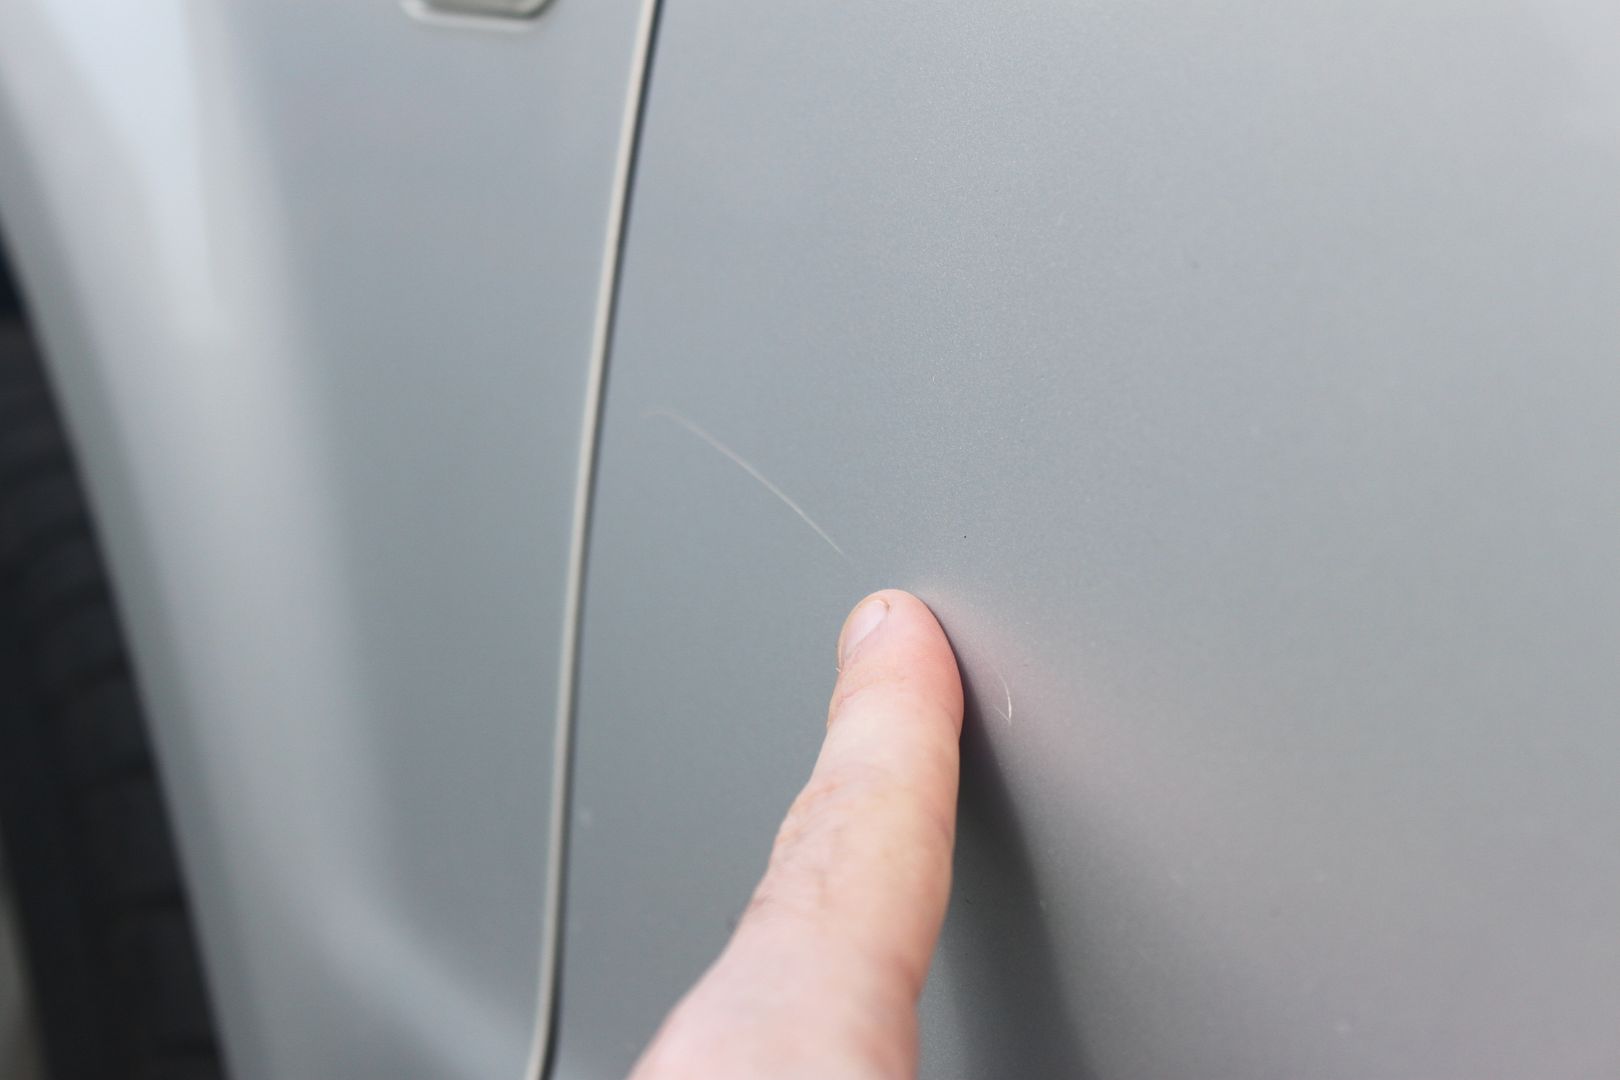
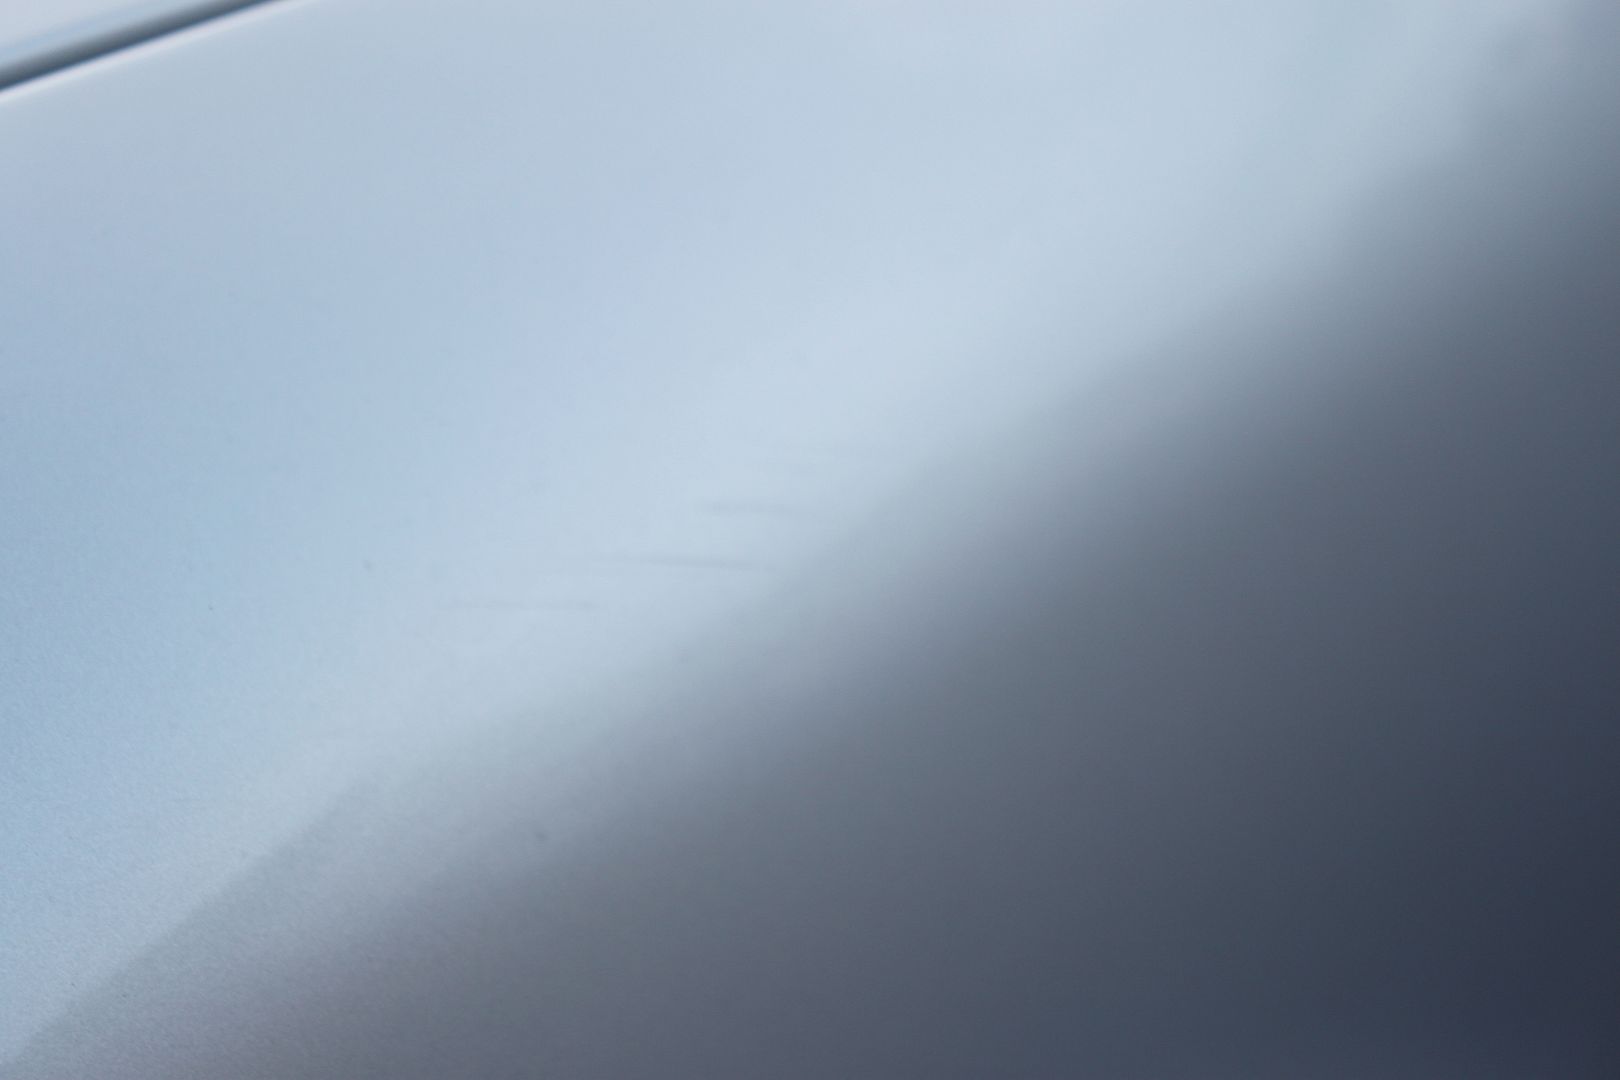
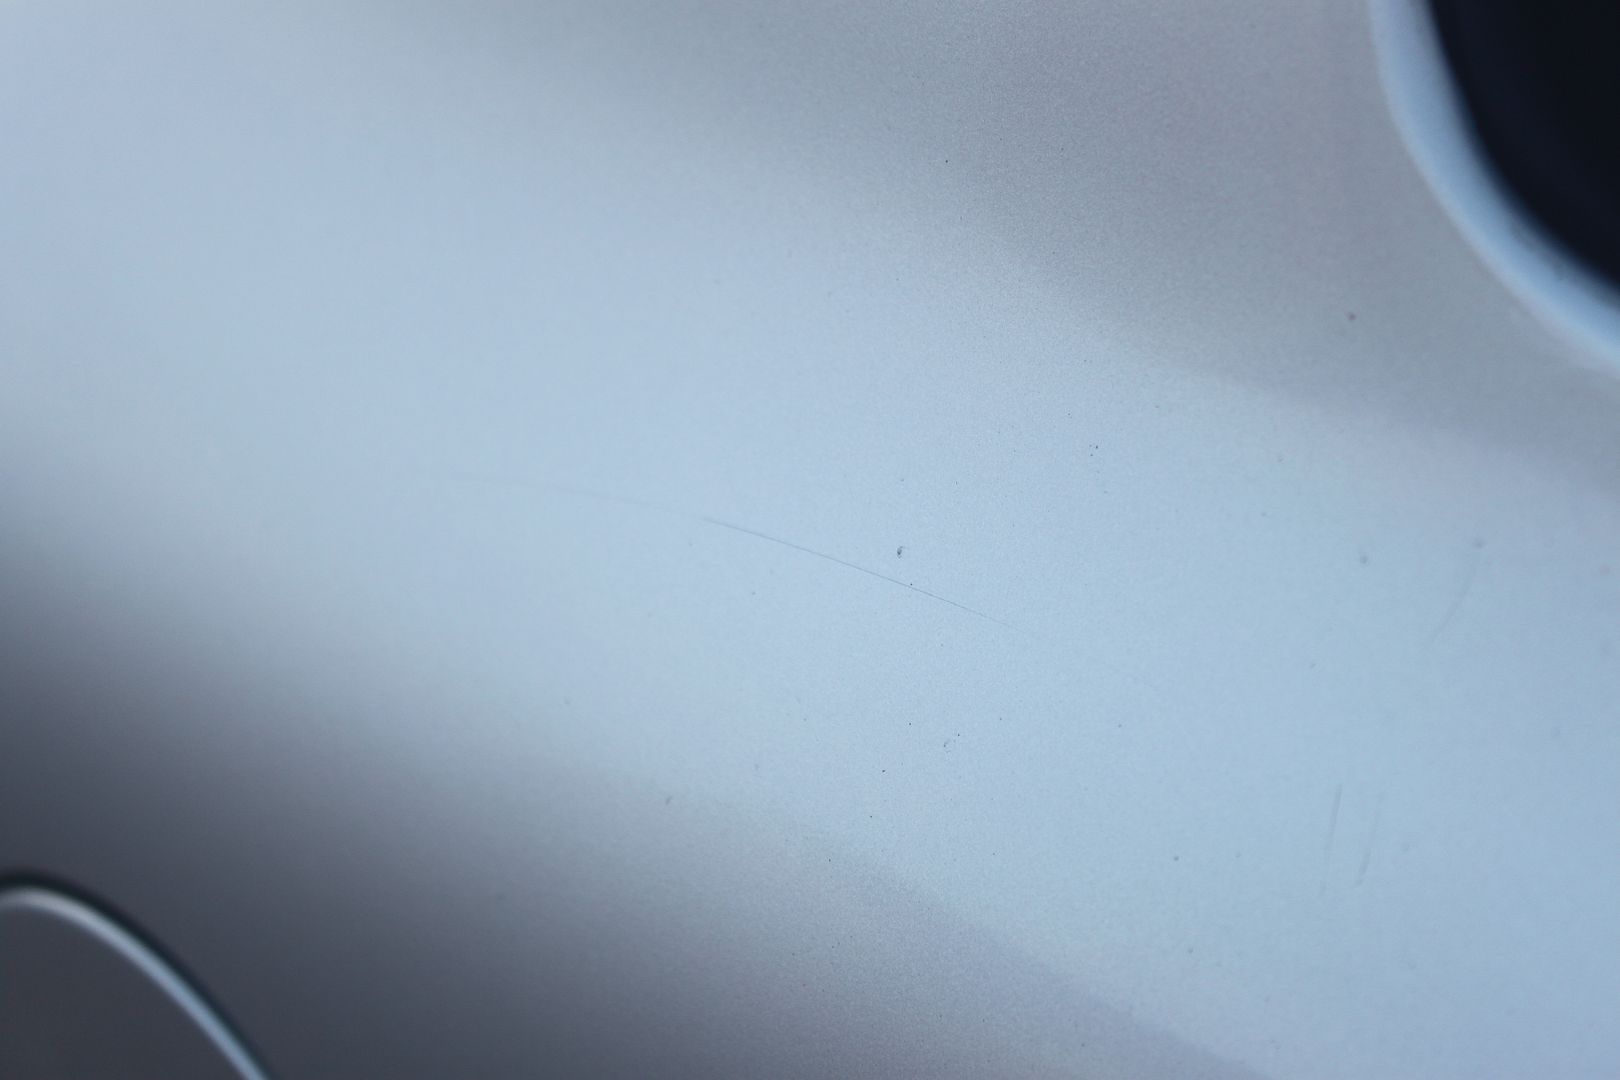
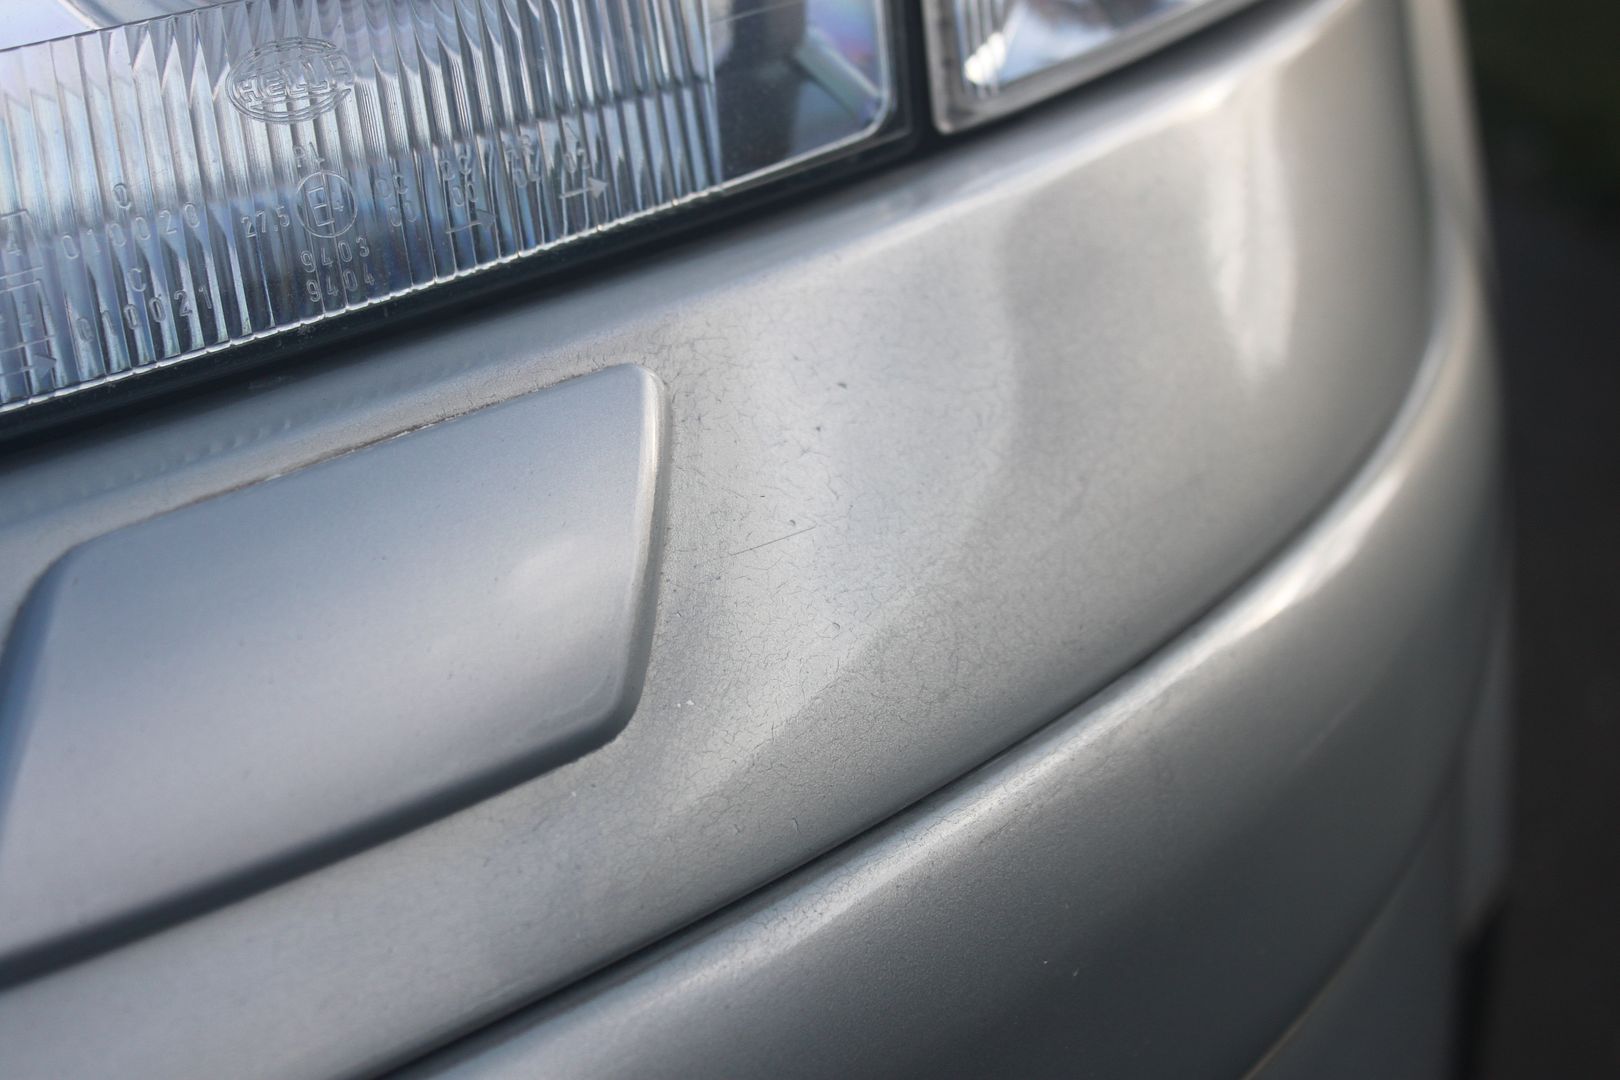
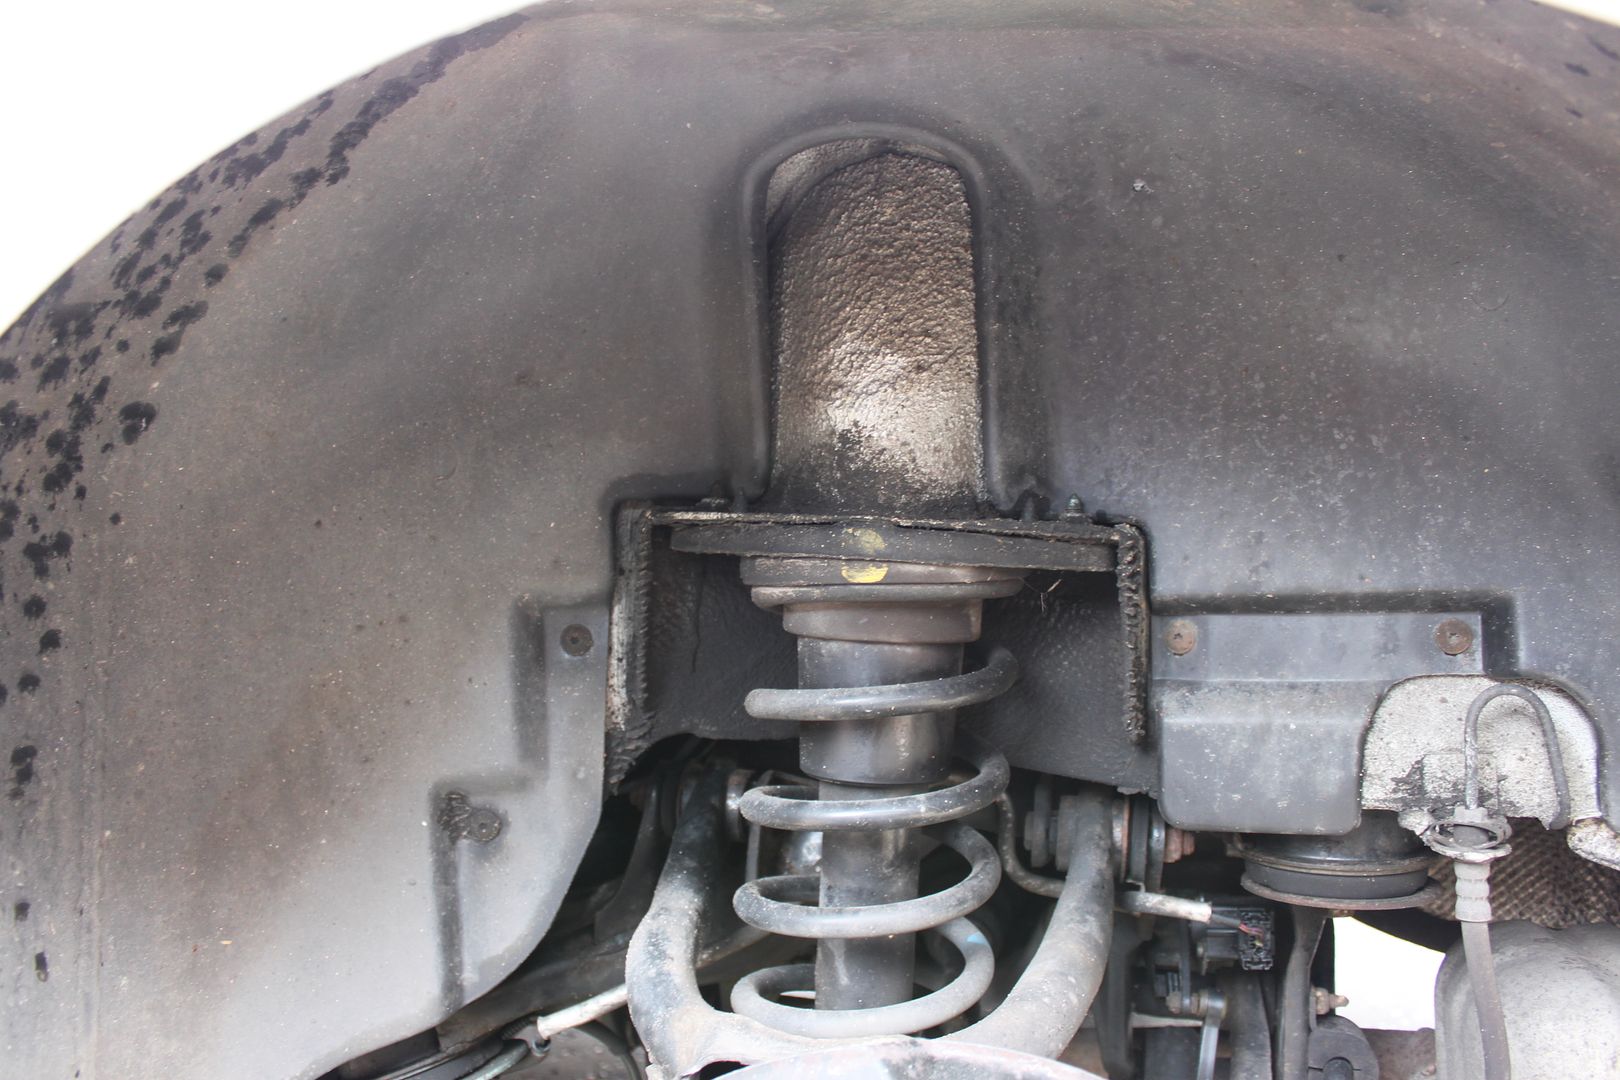
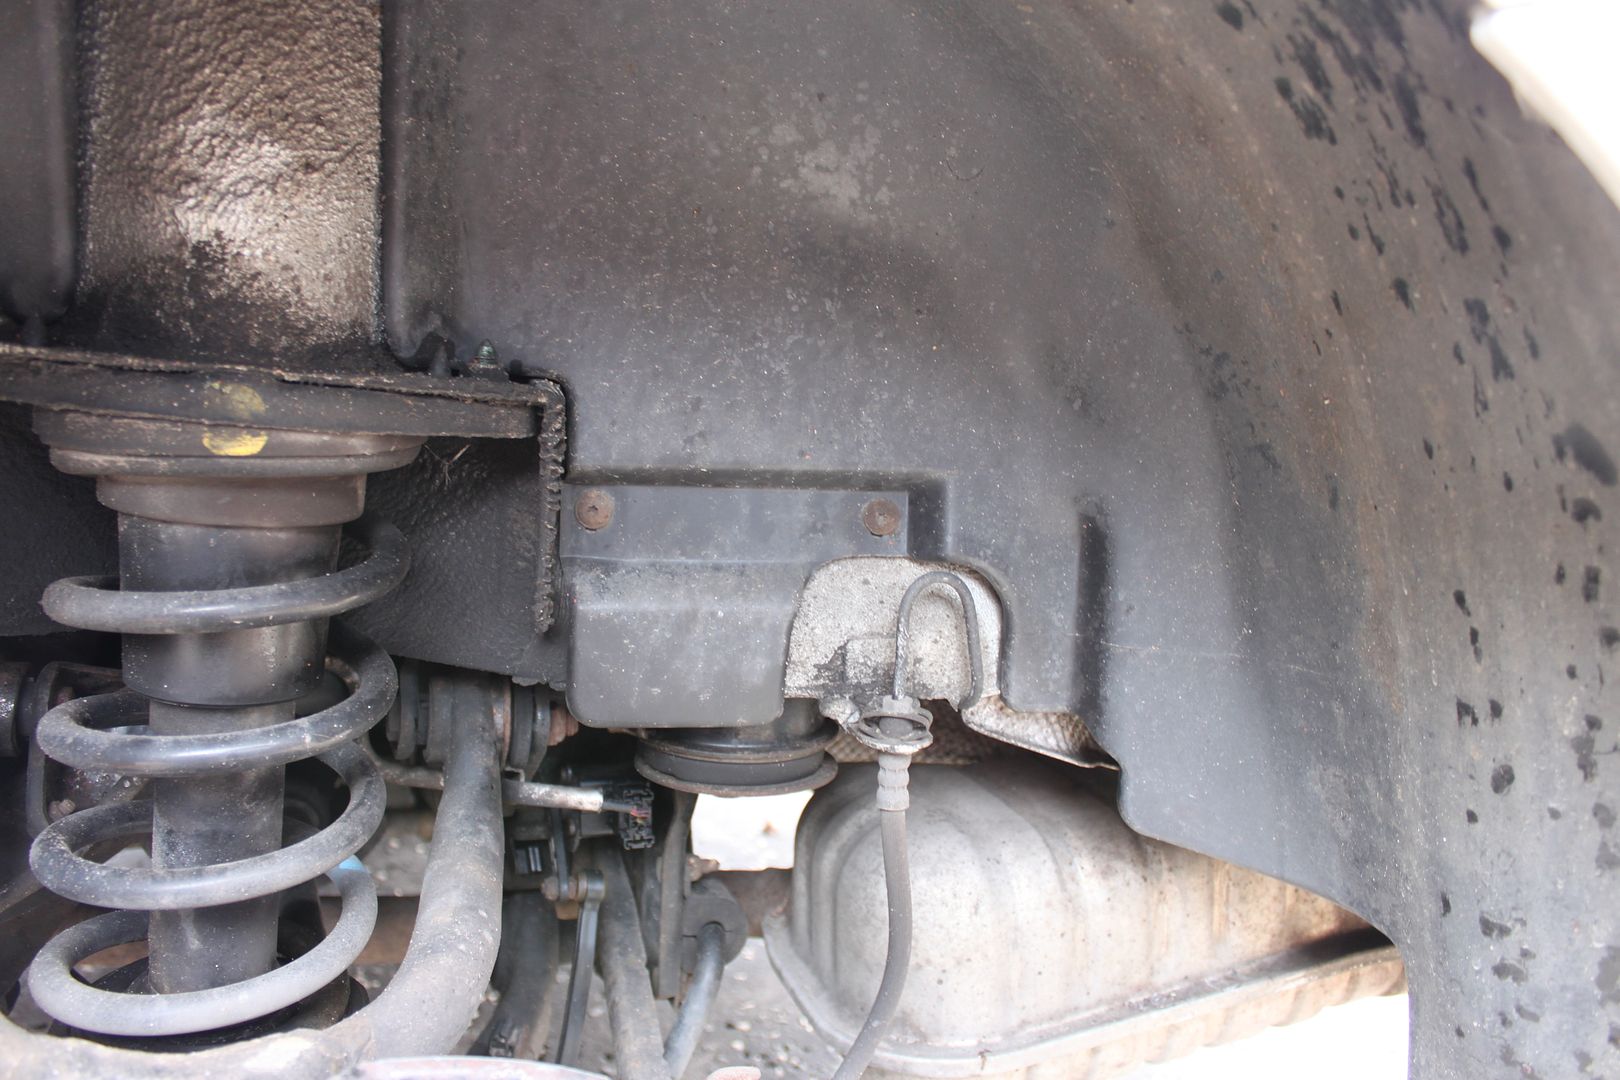
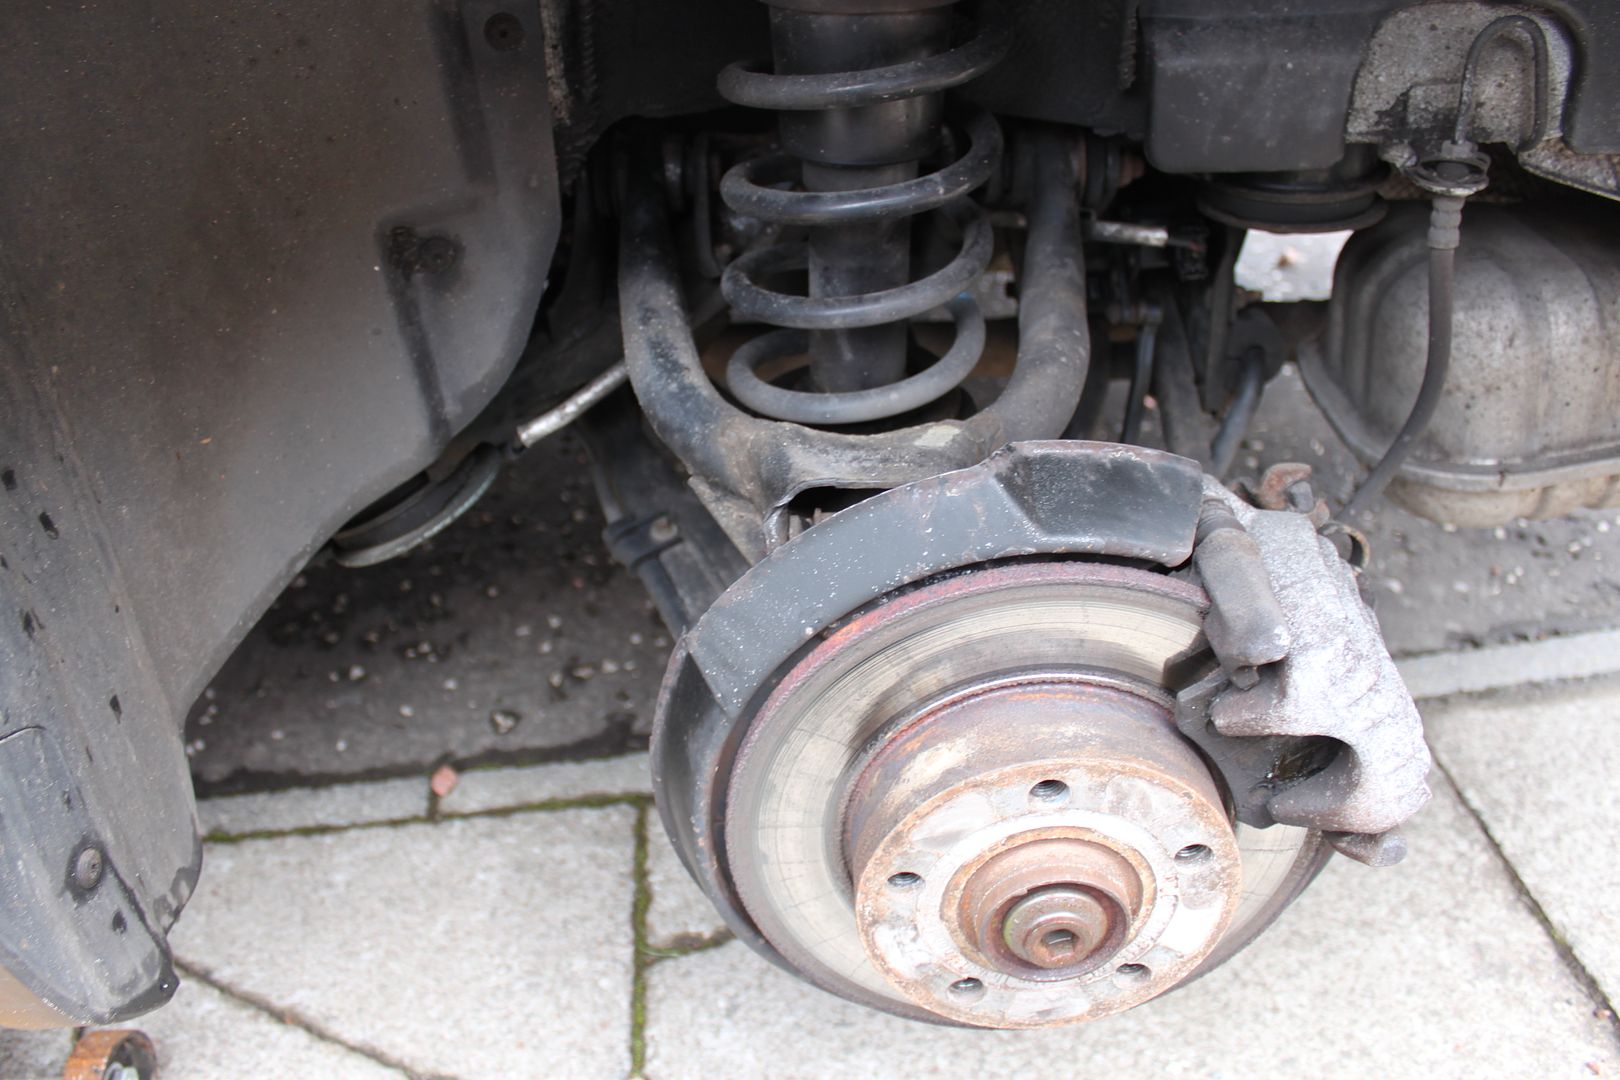
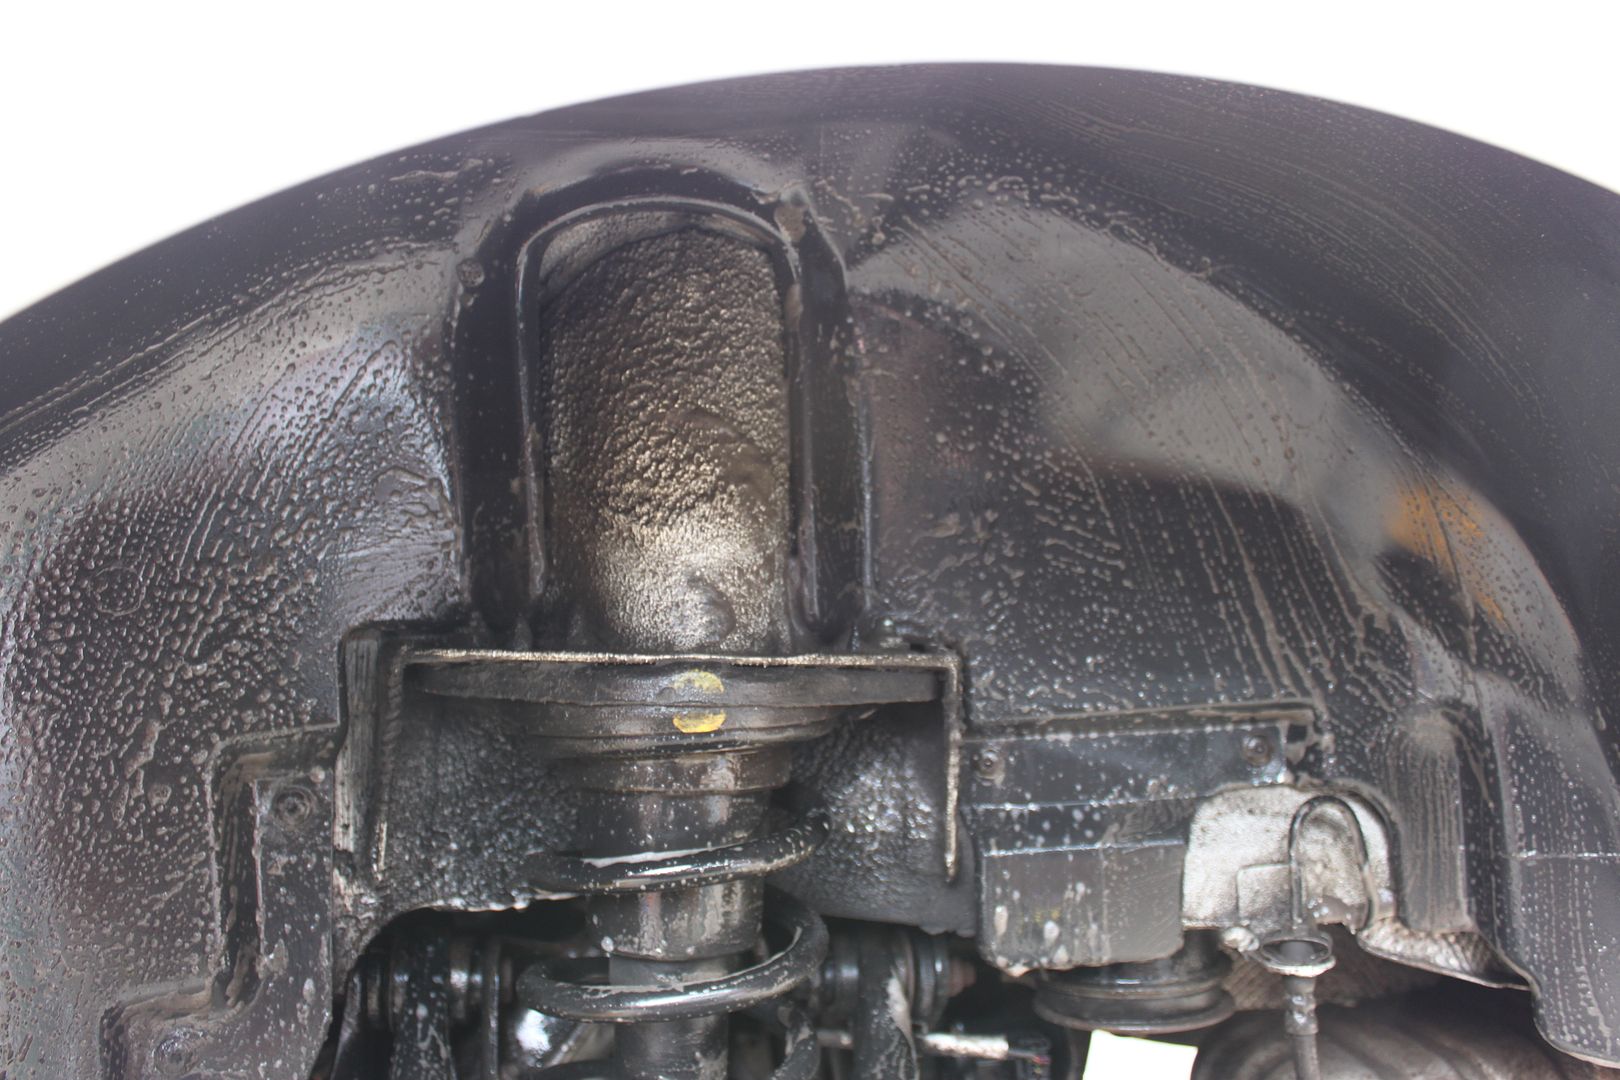
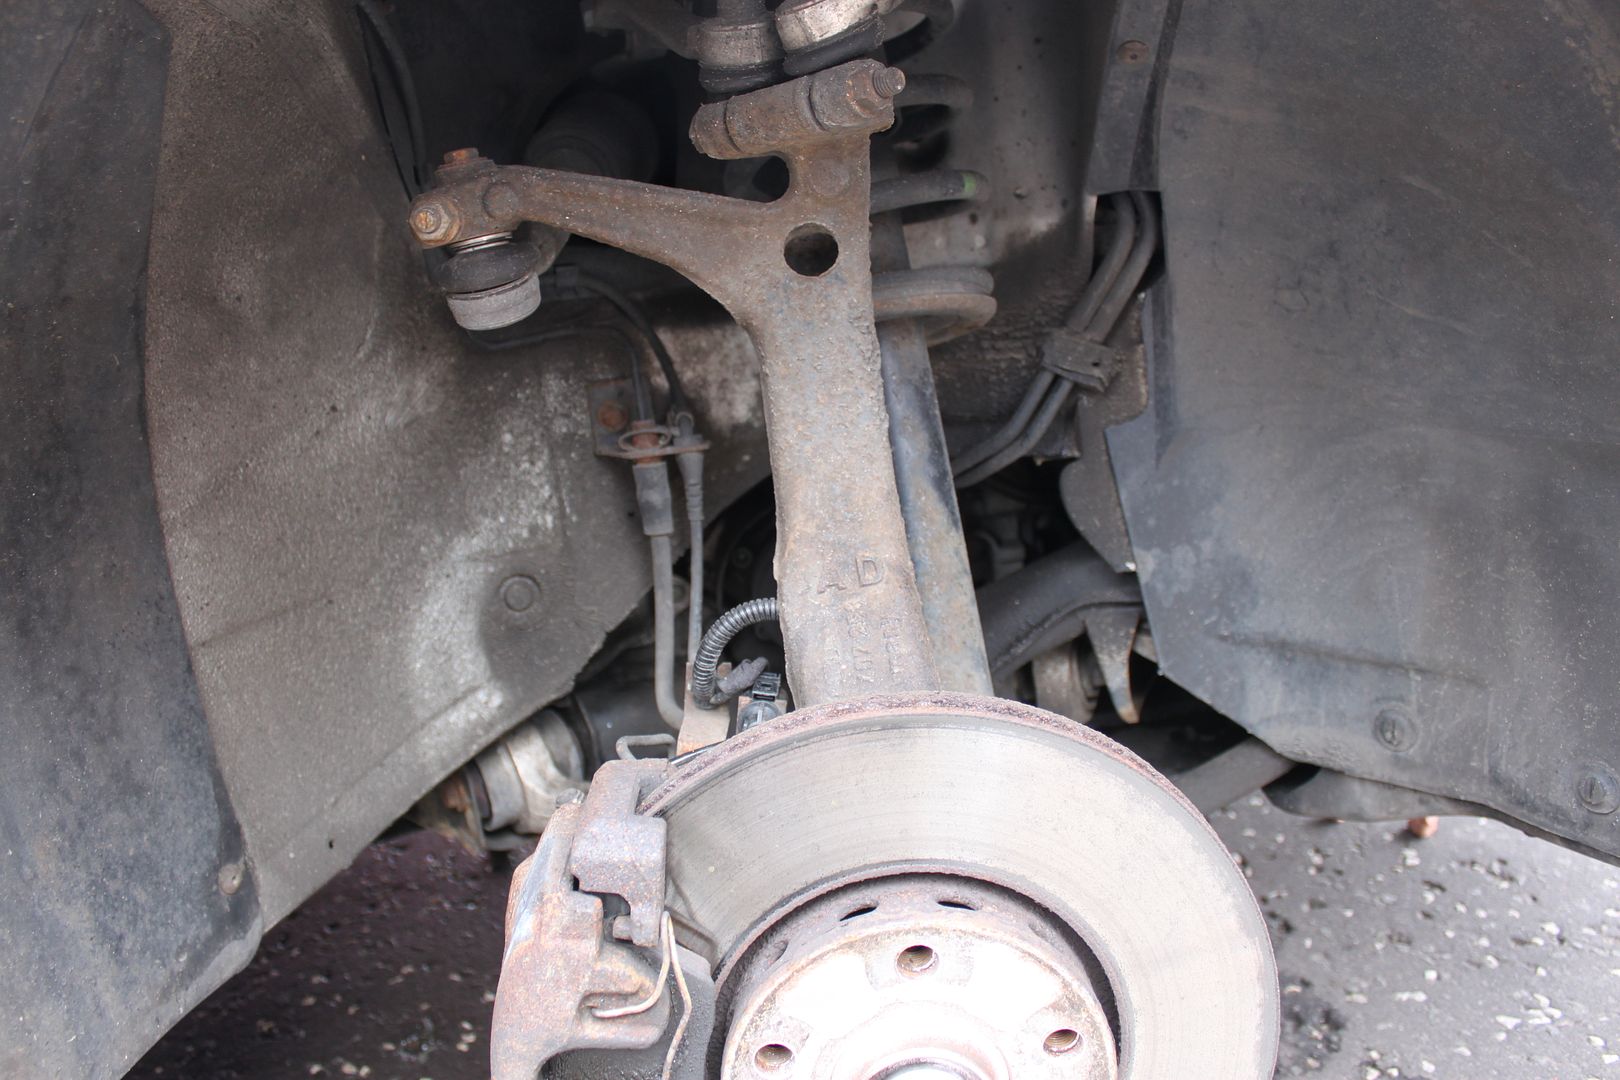
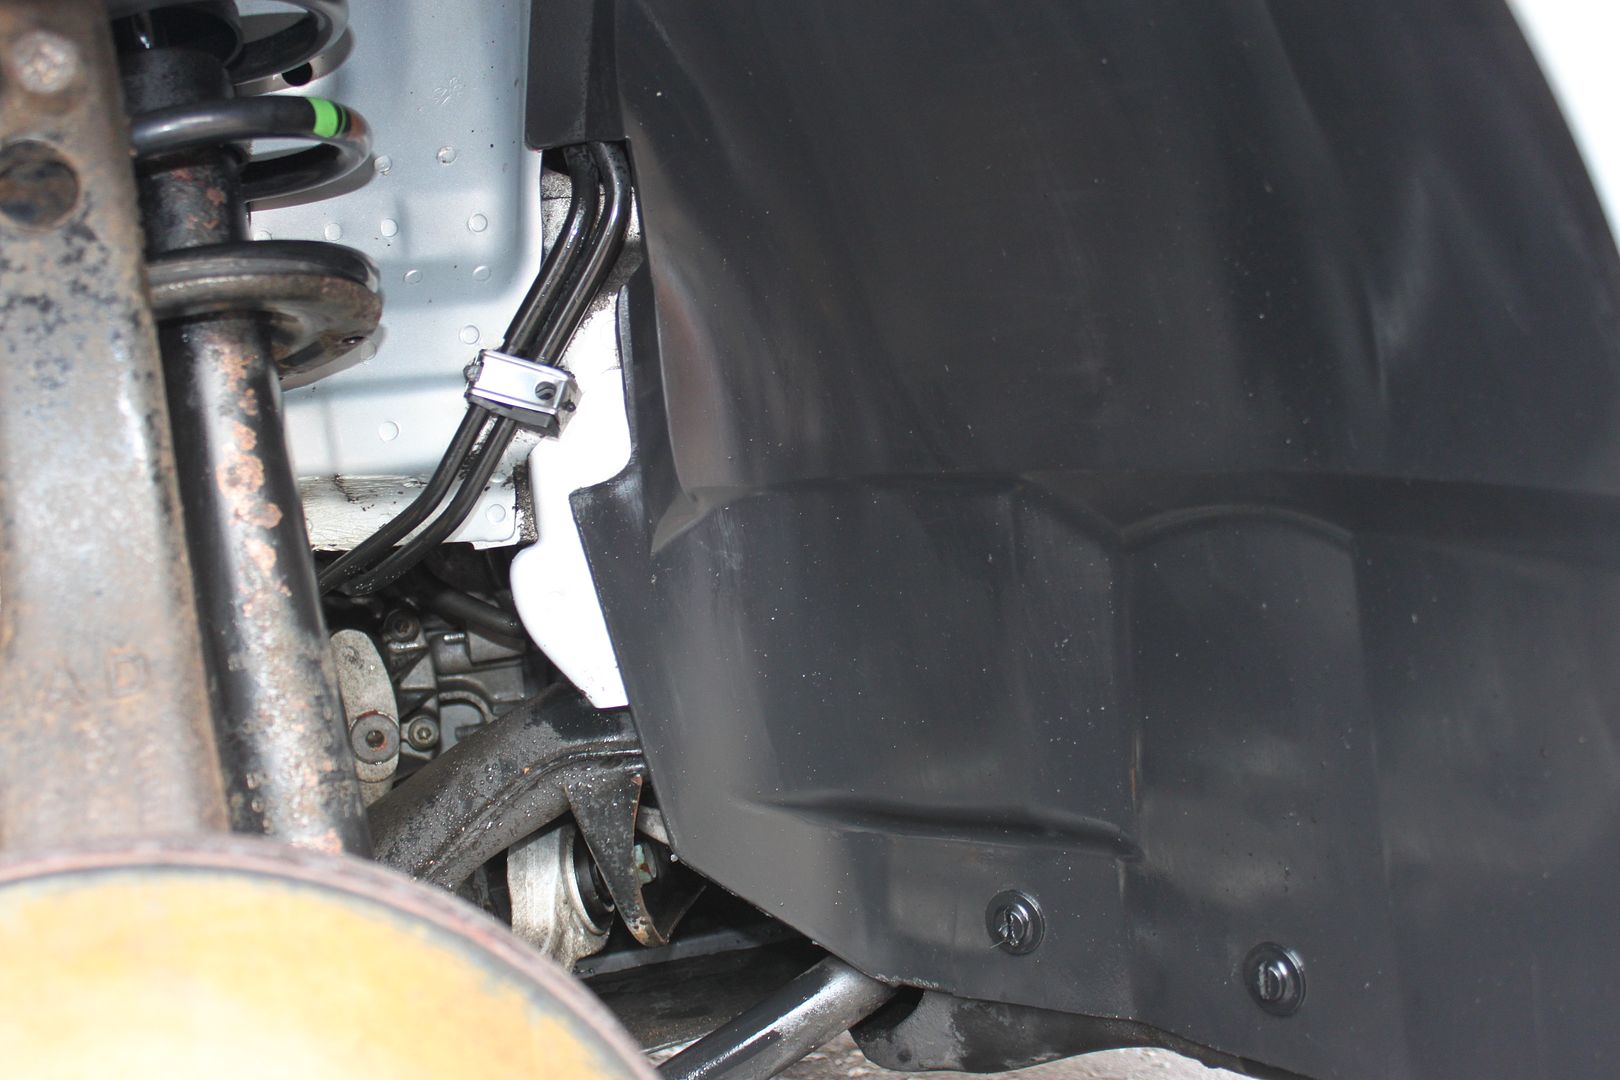
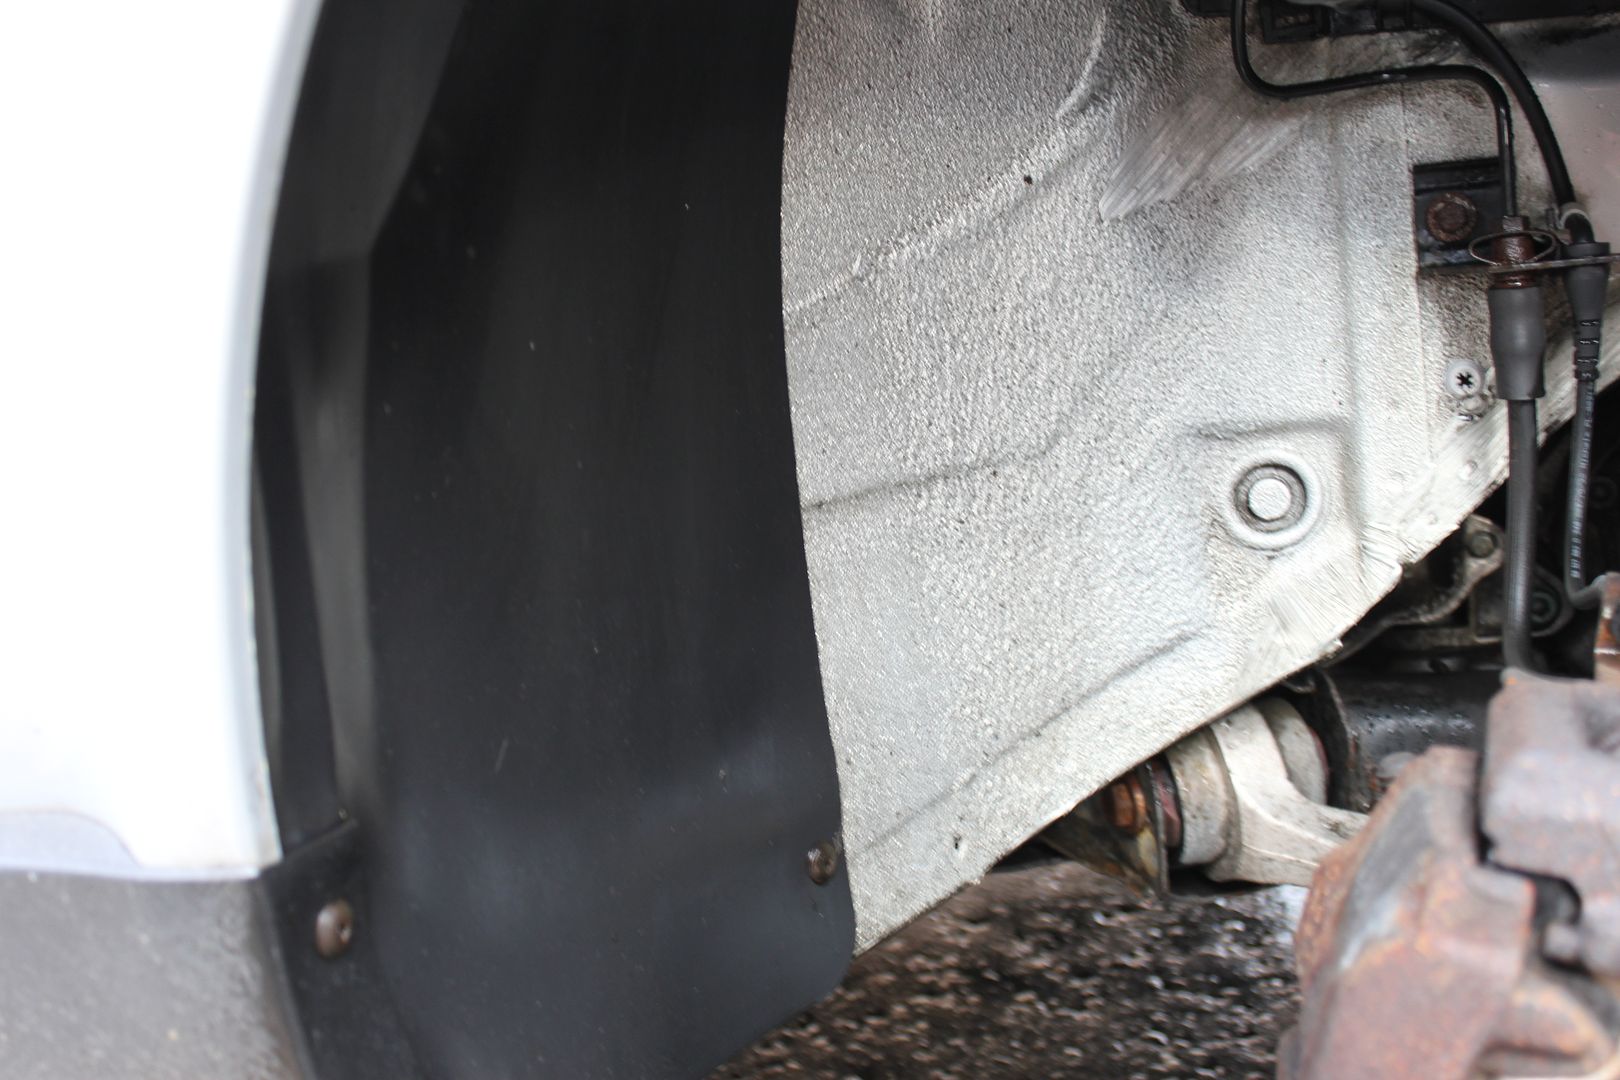
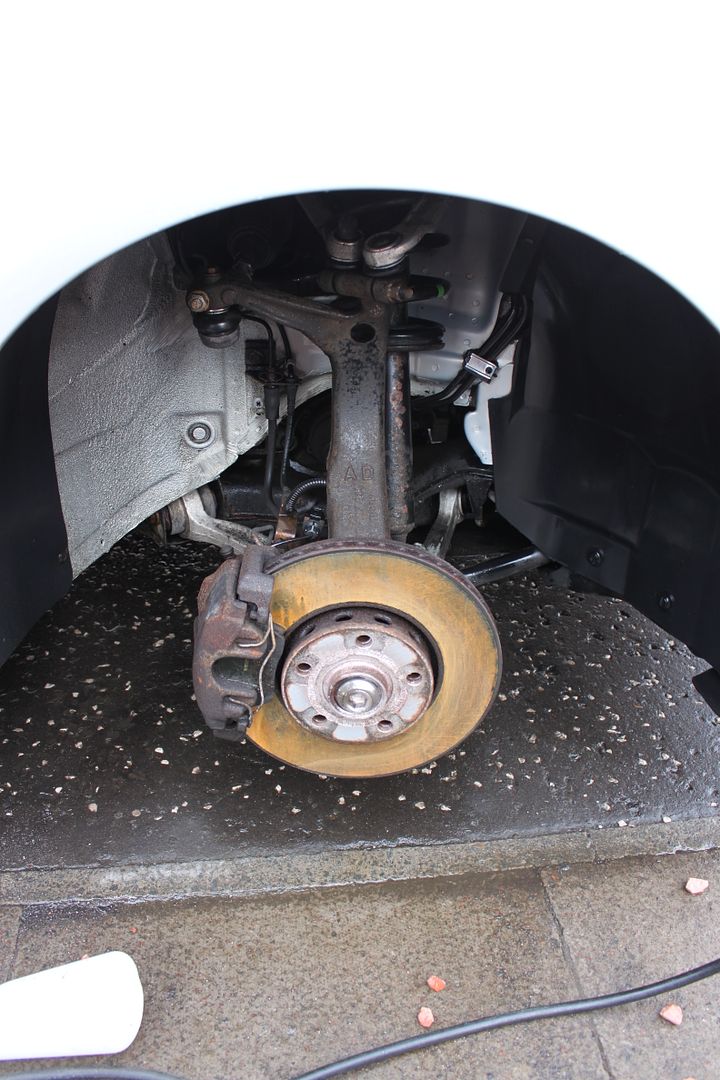
Getting the window regulator replaced tomorrow then thinking to fix these:

IMG_2366.jpg

IMG_2365.jpg

IMG_2364.jpg


thanks for looking......Rob
 
Today i got the car back, the passenger door window regulator was replaced as it broke on the way home :( but all good now :)

So i got on with the car, decided i would wet sand the headlight and restore them to how they should look instead of looking weathered and cloudy like this:

1e2d5844.jpg

297416e8.jpg

2a11fc01.jpg


I opted to use the Mirka Abralon discs on the DA, starting with 1000 grit, then onto 2000 grit and finally 4000 grit which looked like this:

14e86f69.jpg

3053e13a.jpg

b96cf87f.jpg


Finally I polish via Rotary using Scholls Waffle Pad with S3 Gold followed by Scholls blue pad with S17+ which resulted in this:

e8a84b0e.jpg

ae31190e.jpg

3cfd03ea.jpg

11063278.jpg

d90a930a.jpg


Im sure there will be more updates soon.

Once again thanks for looking

Robert
 
i decided to try a bit of correction on the car, working on the boot lid, but was not happy with the results, so today i decided to wetsand the boot using 2000grit sanding discs and then refined with 4000grit discs with the boot looking like this:

946fcb37.jpg

ba351e67.jpg

fe33199e.jpg

de4f3b01.jpg


this is the reflection of the 3M Sungun on the paintwork after sanding, so shows how truely flat the finish is:

IMG_2450.jpg


Then polished with Scholls Concept S3 Gold usin a Chemical Guys Orange Hex pad achieving 50/50 like this:

IMG_2449.jpg


The end results after polishing the rest with S3 Gold and refining with S17+ from Scholls it looks like this:

This pic the camera is focused on the paint and not the reflection....
IMG_2451.jpg


reflection shots:
IMG_2453.jpg

IMG_2454.jpg

IMG_2458.jpg

IMG_2459.jpg

IMG_2460.jpg

IMG_2461.jpg

IMG_2462.jpg

e59b7d60.jpg


Now just waiting on the weather to get a little better then will wetsand the rest of the car.

thanks for looking

Robert
 
Since my last update i have not done too much, i re did the boot lit...just wasnt as perfect as i had hoped for, so instead of wetsanding by hand i refined it with the 4000 sanding disc on the DA, again worked with Scholls Concept S3 Gold on a Purple Spider Pad, S17+ on a Blue pad and S40 on an orange pad, using edging to remove some of the marks, but resulting in results like this:

IMG_2578.jpg

IMG_2579.jpg

IMG_2580.jpg


I also worked on the bonnet (this is a slow progress).....

There are, as expected a lot of swirls....being 13 years old, original paint with 125 microns average:

IMG_2581.jpg

IMG_2582.jpg

IMG_2583.jpg

IMG_2584.jpg


First i cleaned it with Chemical Guys EcoSmart RU, then clayed with Dodo Juice Purple Clay and Born Slippy, then detarred with Tardis, then decontaminated with IronX:

IMG_2595.jpg

IMG_2596.jpg

IMG_2597.jpg

IMG_2598.jpg


Correcting as like the boot lid involved using Scholls Concept S3 Gold on a purple Spider Pad, S17+ on a blue pad and S40 on an orange pad to achieve results like this:

IMG_2599.jpg

IMG_2600.jpg

IMG_2601.jpg

IMG_2605.jpg

IMG_2606.jpg


Then applied Zaino Z2 via applicator and left for 20 mins, buffed off then applied Swissvax Shield:

IMG_2611.jpg

IMG_2612.jpg


Once fully cured (after 30 mins) buffed off any residue and the bonnet was finished:

IMG_2613.jpg

IMG_2614.jpg

IMG_2615.jpg

IMG_2617.jpg

IMG_2618.jpg


Compaired to a few german cars i have worked on, the clear coat on this car is rock hard but there is more work to do.....found some more defects to fix:

IMG_2587.jpg

IMG_2588.jpg

IMG_2589.jpg

IMG_2590.jpg

IMG_2592.jpg

IMG_2593.jpg


The two parts that concern me the most:

IMG_2594.jpg

IMG_2591.jpg


Will be updated in due course......

thanks for viewing

Robert
 
i decided i would spend a little time cleaning up the arches and wheels, I say a little time, ended up over an hour on each corner :hyst

So i started by jacking up the car and removing the alloy wheel to get better access to the arches. Looks like they have not been cleaned properly ever. The method of cleaning was to apply Meguairs APC, left to dwell then aggregate with a brush then rinse. Then applied Autosmart Tardis to remove the tar spots, wiped clean, then rinsed again, on the metal an painted area's applied IronX to remove any other contaminents rinse again then the plastic trim was treated to Chemical Guys Bare Bones and the suspension components and painted areas protected with Permanon Aircraft.....some pics showing what was done:

before:
IMG_2681.jpg

IMG_2682.jpg

IMG_2683.jpg


during:
IMG_2684.jpg


after Chemical Bare Bones was applied:
IMG_2693.jpg

IMG_2694.jpg


before:
IMG_2697.jpg

IMG_2698.jpg

IMG_2699.jpg

IMG_2700.jpg


During (showing Ironx bleeding):
IMG_2703.jpg


After:
IMG_2704.jpg

IMG_2705.jpg

IMG_2706.jpg

IMG_2707.jpg


before:
IMG_2709.jpg

IMG_2711.jpg


after:
IMG_2713.jpg

IMG_2714.jpg

IMG_2715.jpg


before:
IMG_2718.jpg

IMG_2719.jpg

IMG_2720.jpg

IMG_2721.jpg

IMG_2722.jpg

IMG_2723.jpg


After:
IMG_2726.jpg

IMG_2727.jpg

IMG_2728.jpg

IMG_2729.jpg

IMG_2730.jpg


There were some areas that needed special attention, for these areas instead of using the pressure washer i changed to use the steam cleaner which worked fantastic at blasting away dirt/oil and grime:
95c99df5.jpg

09457ce3.jpg


to be continued......
 
So from the previous thread, I was working on the arches and the alloys, well part 2 (this part) is about the alloys....ill say from the start i think they could have finished better, bt i ran out of IronX and the exterior the paint was starting to flake, but i did the best i could....the method used was, cleaning with Chemical Guys Diablo wheel cleaner using a brush, then rinsed off, then used Autosmart Taris to remove the tar spots, wiped clean then applied IronX, left to dwell for 5 mins until the contaminents starts to bleed, wiped clean the rinsed then clayed with AMD mild clay and using Dodo Juice Born Slippy as a lube, washed down again then applied Permanon Aircraft to the alloy neat, rinsed then pat dry....the tyres were dressed with Swissvax Pneu and ocne again here are the pics:

before:
IMG_2685.jpg

IMG_2686.jpg

IMG_2687.jpg

IMG_2688.jpg


during:
IMG_2689.jpg


after:
IMG_2692.jpg


before:
IMG_2695.jpg

IMG_2696.jpg


during:
IMG_2701.jpg

IMG_2702.jpg


after:
IMG_2731.jpg

IMG_2732.jpg


Cnce the Swissvan Pneu was applied:
IMG_2733.jpg

IMG_2734.jpg


and these are a couple of pics showing the protection of the Permanon Aircraft on the alloys:

IMG_2735.jpg

IMG_2736.jpg


Once again thanks for taking the time to have a look at my updates :)

Robert
 
Well today, first day in a while i had the time to correct the Passat, even though i had worked on the bonnet and boot lids previously, the rest of the panels were needing correction. But i started by snowfoaming the car with CG Citrus Snow foam, rinsed, washed with Nanotech SST Shampoo, rinsed, then detarred with Tardis and other conteminents using IronX, i had previously cleaned the paint with Lime Prime, but these pics show how much was still left in the paint:

IMG_2772.jpg

IMG_2773.jpg

IMG_2774.jpg

IMG_2775.jpg


The car was then clayed with Dodo Juice Purposely Purple using Born Slippy, then washed again

On inspection found a few deeper scratches:
IMG_2776.jpg

and the usual swirls from a 13 year old car (quite hard to picture in the sunshine on a silver car!) p.s. if using a laptop, tilt the screen a little and you will see them ;)
IMG_2777.jpg


Corrected the paint using Scholls Concept S17+ on a Chemical Guys Hex pad (Green) with a couple of areas using an Orange pad. Then further refined using Scholls Concept S40 on a Chemical Guys Hex Pad (Black) then IPA wipe down resulting in this:

IMG_2778.jpg

IMG_2782.jpg


Sorry not many pics as i said hard work in the sunshine showing defects.......

Once the car was complete, I protected using Wolf's Chemicals Body Wrap on the paint, Wolf's Chemicals Rim Shield on the alloys, Permanon Glass on the glass, Chemical Guys New Look Trim Gel on the plastic trim and Swissvax Pneu on the tyres resulting in:

IMG_2786.jpg

IMG_2788.jpg

IMG_2789.jpg

IMG_2792.jpg

IMG_2796.jpg

IMG_2793.jpg

IMG_2794.jpg

IMG_2797.jpg

IMG_2798.jpg

IMG_2799.jpg

IMG_2800.jpg

IMG_2801.jpg

IMG_2802.jpg

IMG_2803.jpg

IMG_2804.jpg

IMG_2805.jpg


Happy with the results, still a few things needing more attention but that can be done another time :)

thanks for viewing

Robert
 
A short video showing a walk around, where you can see the fantastic reflections from the car, something pictures cannot show you.....

[video=youtube_share;DRh5RRsM1Bo"]VW Passat detail (non advertise) - YouTube[/video]
 
[video=youtube_share;7foKblscEUY"]Prism Detailing - VW Passat - Wolf's Chemicals Body Wrap (no music) - YouTube[/video]

If you cannot get in your country
 
Not much of an update as i have been too busy working away, and getting prepared for my sisters wedding but got round to fitting my Alpine head unit I had in my old Golf GTI:

96ef39af.jpg


Next ill fit the amp and sub in the boot and hopefully if i can figure it out fit the rainbow components up front.....
 
Not really done much to the car, except drive it....but had removed the WC BW and opted for Swissvax Shield, then got bored removed that and went for Dodo Juice Light Fantastic then decided to try the sample I got from Concours Car Care, in particular the Champagne Supernauba wax...initially i could place the smell until someone mentioned on here, it does smell like Vicks rub with a slight citrus scent to it. Application was a doddle, spread easily and very little used, left for about 20 mins but found the removal to be quite difficult to what im used to (ok compairing to Swissvax might not be fair as they have what i could describe as the easiest in the market, but Dodo Juice can be a bit of effort sometimes). Have to move away from a MF with a medium or deep pile to a very short pile MF as i felt it was dragging...intresting at the stage of removal the Vicks menthol smell had disappeared but only left the citrus smell :) I was quite happy with the results...

Untitled.jpg

f91075a0.jpg

62222524.jpg

b8319a0e.jpg
bb093849.jpg

bed41763.jpg

48041e59.jpg


and finally a beading pic:

IMG_3638.jpg


I have tried the wax on another detail and had the same issues, initially i thought it was the time of day being in the evening on the Passat but the other car was at 1pm on a dry day and still had this dragging issue, but even left for 30 mins...not sure if i am leaving it too long or too little amount of time !?!

thanks for looking

Robert
 
Ever since owning the car there has been something annoying me...the headlight washer system not working. I ordered a new pump from Amazon for a grand total of £12 and was going to wait until i get my bumper resprayed, but today i thought i would have a look, see how bad the old one was, As i went to unplug the electrics the top half came away...the whole pump has corroded sooo badly. I thought i would have to remove the full bumper to get in and replace, but nope, removed the indicator and had all the room i needed. So 10 mins later all fixed :)

this is how it looked once i took it out:

88d6d5d0.jpg

567d6fba.jpg


and the new one in :)

7b84edd7.jpg
 
Today i have been testing some more products on the Passat. This time Gtechniq was the choice of product. The trim on the Passat was looking dated, So i ordered some C4, really easy to apply and buff and gave fantastic results so wait to see the durability, but as usual got some pics:

20e15725.jpg

4cb8ab60.jpg

34fa077e.jpg

907033b7.jpg


and a video:

[video=youtube_share;nortQEkSuss"]Gtechniq C4 non advert - YouTube[/video]

and I also tested G1 & G2, easy to apply, found a little harder to remove the residue but all workout in the end :)

dc75b583.jpg

8ba2b465.jpg


and another video:

[video=youtube_share;thhvB5fkUHM"]Gtechniq G1 Demonstration - YouTube[/video]


Overall, really enjoyed using the products still got some more to try out from Gtechniq so watch this space for updates :)

Thanks for viewing :)

Robert
 
A little update, I have been away from everything for a few months due to mixture of work and personal circumstances, but decided to would get my car ready for the winter and use my pot of Dodo Juice SNH, have to admit, I haved used it on an R32 not long ago and found it to be amazing, but this time, probably due to coldness it was not as easy to use (like most waxes). But decided on SNH on the paintwork, Wolfs Chemicals Hard Body on the Alloys, Pneu on tyres (had been testin another product but not 100% sure, so ill give it another go after my trip down south). The trim is already treated with Gtechniq C4 and the Glass with Gtechniq G1, but topped up with Permanon Glass. Inerior hoovered and Gtechniq I1 for th alcantara and carpets, LTT Leather protection for the leather and Swissvax Quick Interior Finish for the interior trim. So neverminding the interior, will see how SNH holds up compaired to my mothers cars which is done in Dodo Juice Purple Haze Pro done on the same day (unless i get bored and opt for C1 on the passat): The pics:

3D7A53D1-55DD-43FB-82CE-5C3FB0F6BC3B-1571-000000FA1637BDB8.jpg

C50F70FB-4AAD-4D74-89C1-57C8351A63A3-1571-000000FA2DDDB2D7.jpg

EEFDEC97-EB25-41B4-808E-B741B83A44FE-1571-000000FA257C0B02.jpg

85B724FA-BFD2-4B18-B8FE-38ED9DE76BA7-1571-000000FA337D44F5.jpg


thanks for looking i know nothing amazing in the update, but life is such right now...
 
Well today woke up to a note through the letterbox saying "Can you give me a call re car"....checked the car and found this :(

2B63409D-E6A5-4421-B067-5E217F964B7C-12574-0000071CBE373A8F.jpg

85C863C0-FDAD-44F7-9F66-A66A3E78D63C-12574-0000071CA6743388.jpg


Couple of concerns, has caught the door, obviously the wing and the rear bumper, with it pushed in soo much not knowing if any damage to wheel, rear axel, drivetrain etc.....and the value of the car will insurance company consider it as an economical write off :(

Well an update for today.....The car went into the place of my choice, which i chose Touch Ups in Glasgow as i use them for my business and have always been fantastic at their repair work...got a couple of pics of the repair i know not the best light but you can see its all good, and if you look careful enough at the pics with the headlight reflection you can see how well they flattened it down and polished it up...

7B9C5F69-4E50-4A2B-9812-9BE361714679-11464-00000794C3108243.jpg

A6B9C39F-0D30-4429-9B79-E78245A1329A-11464-000007954030F105.jpg

A7A1E979-CF86-4113-8FDC-FC97F6FC6363-11464-00000795463AFD2B.jpg

C2F5C264-1D23-4BF5-9F7A-CBF816937DF0-11464-00000794B73F8B72.jpg

BE9129A4-C833-42D2-9172-B63F0BF6BC01-11464-00000795BFD3D16B.jpg

CAE1A656-525C-4D85-B89B-5728824C3BC1-11489-000007972772A329.jpg


Thinking ill wait till the paint has fully "gassed" out then apply Gtechniq for protection :)
 
Not spent much time on the car coming up to christmas, but as the paint had fully cured decided to apply Gtechniq C1 to the paintwork as the rest of the car has been protected with Gtechniq products, didnt get amazing pics unfortunately....:
IMG_4348.jpg

552DED80-16BD-47FF-AE6E-7BE074126618-24285-00000CEB2489B056.jpg


Some beading pics a few weeks on:
5F904CF1-D433-4D68-AECF-F183E3EC27EA-24285-00000CEB0967E0A0.jpg


and an interest pic of frozen rain on the sunroof which was protected with G1:
D5F4CE79-0D93-440A-81E2-4AFD7919DA5E-13444-0000072A2E39BB33.jpg


When the weather gets better will top up with C1.5 or Exo......hopefully will increase the gloss a little more and tighten up the beading a little more....
 
Today i decided to give the Passat a maintanence detail, I had applied Gtechniq C1 back in November and wanted to apply further protection in the form of Gtechniq C1.5. I also found a sample of Gtechniq C2 so decided my course of action would be to snowfoam the car, then wash with G-wash, dry the car then apply C1.5, leave to cure for 20 mins then apply C2 for maximum gloss and to help with tighter beading (something C1 is not very good at)....but the end results even i was suprised with the slickness of the paintwork and the gloss/reflection even on silver:

IMG_4446.jpg

IMG_4449.jpg

IMG_4448.jpg

IMG_4447.jpg

IMG_4457.jpg

IMG_4458.jpg

IMG_4459.jpg

IMG_4461.jpg

IMG_4450.jpg


C1.5 and C2 was very easy to use and very pleased with the results :)

and decided to would do a maintanece on my mother car also, as i had been testing the durability of Dodo Juice Supernatural Hybrid (which was applied in September, I cleaned then applied Dodo Juice Red Mist Tropical:

IMG_4460.jpg


I have to admit, RMT was not the best to use at the time of day and the temperature, i kind of wished i used normal RM instead....

thanks for viewing

Robert @ Prism
 
With the rain last night i was able to capture some of the beading on the car....much better and tighter beading than C1 on its own....

7FE71146-2557-49A5-8775-966D3A415E94-30575-00000F850CBE6939.jpg

88C44B52-76E2-46C1-9FD8-15B3C2CE9FA2-30575-00000F850619262D.jpg


I also noticed after driving in the rain the better sheeting and self cleaning properties with C2 (or C1/C1.5/C2 combination) as when i parked up after what was a fair long journey the car was pretty much dry and still clean....ill see how long this lasts for :)
 
Back
Top