lawrenceSA
New member
- Feb 7, 2012
- 1,713
- 0
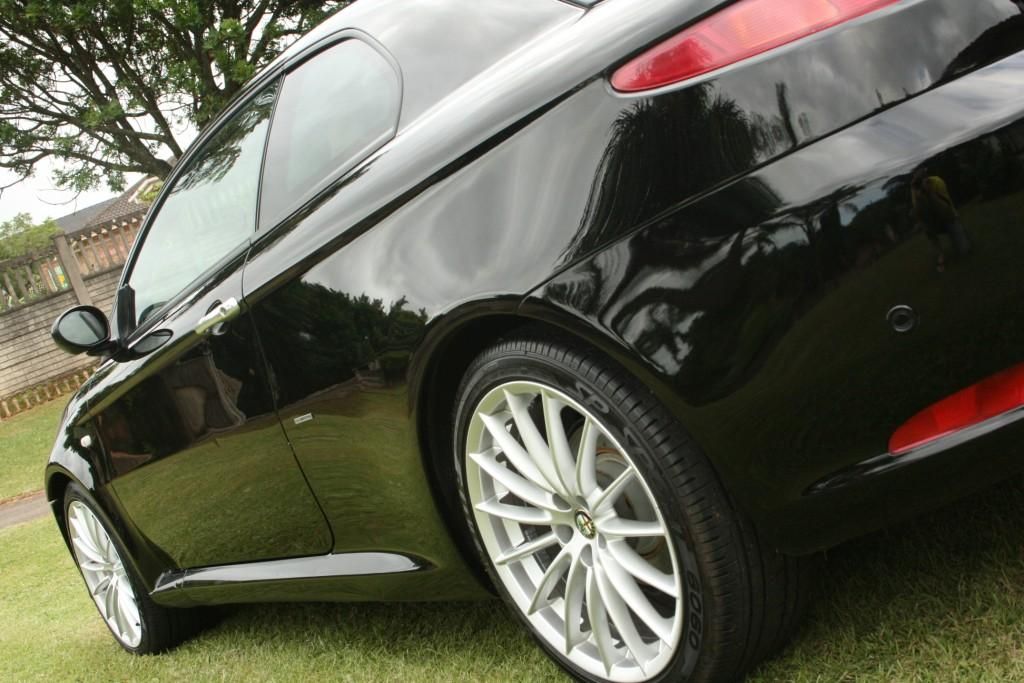
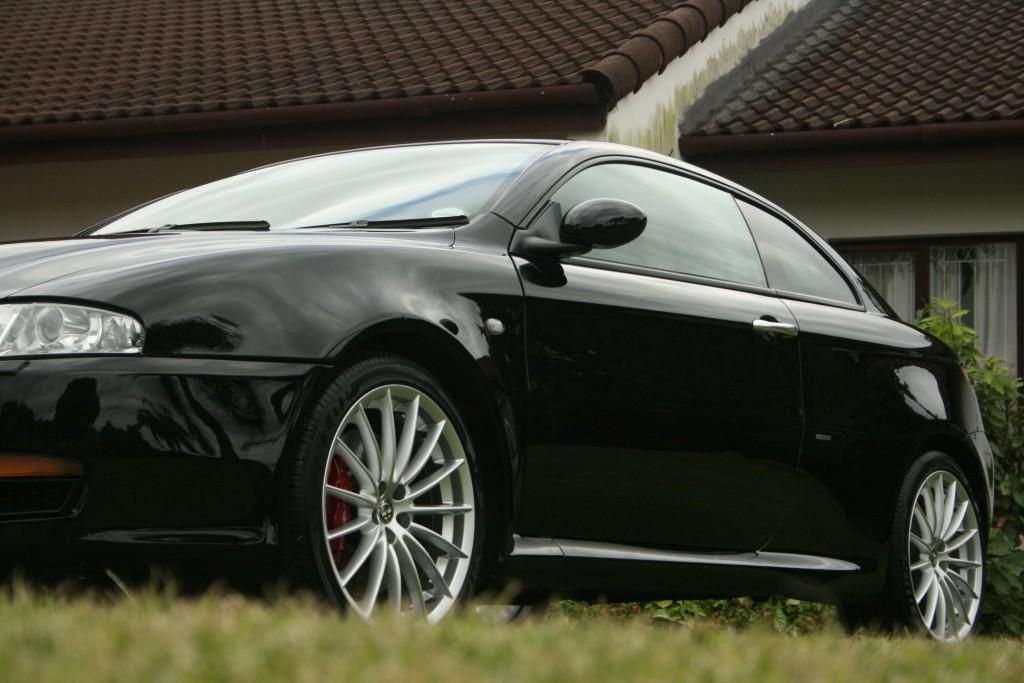
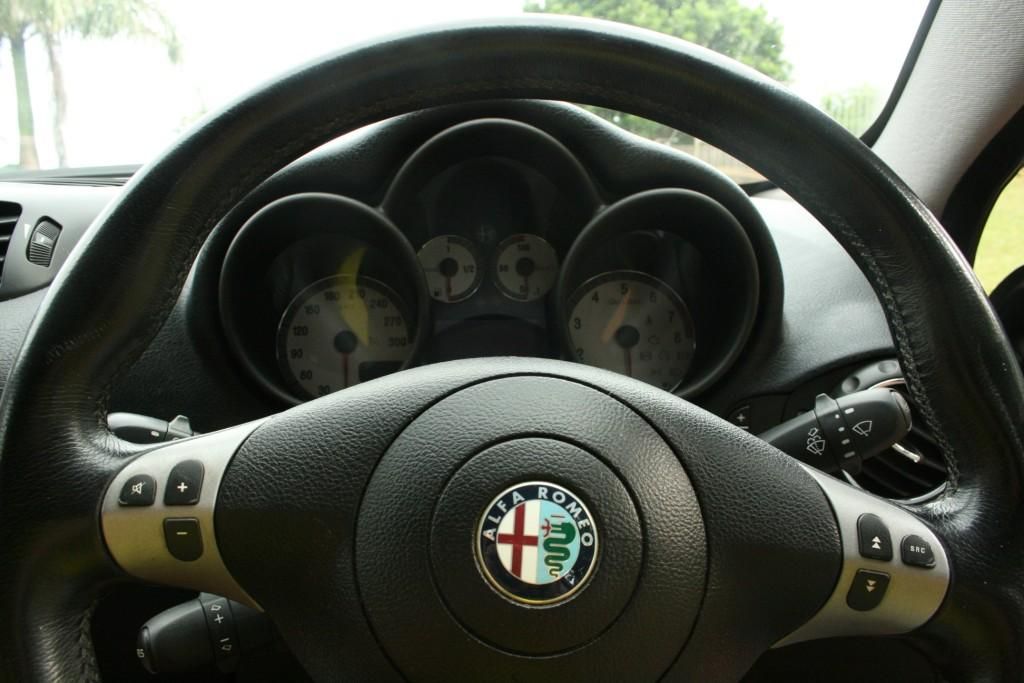
I was fortunate enough to be given the opportunity to resurrect this Italian Stallion this past weekend.... seemingly many of the Mafioso had a beef with this baby and wanted her on ice - Many a hit later and absolutely no regard had been shown for her paintwork and out of all the cars I have detailed, this one was by far the most abused, and was quite difficult to correct. Che peccato! Packing my DA and armed with a bucket load of pads/polishes/cloths, I set out to restore her to her former glory :lol:
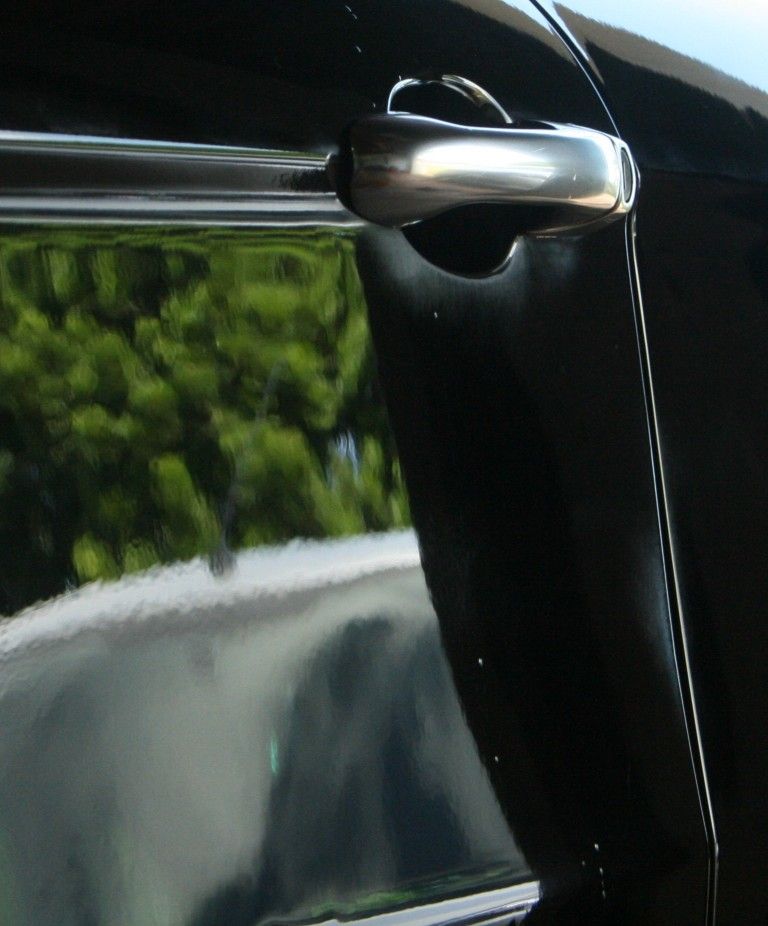
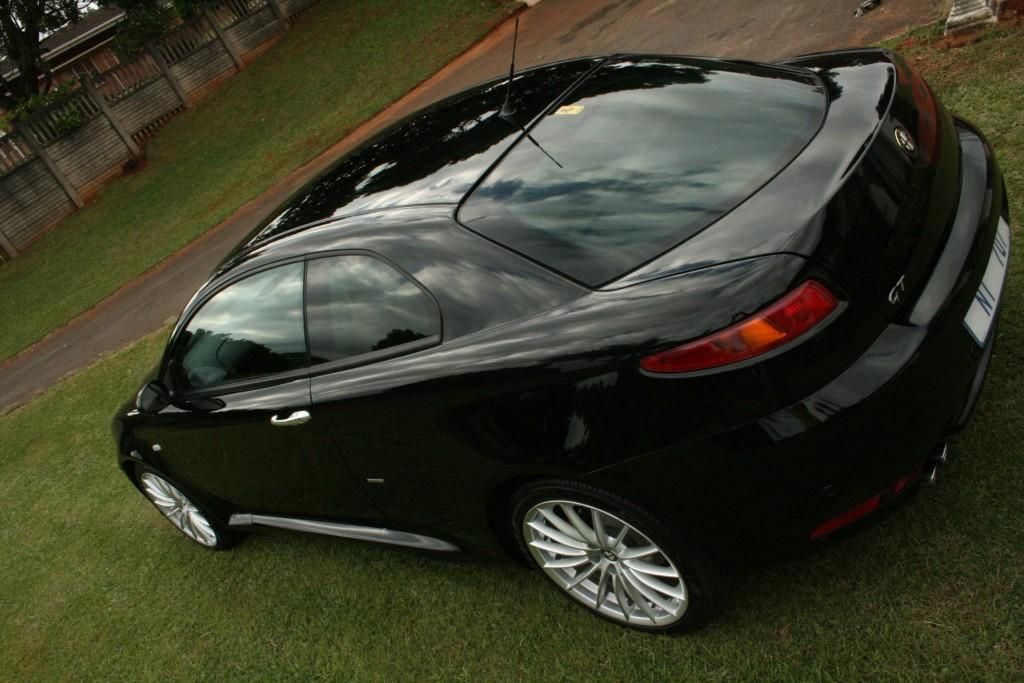
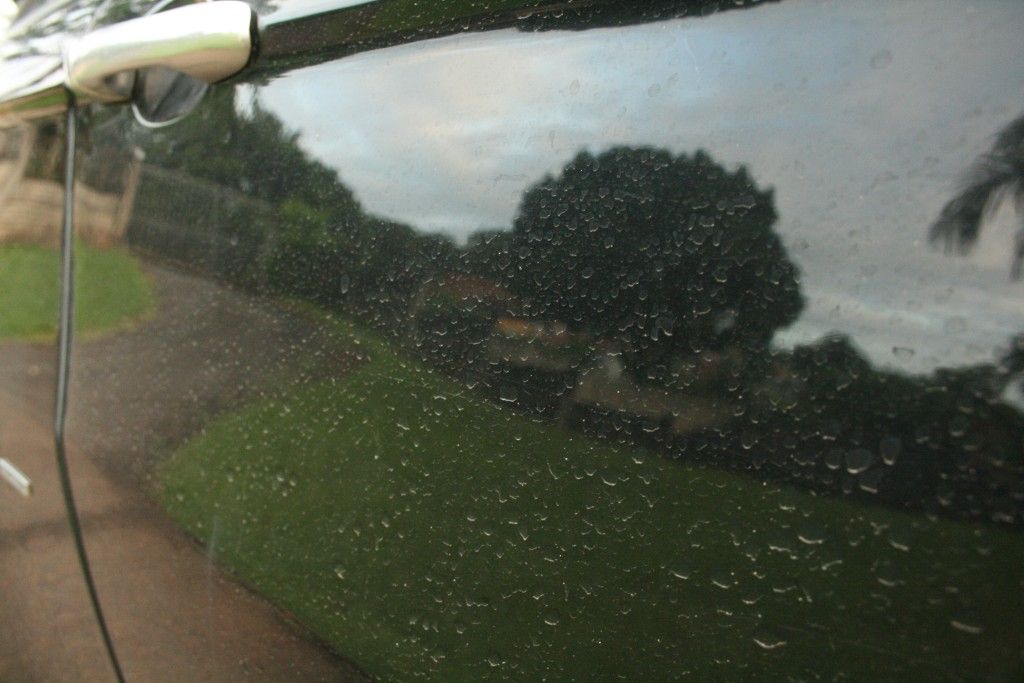
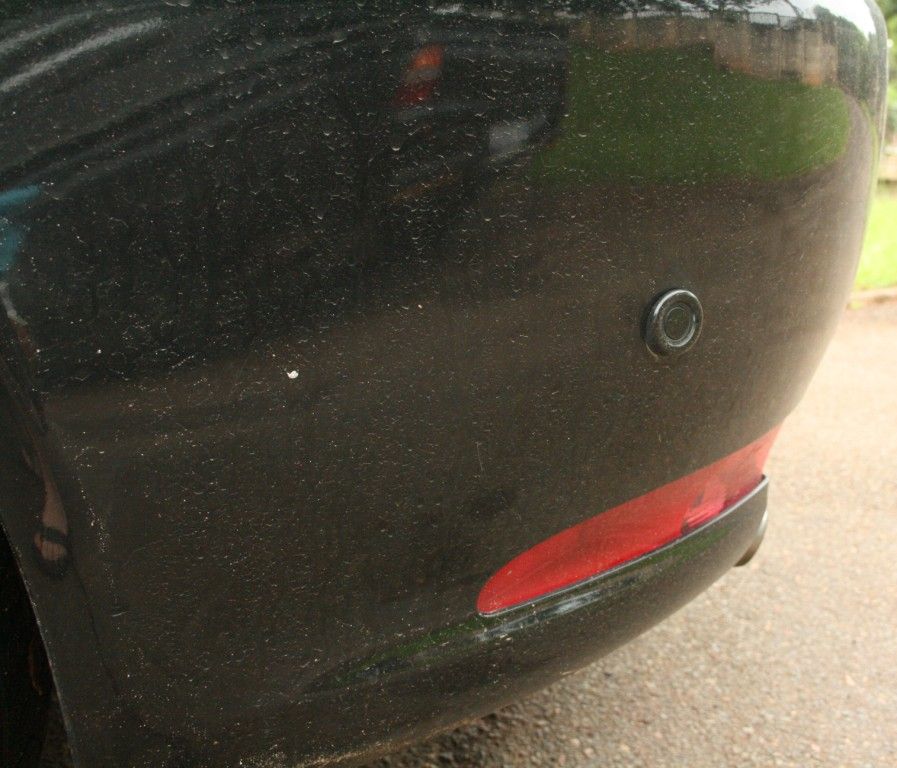
Ok so onto the detail itself.... on arrival the car was covered in the usual surface dirt and some bird bombs and had terribly faded plastic trim and many deep scratches
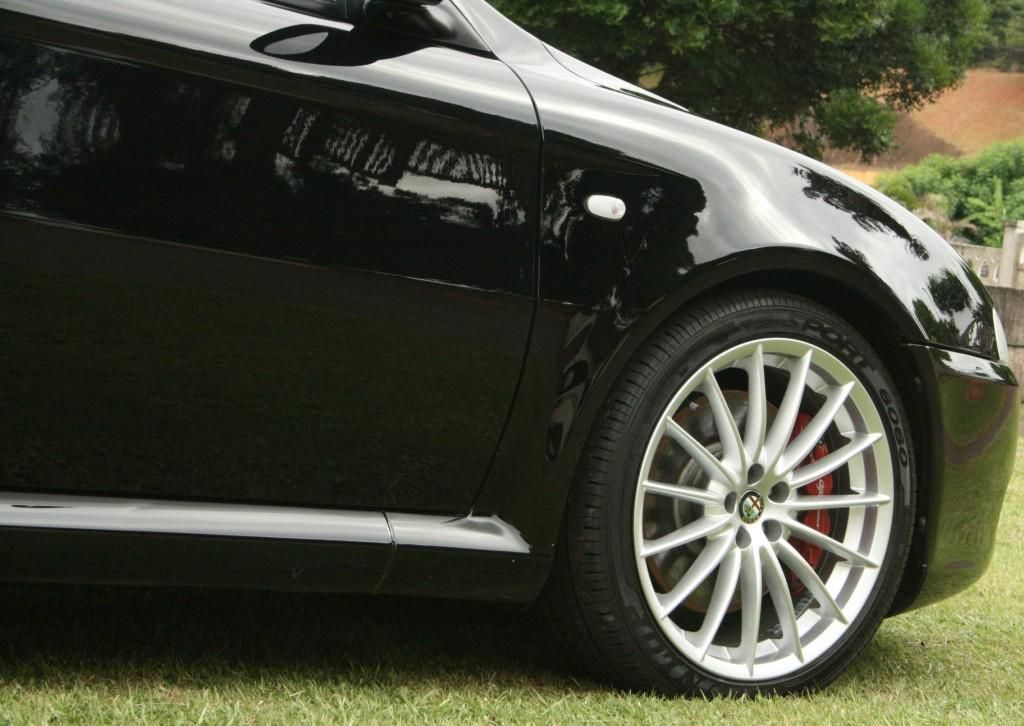
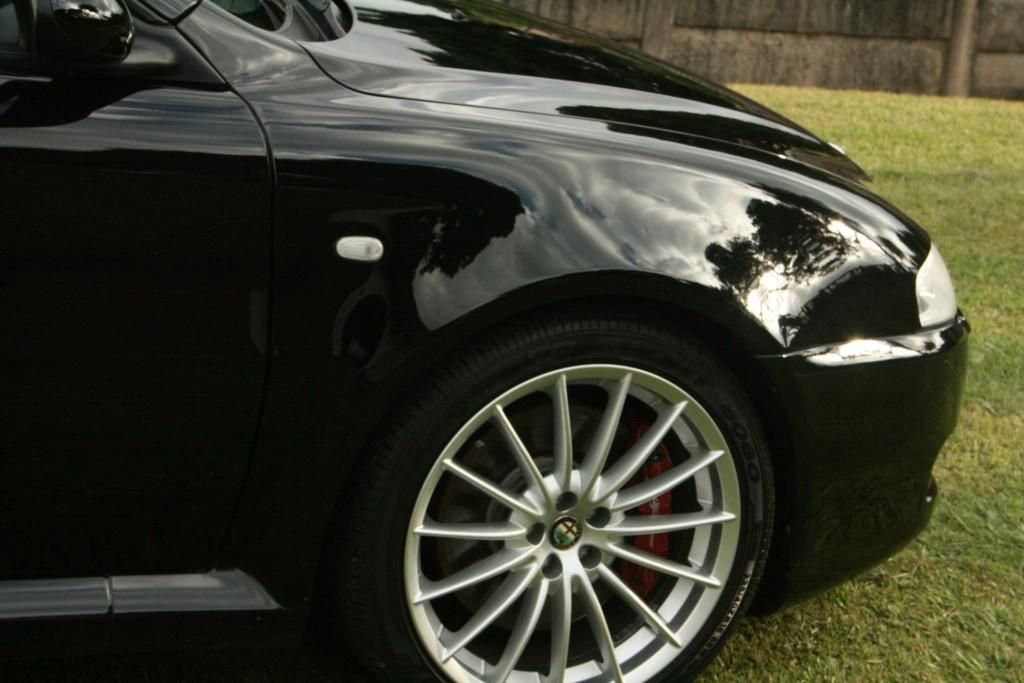
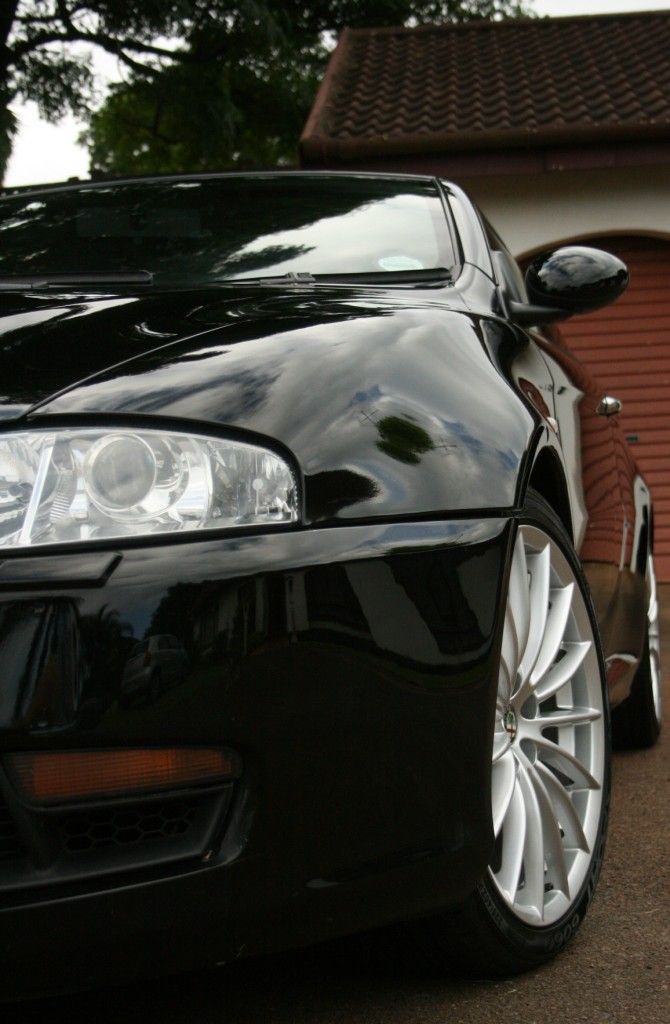
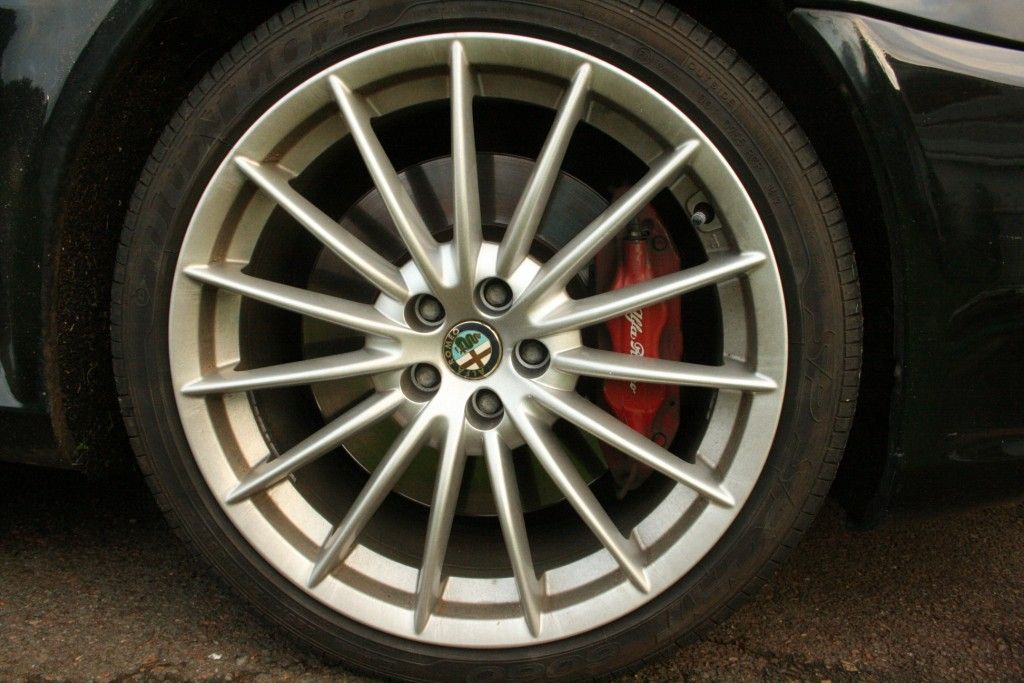
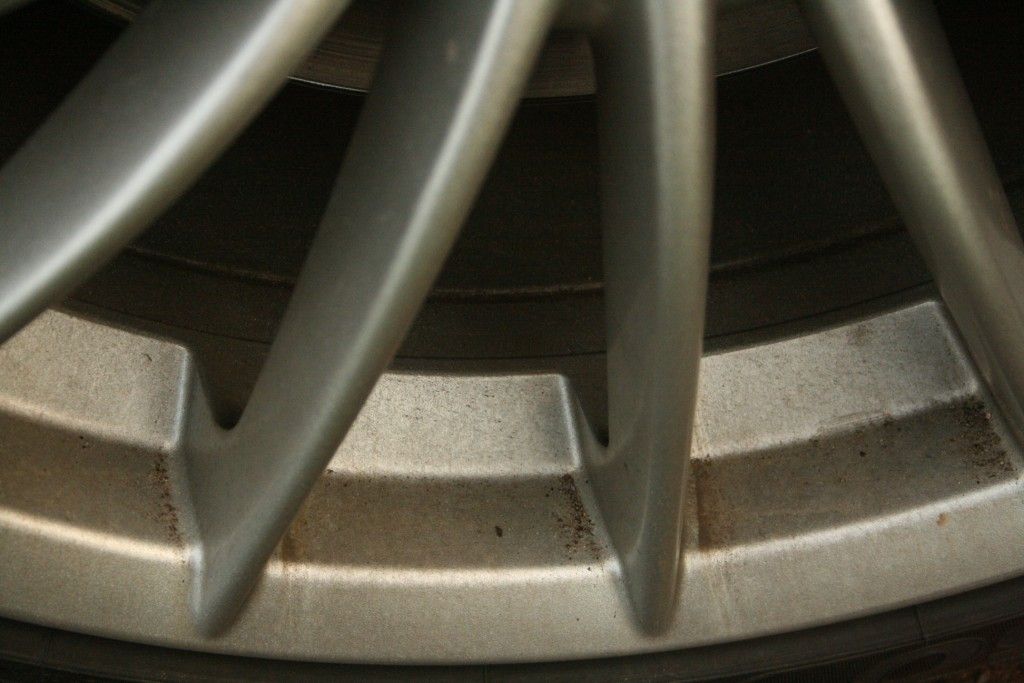
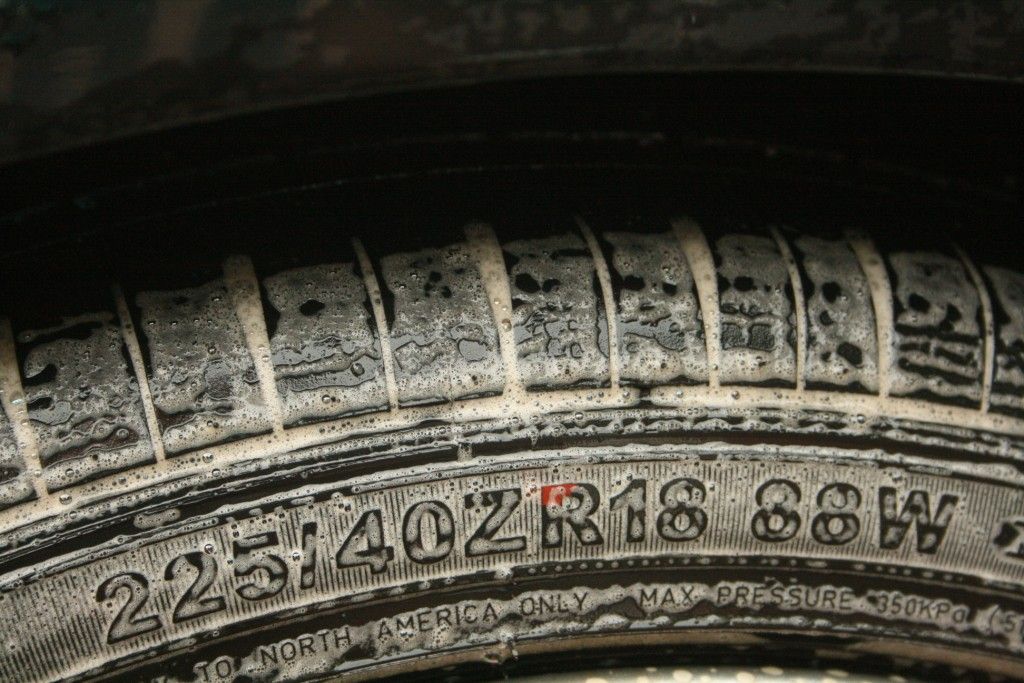
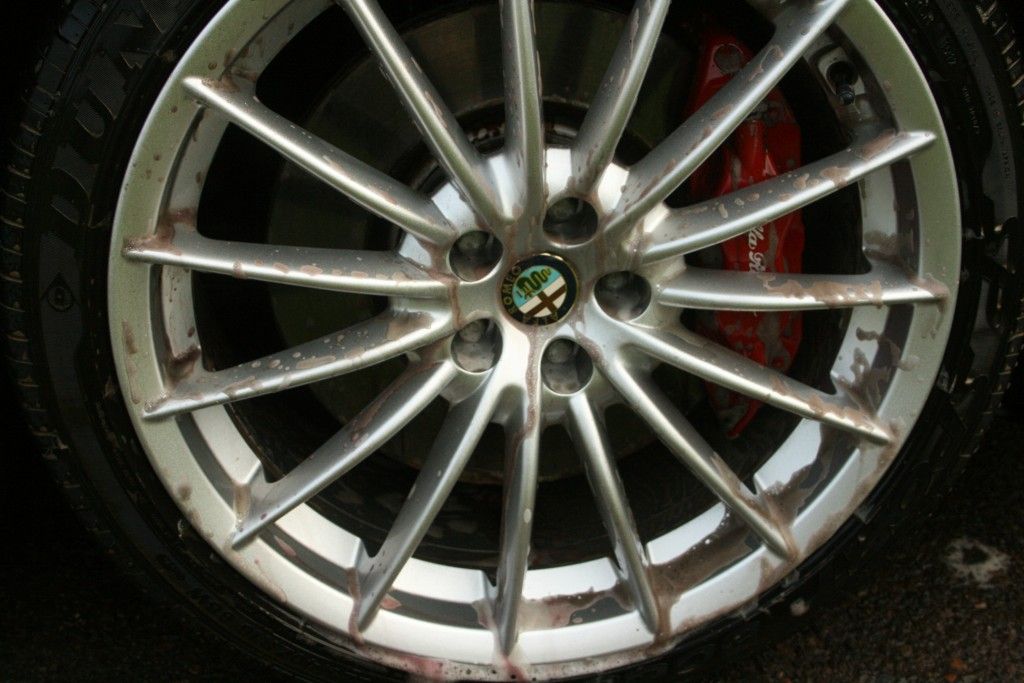
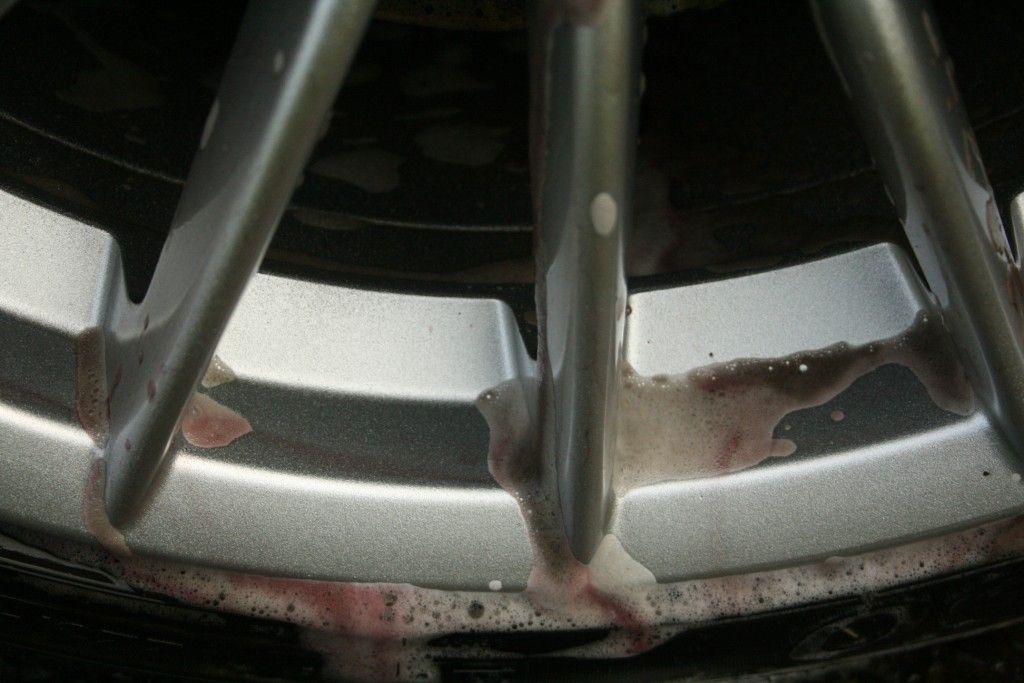
I began as always by cleaning up the wheels. Products used were Cyclo CM30 and Sonax Extreme Wheel Cleaner, Smartwax Smart Dressing and Collinite #845. Tires were scrubbed clean, arches cleaned, wheels cleaned and sealed and tires dressed.
Before
During

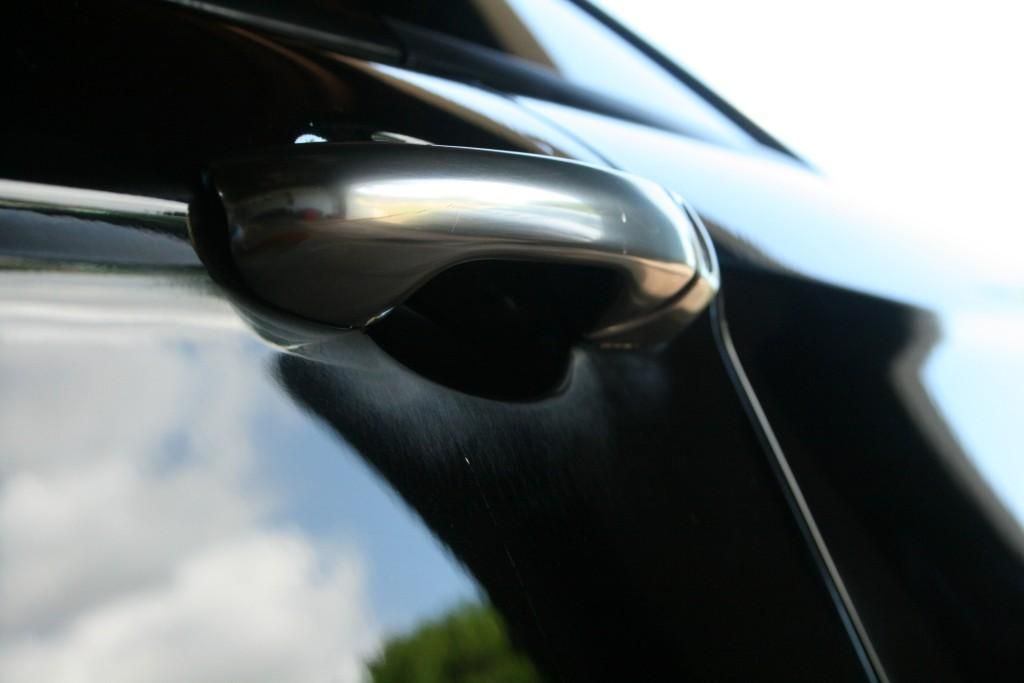
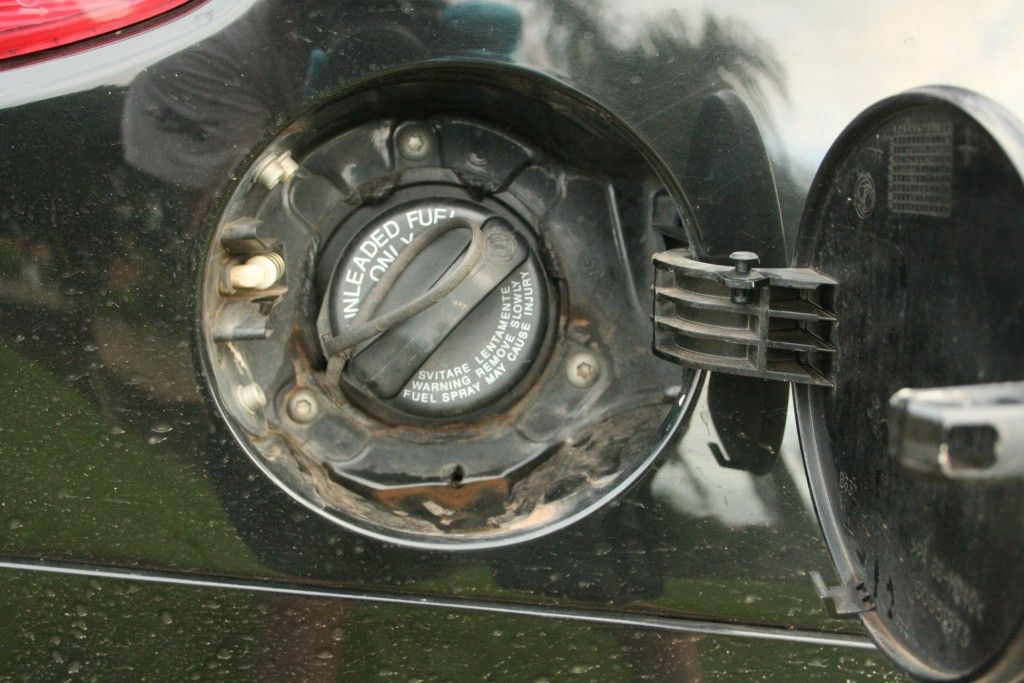
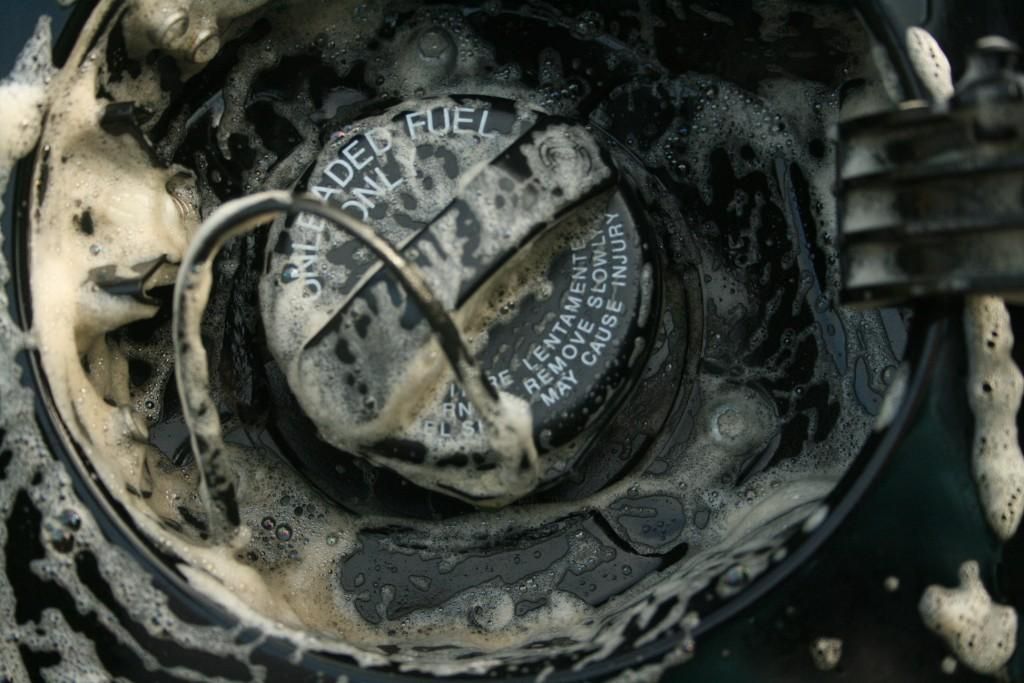
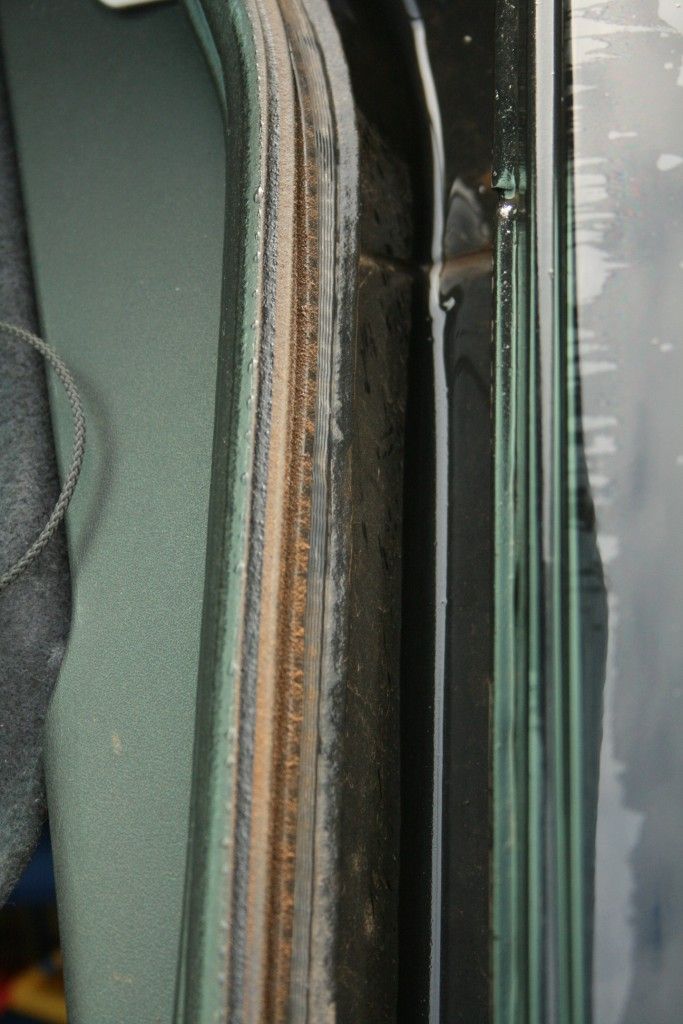
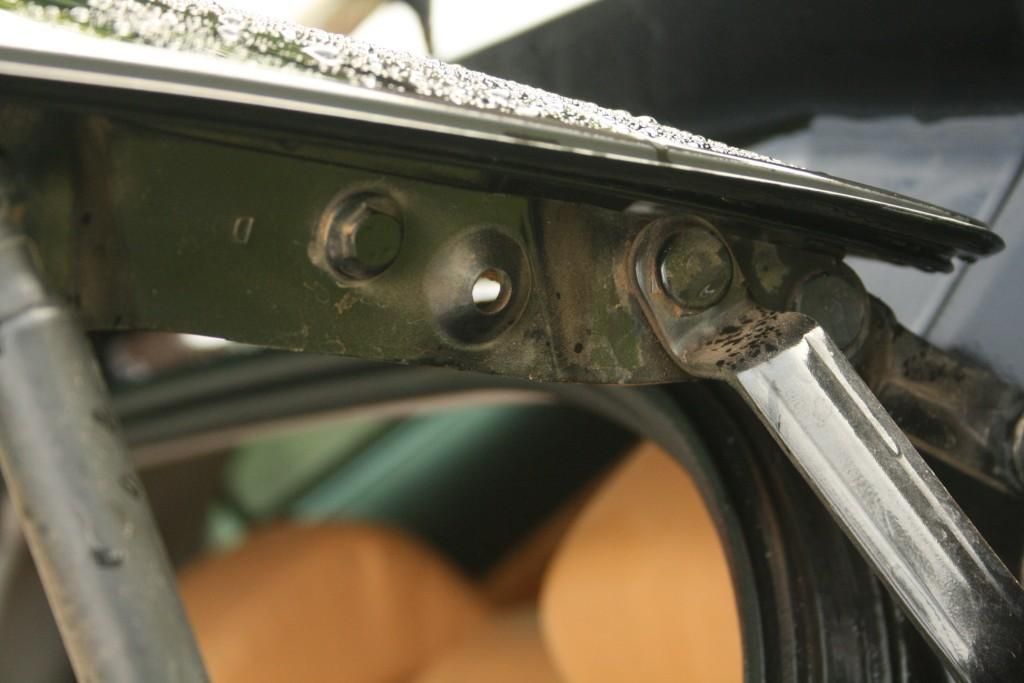
I then set about cleaning up the door jambs, boot jamb, petrol cap, badges and in all the panel gaps, around all window seals etc using Cyclo CM30

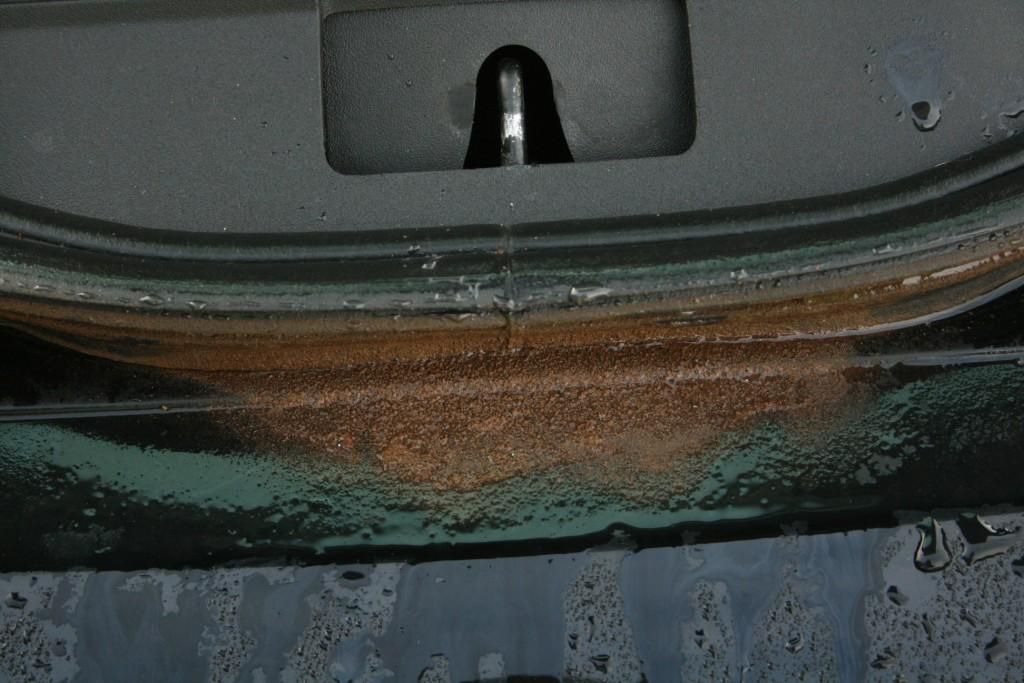
Evidence of a 'job' in the desert maybe? :lol:
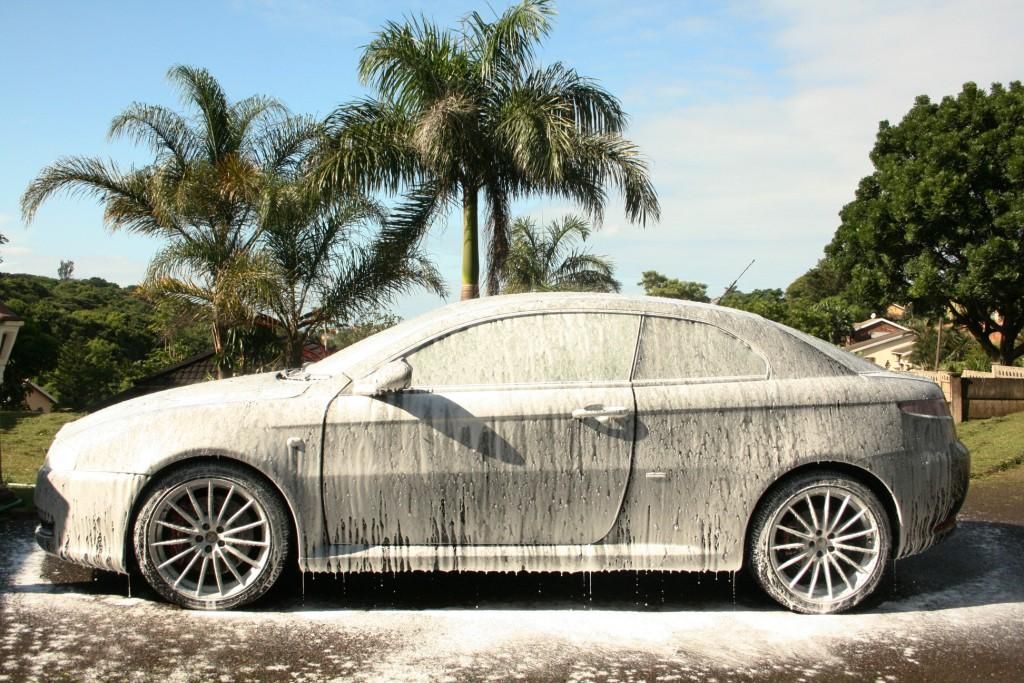
Once that was completed the car was pre-washed washed using a foam cannon and a mix of Chemical Guys Maxi Suds II and Cyclo CM30, followed by a full 2 bucket wash using Meguiars Gold Class shampoo mixed with ONR
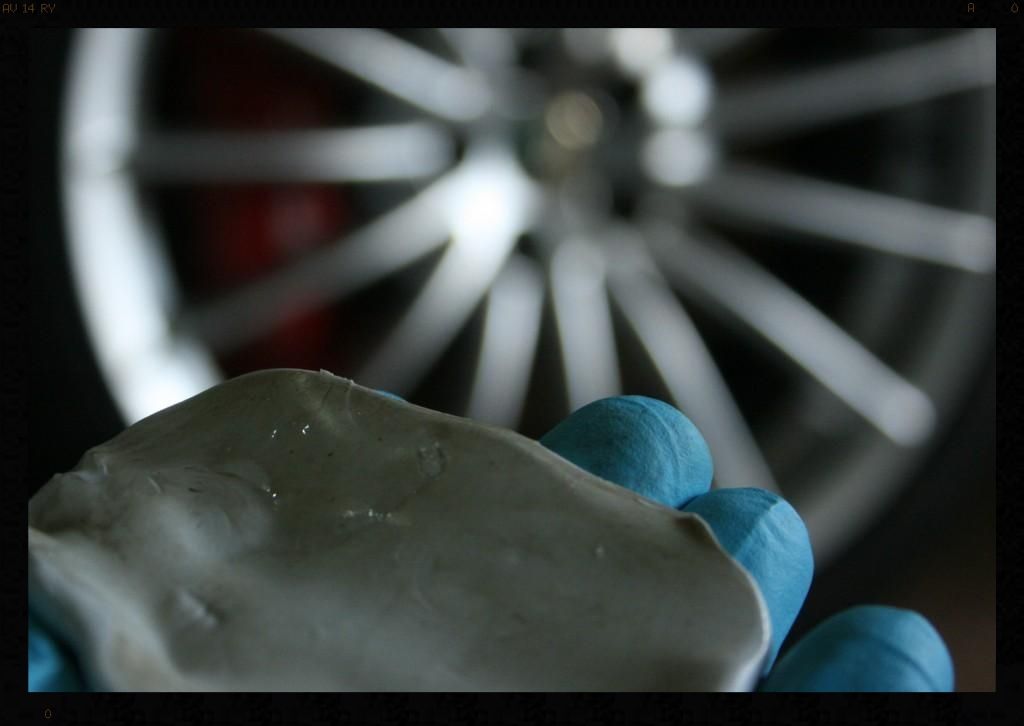
Claying then revealed some contamination however it was not as bad as I had been expecting.
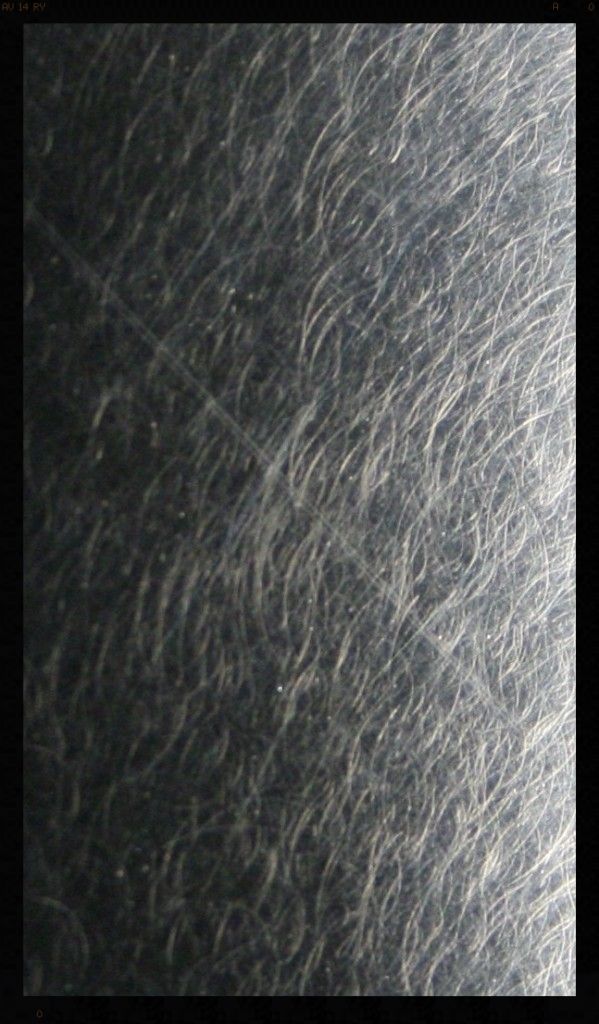
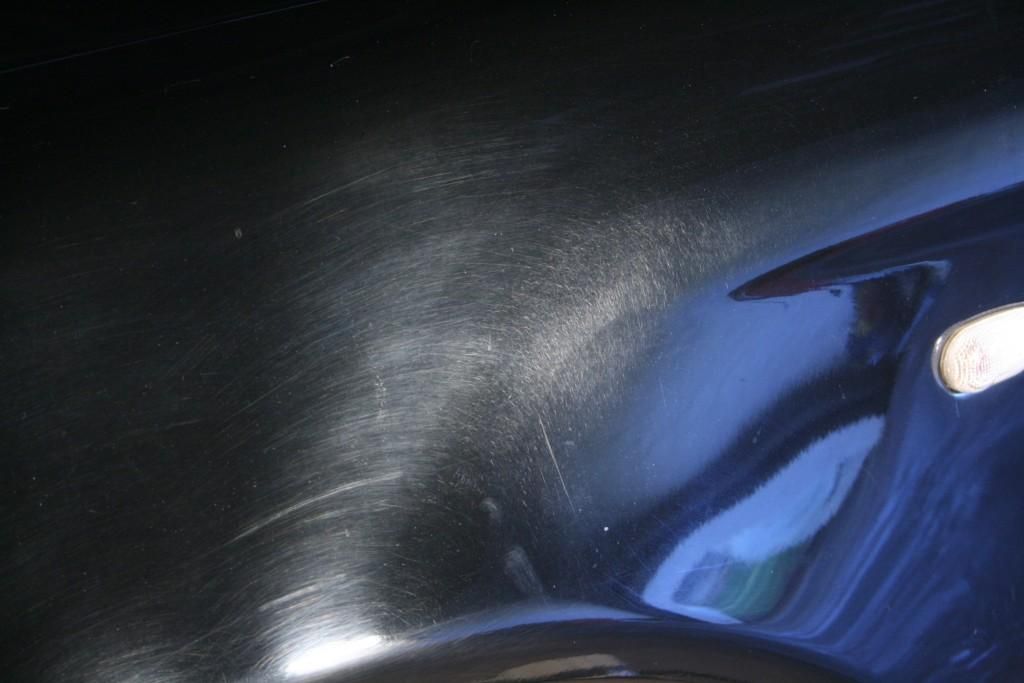
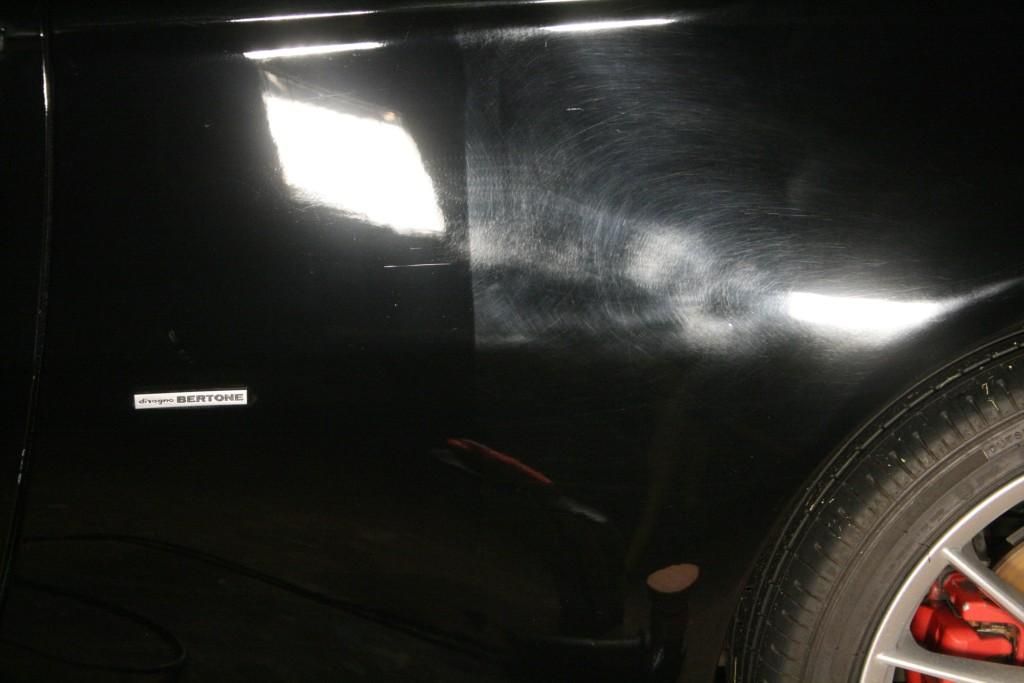
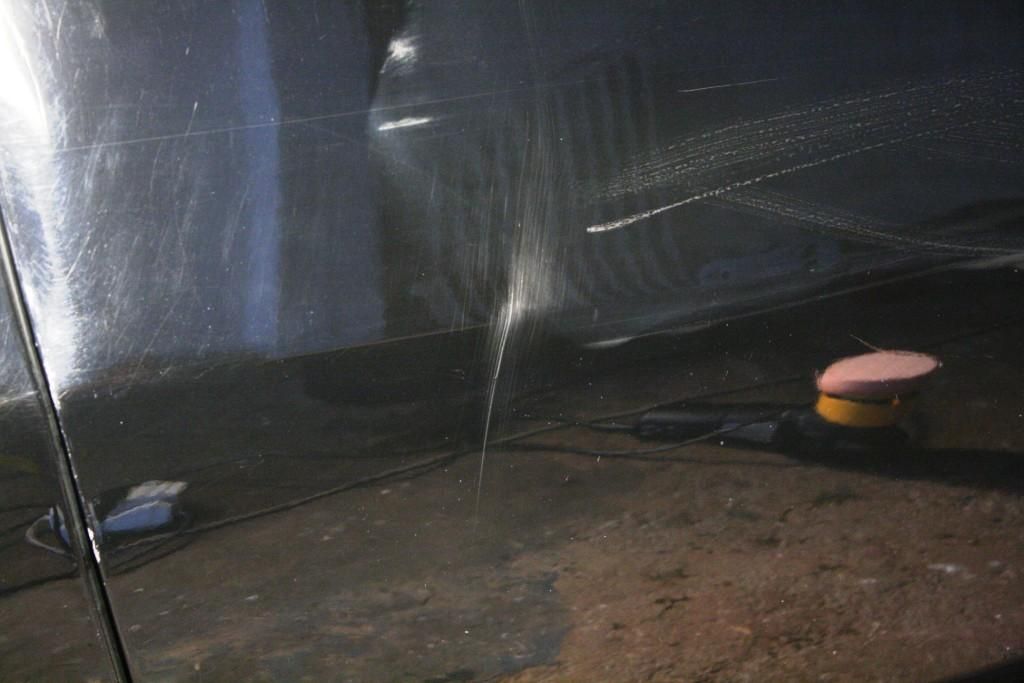
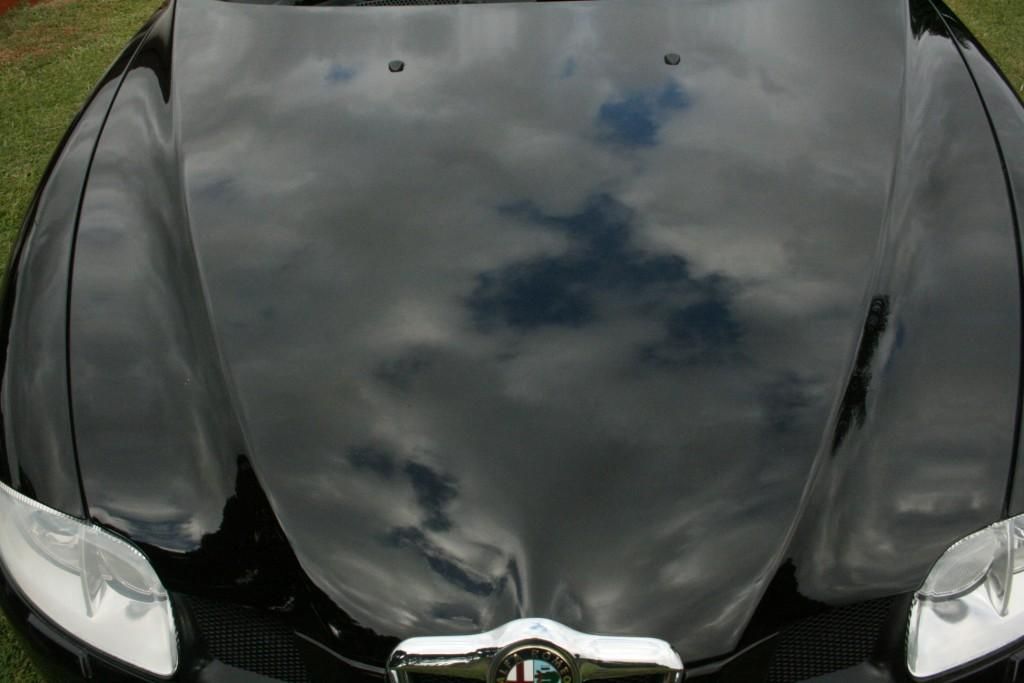
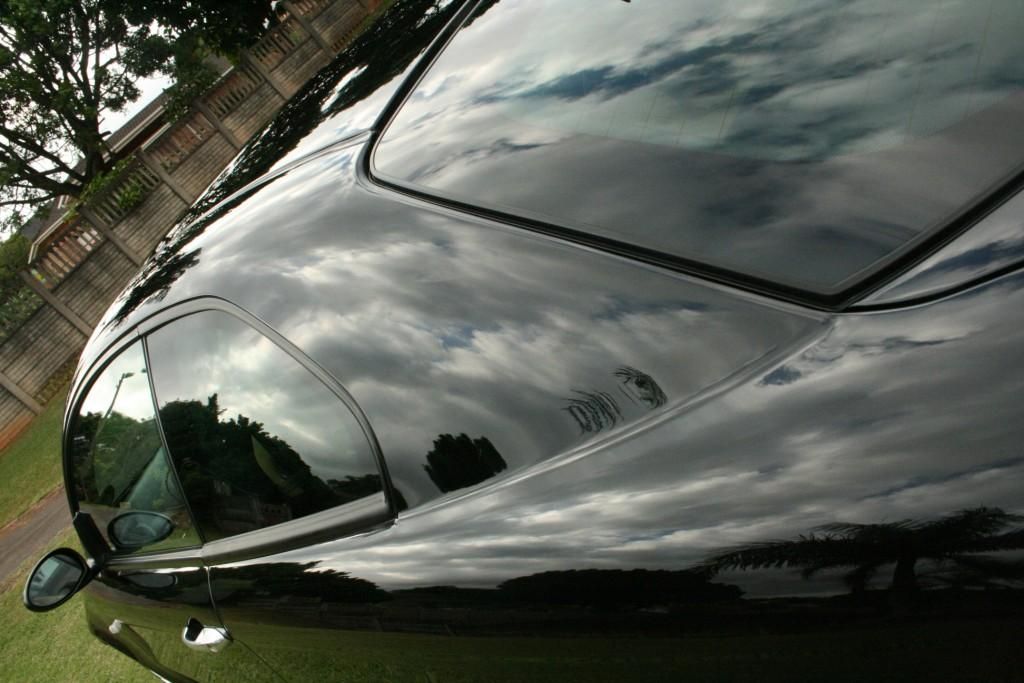
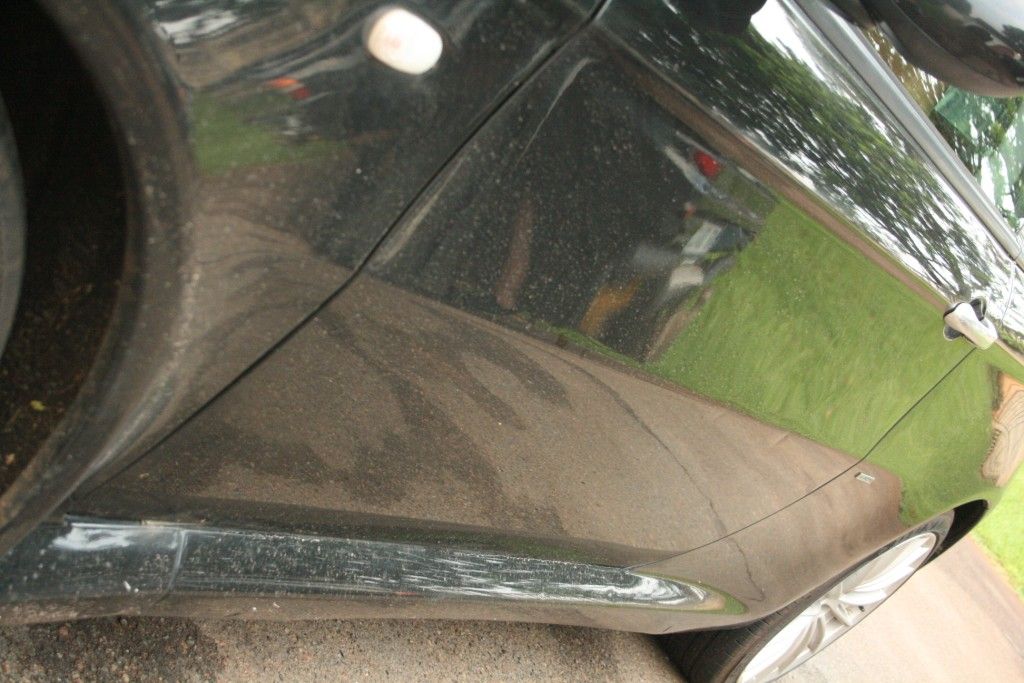
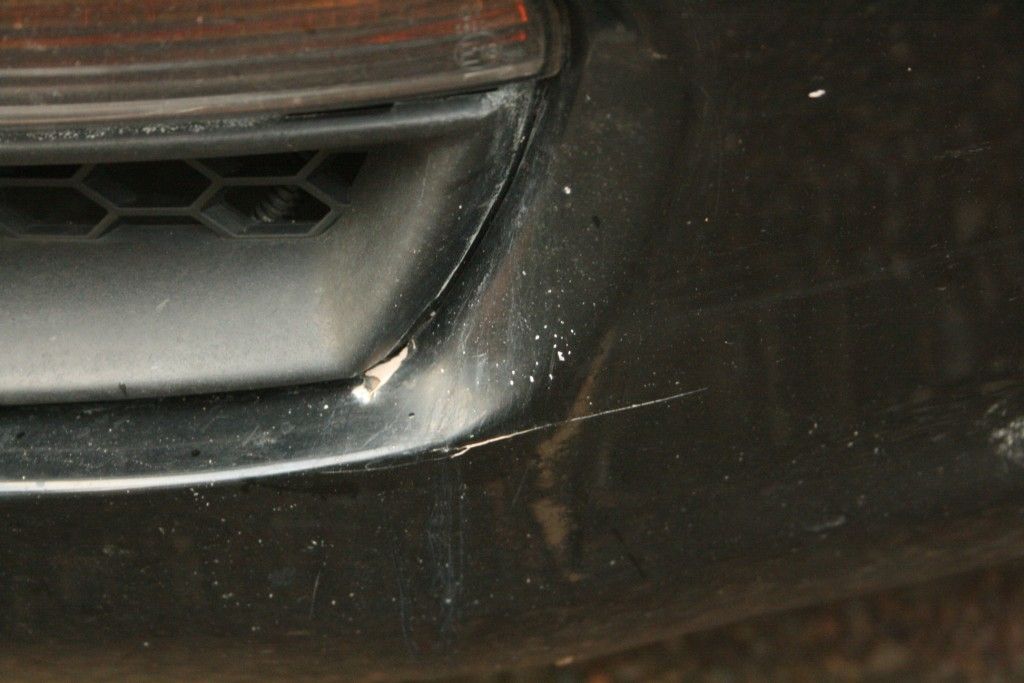
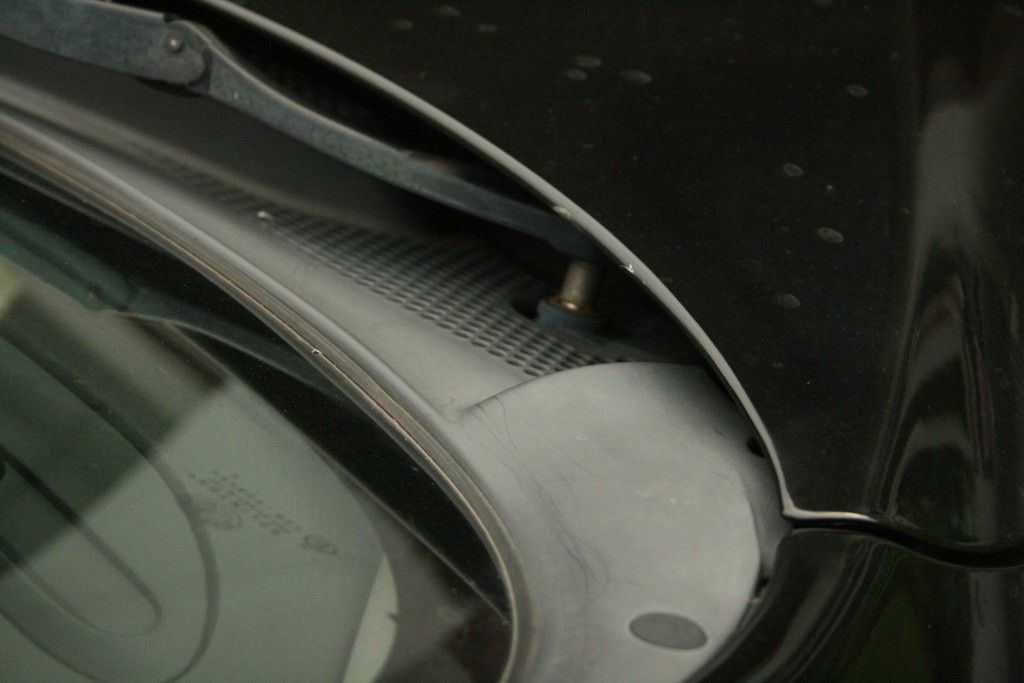
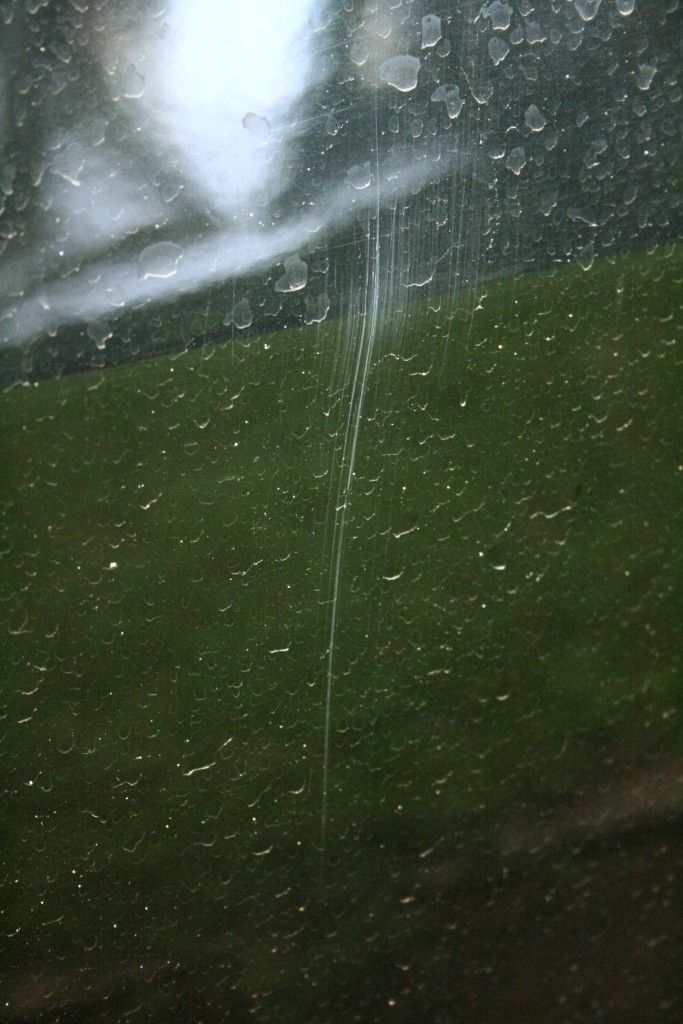
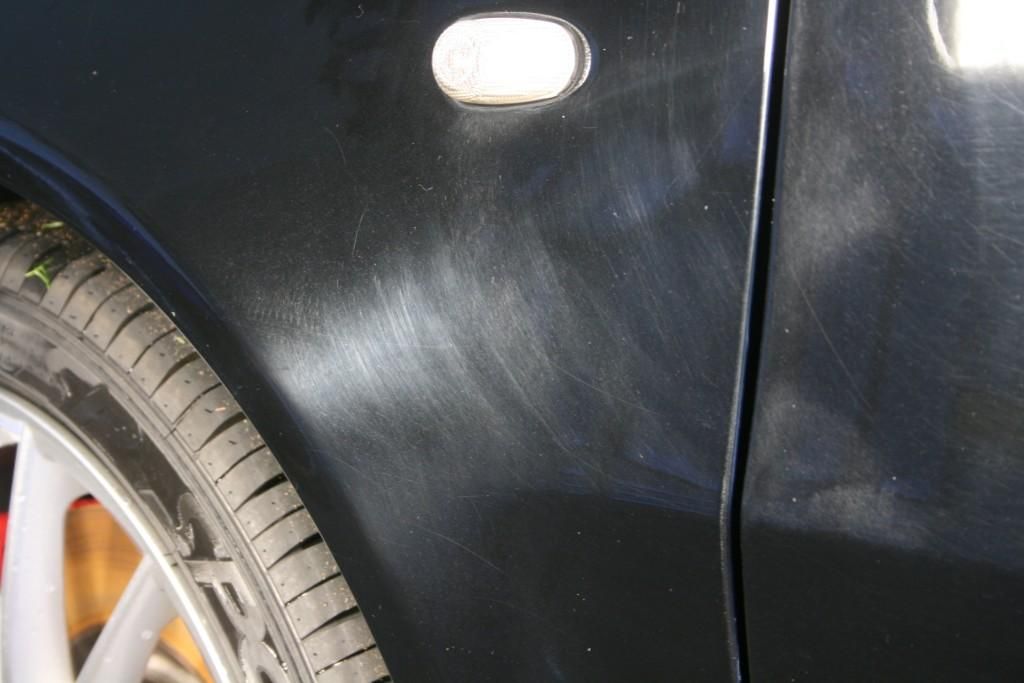
However, once claying was complete I was then confronted by what must be the worst looking paint I have seen to date. Besides the gazillions of swirl marks, there was also evidence of 'tick marks' and 'pigtails'. Both of these defects are caused through poor technique - using an overly aggressive polish or not working the polish correctly, and working 'dirty' respectively. In discussions with the owner it was established that the passenger side of the car had received some body work previously and I therefore assume that the above defects were inflicted by the bodyshop who obviously attempted to polish out the car
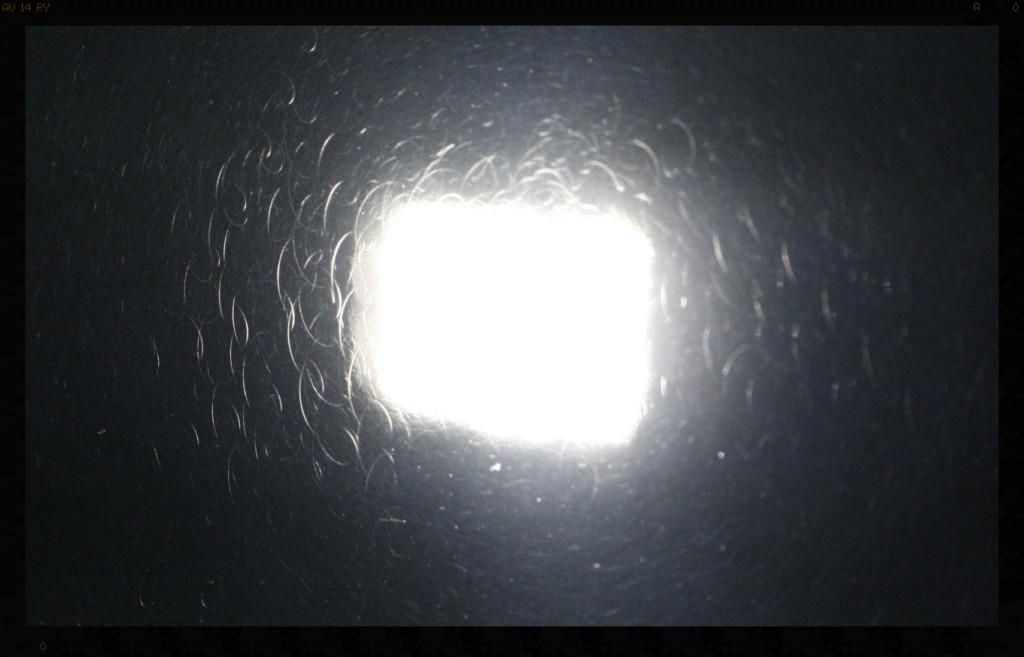
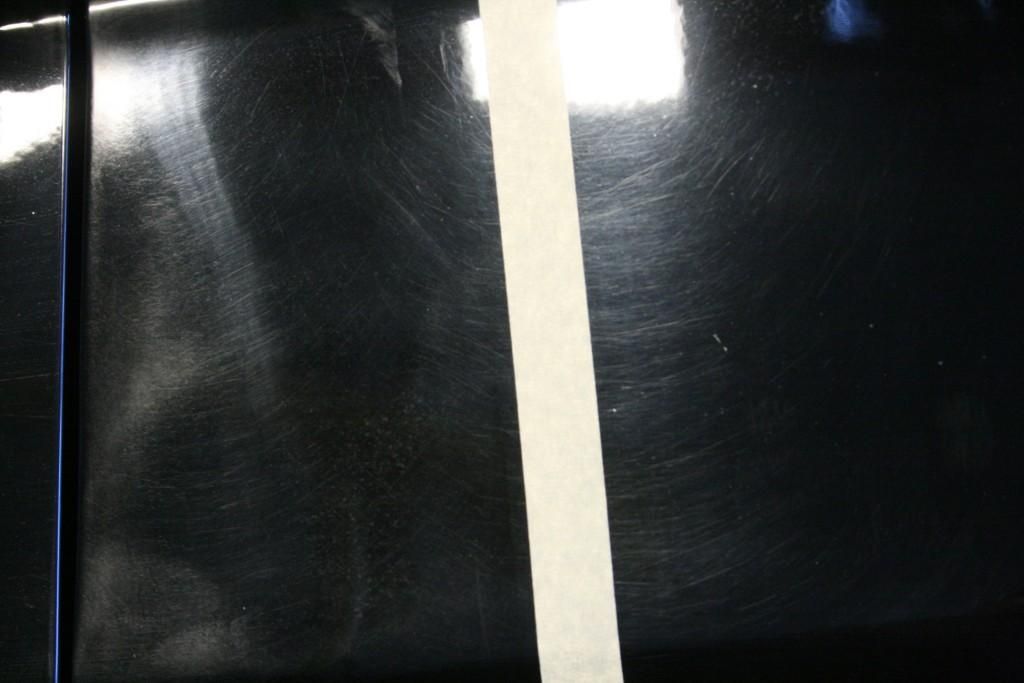
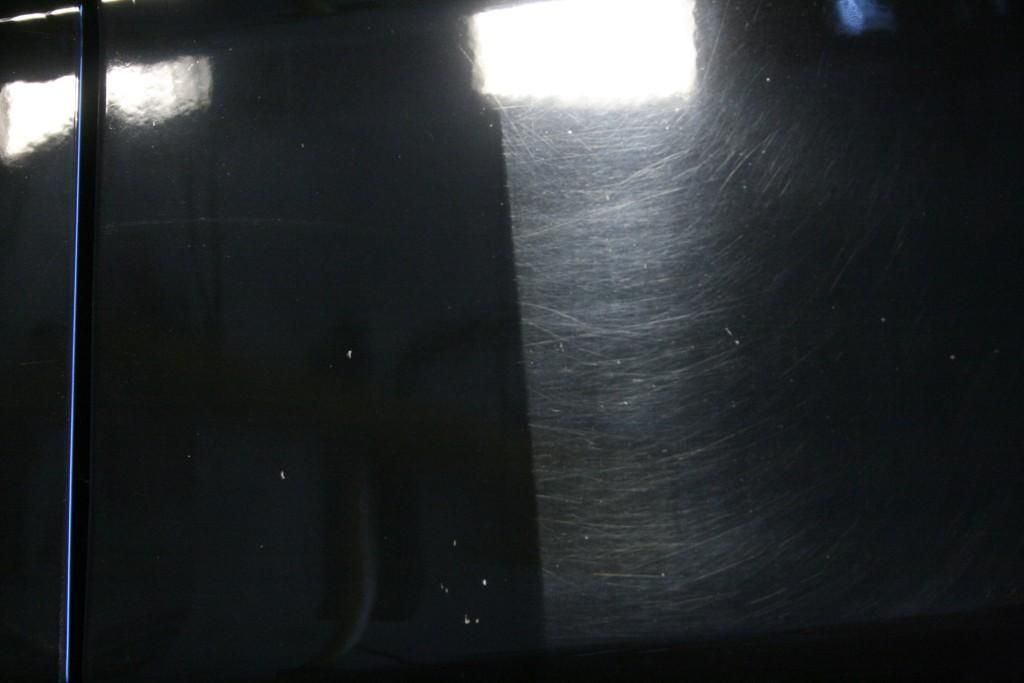
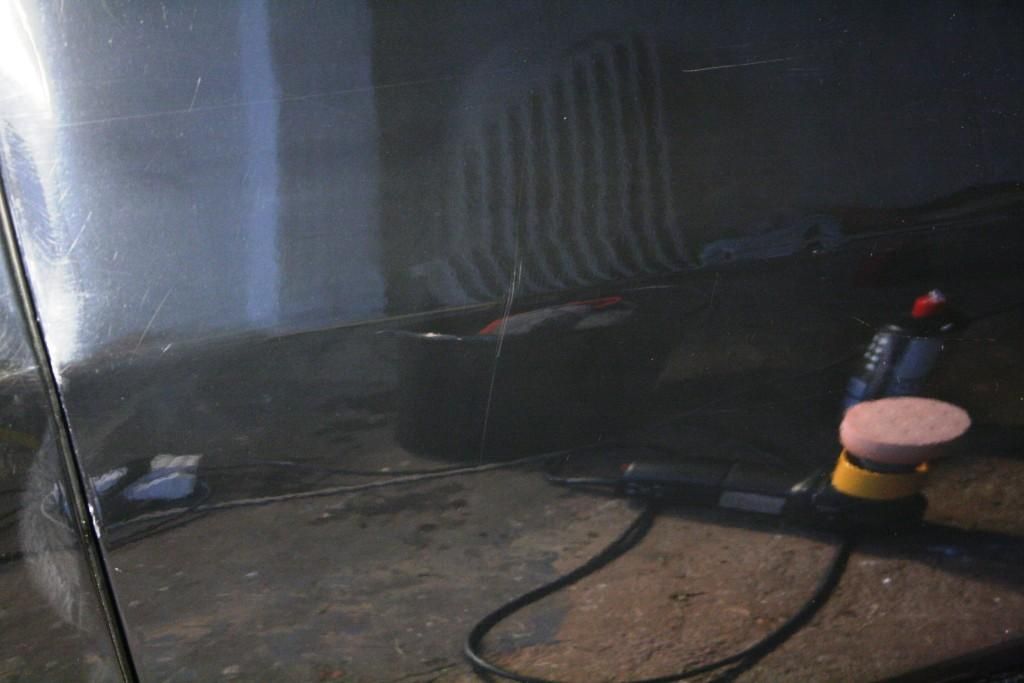
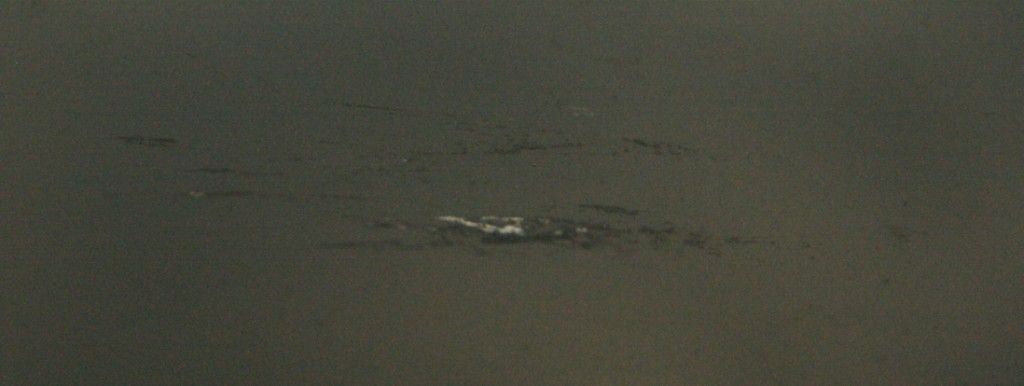
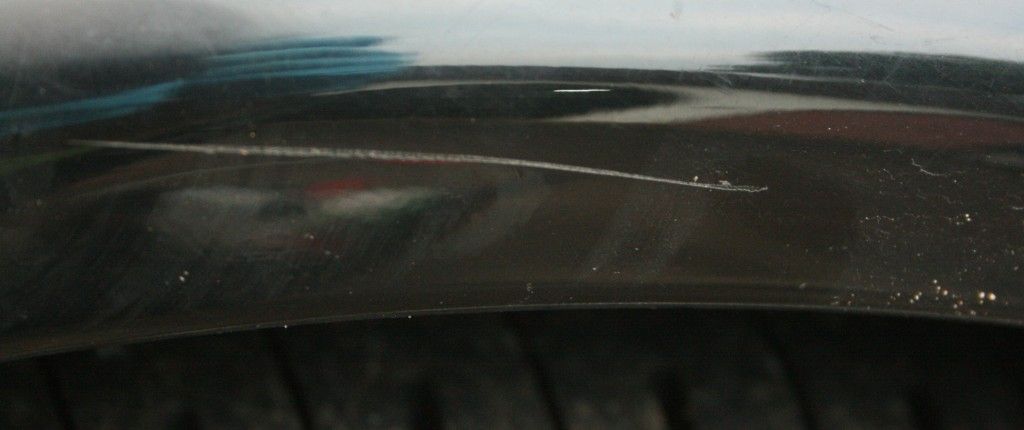
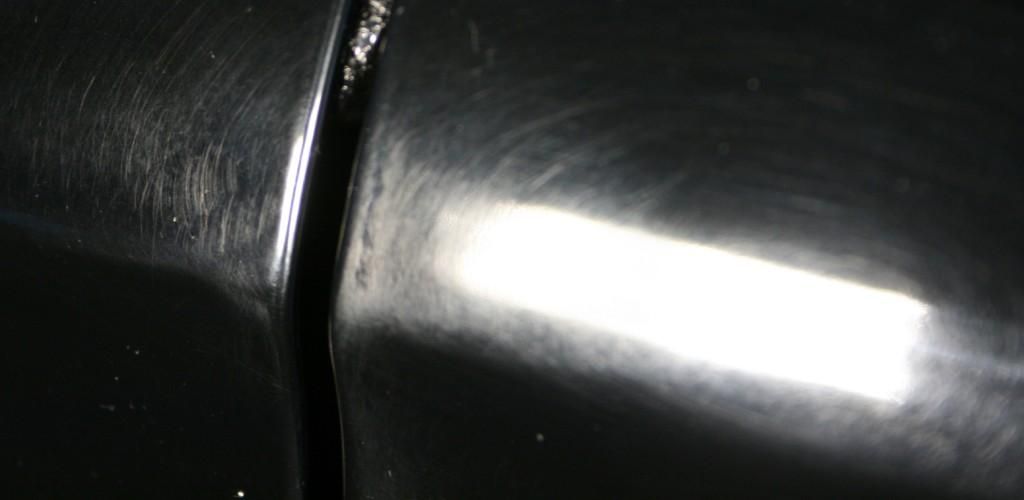
 There were also multiple RIDS, some of which were deep enough to have penetrated the base coat and primer
Ok so onto the detail itself.... on arrival the car was covered in the usual surface dirt and some bird bombs and had terribly faded plastic trim and many deep scratches
I began as always by cleaning up the wheels. Products used were Cyclo CM30 and Sonax Extreme Wheel Cleaner, Smartwax Smart Dressing and Collinite #845. Tires were scrubbed clean, arches cleaned, wheels cleaned and sealed and tires dressed.
Before
During
I then set about cleaning up the door jambs, boot jamb, petrol cap, badges and in all the panel gaps, around all window seals etc using Cyclo CM30
Evidence of a 'job' in the desert maybe? :lol:
Once that was completed the car was pre-washed washed using a foam cannon and a mix of Chemical Guys Maxi Suds II and Cyclo CM30, followed by a full 2 bucket wash using Meguiars Gold Class shampoo mixed with ONR
Claying then revealed some contamination however it was not as bad as I had been expecting.
However, once claying was complete I was then confronted by what must be the worst looking paint I have seen to date. Besides the gazillions of swirl marks, there was also evidence of 'tick marks' and 'pigtails'. Both of these defects are caused through poor technique - using an overly aggressive polish or not working the polish correctly, and working 'dirty' respectively. In discussions with the owner it was established that the passenger side of the car had received some body work previously and I therefore assume that the above defects were inflicted by the bodyshop who obviously attempted to polish out the car
There were also multiple RIDS, some of which were deep enough to have penetrated the base coat and primer