I have a 1970 Nova with single stage "black cherry" color paint. I have no idea if this is the original paint, but it is the original color, and it's in pretty bad condition. I have owned the car for twenty years and never paid much attention to the dull oxidized surface. I always assumed that if I wanted to have a show-ready car, I would have to get it repainted. But recently I came across Mike Phillip's fantastic articles on how to breathe life back into this paint. I appreciate and welcome any advice and hope sharing my ongoing experience will help others.
This is my FIRST TIME doing this. I haven't detailed my car in the twenty years I've owned it and I have ZERO experience. I studied articles online and YouTube, but I am probably not aware of all the dangers and correct/incorrect use of products. If you know a better way or see something wrong, please speak up.
The steps I plan to follow are as follows:
(1) Strip wash the car to remove any residual wax/polish and grime
(2) Clay bar to remove surface bonded contaminants / industrial fallout
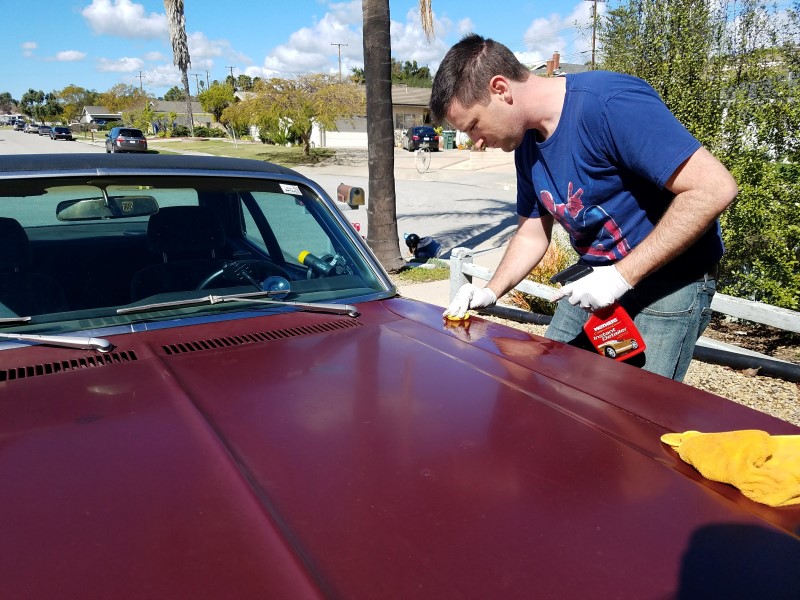
(3) Condition the paint with Maguiars no 7 to restore oils
(4) Compound to remove oxidation and other deep defects
(5) Polish to remove surface defects swirls and scratches
(6) Wax to protect the finish
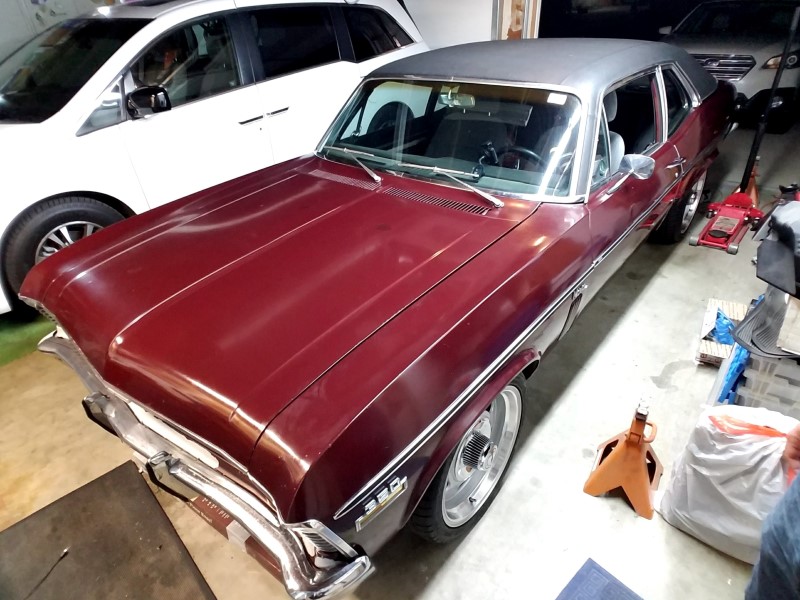
Paint Restoration: Before photos
Here is what I'm starting with. I don't know if this paint is original, but I certainly haven't painted it since I bought the car twenty years ago. It's a single stage "black cherry" factory color with lots of chips and a few dents. There is also some minor orange peel in a few places. In this photo there is a layer of dust over the car from being stored for a while, but it also has significant oxidation and water deposits.


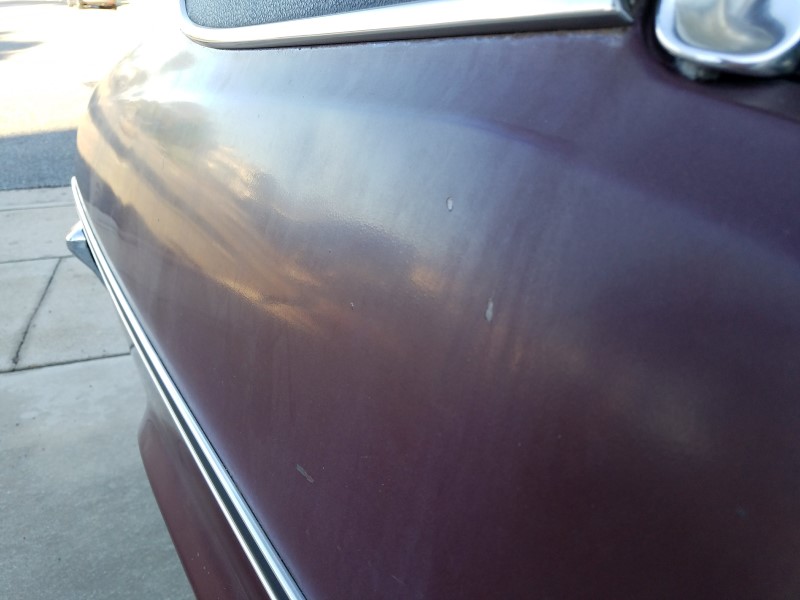

I don't expect miracles here - I'd be happy to just restore some color and depth to what I hav. The car needs metal repair and repainting at some point so I'm not too worried if I screw it up. I'm just trying to make the car presentable in the meantime.
This is my FIRST TIME doing this. I haven't detailed my car in the twenty years I've owned it and I have ZERO experience. I studied articles online and YouTube, but I am probably not aware of all the dangers and correct/incorrect use of products. If you know a better way or see something wrong, please speak up.
The steps I plan to follow are as follows:
(1) Strip wash the car to remove any residual wax/polish and grime
(2) Clay bar to remove surface bonded contaminants / industrial fallout
(3) Condition the paint with Maguiars no 7 to restore oils
(4) Compound to remove oxidation and other deep defects
(5) Polish to remove surface defects swirls and scratches
(6) Wax to protect the finish
Paint Restoration: Before photos
Here is what I'm starting with. I don't know if this paint is original, but I certainly haven't painted it since I bought the car twenty years ago. It's a single stage "black cherry" factory color with lots of chips and a few dents. There is also some minor orange peel in a few places. In this photo there is a layer of dust over the car from being stored for a while, but it also has significant oxidation and water deposits.
I don't expect miracles here - I'd be happy to just restore some color and depth to what I hav. The car needs metal repair and repainting at some point so I'm not too worried if I screw it up. I'm just trying to make the car presentable in the meantime.
")