Hello friends! rops:
rops:
Hope you are all doing great and fine")
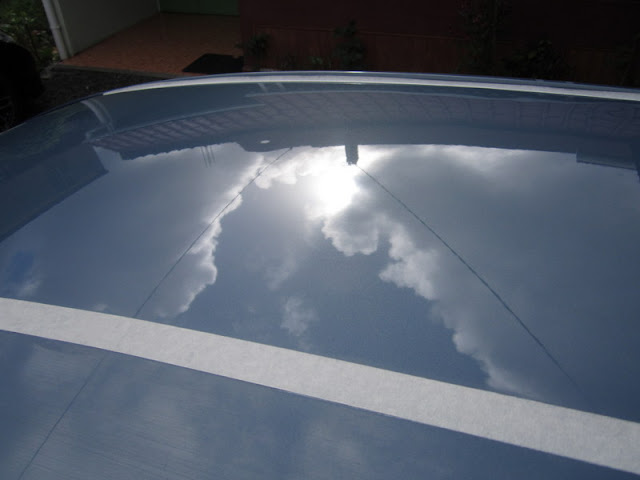
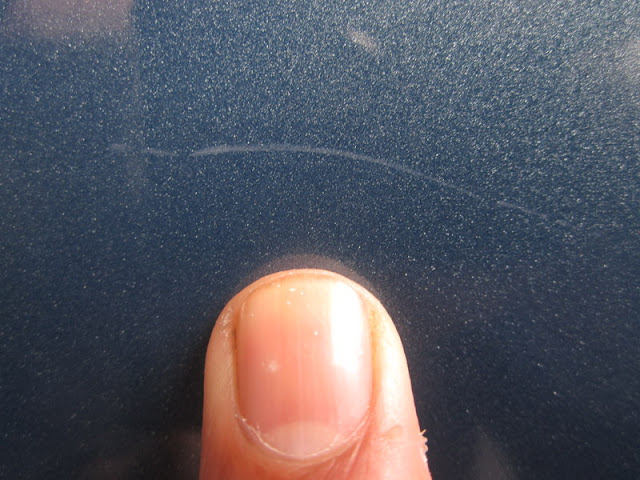
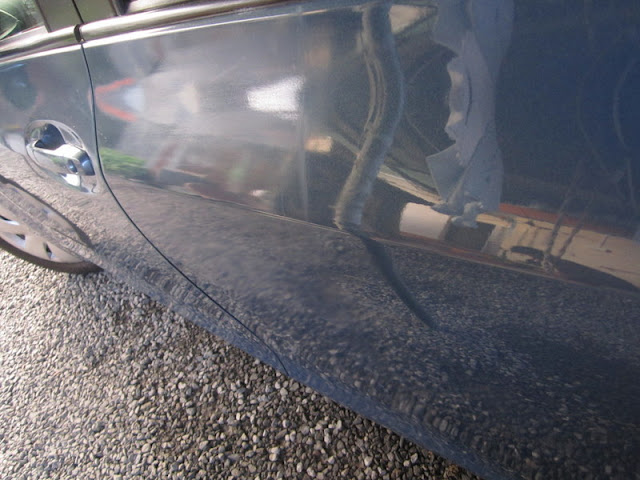
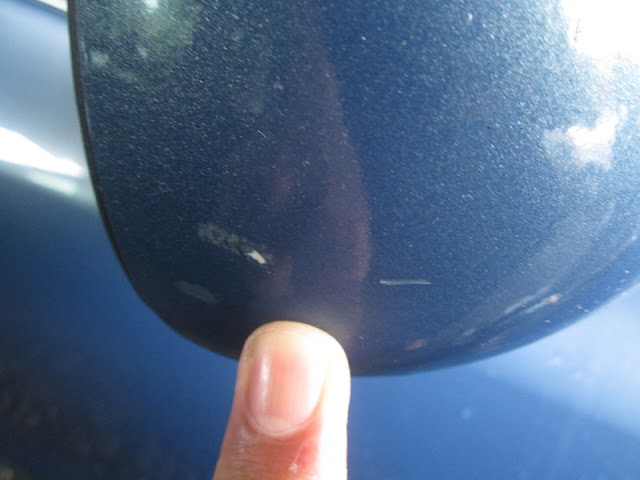
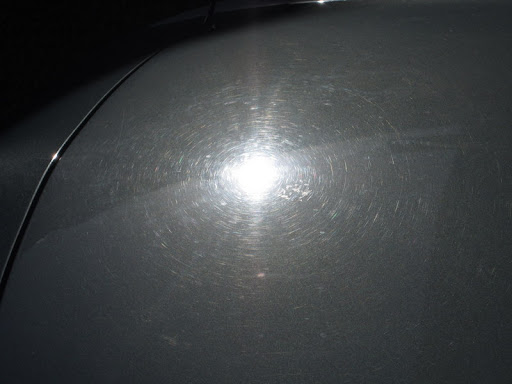
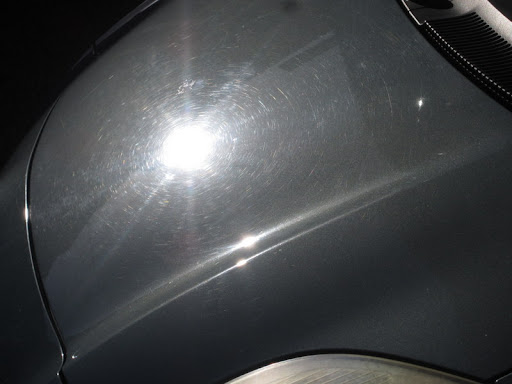
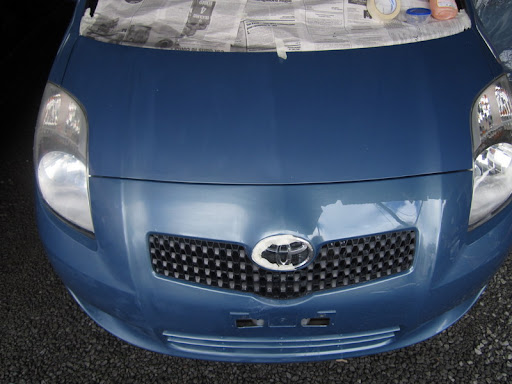
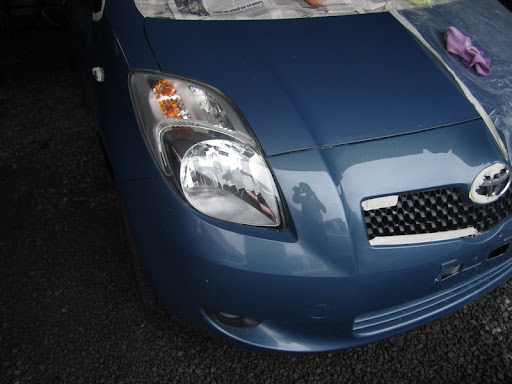
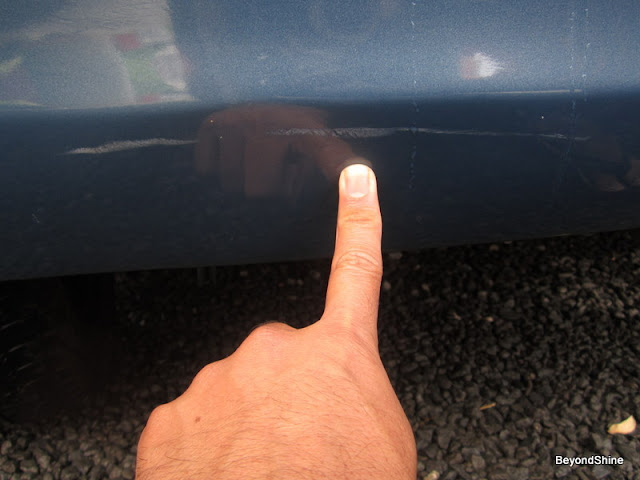
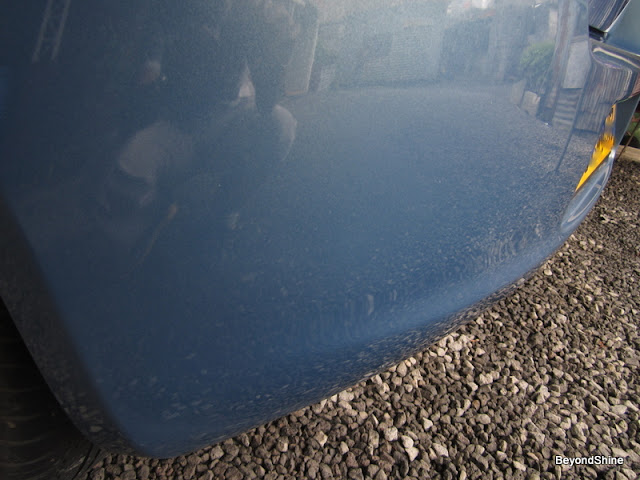
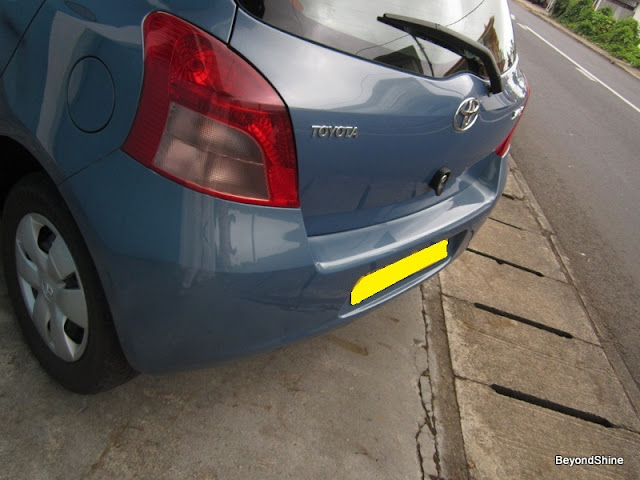
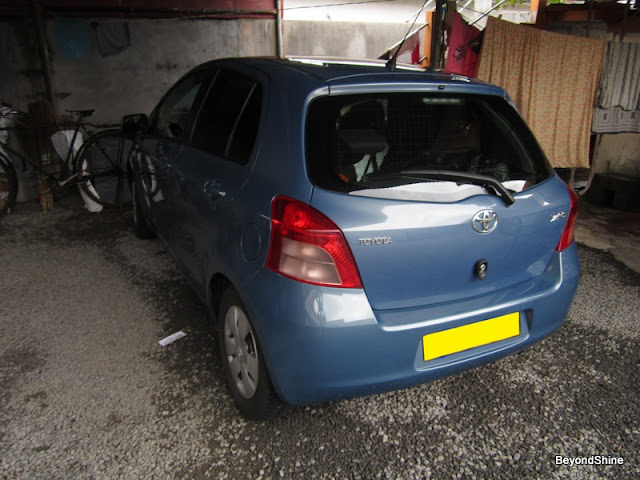
Sharing with you, the journey of a Nippon lady, a Toyota Yaris, great looking, but close inspection after washing and claying reveals a different truth. Not pleasant at all. The car has been washed with a scourer you would say!

Who set this guy loose on the car???

He is not supposed to touch any car, let alone clean them! OMG!
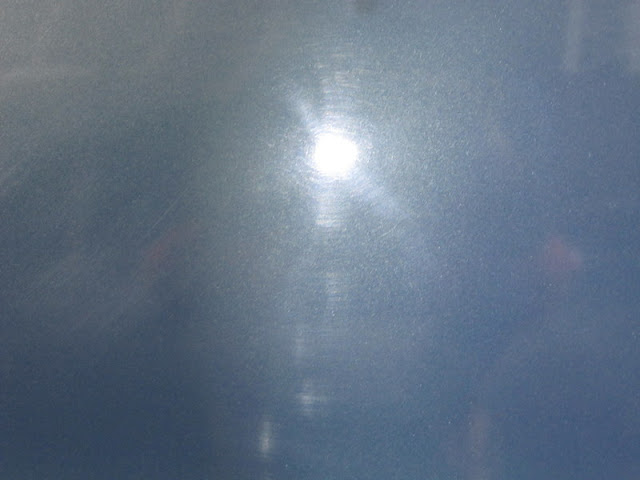
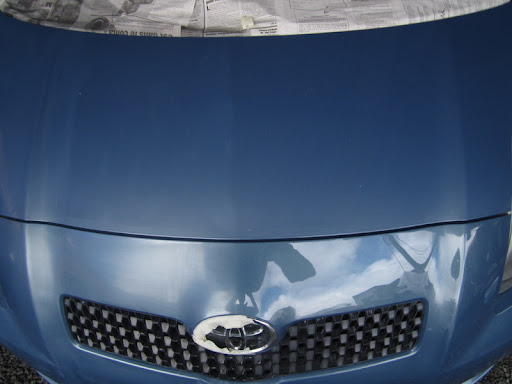
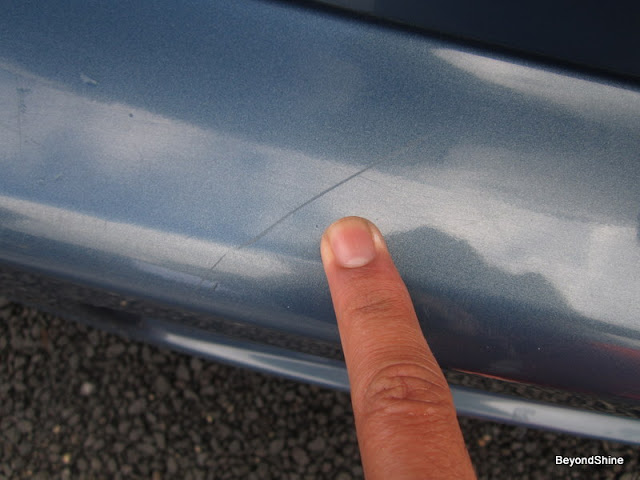
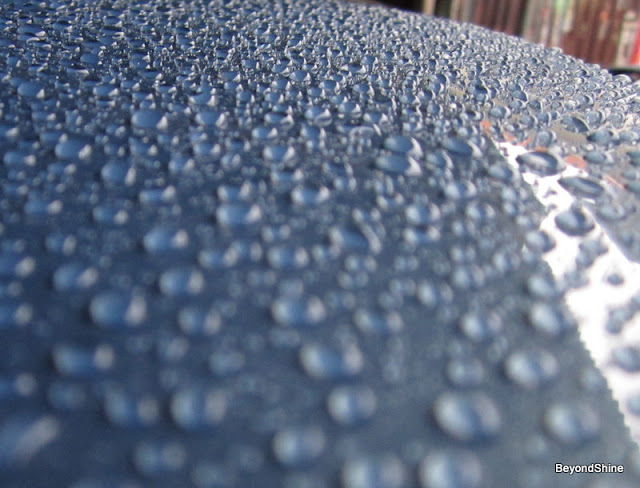
The ride has been washed 2BM. Claying 2 sections of it give the following:


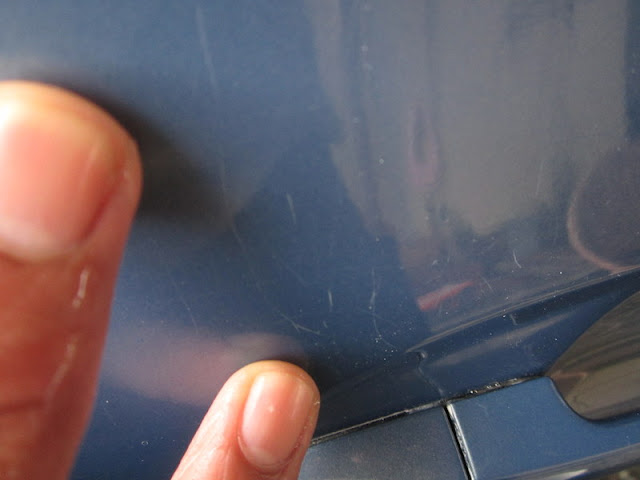
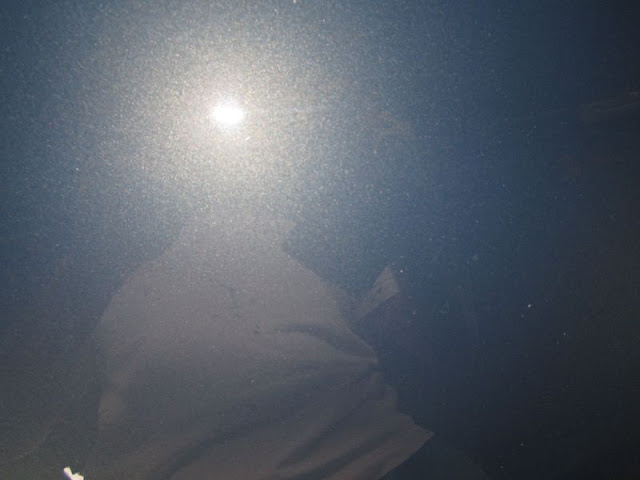
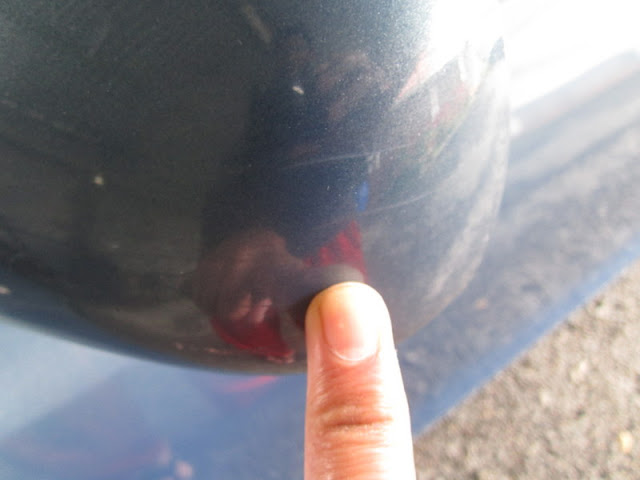
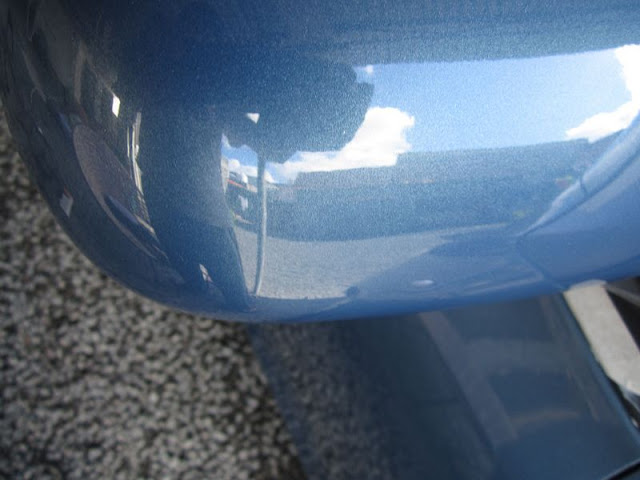
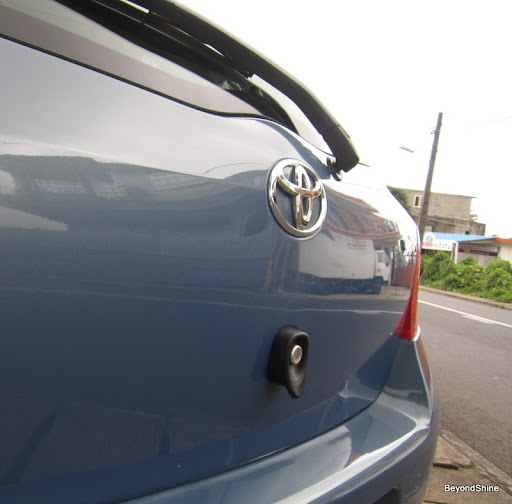
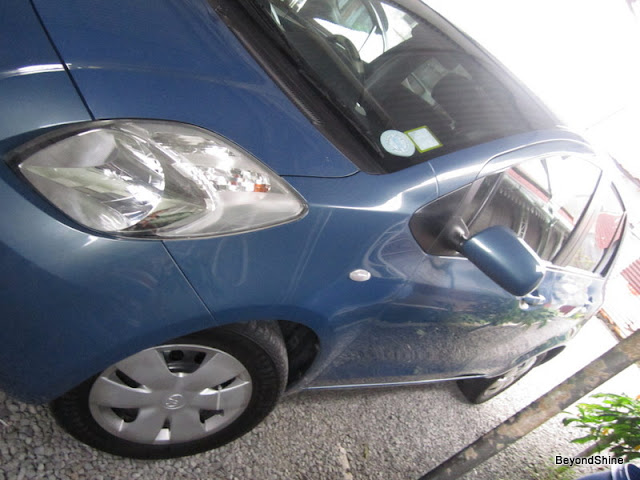
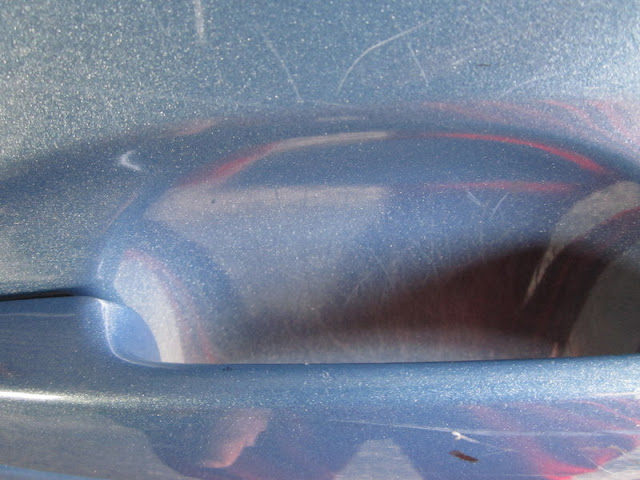
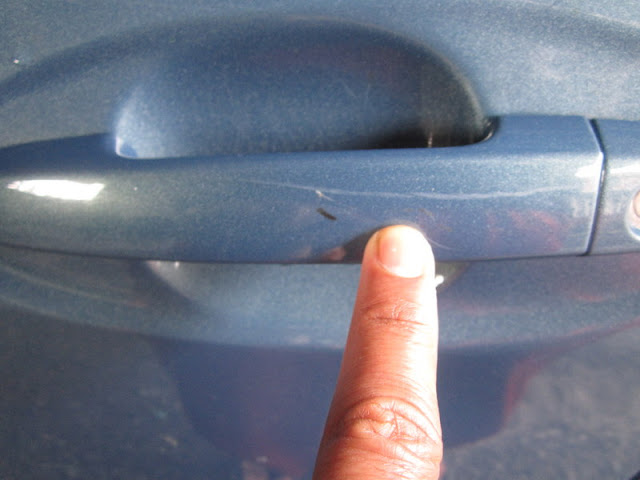
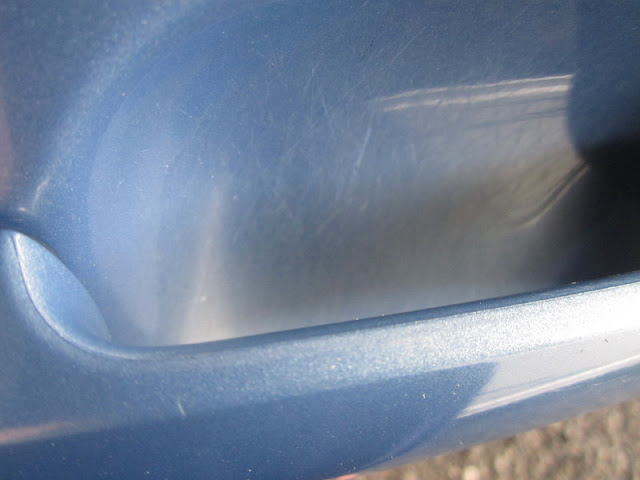
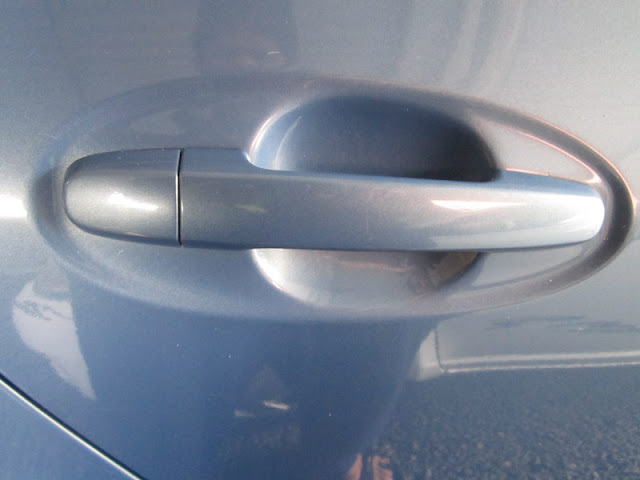
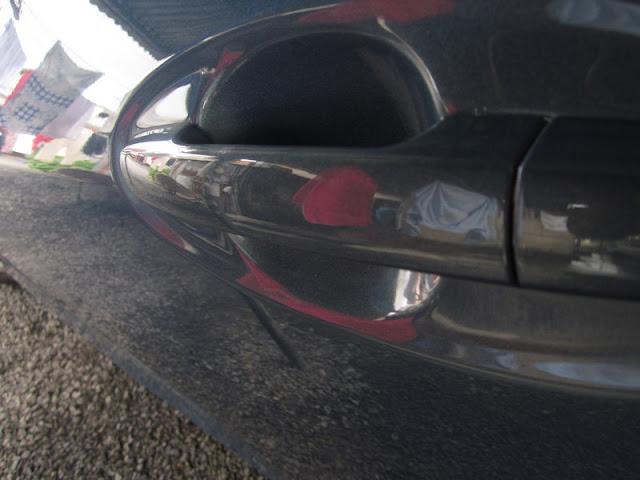
Section-wise, looking at the most handled parts of the paintwork…. The door handles
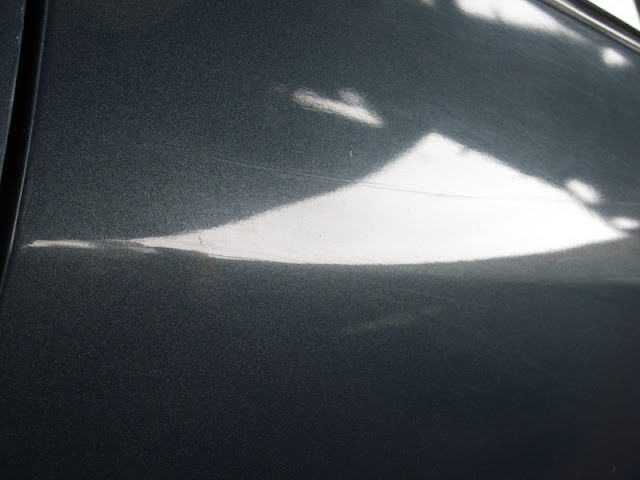
The passenger’s side
Front door

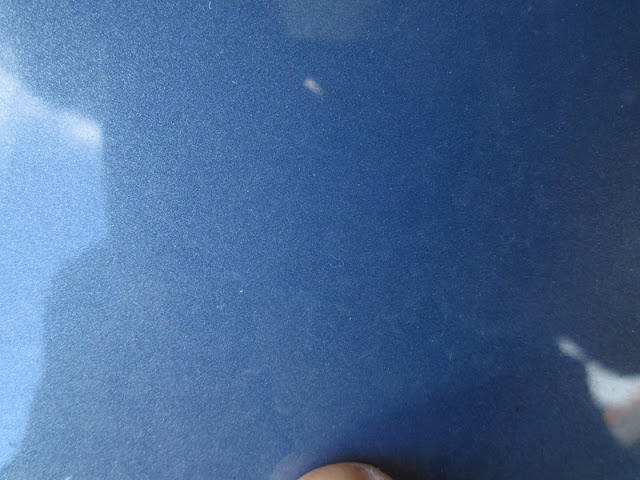
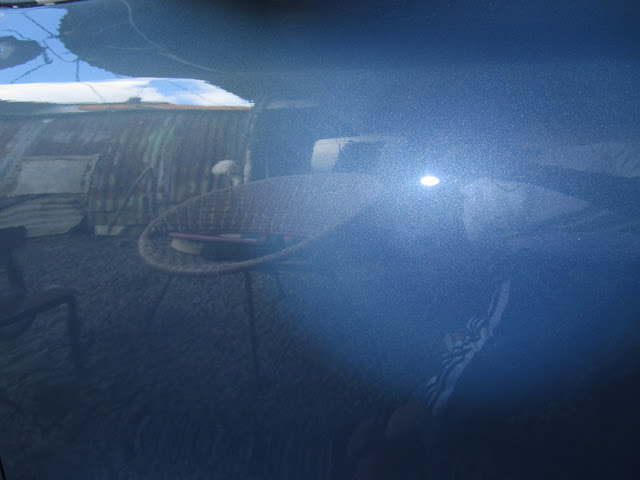
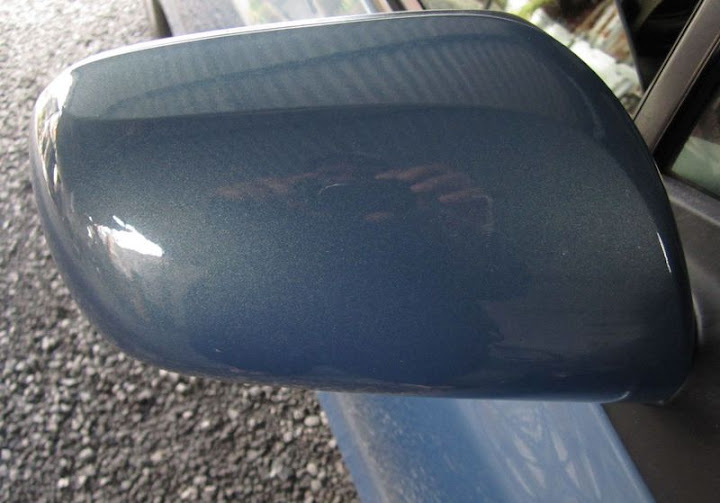
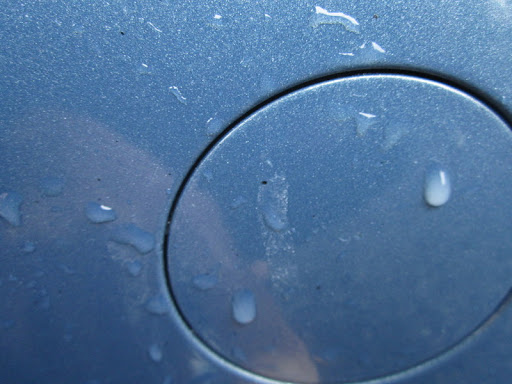
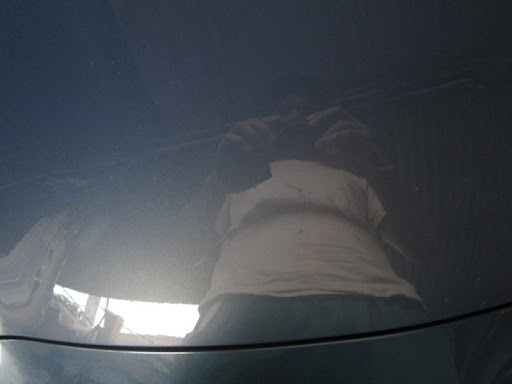
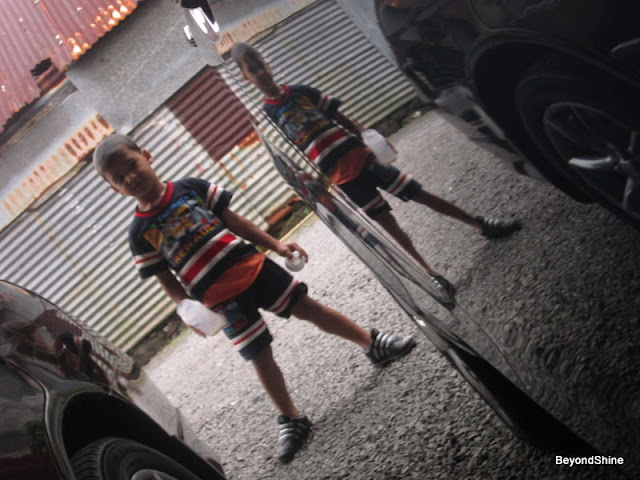
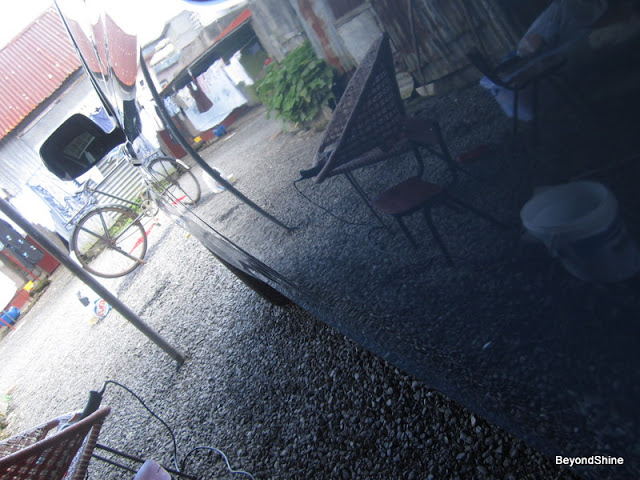
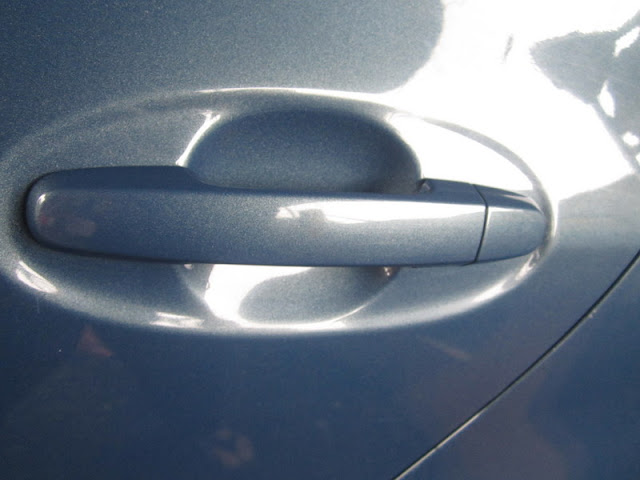
Corrected

But will be refined further….
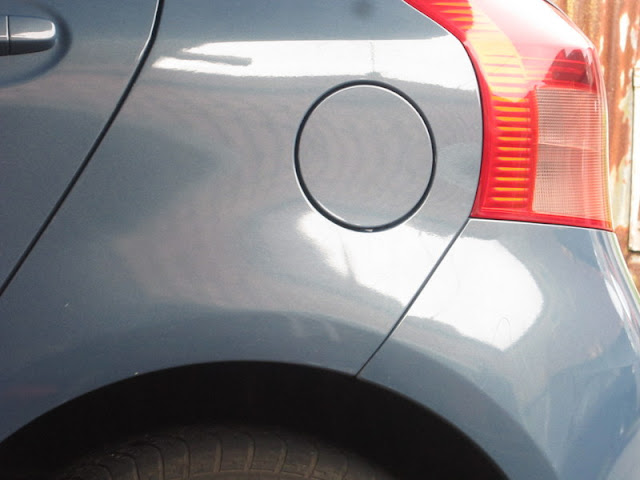
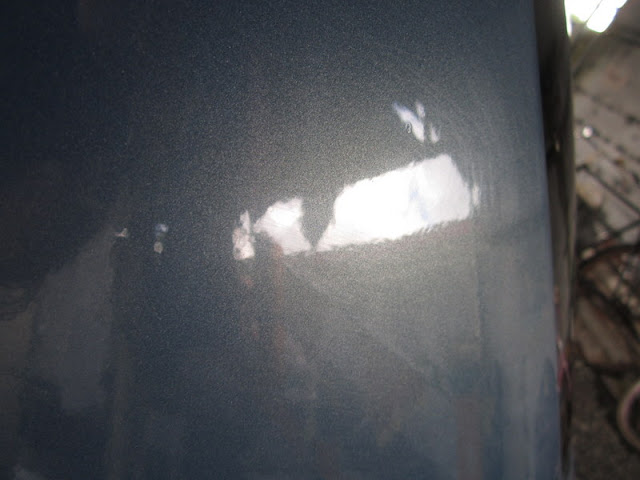
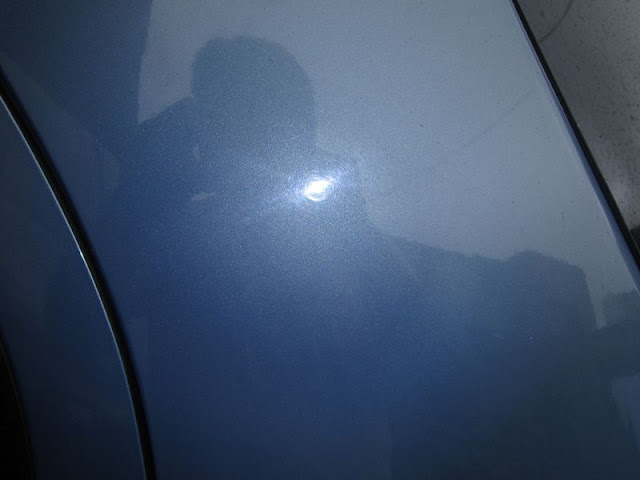
Back door

Zoomed

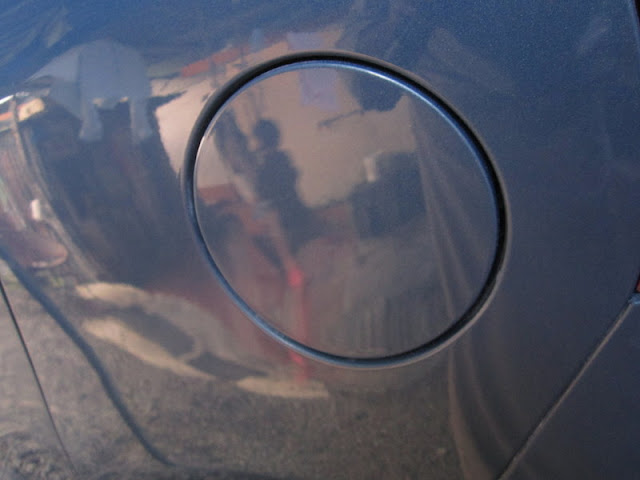
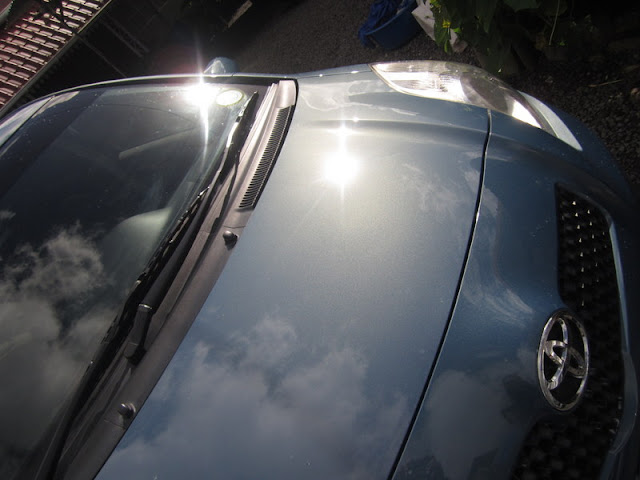
Corrected
The Driver’s Side
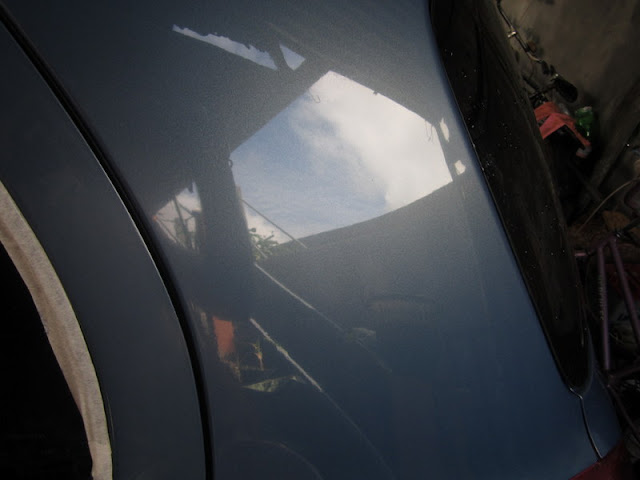
Back door
Corrected

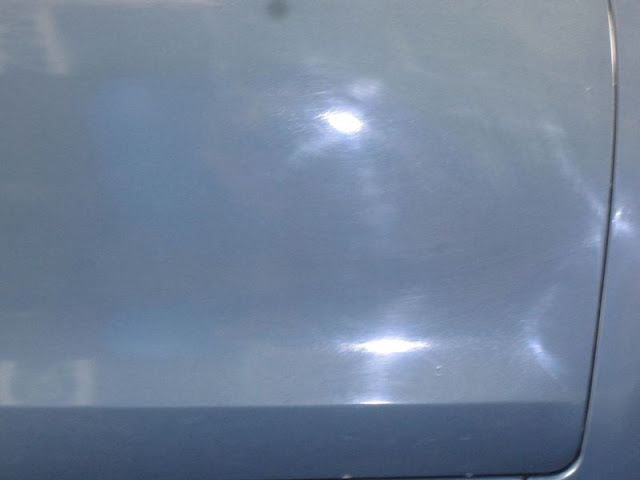
Front door
Correction in process, no before pic

Corrected
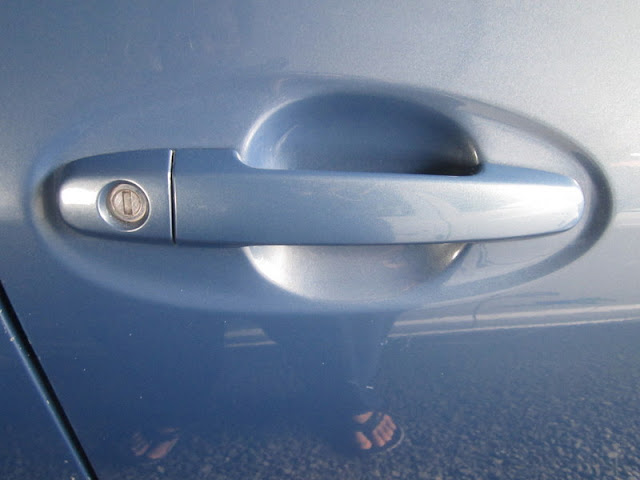
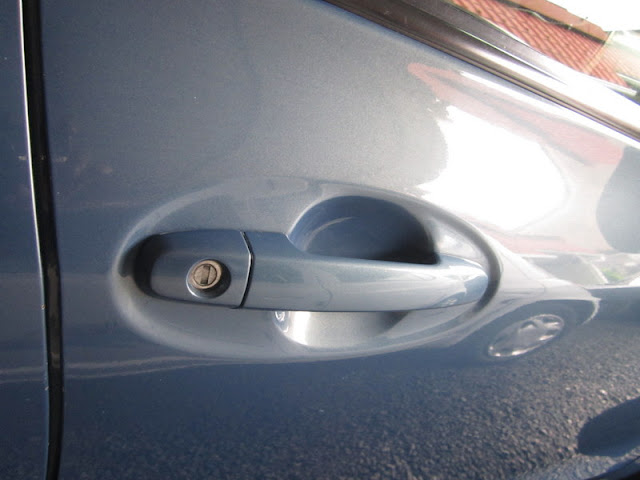
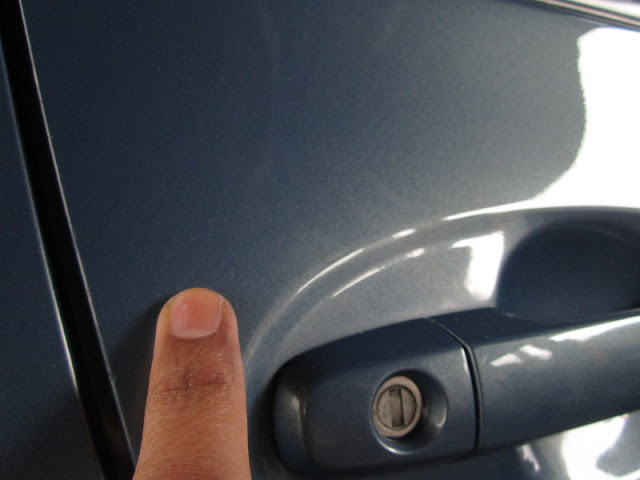
Some pics of door handles refined


rops:Hope you are all doing great and fine
Sharing with you, the journey of a Nippon lady, a Toyota Yaris, great looking, but close inspection after washing and claying reveals a different truth. Not pleasant at all. The car has been washed with a scourer you would say!
Who set this guy loose on the car???
He is not supposed to touch any car, let alone clean them! OMG!
The ride has been washed 2BM. Claying 2 sections of it give the following:
Section-wise, looking at the most handled parts of the paintwork…. The door handles
The passenger’s side
Front door
Corrected
But will be refined further….
Back door
Zoomed
Corrected
The Driver’s Side
Back door
Corrected
Front door
Correction in process, no before pic
Corrected
Some pics of door handles refined