jimmyjam
New member
- Nov 4, 2010
- 677
- 0
Alright Kris, gonna go ahead and give you one of these in advance...... :urtheman:
Haha!! :iagree: You knw it's gonna be an awesome before/after pics fest!!
Follow along with the video below to see how to install our site as a web app on your home screen.
Note: This feature may not be available in some browsers.
Alright Kris, gonna go ahead and give you one of these in advance...... :urtheman:

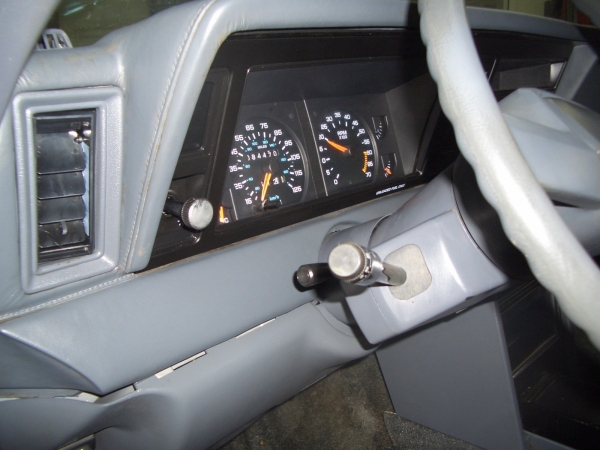
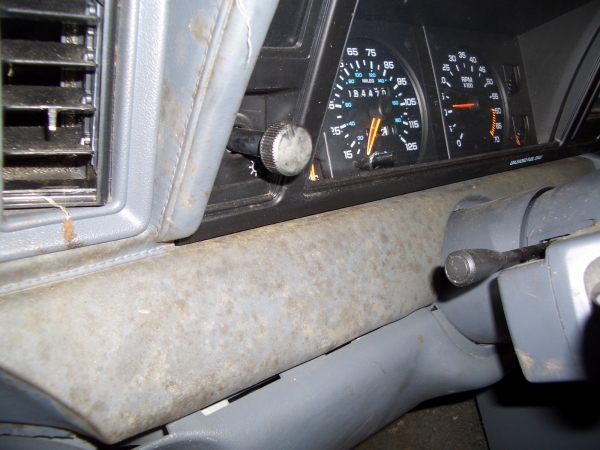
So to all those starting out...please be aware of items such as this. A customer will not tell you that danger like this lies waiting for you. Approach every vehicle interior with caution!!!


This customer is gonna literally #### himself, ha. :dblthumb2:
 rops:
rops:This customer is gonna literally #### himself, ha. :dblthumb2:

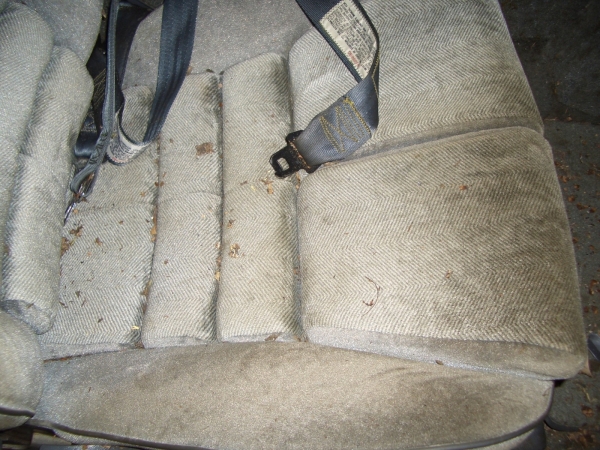


Nice!!!! What did you use for the upholstery? It truley restored it.:dblthumb2:
Great job Kris! Car looks 100 time better and I have no doubt the customer will be extremely happy!
As someone else stated I think that's the interior detail of the year! And it's early 2011!
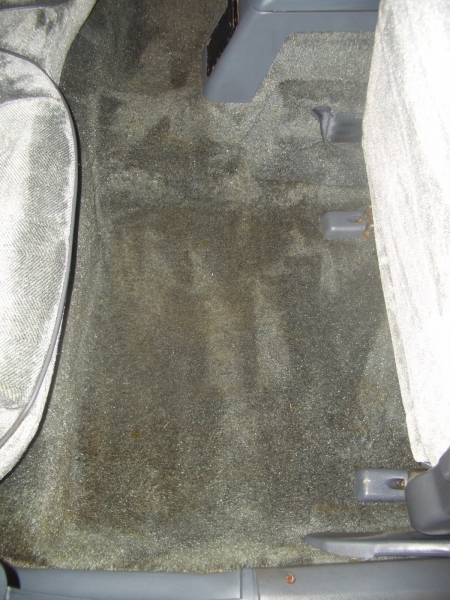
Looks much better. :xyxthumbs: That interior was a mess!
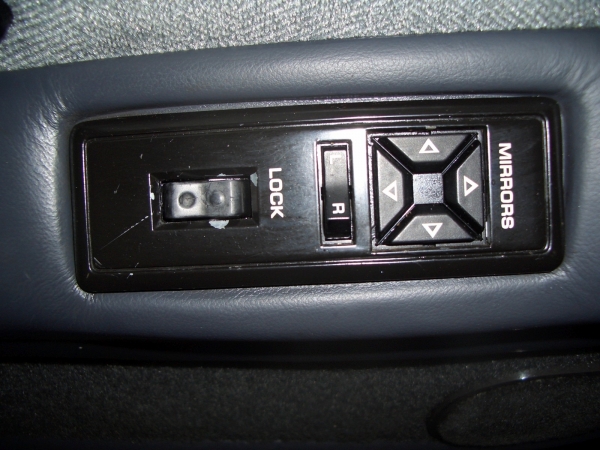
What is on the shifter knob that would not clean up?
What a turn-around! Great job!
