lawrenceSA
New member
- Feb 7, 2012
- 1,713
- 0
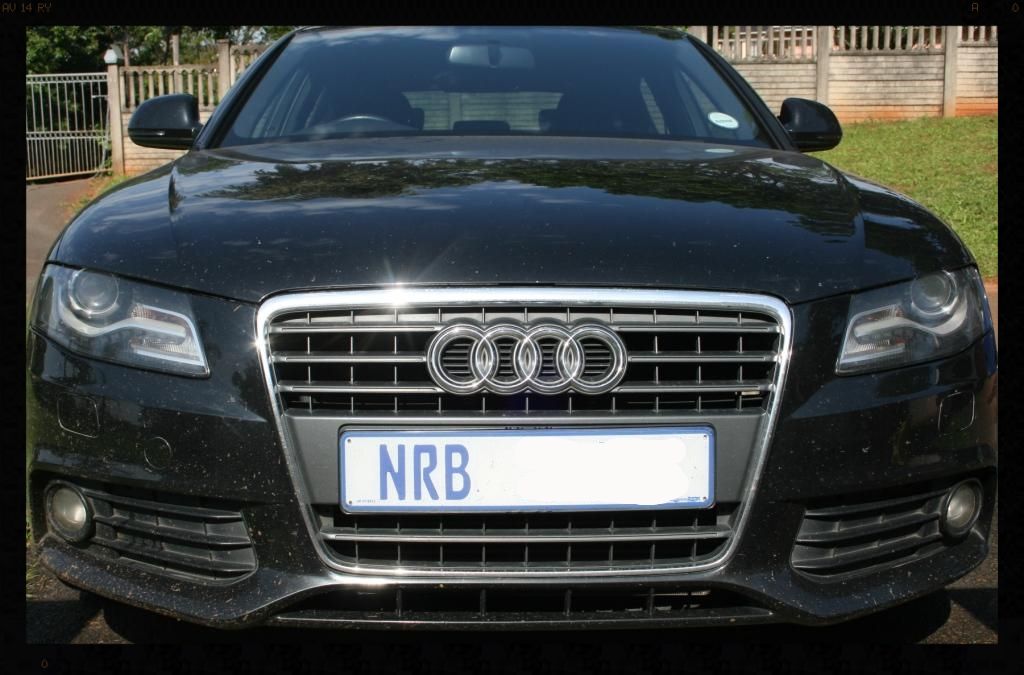
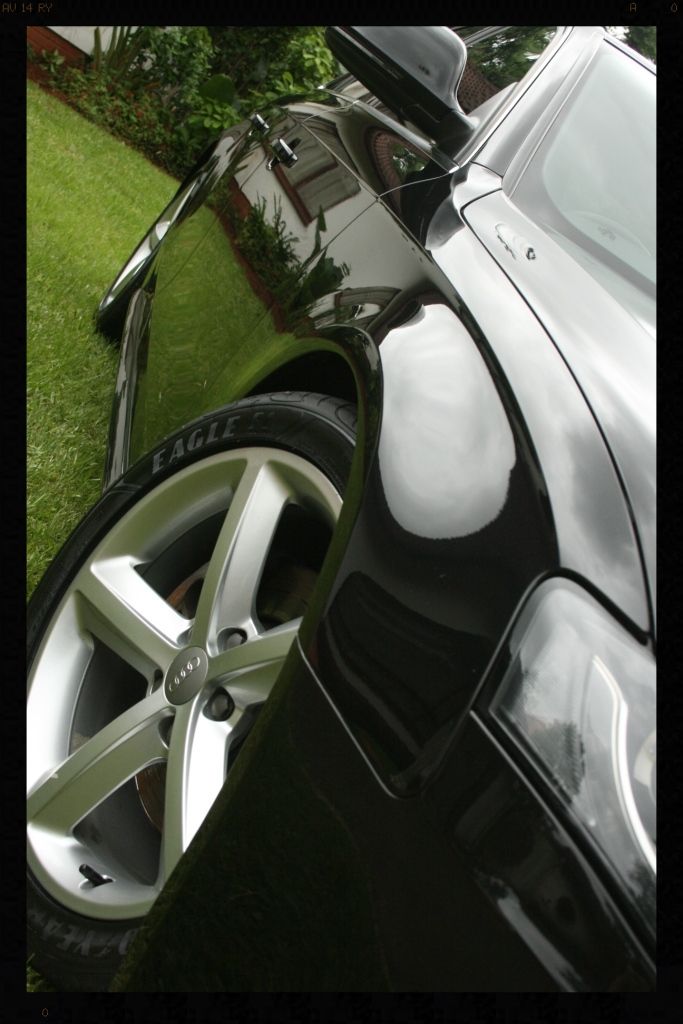
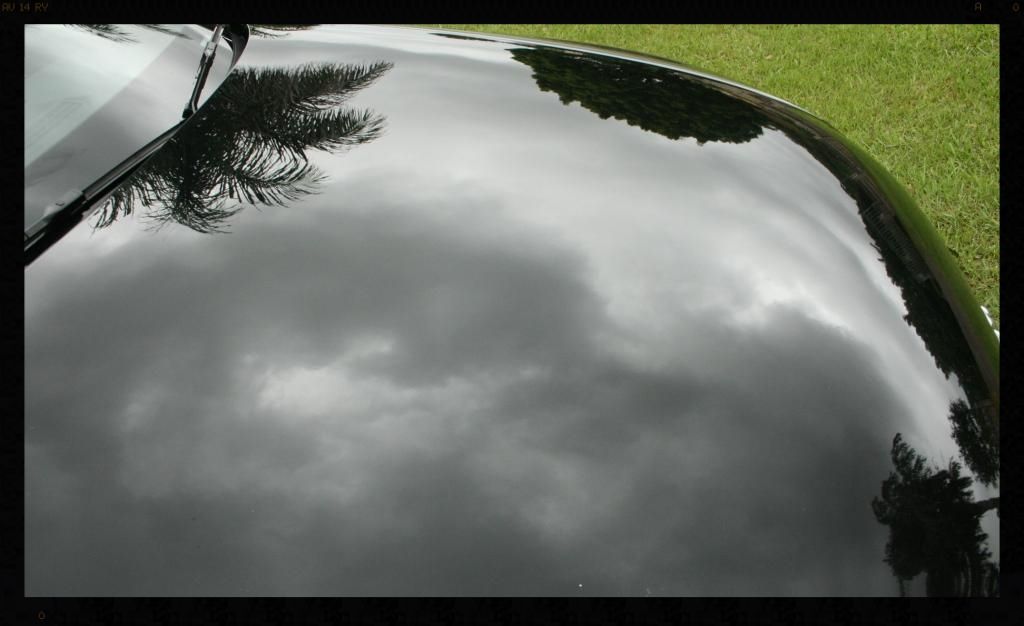
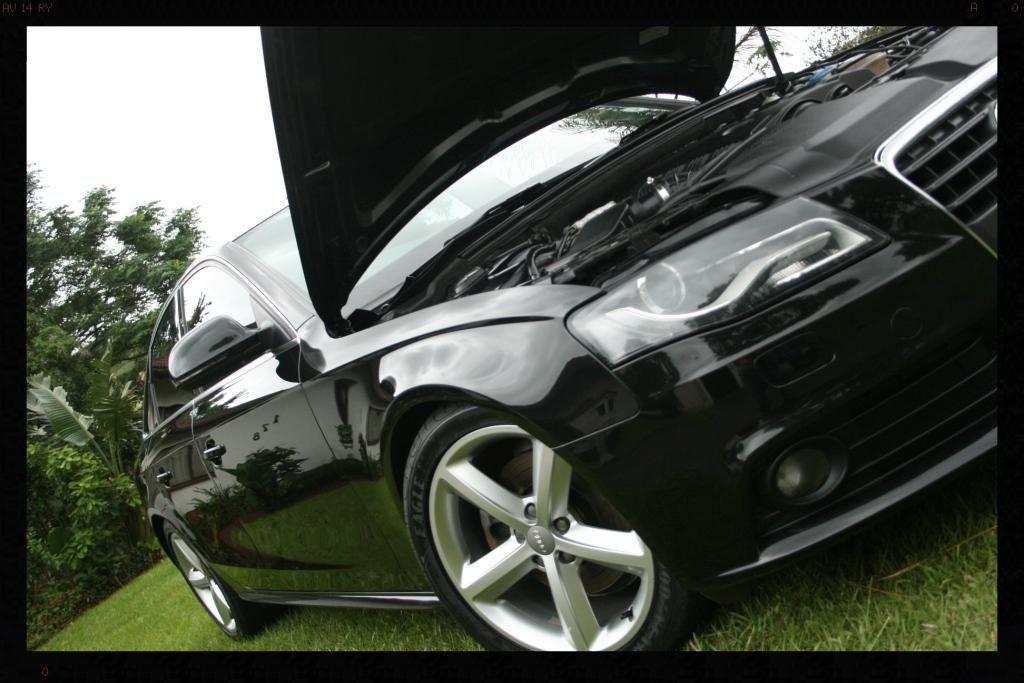
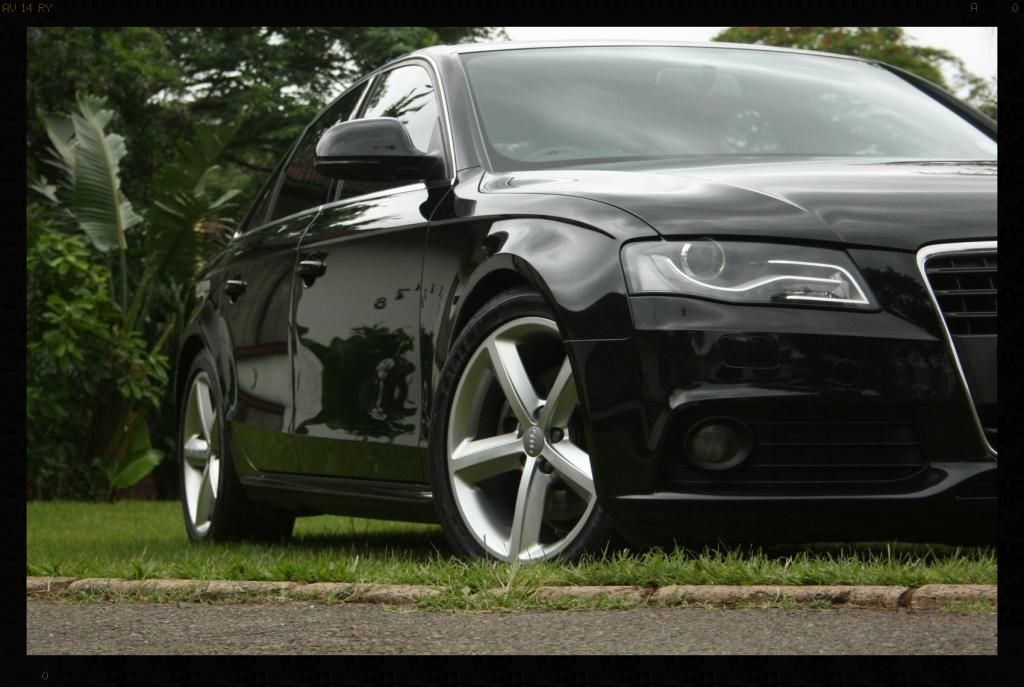
The owner of this vehicle lives in Richards Bay (about 100 miles away from me) and came down especially for the detail. I had thus not seen the vehicle prior to its arrival on Friday night and did not know what sort of condition it would be in (always a risky prospect for a detailer, and it caught me out this time - when did an A4 Audi get some much body panel to polish? It is massive man :doh: ). The owner had selected a full multi-step correction and wanted the paint looking as good as I could safely get it and given that he would need to still drive back to Richards Bay on Sunday afternoon I knew I would be under pressure from the outset
In preparation I had purchased some Meguiars Microfibre pads which would make cutting out any swirls on the hard Audi paint a bit easier. I hired a compressor for the weekend so I could test the pads out and found it a really handy tool to have - one for the Christmas list for sure!
Friday evening 19:00 to 23:00
Mats removed
Entire cabin blown out with compressed air (so much easier than using brushes :lol: )
Seats and carpets vacuumed
Leather cleaned (Cyclo CM30 APC @ 20:1, brushed then wipes clean with MF Towels)
Air dried (compressor in use again)
Leather conditioned with SmartLeather
Dash and interior plastics wiped clean with damp MF towel
All plastic surfaces dressed with Meguiars Ultimate Protectant
First wipe off the drivers seat
Saturday morning 05:00 to 23:30
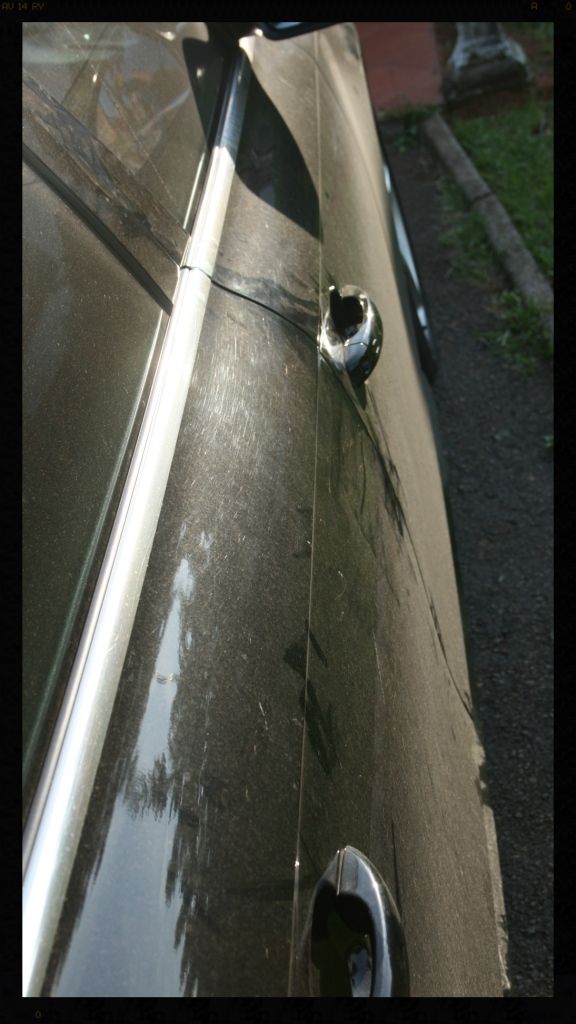
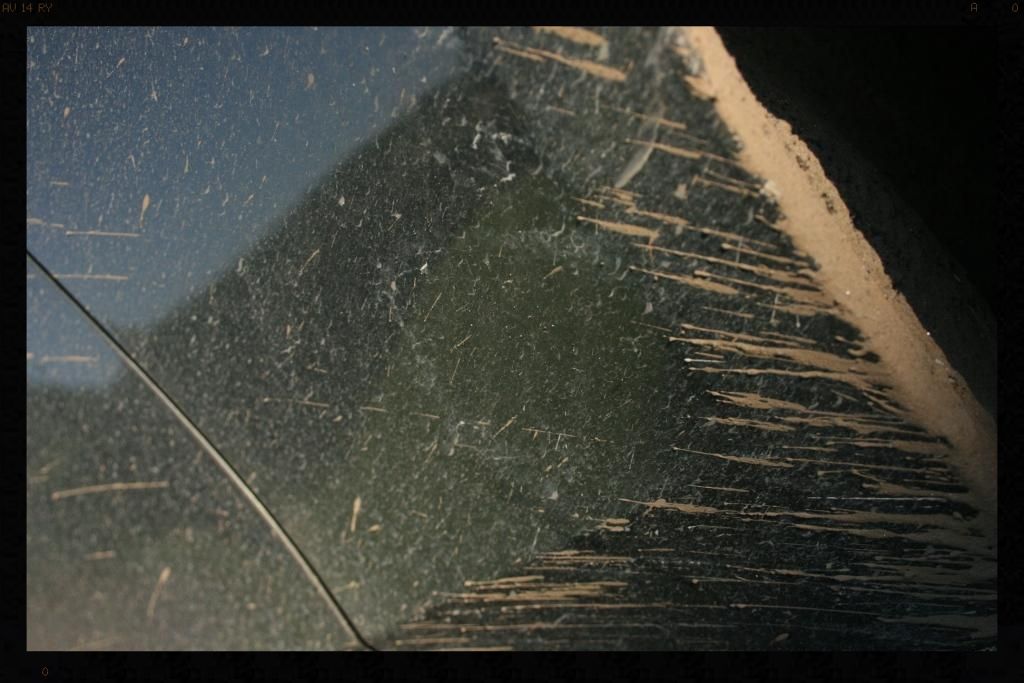
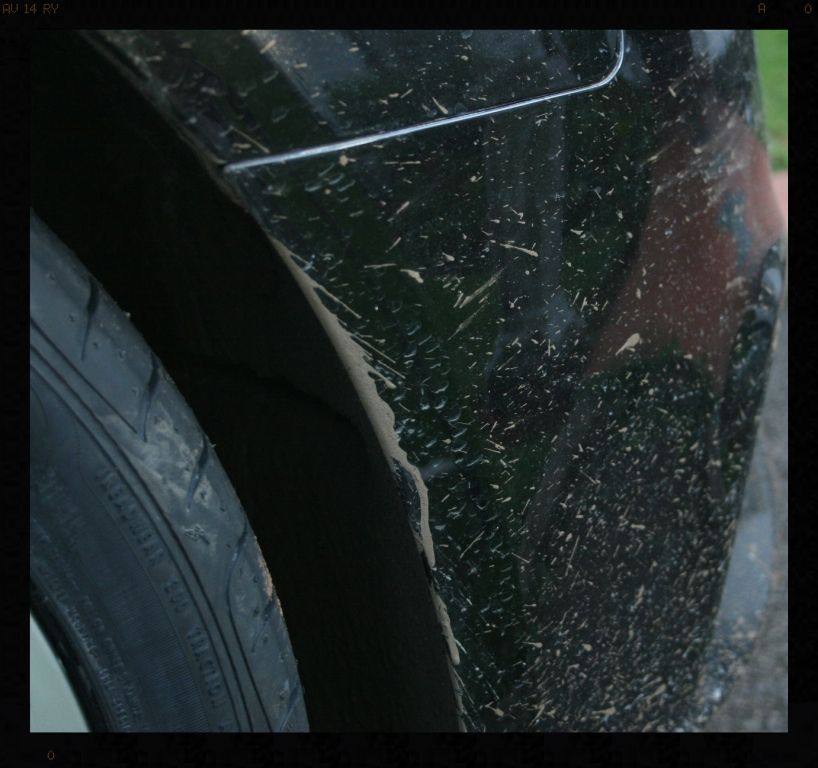
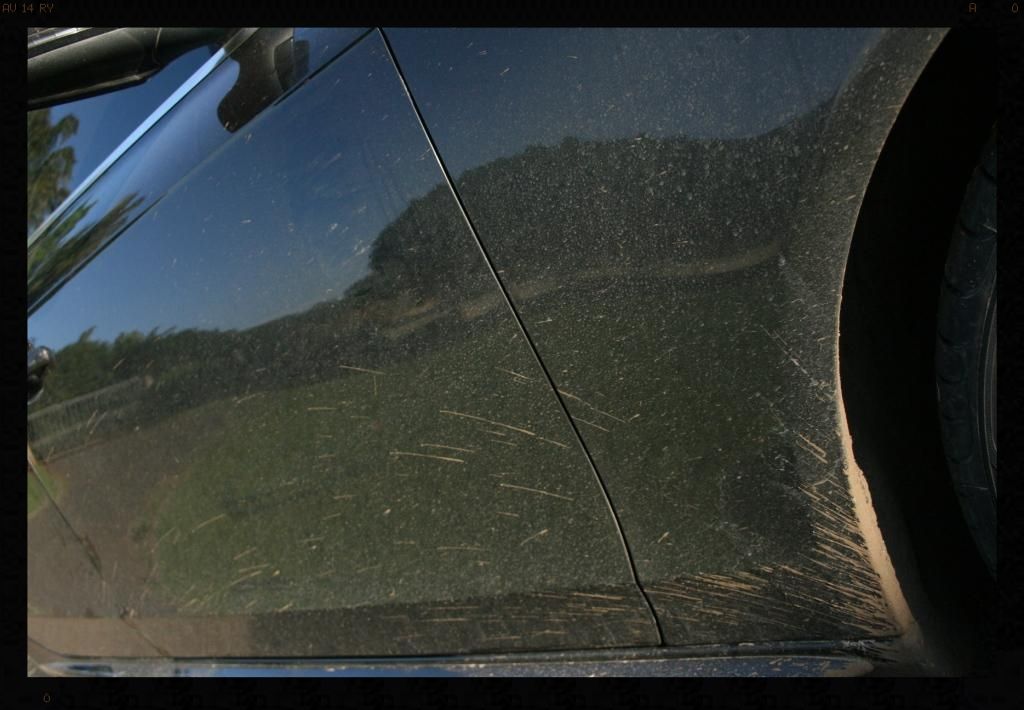
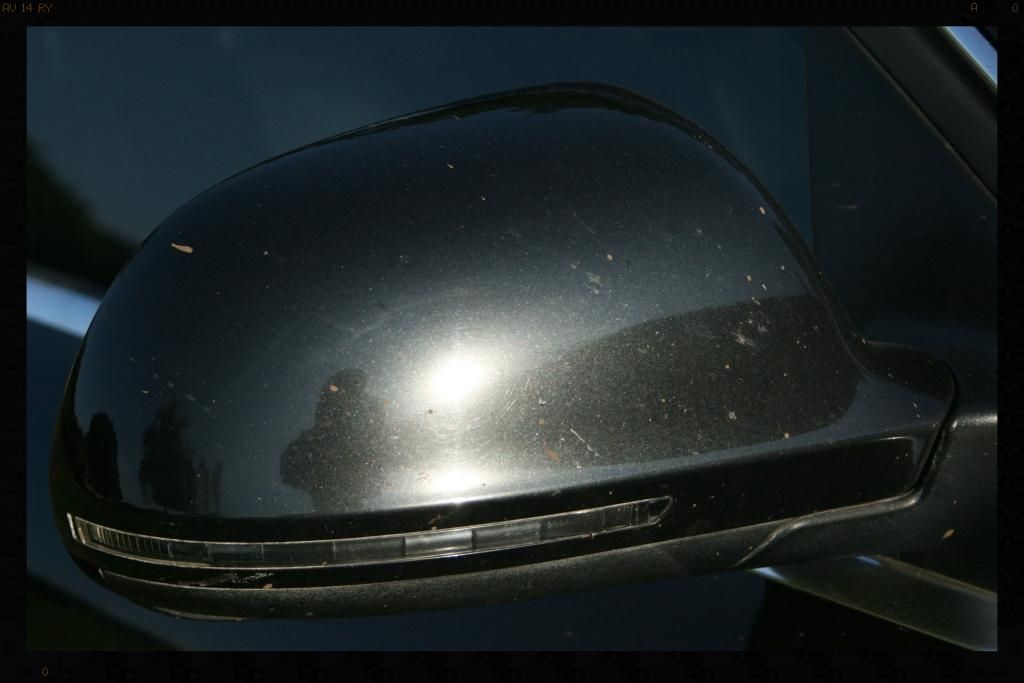
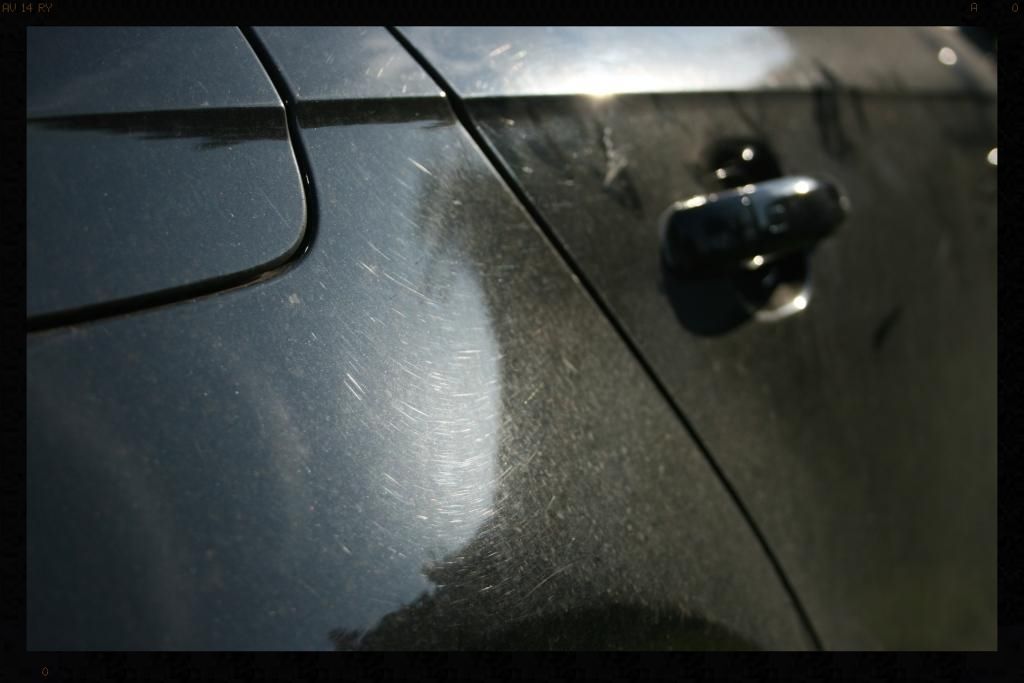
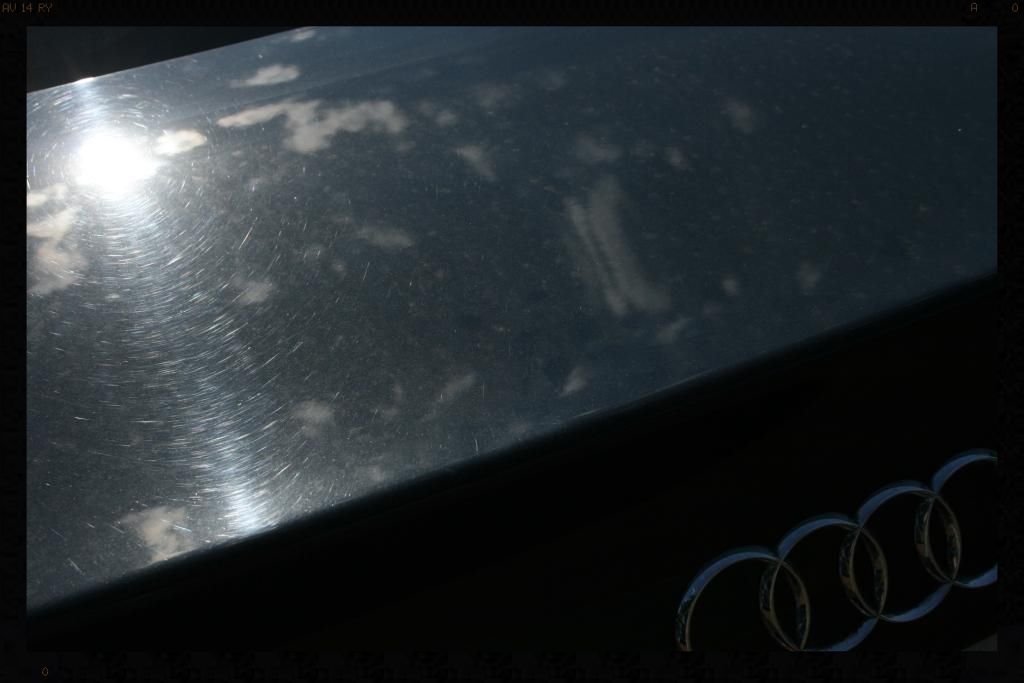
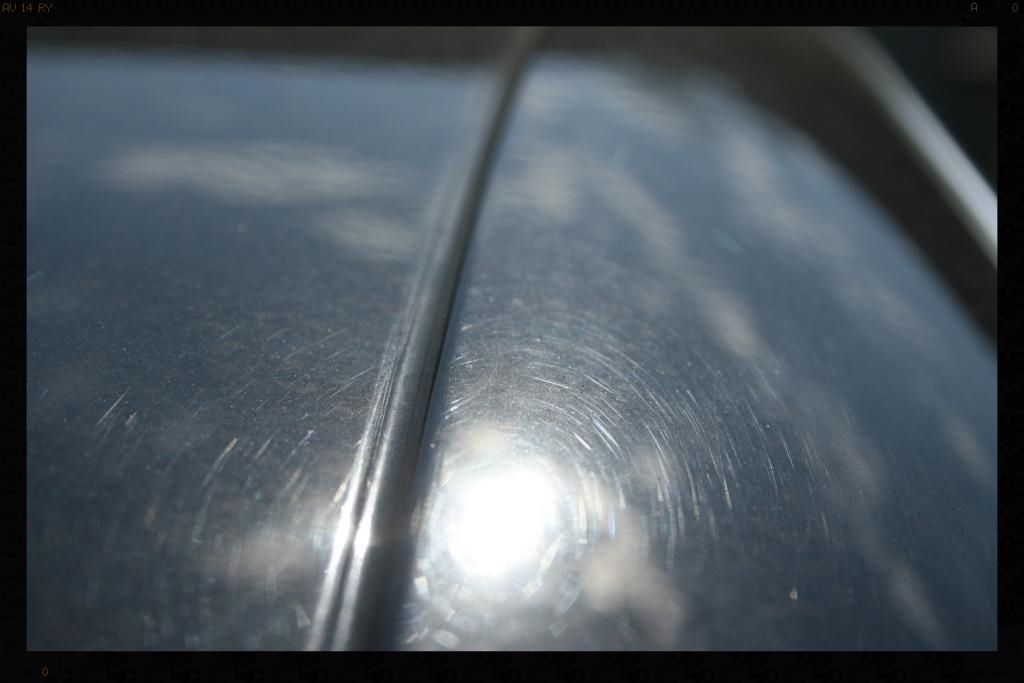
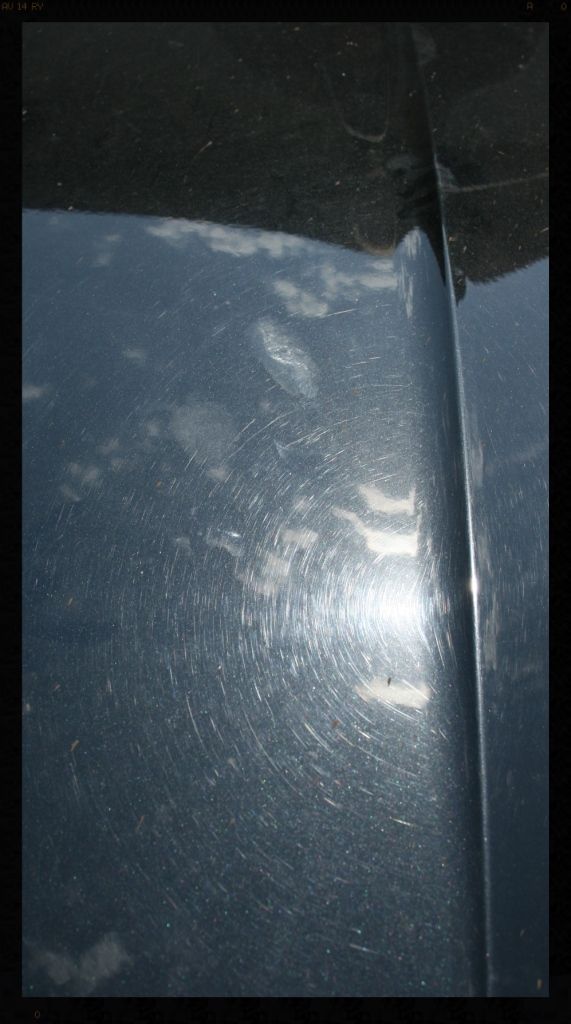
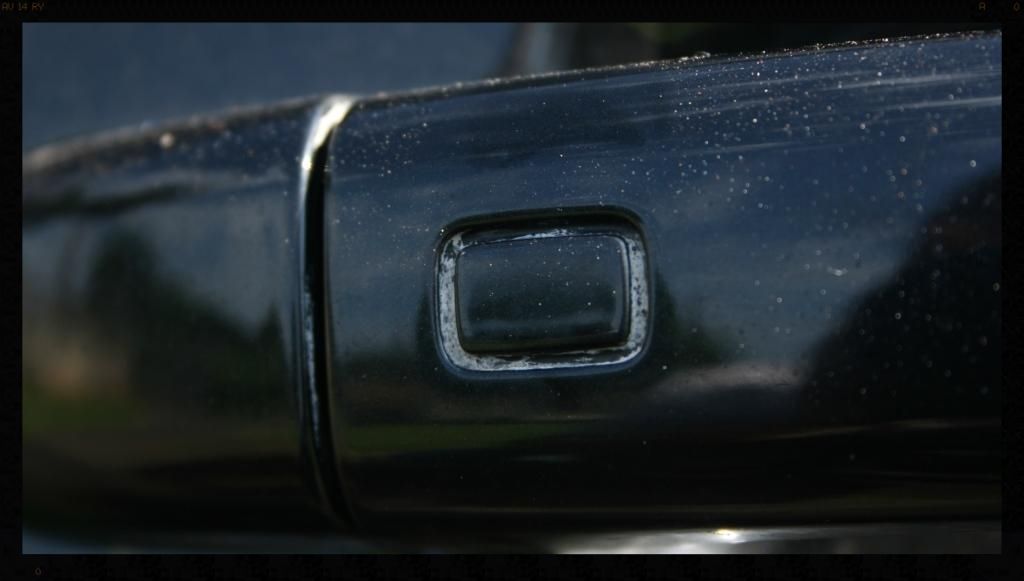
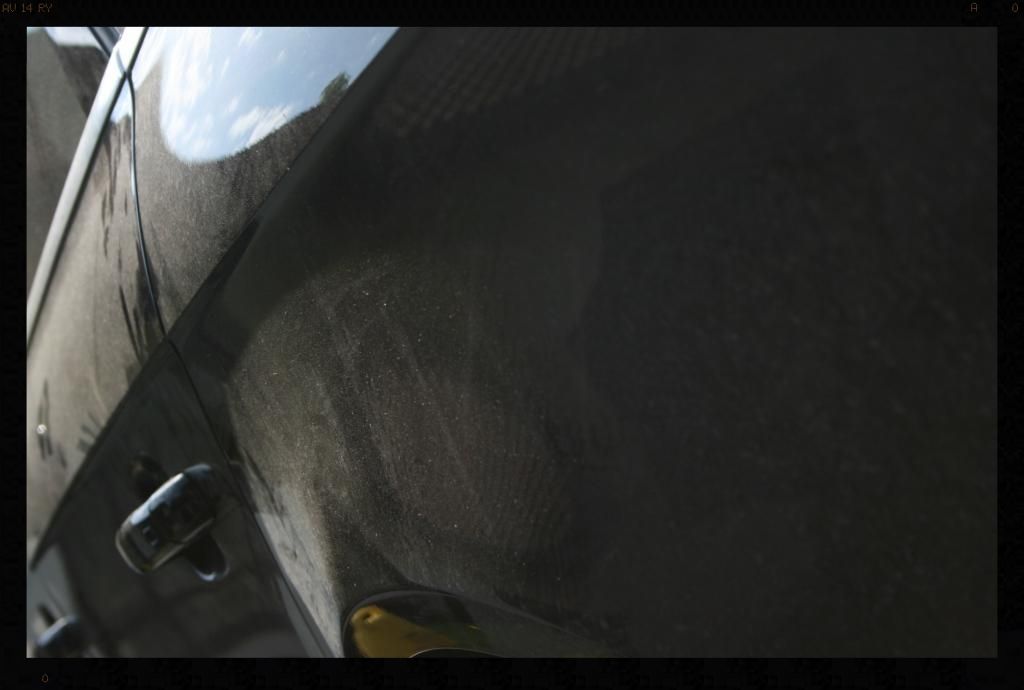
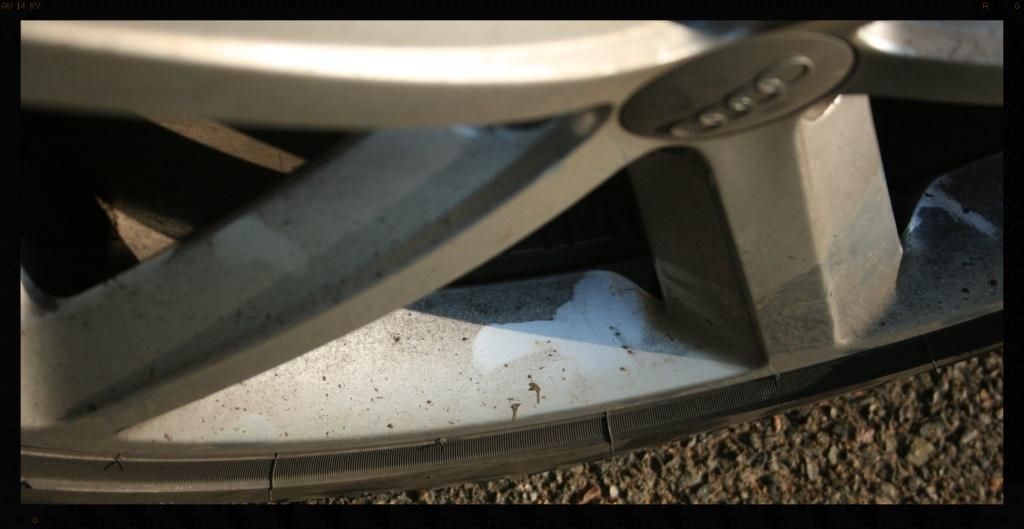
The car was covered in mud and was full of deep swirls, RIDS and a lot of contamination, in particular iron/tar - this comes as no surprise as the owner works in the port. The hard life through the corner wash was well evident and I was really glad I had the MF pads in my arsenal.


So Saturday went something like this....
Mud blasted from wheel wells with HP Washer
Wheels wells sprayed with Cyclo CM 30 @ 5:1 using a foaming trigger head to increase dwell time
Agitated using Mothers Fender Well Brush
Wheel wells HP rinsed
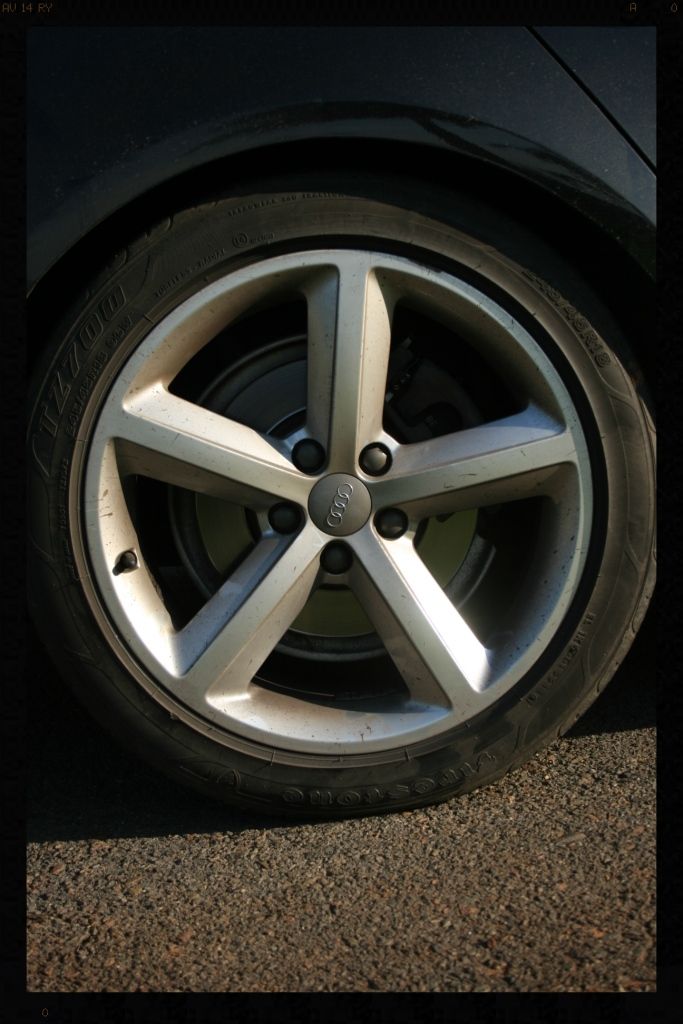
Tires cleaned using Meguiars All Wheel and Tire Cleaner
Wheels cleaned using using Meguiars All Wheel and Tire Cleaner
Wheels rinsed and dried
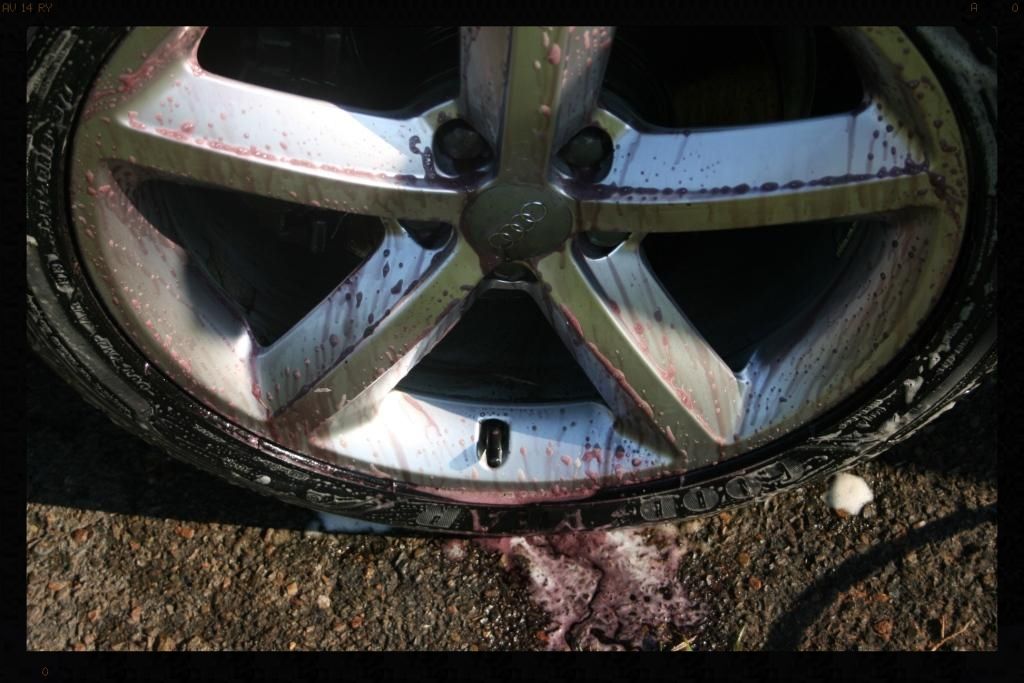
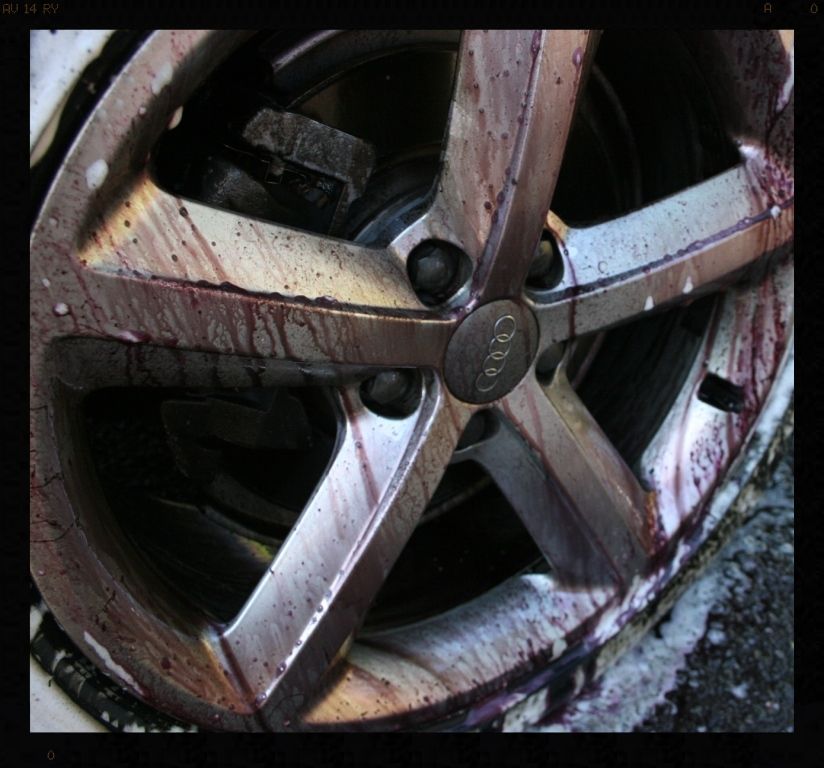
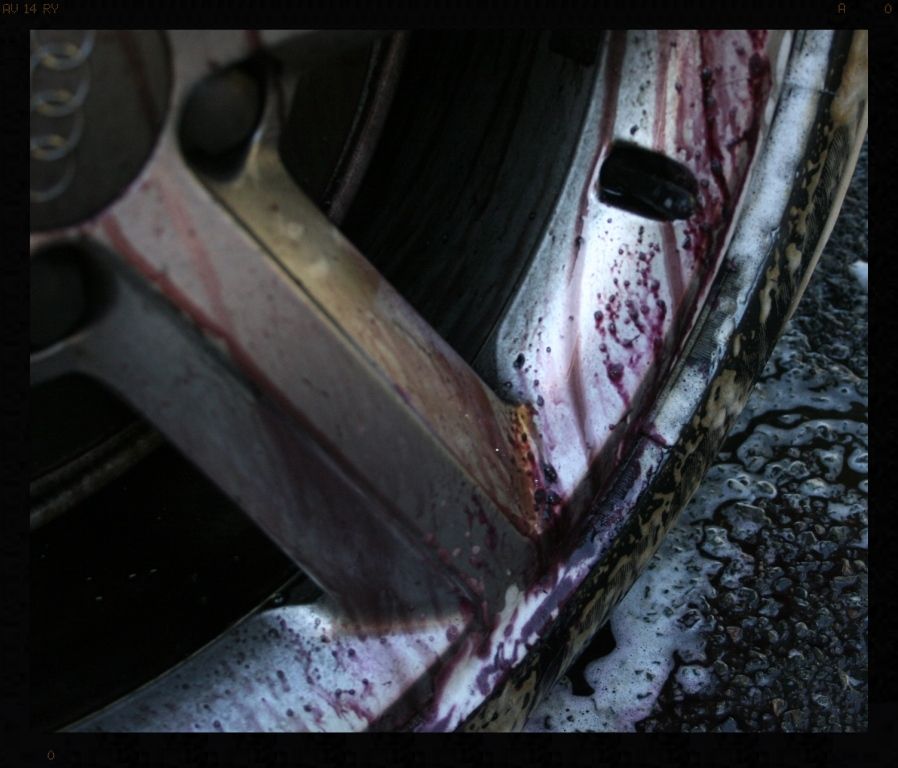
Tar removed from wheels using Autofinesse Oblitarate
Iron removed from wheels using Autofinesse Iron Out
Wheels HP rinsed
Wheels cleaned Cyclo CM 30 APC @ 5:1 to remove any remaining dirt/product residue
Door shuts and boot shut sprayed with Cyclo CM 30 APC @ 5:1 using a foaming trigger head to increase dwell time, then brushed
Door shuts HP rinsed
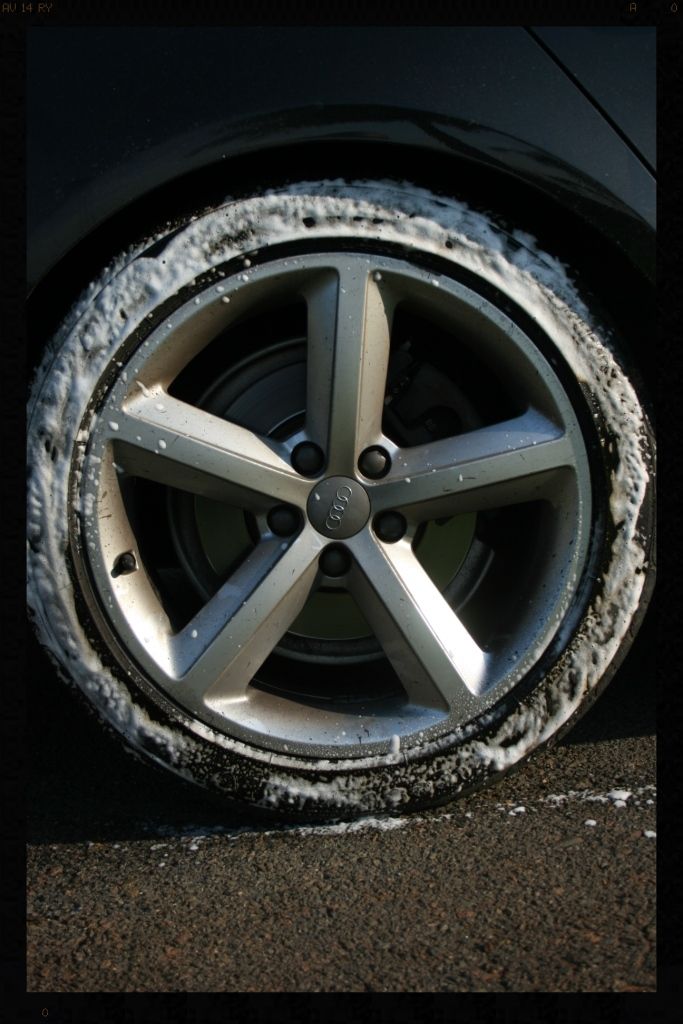
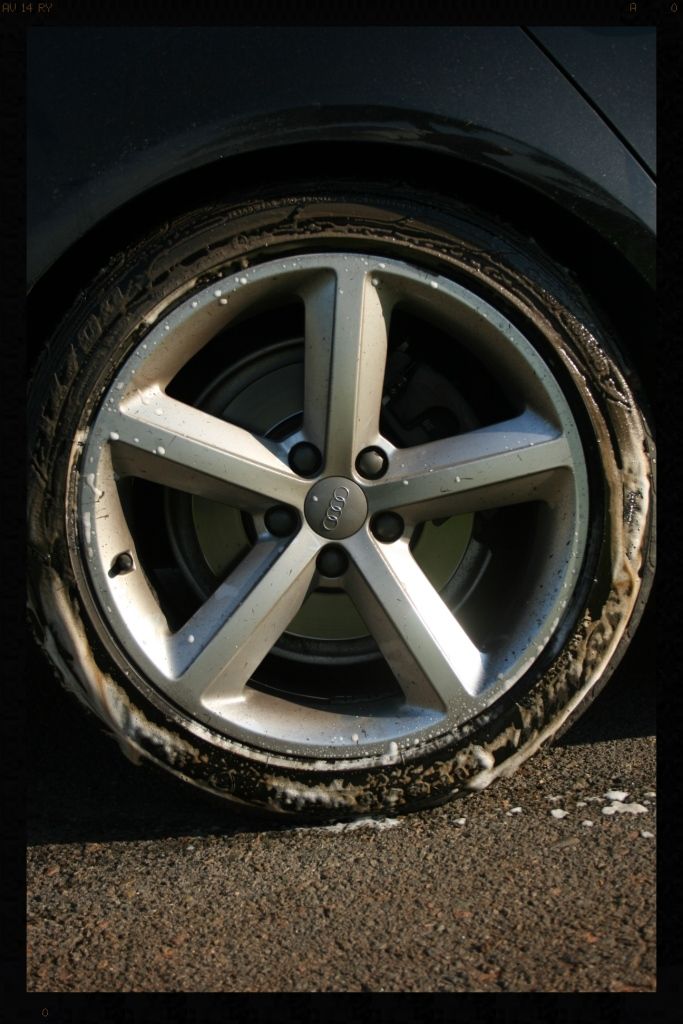

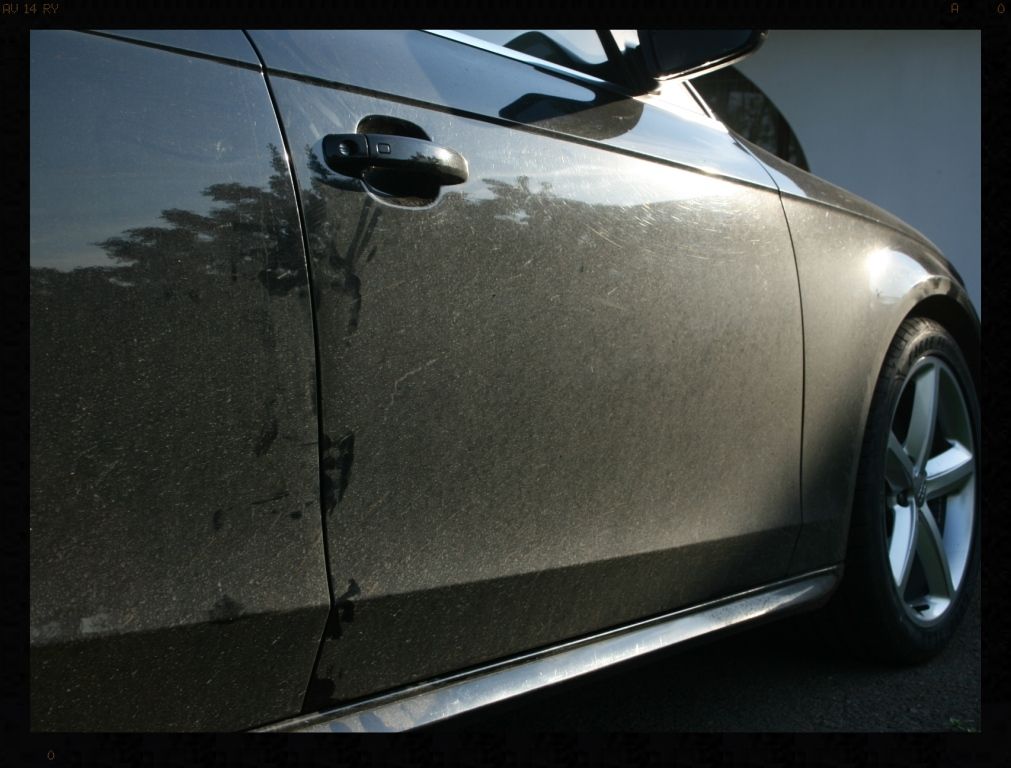
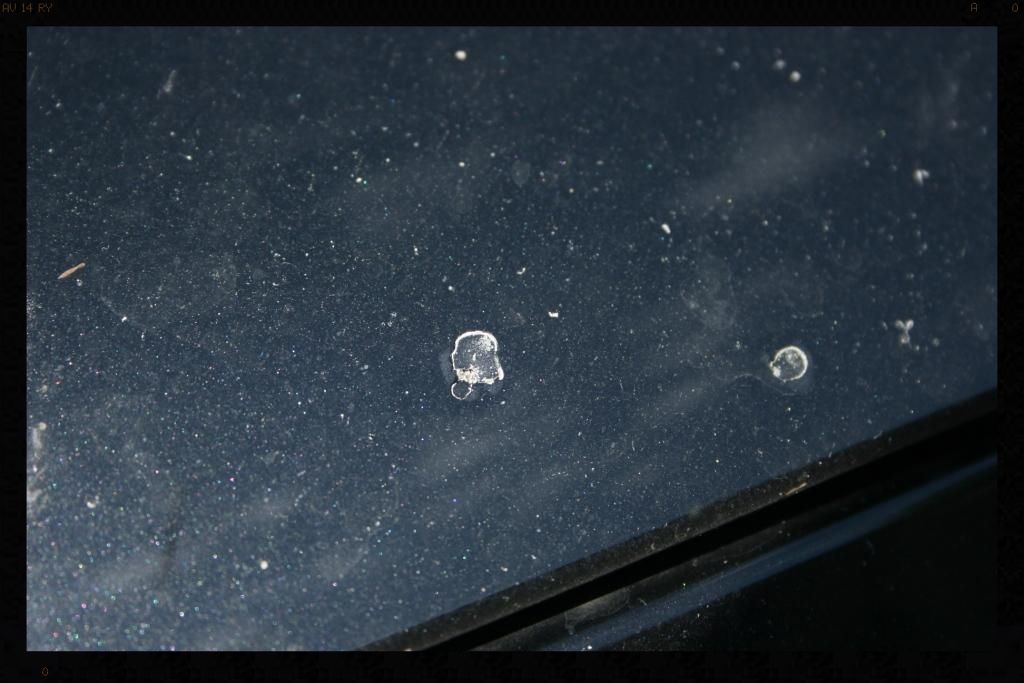
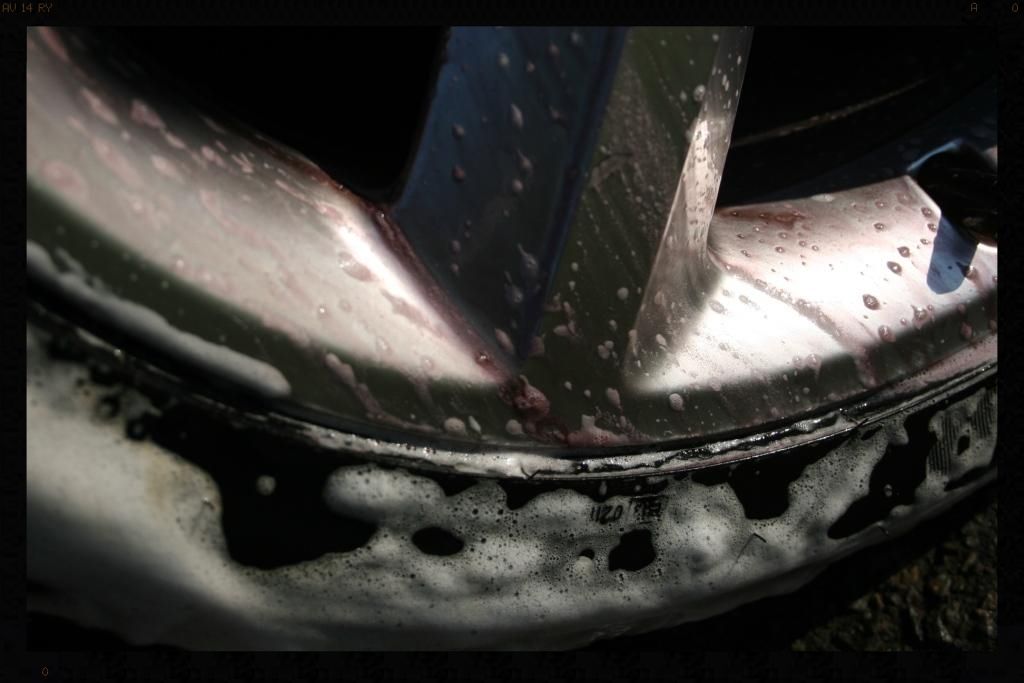
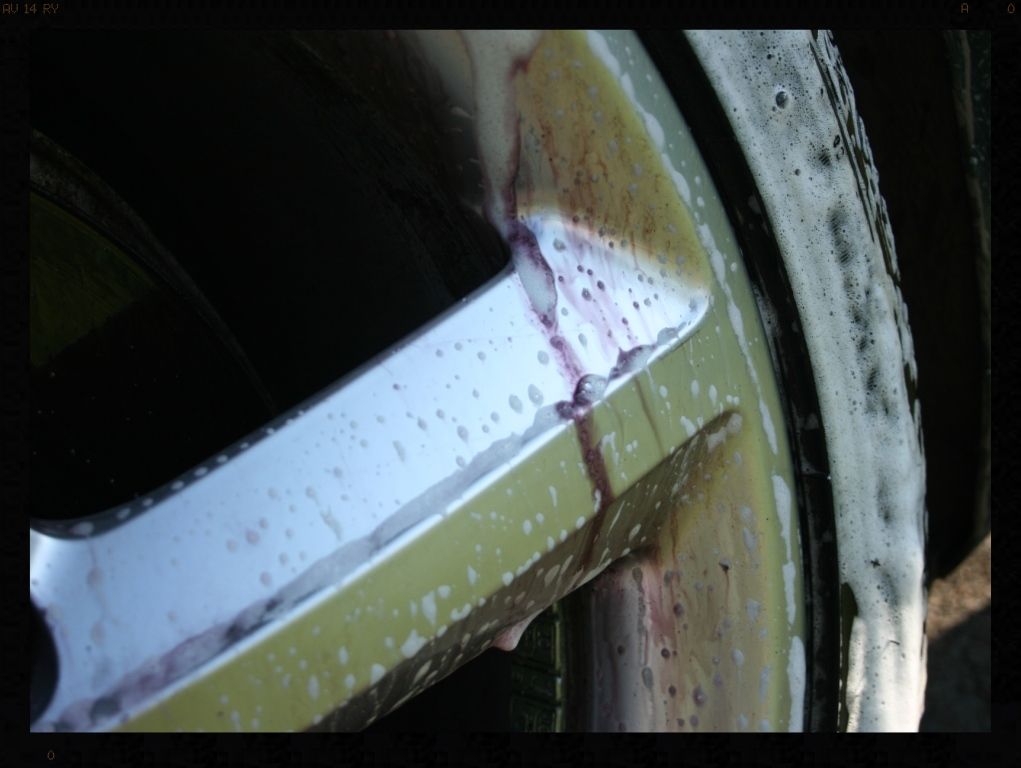
Some iron removal shots
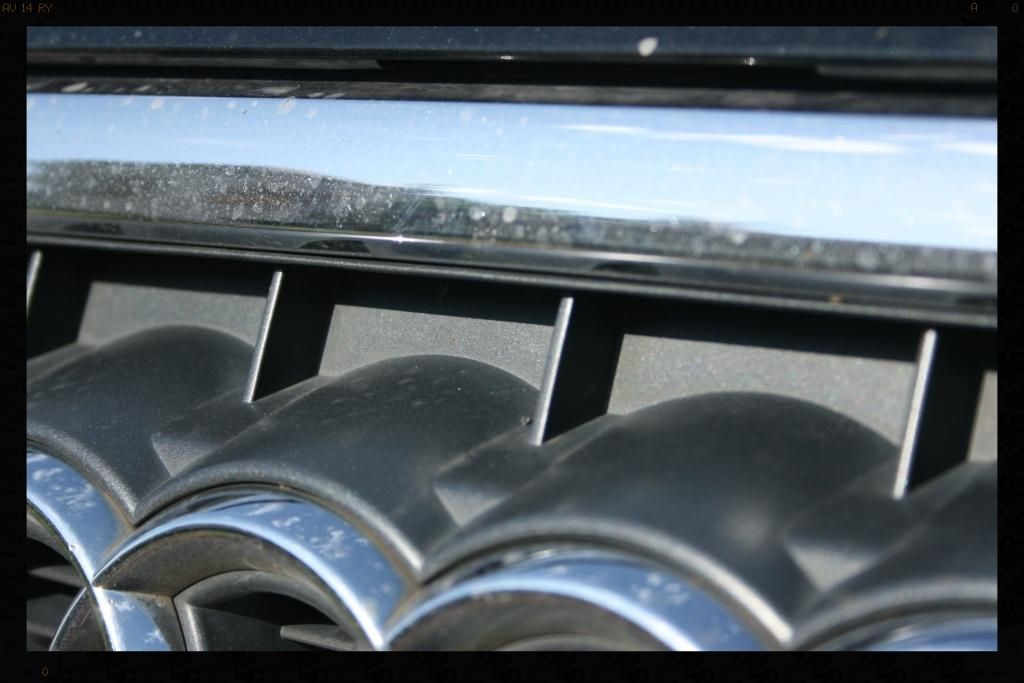
All badges/emblems cleaned using Cyclo CM 30 APC @ 5:1 and various brushes
Car rinsed using hosepipe
Mud blasted off car using HP washer
Vehicle pre-foamed using a mix of Cyclo CM30 APC and Chemical Guys Maxi Suds II
Vehicle rinsed with HP washer
Vehicle pre-foamed/rinsed again
Vehicle washed using 2BM and Cyclo Polymer Car Wash
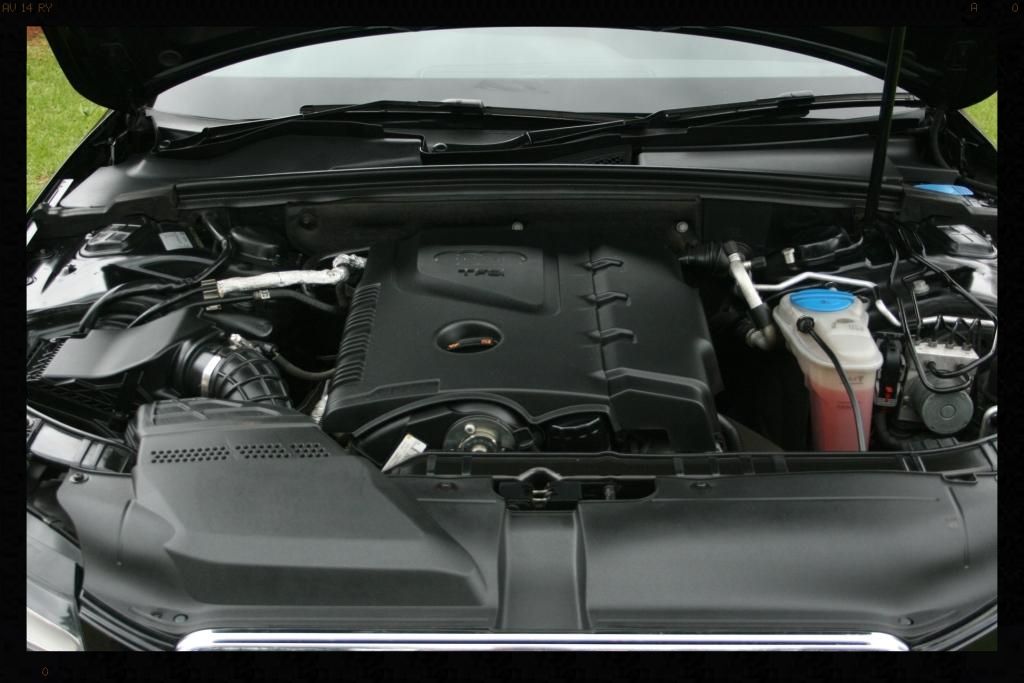
Engine bay blown out with compressed air
Vehicle rinsed using hosepipe
Vehicle sheet rinsed
Vehicle dried using WW Dying Towels and compressed air
Engine bay wiped down with damp MF towels
Engine bay dressed with Chemical Guys Bare Bones
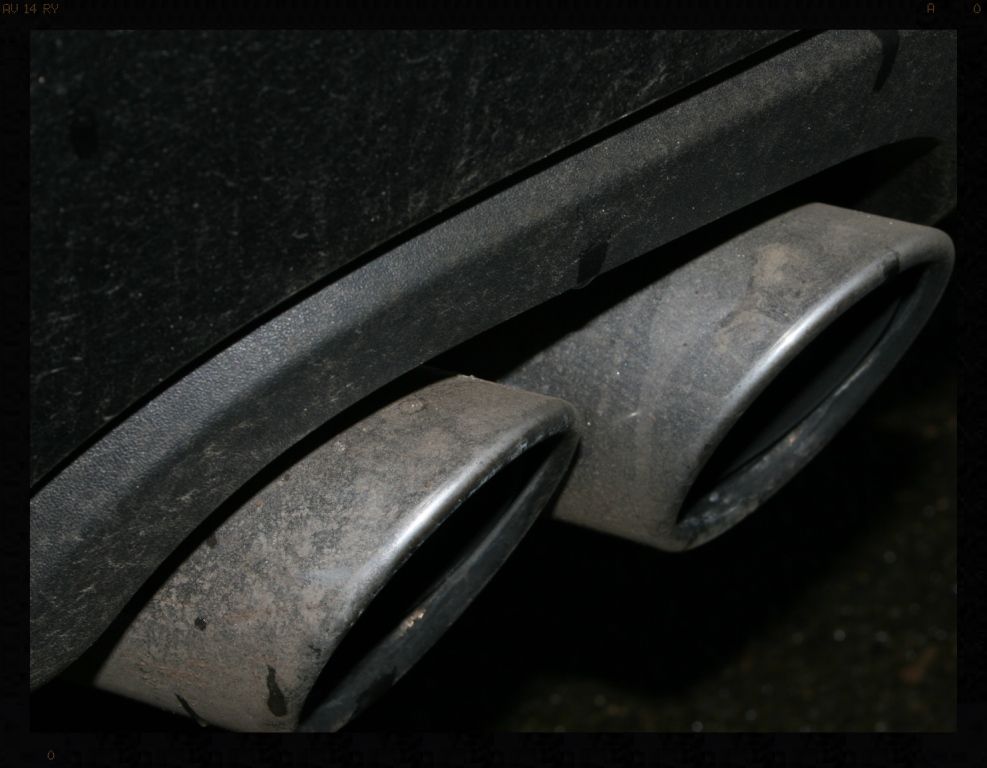
Tar removed Autofinesse Oblitarate
Iron removed using Autofinesse Iron Out
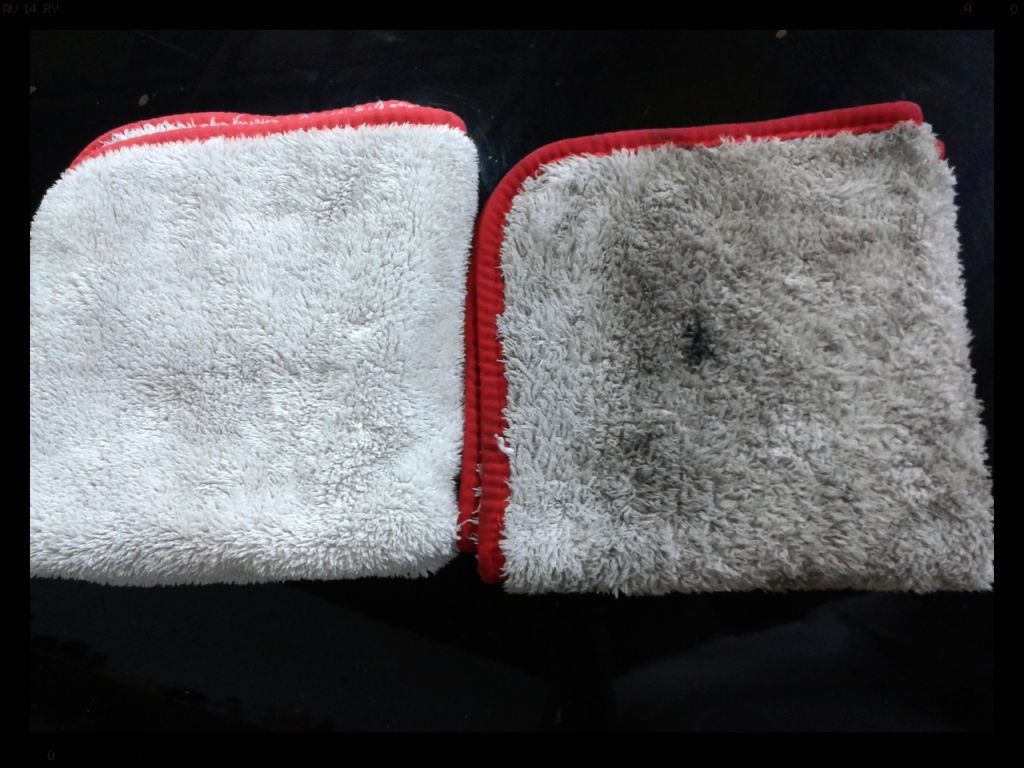
Remaining contaminants removed using Clay Magic Blue clay
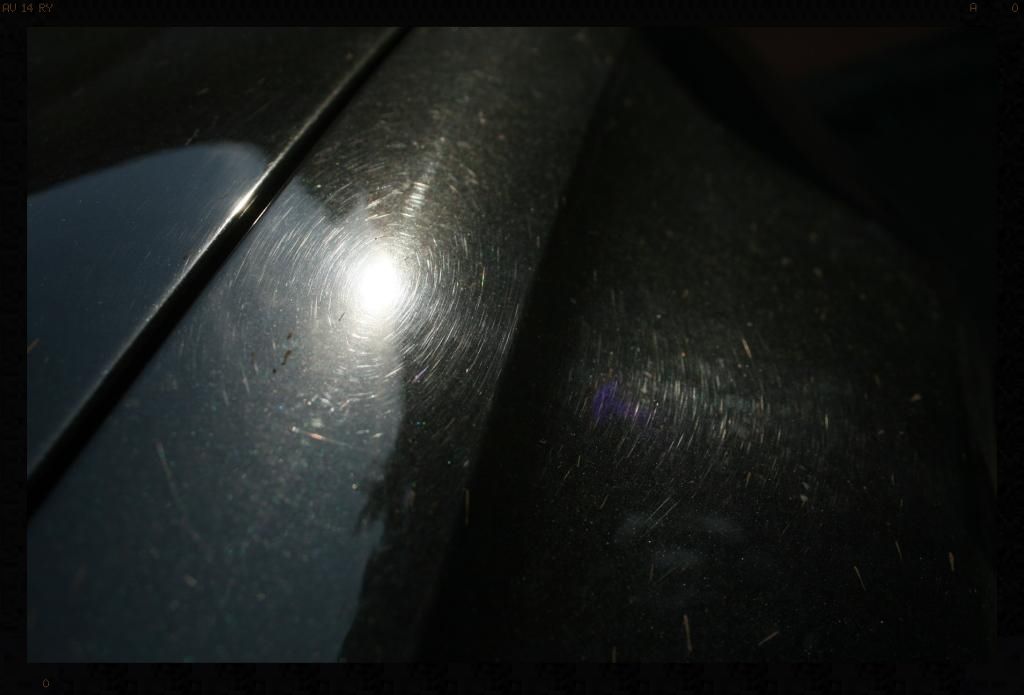
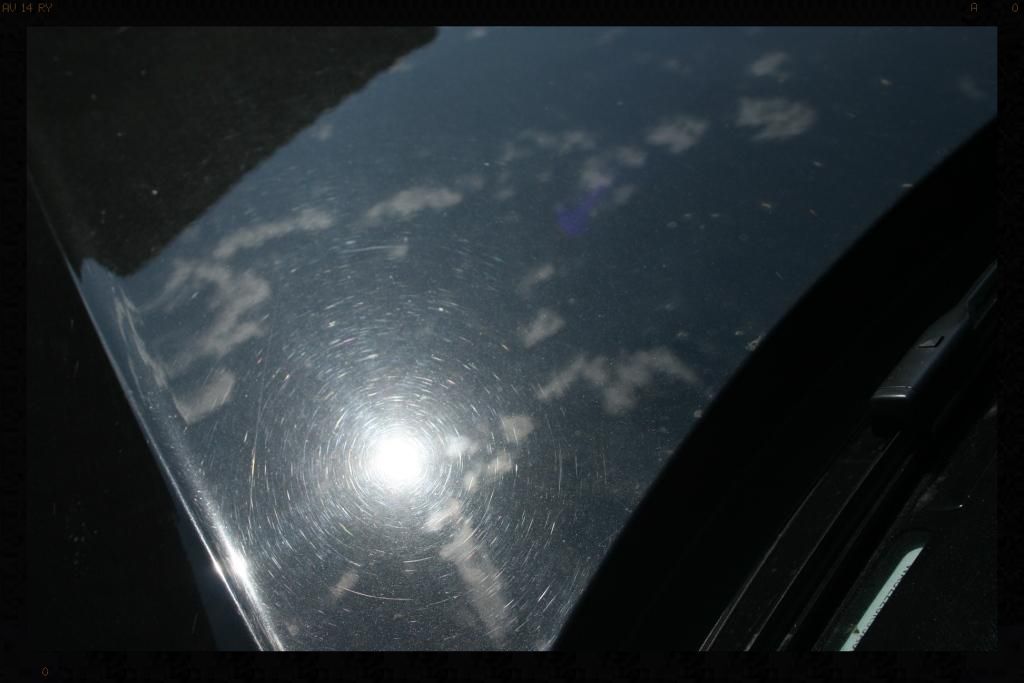
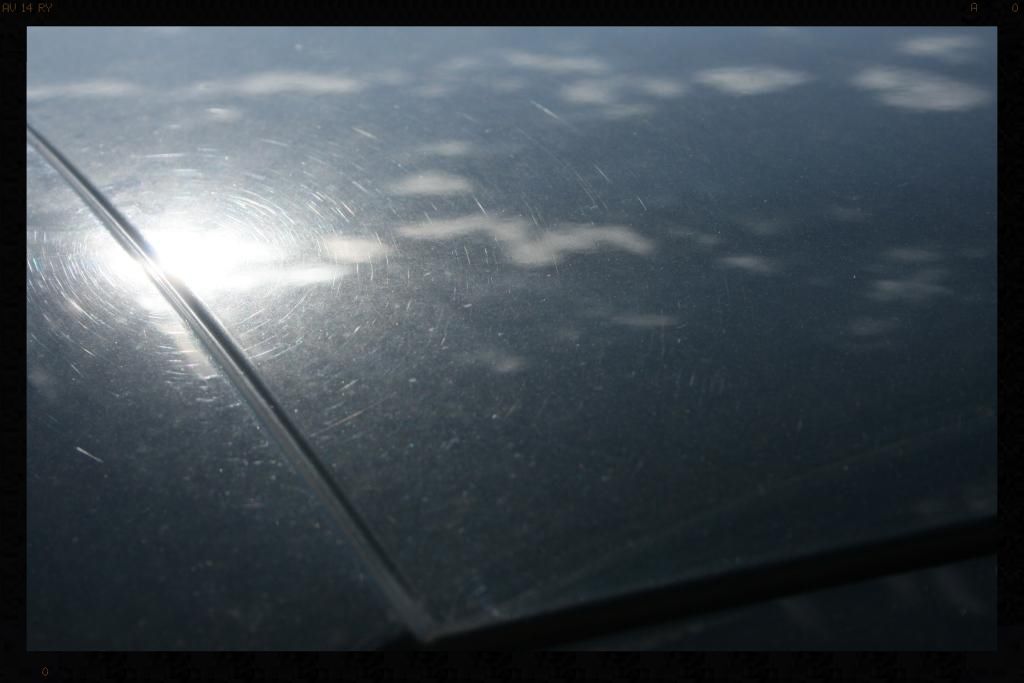
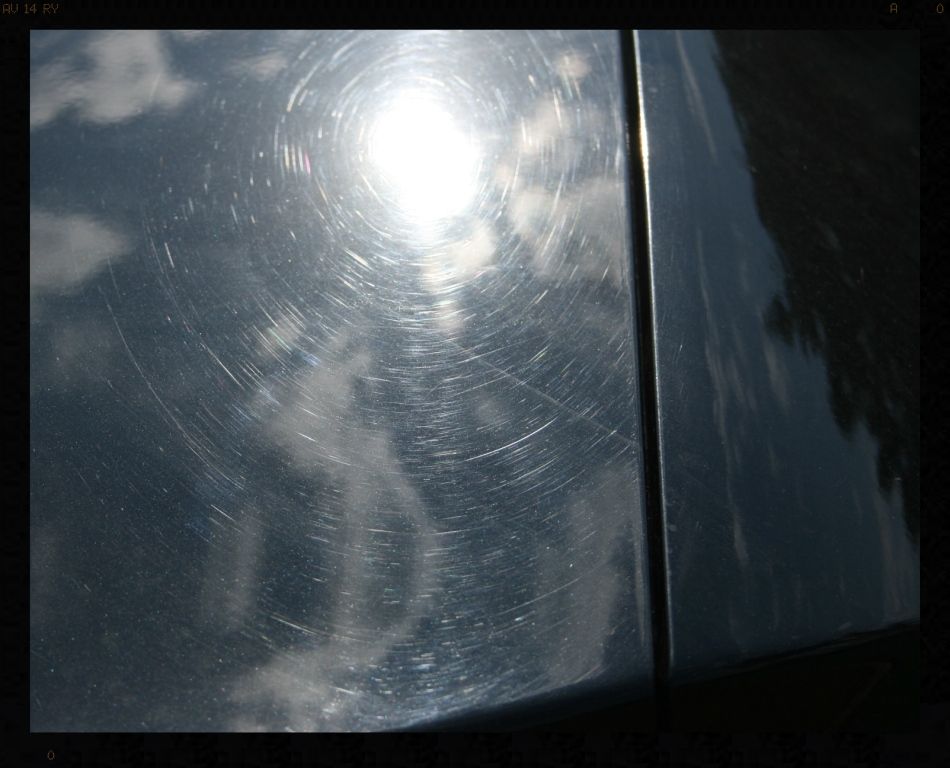
Test spots conducted - boy was I glad I had the MF pads. I landed up going with these and FG400 (the most aggressive compound I had) but quickly found that even with the increased cut these offered over my most aggressive foam pads, I still had to polish each section twice with this combo to remove sufficient damage from the paint. The damage was all deep, and this meant that my initial plan of a 3-step correction had just turned into a 4-step :shock:
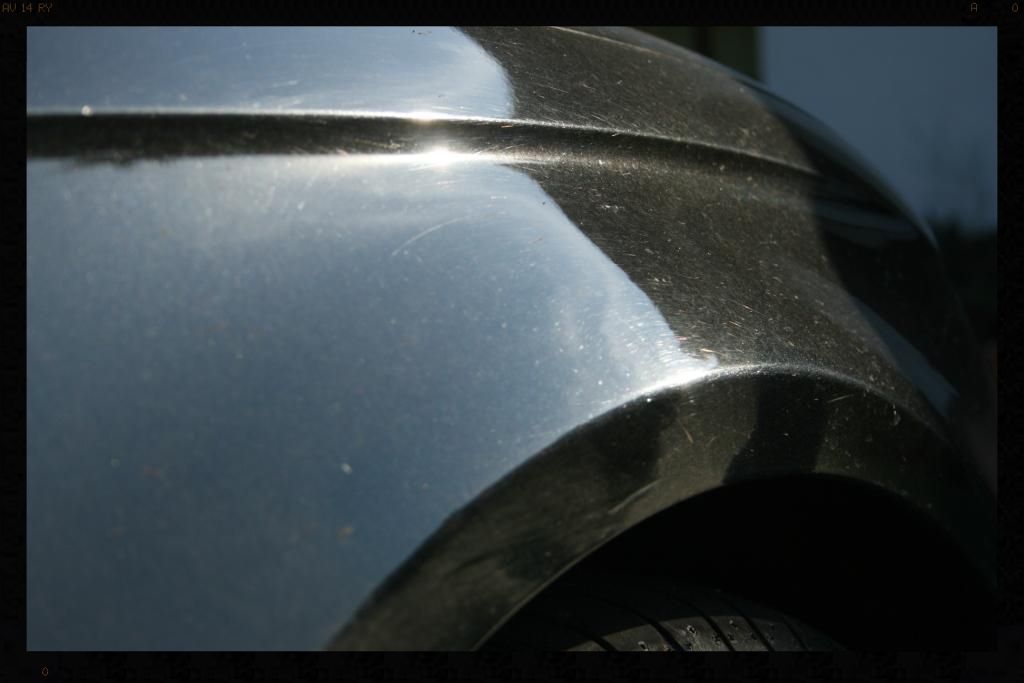
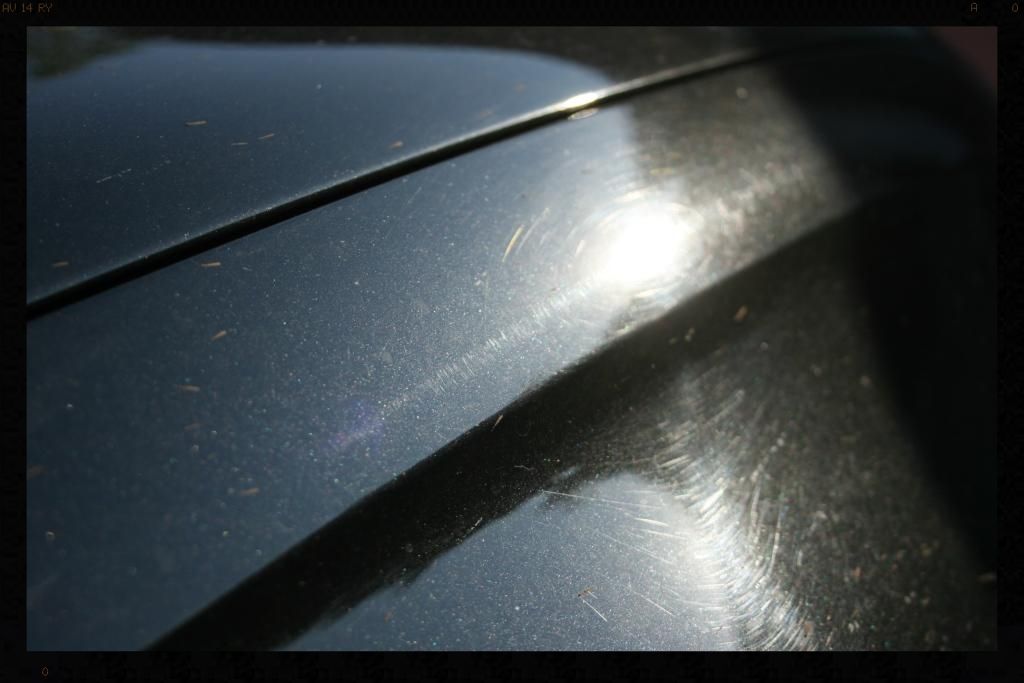
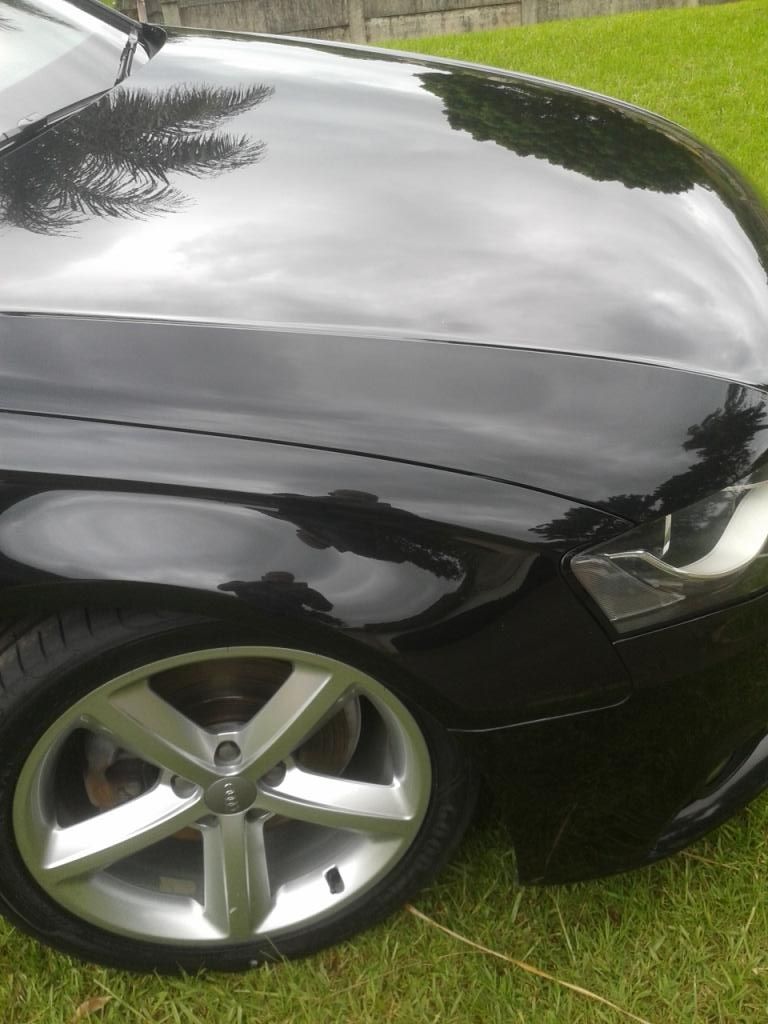
Bootlid before

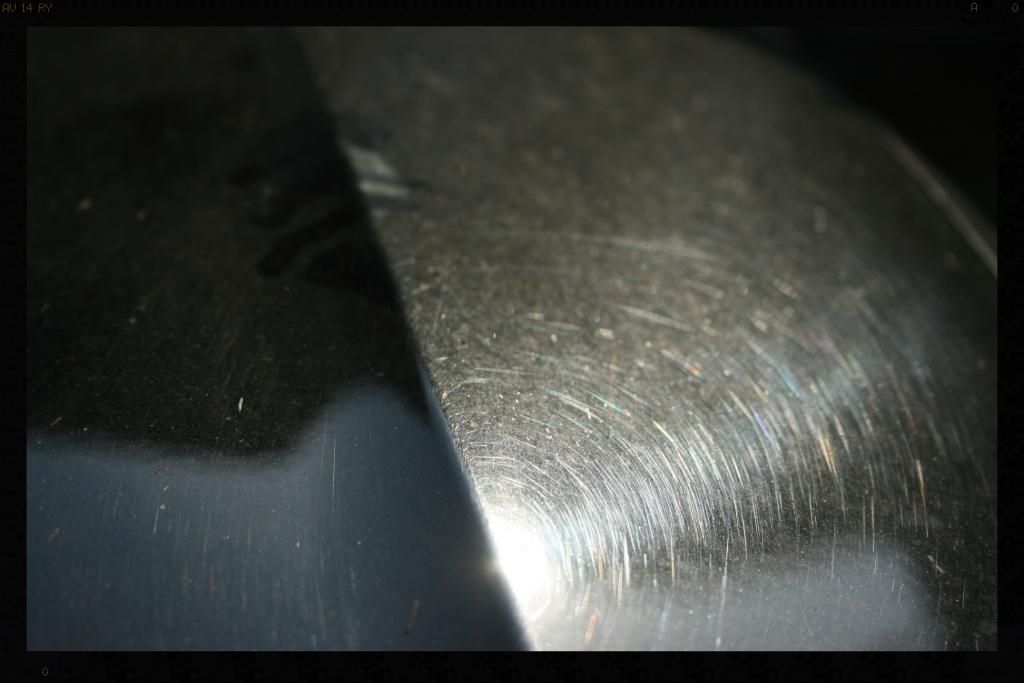
After 1 pass FG400/MF pad
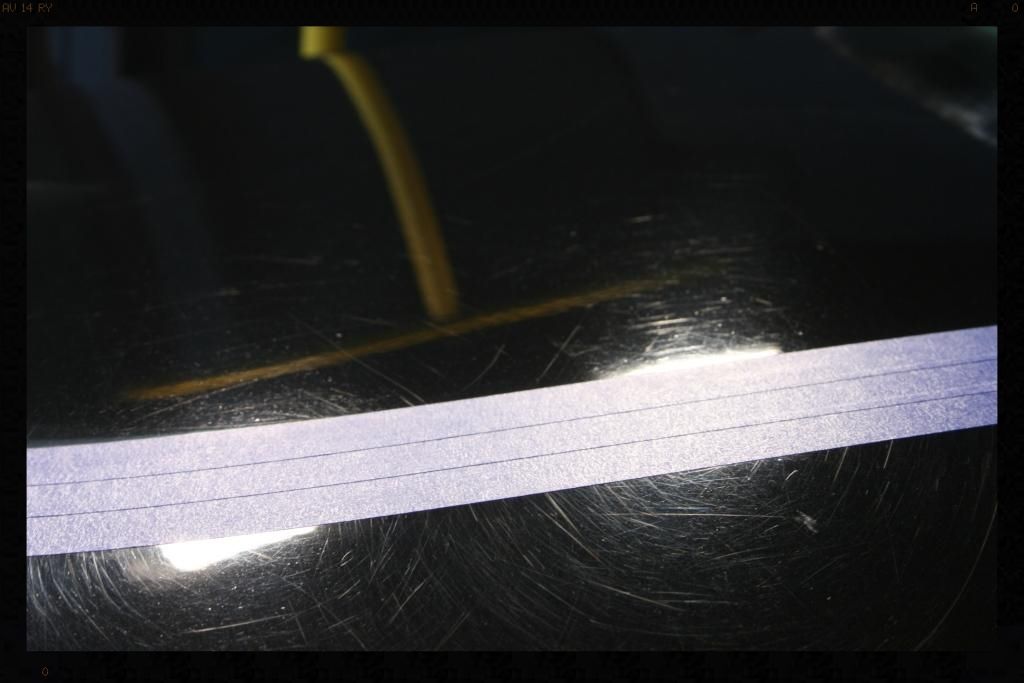
After 2 passes
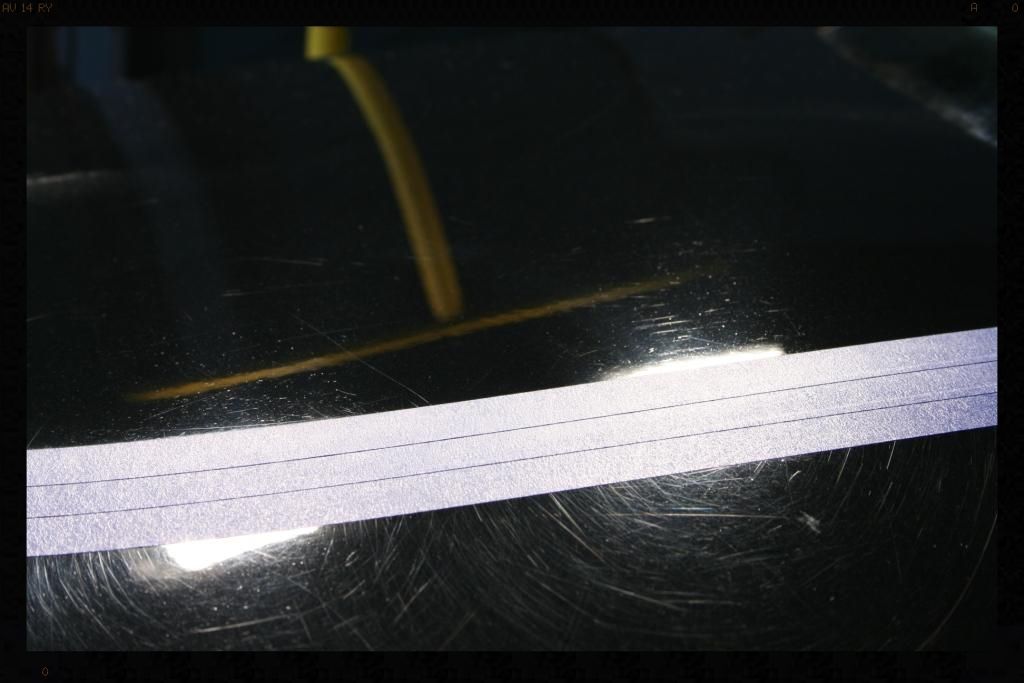
It ended up with Menzerna FG400 / Megs MF pad x 2 followed by Menzerna SF4000 / LC Tangerine, followed by Chemical guys Blacklight / LC Crimson
So I polished, and polished and polished and.....
In preparation I had purchased some Meguiars Microfibre pads which would make cutting out any swirls on the hard Audi paint a bit easier. I hired a compressor for the weekend so I could test the pads out and found it a really handy tool to have - one for the Christmas list for sure!
Friday evening 19:00 to 23:00
Mats removed
Entire cabin blown out with compressed air (so much easier than using brushes :lol: )
Seats and carpets vacuumed
Leather cleaned (Cyclo CM30 APC @ 20:1, brushed then wipes clean with MF Towels)
Air dried (compressor in use again)
Leather conditioned with SmartLeather
Dash and interior plastics wiped clean with damp MF towel
All plastic surfaces dressed with Meguiars Ultimate Protectant
First wipe off the drivers seat
Saturday morning 05:00 to 23:30
The car was covered in mud and was full of deep swirls, RIDS and a lot of contamination, in particular iron/tar - this comes as no surprise as the owner works in the port. The hard life through the corner wash was well evident and I was really glad I had the MF pads in my arsenal.
So Saturday went something like this....
Mud blasted from wheel wells with HP Washer
Wheels wells sprayed with Cyclo CM 30 @ 5:1 using a foaming trigger head to increase dwell time
Agitated using Mothers Fender Well Brush
Wheel wells HP rinsed
Tires cleaned using Meguiars All Wheel and Tire Cleaner
Wheels cleaned using using Meguiars All Wheel and Tire Cleaner
Wheels rinsed and dried
Tar removed from wheels using Autofinesse Oblitarate
Iron removed from wheels using Autofinesse Iron Out
Wheels HP rinsed
Wheels cleaned Cyclo CM 30 APC @ 5:1 to remove any remaining dirt/product residue
Door shuts and boot shut sprayed with Cyclo CM 30 APC @ 5:1 using a foaming trigger head to increase dwell time, then brushed
Door shuts HP rinsed
Some iron removal shots
All badges/emblems cleaned using Cyclo CM 30 APC @ 5:1 and various brushes
Car rinsed using hosepipe
Mud blasted off car using HP washer
Vehicle pre-foamed using a mix of Cyclo CM30 APC and Chemical Guys Maxi Suds II
Vehicle rinsed with HP washer
Vehicle pre-foamed/rinsed again
Vehicle washed using 2BM and Cyclo Polymer Car Wash
Engine bay blown out with compressed air
Vehicle rinsed using hosepipe
Vehicle sheet rinsed
Vehicle dried using WW Dying Towels and compressed air
Engine bay wiped down with damp MF towels
Engine bay dressed with Chemical Guys Bare Bones
Tar removed Autofinesse Oblitarate
Iron removed using Autofinesse Iron Out
Remaining contaminants removed using Clay Magic Blue clay
Test spots conducted - boy was I glad I had the MF pads. I landed up going with these and FG400 (the most aggressive compound I had) but quickly found that even with the increased cut these offered over my most aggressive foam pads, I still had to polish each section twice with this combo to remove sufficient damage from the paint. The damage was all deep, and this meant that my initial plan of a 3-step correction had just turned into a 4-step :shock:
Bootlid before
After 1 pass FG400/MF pad
After 2 passes
It ended up with Menzerna FG400 / Megs MF pad x 2 followed by Menzerna SF4000 / LC Tangerine, followed by Chemical guys Blacklight / LC Crimson
So I polished, and polished and polished and.....

")