Preservation Project - Green Machine
As some may or may not know, my father special ordered ( late January '68) and purchased (April '68) this car new. After purchasing the car he immediately changed the wheels and began the personalizing touches to make this special car his.
Soon after while working in Ohio at Lucas Machine he and his brother made a set of homemade traction bars along with purchasing a set of Delco Pleasurizer shocks and got rid of the smog system added a set of Hooker Headers and finally did away with one of the biggest downfalls of the car the Muncie shifter and replaced it with a Hurst Competition.
From then on he would do what every other red blooded American did which was street race with the occasional track pass. I can remember stories my uncle talking about my father street racing on their lunch break. The one car that gave him the most trouble was a '70 440 Six Pack Cuda. Out of 3 runs from a dig the Cuda jumped him by a fender twice and couldnt pull away and he could gain any ground and the other attempt was dead even up to 120.
As time went on the 68 became the secondary car as he was always wheeling and dealing with other rides. Believe it or not my mother drove the car the majority of the time and put the most miles on the car.
In '75 they moved down to TN and the 68 was still driven just not as frequent as in the past. In the 80's is when the car show bug bit him and this quickly became one of his passions. I can remember people asking him in the 80's when he was going to restore it. His response was always;
"its only original once!!"
Even then when restoring musclecars were starting to take off; especially into the 90's, he had the foresight to see that original cars were more important than restored ones. E
ventually he retired the '68 from showing it and began restoring cars and had several very nice 69 Pacers that won several shows with both. In October of 2006 he left this world and the car sat in the garage ever since. I would occasionally get it out and fire it and bring it up to temps and take it down the road and then back in the garage it went. T
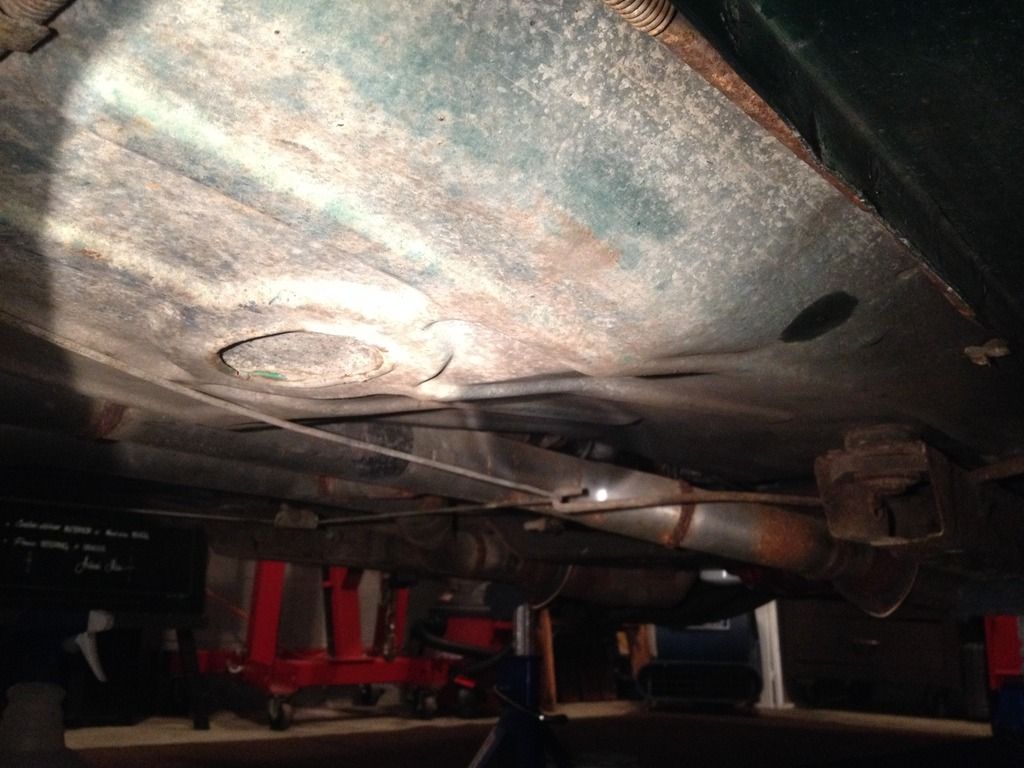
he time has come that the car has starting to show its age even more so now than ever before. Respecting his wishes and respecting him for the man and father that he was I will NEVER restore this car but I am going to start a preservation to insure it will survive long after I have left this world and the next caretaker will be able to enjoy this machine and hopefully will respect the wishes of my father and myself.
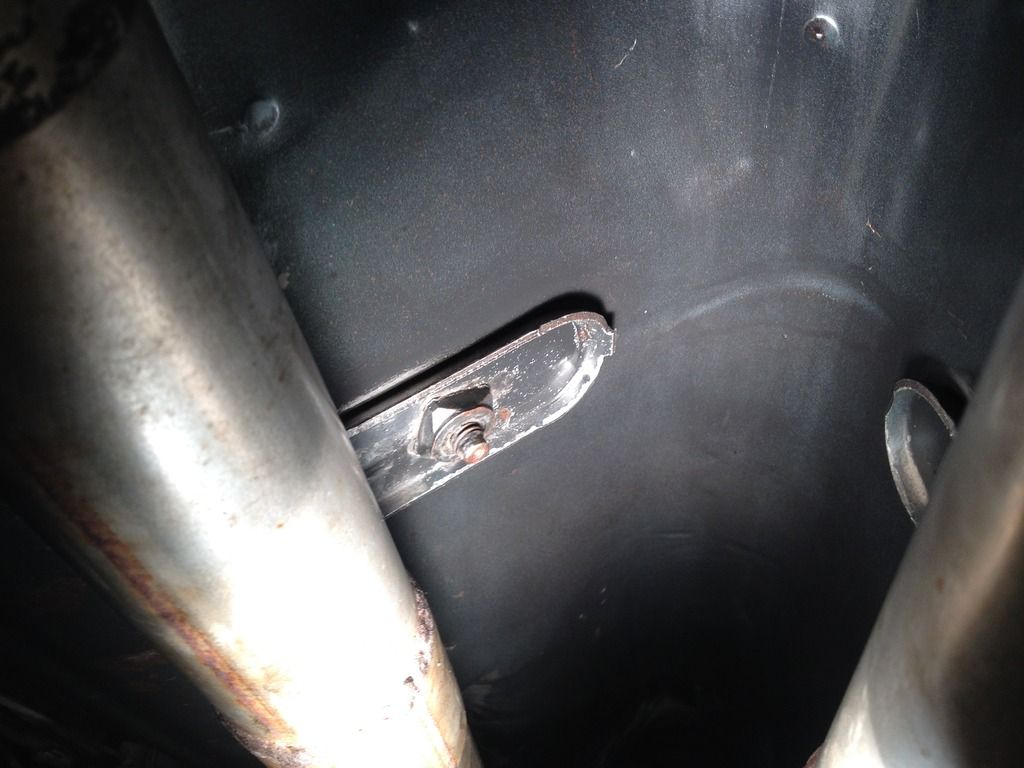
That is a small back story of the car and an even smaller look into the person my father was. Now to today; I started with the first item of business which for me was the vinyl and plastic on the exterior and interior of the car.
Special thanks to James (aka firstgenaddict) for willingly giving me processes he uses when refurbishing interior components, rust converting and prevention and Mike Phillips (from Autogeek) for the how-to thread on preserving single stage paints.
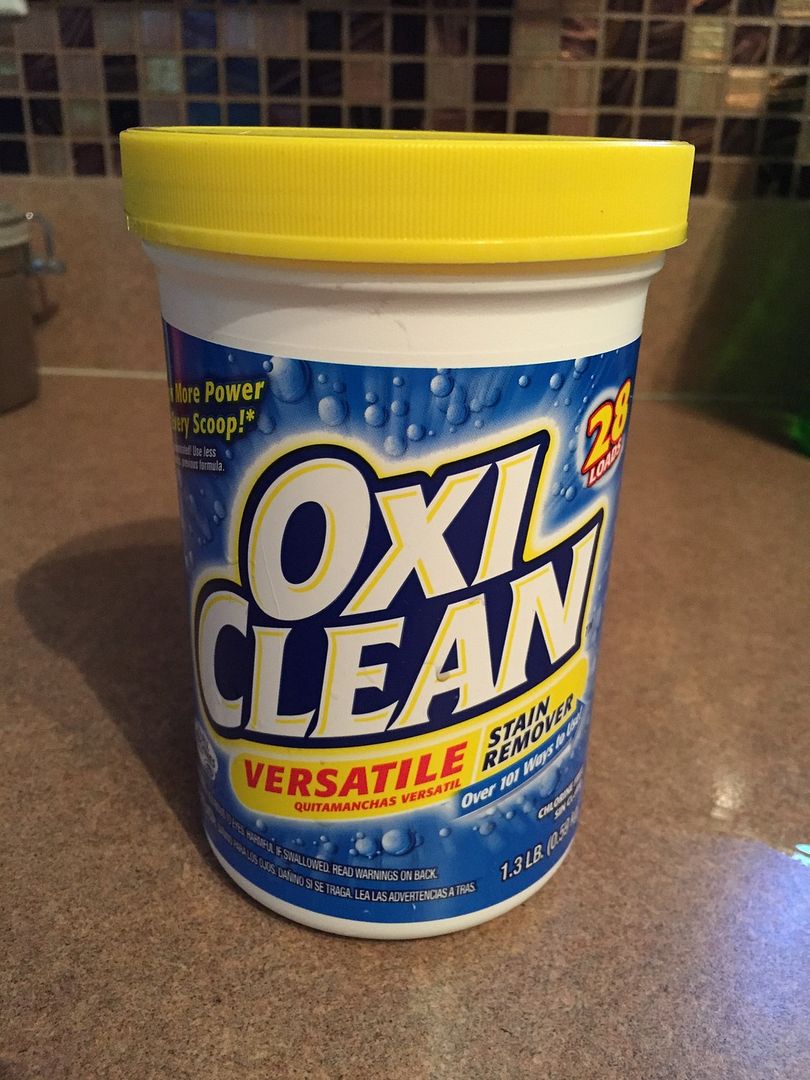
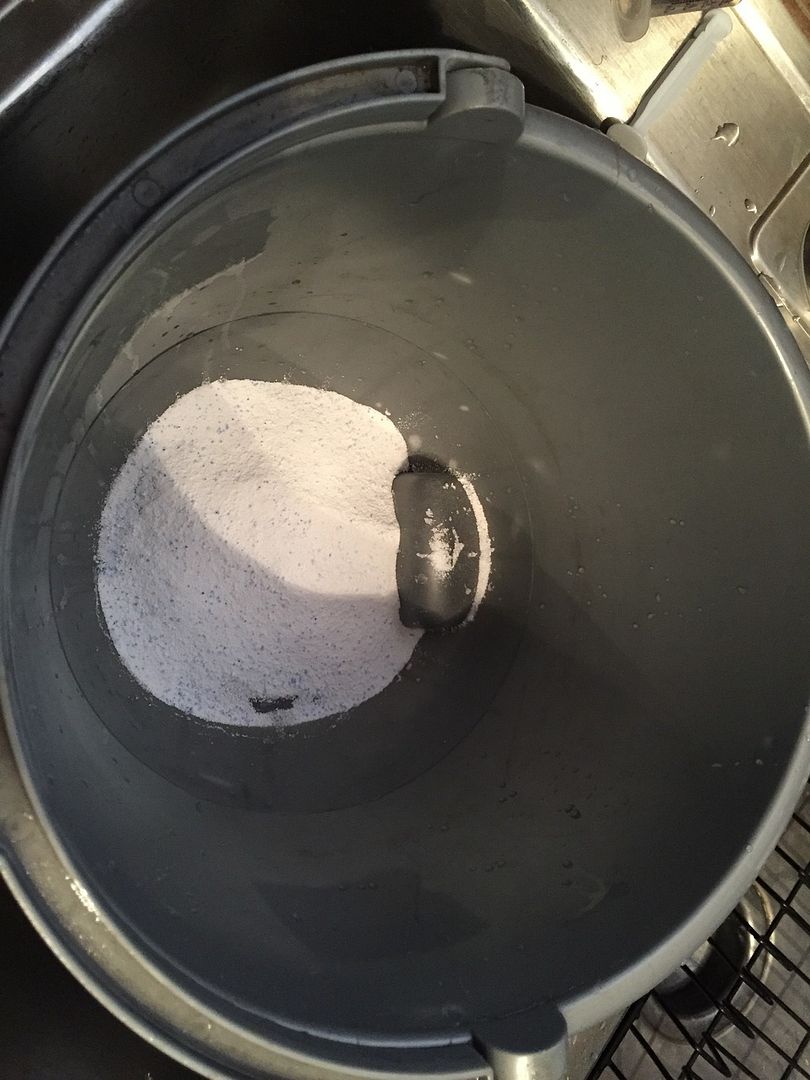
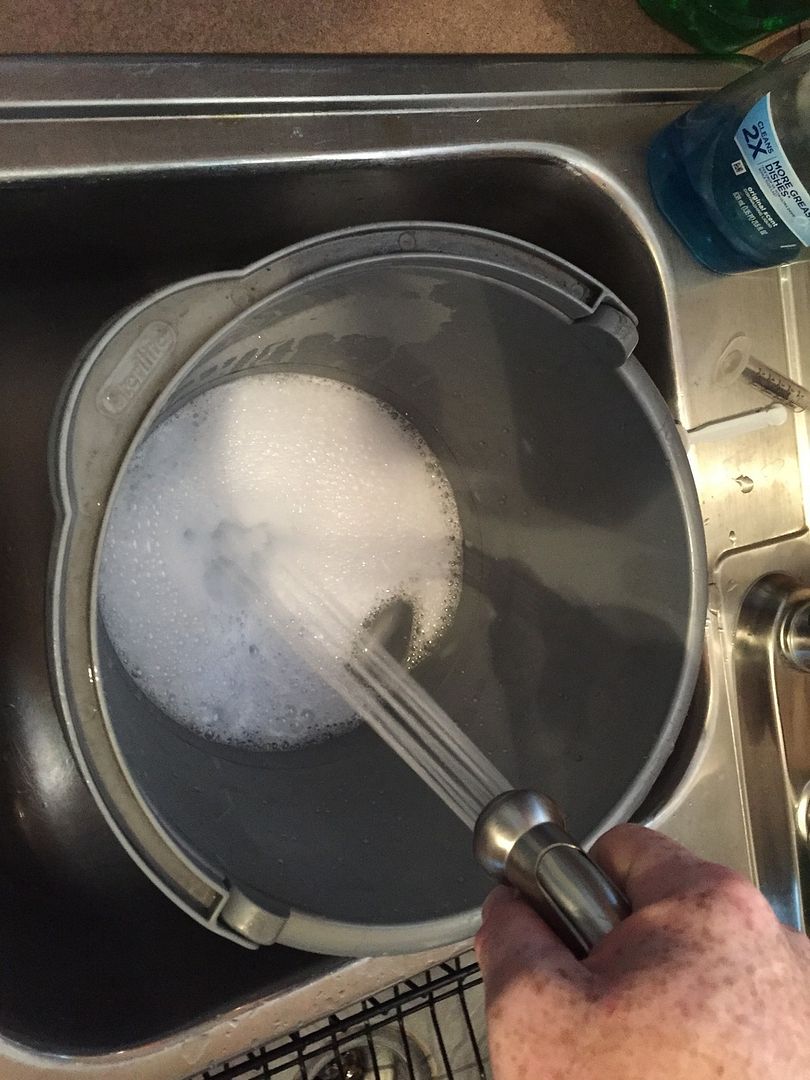
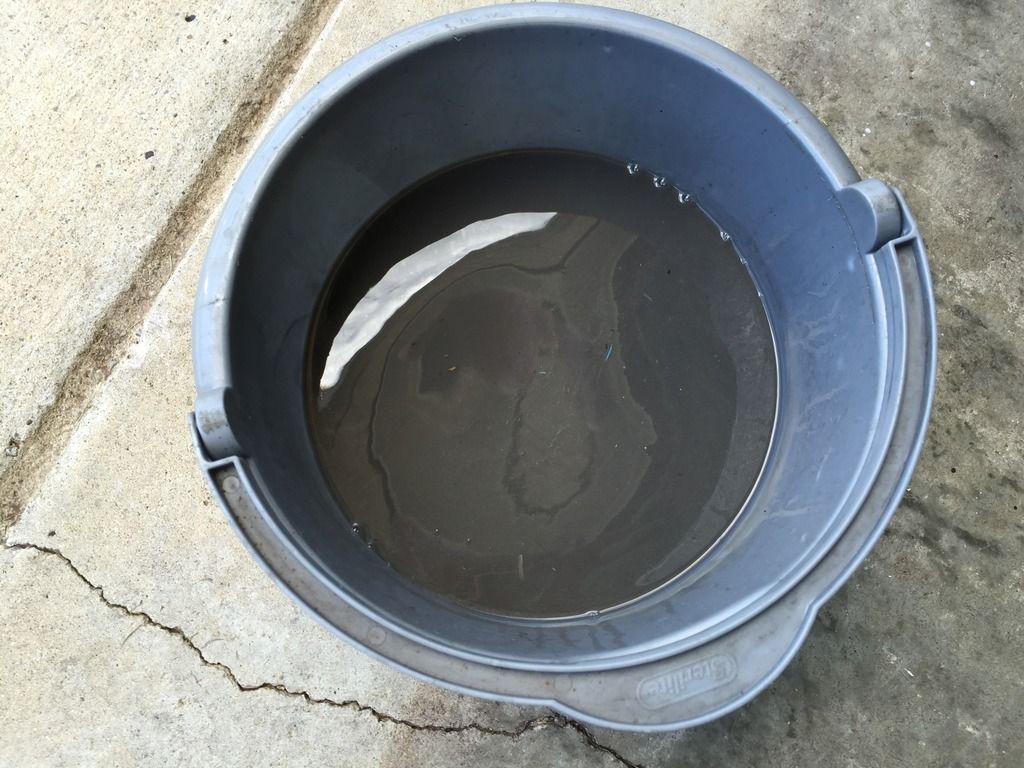
I started out with using Oxiclean in a clean bucket with extremely hot water and making sure to mix it well together.
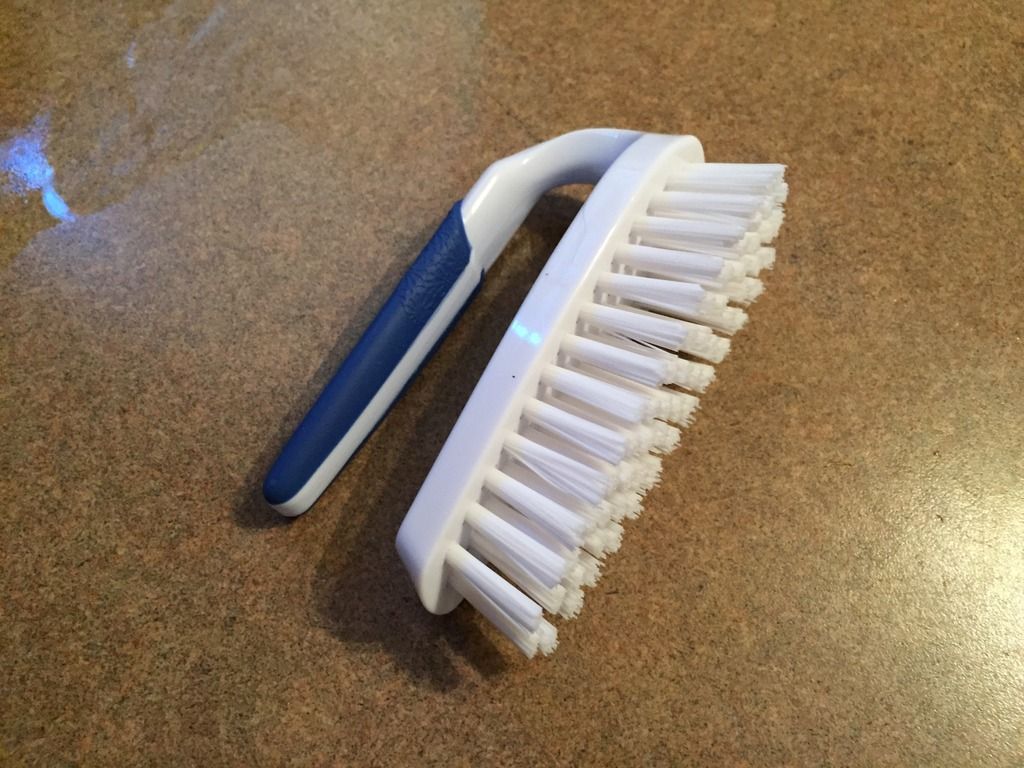
This is the brush I started out using but later went to a larger stiffer bristle brush.
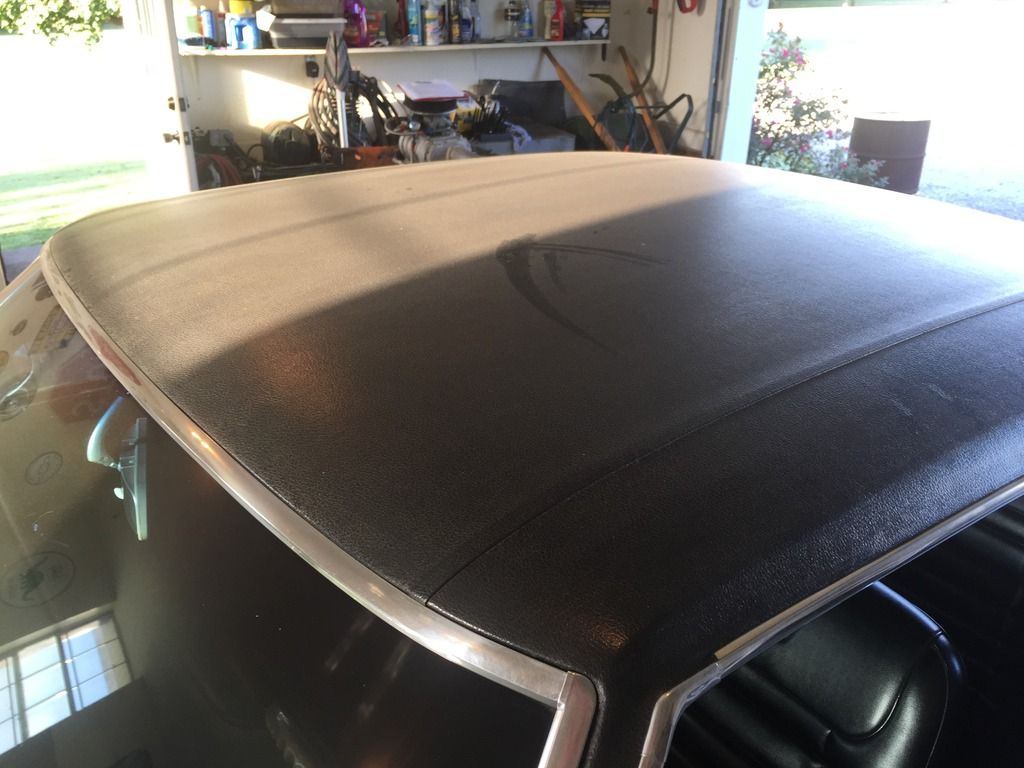
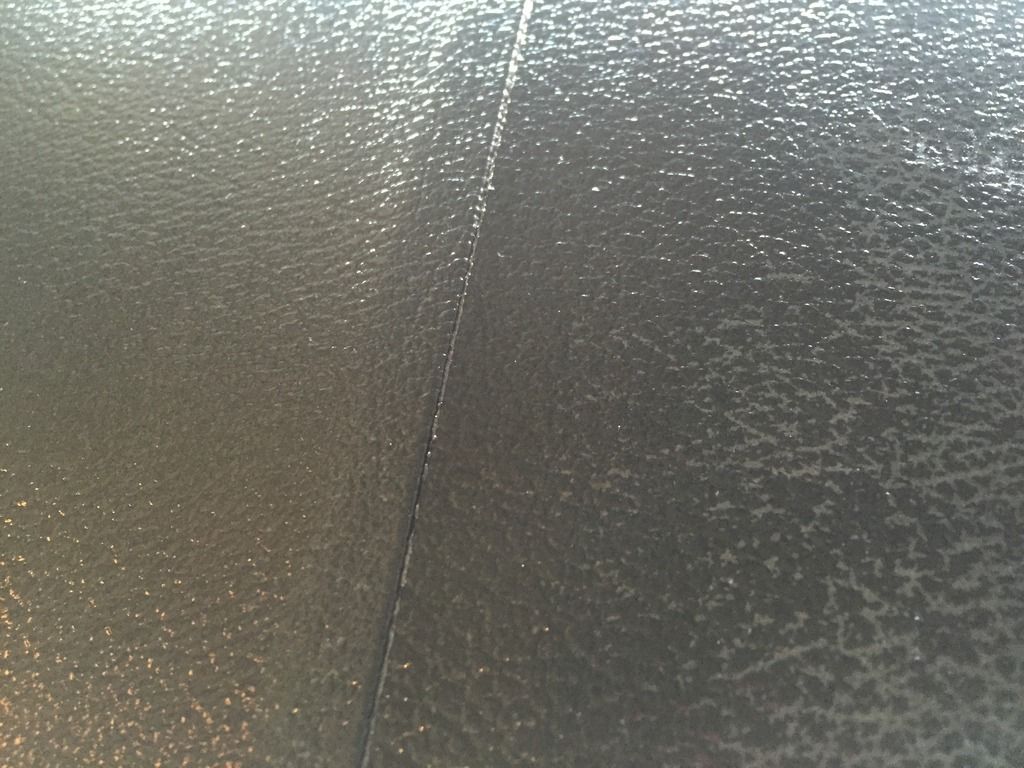
As you can see the vinyl top had serious embedded dirt. This is where the hot water and oxyclean comes into play.
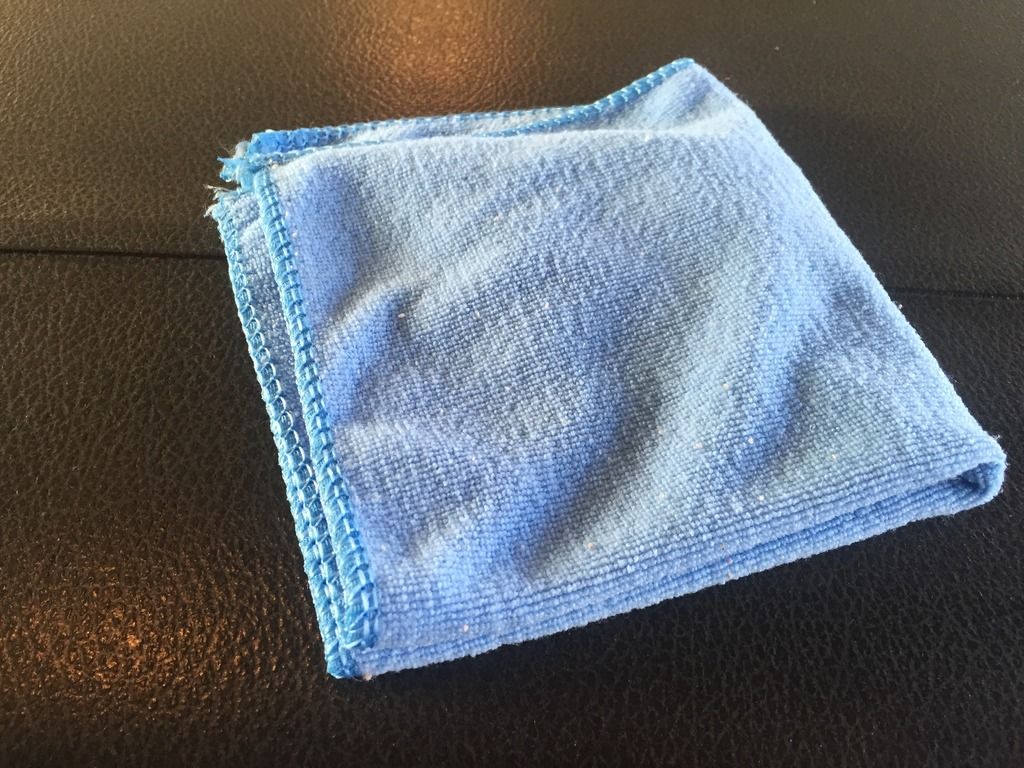
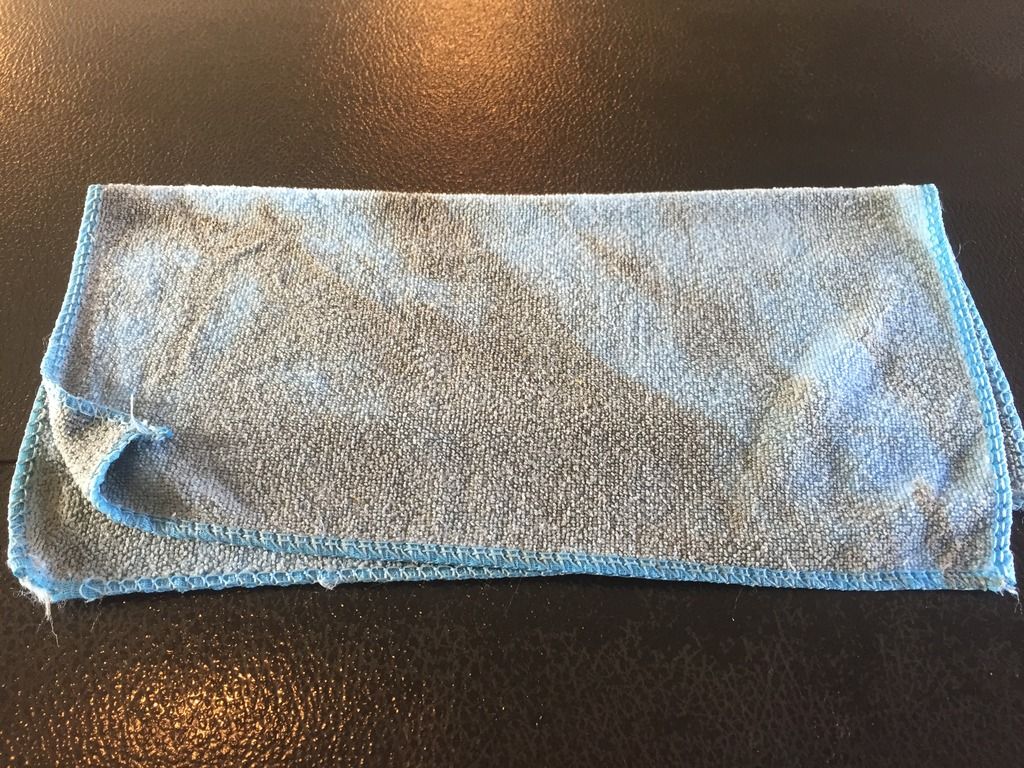
I picked up these microfiber towels from Harbor Freight as I didnt need anything special for this process. I just wanted something that would be lint free.
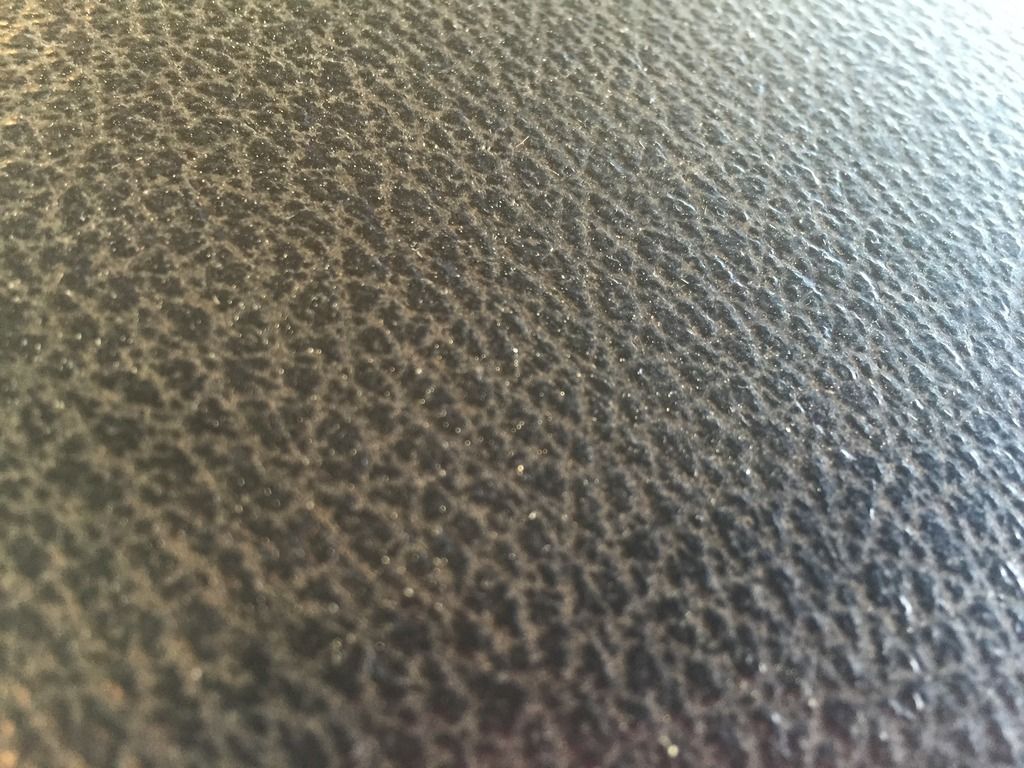
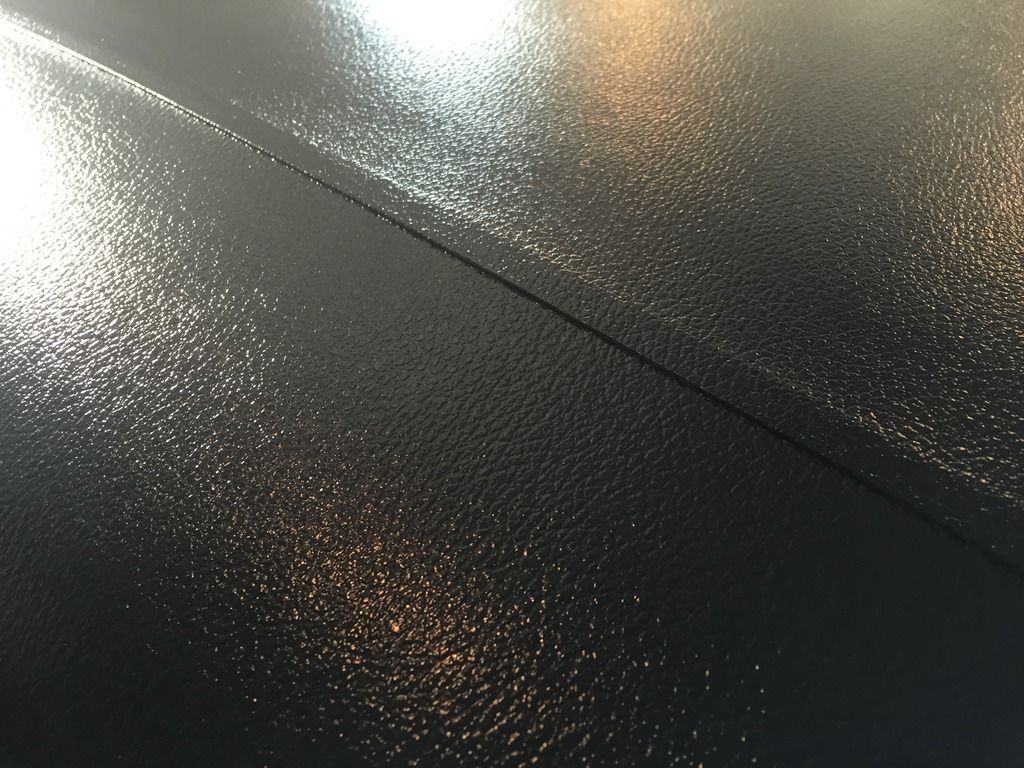
This is a quick shot of a portion that just cleaned against an untouch area.
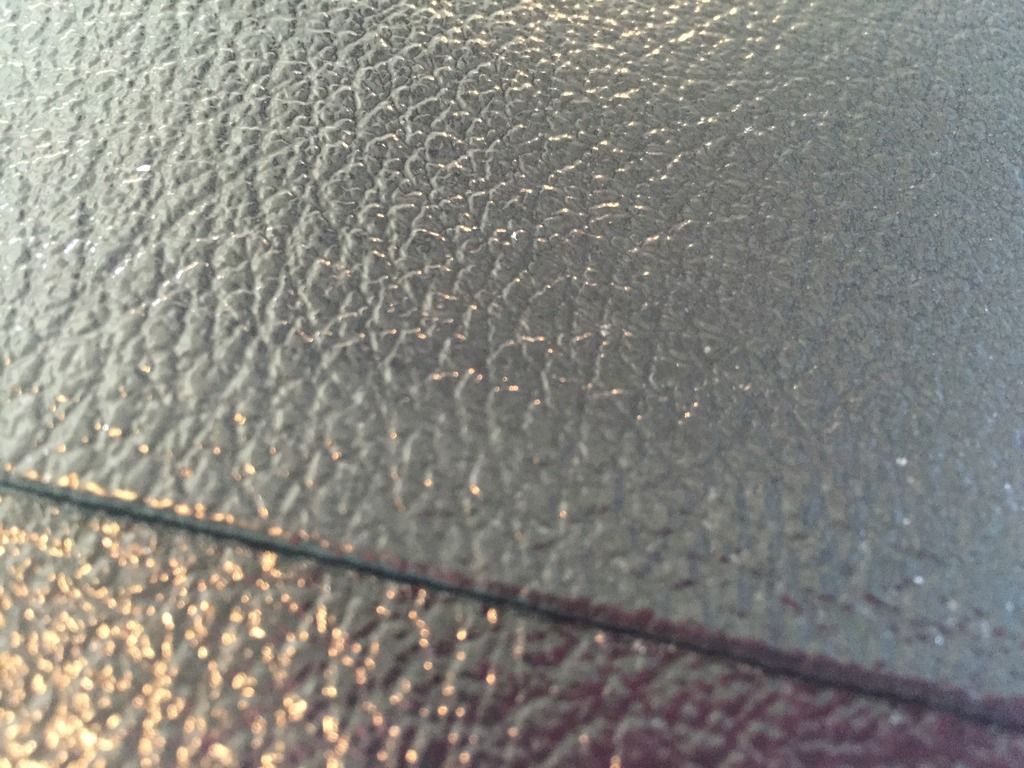
This is a shot of the mf towel after a few swipes of the vinyl after scrubbing.
Right at 2 hours later and biceps and forearms in misery the finished product.
This is just from the vinyl top.. Yeah that was pretty bad. Just a tip for those that have vinyl top cars: when you put the car up and put the cover on make sure the top is completely clean because over time it will grind the dirt into the vinyl..
As some may or may not know, my father special ordered ( late January '68) and purchased (April '68) this car new. After purchasing the car he immediately changed the wheels and began the personalizing touches to make this special car his.
Soon after while working in Ohio at Lucas Machine he and his brother made a set of homemade traction bars along with purchasing a set of Delco Pleasurizer shocks and got rid of the smog system added a set of Hooker Headers and finally did away with one of the biggest downfalls of the car the Muncie shifter and replaced it with a Hurst Competition.
From then on he would do what every other red blooded American did which was street race with the occasional track pass. I can remember stories my uncle talking about my father street racing on their lunch break. The one car that gave him the most trouble was a '70 440 Six Pack Cuda. Out of 3 runs from a dig the Cuda jumped him by a fender twice and couldnt pull away and he could gain any ground and the other attempt was dead even up to 120.
As time went on the 68 became the secondary car as he was always wheeling and dealing with other rides. Believe it or not my mother drove the car the majority of the time and put the most miles on the car.
In '75 they moved down to TN and the 68 was still driven just not as frequent as in the past. In the 80's is when the car show bug bit him and this quickly became one of his passions. I can remember people asking him in the 80's when he was going to restore it. His response was always;
"its only original once!!"
Even then when restoring musclecars were starting to take off; especially into the 90's, he had the foresight to see that original cars were more important than restored ones. E
ventually he retired the '68 from showing it and began restoring cars and had several very nice 69 Pacers that won several shows with both. In October of 2006 he left this world and the car sat in the garage ever since. I would occasionally get it out and fire it and bring it up to temps and take it down the road and then back in the garage it went. T
he time has come that the car has starting to show its age even more so now than ever before. Respecting his wishes and respecting him for the man and father that he was I will NEVER restore this car but I am going to start a preservation to insure it will survive long after I have left this world and the next caretaker will be able to enjoy this machine and hopefully will respect the wishes of my father and myself.
That is a small back story of the car and an even smaller look into the person my father was. Now to today; I started with the first item of business which for me was the vinyl and plastic on the exterior and interior of the car.
Special thanks to James (aka firstgenaddict) for willingly giving me processes he uses when refurbishing interior components, rust converting and prevention and Mike Phillips (from Autogeek) for the how-to thread on preserving single stage paints.
I started out with using Oxiclean in a clean bucket with extremely hot water and making sure to mix it well together.


This is the brush I started out using but later went to a larger stiffer bristle brush.

As you can see the vinyl top had serious embedded dirt. This is where the hot water and oxyclean comes into play.


I picked up these microfiber towels from Harbor Freight as I didnt need anything special for this process. I just wanted something that would be lint free.

This is a quick shot of a portion that just cleaned against an untouch area.

This is a shot of the mf towel after a few swipes of the vinyl after scrubbing.

Right at 2 hours later and biceps and forearms in misery the finished product.


This is just from the vinyl top.. Yeah that was pretty bad. Just a tip for those that have vinyl top cars: when you put the car up and put the cover on make sure the top is completely clean because over time it will grind the dirt into the vinyl..