lawrenceSA
New member
- Feb 7, 2012
- 1,713
- 0
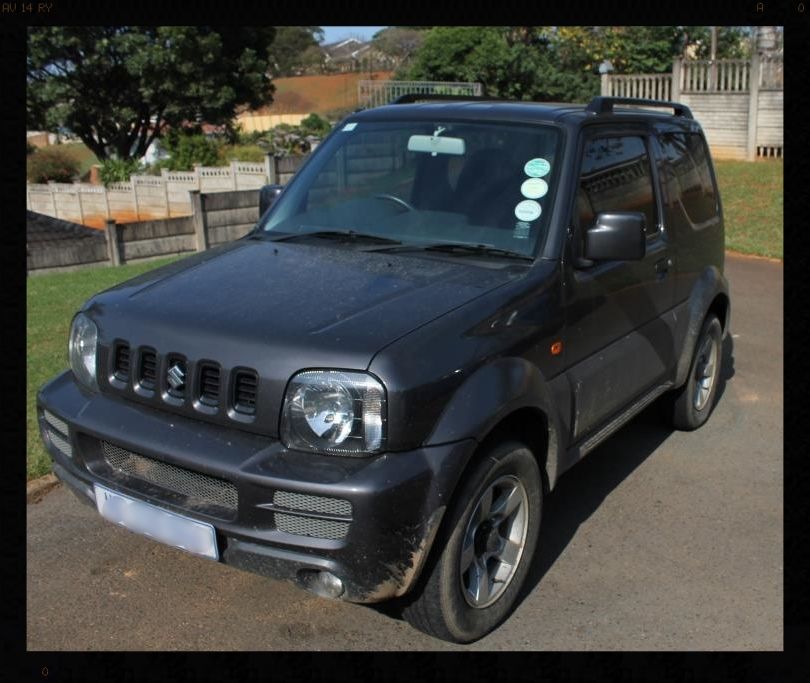
Parking this car in the garage on Friday night it really hit me as to how big the X5 from last weekend was, and how small this car is :lol:
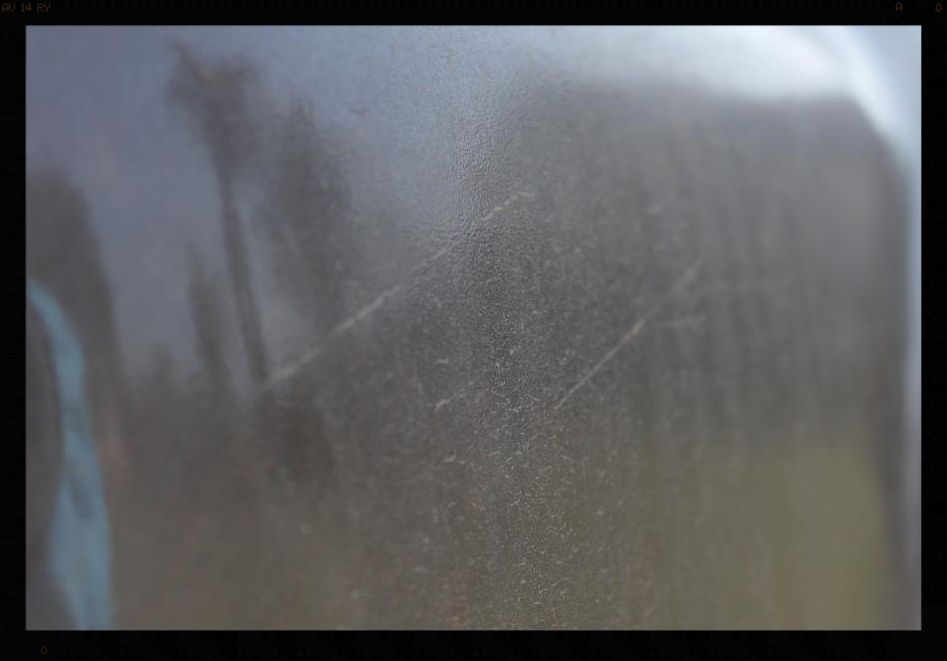
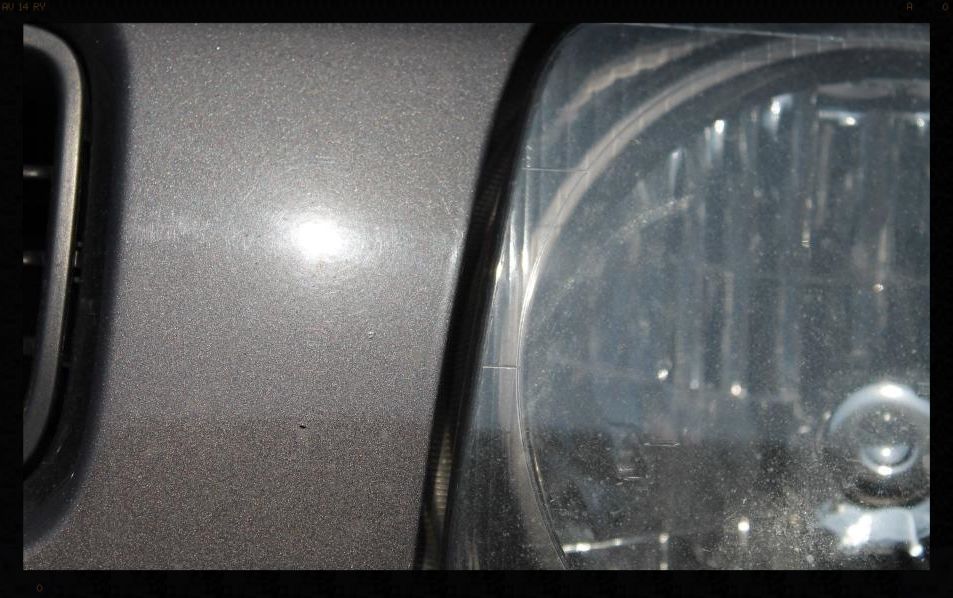
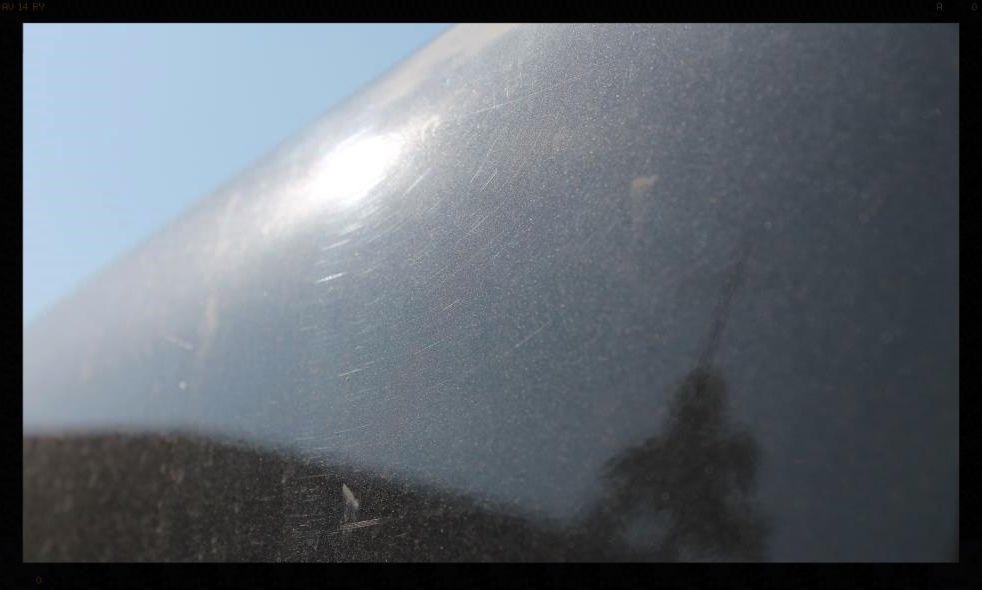
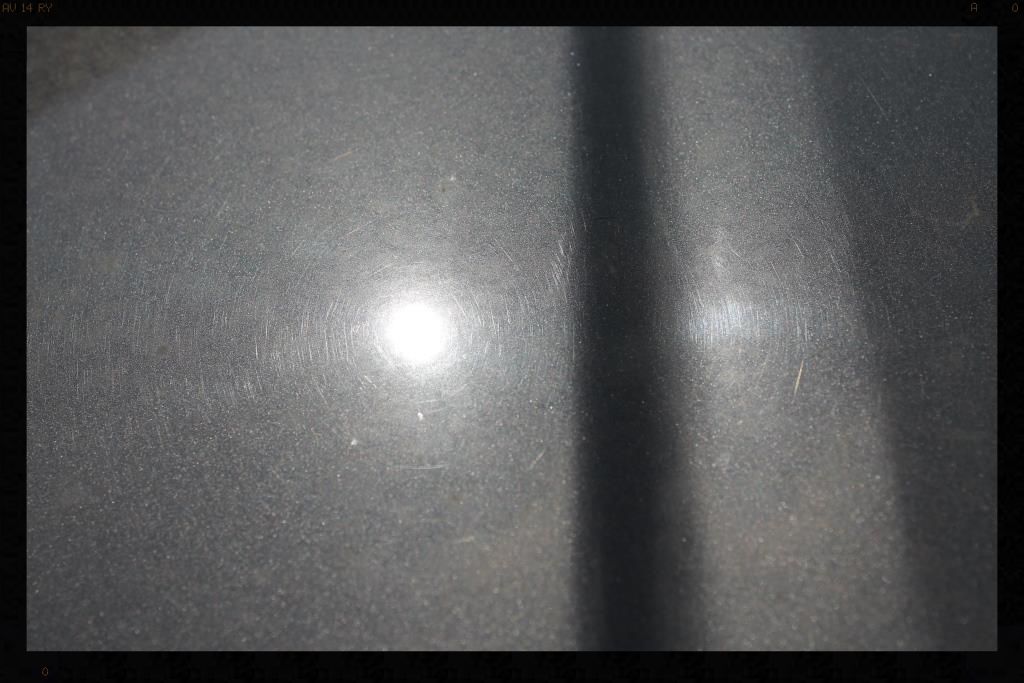
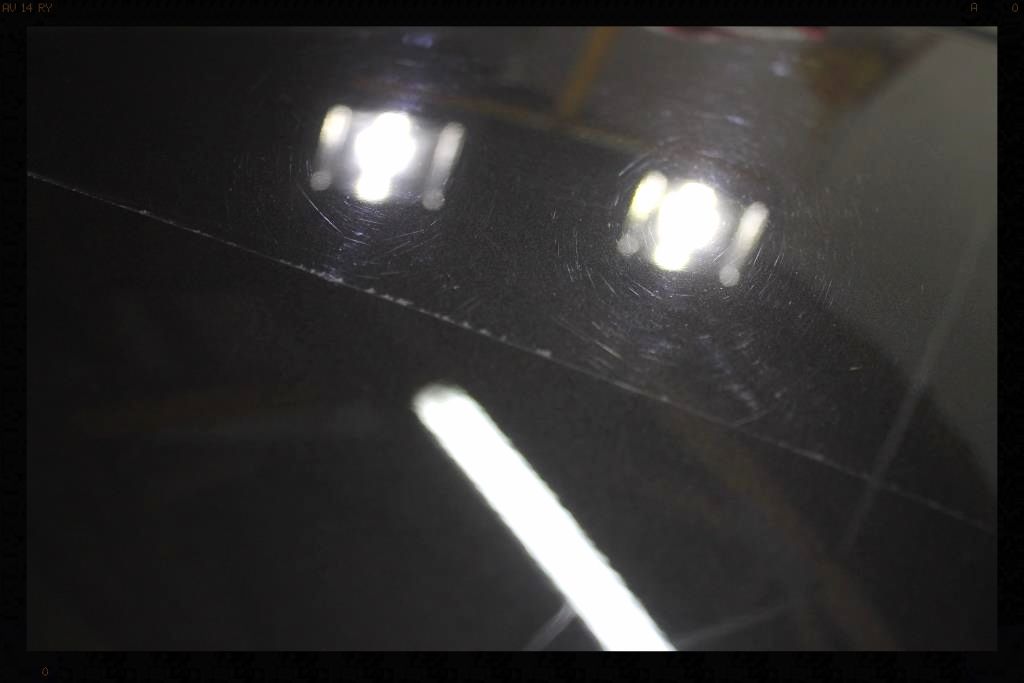
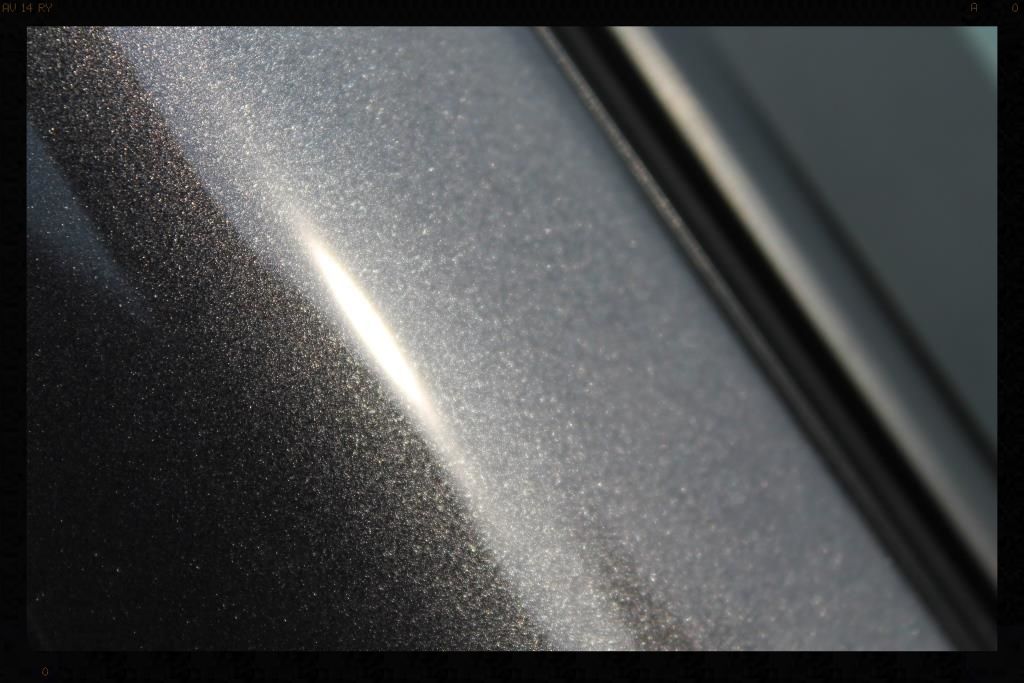
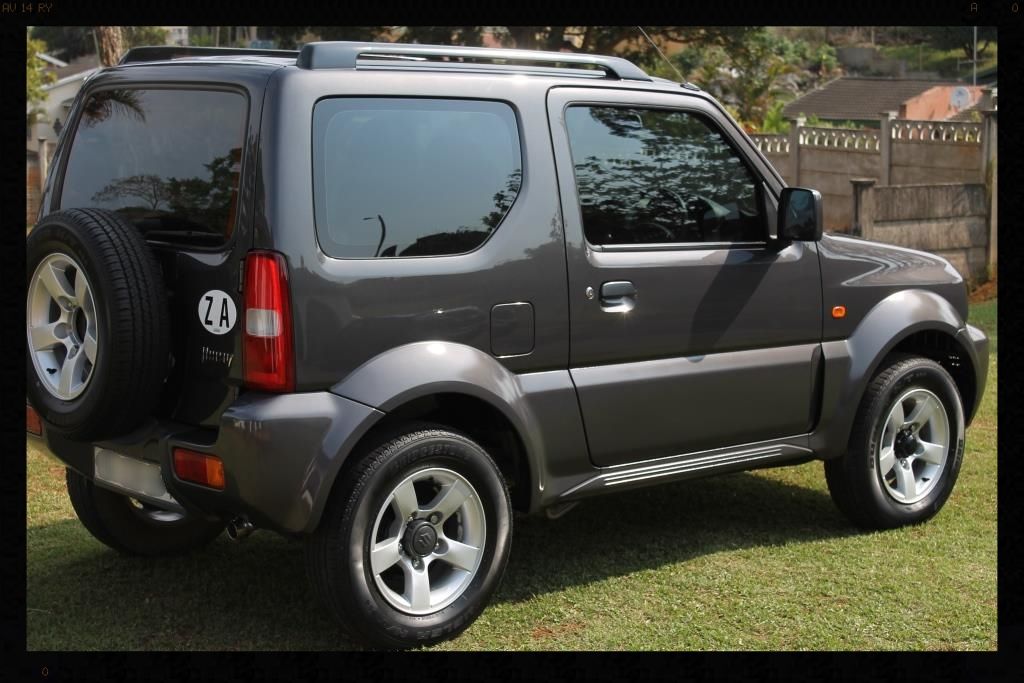
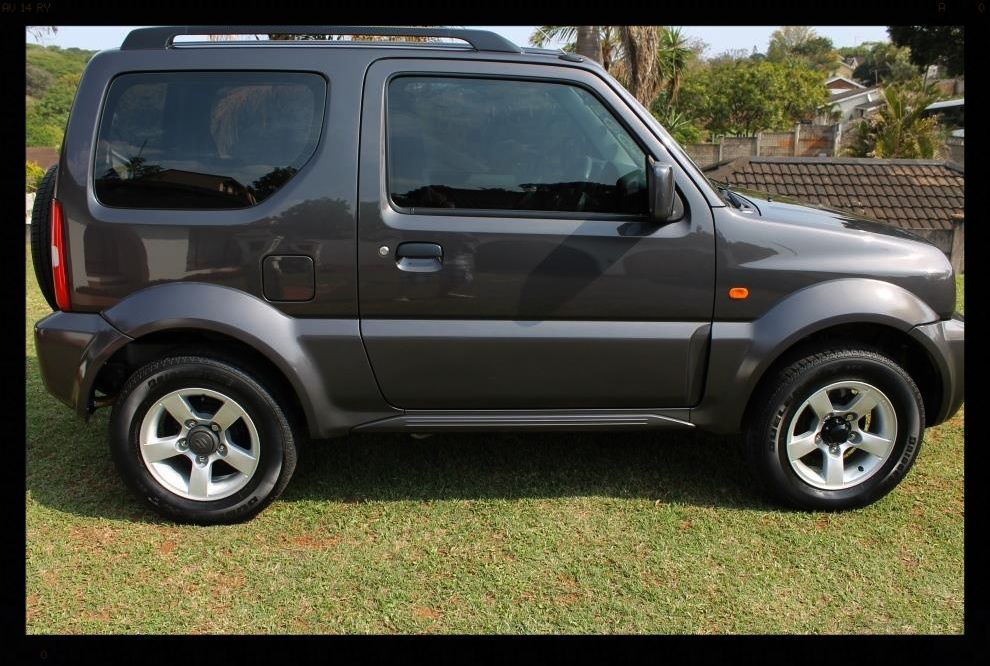
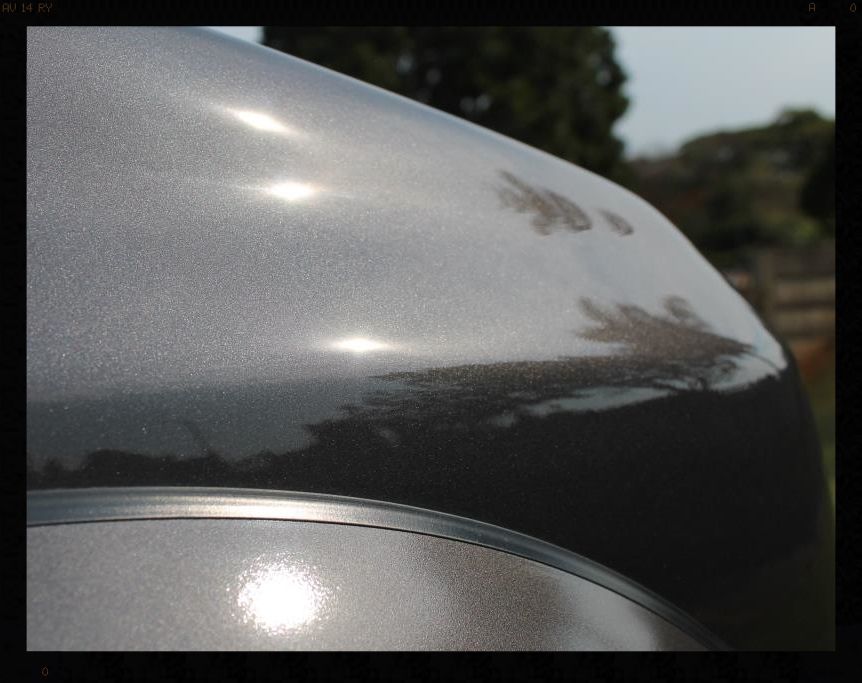
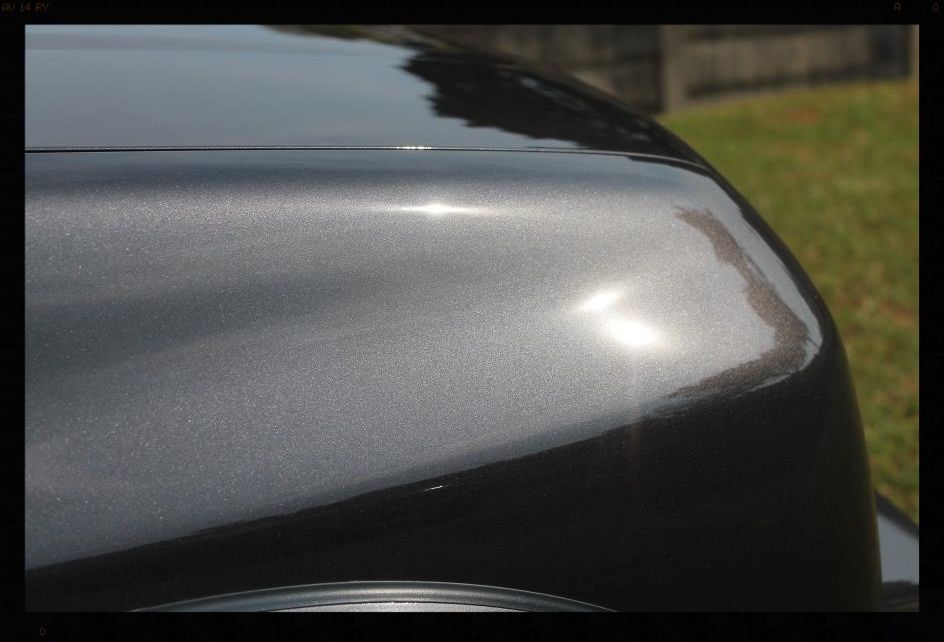
So the objective for this detail was to clean up the wheels, restore the paint and give it some protection. The driver's side rear panel had been re-sprayed (PTG readings avg: 247µ) and the not only had the 'painter/panel beater/!#$#R!' left some holograms, they had burnt through the clear in a small spot about the size of fingerprint on the thin panel running up the rear of the car from the bumper to the roof (PTG reading 74µ - the rest of the car averaged around 125µ). No engine bay or interior work was to be done.
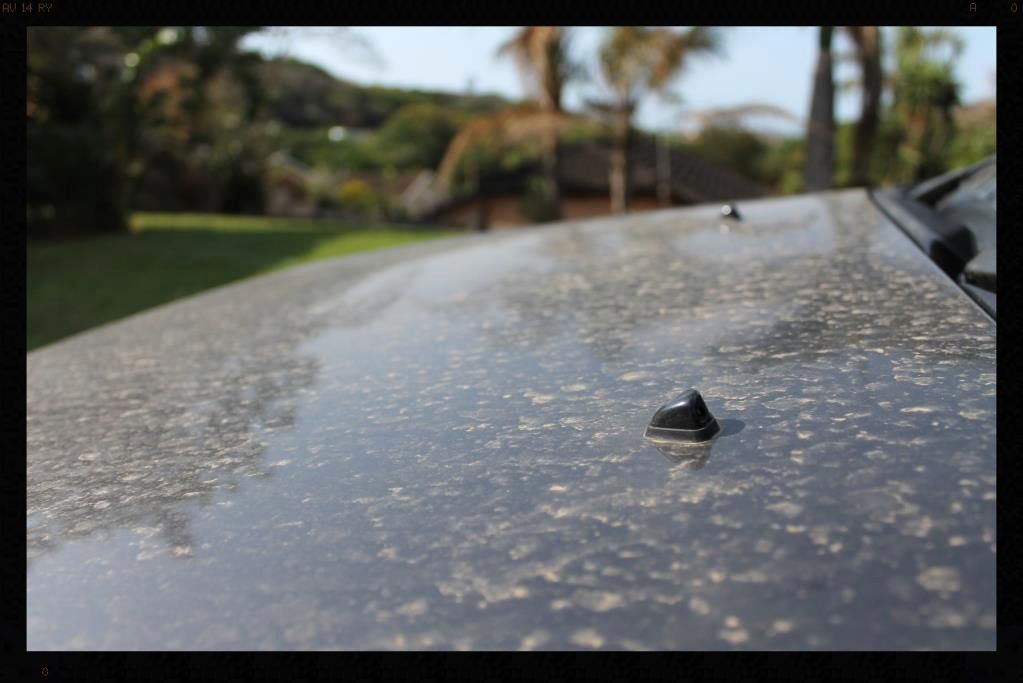
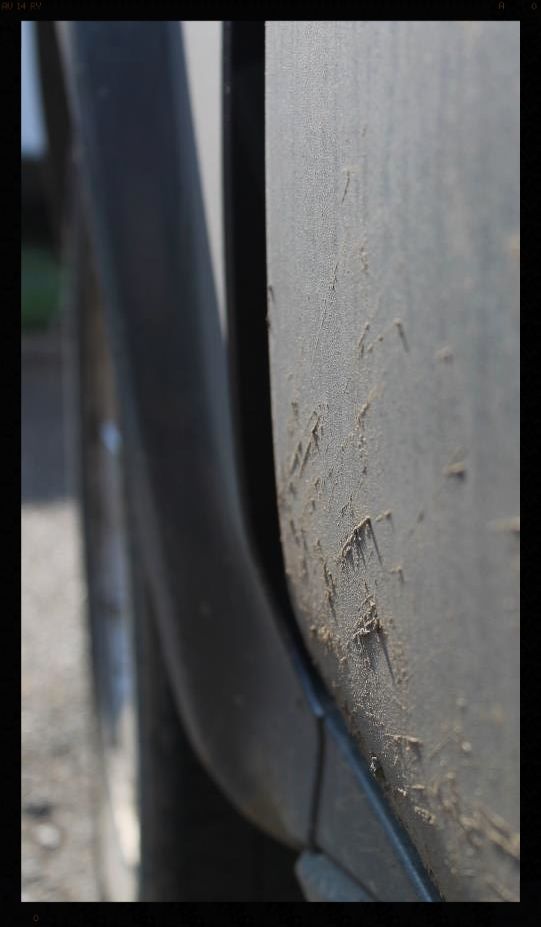
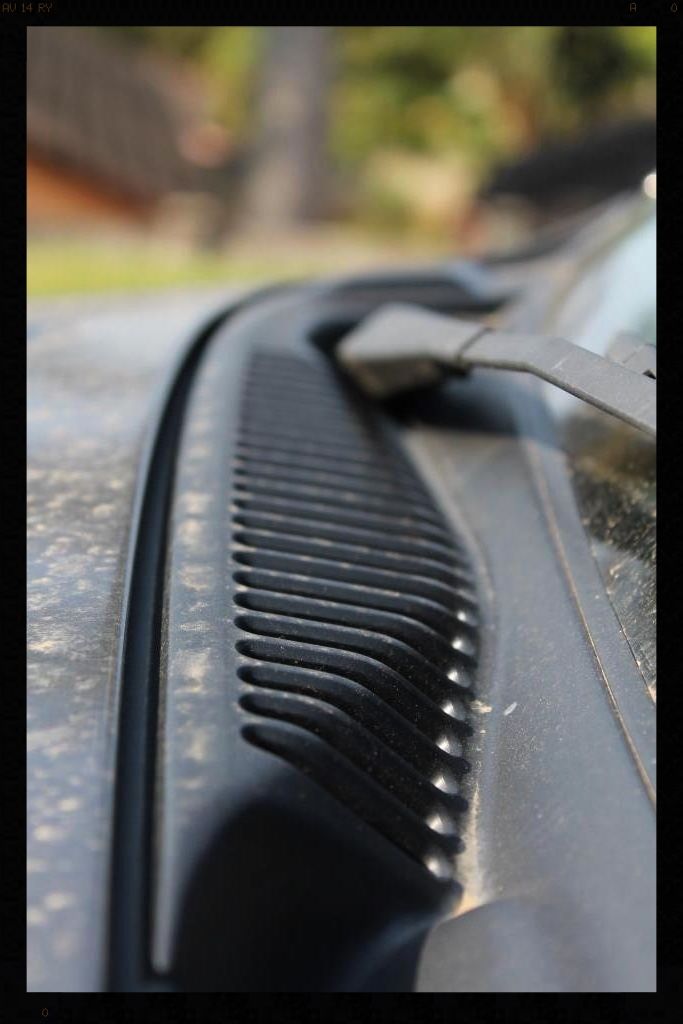
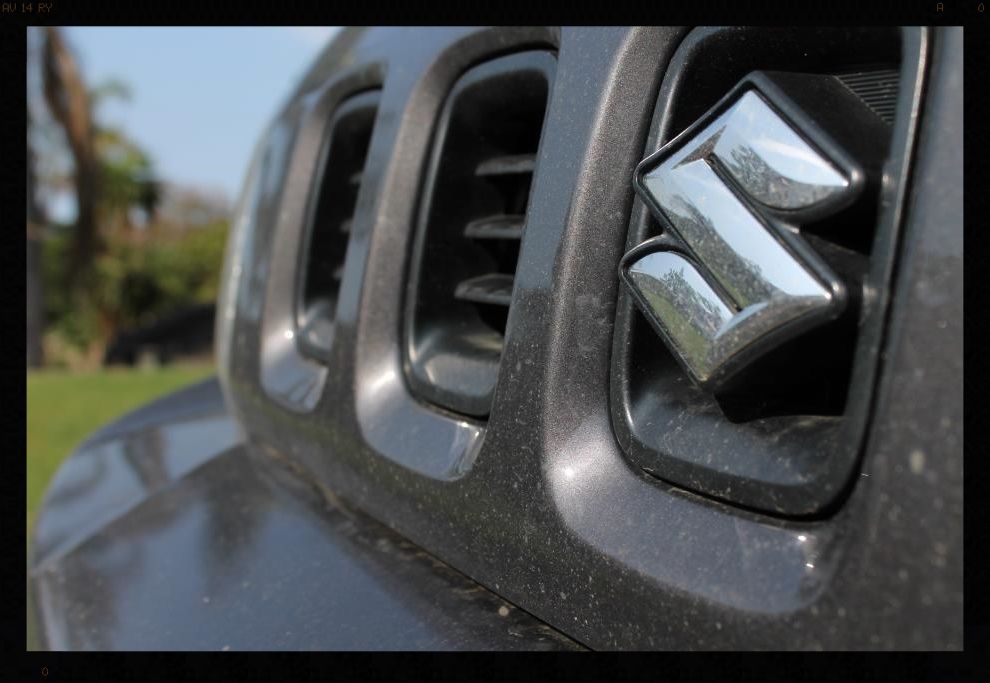
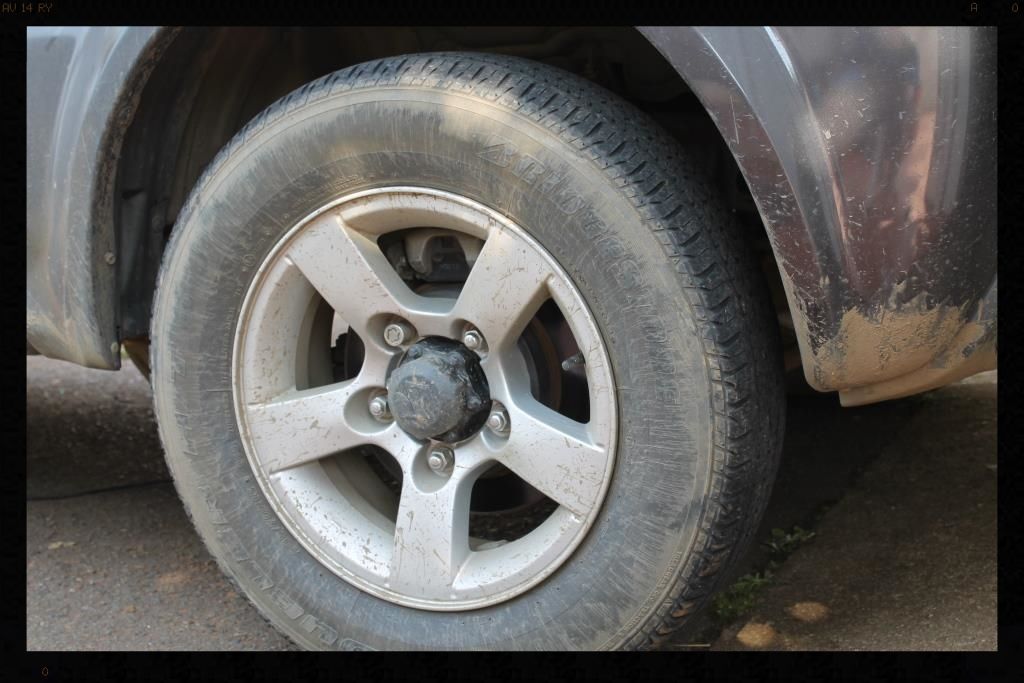
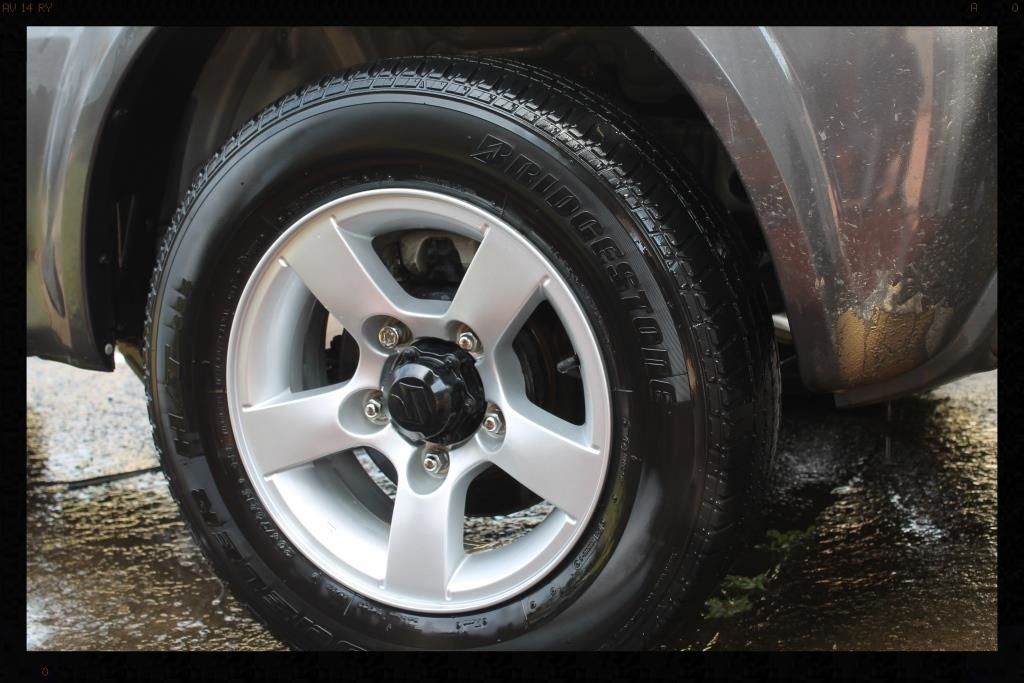
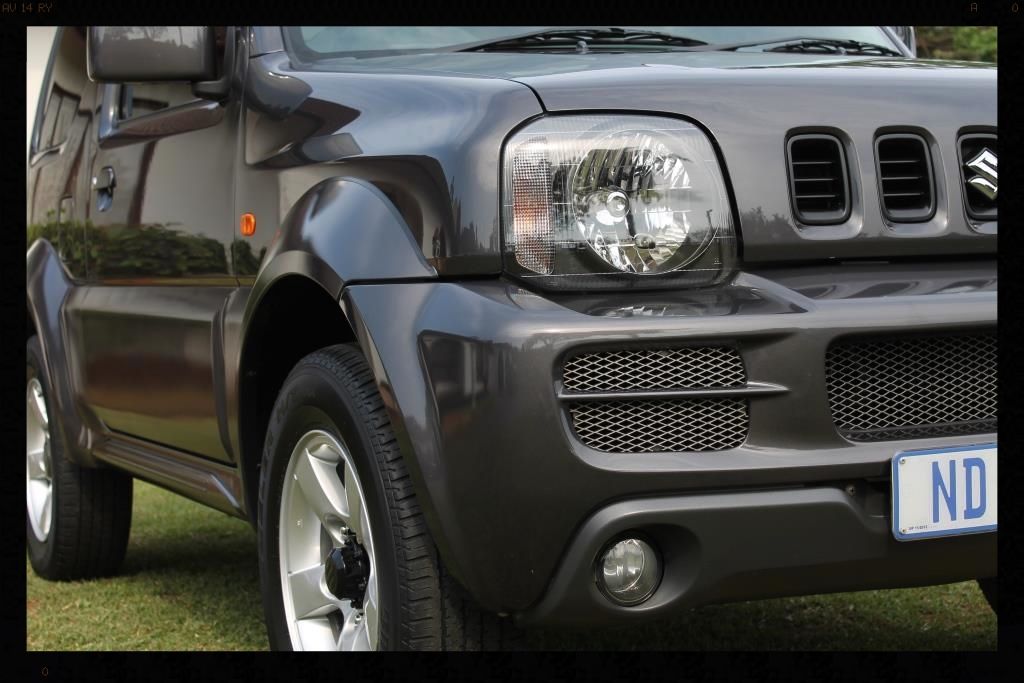
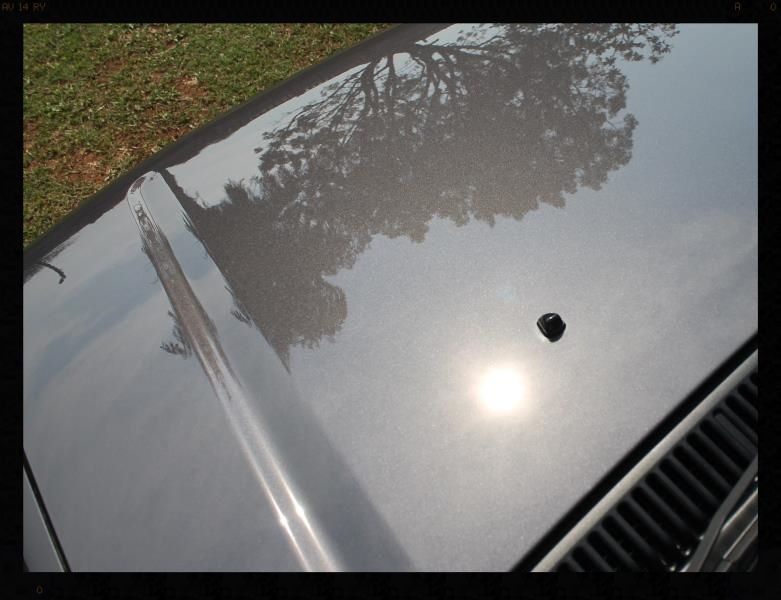
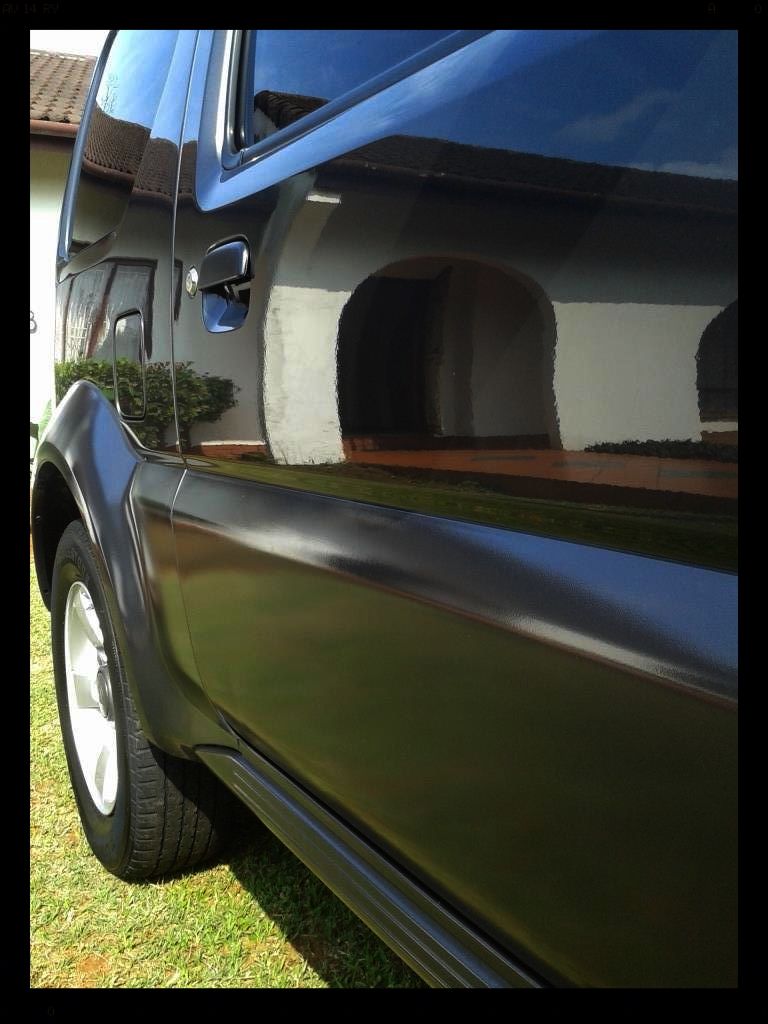
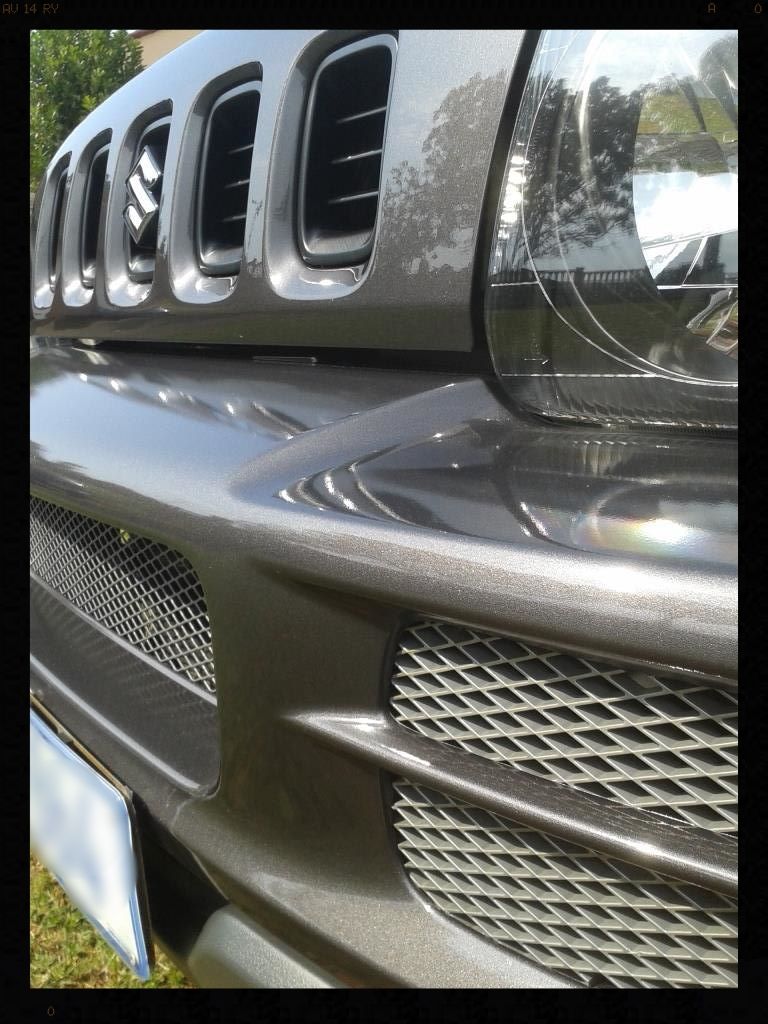
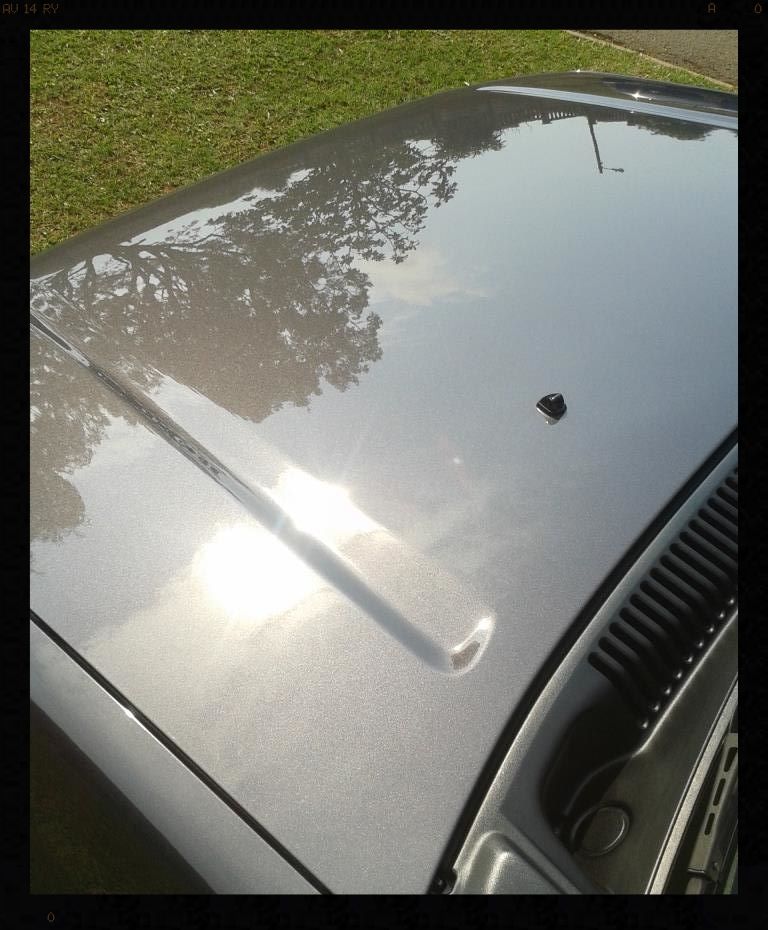
Here are some pics of the car before I started.
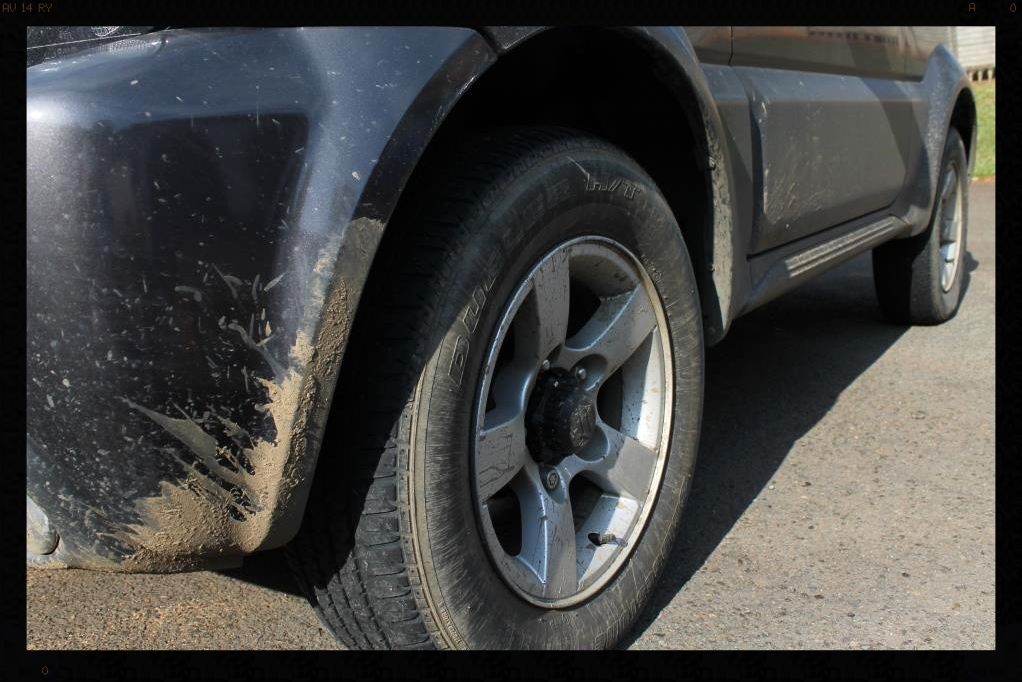
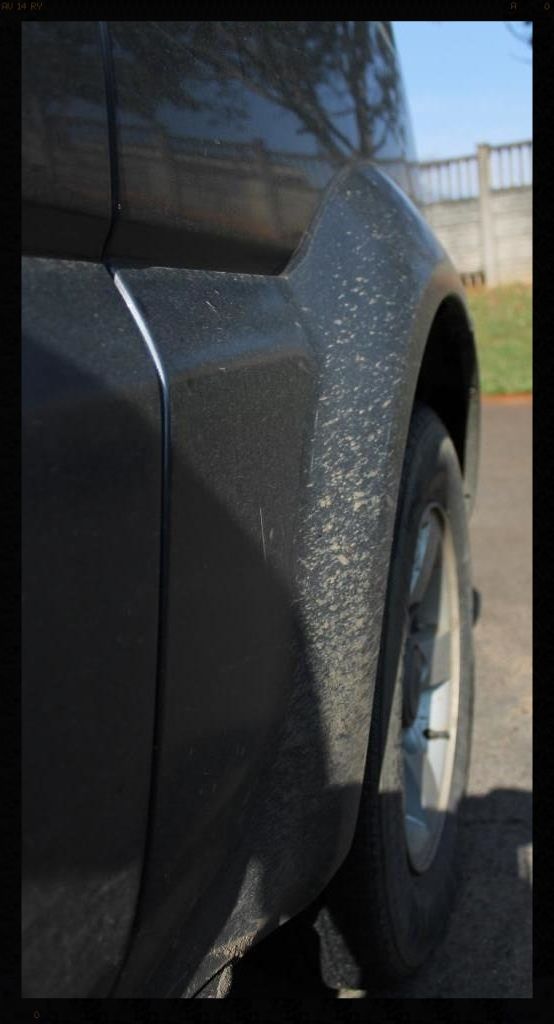
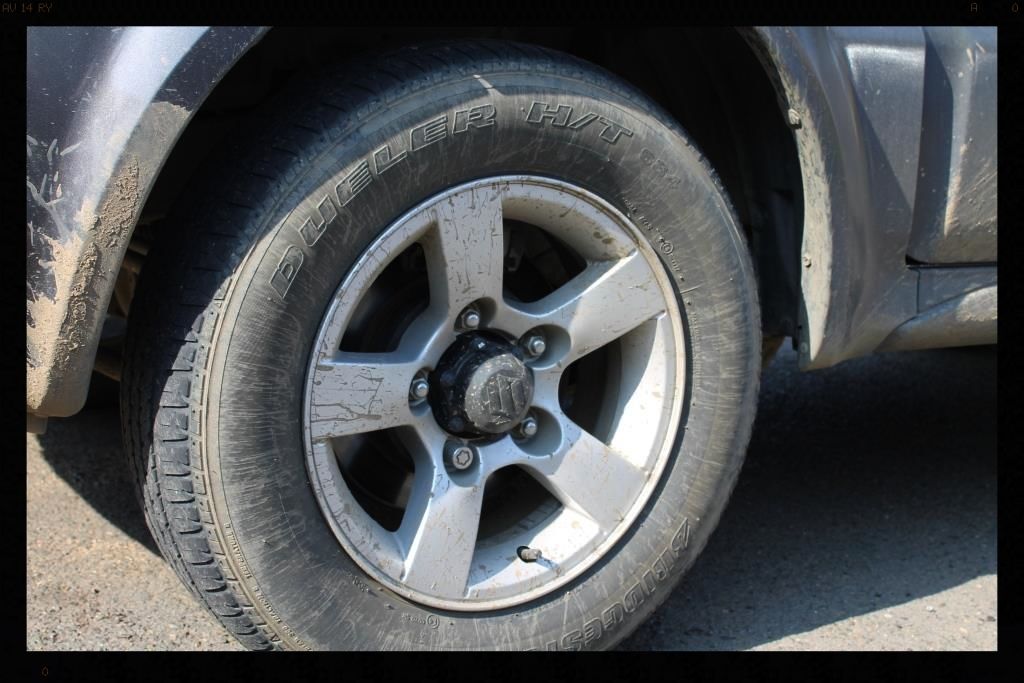
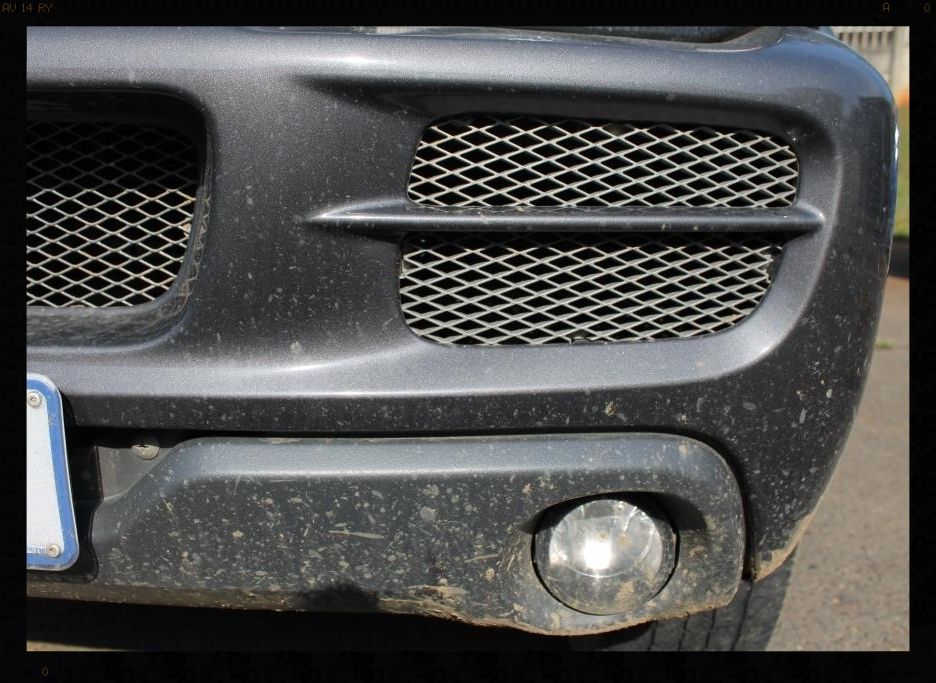

Ok so let's start getting this baby cleaned up.... starting with the wheels and arches.
After HP rinsing off as much loose dirt as possible.
Then I sprayed the arches with Cyclo APC via a foaming trigger head and let it dwell while I got to work on the tires. First I sprayed Meguiars All Wheel and Tire Cleaner and let is sit for a bit
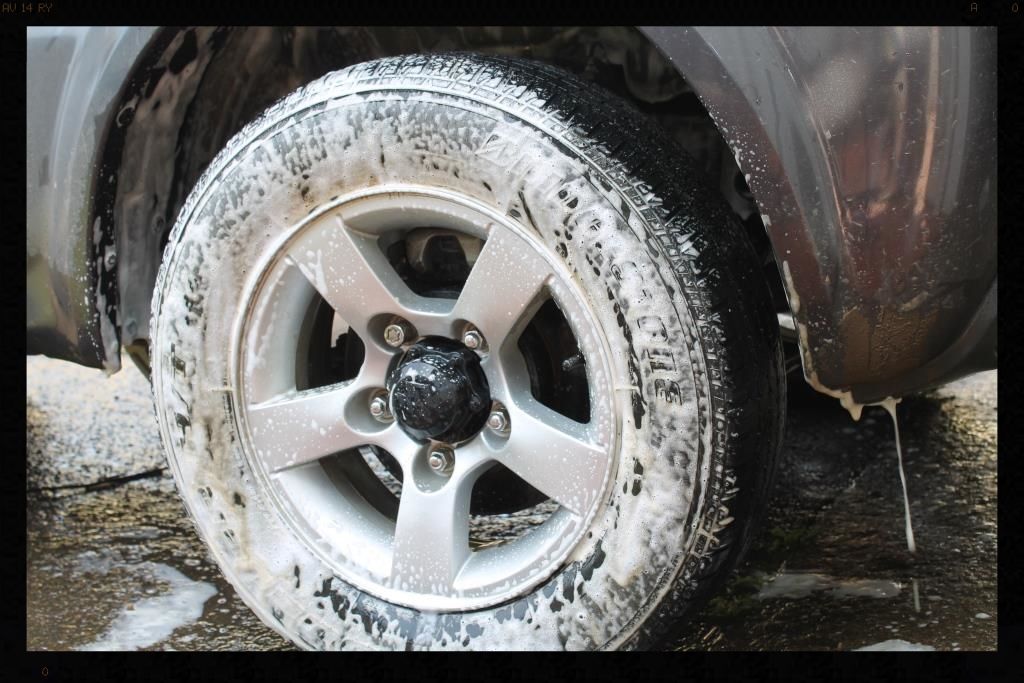
As you can see the product really does a great job at pulling the dirt out even without agitation, but scrubbing them with a Mothers Tire Brush really does aid in the dirt removal.
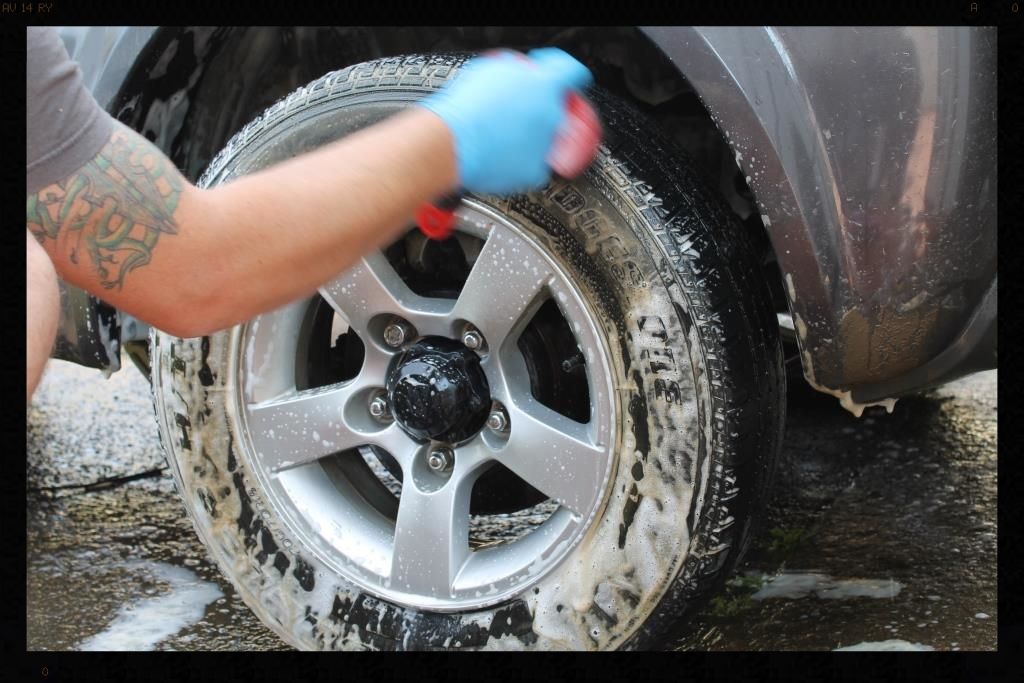
I then cleaned the arches using a Mothers Fenderwell Brush. Then I HP rinsed everything and cleaned the tires again using the same process to make sure that they were not pulling any more dirt out - an important step to make sure that the tire dressing, or in this specific case a tire coating, is bonding to clean rubber. This will ensure that it last as long as it is supposed to.
The tire cleaner that invariably runs off the tire onto the rim was used to clean the wheel using a Daytona and Valet Pro Brushes. The wheel was then dried and the tar removed using Autoglym Intensive Tar Remover. Valet Pro Dragon's Breath was used to remove any bonded and embedded ferrous compounds (think brake dust etc) from the wheel and the whole area was then HP rinsed leaving us with this.
The wheels would later be sealed with Menzerna Powerlock and the tires were coated with Gyeon Q2M Tire - it is a Silicon dioxide (or Silica, which is a precursor to glass) coating that offers increased durability and hydrophobic properties over a traditional solvent or water based dressing.
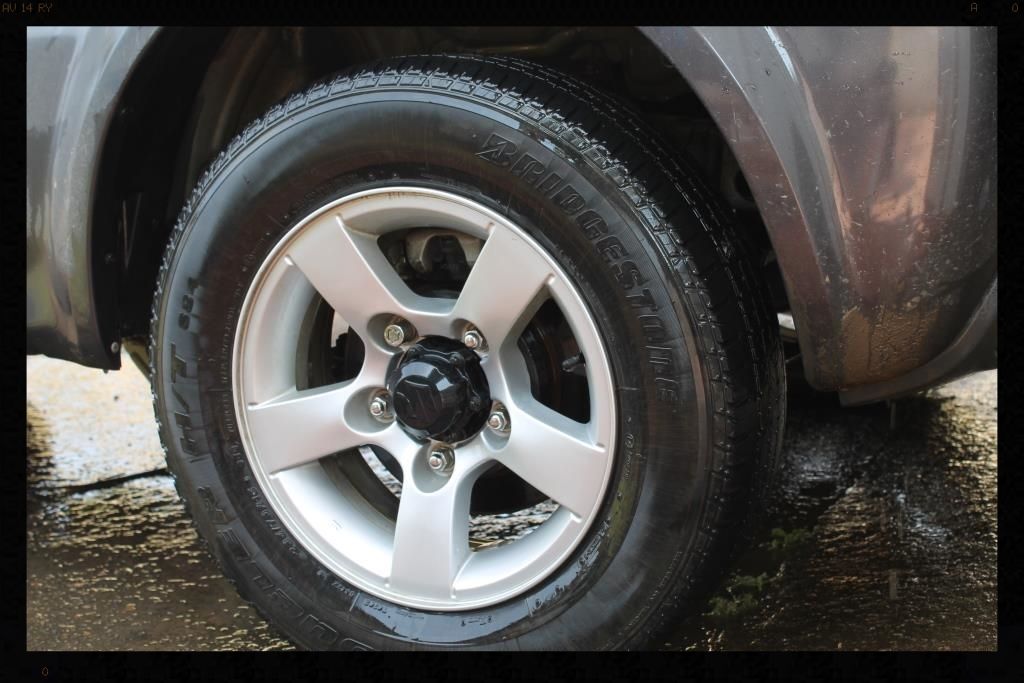
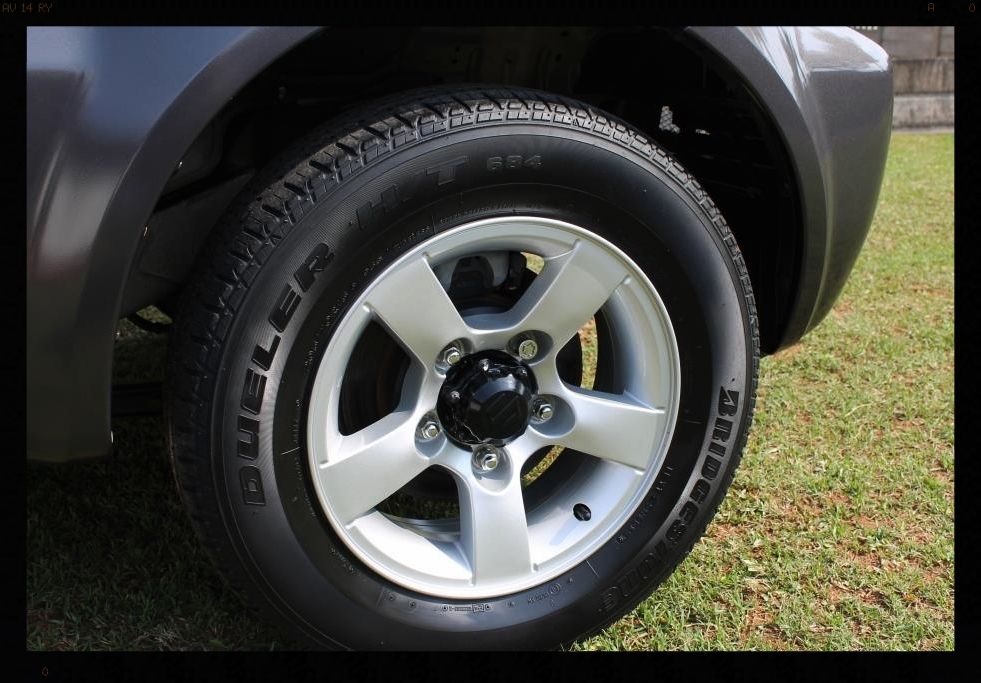
This is how they looked at the end
So now it was time to get the car clean. With as much dirt as it had on it, the obvious starting point was to get rid of the caked on mud using the HP washer. Then it was important to remove as much of remaining dirt as possible before making contact with the paint, so I shot a liberal amount of Valet Pro Citrus Pre-wash through the MTM Hydro foam cannon, not only because I wanted to get the car covered quickly and with a decent amount of product, but also because I wanted to see if it would foam - it doesn't - but it's not really designed to. After letting this dwell as long as possible (before it started to dry) I HP rinsed it off. I then followed this with Chemical Guys Maxi Suds II, let it dwell and HP rinsed that off.
This was followed with a 2 Bucket wash using Gyeon Bathe and 4 Lambswool mitts. Decontamination followed:
Tar removal : Valet Pro Citrus Tar Remover / HP Rinse
Iron removal : Valet Pro Dragon's Breath / Chemical Guys Maxi Suds II / MTM Hydro / HP rinse
Clay : Shield Heavy Duty / ONR
The car was then pulled into the garage, dried and paint [strikethrough]thick[/strikethrough]thinness readings taken. I taped off a test spot and on my first attempt with the Flex 3401 using Menzerna SF4000 on a Lake Country 5.5" Crimson Hydrotech pad got this.
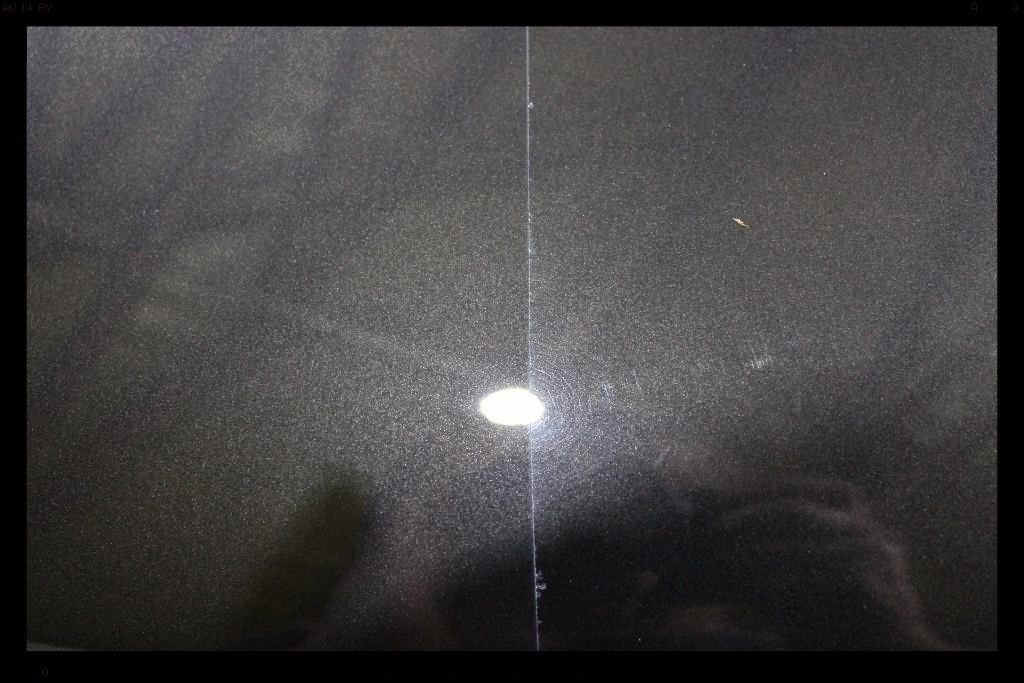
I'll take that :grin:
It did however point to some soft paint and shows why it is so important to always practice the 'least aggressive method first'philosophy. In fact, it reminded me a lot of Subaru paint, and behaved completely differently to the last Jimny I detailed.
The repainted panel however was of a more typical 'hardness' and required Menzerna PF2500 on a Lake Country 5.5" Tangerine Hydrotech to remove the swirls. With it having the same finishing capabilities as SF4000 (just some more cut) it was a perfect combo that left both the OEM and re-finished panels looking the same.
The door & boot shuts, under the bonnet and the inside of the doors was polished and protected using Autofinesse Tripple. On this car not only are the bumpers plastic, but so is pretty much the whole lower half. It has a very rough texture to it and so you can't 'polish it shiny'- instead I used a Shield DA with a Lake Country Grey 4" CCS pad and Chemical Guys EZ Creme to remove some light marks, clean the paint and leave behind some protection (it can be [and was] topped with a sealant too).
All the painted surfaces were then sealed using Menzerna Powerlock which was left to cure while I tackled the remaining .... details.... :lol:
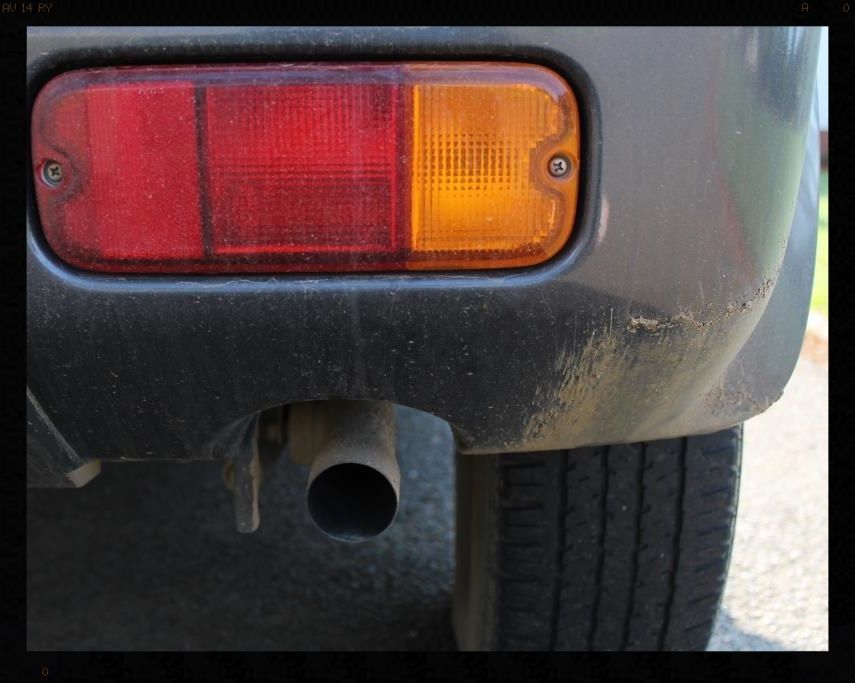
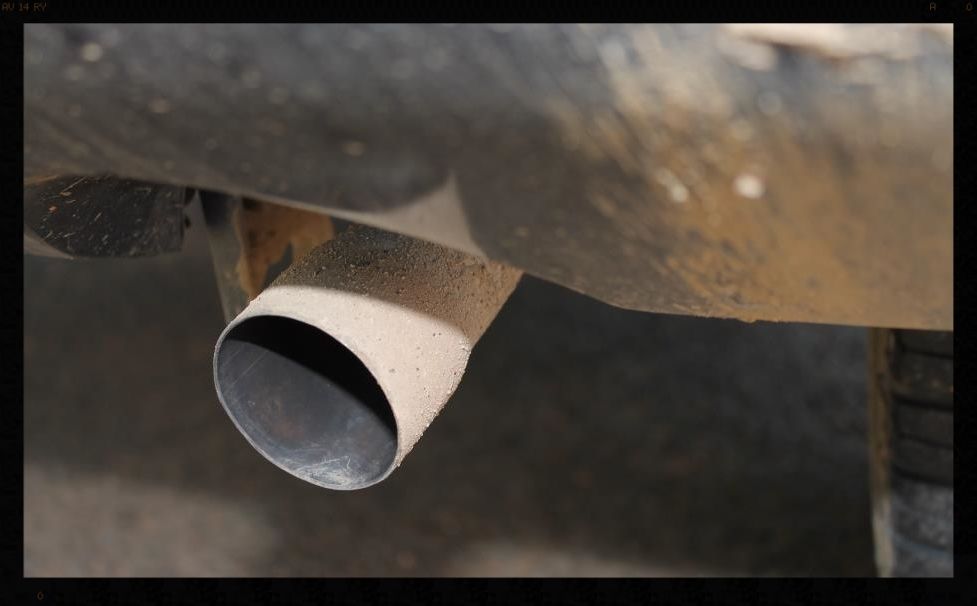
The exhaust tip was polished using Meguiars NXT All Metal Polish. All the plastic bits, door rubbers and window rubbers were first cleaned using Shield Heavy Duty Rubber Cleaner and then later protected using Aerospace 303. The glass (inside and out) was cleaned using Glossworx Glass Cleaner and 2 coats of C-Thru were applied to the front and rear windows.
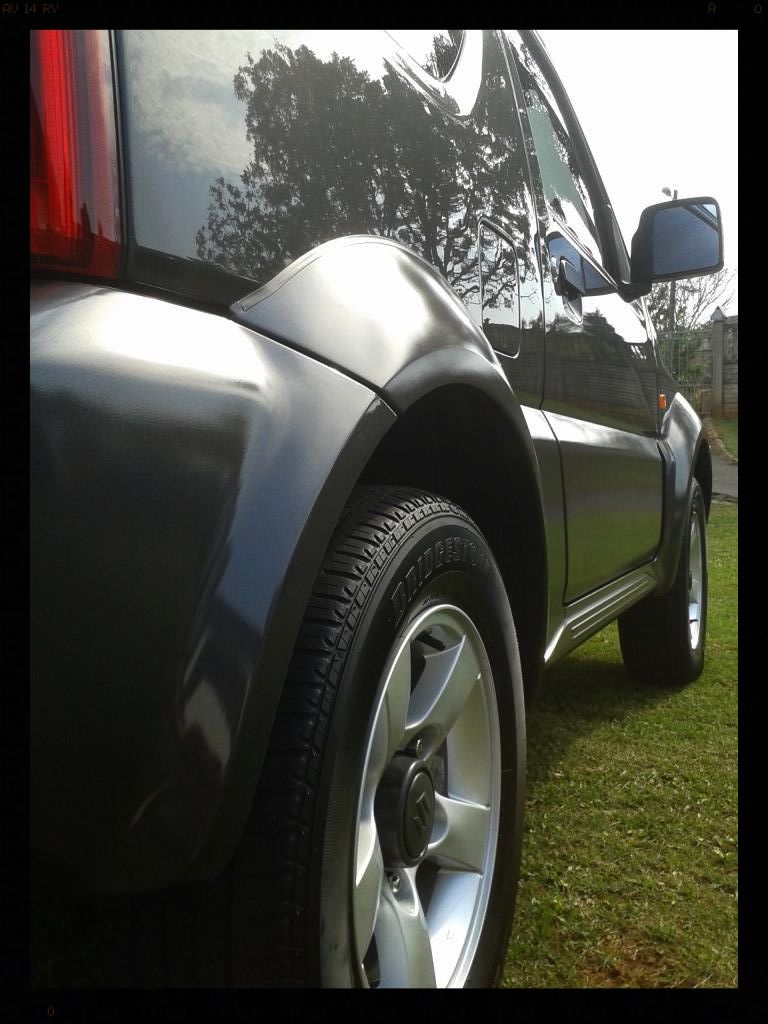
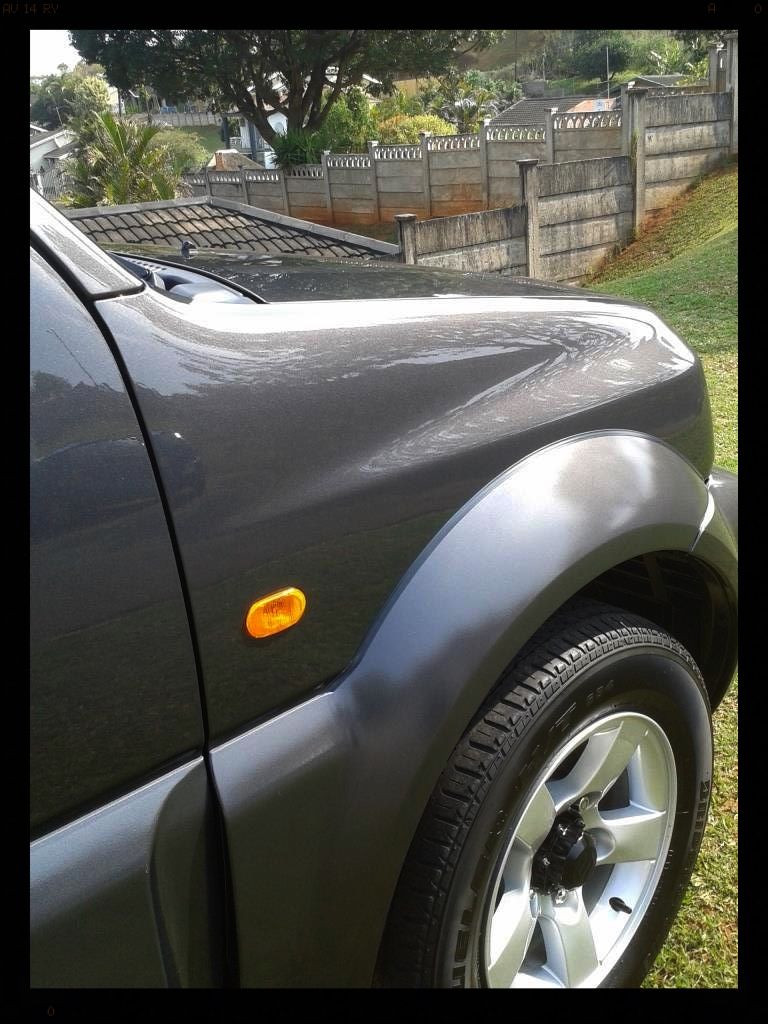
20 Man-hours after blasting the first bit of mud out the first wheel arch, this is what awaited the owner....

Thanks for looking and as always any questions or comments are welcome.
So the objective for this detail was to clean up the wheels, restore the paint and give it some protection. The driver's side rear panel had been re-sprayed (PTG readings avg: 247µ) and the not only had the 'painter/panel beater/!#$#R!' left some holograms, they had burnt through the clear in a small spot about the size of fingerprint on the thin panel running up the rear of the car from the bumper to the roof (PTG reading 74µ - the rest of the car averaged around 125µ). No engine bay or interior work was to be done.
Here are some pics of the car before I started.
Ok so let's start getting this baby cleaned up.... starting with the wheels and arches.
After HP rinsing off as much loose dirt as possible.
Then I sprayed the arches with Cyclo APC via a foaming trigger head and let it dwell while I got to work on the tires. First I sprayed Meguiars All Wheel and Tire Cleaner and let is sit for a bit
As you can see the product really does a great job at pulling the dirt out even without agitation, but scrubbing them with a Mothers Tire Brush really does aid in the dirt removal.
I then cleaned the arches using a Mothers Fenderwell Brush. Then I HP rinsed everything and cleaned the tires again using the same process to make sure that they were not pulling any more dirt out - an important step to make sure that the tire dressing, or in this specific case a tire coating, is bonding to clean rubber. This will ensure that it last as long as it is supposed to.
The tire cleaner that invariably runs off the tire onto the rim was used to clean the wheel using a Daytona and Valet Pro Brushes. The wheel was then dried and the tar removed using Autoglym Intensive Tar Remover. Valet Pro Dragon's Breath was used to remove any bonded and embedded ferrous compounds (think brake dust etc) from the wheel and the whole area was then HP rinsed leaving us with this.
The wheels would later be sealed with Menzerna Powerlock and the tires were coated with Gyeon Q2M Tire - it is a Silicon dioxide (or Silica, which is a precursor to glass) coating that offers increased durability and hydrophobic properties over a traditional solvent or water based dressing.
This is how they looked at the end
So now it was time to get the car clean. With as much dirt as it had on it, the obvious starting point was to get rid of the caked on mud using the HP washer. Then it was important to remove as much of remaining dirt as possible before making contact with the paint, so I shot a liberal amount of Valet Pro Citrus Pre-wash through the MTM Hydro foam cannon, not only because I wanted to get the car covered quickly and with a decent amount of product, but also because I wanted to see if it would foam - it doesn't - but it's not really designed to. After letting this dwell as long as possible (before it started to dry) I HP rinsed it off. I then followed this with Chemical Guys Maxi Suds II, let it dwell and HP rinsed that off.
This was followed with a 2 Bucket wash using Gyeon Bathe and 4 Lambswool mitts. Decontamination followed:
Tar removal : Valet Pro Citrus Tar Remover / HP Rinse
Iron removal : Valet Pro Dragon's Breath / Chemical Guys Maxi Suds II / MTM Hydro / HP rinse
Clay : Shield Heavy Duty / ONR
The car was then pulled into the garage, dried and paint [strikethrough]thick[/strikethrough]thinness readings taken. I taped off a test spot and on my first attempt with the Flex 3401 using Menzerna SF4000 on a Lake Country 5.5" Crimson Hydrotech pad got this.
I'll take that :grin:
It did however point to some soft paint and shows why it is so important to always practice the 'least aggressive method first'philosophy. In fact, it reminded me a lot of Subaru paint, and behaved completely differently to the last Jimny I detailed.
The repainted panel however was of a more typical 'hardness' and required Menzerna PF2500 on a Lake Country 5.5" Tangerine Hydrotech to remove the swirls. With it having the same finishing capabilities as SF4000 (just some more cut) it was a perfect combo that left both the OEM and re-finished panels looking the same.
The door & boot shuts, under the bonnet and the inside of the doors was polished and protected using Autofinesse Tripple. On this car not only are the bumpers plastic, but so is pretty much the whole lower half. It has a very rough texture to it and so you can't 'polish it shiny'- instead I used a Shield DA with a Lake Country Grey 4" CCS pad and Chemical Guys EZ Creme to remove some light marks, clean the paint and leave behind some protection (it can be [and was] topped with a sealant too).
All the painted surfaces were then sealed using Menzerna Powerlock which was left to cure while I tackled the remaining .... details.... :lol:
The exhaust tip was polished using Meguiars NXT All Metal Polish. All the plastic bits, door rubbers and window rubbers were first cleaned using Shield Heavy Duty Rubber Cleaner and then later protected using Aerospace 303. The glass (inside and out) was cleaned using Glossworx Glass Cleaner and 2 coats of C-Thru were applied to the front and rear windows.
20 Man-hours after blasting the first bit of mud out the first wheel arch, this is what awaited the owner....
Thanks for looking and as always any questions or comments are welcome.
")
 rops:
rops: