RaskyR1
New member
- Apr 14, 2008
- 3,733
- 0
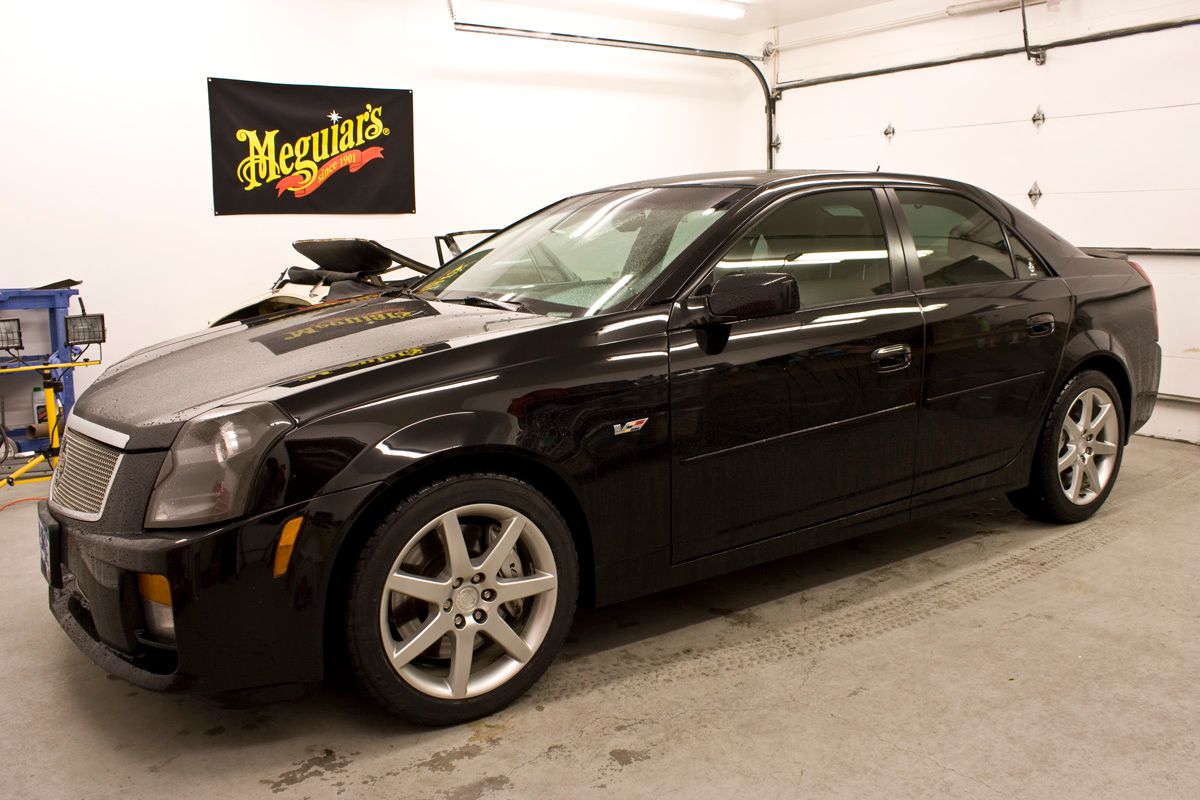
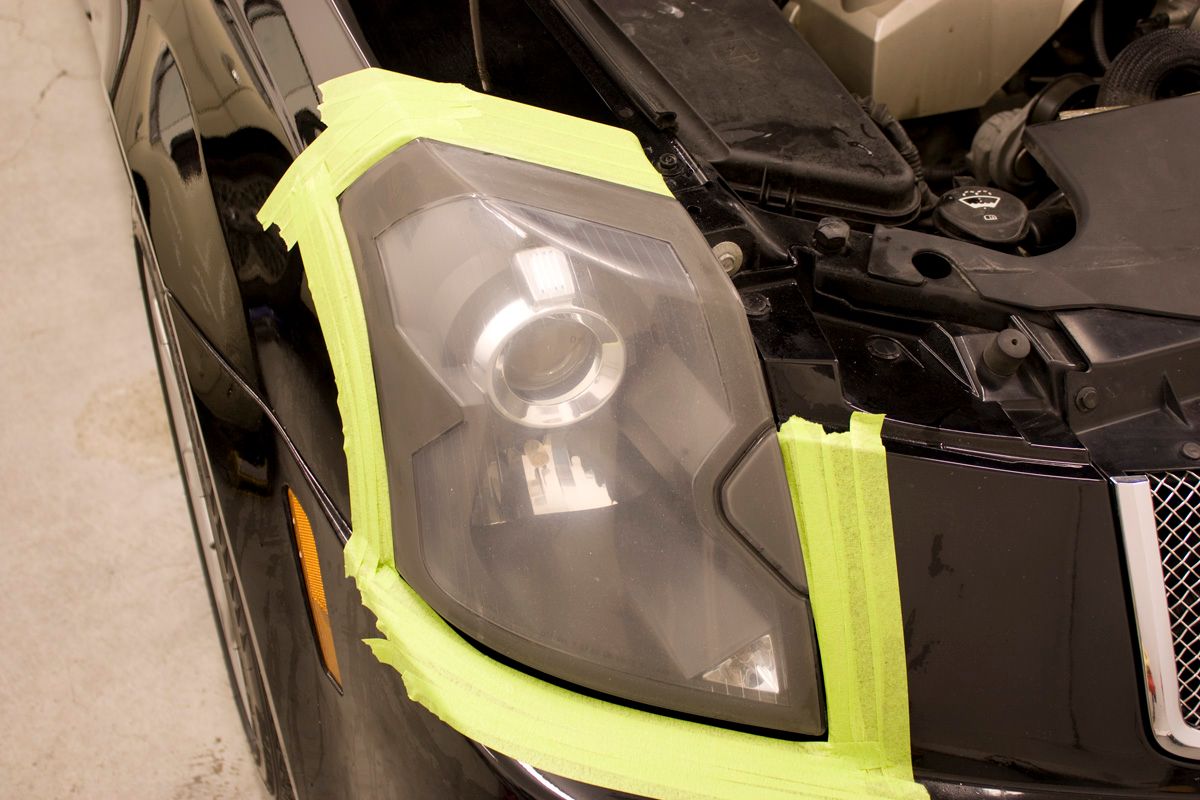
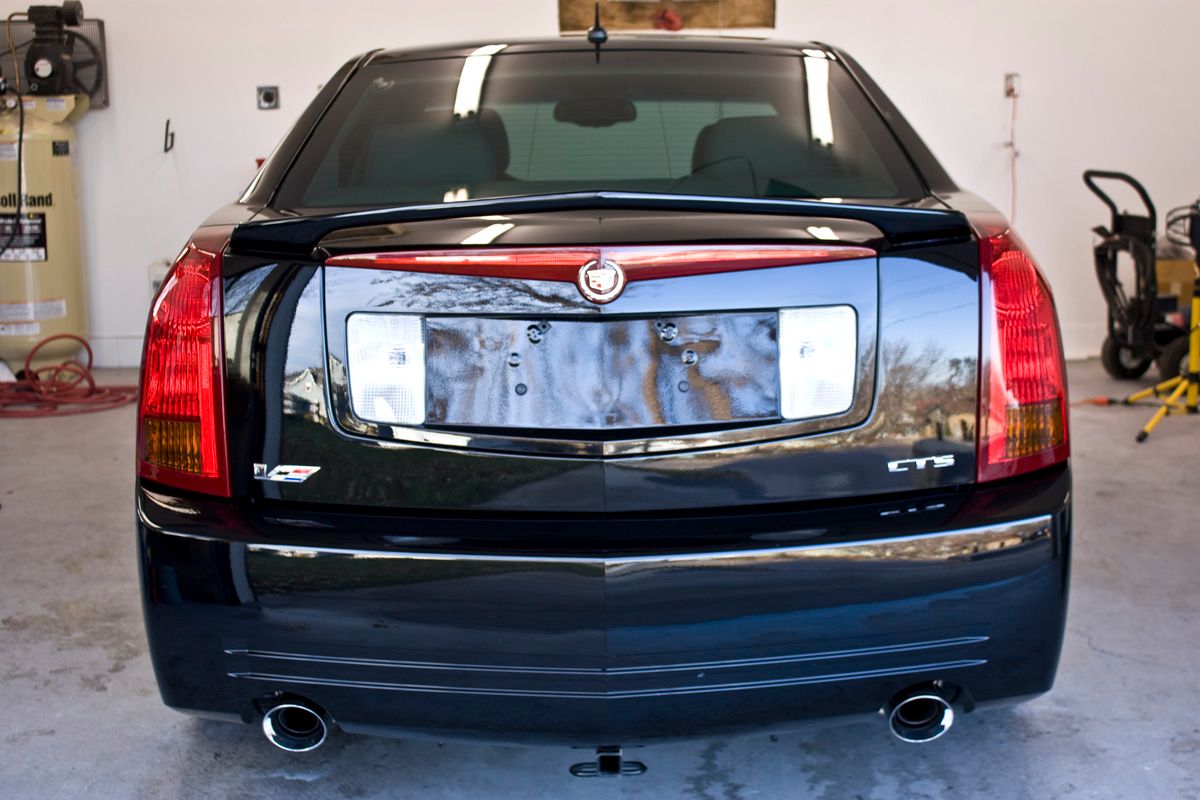
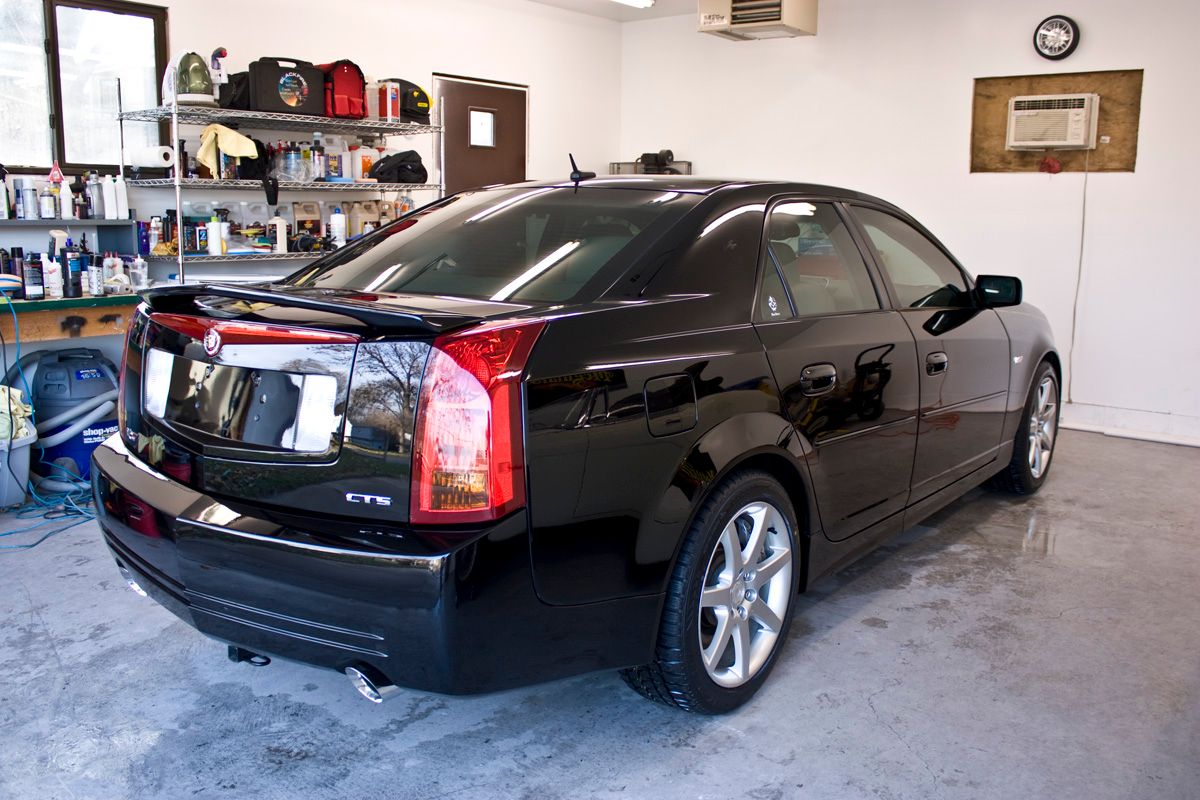
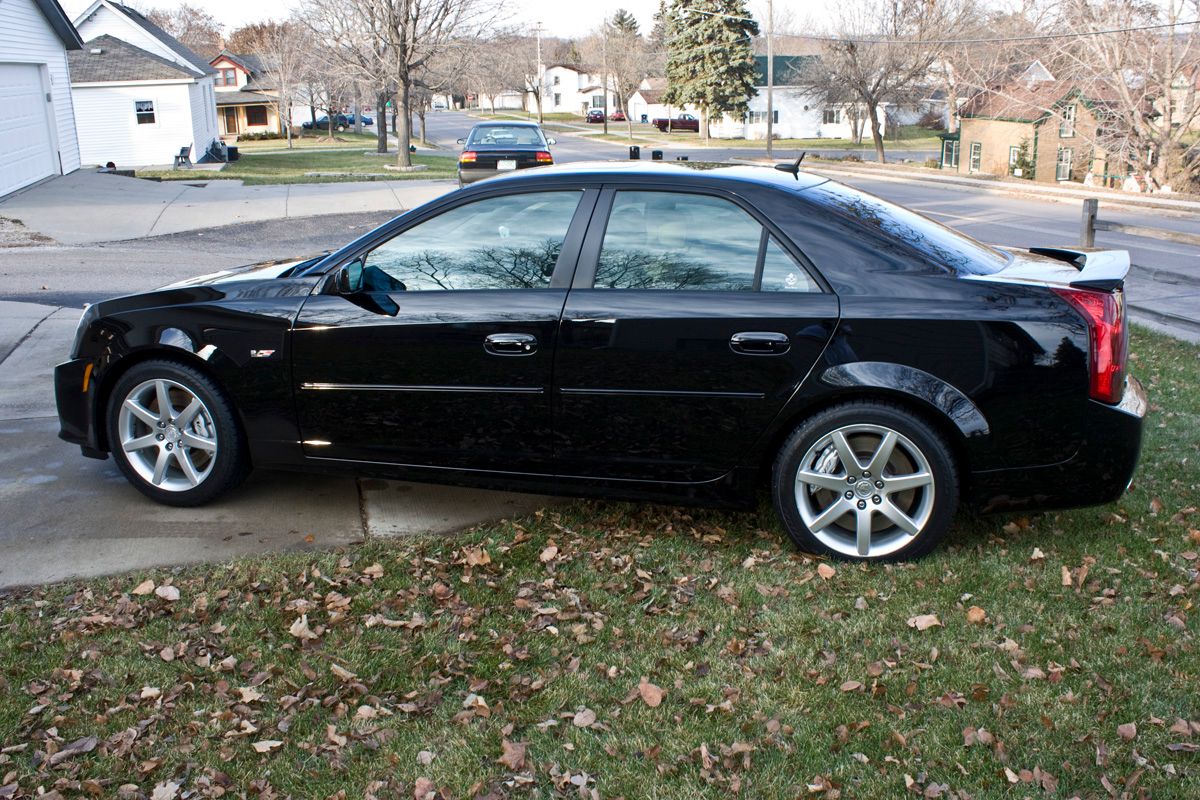
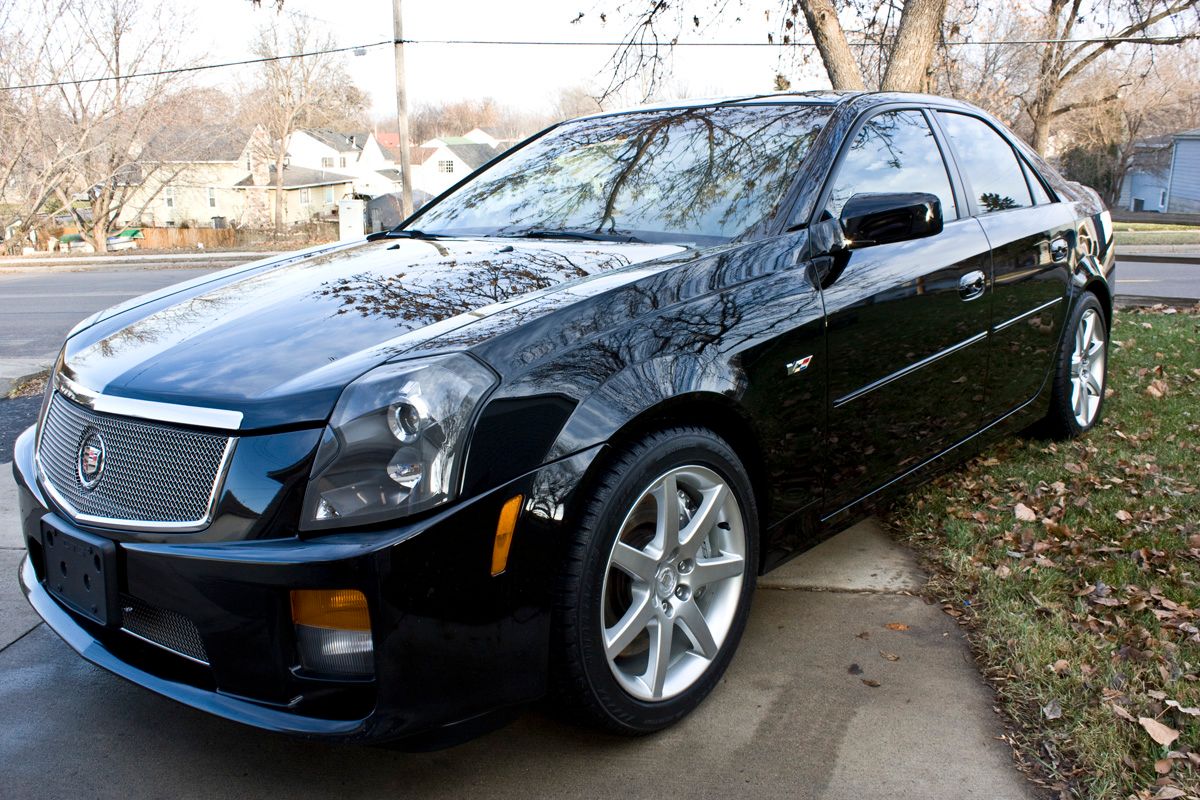
2005 Cadillac CTS-V, exterior correction only.
The owner recently purchased this car used and wanted to give her a new lease on life. He had contacted me via email about my services and mentioned he was getting the hood painted under warranty, and that he would then bring the car over for me to inspect. Upon inspection the car really didn’t look too bad; especially considering it was black and 4 years old. We had decided that a 2-step correction was they way to go for this daily driver, and I was confident it would remove 90-95% of the defects…. HOWEVER, the body shop somehow happened to get overspray all over the ENTIRE car when they painted the hood!!! The owner brought the car back to the dealership/body shop to have them remove the overspray via clay bar prior having me do the work. I had also done a test spot with some OTC Meguiars clay, and the overspray came off with very little effort…
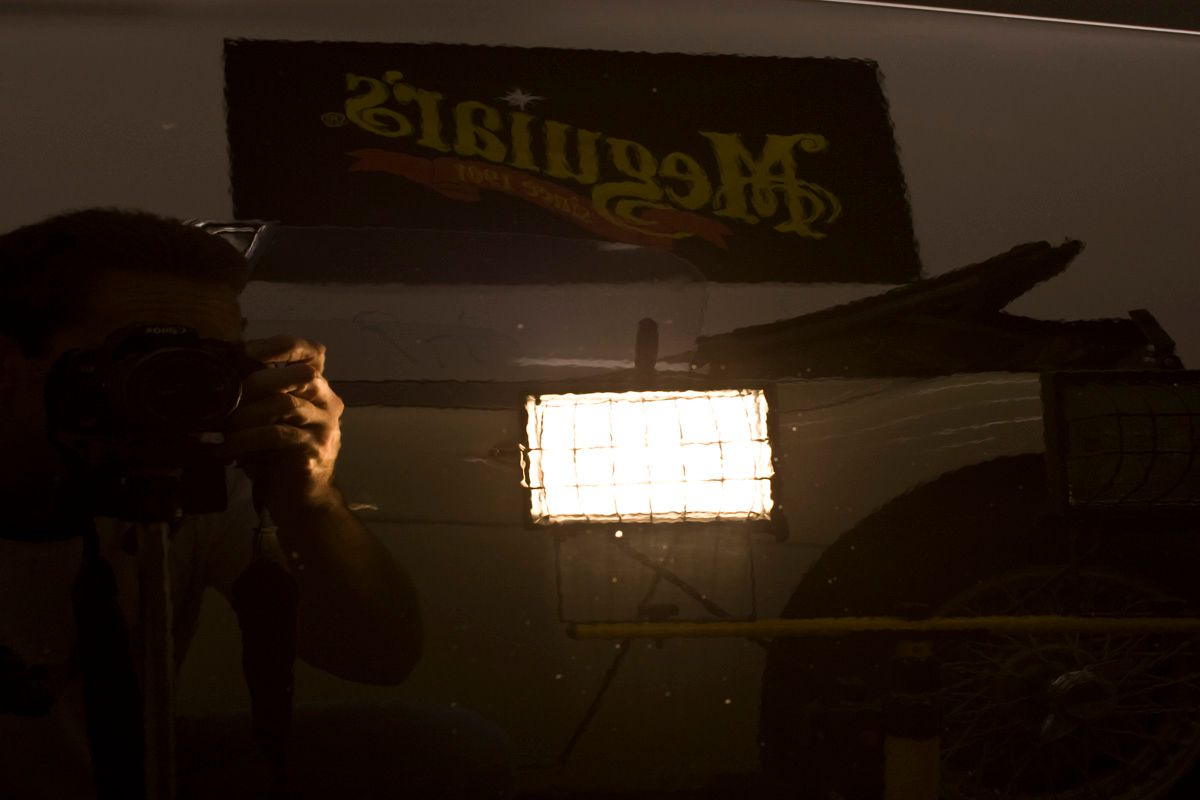
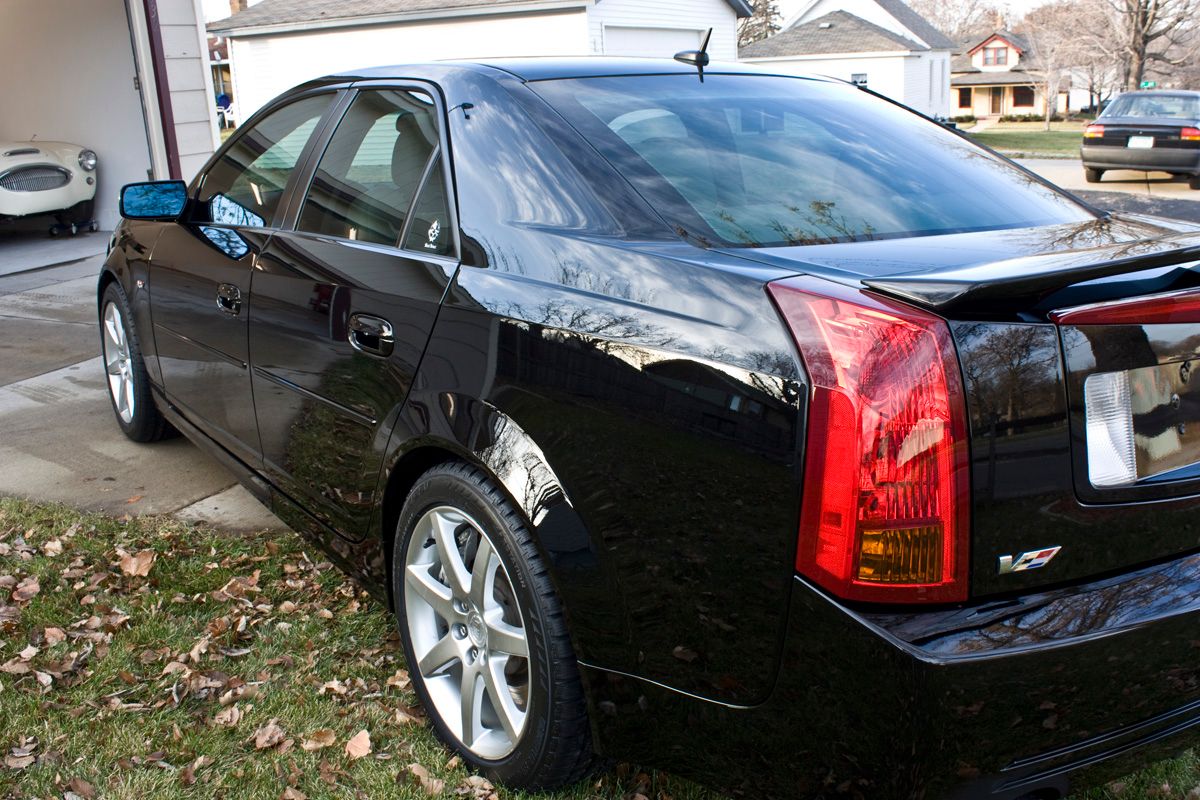
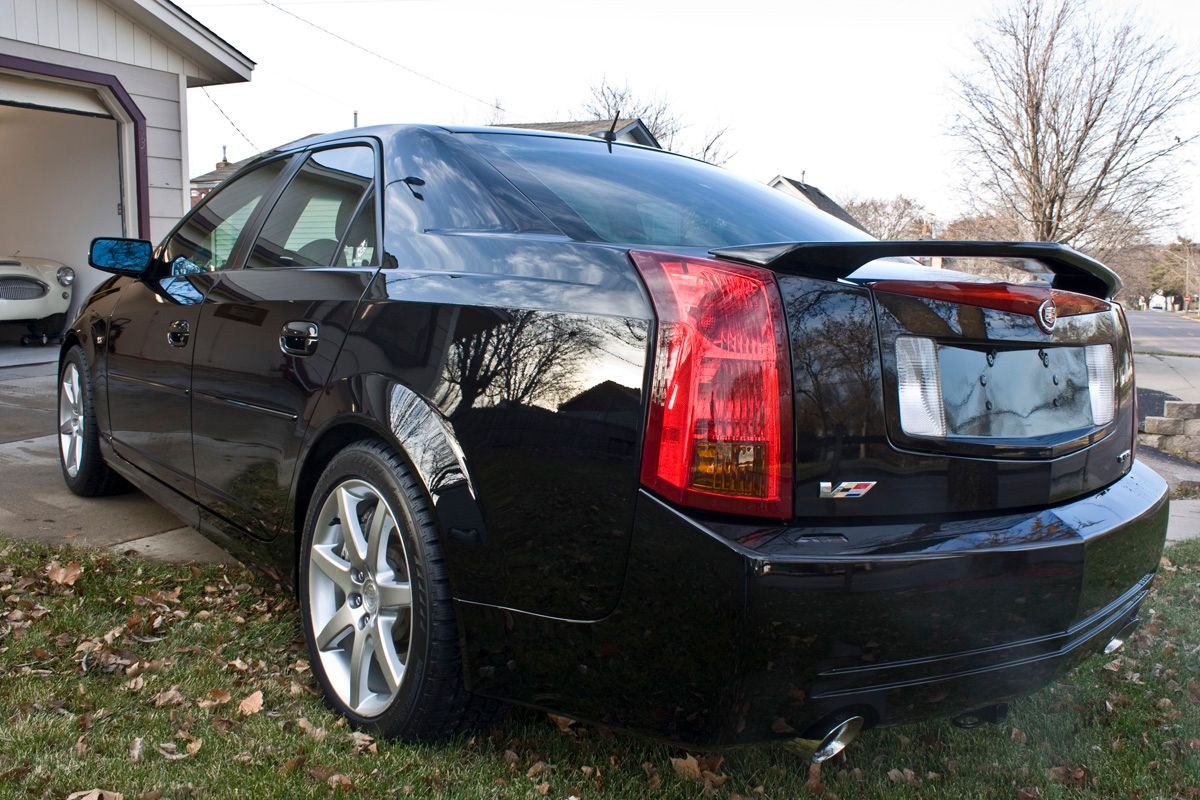
The car was dropped off late on Friday night in the rain so I really had no idea what I was in for until after I washed the car and pulled out the Brinkmann…
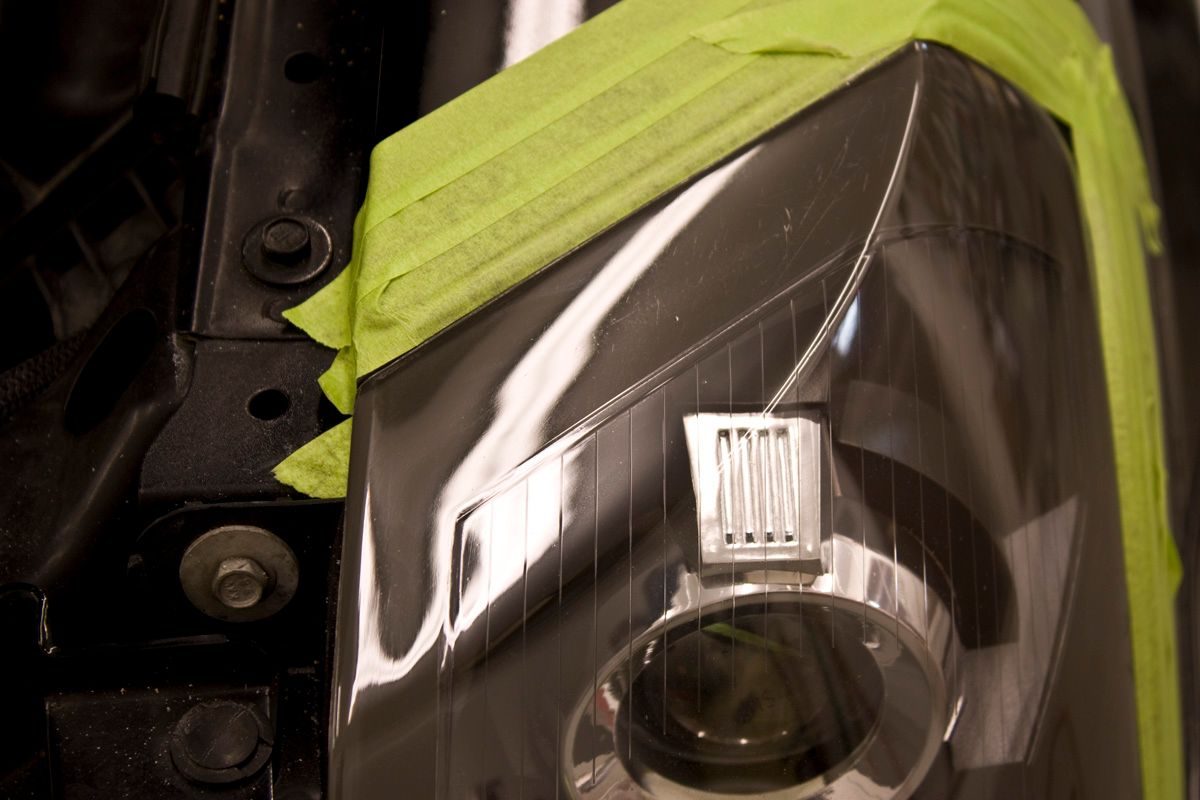
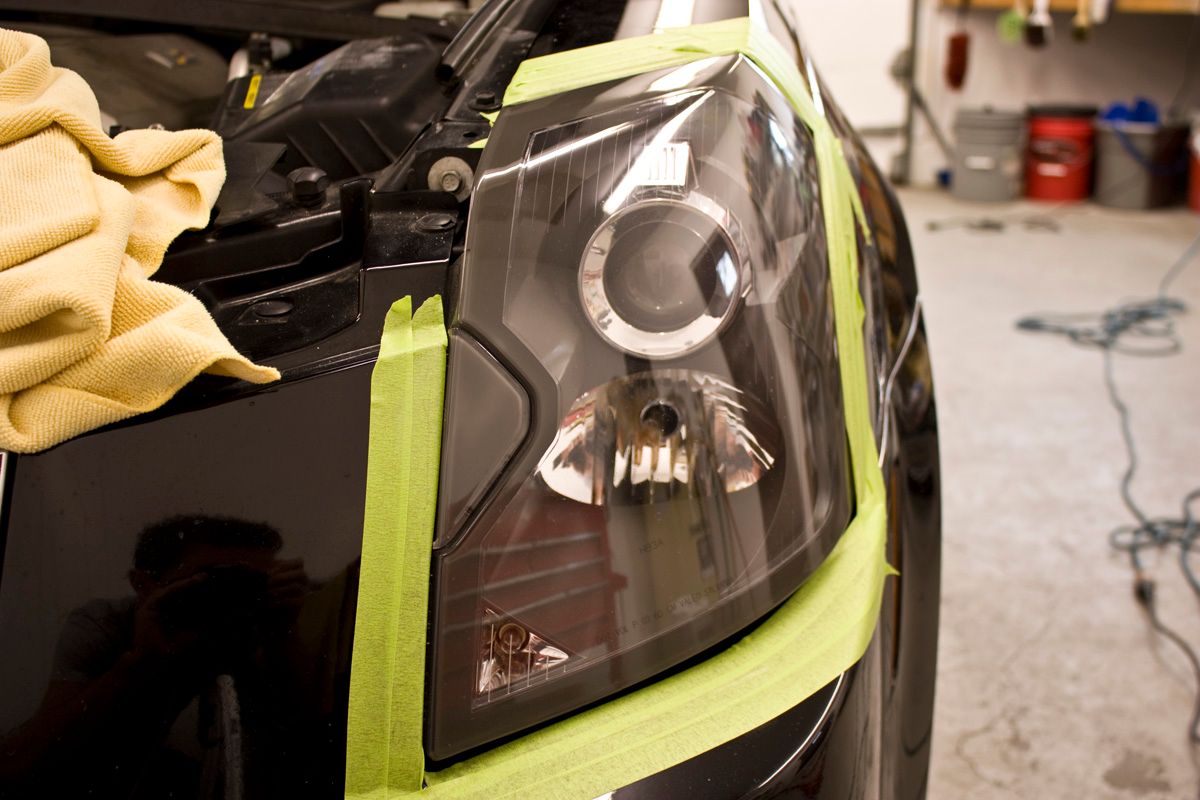
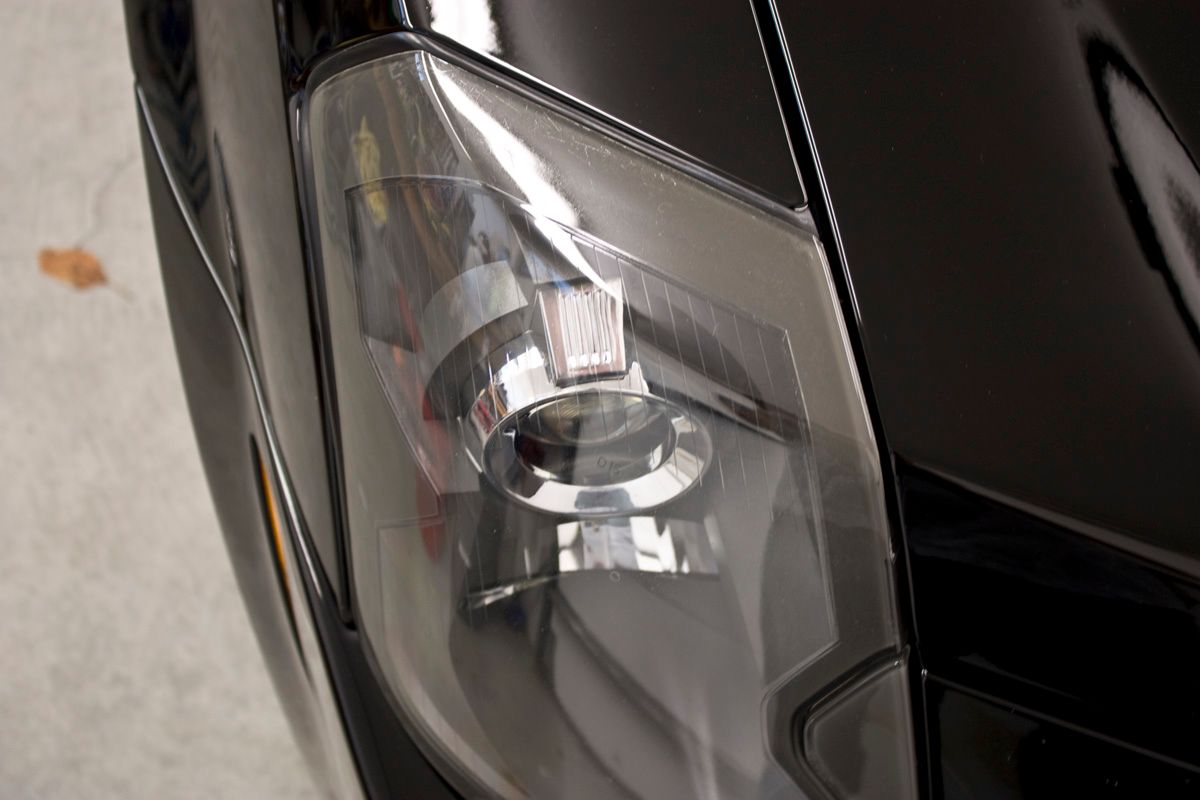
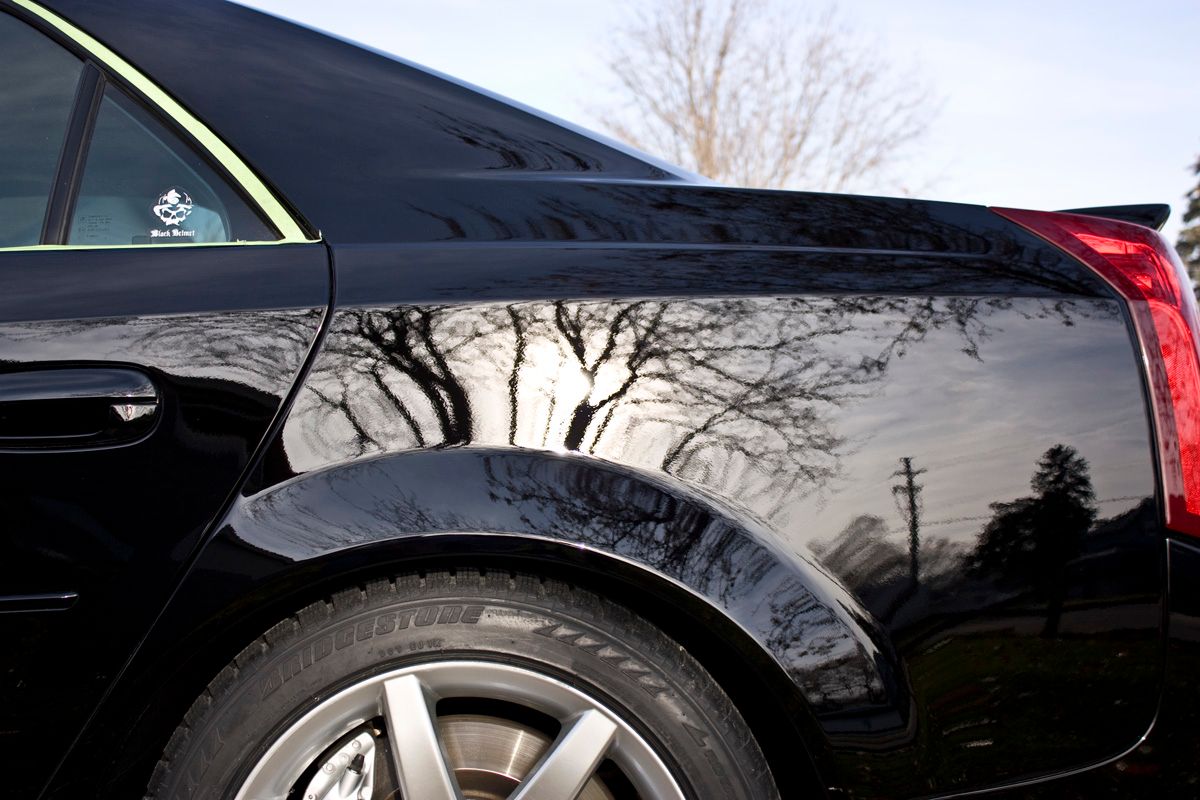
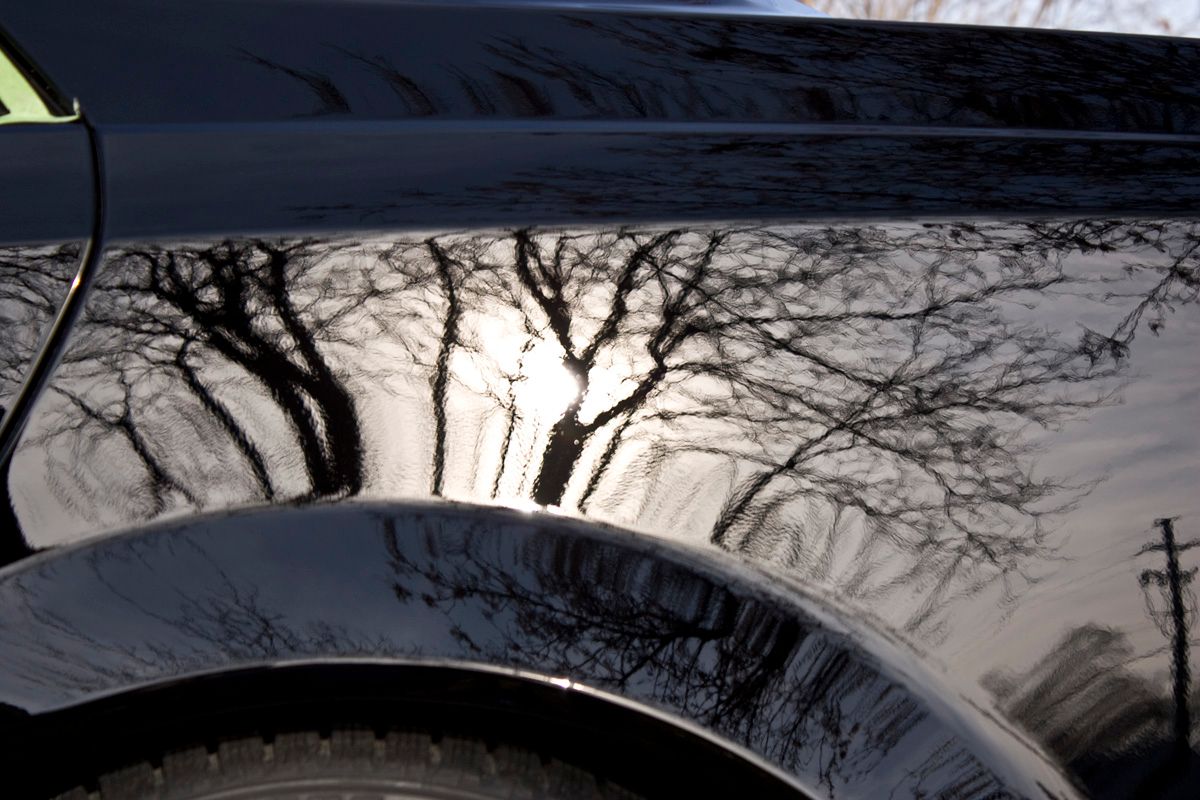
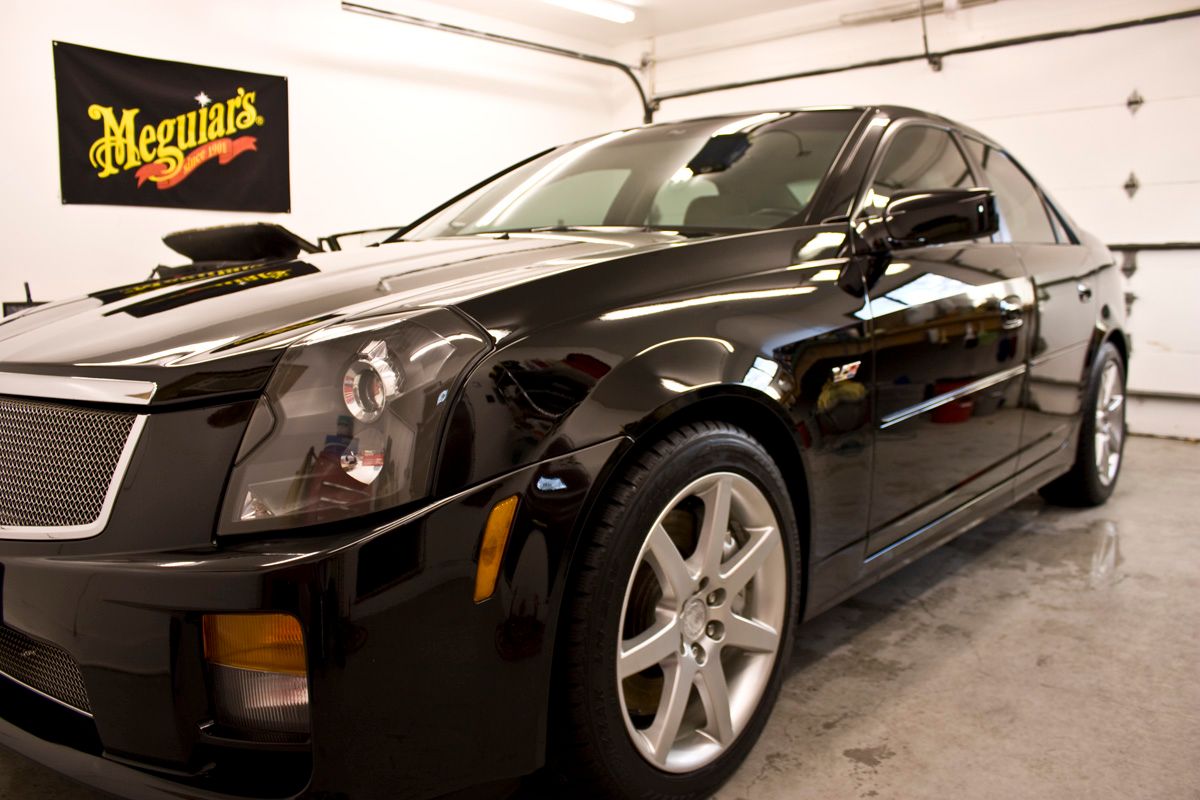
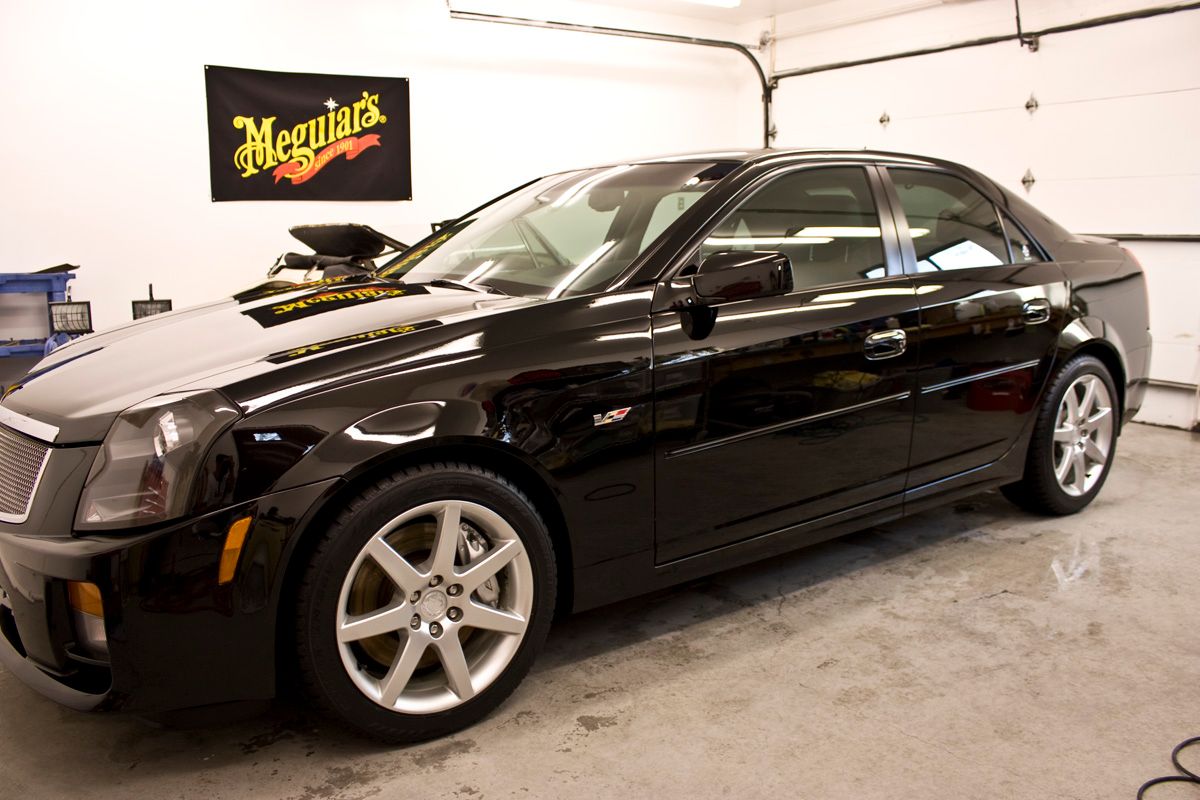
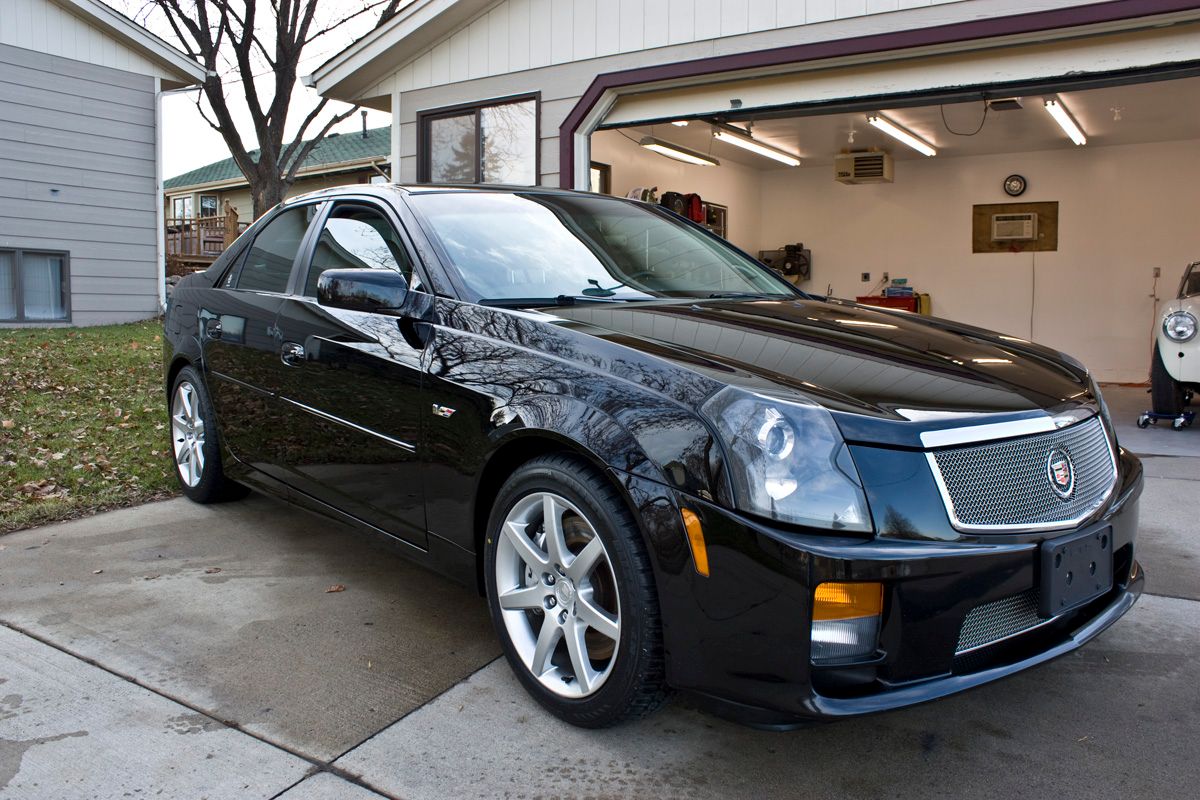
Before pics
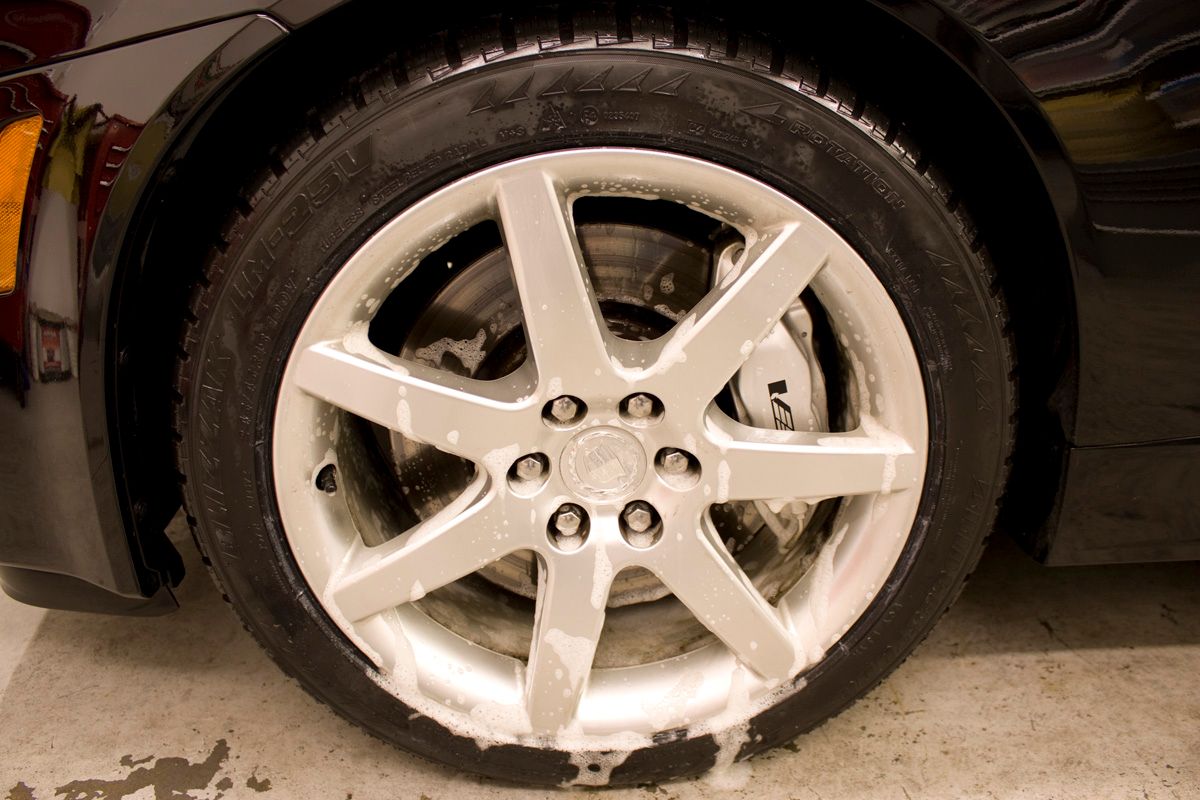
P21S Gel dwelling
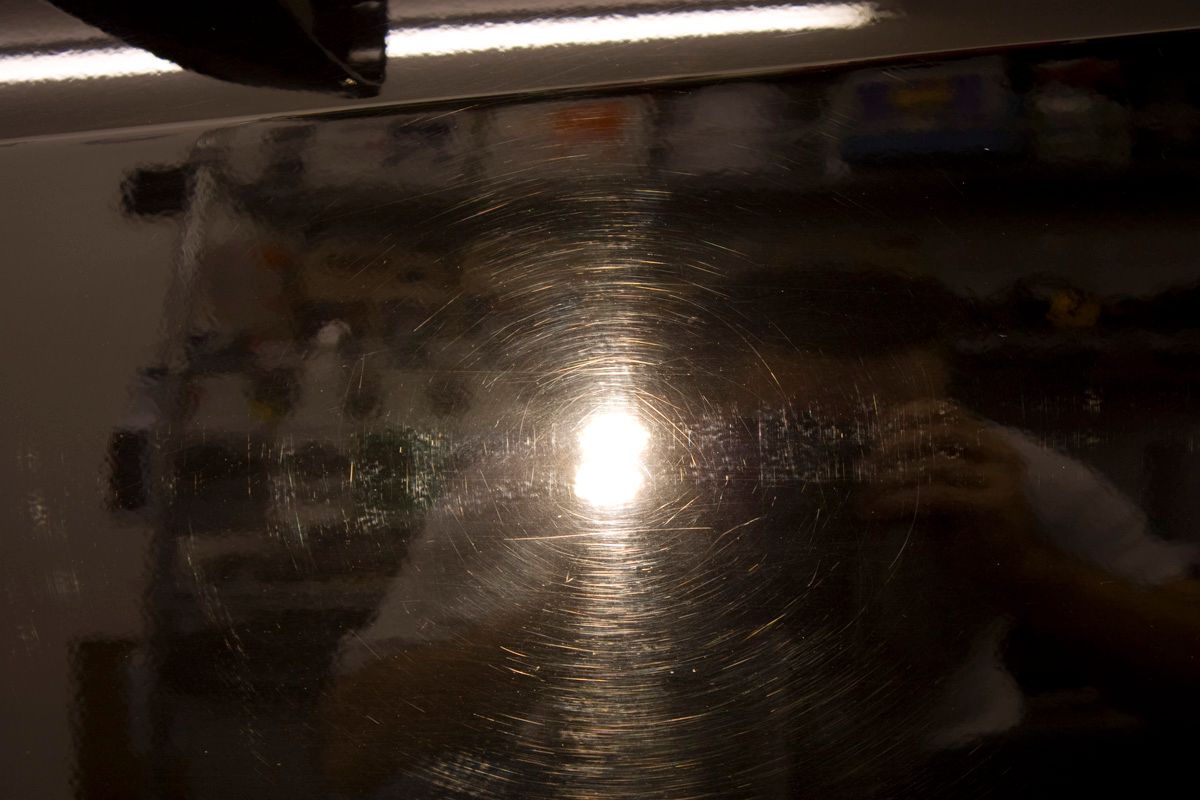
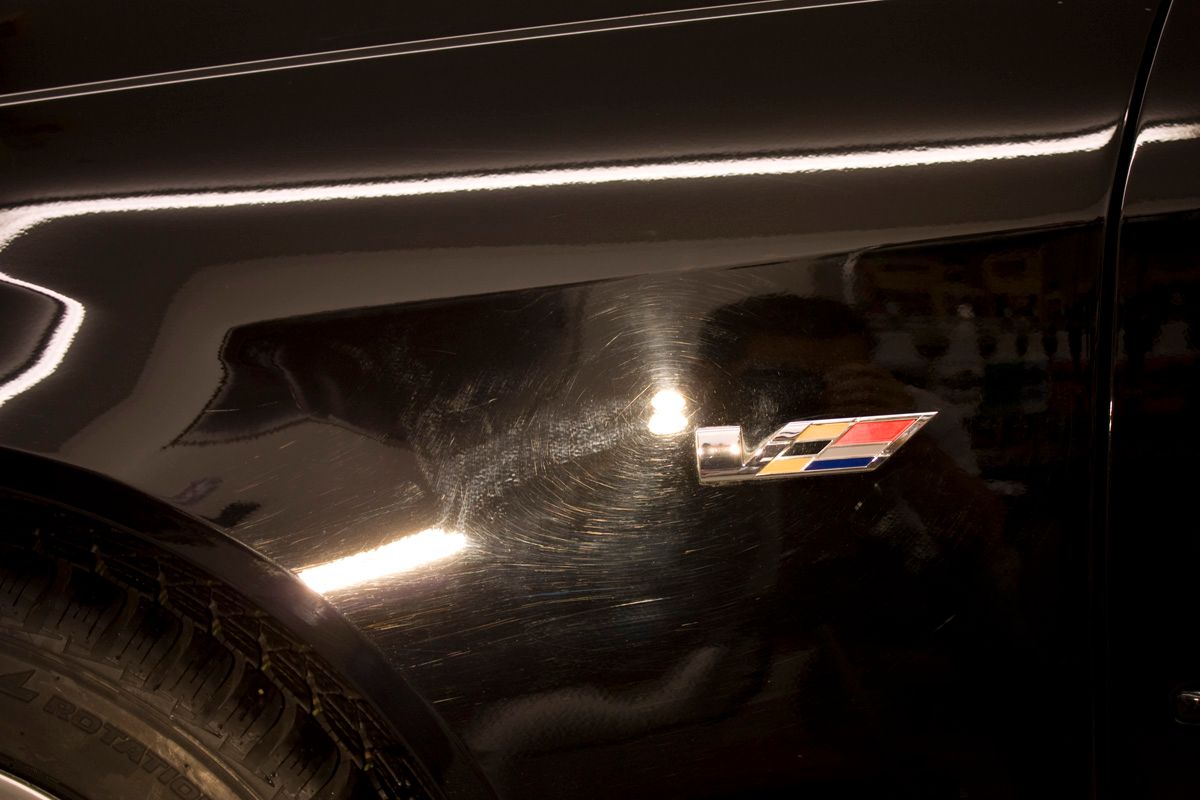
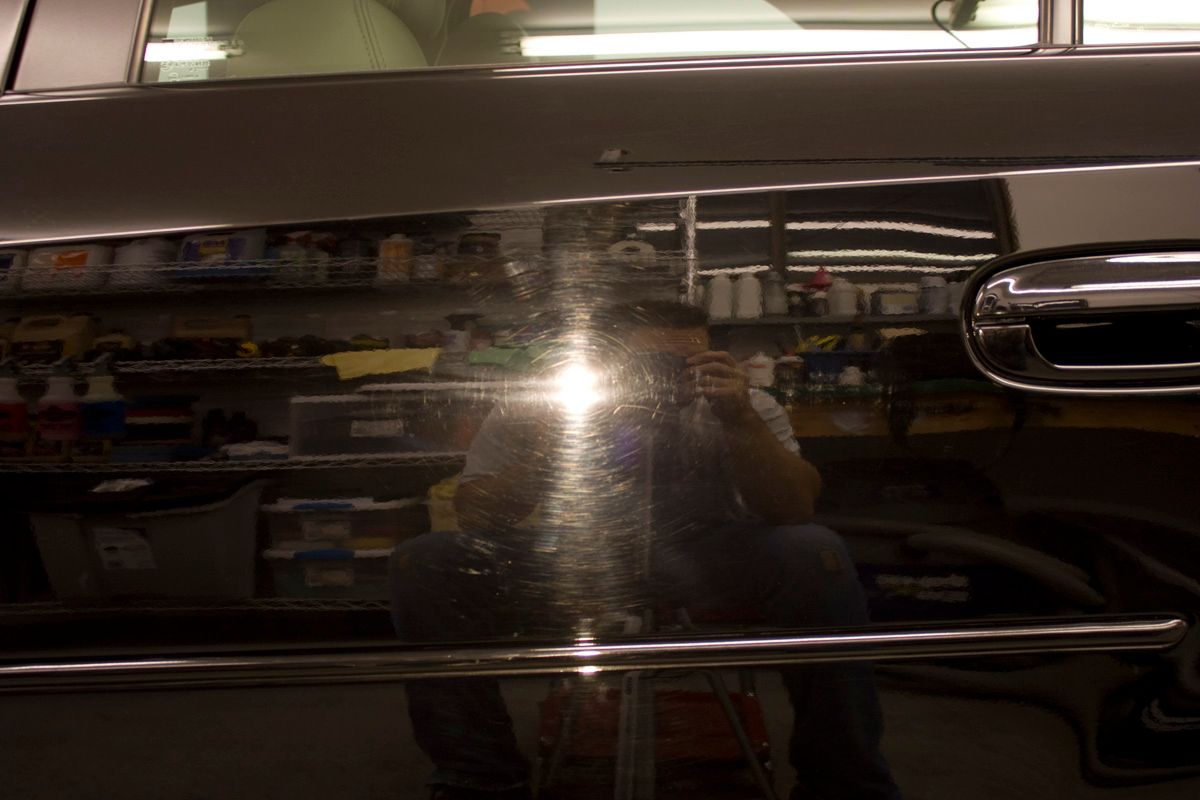
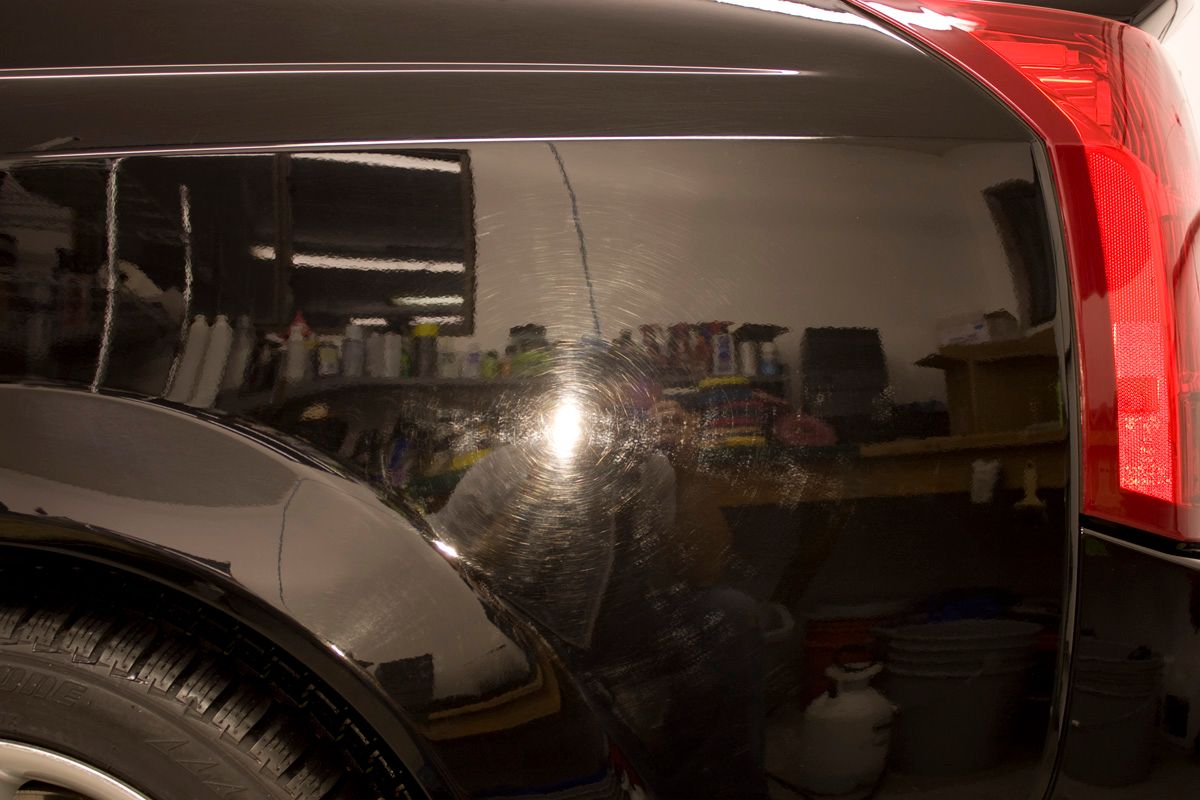
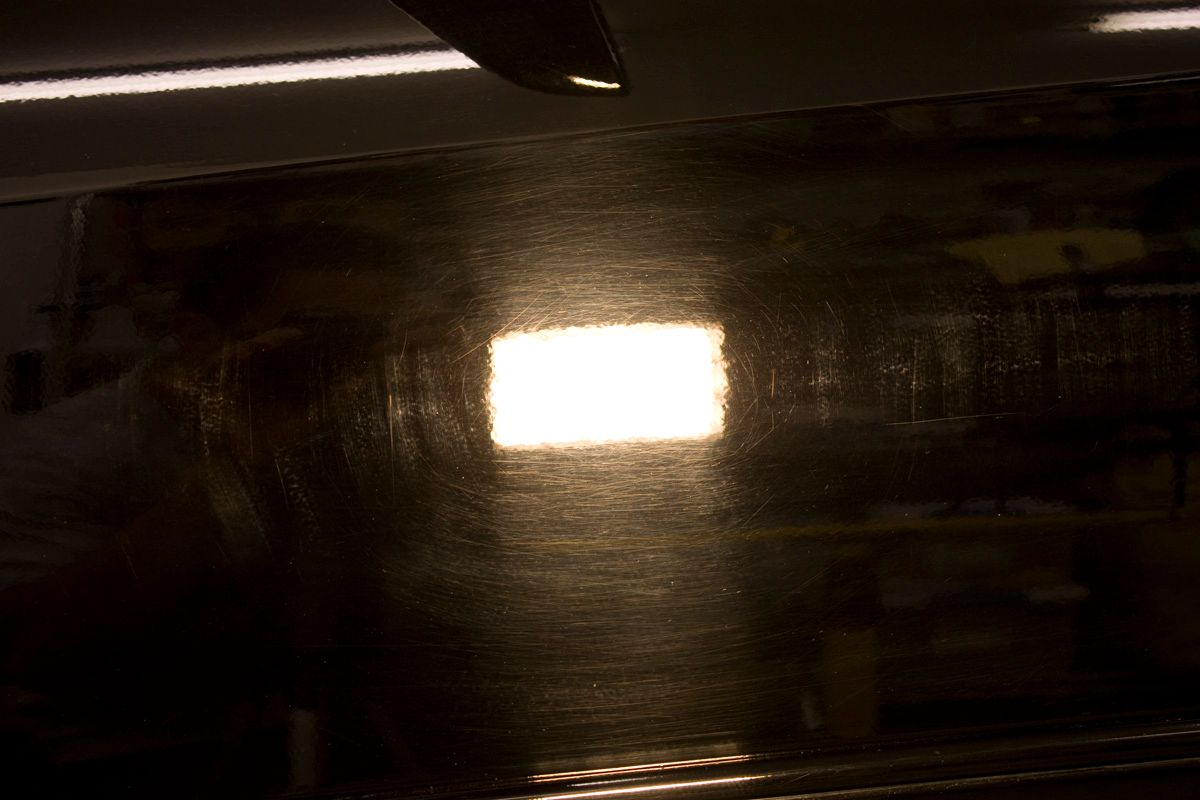
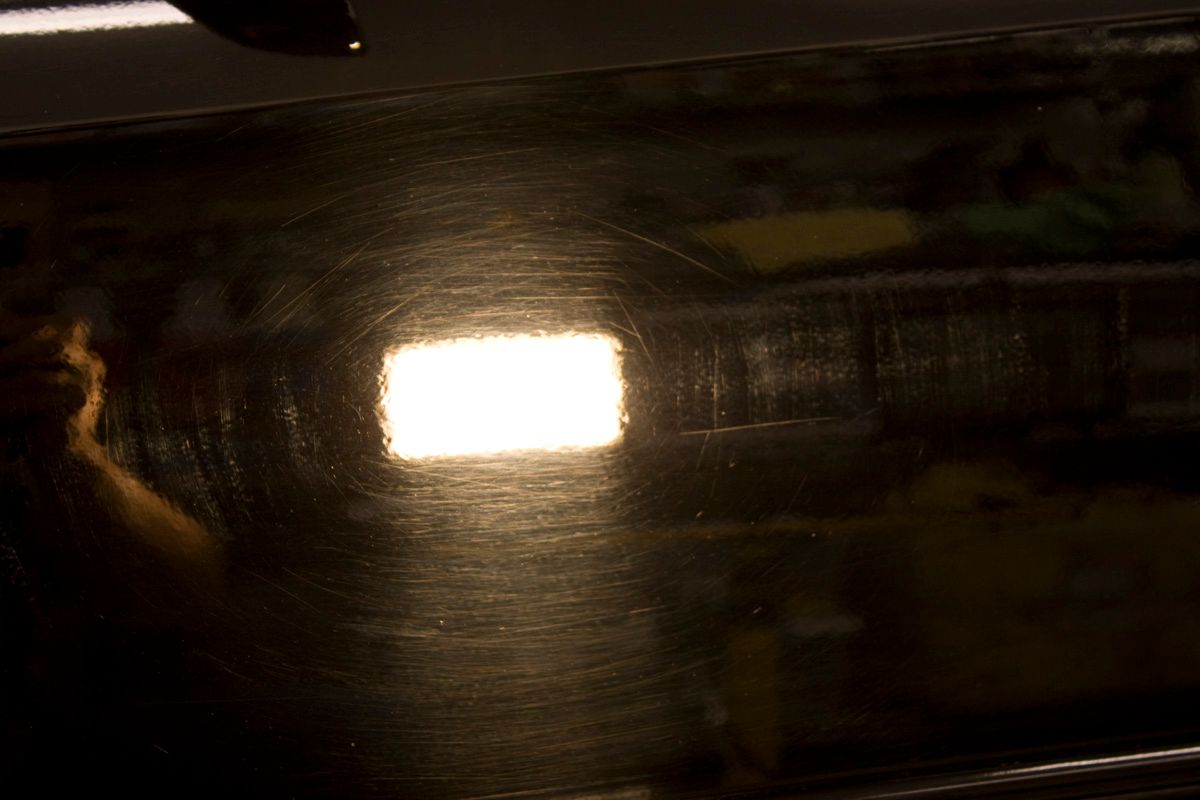
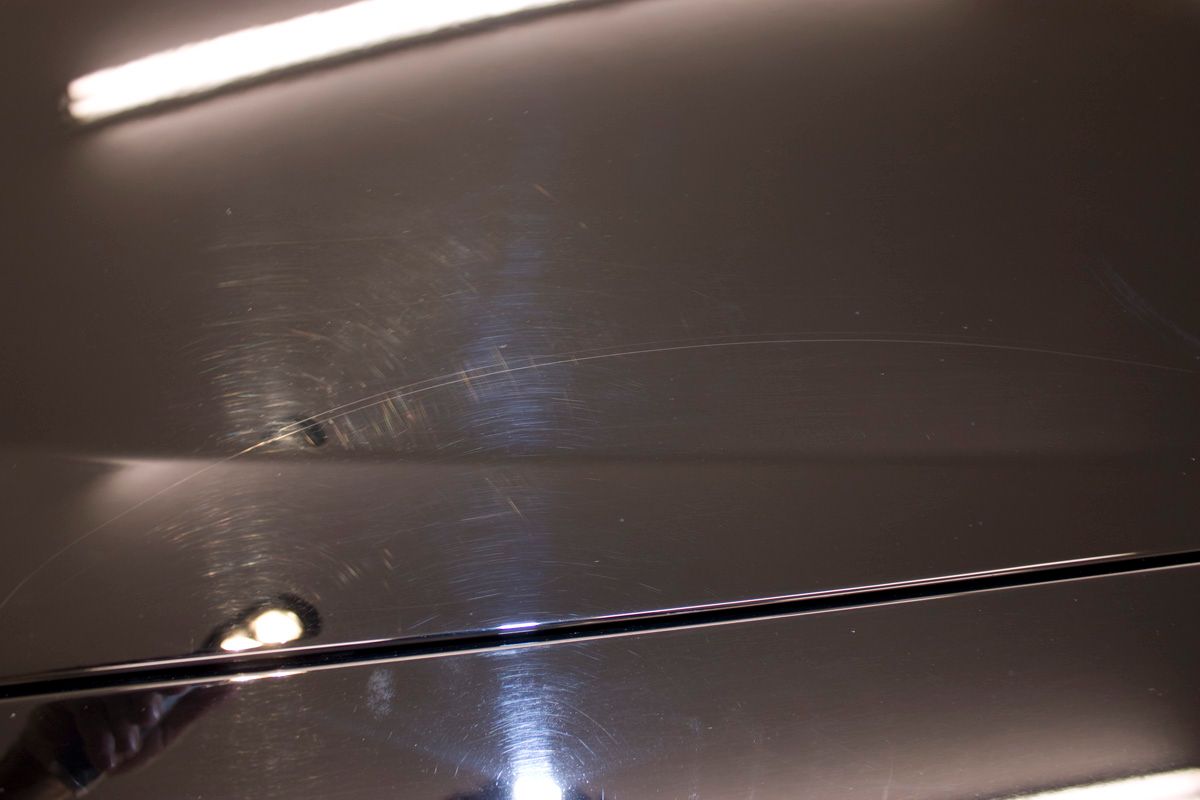
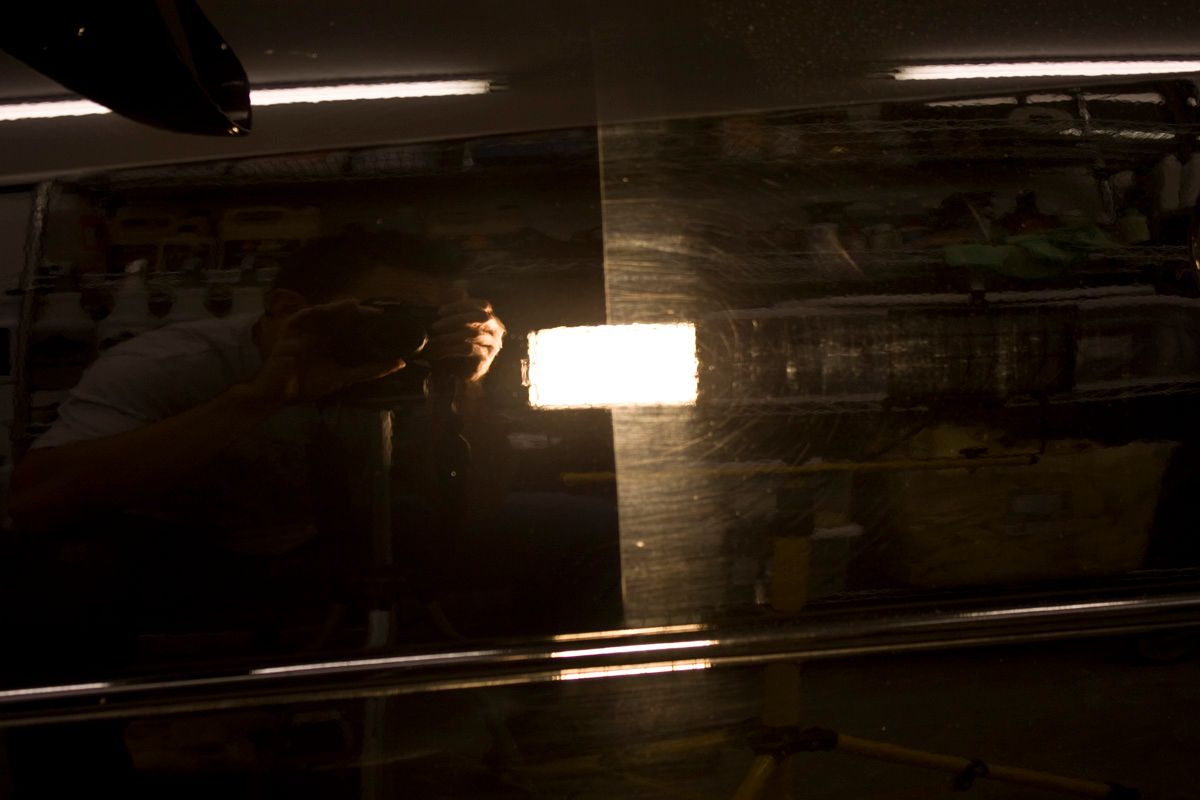
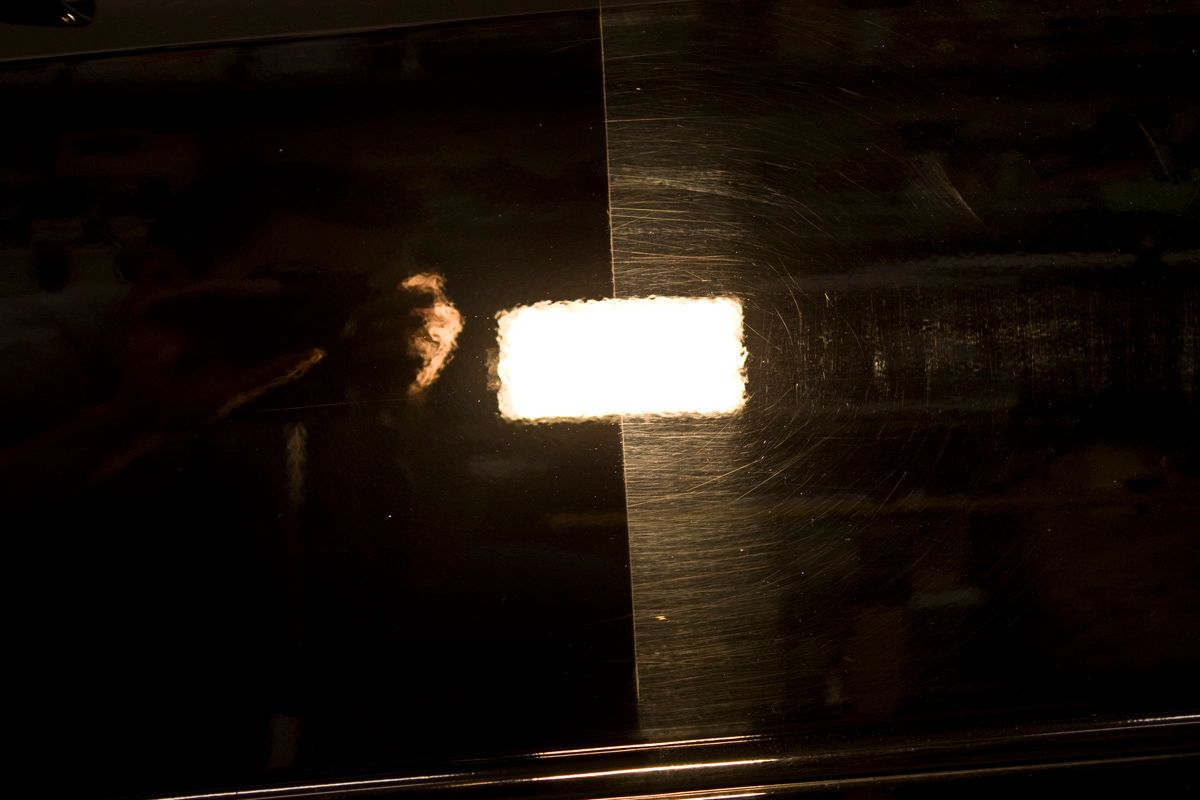
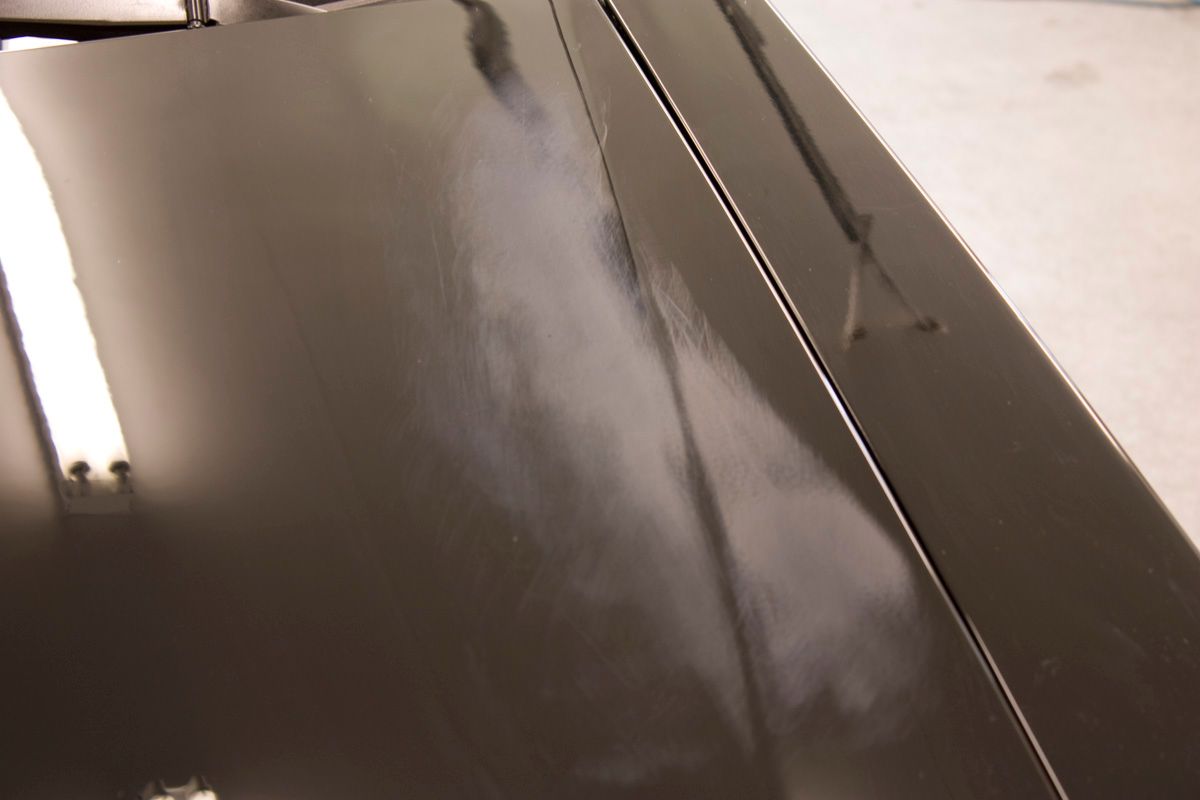
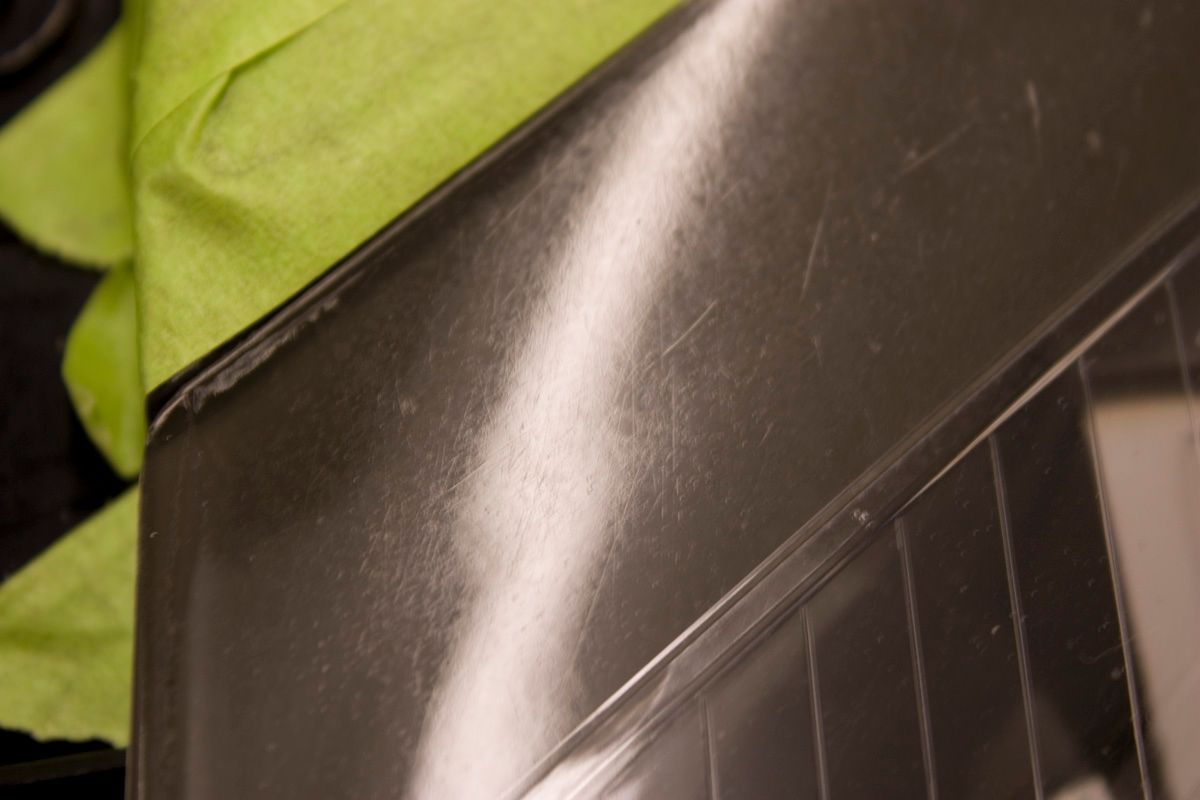
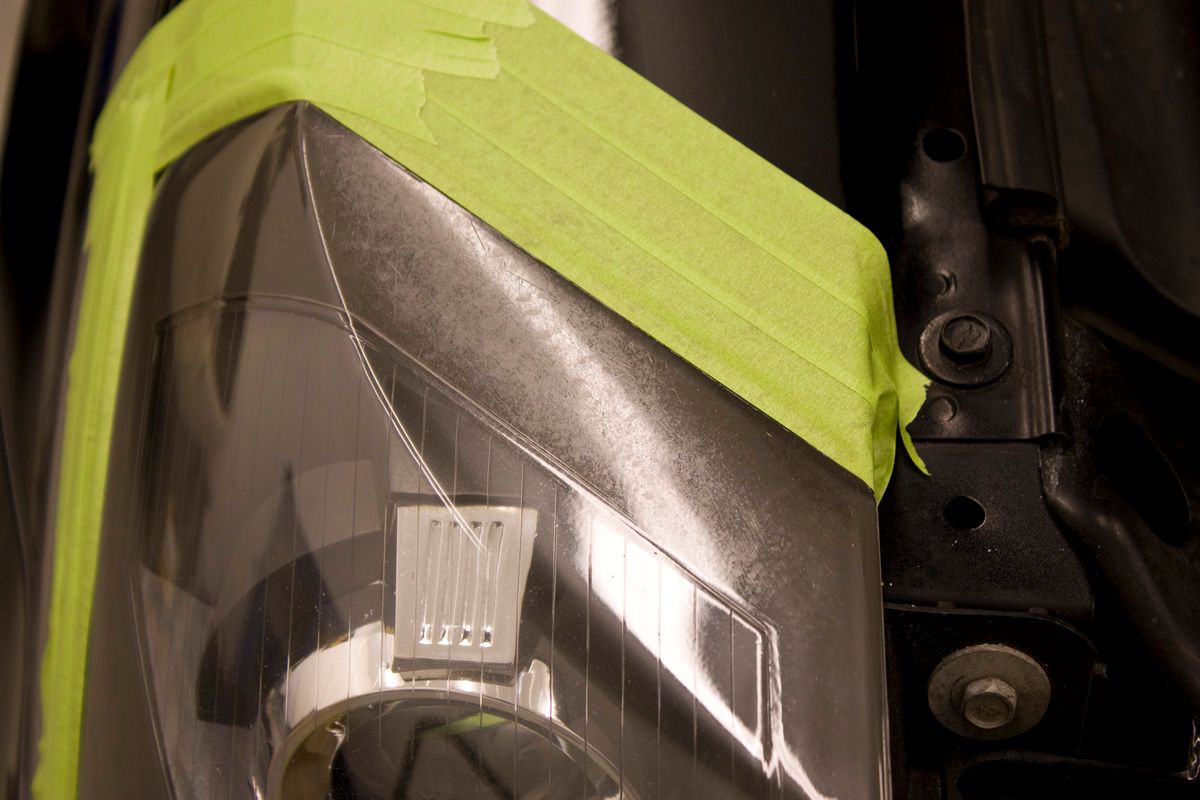
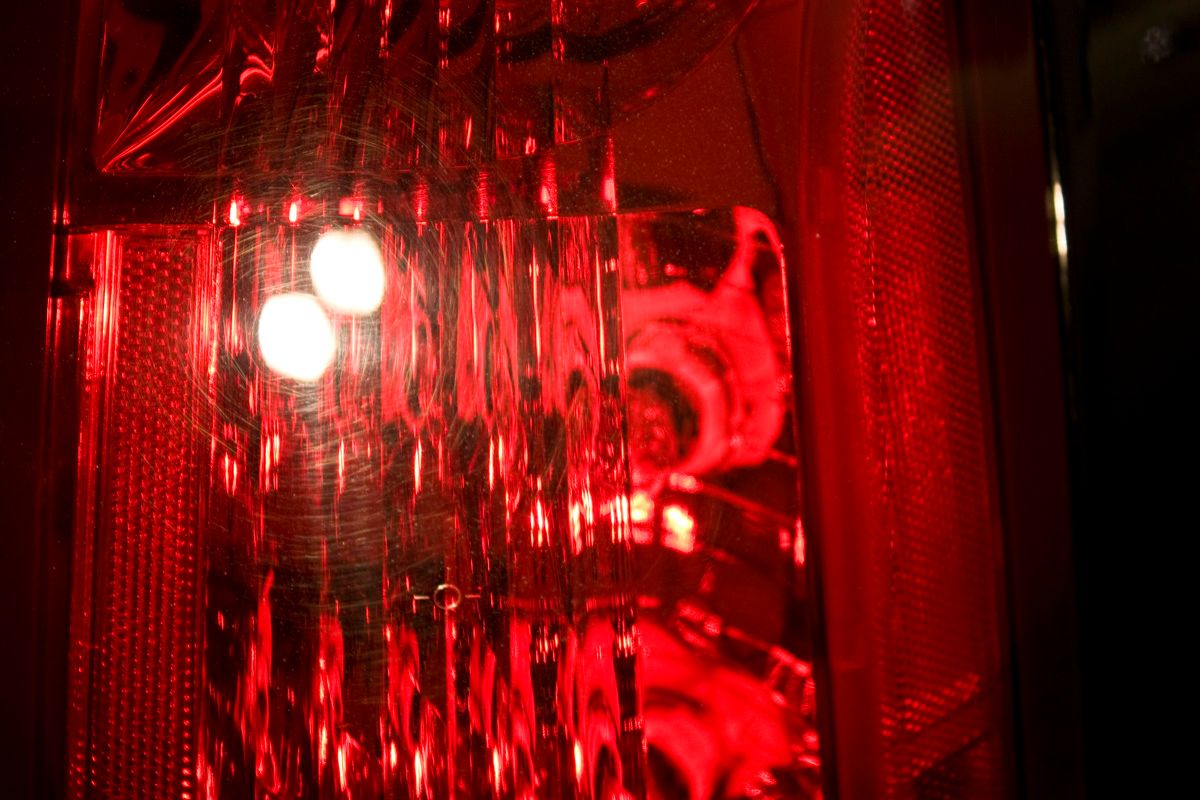
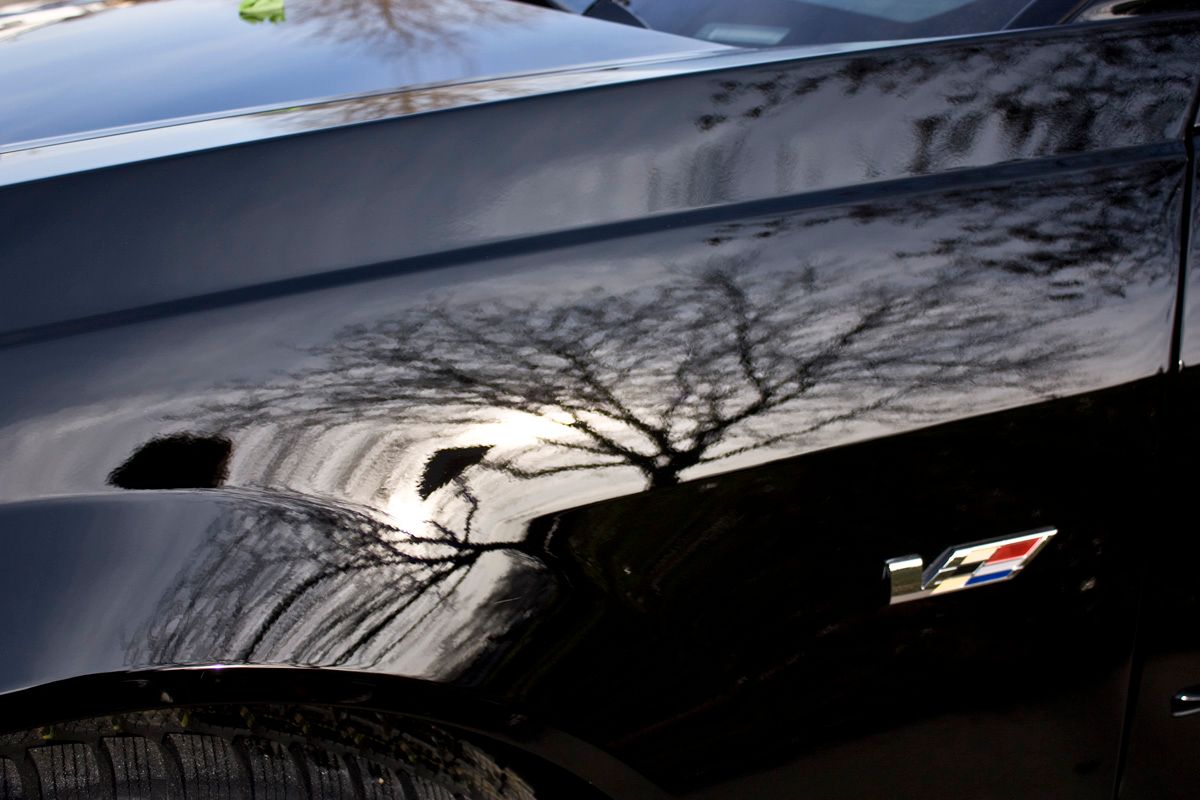
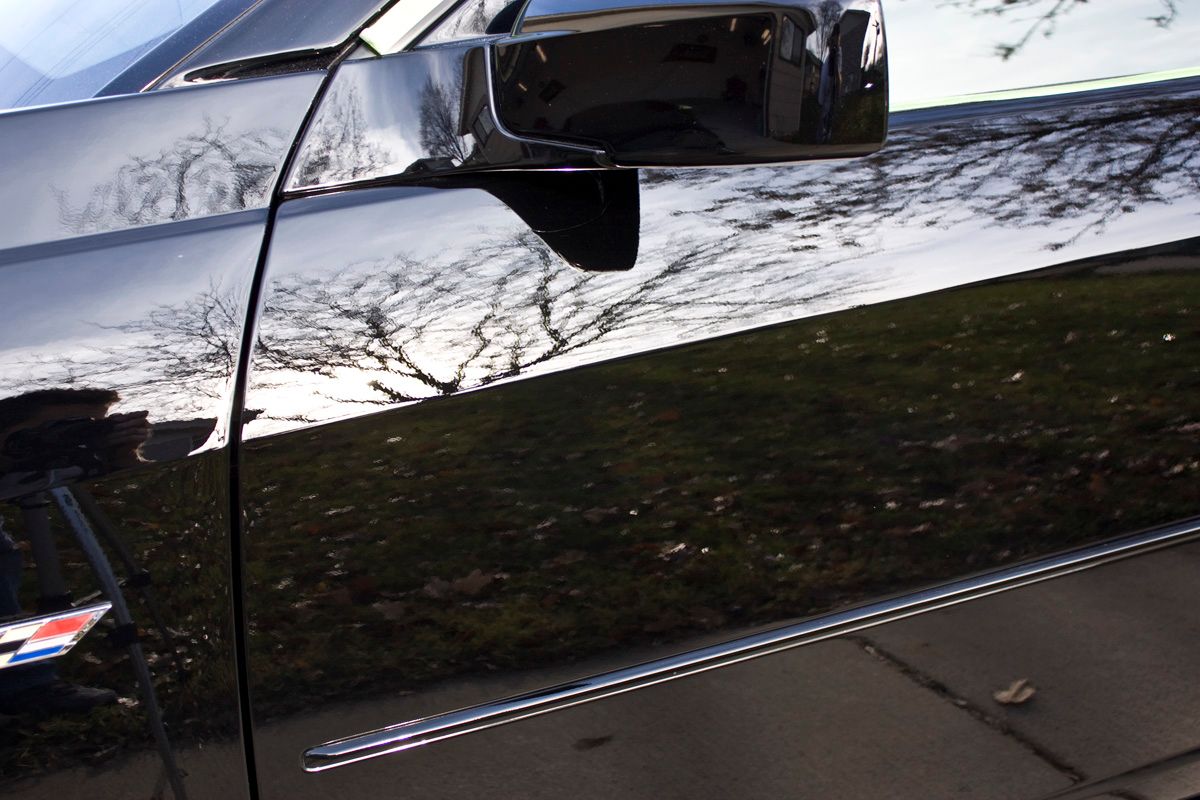
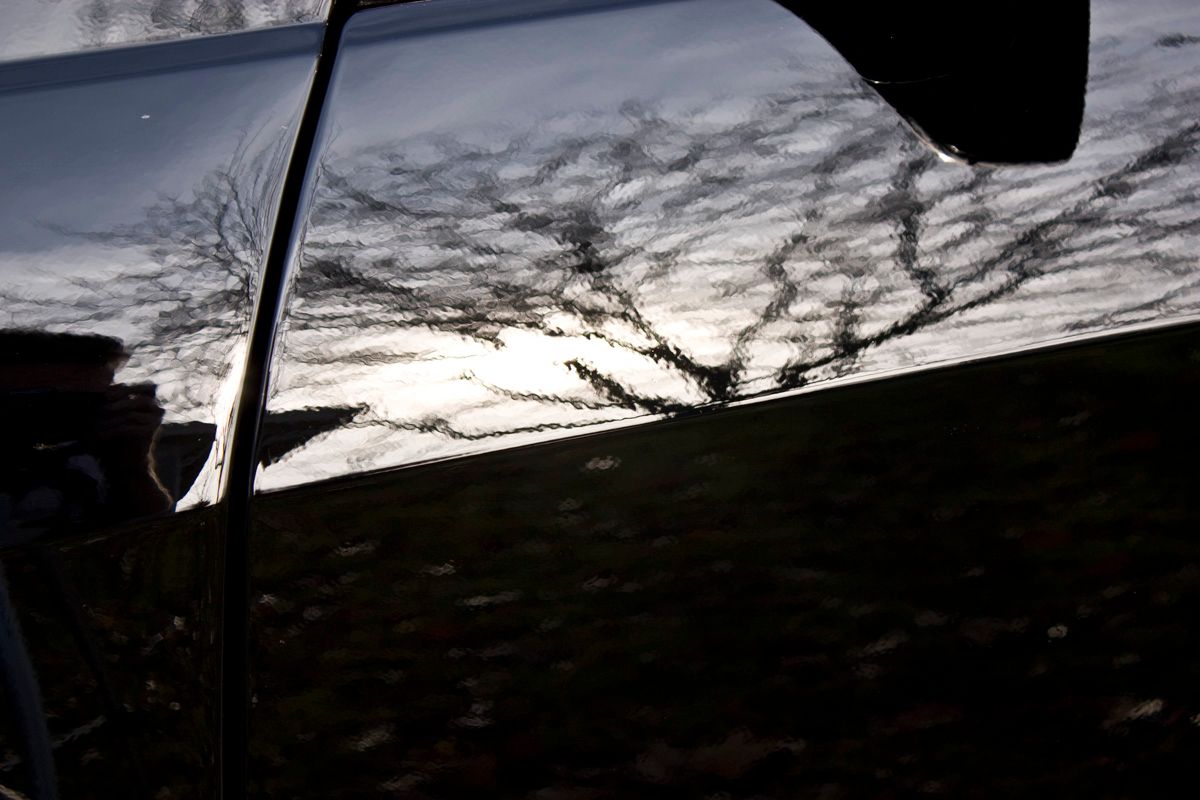
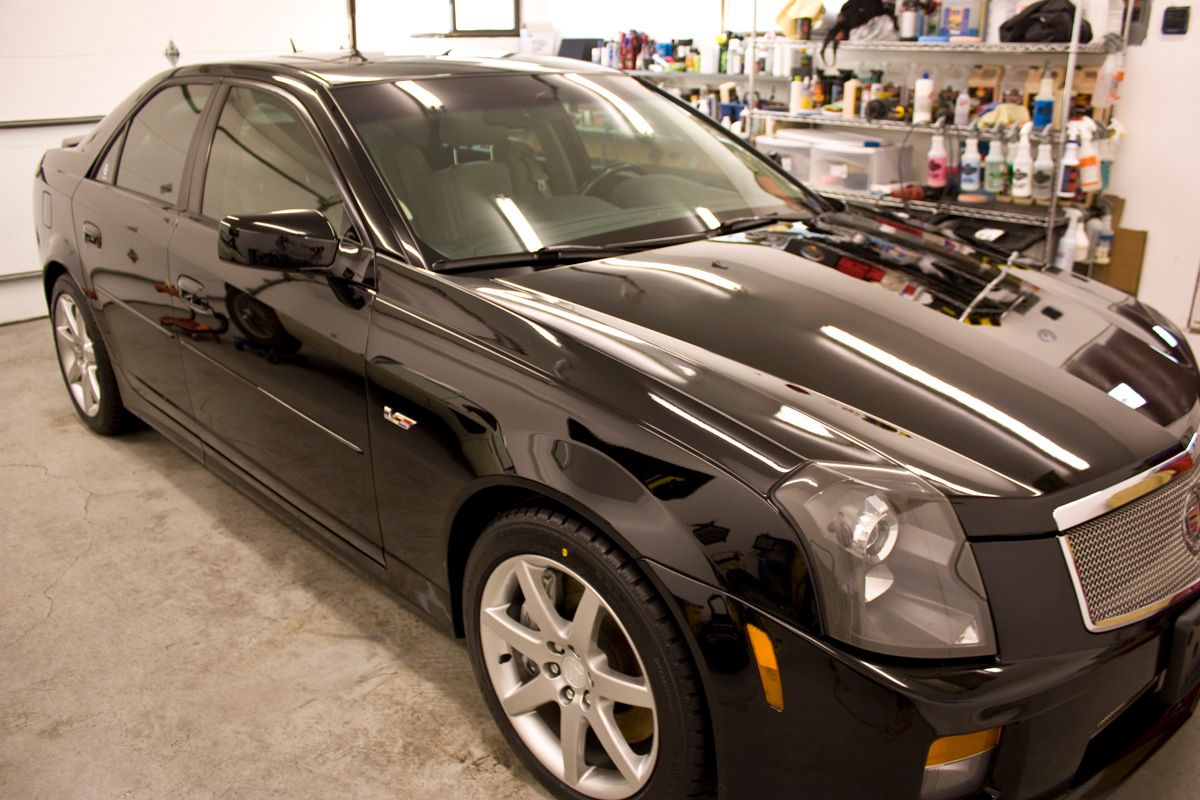
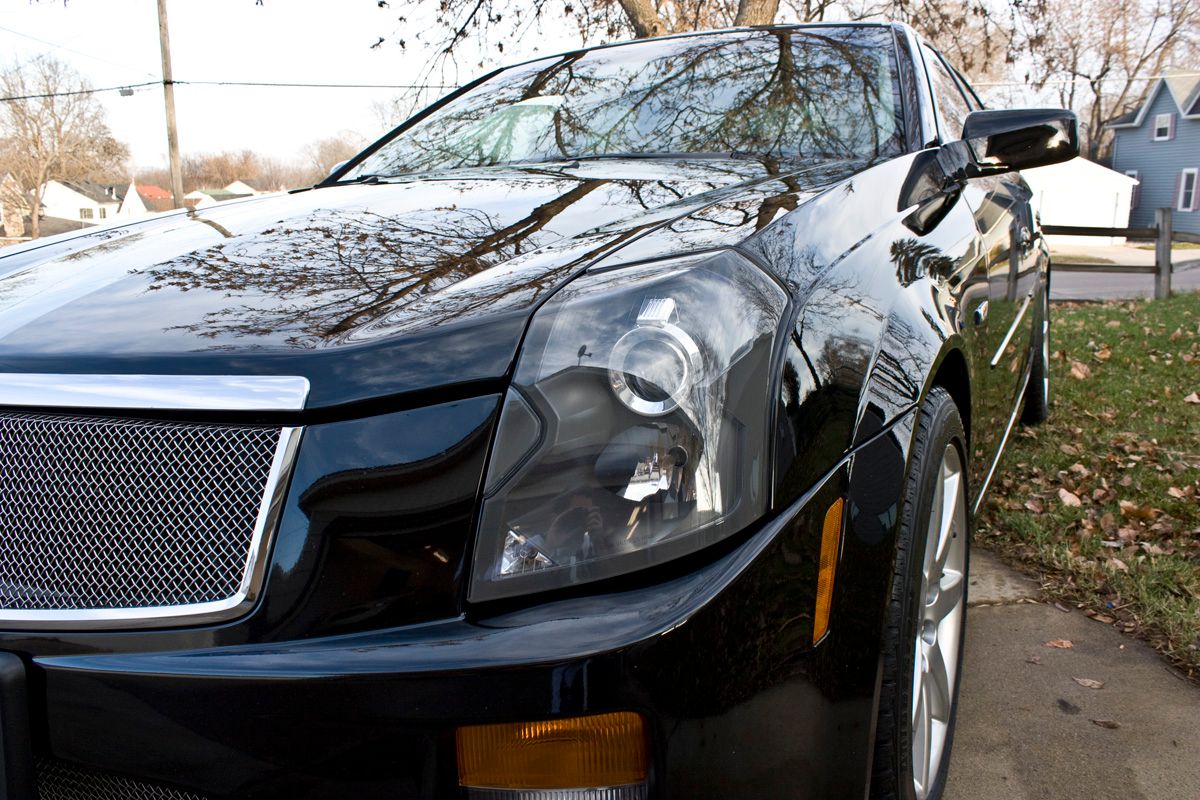
After an ONR bath the damage was sadly revealed with the Brinkmann and Halogens lamps. You can clearly see the deep marring and RIDS inflicted by the body shop, who apparently was using a very aggressive and dirty clay bar….so much for the 2-step process.
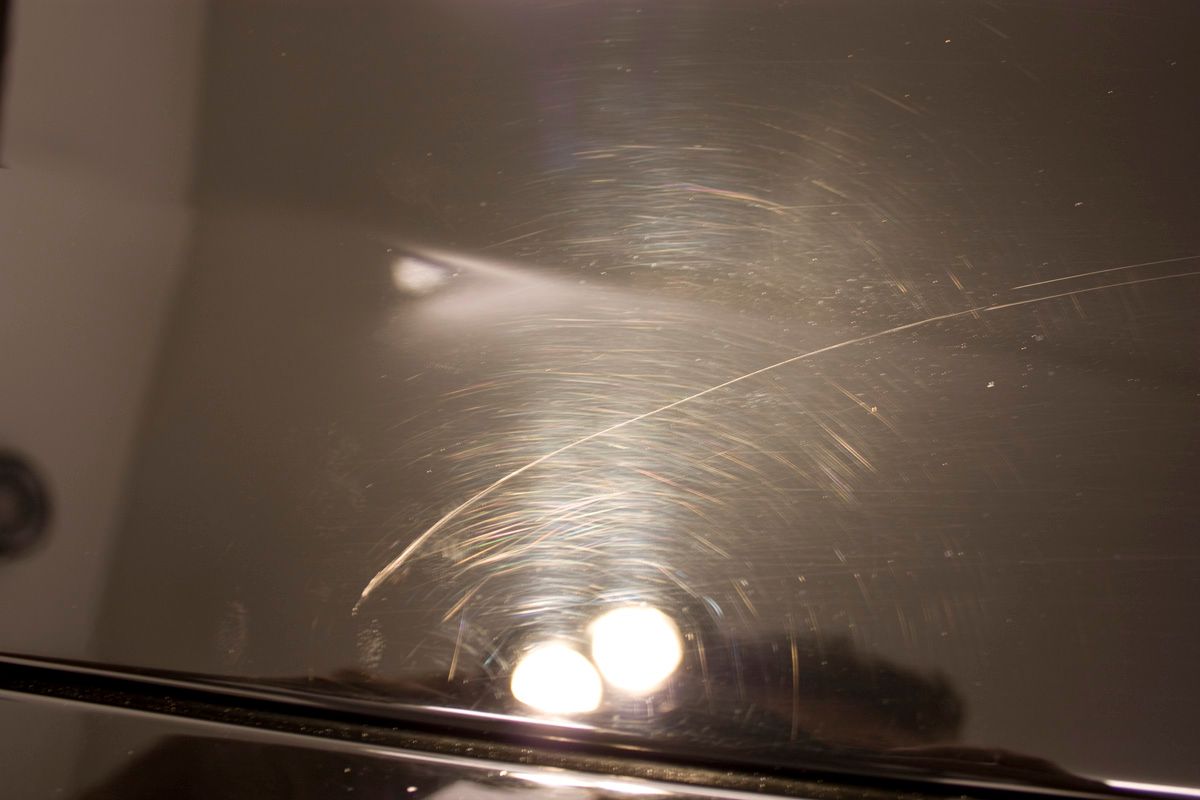
Very deep scratch in the newly painted hood…apparently done during the claying at the dealer/body shop. This was definitely not coming out but I did try to make it less noticeable.
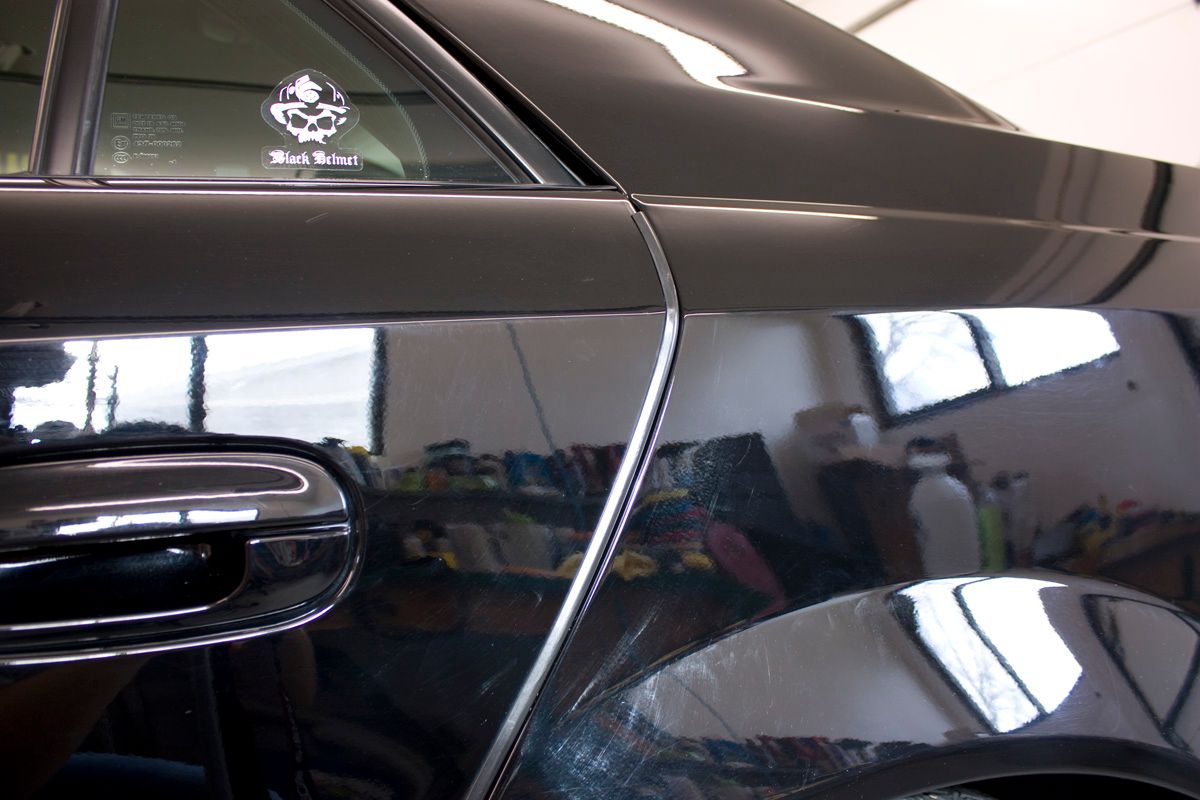
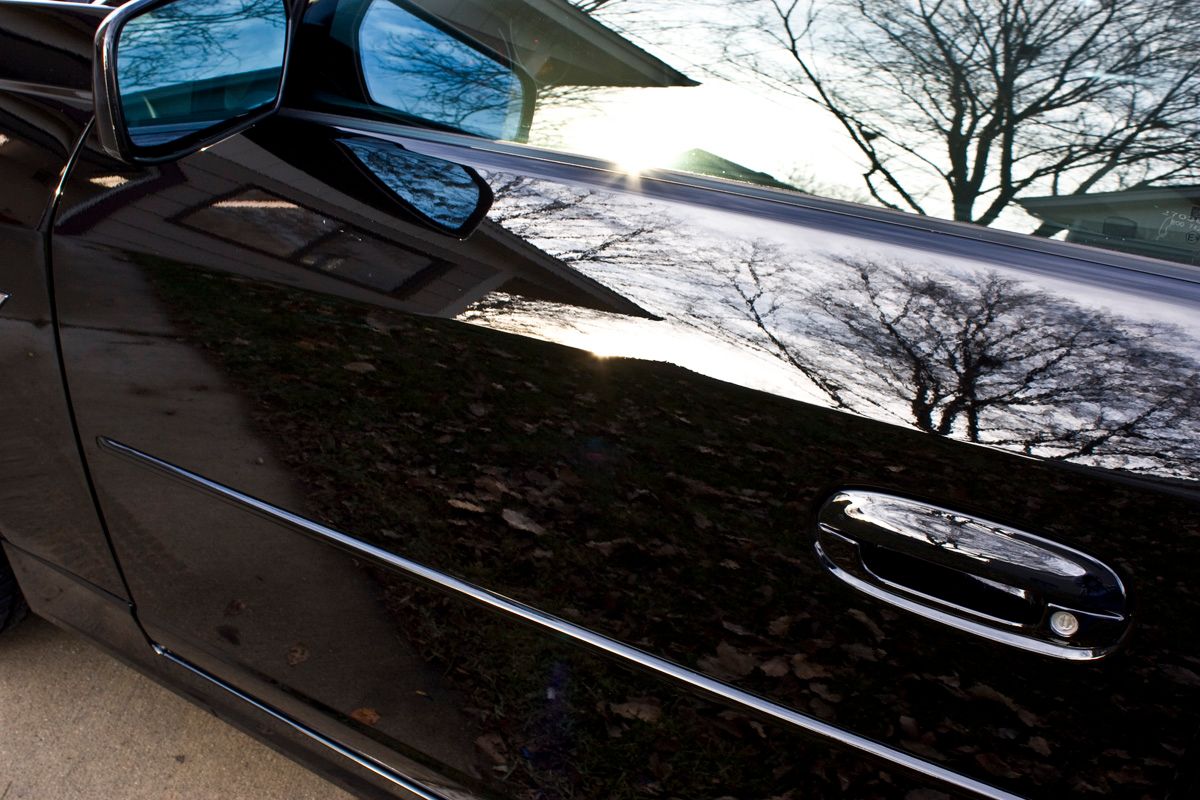
The car also had those ugly door edge moldings that not only take away from the look of the car, but they also make buffing a PITA. I asked the owner what he though of them and he agreed that they should be removed if possible.
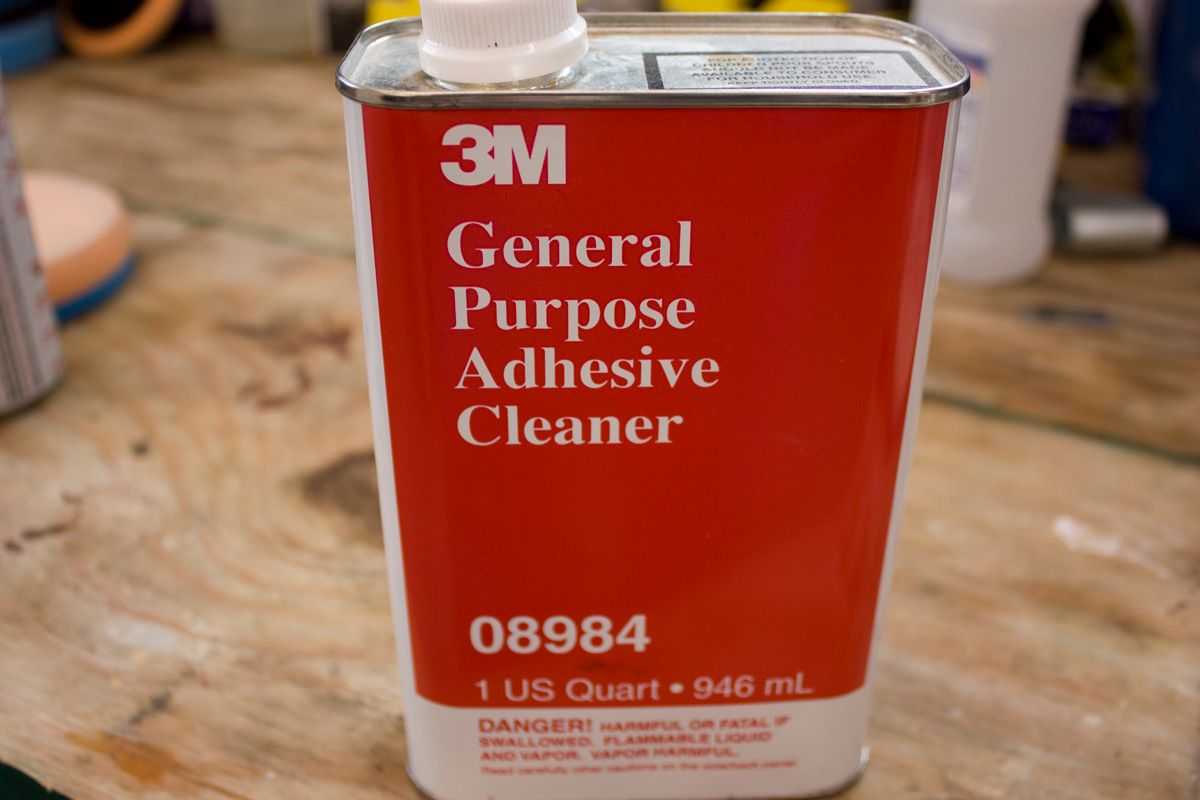
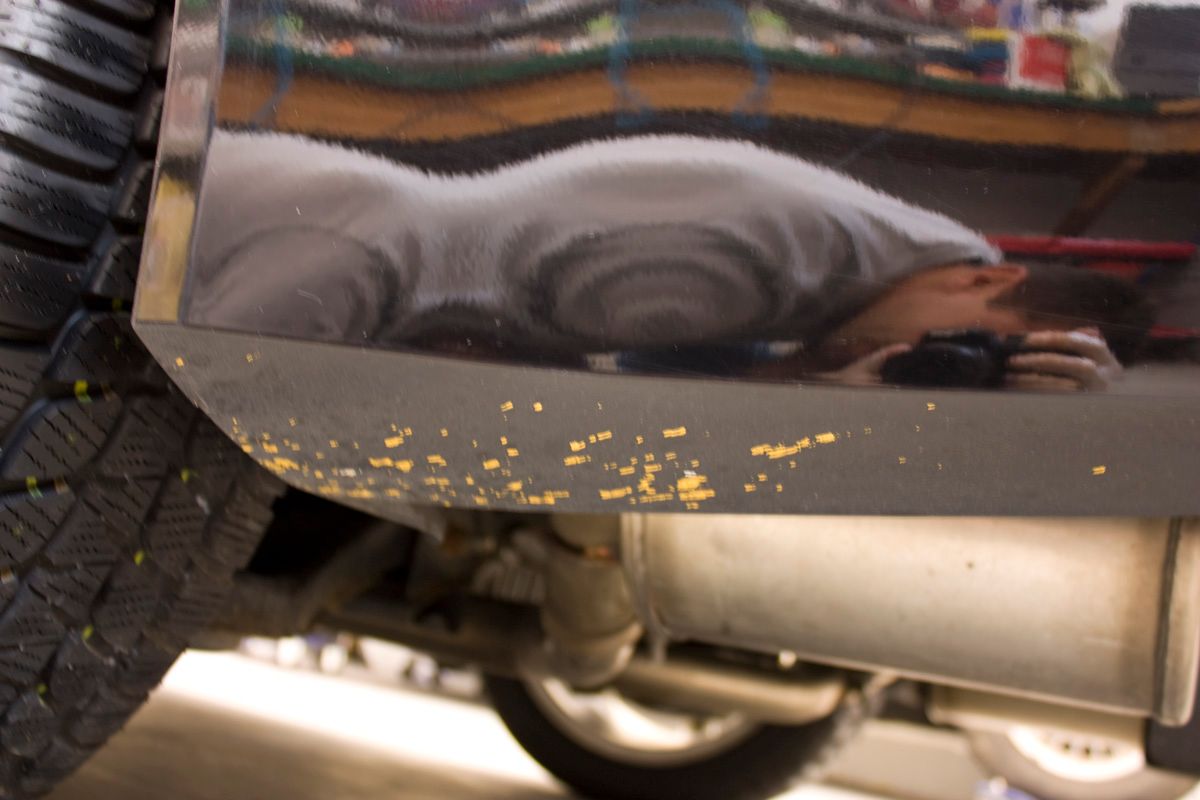
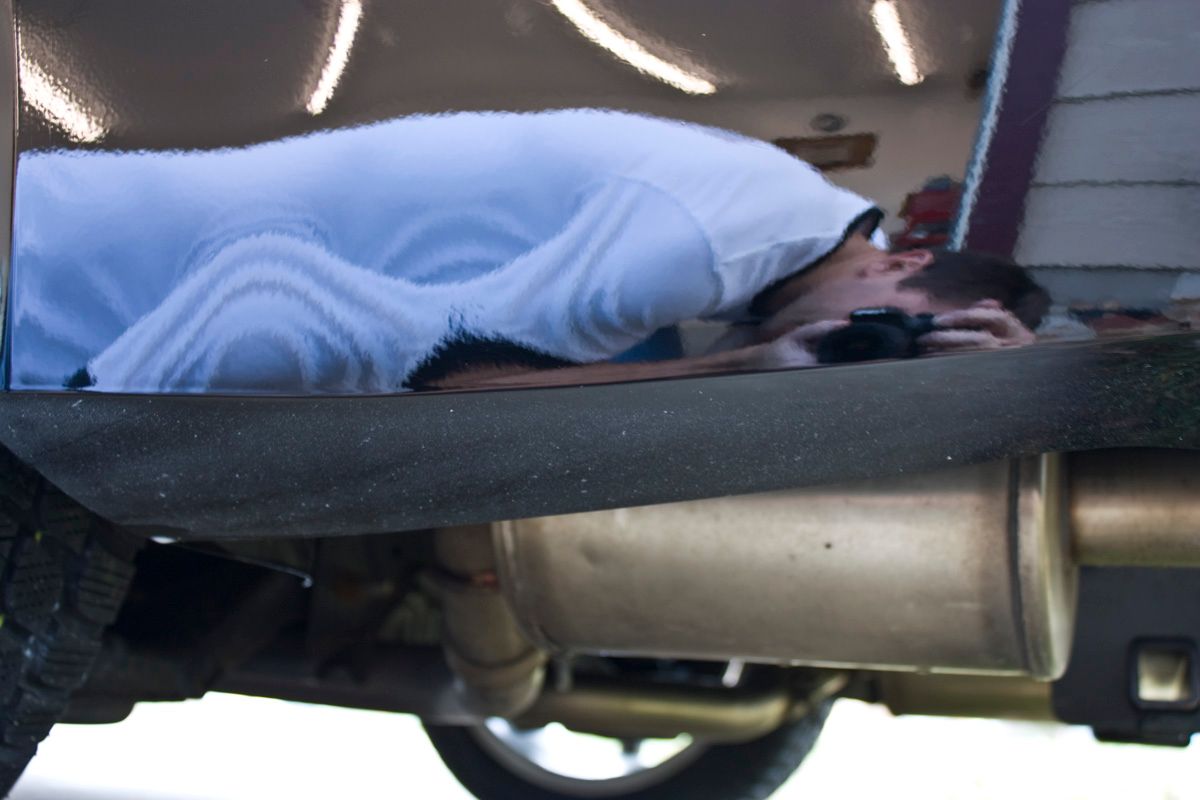
Some glue left behind…
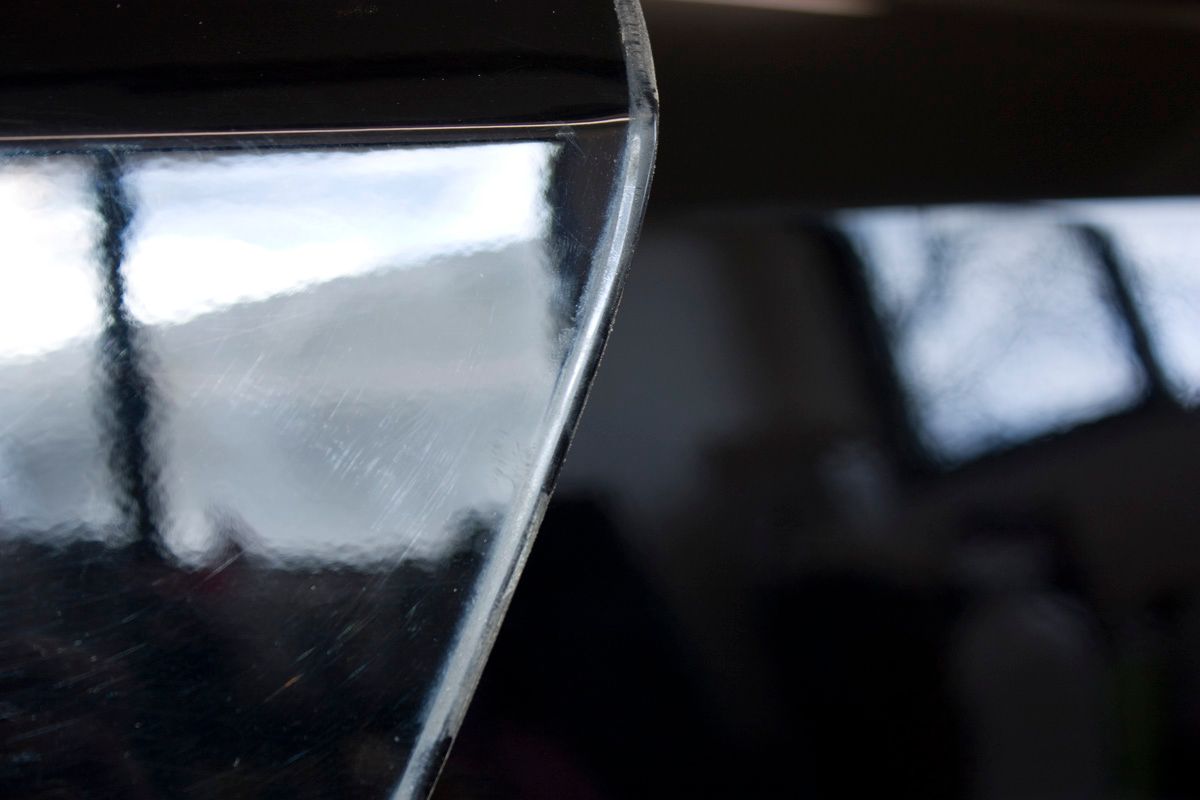
3M adhesive remove to the rescue
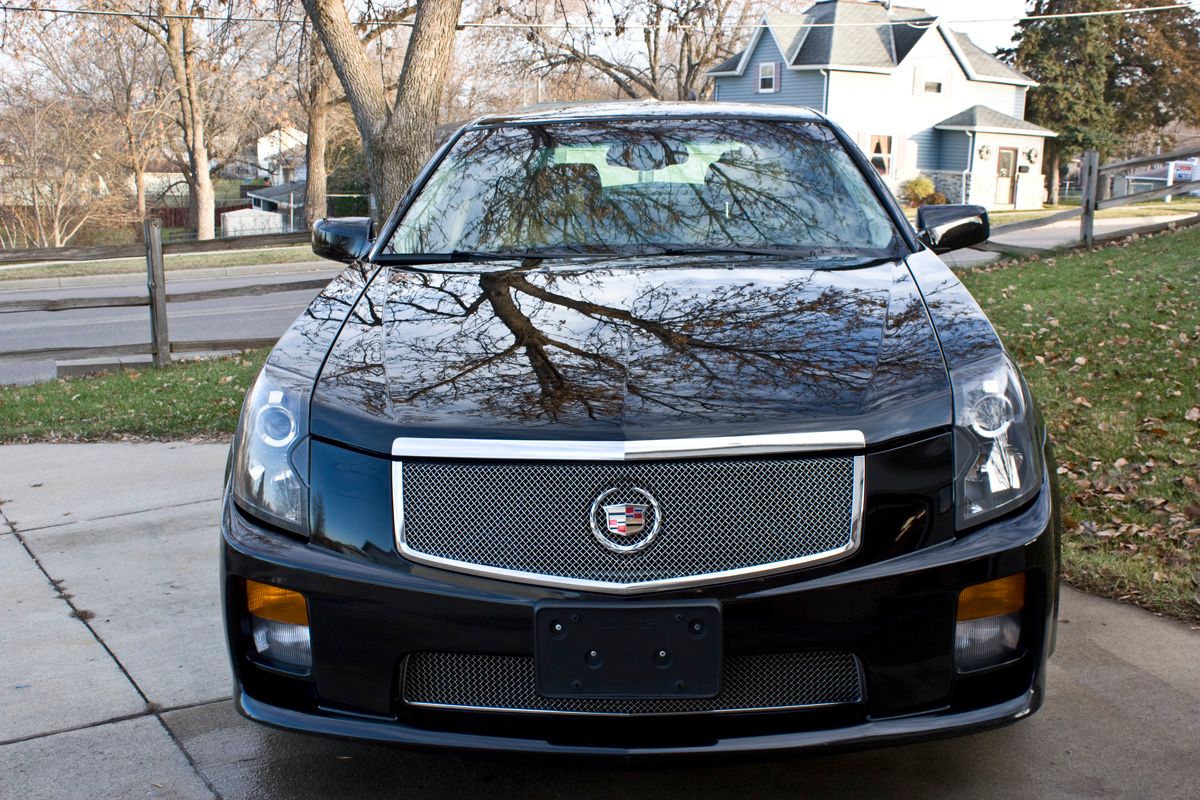
It was late Friday night after washing the car and I wanted to have my process dialed in for Saturday morning. My original plan of attack was M105 on the rotary with Solo wool pad, followed by M105 on the PCXP with an orange LC pad, finishing off with M205 on a black LC pad. It may be hard to see in the 50/50 shots but M205 left some very faint micro marring. Because of this I decided to finish with Menzerna 106ff instead as it finished down perfectly.
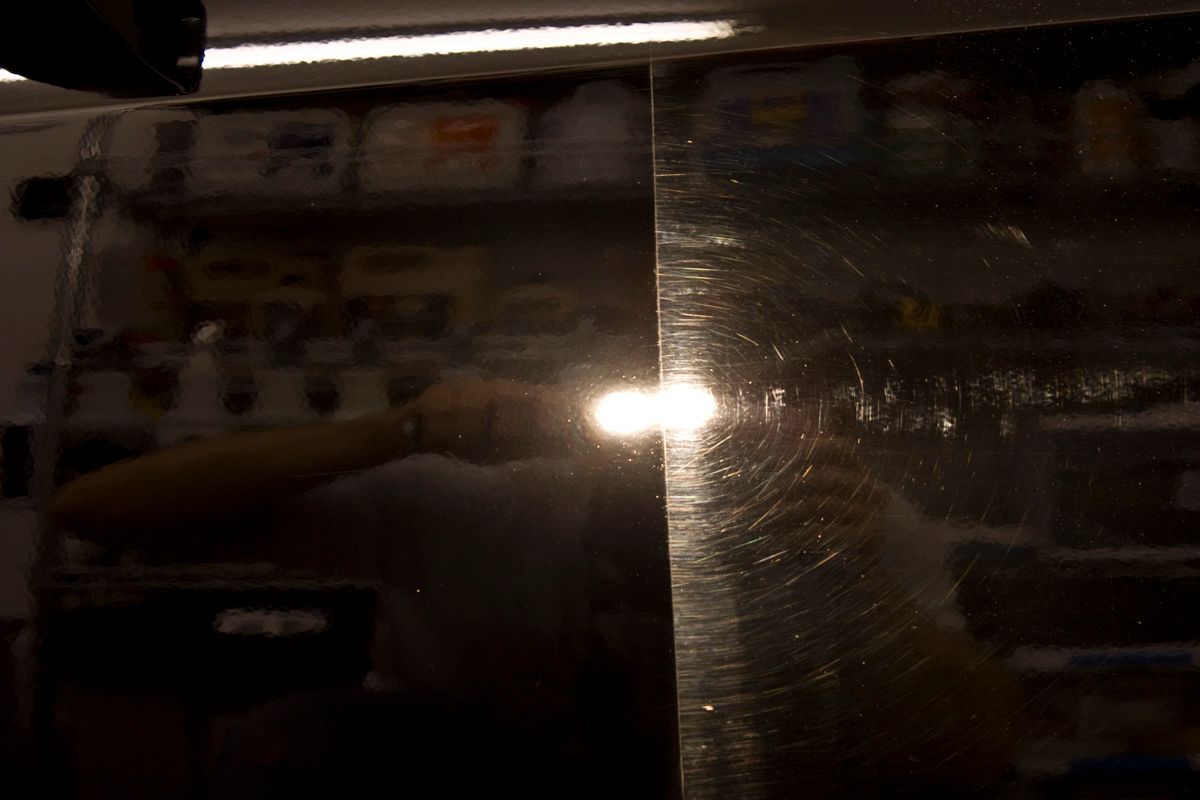
50/50 test spot (Note that these were taken after finishing with M205, not 106ff)
The owner recently purchased this car used and wanted to give her a new lease on life. He had contacted me via email about my services and mentioned he was getting the hood painted under warranty, and that he would then bring the car over for me to inspect. Upon inspection the car really didn’t look too bad; especially considering it was black and 4 years old. We had decided that a 2-step correction was they way to go for this daily driver, and I was confident it would remove 90-95% of the defects…. HOWEVER, the body shop somehow happened to get overspray all over the ENTIRE car when they painted the hood!!! The owner brought the car back to the dealership/body shop to have them remove the overspray via clay bar prior having me do the work. I had also done a test spot with some OTC Meguiars clay, and the overspray came off with very little effort…
The car was dropped off late on Friday night in the rain so I really had no idea what I was in for until after I washed the car and pulled out the Brinkmann…
Before pics
P21S Gel dwelling
After an ONR bath the damage was sadly revealed with the Brinkmann and Halogens lamps. You can clearly see the deep marring and RIDS inflicted by the body shop, who apparently was using a very aggressive and dirty clay bar….so much for the 2-step process.
Very deep scratch in the newly painted hood…apparently done during the claying at the dealer/body shop. This was definitely not coming out but I did try to make it less noticeable.
The car also had those ugly door edge moldings that not only take away from the look of the car, but they also make buffing a PITA. I asked the owner what he though of them and he agreed that they should be removed if possible.
Some glue left behind…
3M adhesive remove to the rescue
It was late Friday night after washing the car and I wanted to have my process dialed in for Saturday morning. My original plan of attack was M105 on the rotary with Solo wool pad, followed by M105 on the PCXP with an orange LC pad, finishing off with M205 on a black LC pad. It may be hard to see in the 50/50 shots but M205 left some very faint micro marring. Because of this I decided to finish with Menzerna 106ff instead as it finished down perfectly.
50/50 test spot (Note that these were taken after finishing with M205, not 106ff)
Last edited:


")
 rops:
rops:")
 )
)