lawrenceSA
New member
- Feb 7, 2012
- 1,713
- 0
Products used
Wheels and arches
Cyclo CM30 @ 3:1
Meguiars Hot Rims All Wheel and Tire Cleaner
Autofinesse Iron Out
Autofinesse Oblitarate
Optimum Opti Bond Tire Gel
Collinite #845
Chemical Guys Bare Bones
Door shuts, badges, emblems
Cyclo CM30 @ 10:1
Autofinesse Oblitarate
Chemical Guys V7 Spray Sealant
Engine Bay
Cyclo CM30 @ 3:1
Chemical Guys Bare Bones
Washing[/u]
Chemical guys Maxi suds II
Decontamination
Autofiness Oblitarate
Autofiness Iron Out
Carways Mist and Wipe
Clay Magic Blue Clay
Glass
Carways Mist and Wipe
Clay Magic Blue Clay
Autoglym Fast Glass
LC Tangerine Pads
Meguiars Cleaner Wax
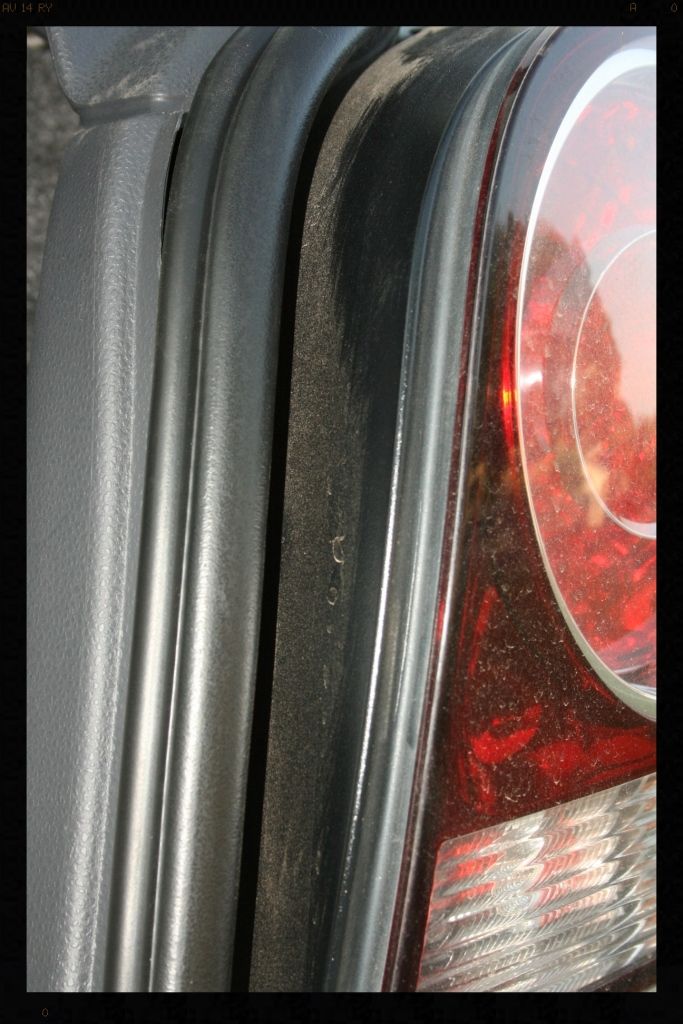
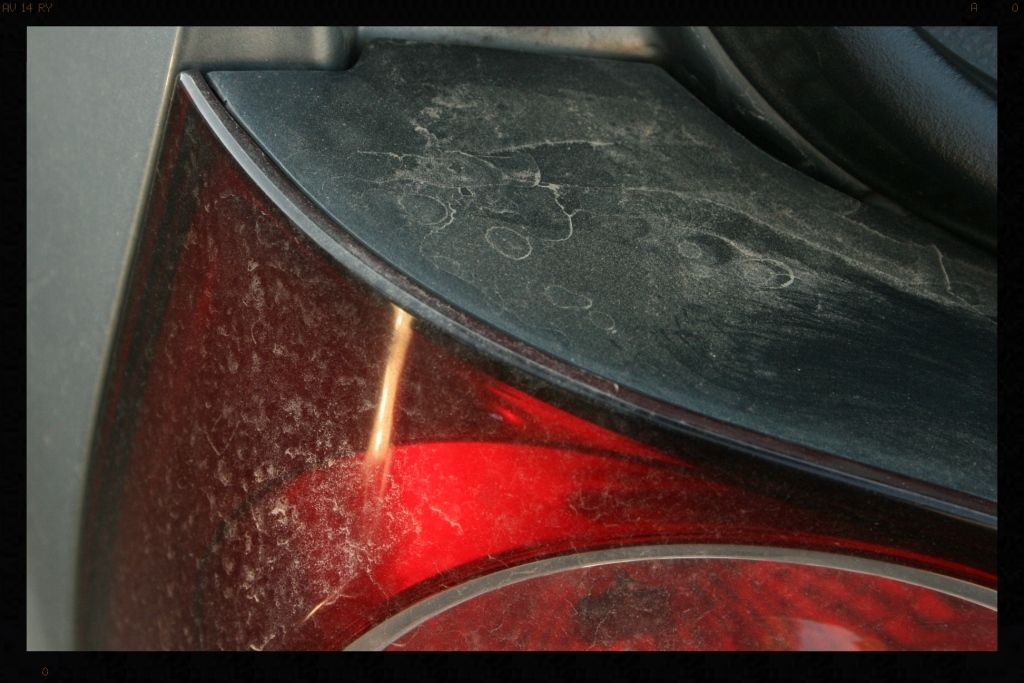
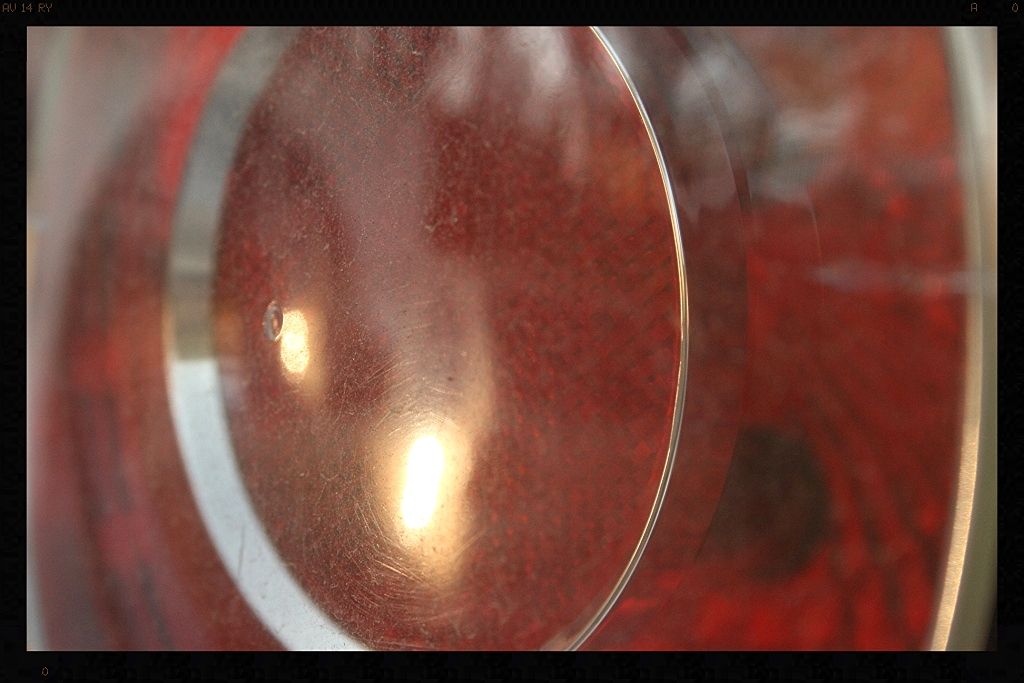
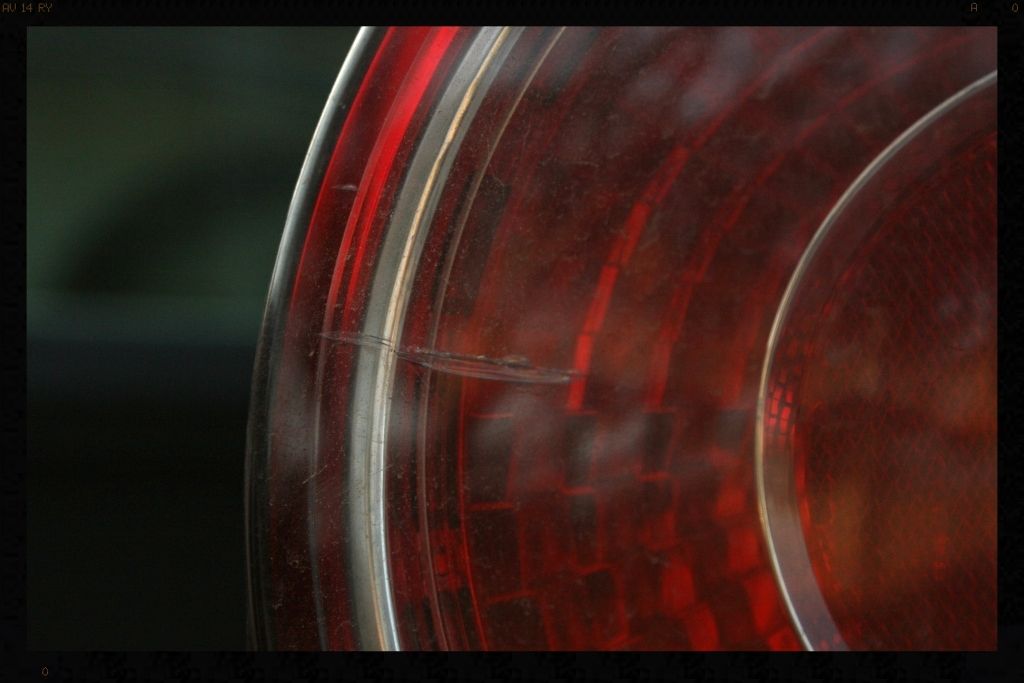
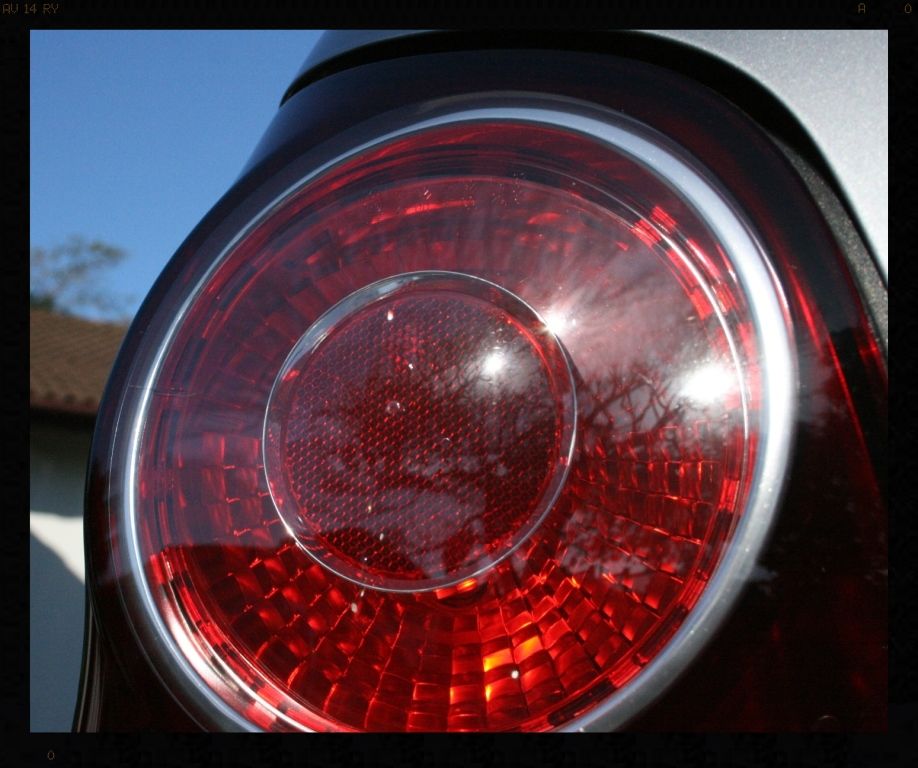
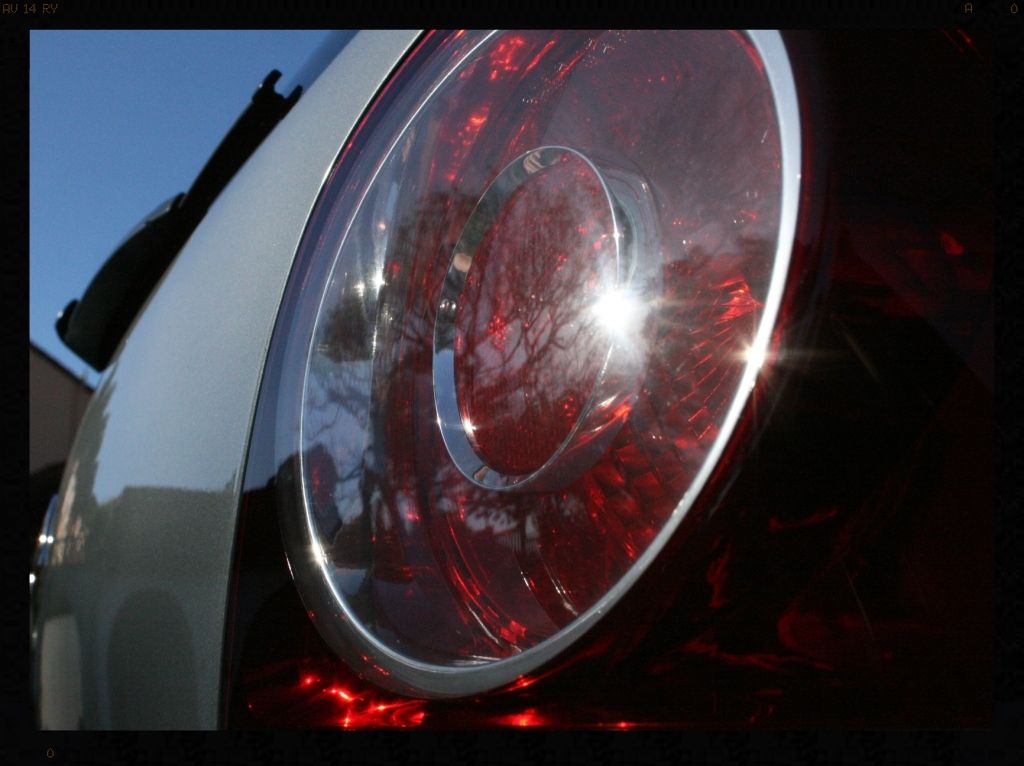
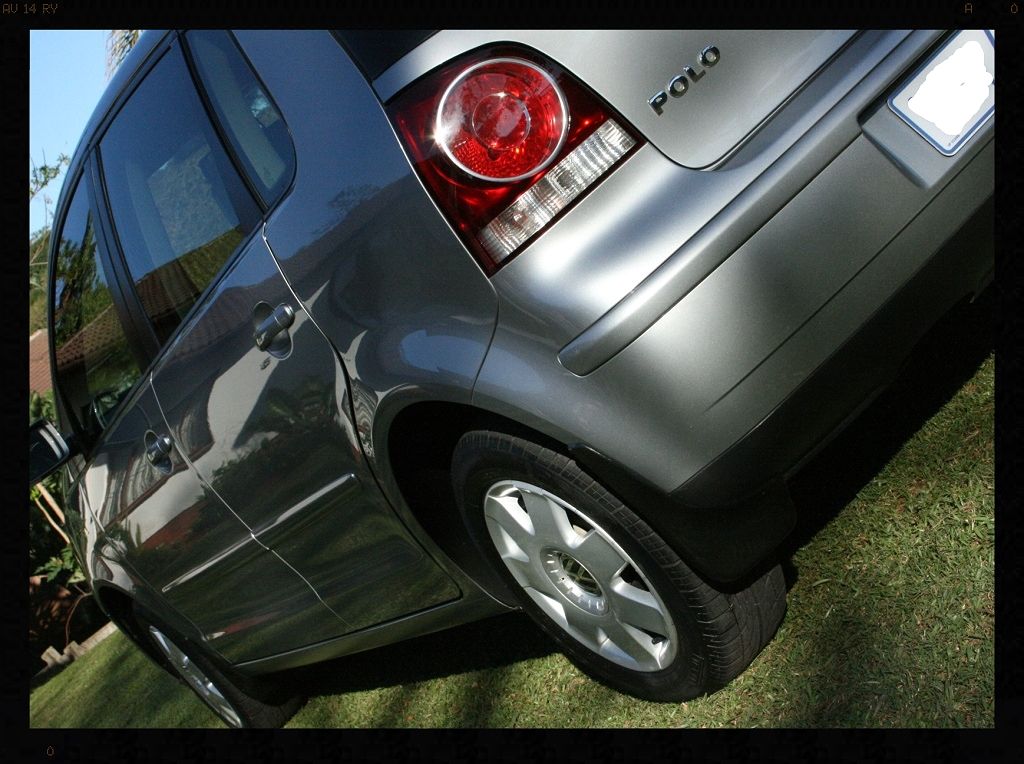
Tail lights
LC White polishing pad
Menzerna PF2500
Paint correction
LC Cyan Pads
Menzerna FG400
Meguiars Ultimate compound (used under door handles only)
Interior/Exterior Trim
Smartwax Smart Dressing
LSP
Collinite #845
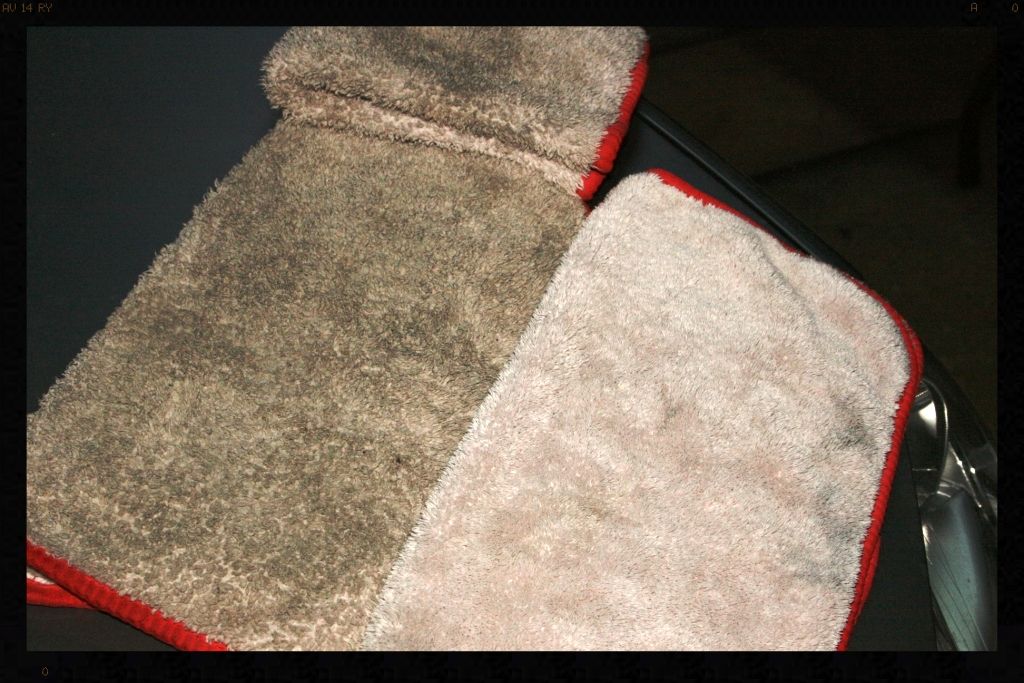
Friday evening was spent cleaning out the interior, which as you can see by the amount of dirt that came out of it, was filthy dirty. All the plastic trim, dash and center console were cleaned and then dressed and the interior was vacuumed clean.
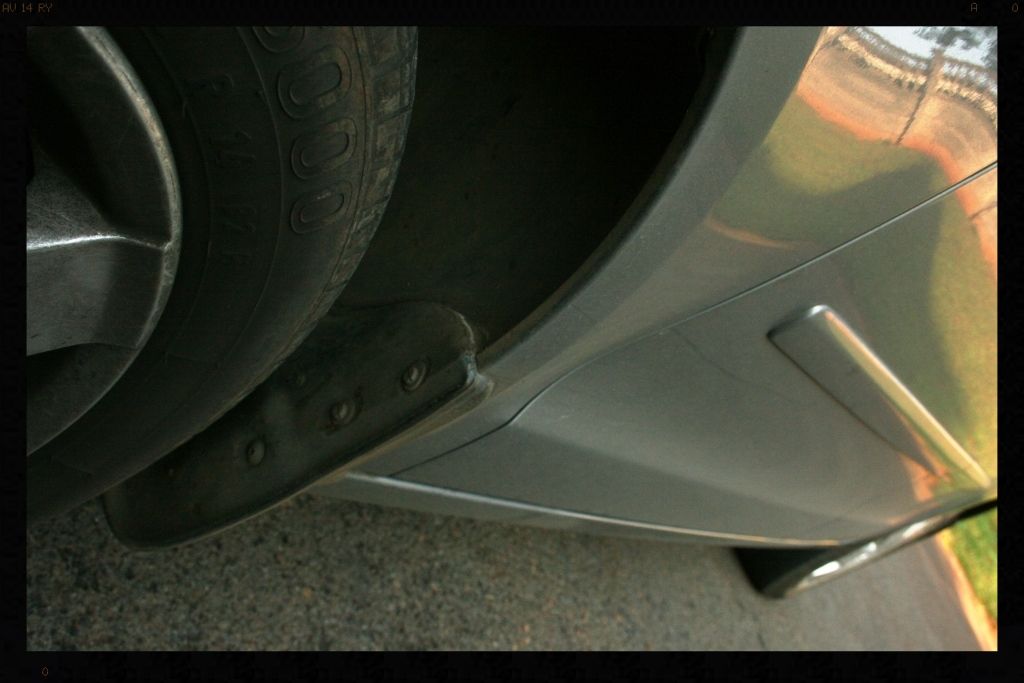
Saturday morning I started on the wheels, and used Meguiars Hot Rims All Wheel and Tire Cleaner for the first time. I was really impressed with the ability of this product to clean tires and it worked a lot better than my previous 'go-to' tire cleaner, Cyclo CM30 APC. I also really enjoyed the foaming trigger on the bottle, and will definitely be using more of this product going forward.

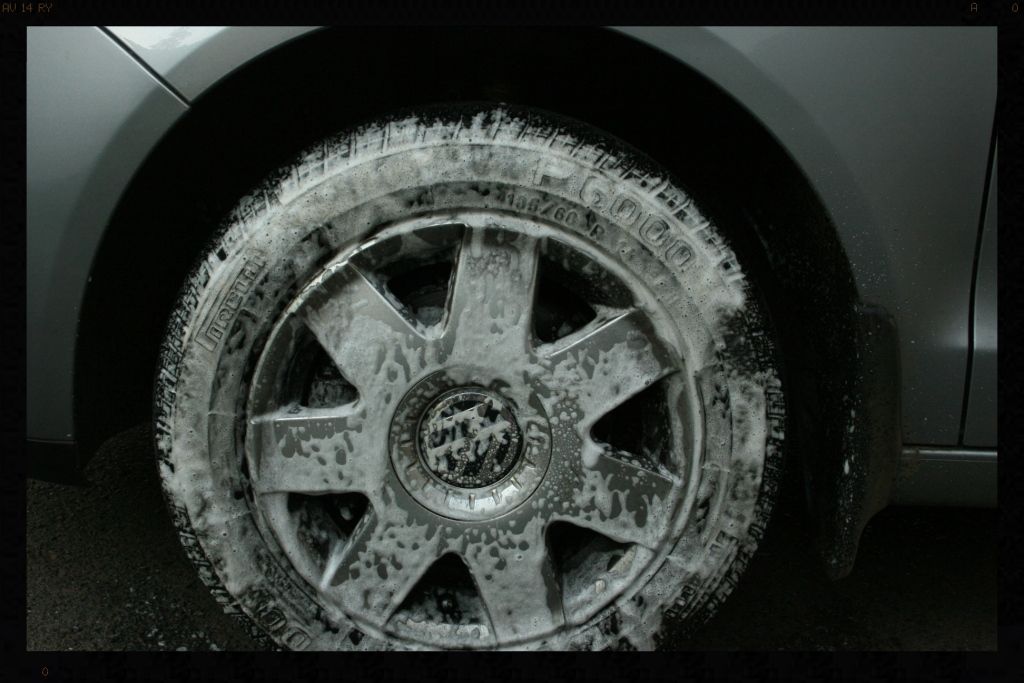
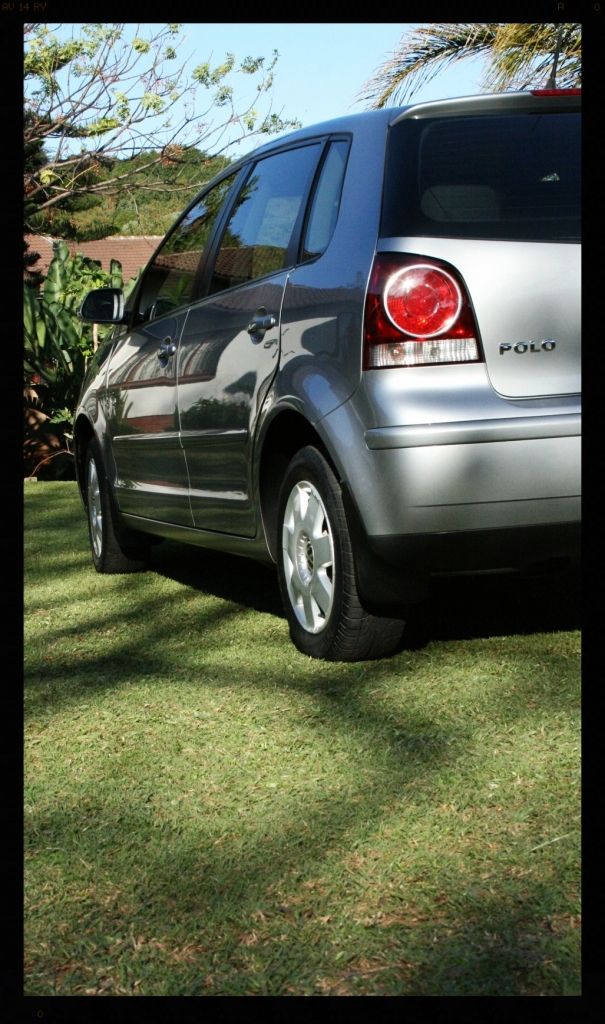
The wheels were then de-tarred and all the iron deposits removed, and the arches were also scrubbed cleaned and dressed
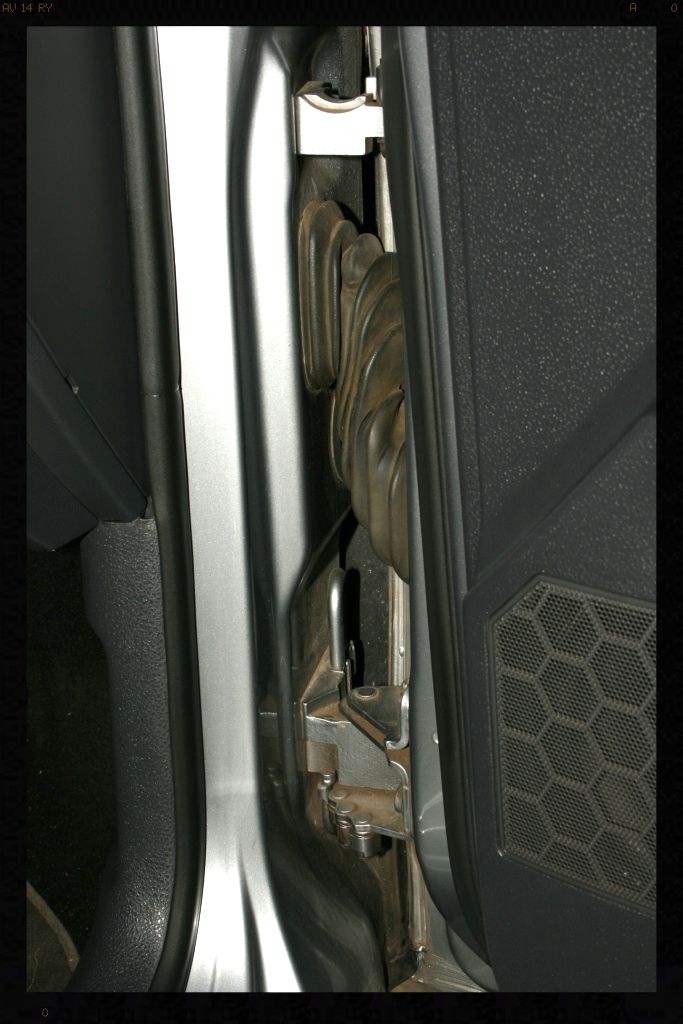
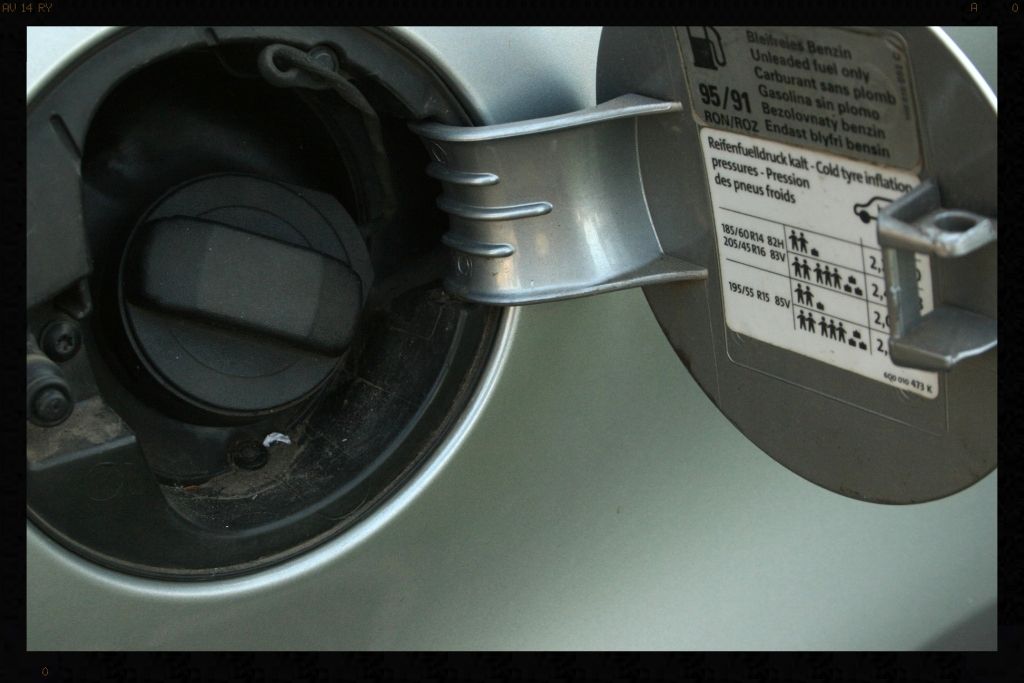
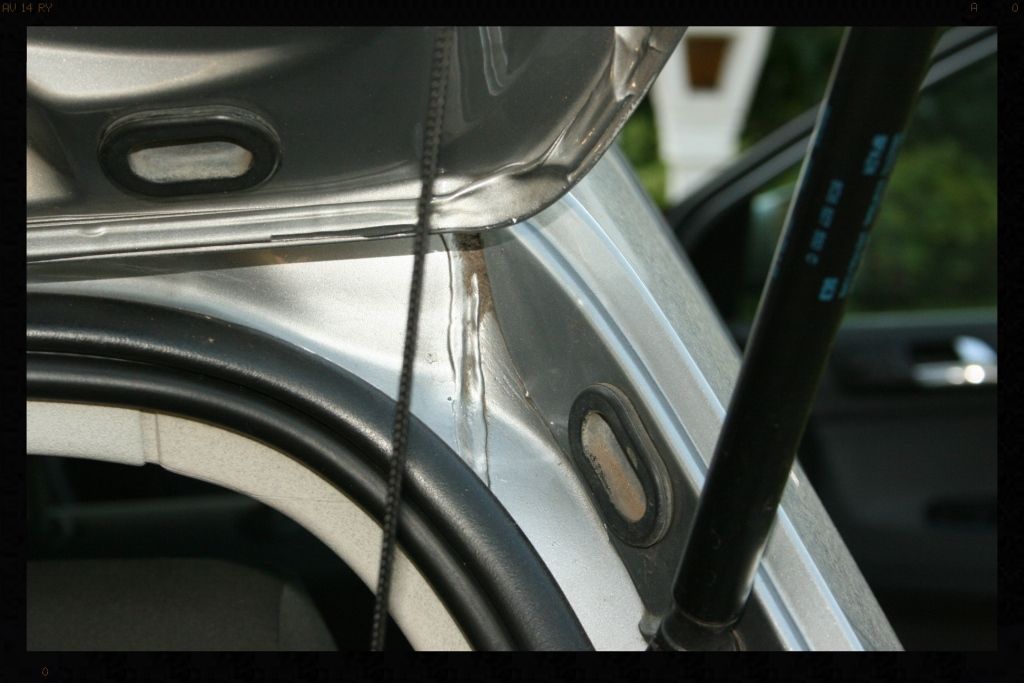
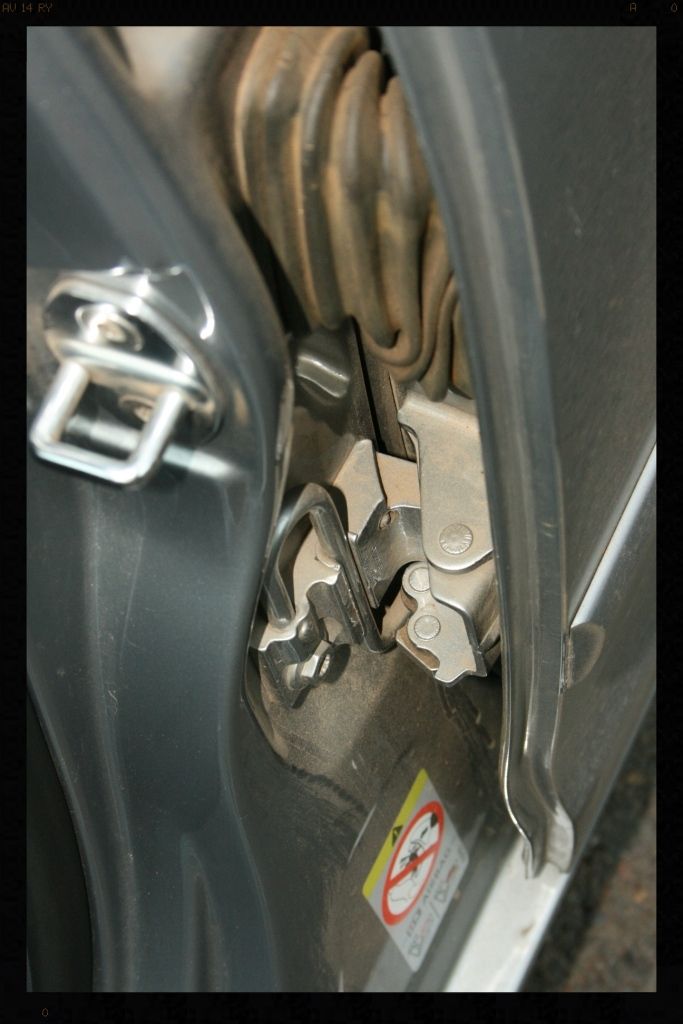
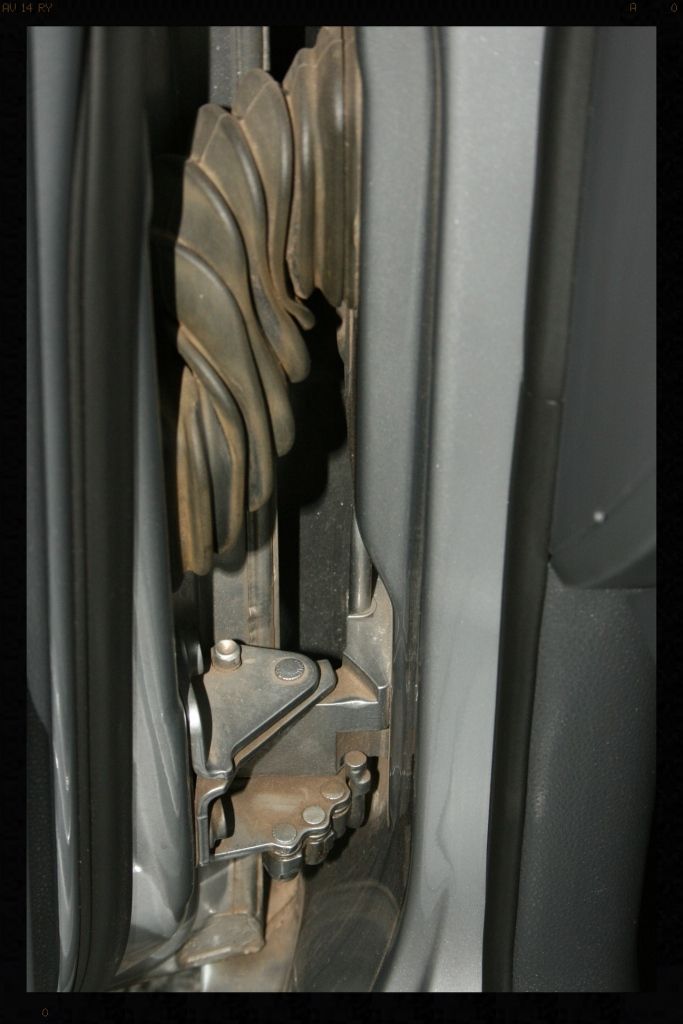
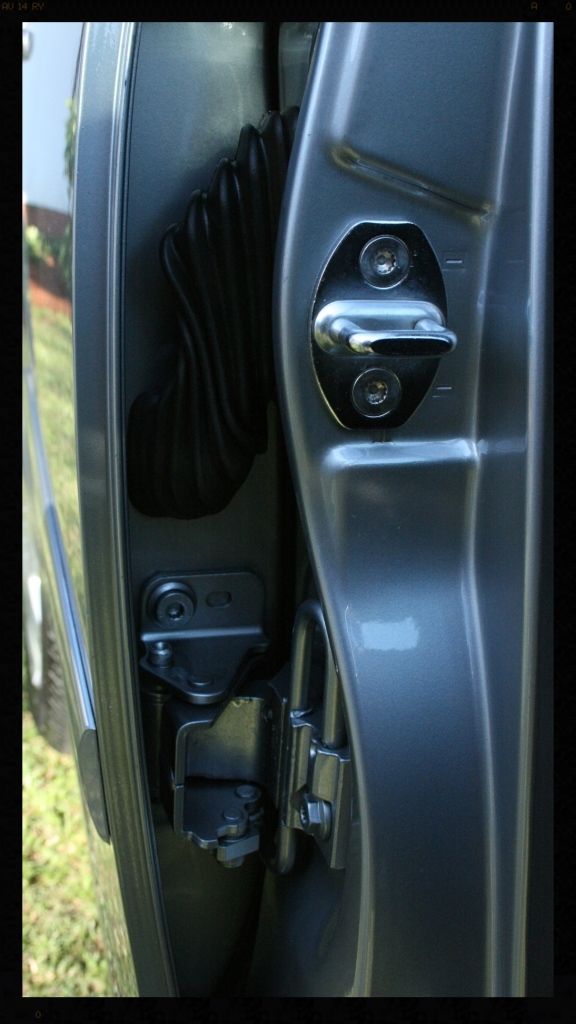
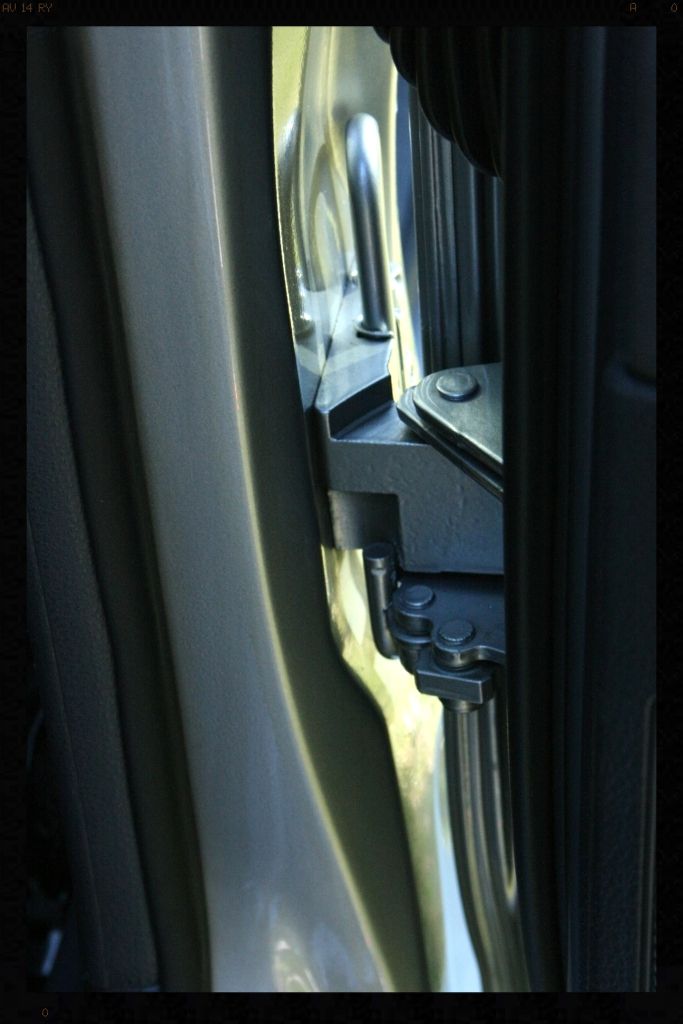
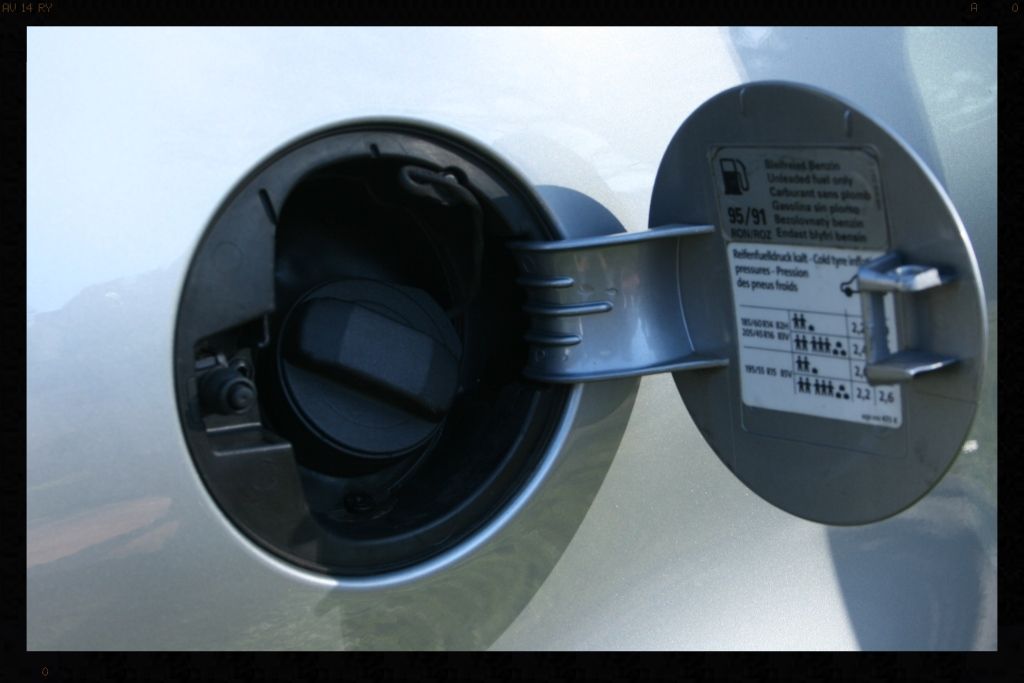
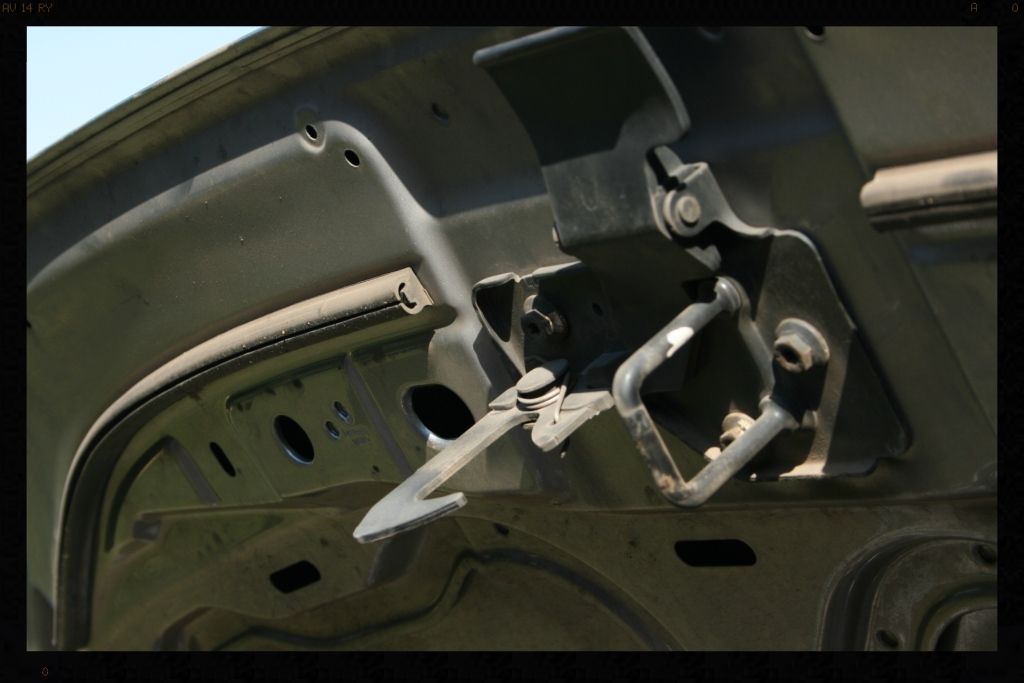
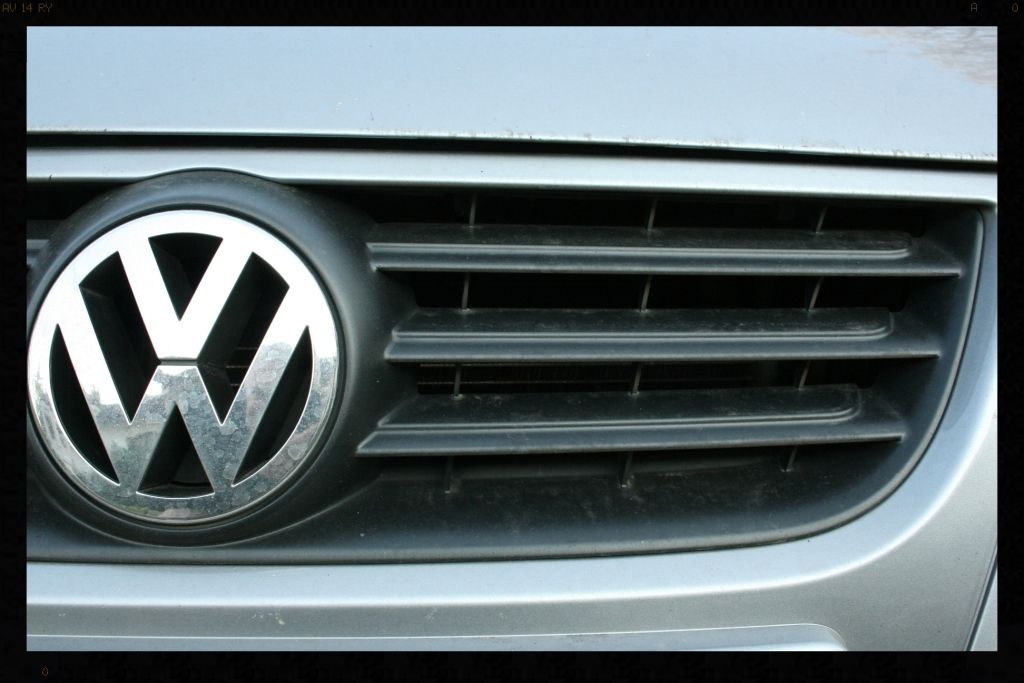
Once this was completed I then started cleaning out all the door/boot shuts, petrol flap, and in and around all the badges and emblems.
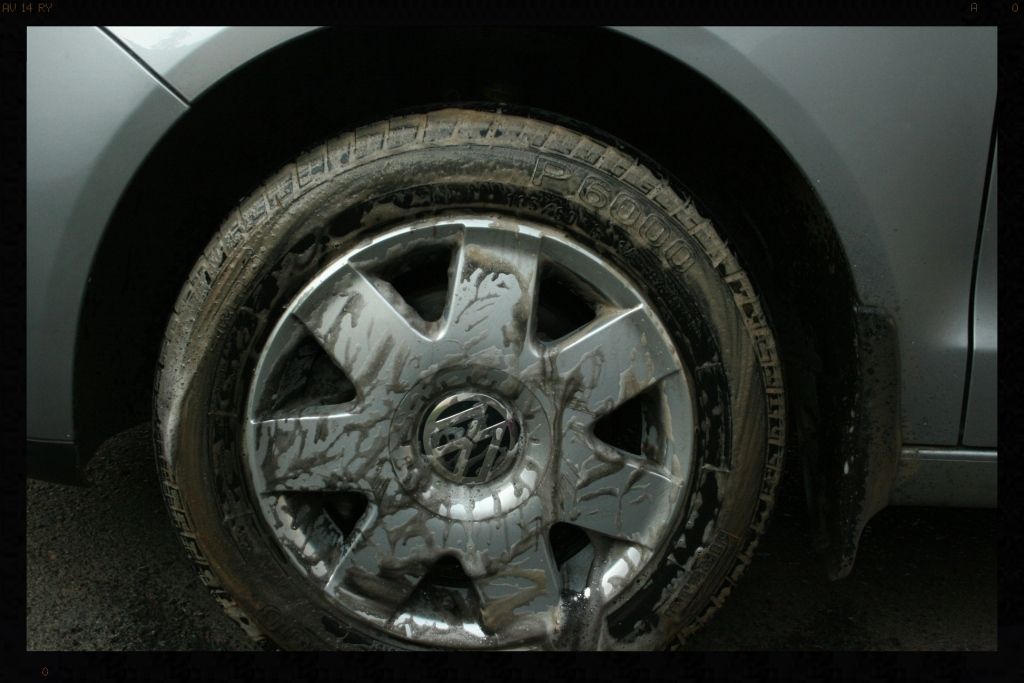
Before

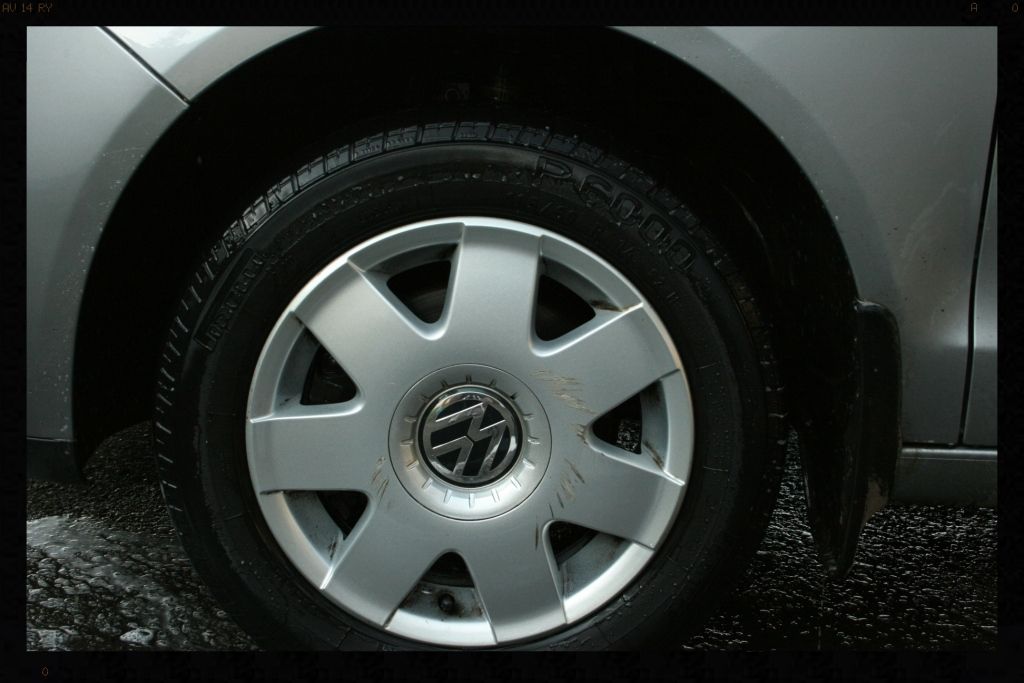
After
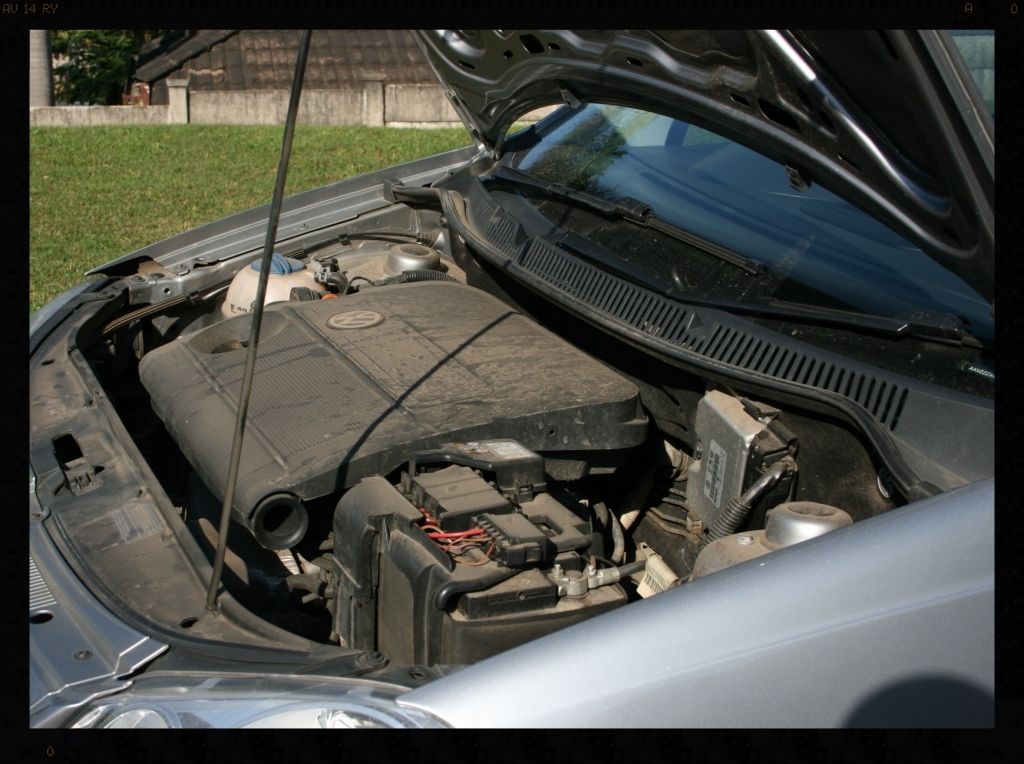
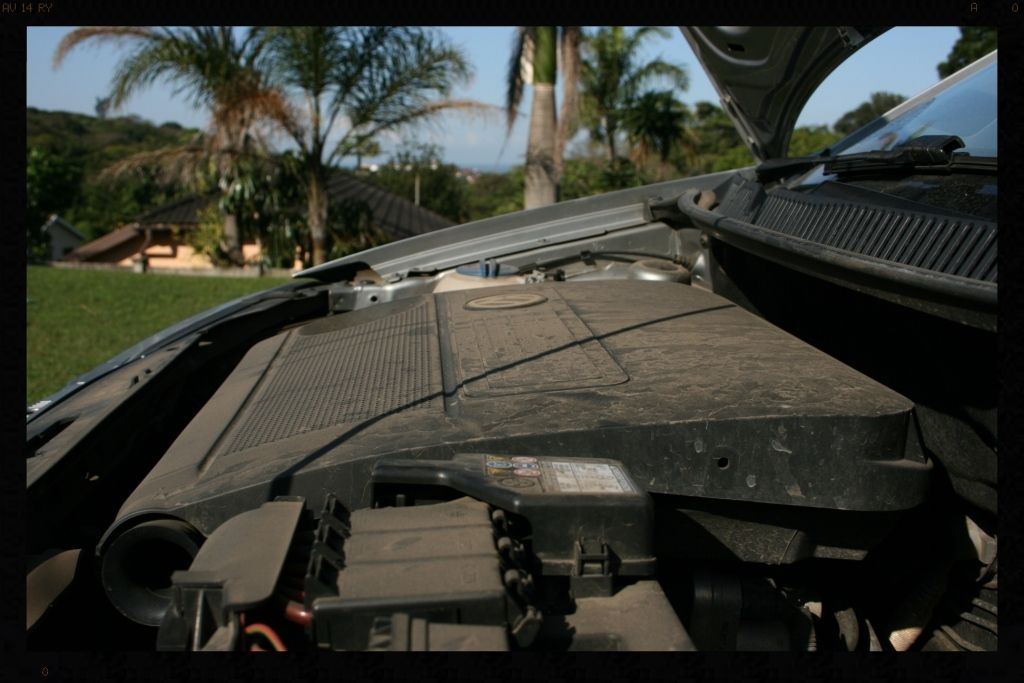
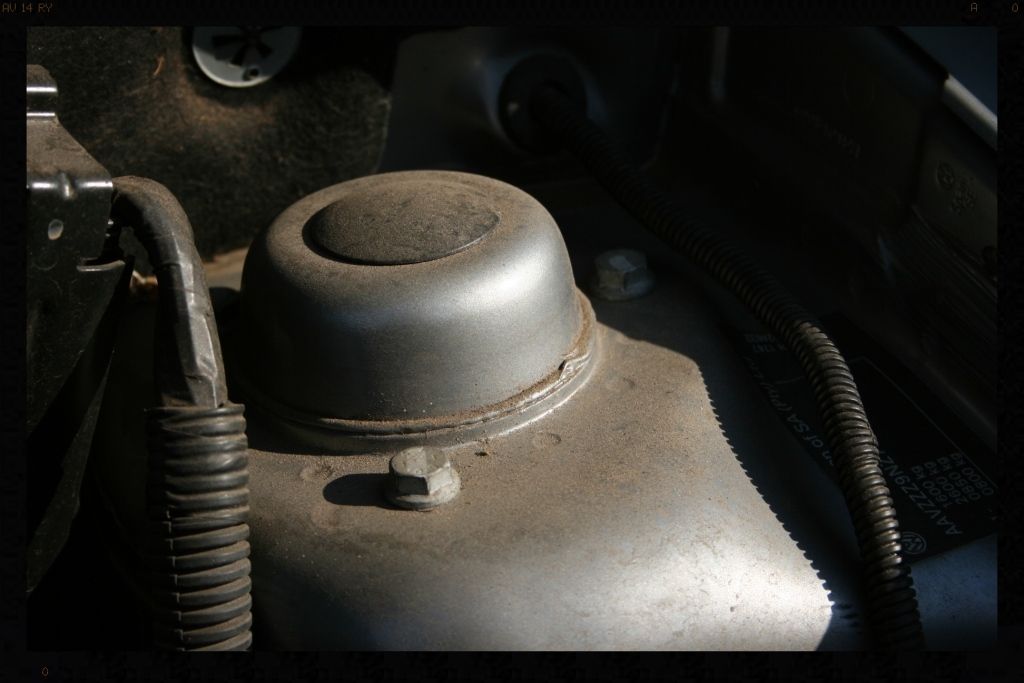
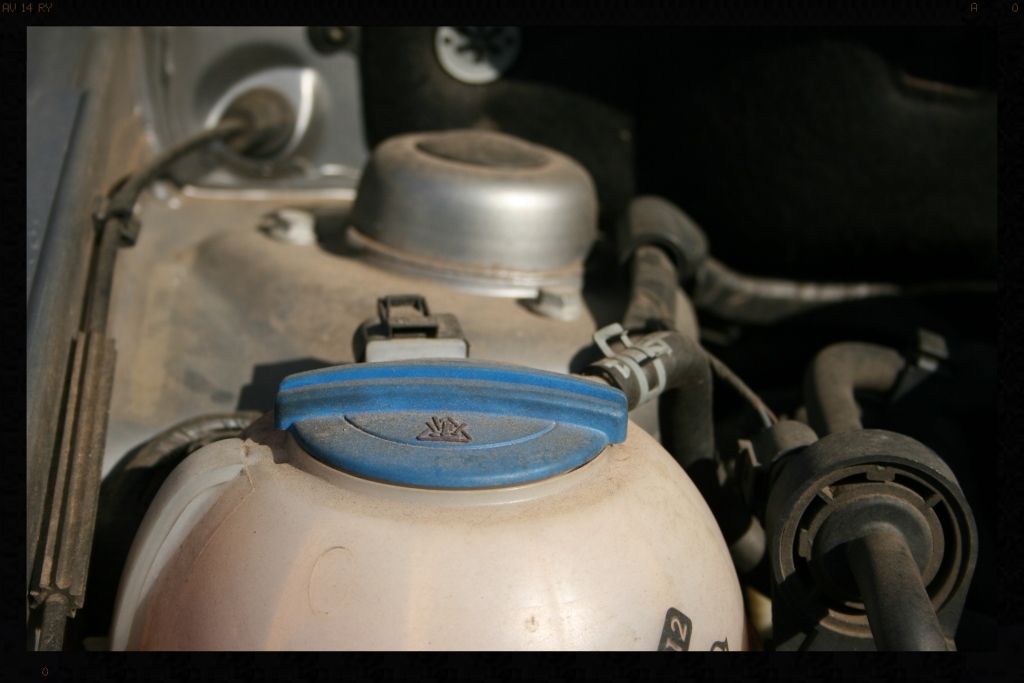
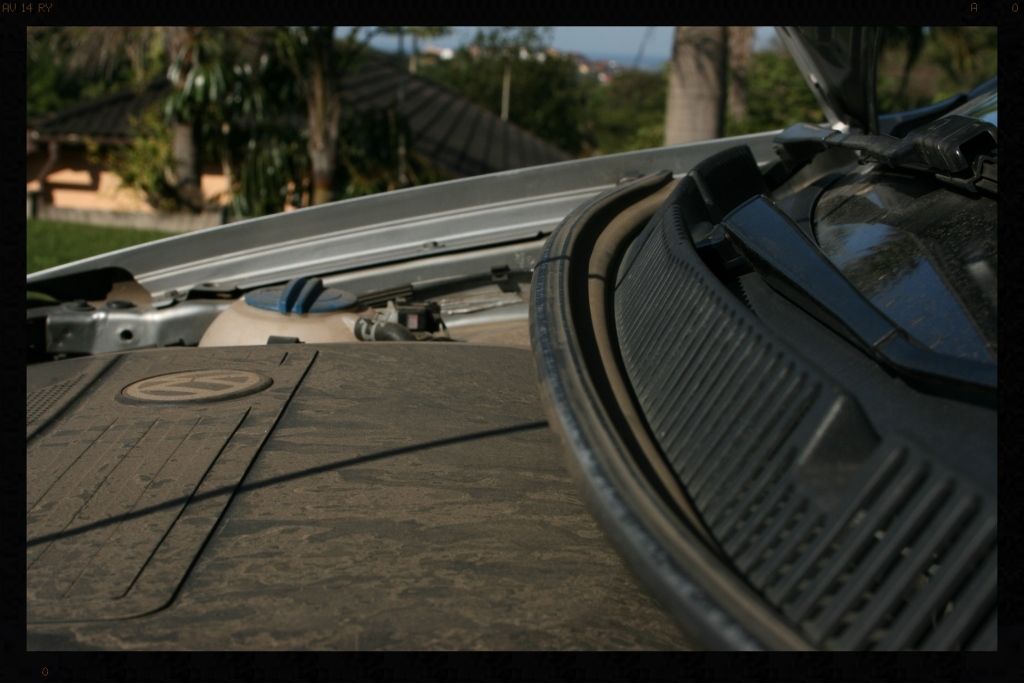
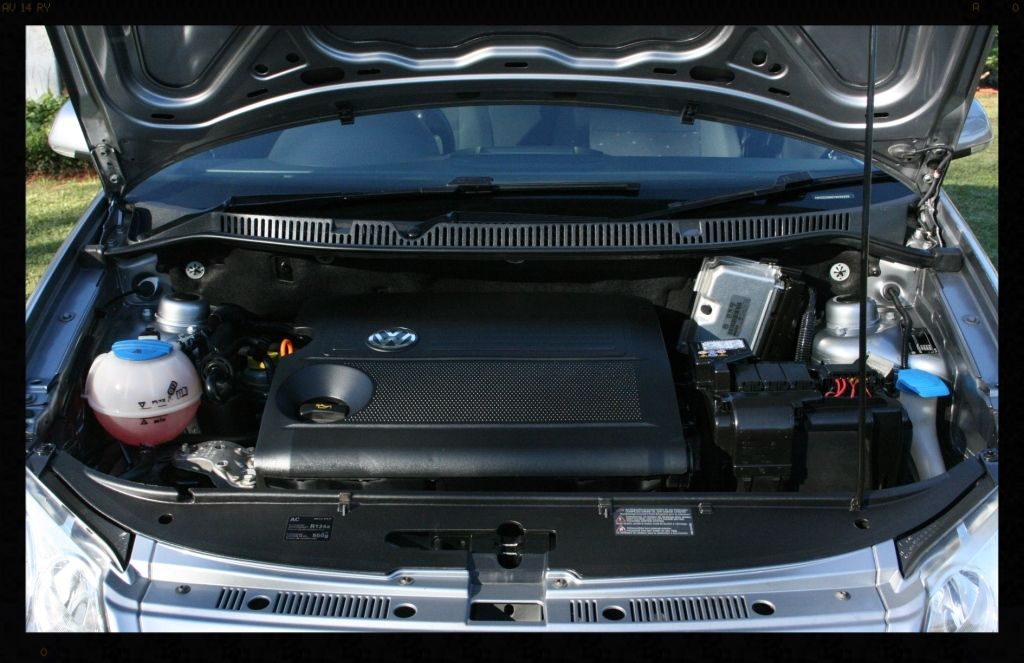
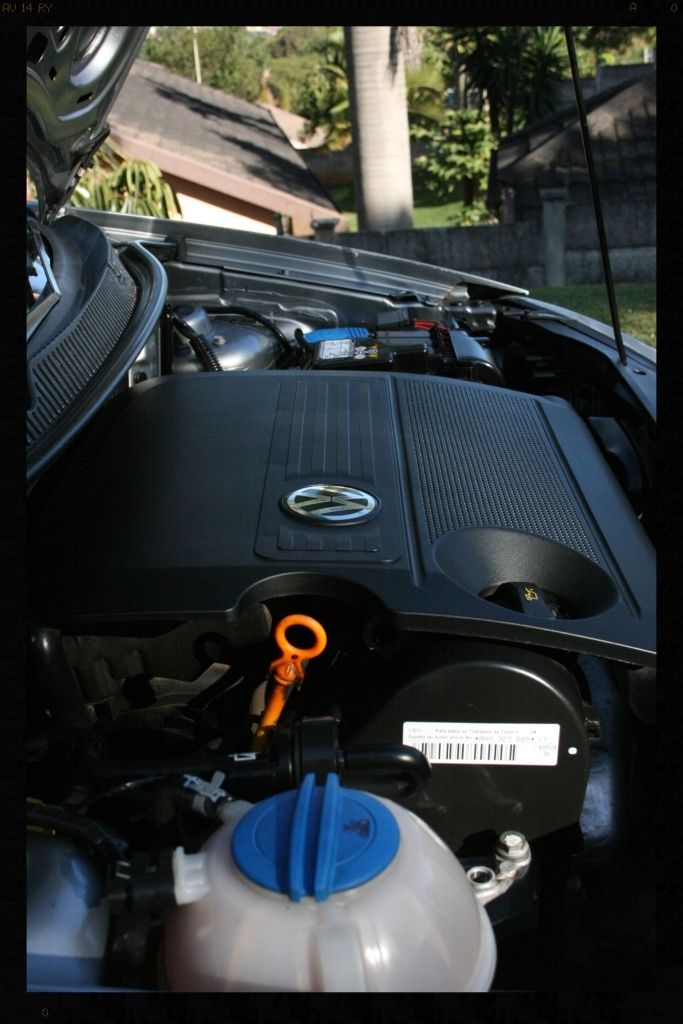
I then moved on to the engine bay which again looked like it had never had a decent clean before. After covering up the alternator and other sensitive electronic equipment the entire bay and underside of the bonnet were cleaned and rinsed. I then started the car to let some heat build up in the engine to aid the drying process, and completed the rest of the drying using a blower. The bay was then dressed.
Before

After

Wheels and arches
Cyclo CM30 @ 3:1
Meguiars Hot Rims All Wheel and Tire Cleaner
Autofinesse Iron Out
Autofinesse Oblitarate
Optimum Opti Bond Tire Gel
Collinite #845
Chemical Guys Bare Bones
Door shuts, badges, emblems
Cyclo CM30 @ 10:1
Autofinesse Oblitarate
Chemical Guys V7 Spray Sealant
Engine Bay
Cyclo CM30 @ 3:1
Chemical Guys Bare Bones
Washing[/u]
Chemical guys Maxi suds II
Decontamination
Autofiness Oblitarate
Autofiness Iron Out
Carways Mist and Wipe
Clay Magic Blue Clay
Glass
Carways Mist and Wipe
Clay Magic Blue Clay
Autoglym Fast Glass
LC Tangerine Pads
Meguiars Cleaner Wax
Tail lights
LC White polishing pad
Menzerna PF2500
Paint correction
LC Cyan Pads
Menzerna FG400
Meguiars Ultimate compound (used under door handles only)
Interior/Exterior Trim
Smartwax Smart Dressing
LSP
Collinite #845
Friday evening was spent cleaning out the interior, which as you can see by the amount of dirt that came out of it, was filthy dirty. All the plastic trim, dash and center console were cleaned and then dressed and the interior was vacuumed clean.
Saturday morning I started on the wheels, and used Meguiars Hot Rims All Wheel and Tire Cleaner for the first time. I was really impressed with the ability of this product to clean tires and it worked a lot better than my previous 'go-to' tire cleaner, Cyclo CM30 APC. I also really enjoyed the foaming trigger on the bottle, and will definitely be using more of this product going forward.
The wheels were then de-tarred and all the iron deposits removed, and the arches were also scrubbed cleaned and dressed
Once this was completed I then started cleaning out all the door/boot shuts, petrol flap, and in and around all the badges and emblems.
Before
After
I then moved on to the engine bay which again looked like it had never had a decent clean before. After covering up the alternator and other sensitive electronic equipment the entire bay and underside of the bonnet were cleaned and rinsed. I then started the car to let some heat build up in the engine to aid the drying process, and completed the rest of the drying using a blower. The bay was then dressed.
Before
After
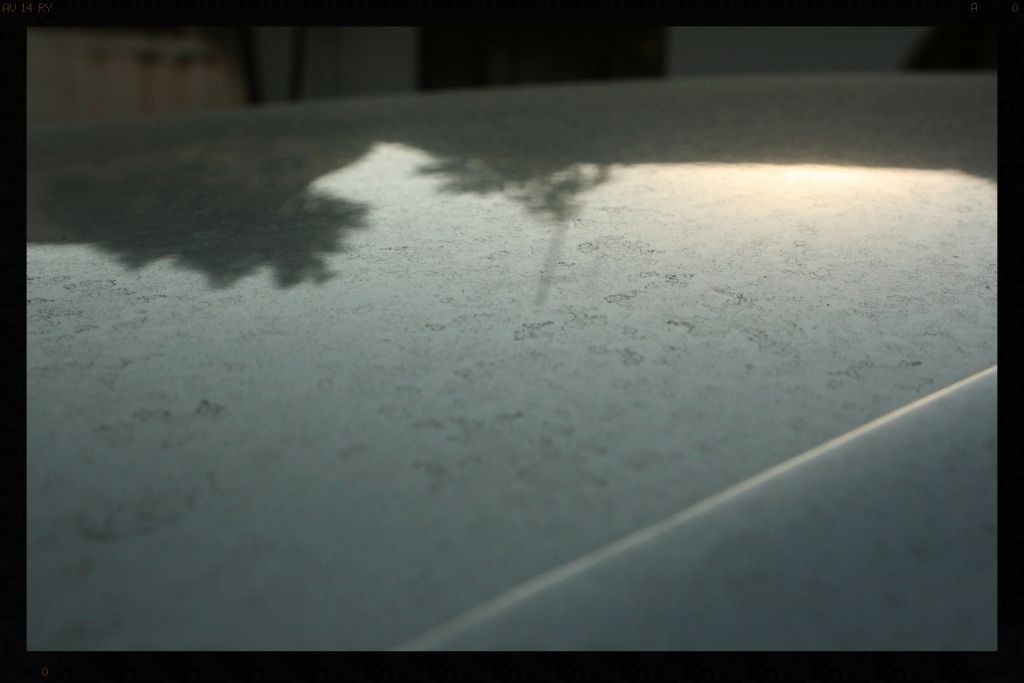
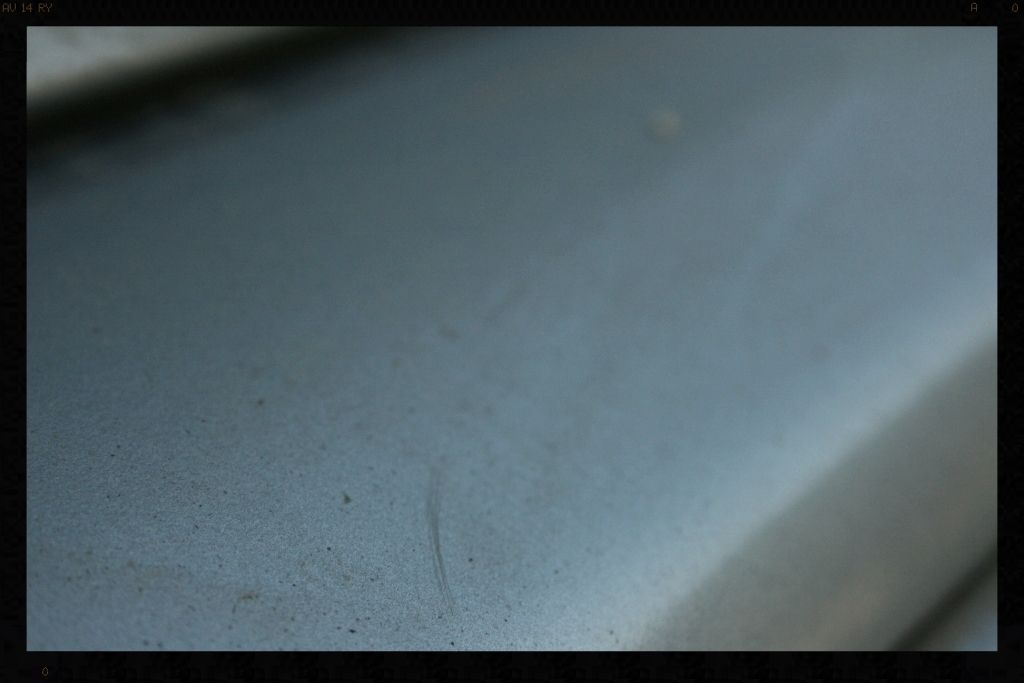

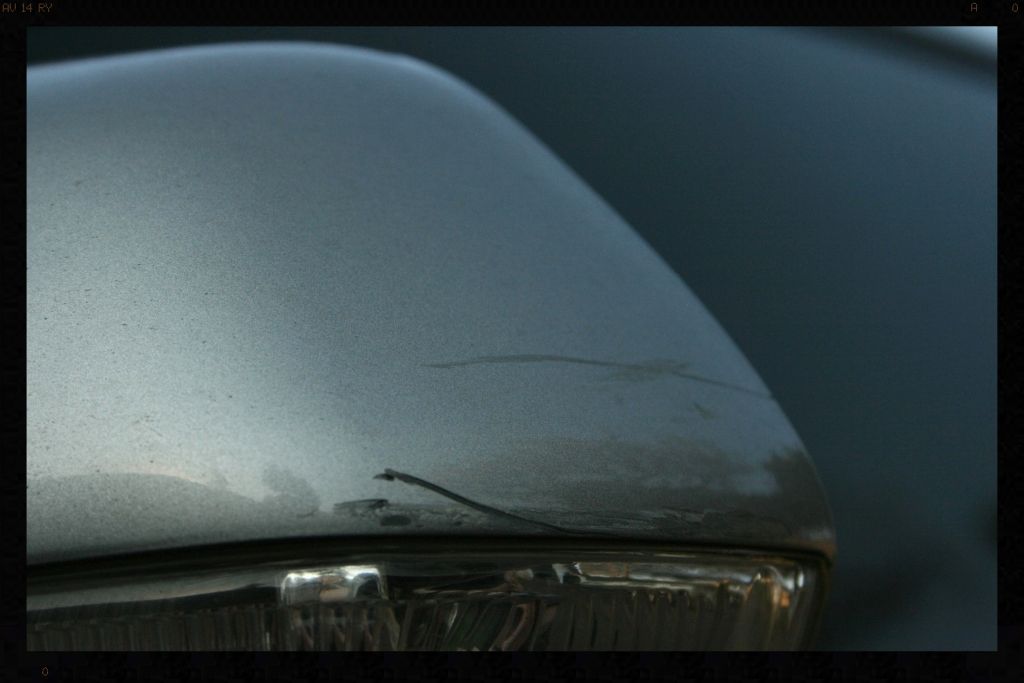
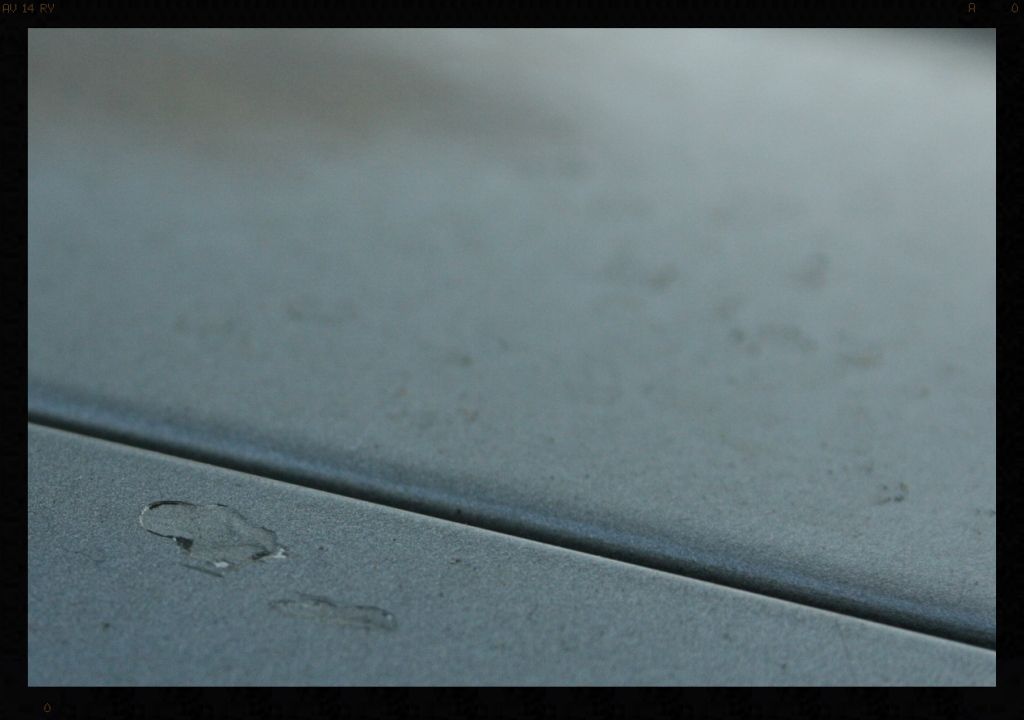
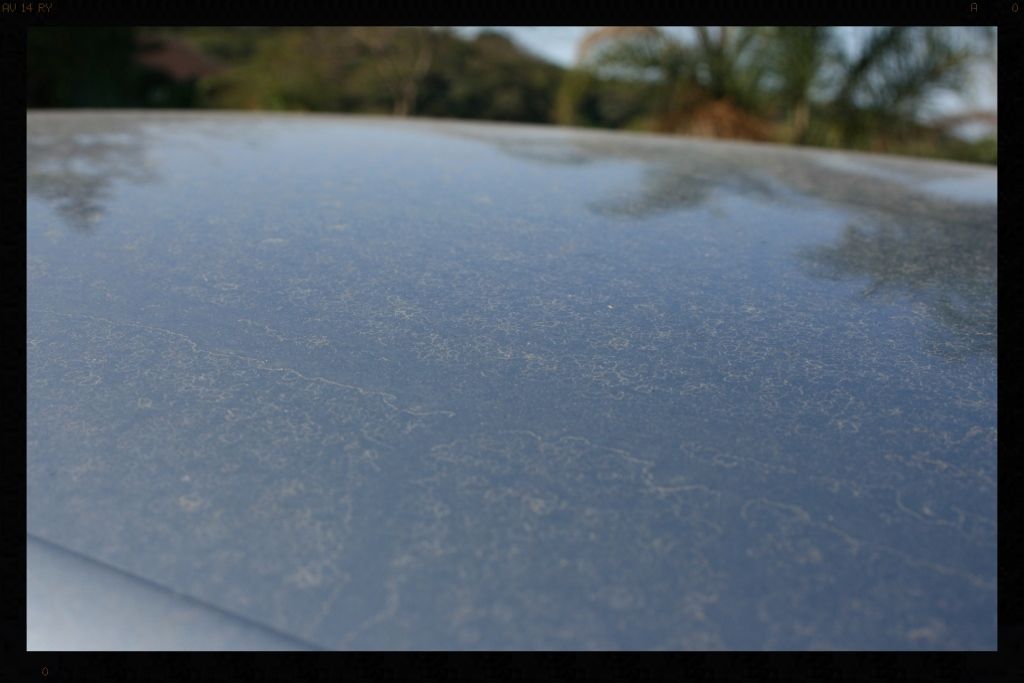
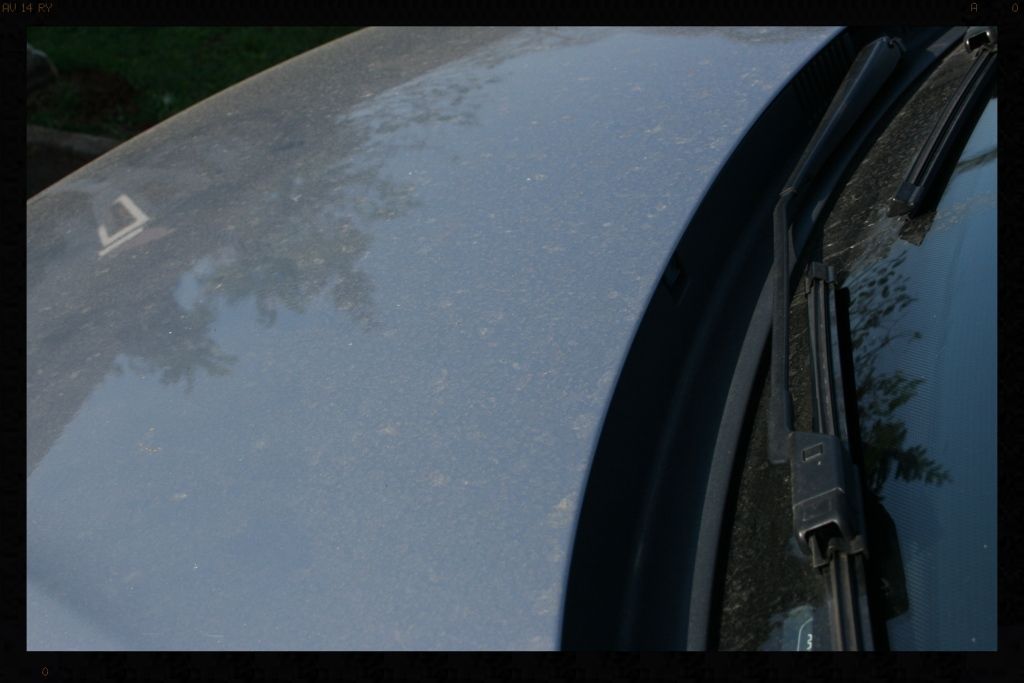

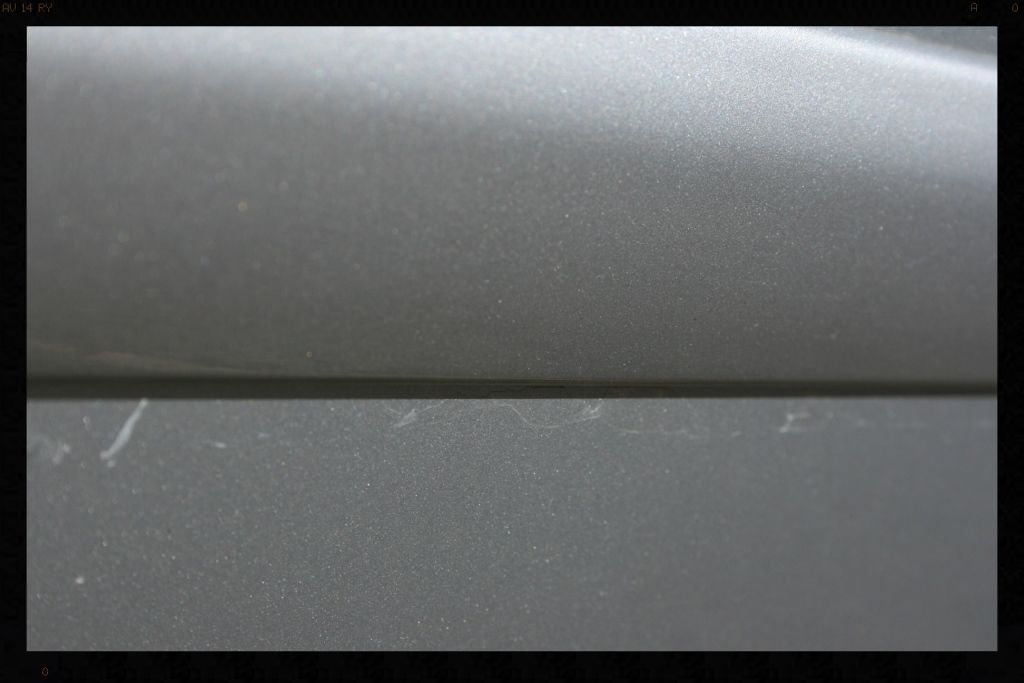

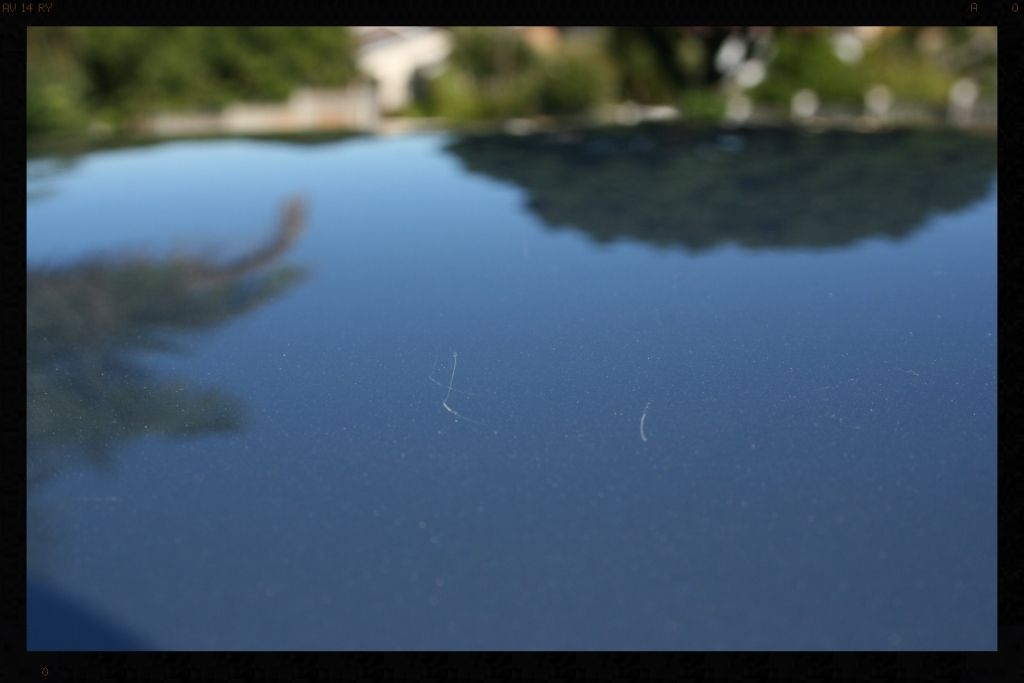
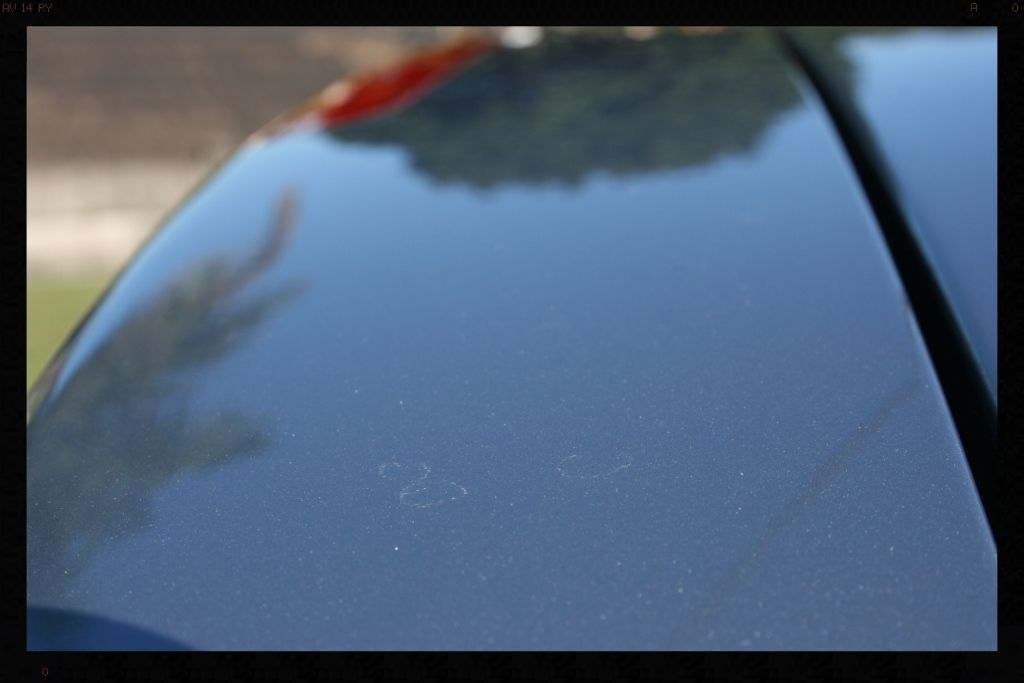
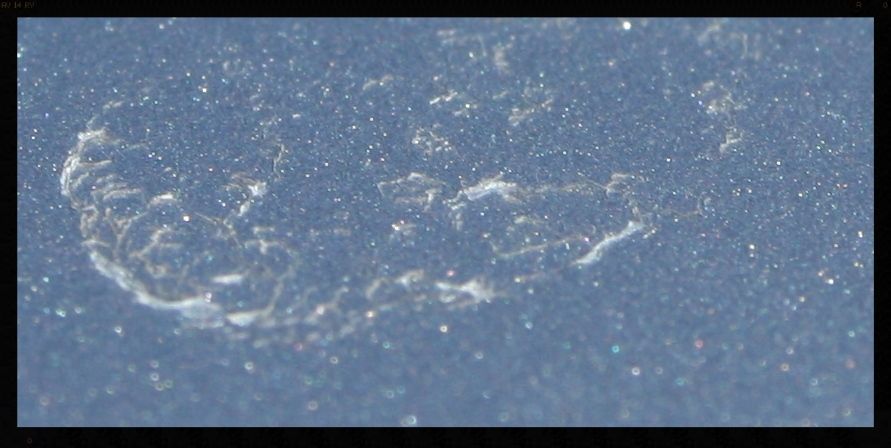
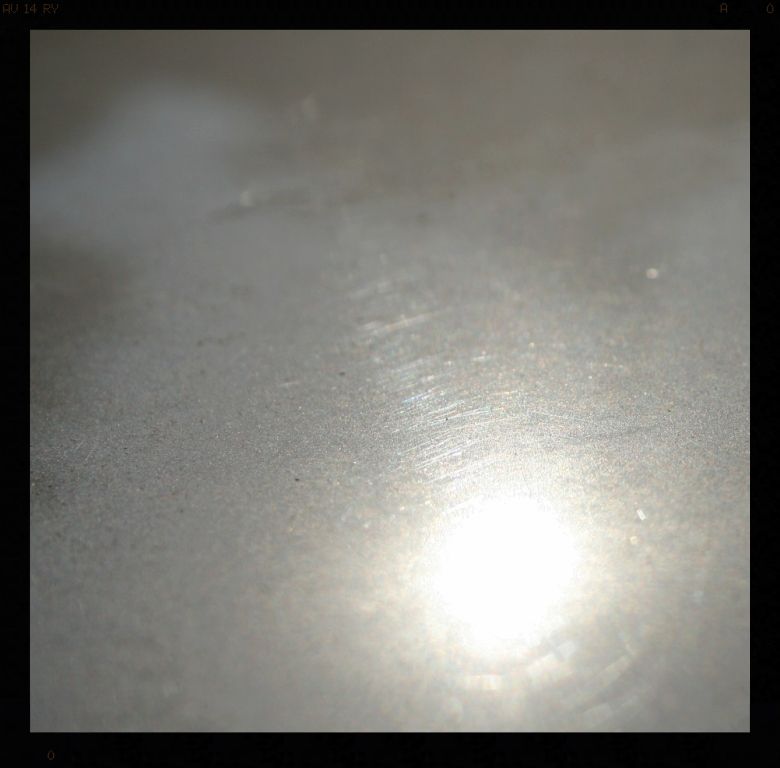
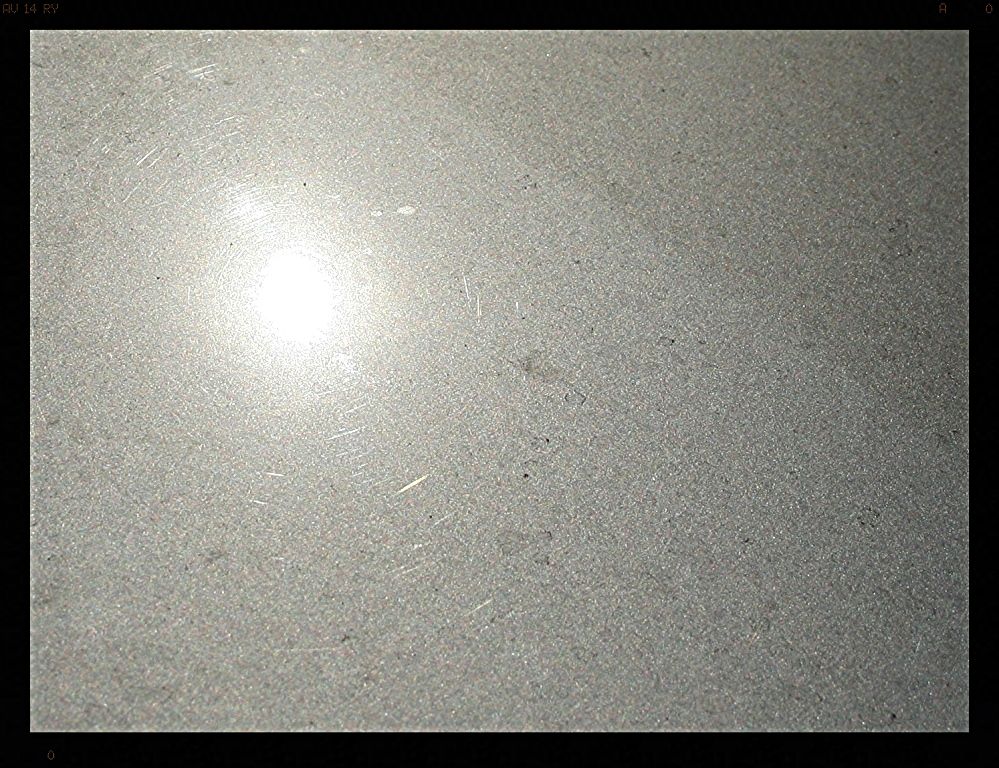
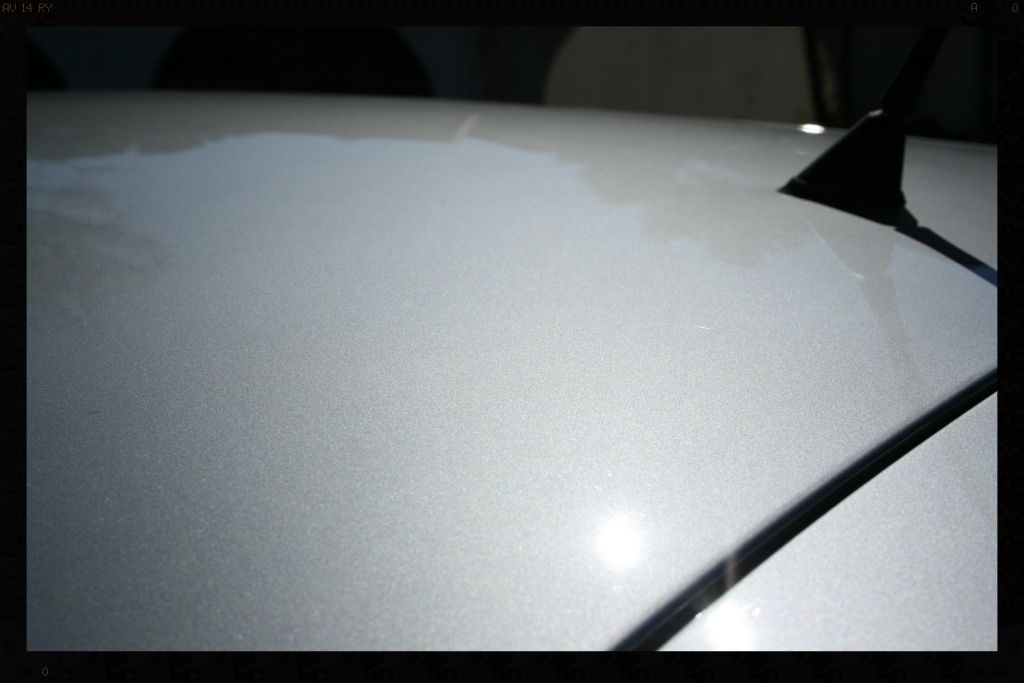
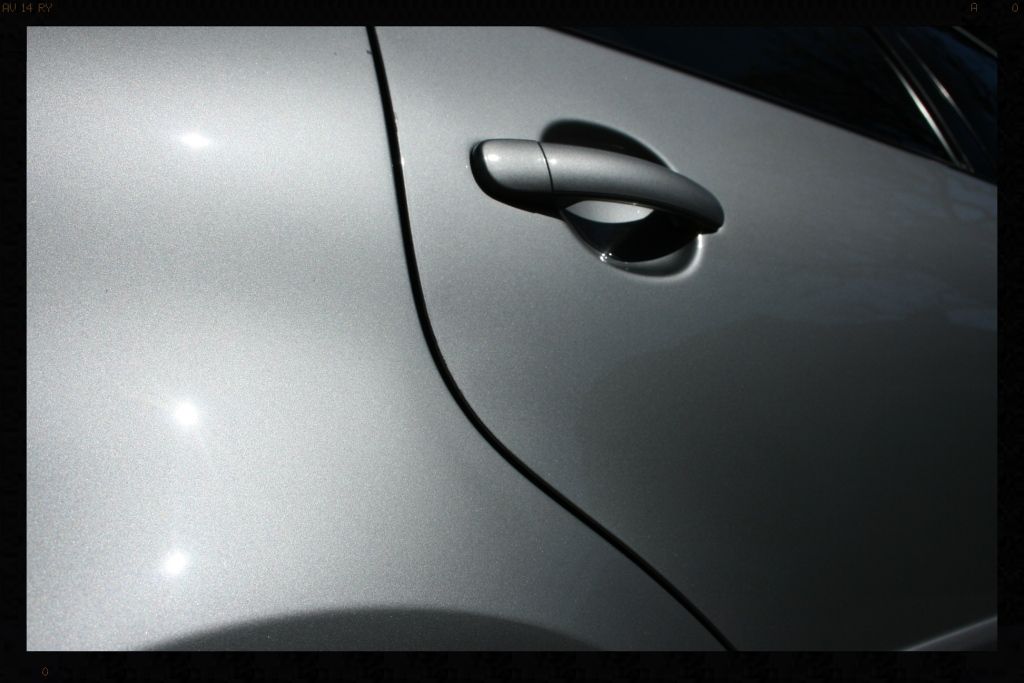
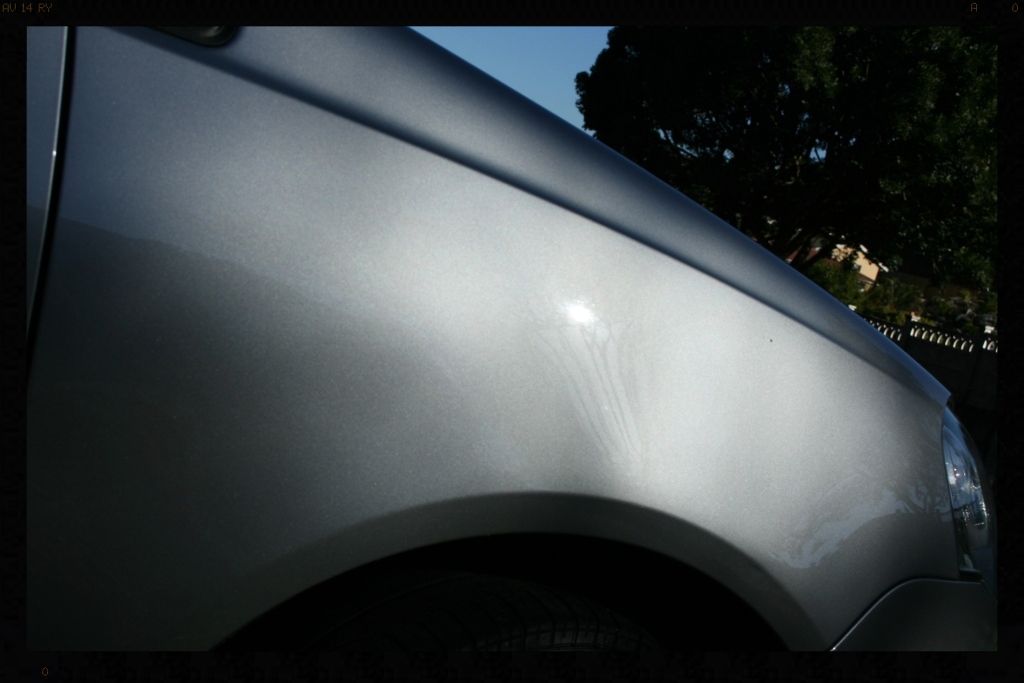
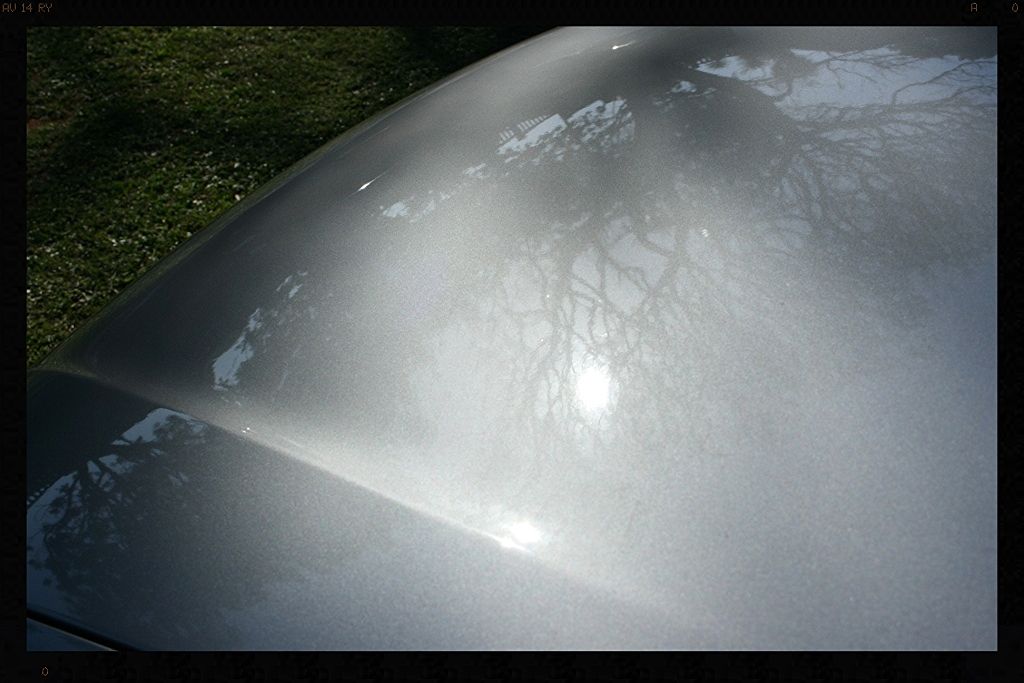
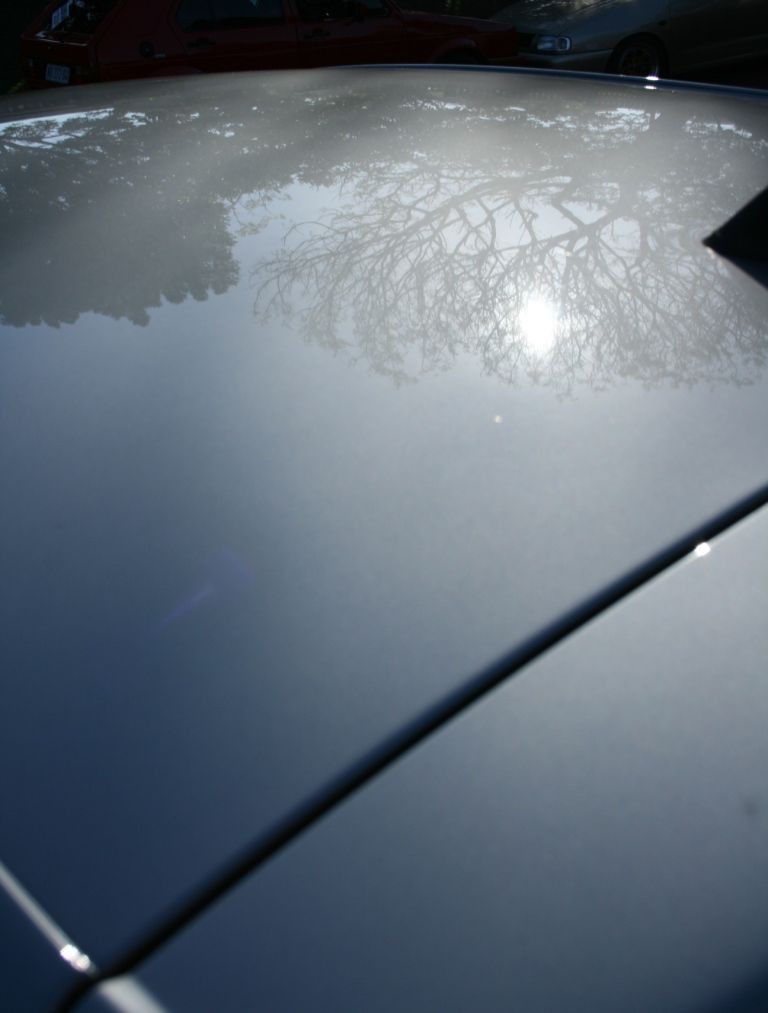
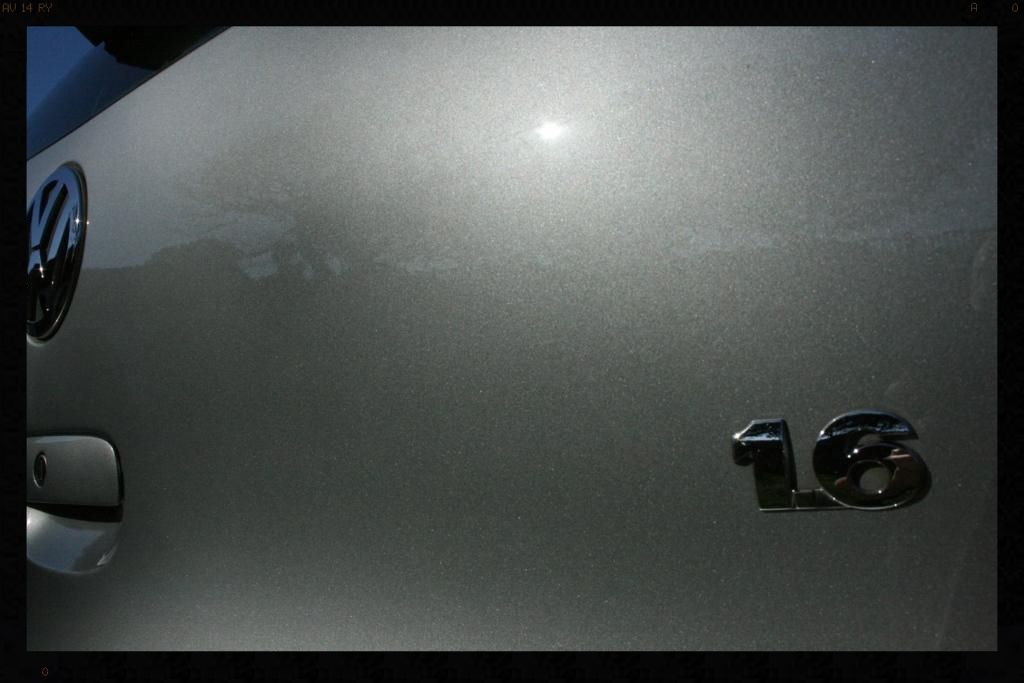
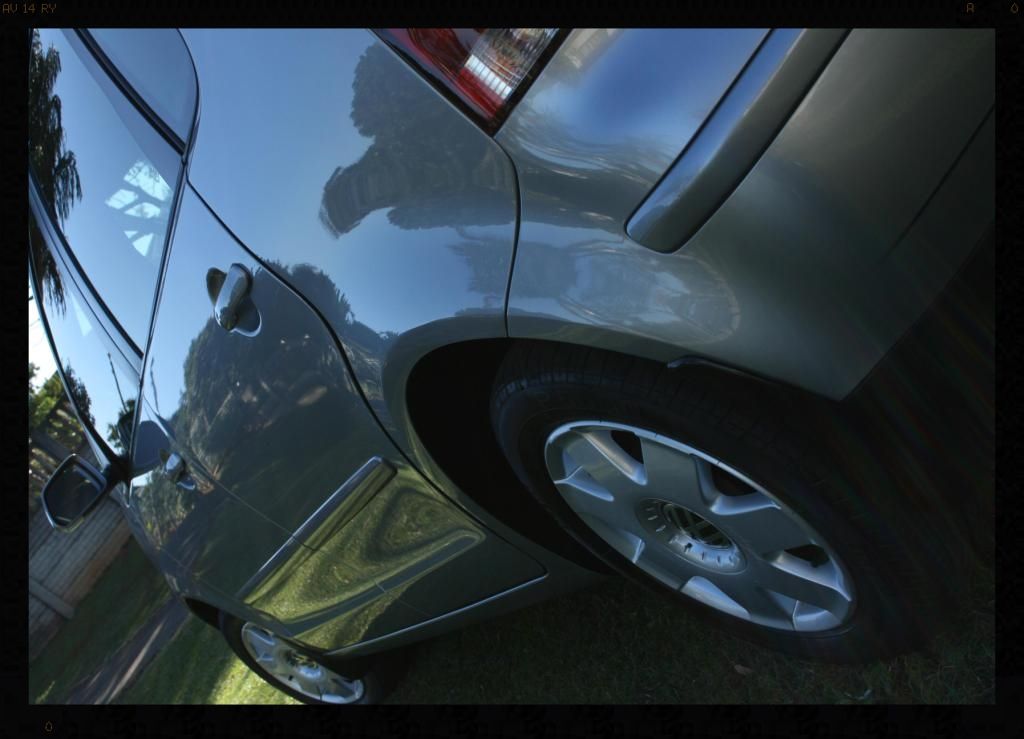
 :lol: I did however manage to snap a few pics of some swirl marks, and then some sun shots post polishing without any swirl marks.

 icture::dblthumb2: