lawrenceSA
New member
- Feb 7, 2012
- 1,713
- 0
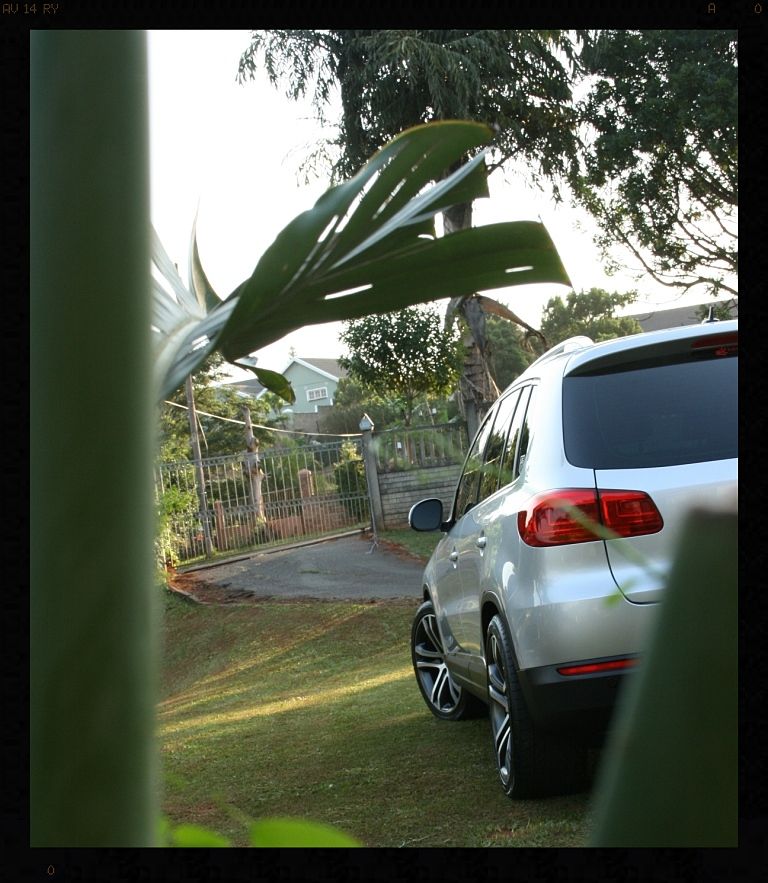
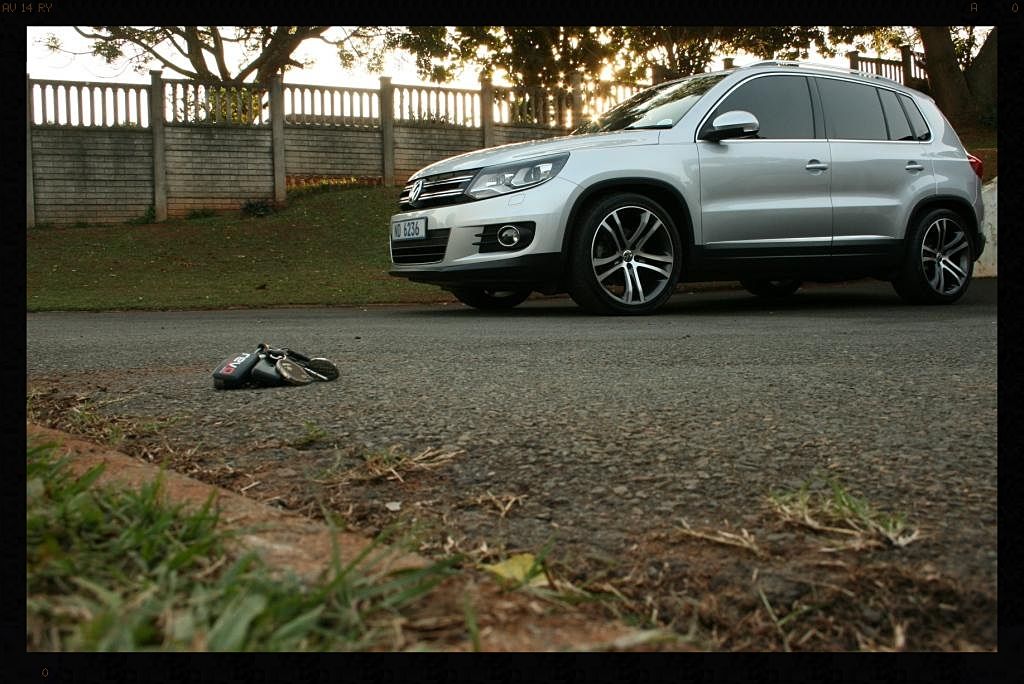
The vehicle was dropped off with me on Thursday evening allowing me to get started the minute I got home from work on Friday. Being a fairly new (less than 30k km's) daily drive the goal of this detail was to primarily to provide some protection to the paintwork, which was in pretty good condition already.
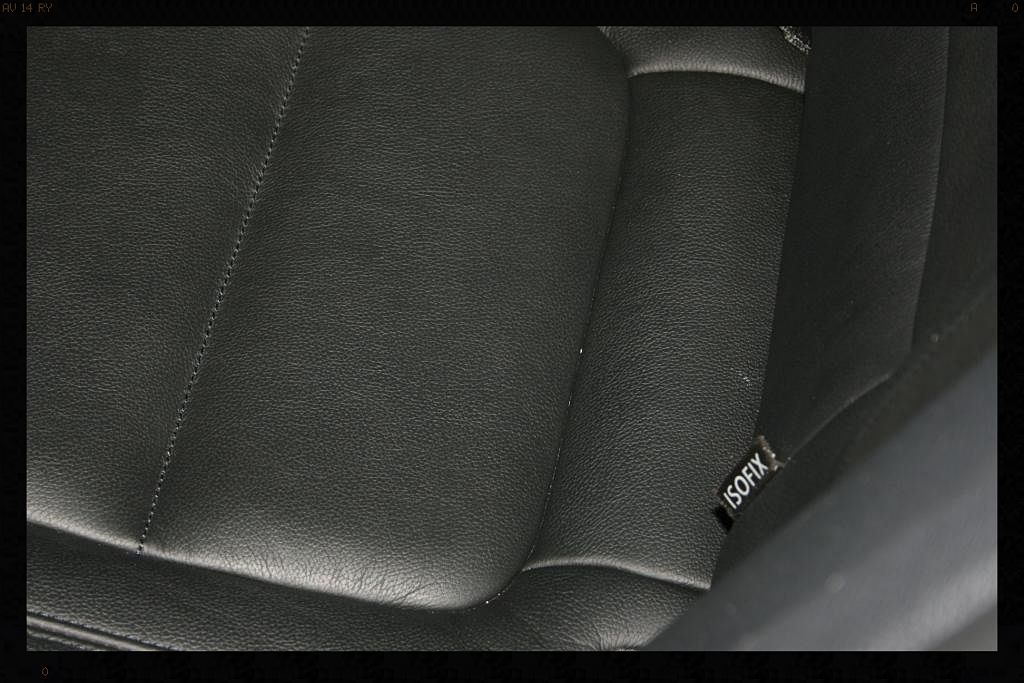
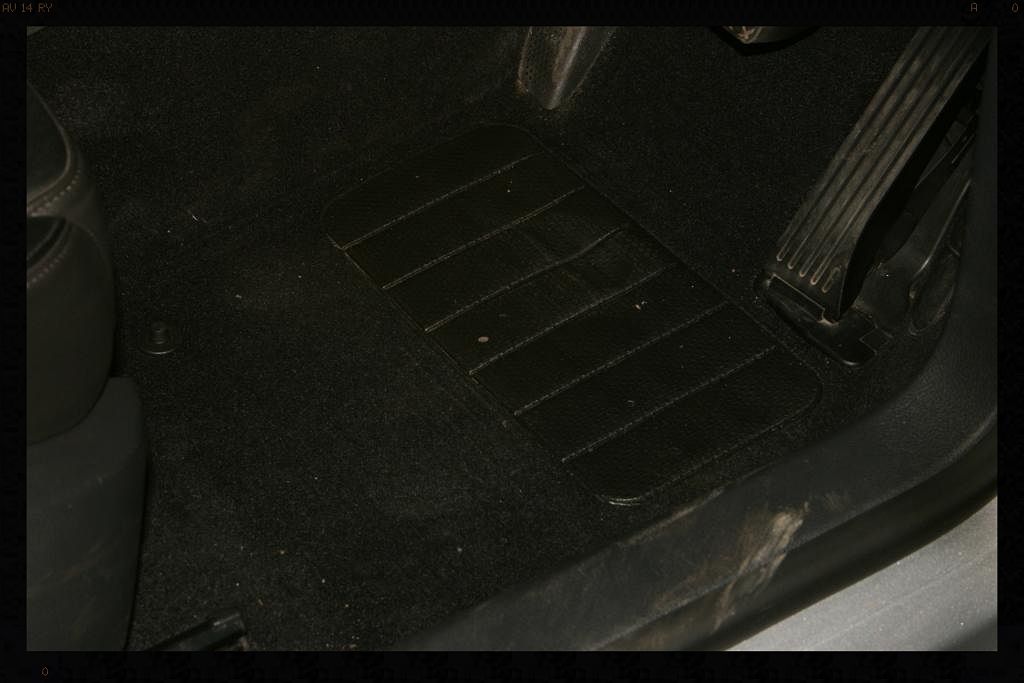
I started with the interior - first I blew out all the loose dust from the entire interior and followed this up with a vacuum, then proceeded to clean all the interior surfaces (including the leather) with various 'dilutions' of my go-to APC, Cyclo CM30 and various brushes. The interior mats were removed and scrubbed with APC and I then treated all the leather surfaces with Smart Wax Smart Leather and the dash and other plastic surfaces with Smart Wax Smart Dressing.
Here you can see the condition of the interior on arrival
And how much dirt was lifted off the leather during cleaning
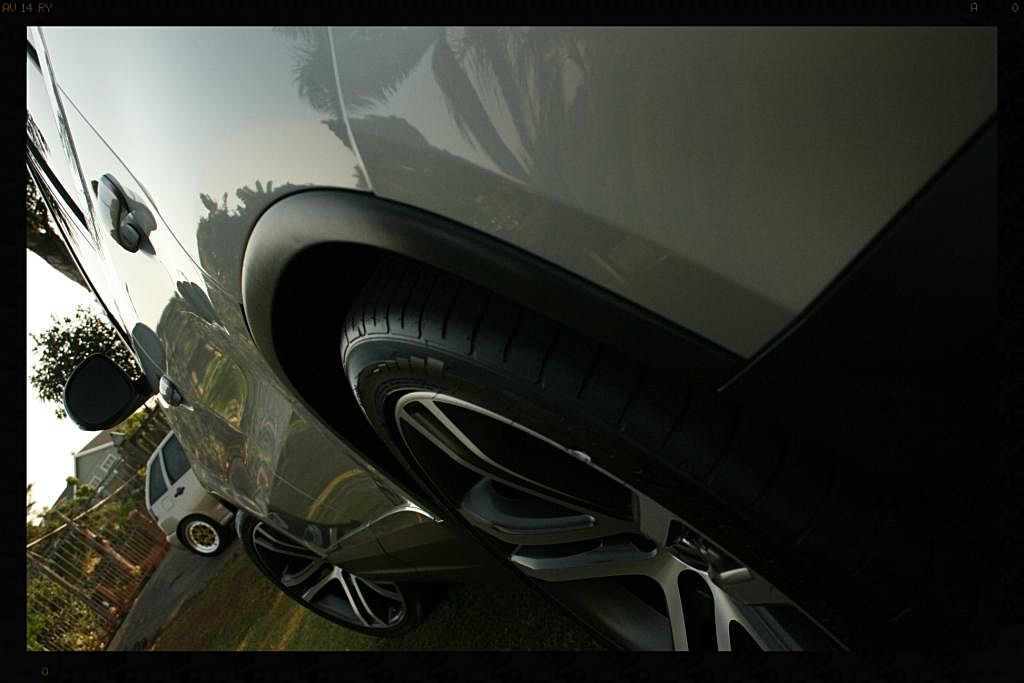
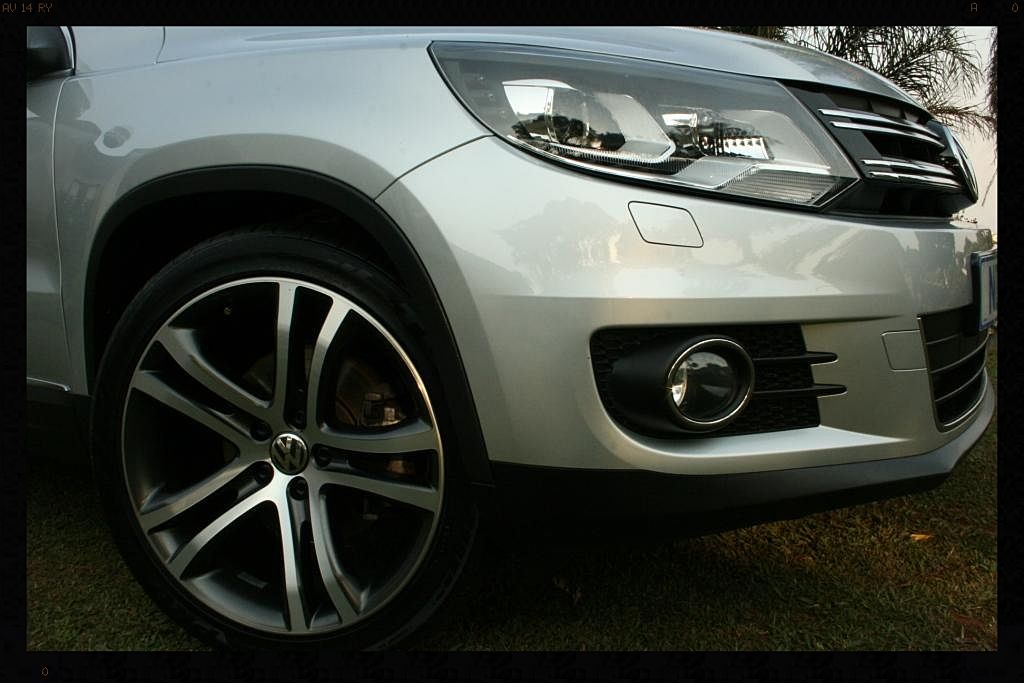
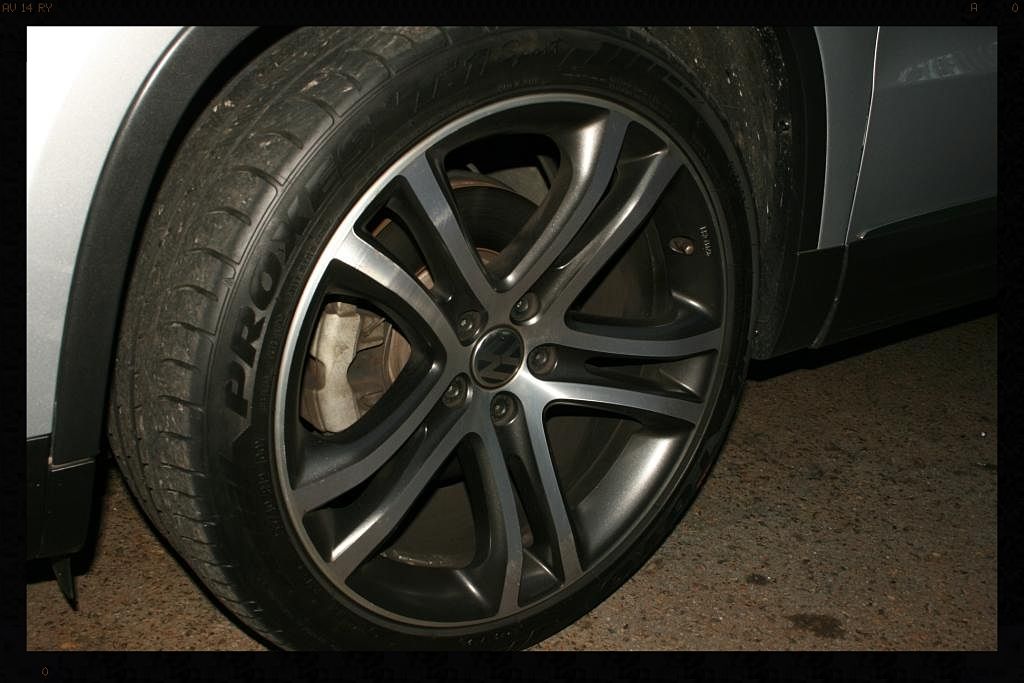
At first light on Saturday morning I commenced with cleaning the wheels. The tires and arches were sprayed with APC which was left to dwell before being agitated and rinsed. The wheels themselves received an initial clean with Sonax Full Effect Wheel Cleaner followed by a de-tar using Autofiness Olbitarate and then a de-iron using Autofiness Iron Out. Once dried I applied 2 coats of Rimwax to the rims and dressed the tires using Turtle Wax Tire Dressing and the arches using Chemical Guys Bare Bones.
How the wheels and arches looked on arrival
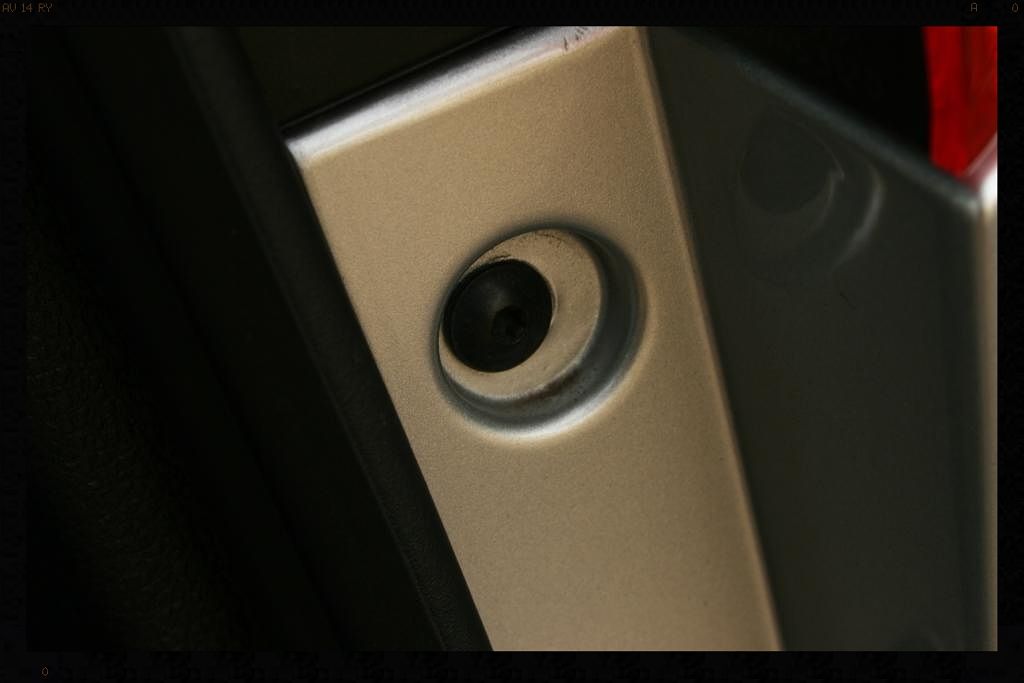
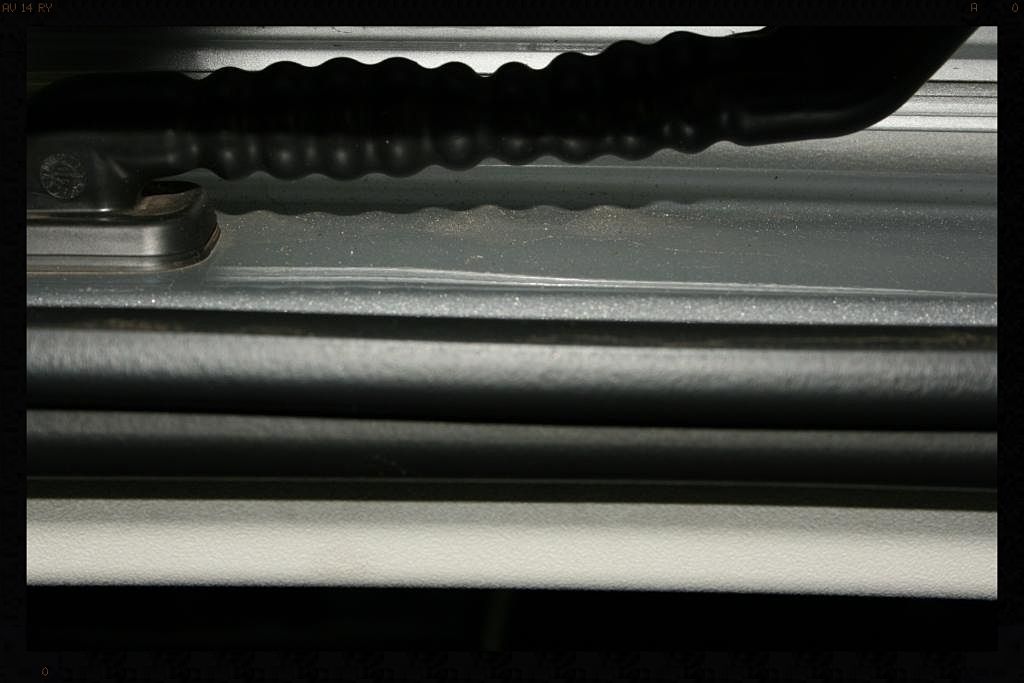
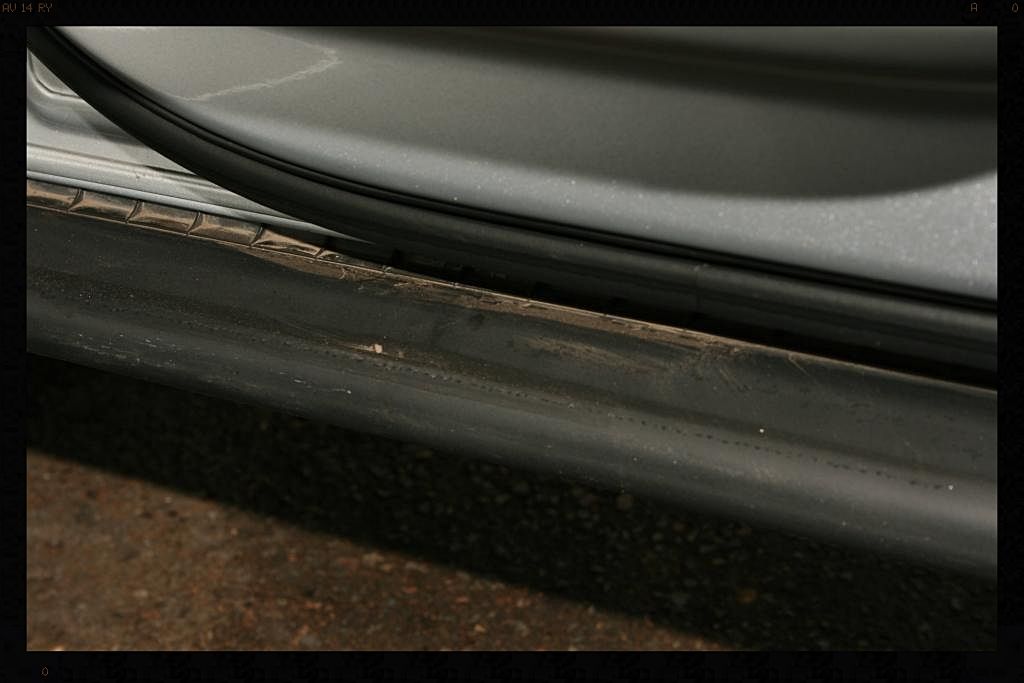
I then proceeded to clean the boot jamb, inside the petrol cap, around all the trim recesses, the door jambs and around the window frames with APC and various brushes.
Some 'before' pics
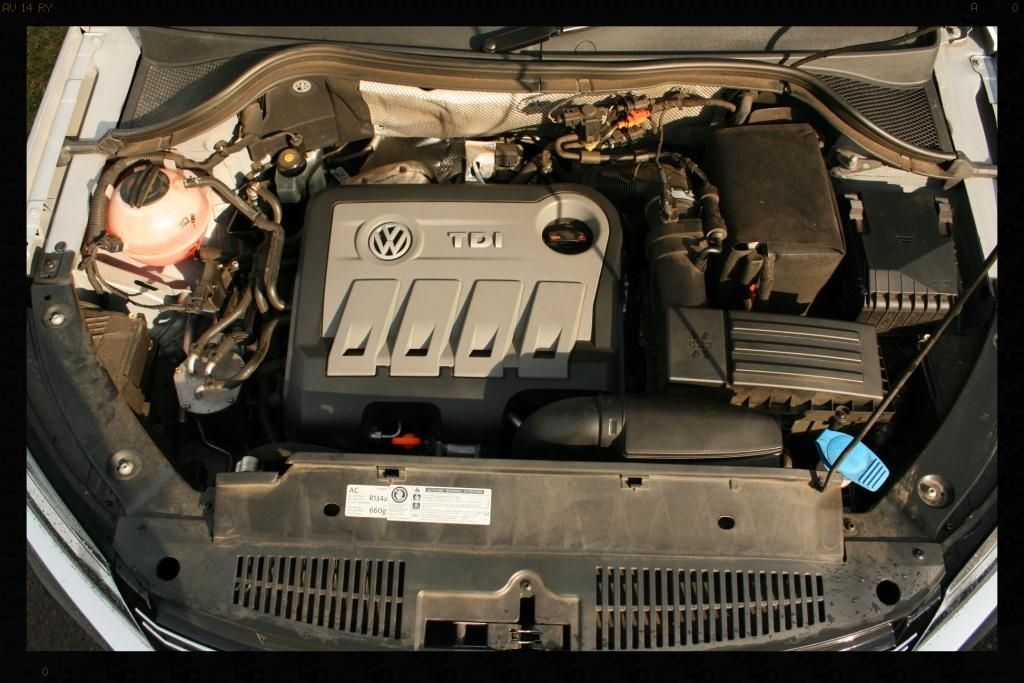
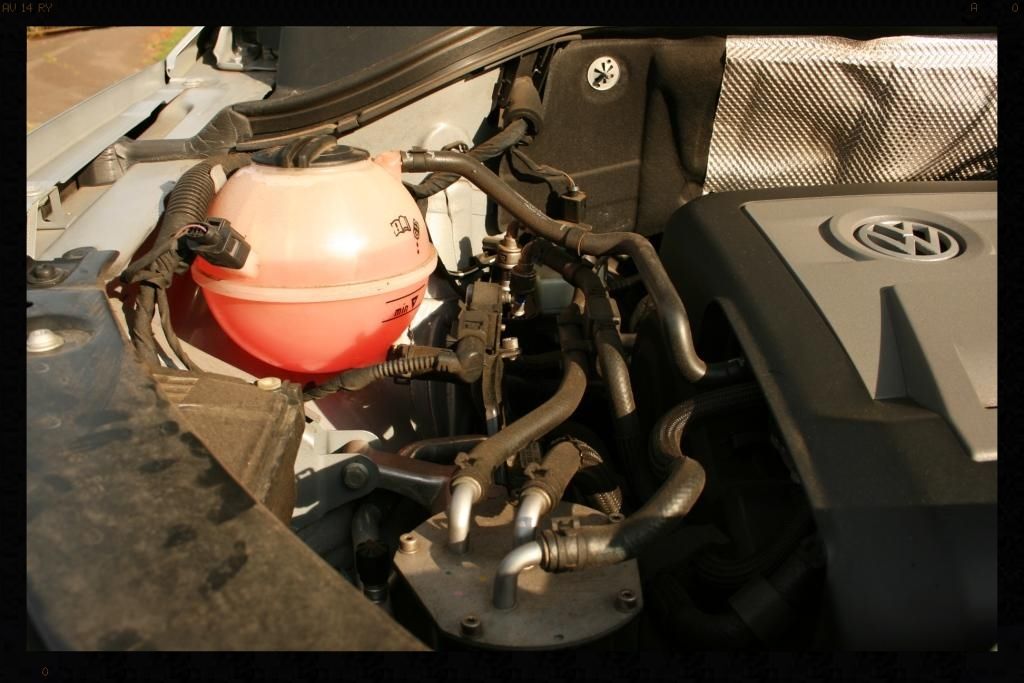
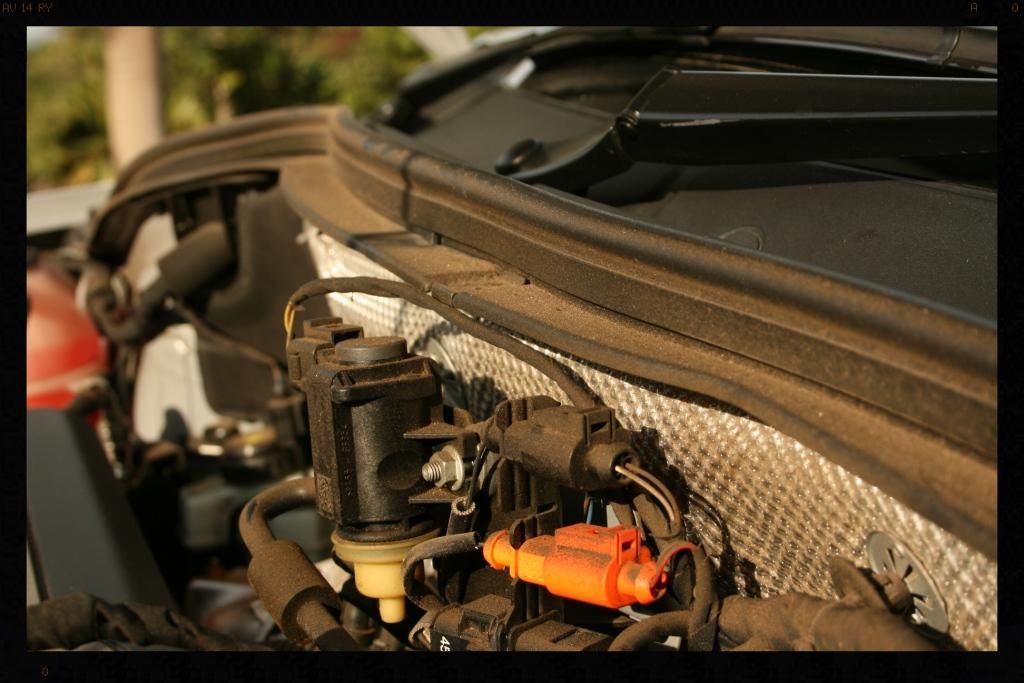
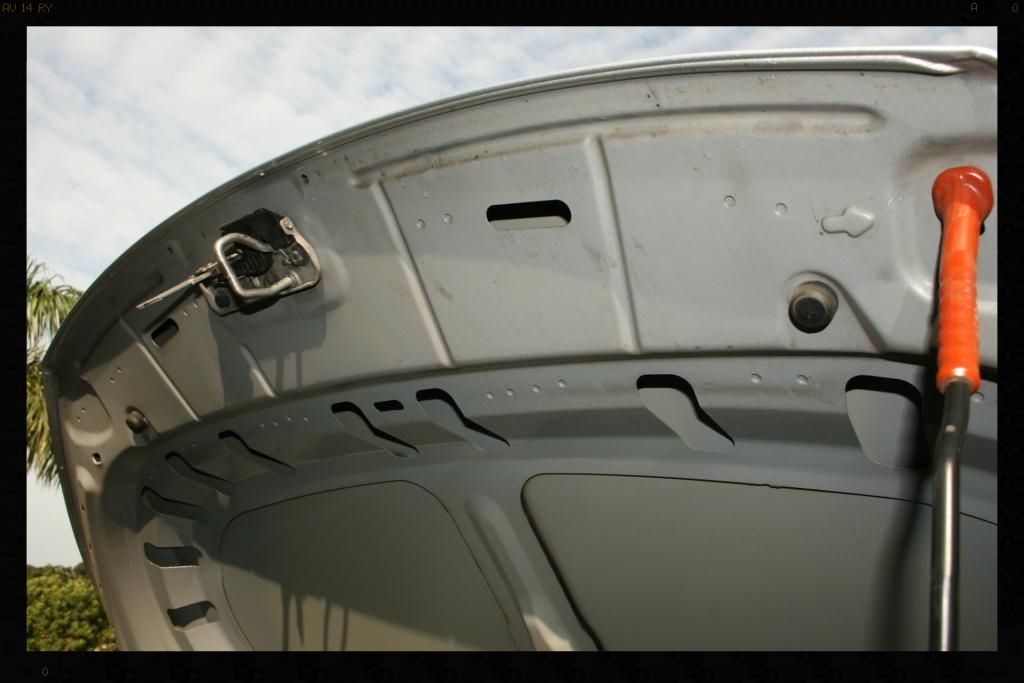
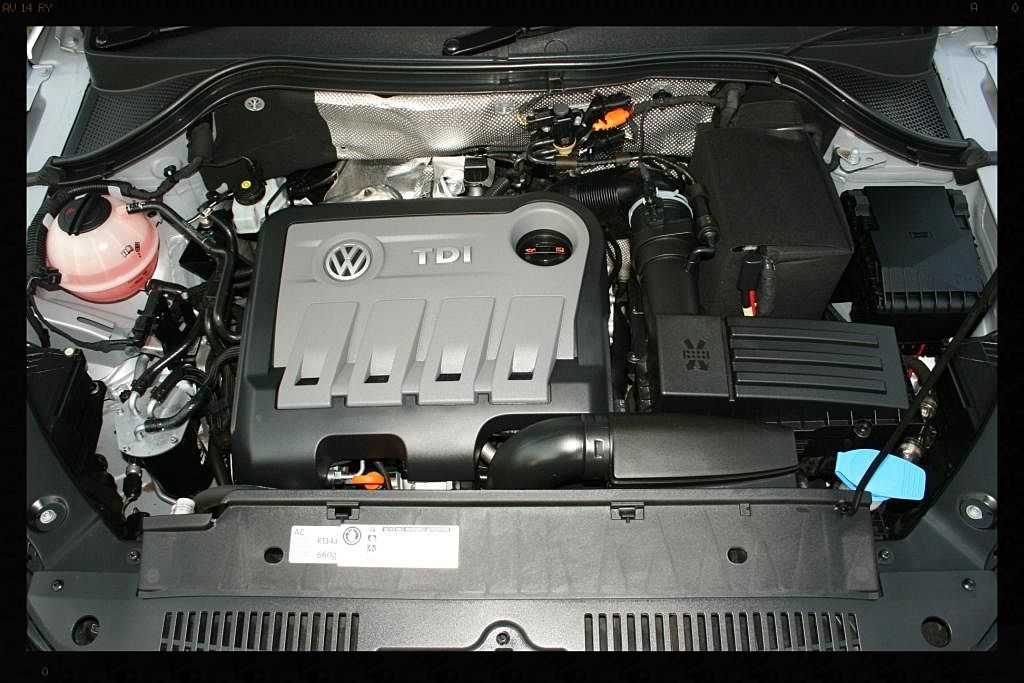
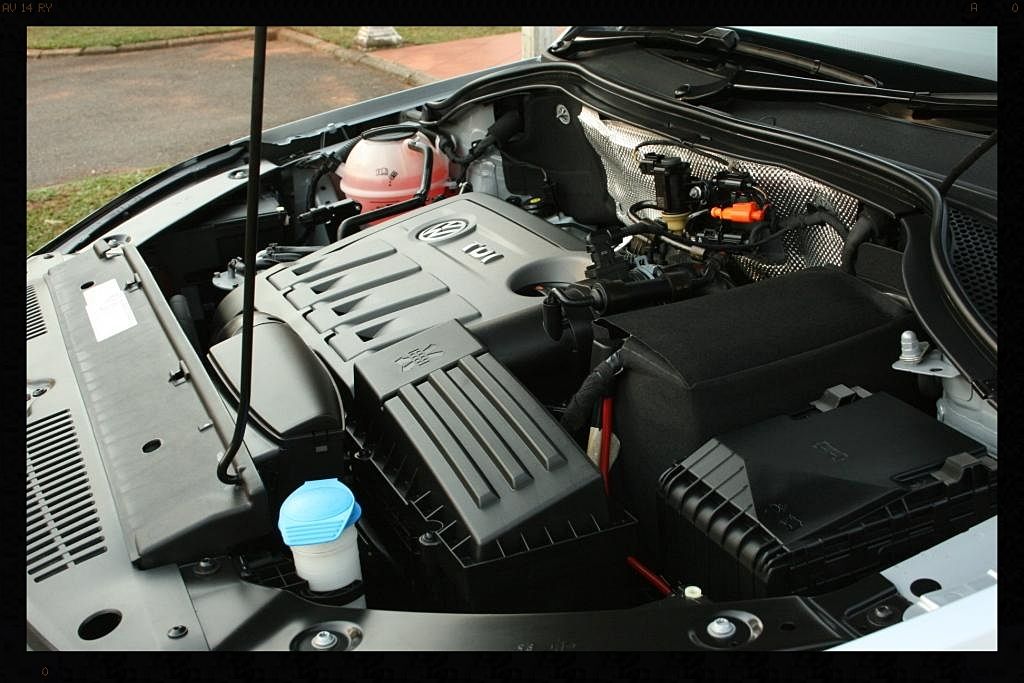
It was then time to do the last of the 'dirty work', the engine bay. Firstly the 'cover' that sits on the underside of the bonner was removed and washed separately, and then the engine bay itself was cleaned using APC and various brushes and treated with Chemical Guys Bare Bones.
Before
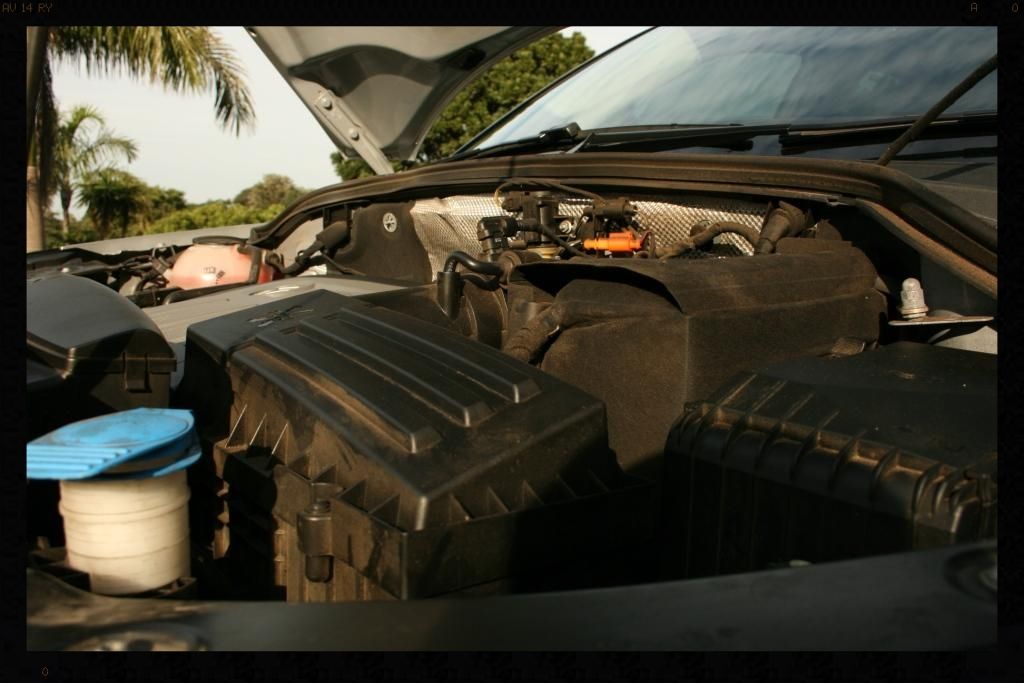
After
 [/URL]
The entire car was then pre-washed via the foam cannon (with a mix of Chemical Guys Maxi Suds II and Cyclo CM30), before being washed using the 2BM and cyclo polymer shampoo.
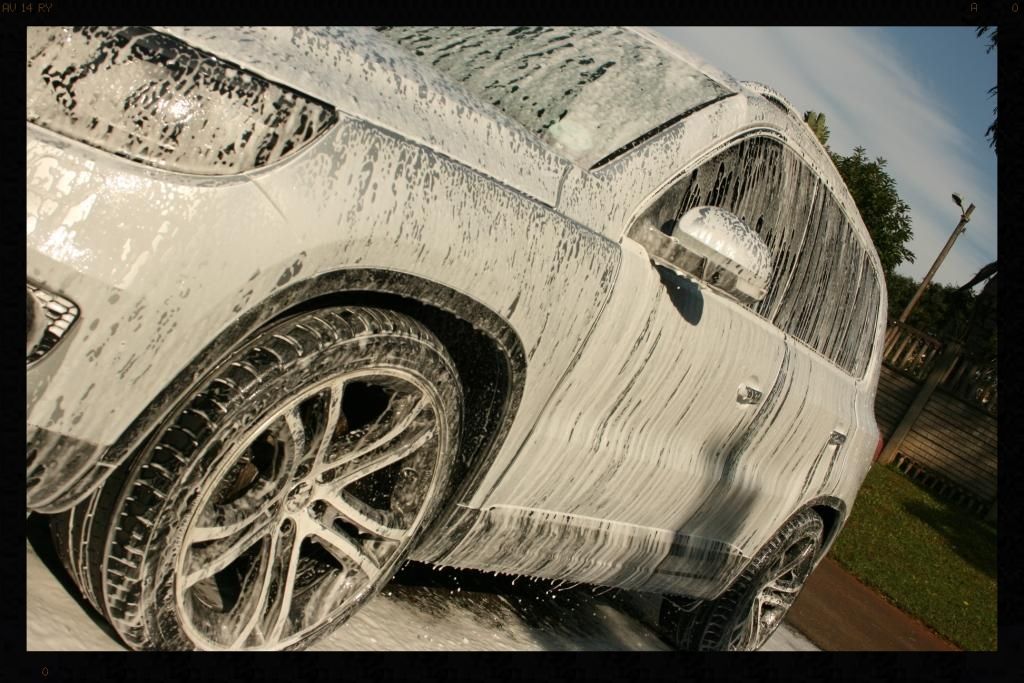
I then dried off the car and proceeded to remove all the tar deposits (minimal) using Autofiness Oblitarate and iron deposits (also minimal) using Autofiness Iron ?Out. After a thorough rinsing I then proceeded to remove the remaining contamination using Clay Magic's Blue Clay. Comparitively speaking there was minimal contamination.
Now that I had removed all the stuff sitting ON the paint I was able to inspect it for any below the surface defects. There were very minimal swirls, and the odd RID here and there.
So as mentioned in the beginning this is a fairly new daily driver which was already in pretty decent nick, and so I did not want to remove any more clear than was absolutely necessary. Therefore after some test spots I decided on a Meguiars Ultimate Polish on a Orange Pad for the majority of the paintwork. I also used Ultimate Compound by hand under the door handles, which were a lot more scratched and used a combo of Ultimate Compound on a white pad and Menzerna SF4500 on Black Pad on the B-Pillars. I completed the polishing on Saturday evening and then laid down a coat of Smartwax Smart Sealant before calling it a night.
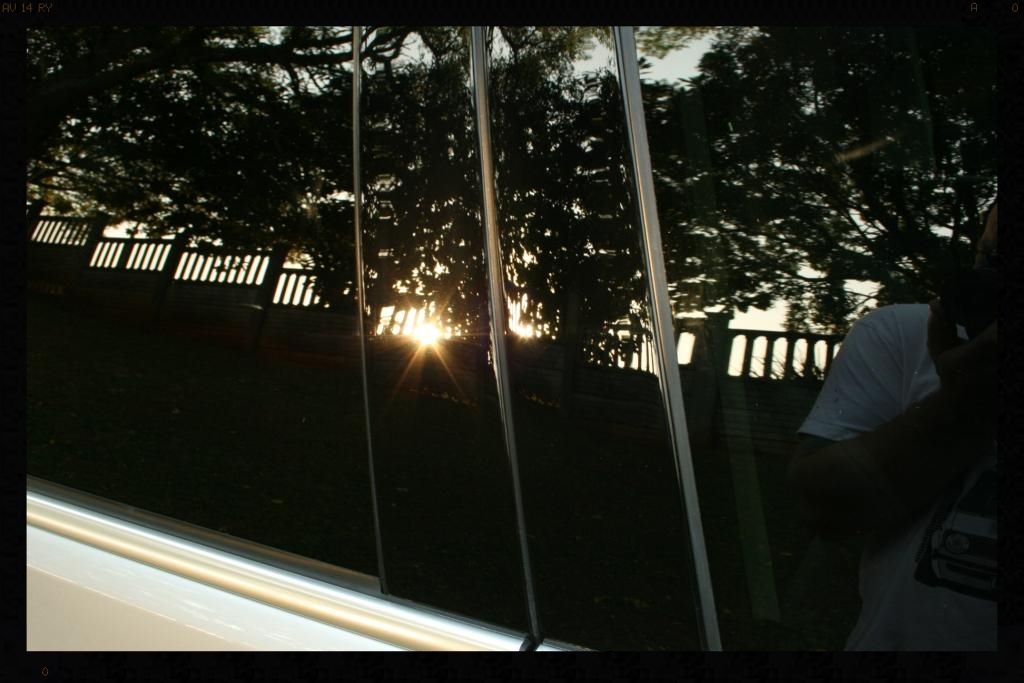
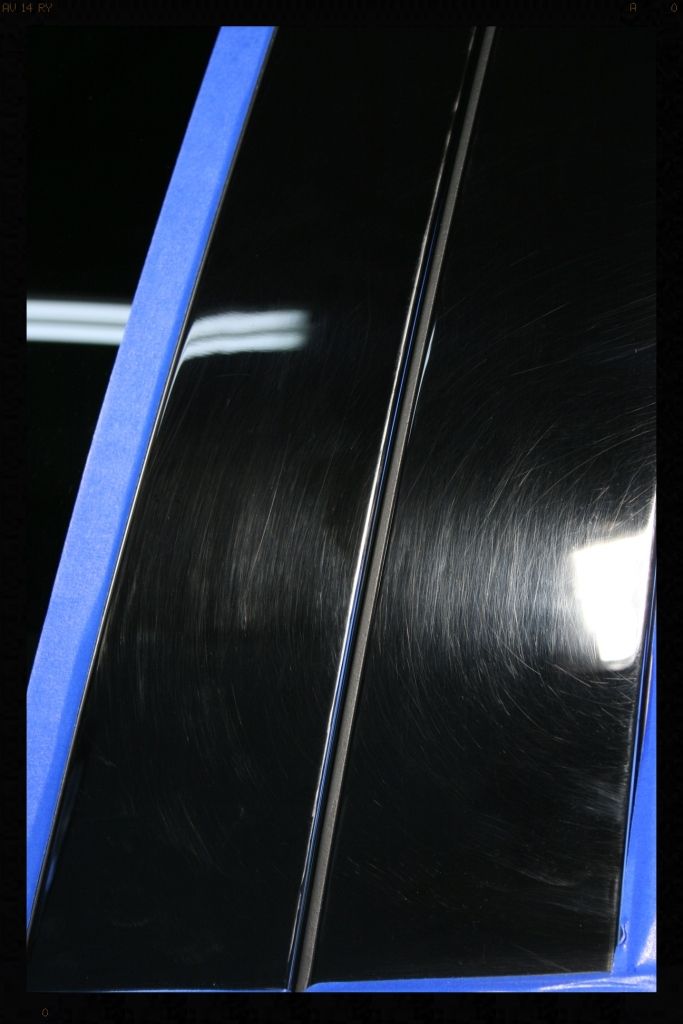
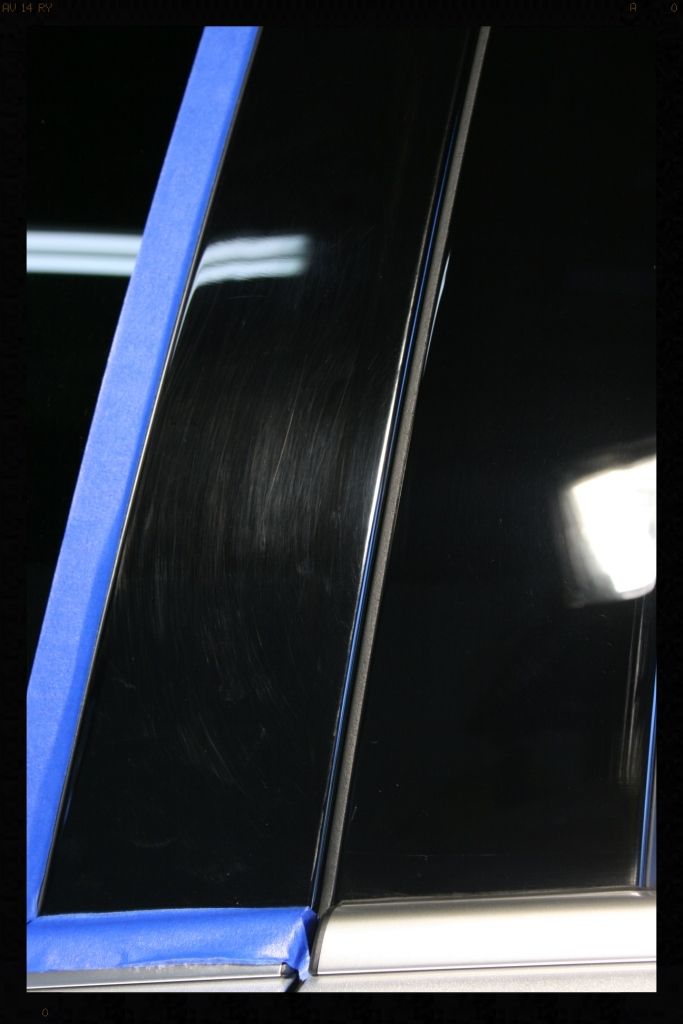
I did not take any pics of the actual paint polishing (it is always difficult to try and capture swirls on a silver paint, especially when the paint is in good condition to start with) but did take some of the correction work on the B-pillars - just to note, these B-pillars are comparatively 'soft' and as such I did not target full correction, as these WILL get swirls in them again and will therefore need to be polished out again over the life of the vehicle and I wanted to leave as much 'meat' as possible to work with going forward.
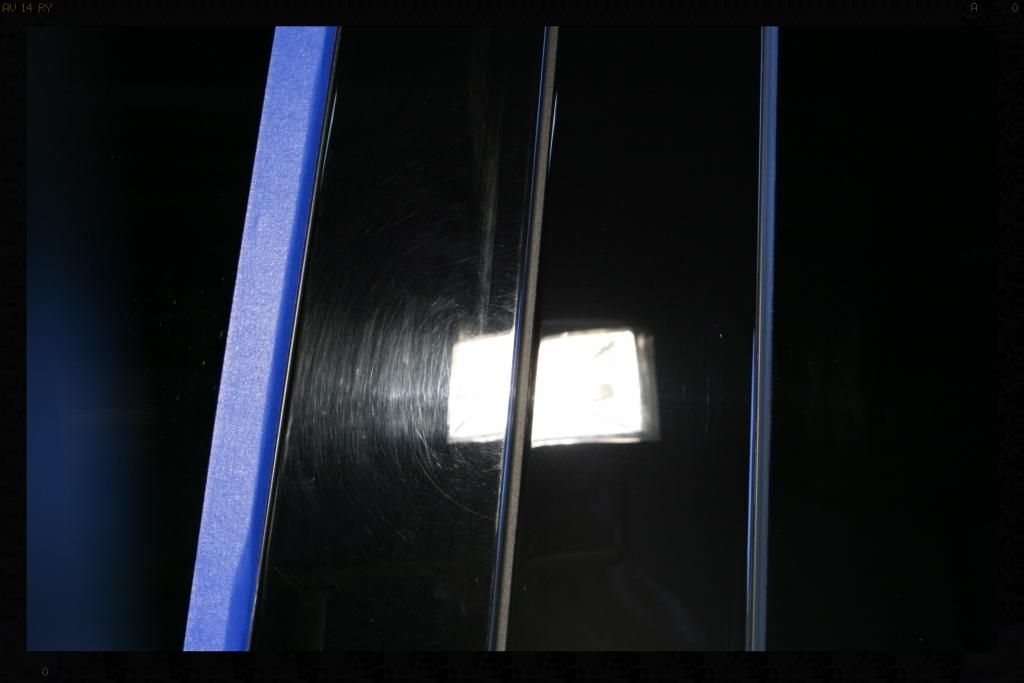
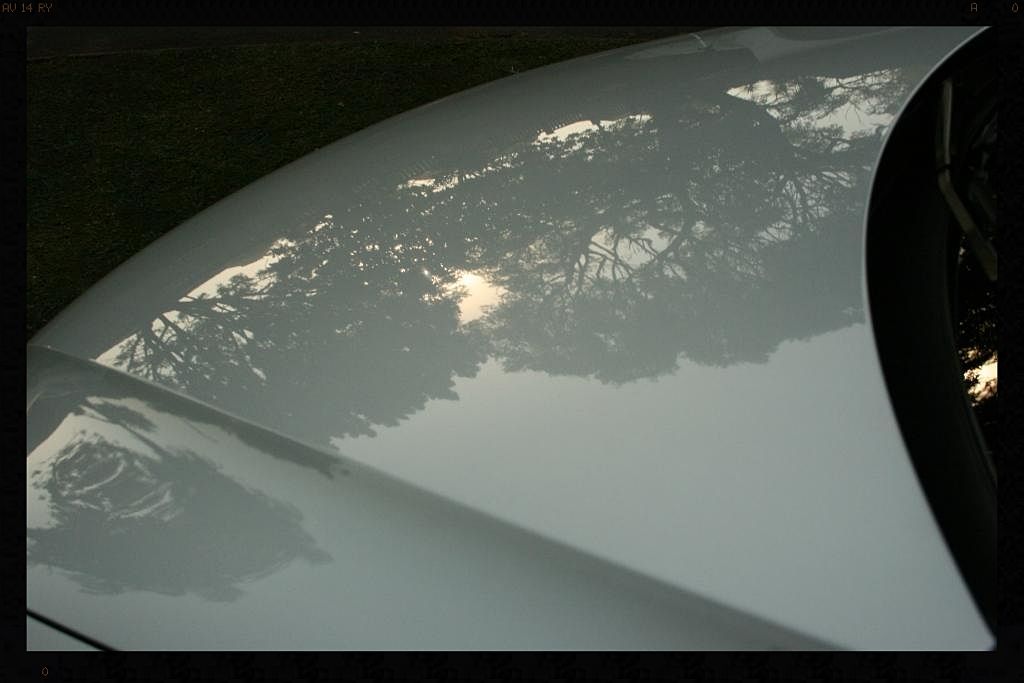
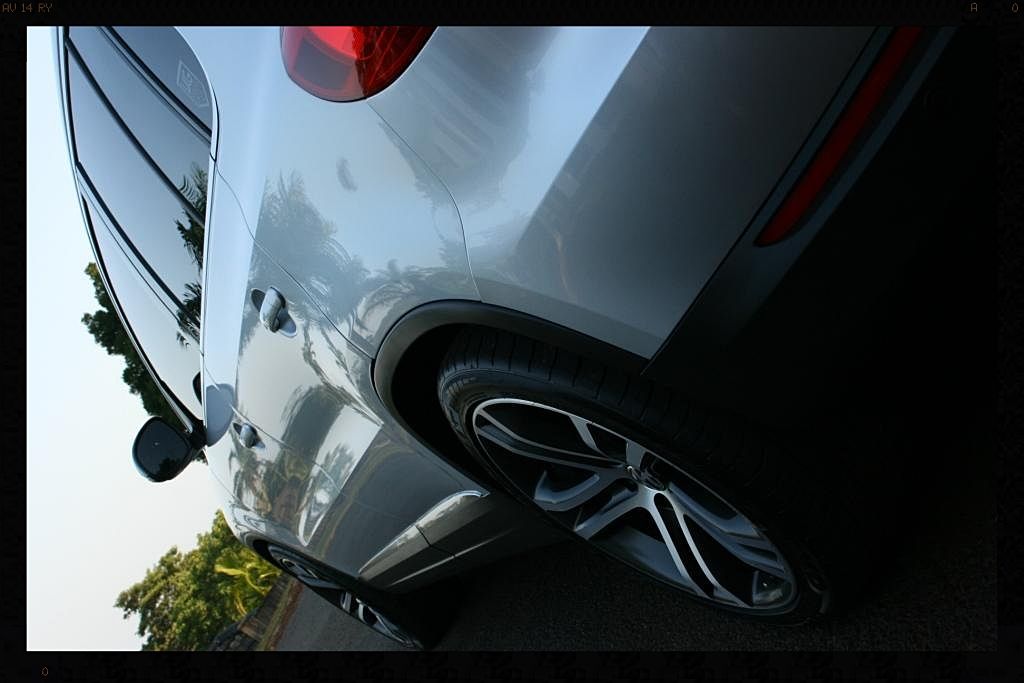
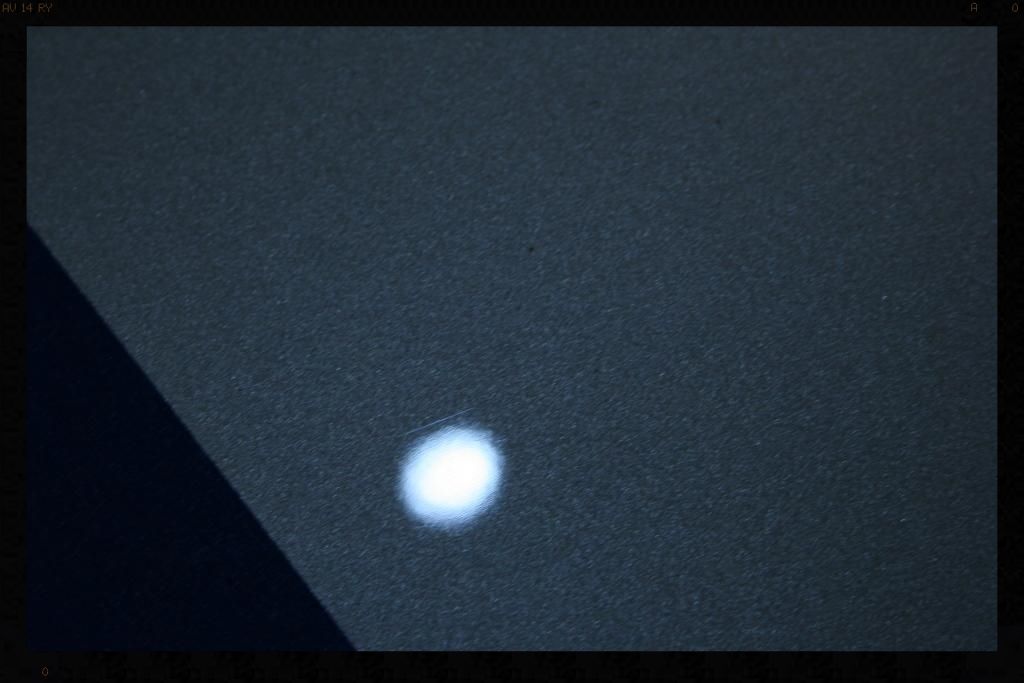
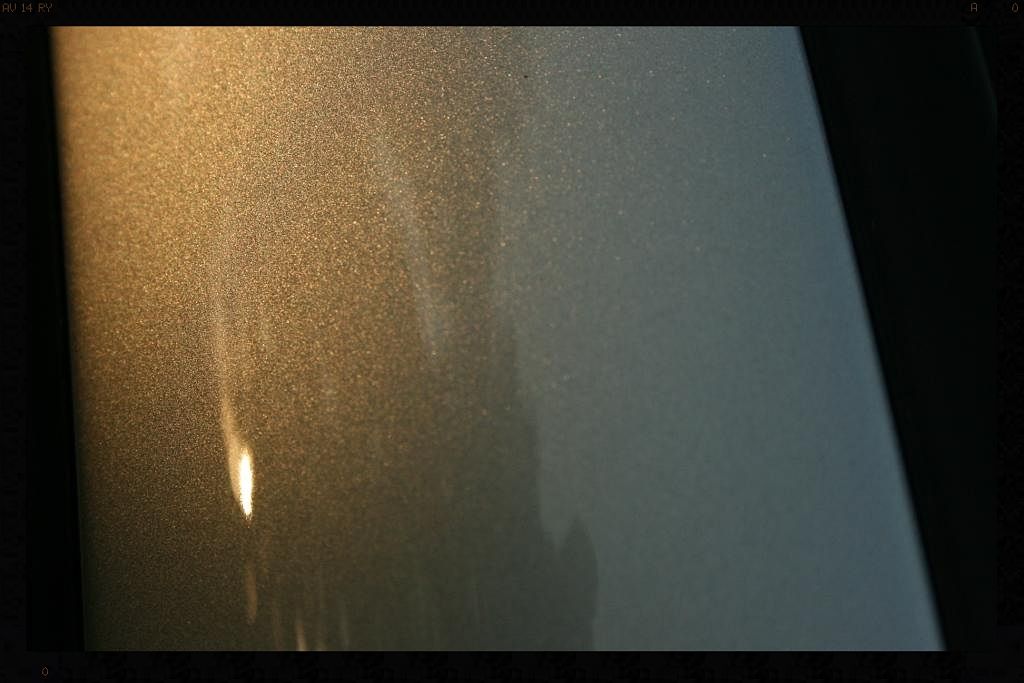
I did however manage to snap a close up of the paint (albeit in failing sunlight at the end of the detail) to try and show the actual condition of the paint
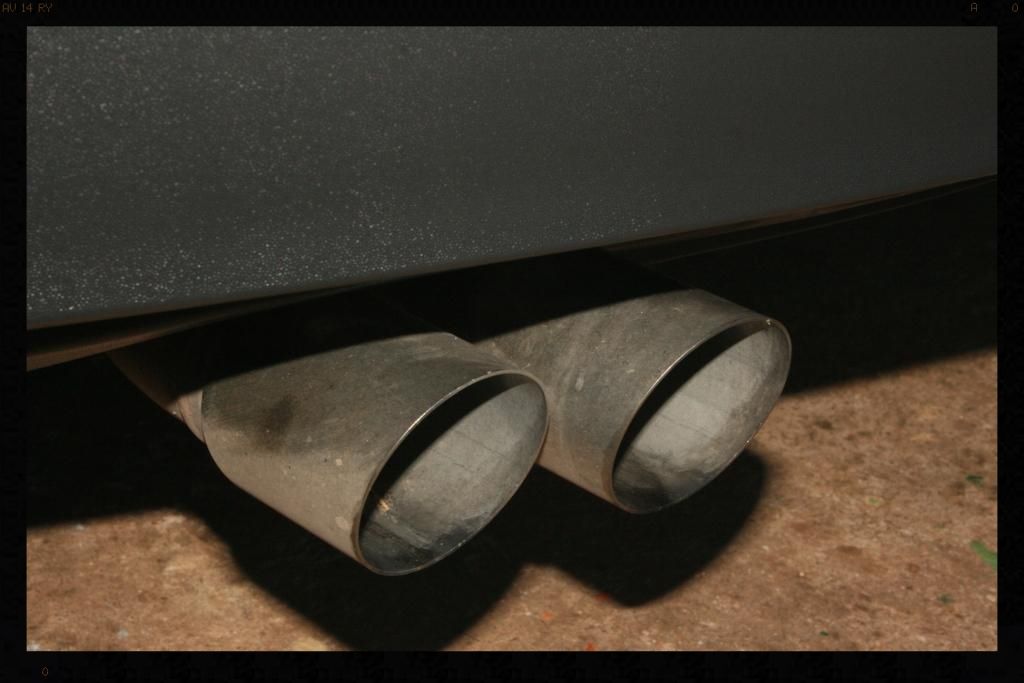
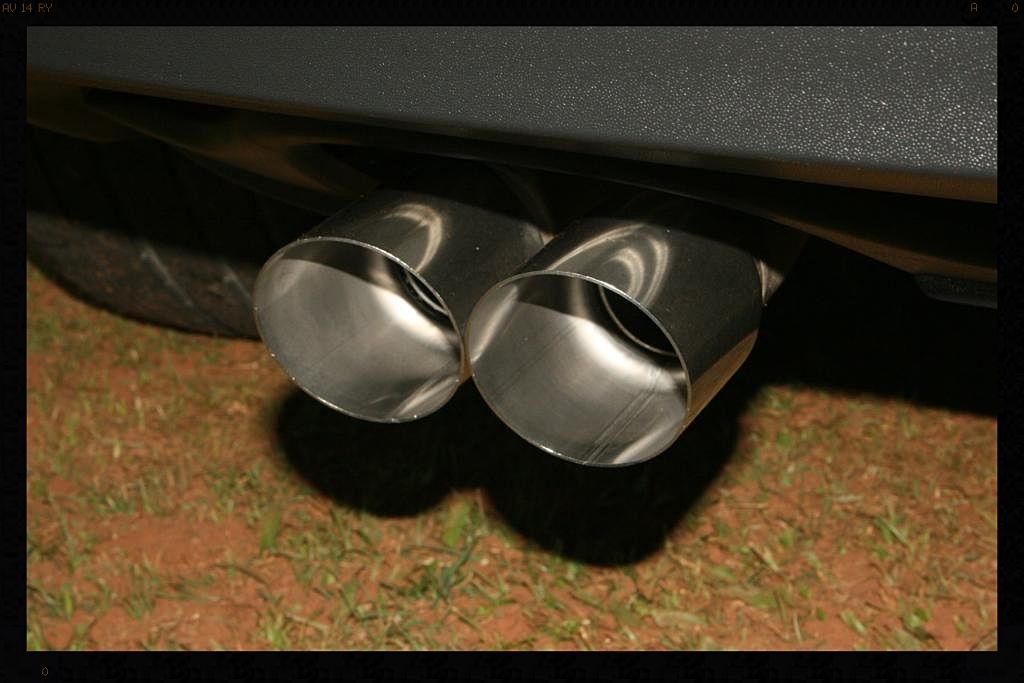
After allowing the sealant to cure overnight I started on Sunday morning by polishing the exhaust tips using Meguiars NXT All Metal Polish
Before
 [/URL]
After
I then treated all the exterior trim using Smart Wax Smart Dressing, and cleaned all the glass surfaces using Autoglym Fast Glass and treated the front windscreen with a rain repellent.
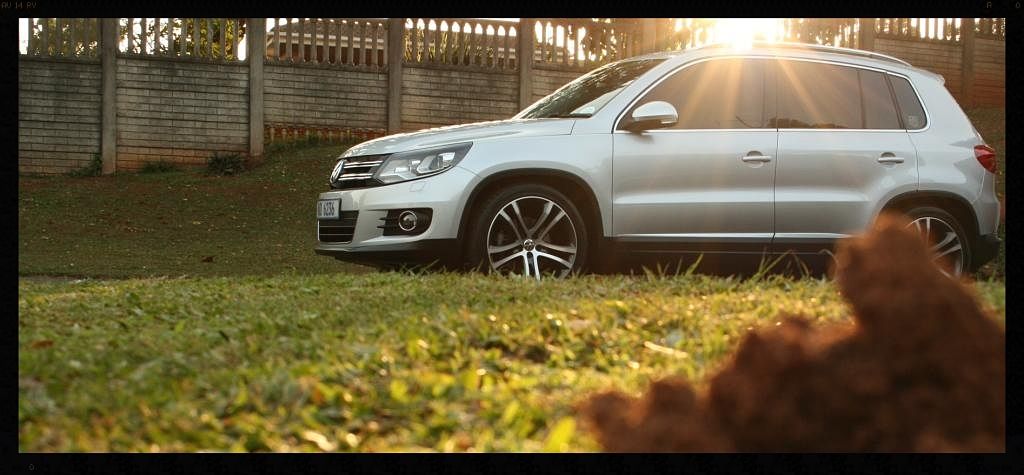
Once this was done I applied a coat of Chemical Guys Pete's 53 wax - this was my first time using this wax, and all I can say is WOW.... :drool: It really does add depth and warmth to the finish, and it smells absolutely amazing. Application is somewhat trick - it is VERY easy to apply spreading easily, but you cannot allow the wax to haze dry (or you will REALLY struggle to remove it) and as such, I could only apply to 1 panel at a time.... literally wipe on, wipe off....
I started with the interior - first I blew out all the loose dust from the entire interior and followed this up with a vacuum, then proceeded to clean all the interior surfaces (including the leather) with various 'dilutions' of my go-to APC, Cyclo CM30 and various brushes. The interior mats were removed and scrubbed with APC and I then treated all the leather surfaces with Smart Wax Smart Leather and the dash and other plastic surfaces with Smart Wax Smart Dressing.
Here you can see the condition of the interior on arrival
And how much dirt was lifted off the leather during cleaning
At first light on Saturday morning I commenced with cleaning the wheels. The tires and arches were sprayed with APC which was left to dwell before being agitated and rinsed. The wheels themselves received an initial clean with Sonax Full Effect Wheel Cleaner followed by a de-tar using Autofiness Olbitarate and then a de-iron using Autofiness Iron Out. Once dried I applied 2 coats of Rimwax to the rims and dressed the tires using Turtle Wax Tire Dressing and the arches using Chemical Guys Bare Bones.
How the wheels and arches looked on arrival
I then proceeded to clean the boot jamb, inside the petrol cap, around all the trim recesses, the door jambs and around the window frames with APC and various brushes.
Some 'before' pics
It was then time to do the last of the 'dirty work', the engine bay. Firstly the 'cover' that sits on the underside of the bonner was removed and washed separately, and then the engine bay itself was cleaned using APC and various brushes and treated with Chemical Guys Bare Bones.
Before
After
The entire car was then pre-washed via the foam cannon (with a mix of Chemical Guys Maxi Suds II and Cyclo CM30), before being washed using the 2BM and cyclo polymer shampoo.
I then dried off the car and proceeded to remove all the tar deposits (minimal) using Autofiness Oblitarate and iron deposits (also minimal) using Autofiness Iron ?Out. After a thorough rinsing I then proceeded to remove the remaining contamination using Clay Magic's Blue Clay. Comparitively speaking there was minimal contamination.
Now that I had removed all the stuff sitting ON the paint I was able to inspect it for any below the surface defects. There were very minimal swirls, and the odd RID here and there.
So as mentioned in the beginning this is a fairly new daily driver which was already in pretty decent nick, and so I did not want to remove any more clear than was absolutely necessary. Therefore after some test spots I decided on a Meguiars Ultimate Polish on a Orange Pad for the majority of the paintwork. I also used Ultimate Compound by hand under the door handles, which were a lot more scratched and used a combo of Ultimate Compound on a white pad and Menzerna SF4500 on Black Pad on the B-Pillars. I completed the polishing on Saturday evening and then laid down a coat of Smartwax Smart Sealant before calling it a night.
I did not take any pics of the actual paint polishing (it is always difficult to try and capture swirls on a silver paint, especially when the paint is in good condition to start with) but did take some of the correction work on the B-pillars - just to note, these B-pillars are comparatively 'soft' and as such I did not target full correction, as these WILL get swirls in them again and will therefore need to be polished out again over the life of the vehicle and I wanted to leave as much 'meat' as possible to work with going forward.
I did however manage to snap a close up of the paint (albeit in failing sunlight at the end of the detail) to try and show the actual condition of the paint
After allowing the sealant to cure overnight I started on Sunday morning by polishing the exhaust tips using Meguiars NXT All Metal Polish
Before
After
I then treated all the exterior trim using Smart Wax Smart Dressing, and cleaned all the glass surfaces using Autoglym Fast Glass and treated the front windscreen with a rain repellent.
Once this was done I applied a coat of Chemical Guys Pete's 53 wax - this was my first time using this wax, and all I can say is WOW.... :drool: It really does add depth and warmth to the finish, and it smells absolutely amazing. Application is somewhat trick - it is VERY easy to apply spreading easily, but you cannot allow the wax to haze dry (or you will REALLY struggle to remove it) and as such, I could only apply to 1 panel at a time.... literally wipe on, wipe off....