CEE DOG
New member
- Jul 12, 2009
- 7,358
- 0
Review: Metro Master Blaster
Introduction:
I have been looking at this product for over a year now. At Detail Fest 2010 Al and I both gave it a quick spin and had a chance to speak with the rep from Metro about it at length. Well, bogo came and bogo went and there was no Master Blaster to be found J so when a 15% off everything sale came just after my birthday I knew it would be my best opportunity to purchase this blower.
Product Claims:
The Master Blaster MB-3 was built to blast the water off your bike or vehicle faster than any other blower can. Water is easily and thoroughly eliminated from every crevice on your motorcycle, car or truck. The Master Blaster has an 8.0 Peak horsepower that blasts air at an impressive 58,500 feet per minute and now comes with wheels for easy maneuvering around your vehicle or bike. This blower is equipped with two levels of velocity for super fast drying or for blowing off smaller more fragile areas.
Abbreviations:
MB = Master Blaster
LSP = Last Step Product
HTFG = High Tech Fabric Guard
UWWP = Ultima Waterless Wash Plus
WW = Waffle Weave towel (Microfiber)
Details:
01.- Color: Black
02.- Shell Material: Steel
03.- Weight: 16 lbs
04.- Hose: 10 FT Long x 1.5” Dia.
05.- Power Cord: 12 FT long (Neoprene)
06.- Filter: Washable and Re-useable
07.- Air Speed: 58,500 FPM (Claimed) this is equal to 665 mph…
08.- Horsepower: 8 (Peak)
09.- Amps: 18
10.- Current Price: $309.99
11.- Estimated Brush life: 500-1000 hours
12.- Warranty: 1-year
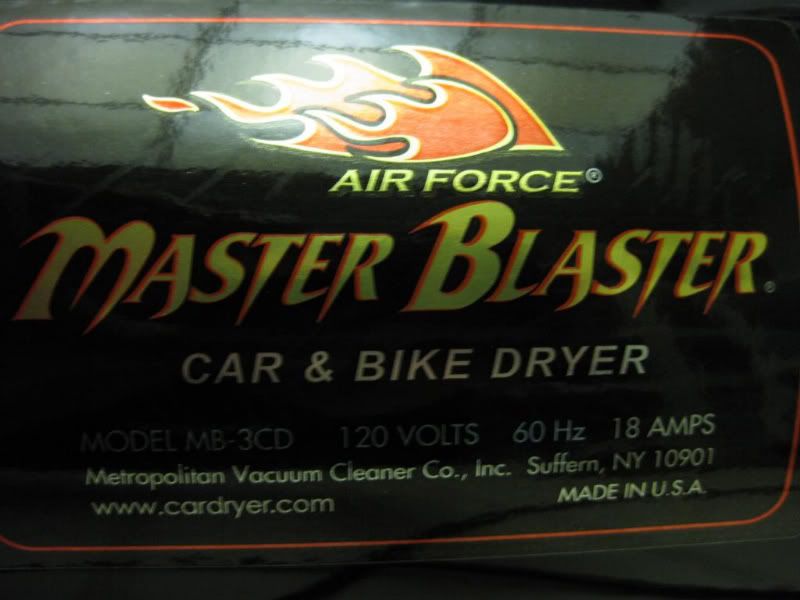
13.- Manufacturer: MetropolitanVacuum Cleaner Co
14.- Made in: United States of America (This means a lot to me these days)
Additional Products Needed:
1.- Extension Cord (Use 12 gauge or better)
Video: Introduction
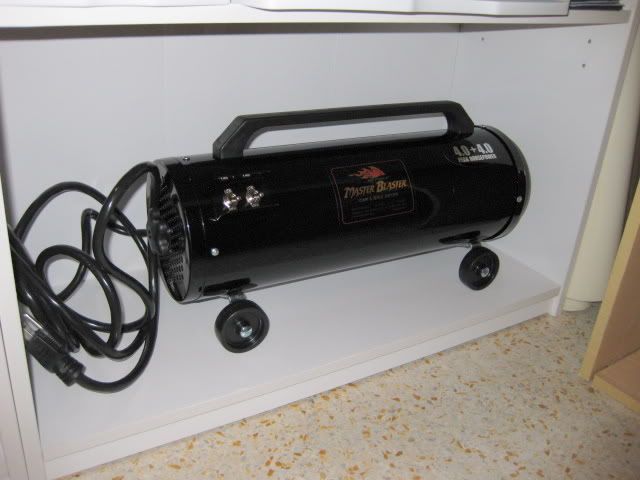
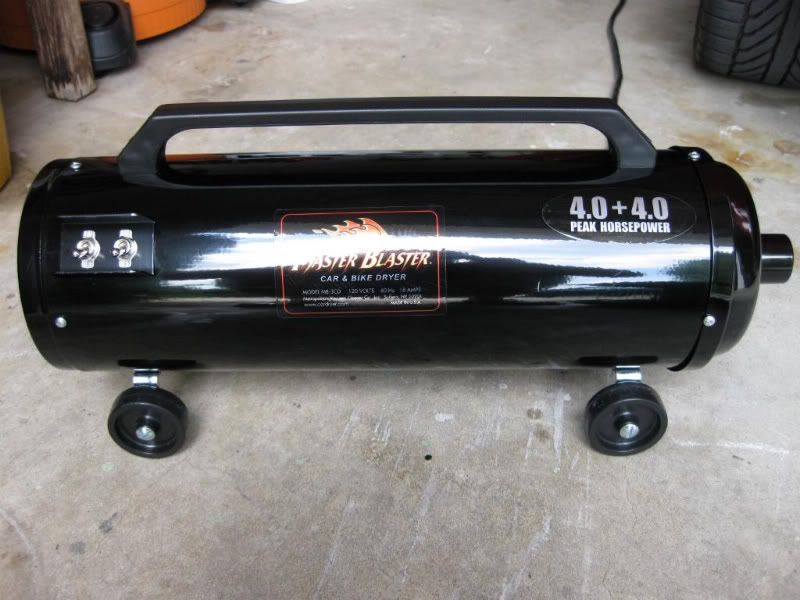
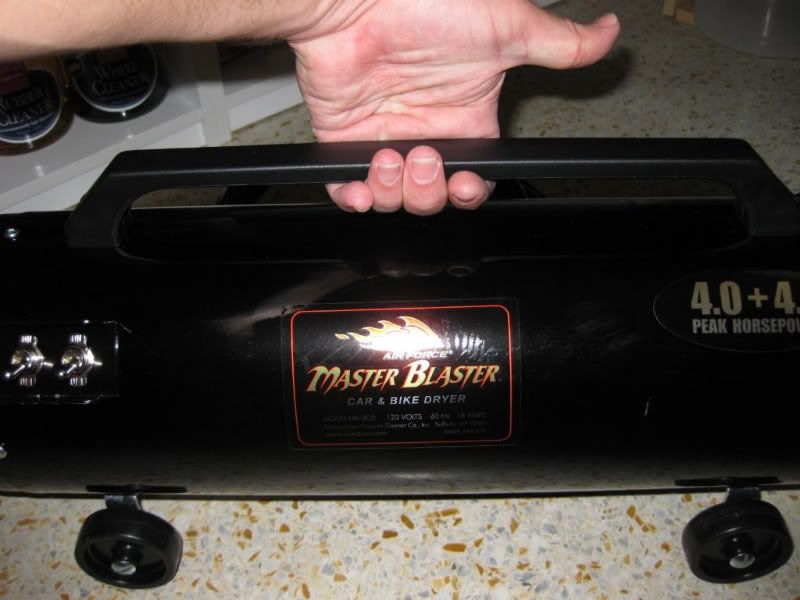
01-04.-Metro Master Blaster
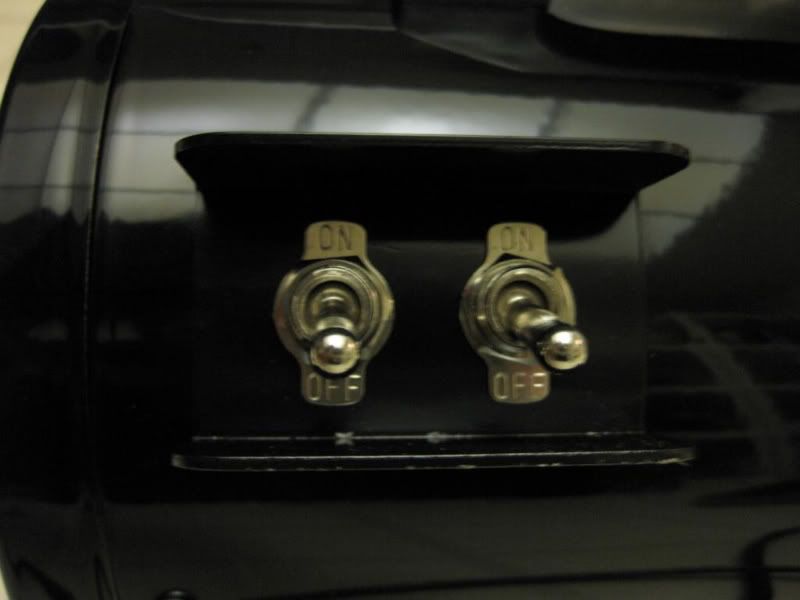
05.-Switches
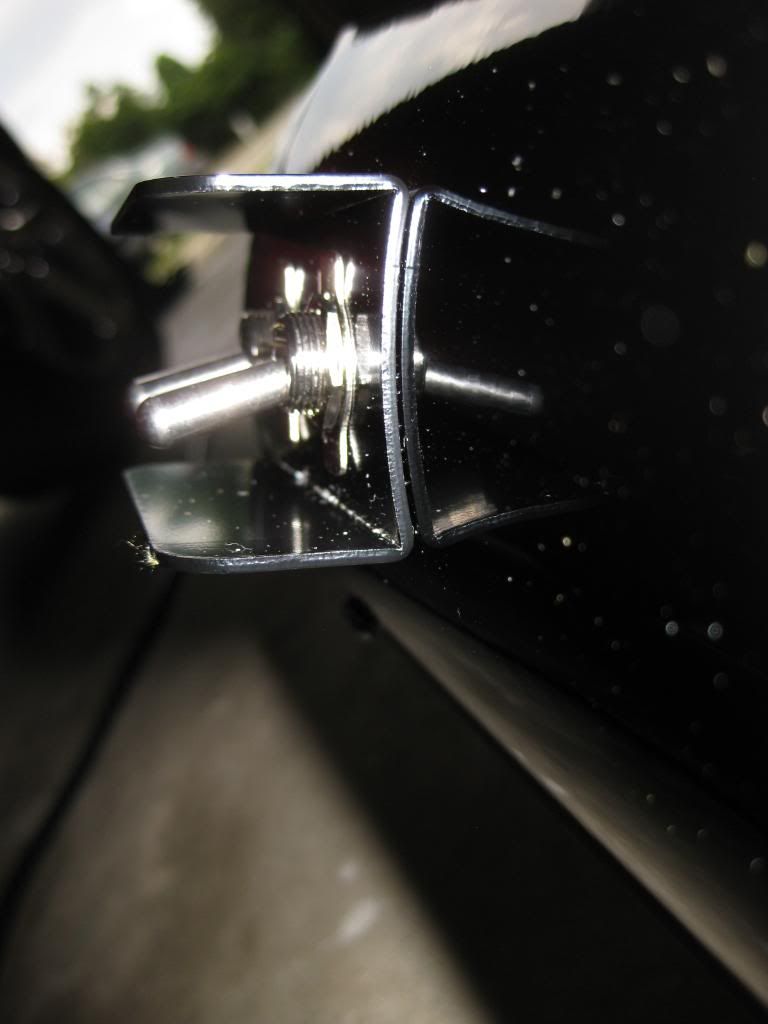
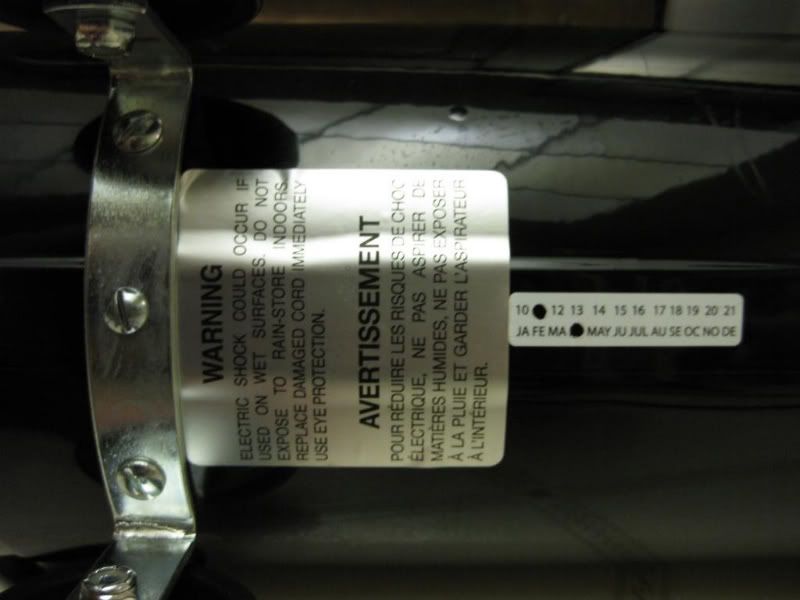
06.-Switch Guard
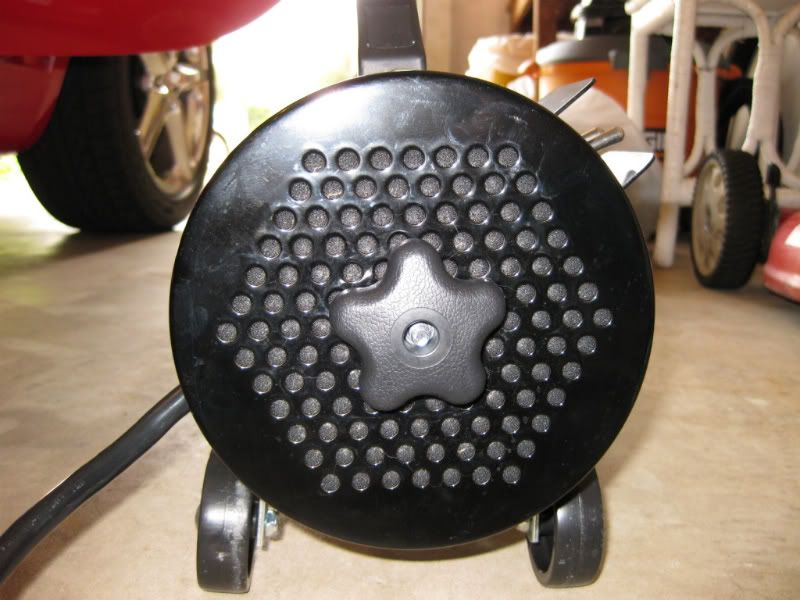
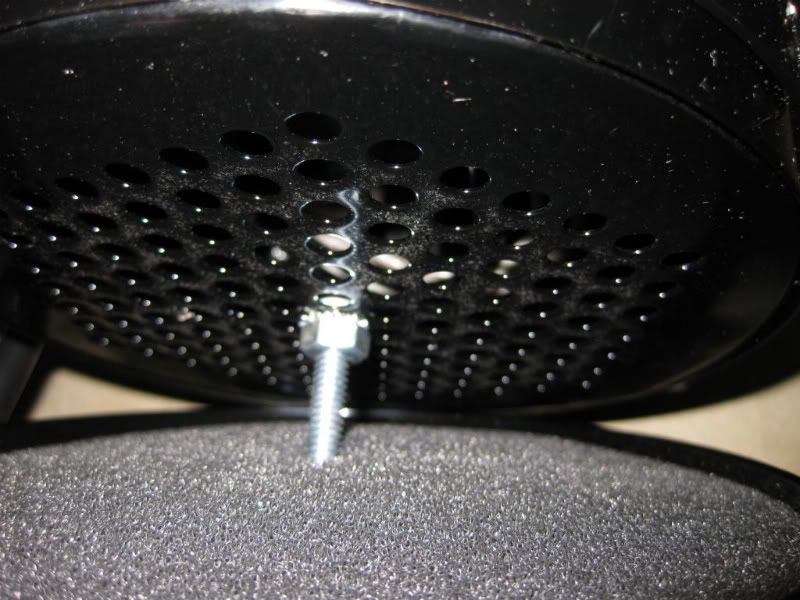
07.-Filter Side
08.-Removed to Access Filter
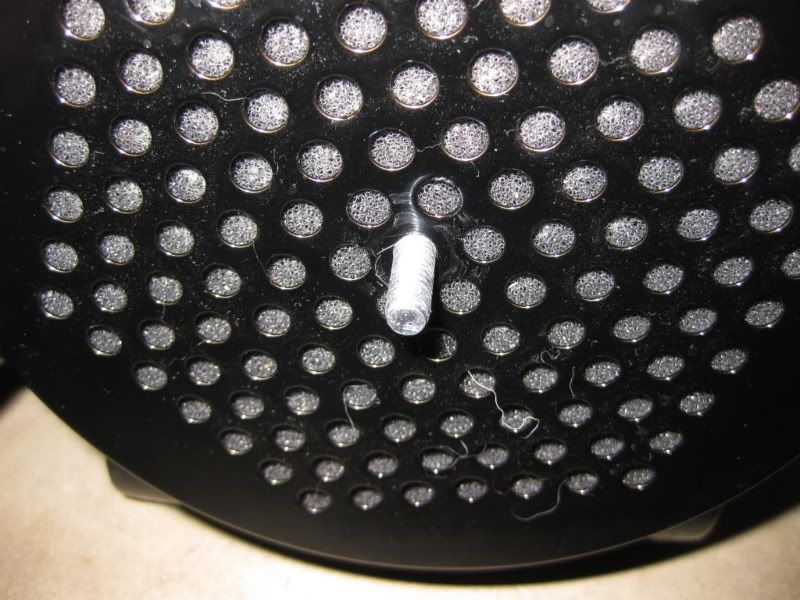
09.-Washable Filter
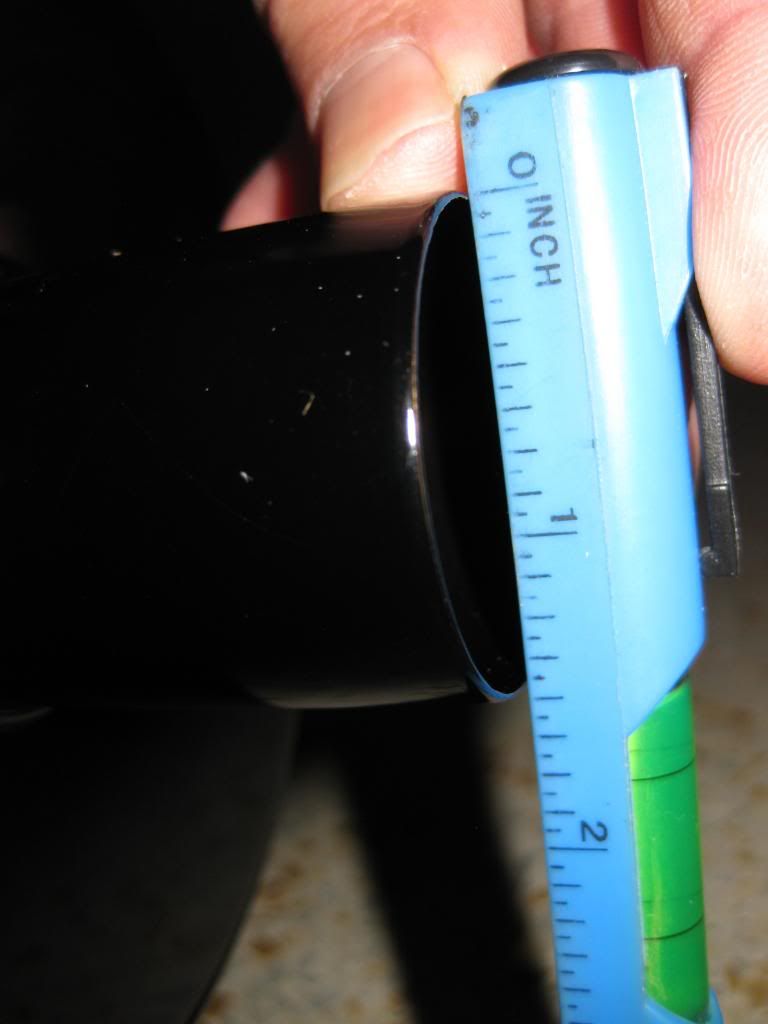
10.-Hose Inlet Size
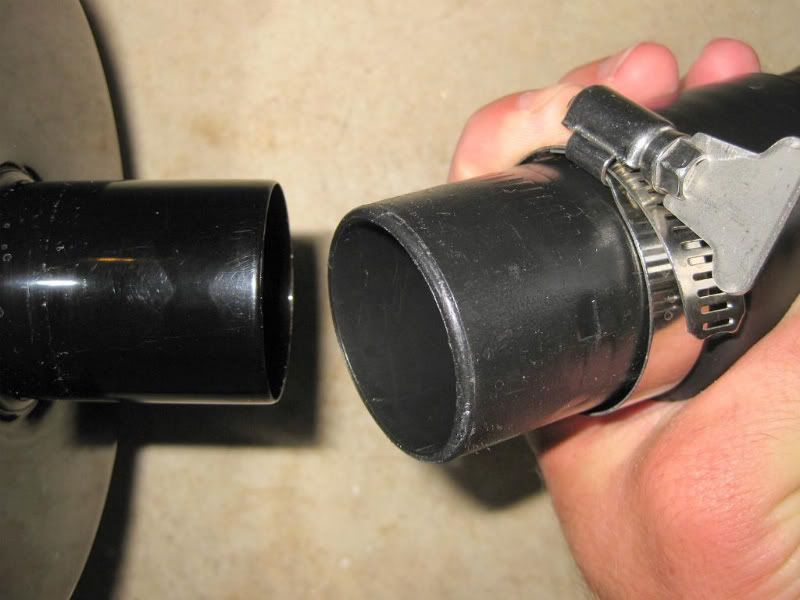
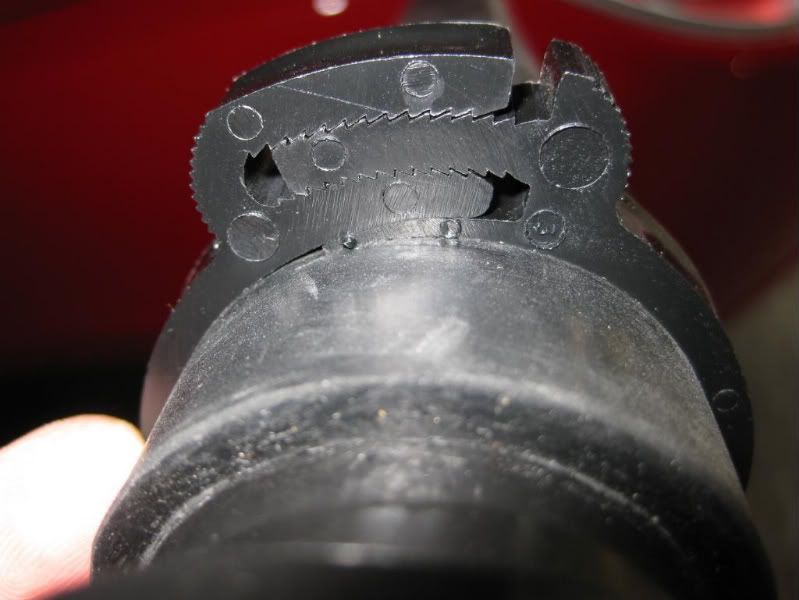
11.-Hose Attachment
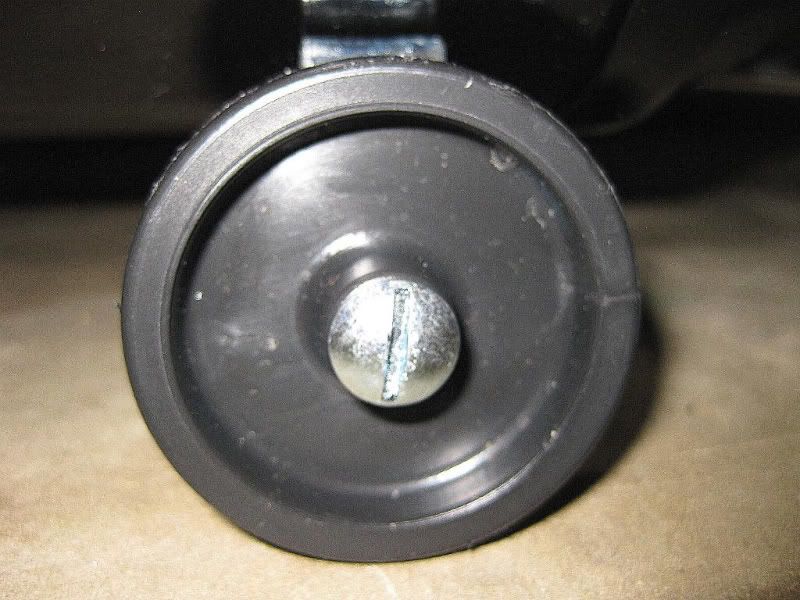
12.-Wheels
13.-Undercarriage
14.-Nozzle Attachment
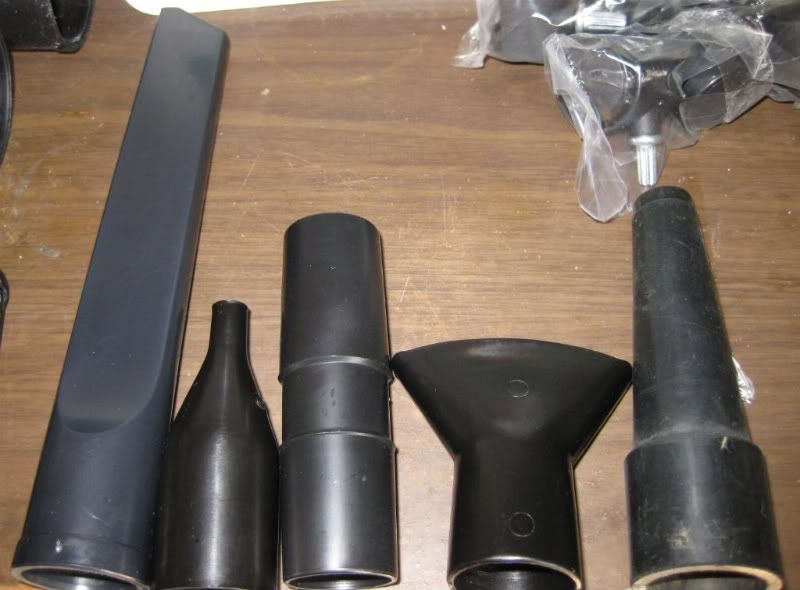
15.-Additional Nozzles
First Impressions:
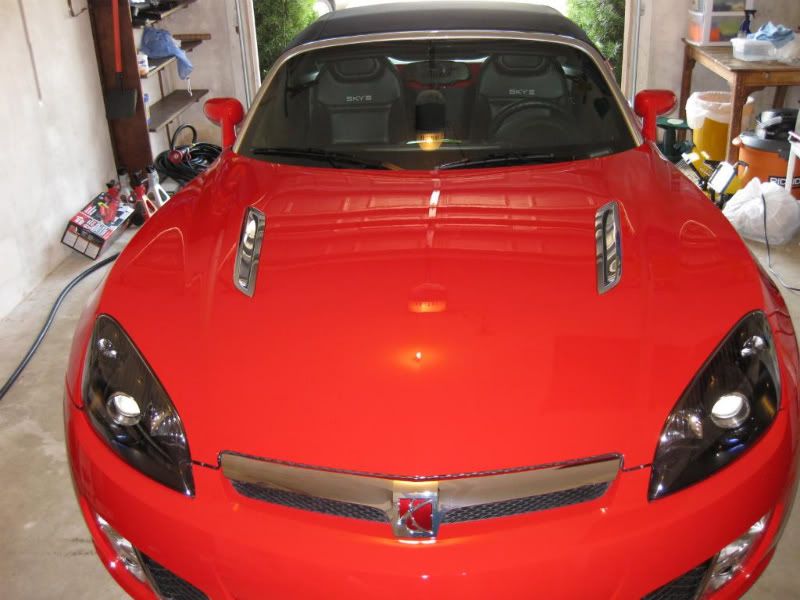
A few weeks ago I received my Master Blaster (MB) and was able to use it for the first time. At a price of over 300$ and a lot of excitement going into it a letdown seemed inevitable. After washing Sky I pulled her into the garage and flipped the first switch followed closely by the second to crank up each of the (2) motors. Instantly it was obvious that this beauty had some power to it. After directing the rubber nozzle towards the canvas top of Sky all of the water was removed in about 10 seconds. The (3) thin coats of 303 HTFG that was applied a few months ago share in the glory but the MB had stepped right into its element.
Next I moved to the windshield and quickly blew the majority of it dry as well. Standing on the driver side, all but a couple inches of the windshield on the far side was entirely completed. I turned my attention to the hood and it to was easily blown dry. I had forgotten to blow the crevices of the windshield wipers. As I rectified that misstep I learned my first obvious lesson. Any water that came out landed on the hood I had previously blown dry. On a vehicle that did not have an lsp this would have been an irritant and taken a little time to blow off. However it was absolutely no issue on a properly polished vehicle with lsp. It took only seconds to blow that area dry again.
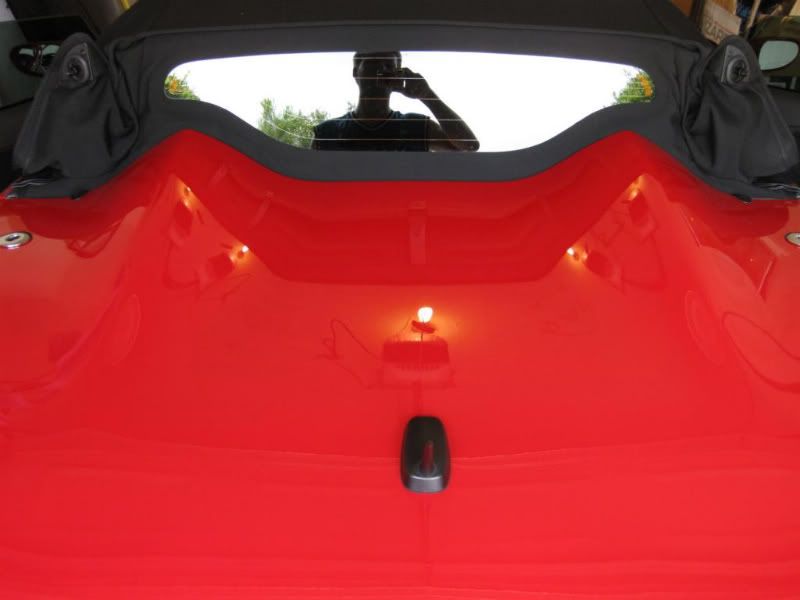
The remainder of Sky went similar to what I mention above but a few quick points of interest are how quickly and completely all water is removed from window seals, around headlights, from behind the license plate, inside rear view mirrors, and from the honeycomb grill. When I hit the honeycomb grill head on with the wave of air the water was vaporized. It was very cool! I usually seem to lean more towards forcing the water in the intended direction (glancing blow) rather than confronting it head on but it sure is fun to do so on an area that holds a pocket of water… As long as you don’t mind a little spray that is… which of course in Florida summer you don’t. During that first run I wanted to focus on using my Master Blaster and therefore I did not take any video. I was blown away by my first experience with the MB.
Second Impressions:
The following weekend I had the chance to use the MB on both of our daily drivers. They were both in various states of wax and sealant cycles as I have different panels with different LSP that are at different points of their durability testing. Some of which the LSP is almost completely dead. I thought it important to get a good feel for how the MB would perform on a vehicle without good LSP. I washed both vehicles first and then dried them both with the MB. I didn’t do any jambs or engine. Using the MB it took approximately 17 minutes to dry the exterior of two cars that had some areas with little or no protection left and other areas with coatings and sealants still in great to good shape. I wasn’t overly impressed with the drying ability on areas with failing LSP. I was going to post the video of the 2 cars being dried here but after gathering the remainder of video I have in store I left this video out. In it’s place you will find a short “Worst case Scenario video” near the end of this article.
Third Impressions (With Visual Media):
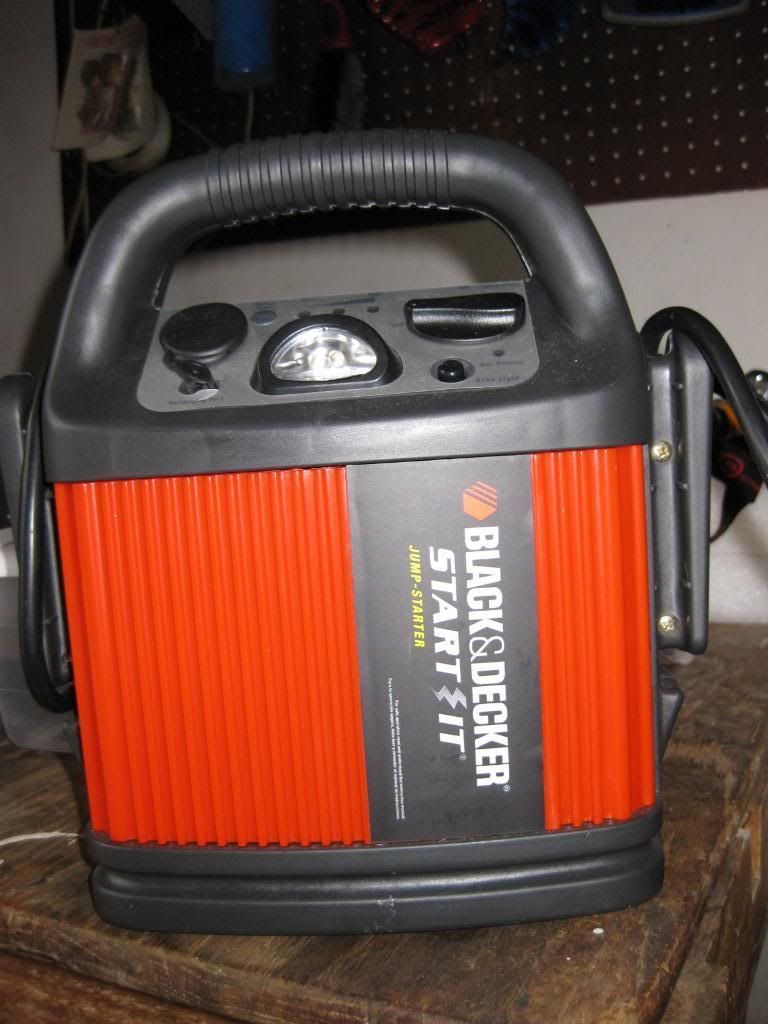
Fast-forward another week… Sky hadn’t been driven more than a couple miles and after sitting in the garage all this time did not need a wash. Now normally I wouldn’t have even considered just rinsing her with water because any dust that might be left on I wouldn’t want to dry with a towel. However with my MB I decided I would just spray her down with water so I could create some video for this review. The fact she wasn’t washed with soap may have slowed the speed at which I was able to blow her dry but I’m sure it’s insignificant. When I went to pull Skybaby out of the garage the battery was dead because she hadn’t been driven in awhile. Luckily I had my handy Jump Starter at the ready!
Guide to video footage:
Please watch the videos in a larger window by double clicking the video clip and when the new window opens click the button in the lower right hand corner to enlarge the video.
I created the next 5 videos for those who prefer only the short action shot videos tailored to specific areas such as (top, wheel, hood, door jamb, etc). None of the footage was sped up at all but there were spots edited for clarity. The full mostly raw video will be available later in the review. Each of the 5 following videos is presented after a brief tip and or description of that area of the vehicle.
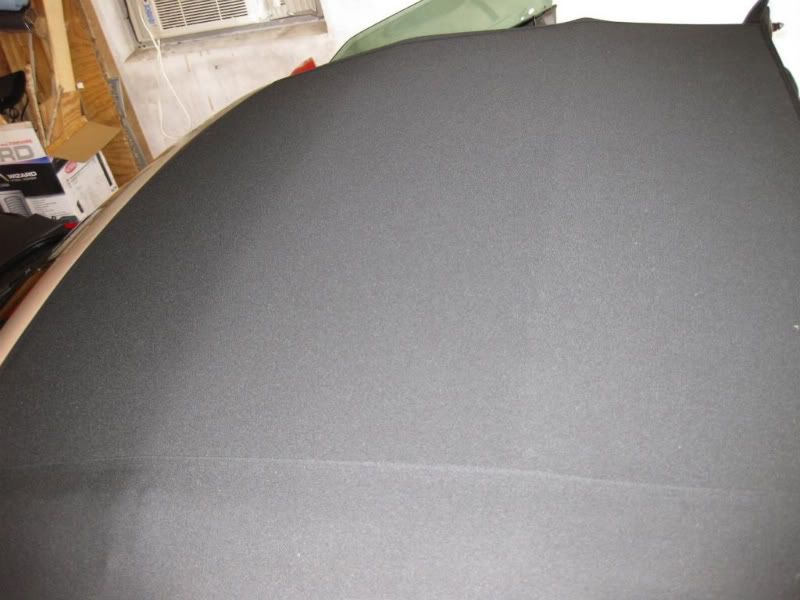
Fabric Top:
Tip: Avoid blowing downward on the fabric top without feathering, as there is no need to add un-needed stress to the fibers or material. As long as you have properly sealed your top the water should come off without a fight. If the fabric top is not yet properly sealed the important thing is to remove the excess water so it doesn’t drip down on your soon to be dry glass and paint.
Video (27 seconds)
Hood:
Tip: I don’t display it to perfection in my videos but consider blowing the windshield wipers and all crevices that can spray onto the hood before blowing the hood.
Video: (25 seconds)
Wheels & Wheel Wells:
Tip #1: You can easily achieve a perfectly dry tire (ready for dressing) in no time.
Tip #2: You may consider blowing your brake pads off immediately after washing and rinsing your wheels to avoid getting rust powder the first time you drive.
Previous to purchasing the MB I used a small air compressor to aid in my drying along with my WW towel and my detail spray or UWWP. On wheels and wheel wells I would use the air compressor. On wheels (or anything round for that matter) some of the water would just let me chase it around the wheel. Another obstacle was that my air compressor was not powerful enough for constant use at high psi. For the pressure I needed I would have to allow the tank to refill while I went about drying certain areas with the WW and detail spray.
With the Metro the irritant of drying tires, wheels, and wheel wells is gone. This is now one of the most pleasurable parts of drying the car. It takes only about 10 seconds to blow a wheel well completely and utterly dry. It takes about 30 seconds to remove all traces of water from a tire, rim, and caliper. I can blow the brake pads dry before they form a layer of rust. And most water that used to hide and dry on the joints and inner workings behind the wheel is no longer out of easy reach with this tool.
Video: (2) Wheels and Wells (1:35)
Door Seals, Jambs, and Sill:
Tip: Consider turning off one of the two motors for areas such as these. Also consider blowing these areas dry before any areas where water may splash.
Video: (42 seconds)
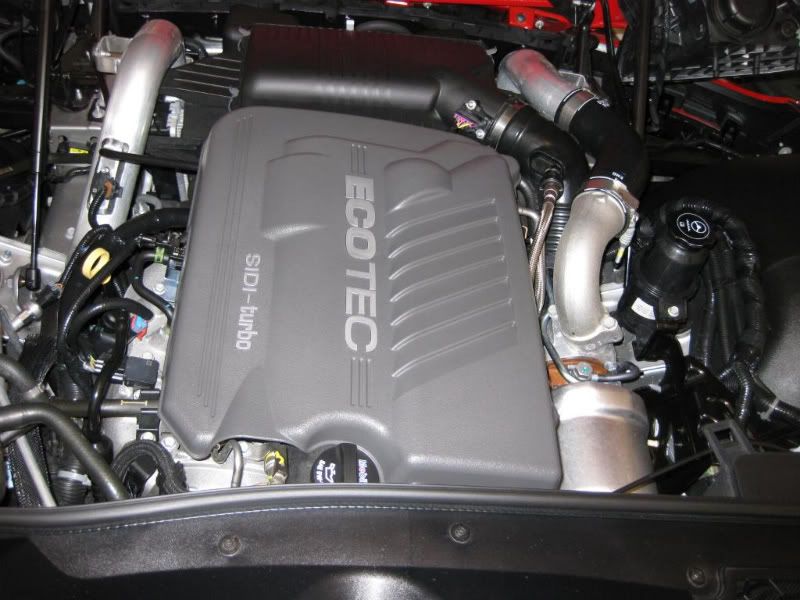
Engine:
Caution: As with forcing any type of element into your engine area at high speed proceed with caution. Don’t blow water up into wiring. Instead blow it the other direction.
Tip: Depending on the design of your hood and cleanliness of your engine you may consider blowing it dry before you blow the front of the vehicle dry.
Blowing my engine dry with my air compressor used to take me a very long time. With its limited power and spread I would blow water off one area and on to another. The power of the MB is so vastly superior to my previous tool that it finds a way to force the water out very quickly.
This video was chopped in places to shorten it up a little and remove some “shaky times”.
Video: (1:50)
Undercarriage:
Tip: Spending just a moment on each side of a vehicle you can nock the major pockets of water off the undercarriage.
Video: Dry Entire Car Start to Finish:
The (5) short videos shown above were cut from this video. In order to depict a fairly straightforward timeline I did not speed up any of the video. However at one point the camera had stopped taping while doing the drivers side and I also cut the times when I was moving the vacuum, wife was talking to me, switching the memory cards, or when popping the lid or hood, etc. I would recommend stopping this video at the 4:30 mark if you get motion sickness or don’t enjoy watching paint dry J. Around the 4:30 point I had to take over holding the camera as well as using the blower… not a simple task to keep it steady at that point.
17-24.- Sky Dry

Worst-case scenario:
The side of the test panel shown here has no lsp on it and is probably in the same condition it was when I received it from the junkyard. I don’t believe I have ever clayed this half of the panel and I’m sure I’ve never polished it so this is as bad as it gets. Just before shooting this video I washed the panel with an OPC spray down and rinsed it well. The video shows first using 2 motors and then one.
Video: (50 seconds)
Pressure Test:
I had a lot of ideas when it came to this and wanted to do a few more things but I had to draw the line somewhere. These two tests were just quick fun shoots so don’t expect much creativity. The bag test shown here was actually the second time I did it. Somehow the video I took the first time was lost or overwritten. The first time around a larger bag was used with the same outcome. Unfortunately I didn’t have any more large bags when I went for this re-shoot.
Pressure Tests Video: (40 seconds)
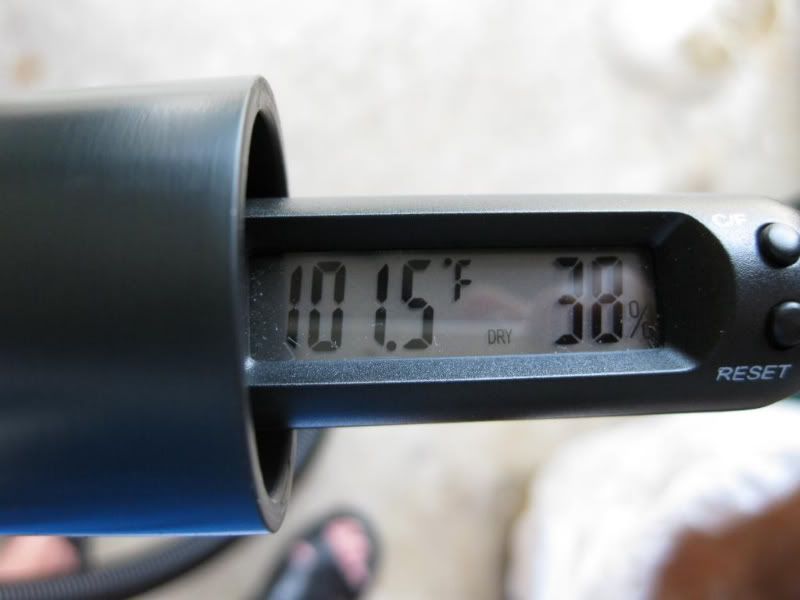
Additional Info:
I attempted to get a reading on the temperature and humidity of the air just after running the MB however it was not a scientific method. The picture shows the air is definitely not moist/humid but I can tell you the temperatures exceed what is shown.
Pros:
1.- Incredible Air Speed and power
2.- Dry air rather than moist
3.- Filter prevents the unit from blowing debris
4.- Filter is washable and re-usable
5.- Time saved and thorough drying ability (Time = Money)
6.- Nothing comes close for drying engines, wheels, and wheel wells.
7.- Made in the USA (There’s never been a more important time to buy American)
8.- Well Built
Cons:
1.-Price
2.-Hose: A little too stiff (however during use it becomes more pliable as it heats up)
Final Observations:
1.-The unit can dry a properly polished and waxed (or sealed) car with only one motor (half its power) however once you have used the full 8HP you won’t go back.
2.-For sensitive areas such as badges you should be sure to “feather” the nozzle or switch to one motor.
3.-For a lot of the weather seals (such as inside the door) you should switch to one motor.
4.-The blower in and of itself is not that loud (about that of a vacuum cleaner. However once that air is aimed at something the velocity produces an ear piercing sound that rivals the sound of my dog Bella’s bark! Wear ear protection during extended use.
5.-After I’ve used the MB another time or two and have my order of what to blow first in line, time will be cut even further for me.
7.- If I had had this when I was trying to remove that failing clear coat from the green SL roof it would have only taken seconds!
8.-If you start blowing a panel of the vehicle you should complete it rather than circling the car and ending with the same panel. Starting a panel and finishing it later could leave some spots in that area (easily wiped away). The air is warm initially and over time the hose becomes very warm so best technique is to blow the water off fast and keep moving rather than warm an area with the blower.
Summary:
I’d say a good estimate for me to obtain a completely dry finish to the exterior of an average vehicle including wheels and wells is 10 minutes or less. To complete the jambs and weather seals beneath the doors takes an additional 1 minute each +/-. My Sky engine takes approximately 5 minutes including the underside of the hood. An engine in a less sealed state would take longer.
Do you need this product? No
Do you want this product? I sure did
Am I happy I purchased this product? So far I am thrilled. Personally I’m fanatical about removing all the water from all crevices of Sky and the Master Blaster saves a ton of time for me.
Q&A with David Stern of Metropolitan Vacuum Cleaner Co:
David was extremely helpful with my questions and answered them all in a more timely fashion than I could have ever asked for. This enabled me to post this review tonight. I’d like to thank him for his time and efforts. Thank you David!
Hello Corey:
Thank you for your email and for reviewing our products. Below are answers to your questions:
1.-Are there any sensitive electronics in the Master Blaster or any other reason I would want to purchase a high capacity surge protector to use with this unit?
No sensitive electronics are used. The dryer can be plugged into a surge protector or extension cord as long as the wire gage is equal to or greater (thicker) than 12 gauge.
2.-Is the warm/hot air purely a function of the motors and the friction of the air or is there a heating element of some sort within the unit?
The heat is generated by the friction of the motors. There is no separate heating element.
3.-Is it possible that the hose may be revised by Metro in the future to make it a little less stiff or is this intentional or a by-product of a solution to another area of the design.
The hose needs to be heavy duty and somewhat ridged but if you’ll notice, the hose becomes more flexible as the unit heats up. We have tried many hoses on the MASTER BLASTER and all of them have fallen apart as a result of the powerful airflow and heat.
4.-How many hours do the brushes generally last? I believe this is 500 hours from what I read but I would like to confirm.
We generally state 500 hours, but more often you can log 1,000 hours of use before they need changing.
5.-If a repair is ever needed years down the road how long can a customer expect for their unit to be out for service if sent to Metro? Average turnaround time?
Most of the time we can turn it around in two weeks.
6.-I see the main rubber nozzle attachment has a hard plastic snap lock bracket to hold it in place. The additional attachments are too small for use with that locking bracket so my question is why is it safe for them to not use the bracket?
The truth is when I use the MASTER BLASTER I use the main blower nozzle that comes on the hose. The other attachments can be used by taking off the snap lock clamp, removing the blower nozzle and inserting the male/male adaptor INTO the hose. Then you just (firmly) “friction fit” the other attachments onto the male/male adaptor.
7A.-How many hours of testing have been done to ensure none of the nozzles can come off while blowing your vehicle.
The MASTER BLASTER has been in use since the 1990s. Periodically, users should just make sure the clamps are tight.
7B.-Should a user of the Master Blaster consider a backup means of attachment just to be safe.
In all the years we are doing this, we’ve never heard of attachments flying off unless they weren’t clamped properly or the clamp was lost.
8.-I see in the manual that you recently changed suppliers of motors or some parts.
Prior to June, 1998 we used another motor manufacturer. Then we started using their competitor, which subsequently, bought the first company. In both instances these are US manufacturers.
9.-I see the speed is claimed to be 58,500 feet per minute, which I calculate to be approx. 680 mph. At what location is this speed calculated? Is it before the air is forced into the 10 FT hose? If so has the air speed exiting the hose been measured with the hose bent to the type of reasonable radius that would often be happening in the real world?
The airflow is measured and the end of the rubber blower nozzle (through the 10 foot hose) which is less than 1 inches in diameter.
Should you have any questions, please feel free to call or email.
Thank you,
David
Well, that concludes this review. Thank you for taking the time to read it and I hope you found it enjoyable and/or helpful. Cheers!
Thanks again to David Stern for his detailed answers! I know you guys will really appreciate what he added to the review.
Thanks to Meghan for giving me direction on who best to speak with at Metro.
Special thanks to Jim and Al.
Cleanup Video:
Introduction:
I have been looking at this product for over a year now. At Detail Fest 2010 Al and I both gave it a quick spin and had a chance to speak with the rep from Metro about it at length. Well, bogo came and bogo went and there was no Master Blaster to be found J so when a 15% off everything sale came just after my birthday I knew it would be my best opportunity to purchase this blower.
Product Claims:
The Master Blaster MB-3 was built to blast the water off your bike or vehicle faster than any other blower can. Water is easily and thoroughly eliminated from every crevice on your motorcycle, car or truck. The Master Blaster has an 8.0 Peak horsepower that blasts air at an impressive 58,500 feet per minute and now comes with wheels for easy maneuvering around your vehicle or bike. This blower is equipped with two levels of velocity for super fast drying or for blowing off smaller more fragile areas.
Abbreviations:
MB = Master Blaster
LSP = Last Step Product
HTFG = High Tech Fabric Guard
UWWP = Ultima Waterless Wash Plus
WW = Waffle Weave towel (Microfiber)
Details:
01.- Color: Black
02.- Shell Material: Steel
03.- Weight: 16 lbs
04.- Hose: 10 FT Long x 1.5” Dia.
05.- Power Cord: 12 FT long (Neoprene)
06.- Filter: Washable and Re-useable
07.- Air Speed: 58,500 FPM (Claimed) this is equal to 665 mph…
08.- Horsepower: 8 (Peak)
09.- Amps: 18
10.- Current Price: $309.99
11.- Estimated Brush life: 500-1000 hours
12.- Warranty: 1-year
13.- Manufacturer: MetropolitanVacuum Cleaner Co
14.- Made in: United States of America (This means a lot to me these days)
Additional Products Needed:
1.- Extension Cord (Use 12 gauge or better)
Video: Introduction
01-04.-Metro Master Blaster
05.-Switches
06.-Switch Guard
07.-Filter Side
08.-Removed to Access Filter
09.-Washable Filter
10.-Hose Inlet Size
11.-Hose Attachment
12.-Wheels
13.-Undercarriage
14.-Nozzle Attachment
15.-Additional Nozzles
First Impressions:
A few weeks ago I received my Master Blaster (MB) and was able to use it for the first time. At a price of over 300$ and a lot of excitement going into it a letdown seemed inevitable. After washing Sky I pulled her into the garage and flipped the first switch followed closely by the second to crank up each of the (2) motors. Instantly it was obvious that this beauty had some power to it. After directing the rubber nozzle towards the canvas top of Sky all of the water was removed in about 10 seconds. The (3) thin coats of 303 HTFG that was applied a few months ago share in the glory but the MB had stepped right into its element.
Next I moved to the windshield and quickly blew the majority of it dry as well. Standing on the driver side, all but a couple inches of the windshield on the far side was entirely completed. I turned my attention to the hood and it to was easily blown dry. I had forgotten to blow the crevices of the windshield wipers. As I rectified that misstep I learned my first obvious lesson. Any water that came out landed on the hood I had previously blown dry. On a vehicle that did not have an lsp this would have been an irritant and taken a little time to blow off. However it was absolutely no issue on a properly polished vehicle with lsp. It took only seconds to blow that area dry again.
The remainder of Sky went similar to what I mention above but a few quick points of interest are how quickly and completely all water is removed from window seals, around headlights, from behind the license plate, inside rear view mirrors, and from the honeycomb grill. When I hit the honeycomb grill head on with the wave of air the water was vaporized. It was very cool! I usually seem to lean more towards forcing the water in the intended direction (glancing blow) rather than confronting it head on but it sure is fun to do so on an area that holds a pocket of water… As long as you don’t mind a little spray that is… which of course in Florida summer you don’t. During that first run I wanted to focus on using my Master Blaster and therefore I did not take any video. I was blown away by my first experience with the MB.
Second Impressions:
The following weekend I had the chance to use the MB on both of our daily drivers. They were both in various states of wax and sealant cycles as I have different panels with different LSP that are at different points of their durability testing. Some of which the LSP is almost completely dead. I thought it important to get a good feel for how the MB would perform on a vehicle without good LSP. I washed both vehicles first and then dried them both with the MB. I didn’t do any jambs or engine. Using the MB it took approximately 17 minutes to dry the exterior of two cars that had some areas with little or no protection left and other areas with coatings and sealants still in great to good shape. I wasn’t overly impressed with the drying ability on areas with failing LSP. I was going to post the video of the 2 cars being dried here but after gathering the remainder of video I have in store I left this video out. In it’s place you will find a short “Worst case Scenario video” near the end of this article.
Third Impressions (With Visual Media):
Fast-forward another week… Sky hadn’t been driven more than a couple miles and after sitting in the garage all this time did not need a wash. Now normally I wouldn’t have even considered just rinsing her with water because any dust that might be left on I wouldn’t want to dry with a towel. However with my MB I decided I would just spray her down with water so I could create some video for this review. The fact she wasn’t washed with soap may have slowed the speed at which I was able to blow her dry but I’m sure it’s insignificant. When I went to pull Skybaby out of the garage the battery was dead because she hadn’t been driven in awhile. Luckily I had my handy Jump Starter at the ready!
Guide to video footage:
Please watch the videos in a larger window by double clicking the video clip and when the new window opens click the button in the lower right hand corner to enlarge the video.
I created the next 5 videos for those who prefer only the short action shot videos tailored to specific areas such as (top, wheel, hood, door jamb, etc). None of the footage was sped up at all but there were spots edited for clarity. The full mostly raw video will be available later in the review. Each of the 5 following videos is presented after a brief tip and or description of that area of the vehicle.
Fabric Top:
Tip: Avoid blowing downward on the fabric top without feathering, as there is no need to add un-needed stress to the fibers or material. As long as you have properly sealed your top the water should come off without a fight. If the fabric top is not yet properly sealed the important thing is to remove the excess water so it doesn’t drip down on your soon to be dry glass and paint.
Video (27 seconds)
Hood:
Tip: I don’t display it to perfection in my videos but consider blowing the windshield wipers and all crevices that can spray onto the hood before blowing the hood.
Video: (25 seconds)
Wheels & Wheel Wells:
Tip #1: You can easily achieve a perfectly dry tire (ready for dressing) in no time.
Tip #2: You may consider blowing your brake pads off immediately after washing and rinsing your wheels to avoid getting rust powder the first time you drive.
Previous to purchasing the MB I used a small air compressor to aid in my drying along with my WW towel and my detail spray or UWWP. On wheels and wheel wells I would use the air compressor. On wheels (or anything round for that matter) some of the water would just let me chase it around the wheel. Another obstacle was that my air compressor was not powerful enough for constant use at high psi. For the pressure I needed I would have to allow the tank to refill while I went about drying certain areas with the WW and detail spray.
With the Metro the irritant of drying tires, wheels, and wheel wells is gone. This is now one of the most pleasurable parts of drying the car. It takes only about 10 seconds to blow a wheel well completely and utterly dry. It takes about 30 seconds to remove all traces of water from a tire, rim, and caliper. I can blow the brake pads dry before they form a layer of rust. And most water that used to hide and dry on the joints and inner workings behind the wheel is no longer out of easy reach with this tool.
Video: (2) Wheels and Wells (1:35)
Door Seals, Jambs, and Sill:
Tip: Consider turning off one of the two motors for areas such as these. Also consider blowing these areas dry before any areas where water may splash.
Video: (42 seconds)
Engine:
Caution: As with forcing any type of element into your engine area at high speed proceed with caution. Don’t blow water up into wiring. Instead blow it the other direction.
Tip: Depending on the design of your hood and cleanliness of your engine you may consider blowing it dry before you blow the front of the vehicle dry.
Blowing my engine dry with my air compressor used to take me a very long time. With its limited power and spread I would blow water off one area and on to another. The power of the MB is so vastly superior to my previous tool that it finds a way to force the water out very quickly.
This video was chopped in places to shorten it up a little and remove some “shaky times”.
Video: (1:50)
Undercarriage:
Tip: Spending just a moment on each side of a vehicle you can nock the major pockets of water off the undercarriage.
Video: Dry Entire Car Start to Finish:
The (5) short videos shown above were cut from this video. In order to depict a fairly straightforward timeline I did not speed up any of the video. However at one point the camera had stopped taping while doing the drivers side and I also cut the times when I was moving the vacuum, wife was talking to me, switching the memory cards, or when popping the lid or hood, etc. I would recommend stopping this video at the 4:30 mark if you get motion sickness or don’t enjoy watching paint dry J. Around the 4:30 point I had to take over holding the camera as well as using the blower… not a simple task to keep it steady at that point.
17-24.- Sky Dry
Worst-case scenario:
The side of the test panel shown here has no lsp on it and is probably in the same condition it was when I received it from the junkyard. I don’t believe I have ever clayed this half of the panel and I’m sure I’ve never polished it so this is as bad as it gets. Just before shooting this video I washed the panel with an OPC spray down and rinsed it well. The video shows first using 2 motors and then one.
Video: (50 seconds)
Pressure Test:
I had a lot of ideas when it came to this and wanted to do a few more things but I had to draw the line somewhere. These two tests were just quick fun shoots so don’t expect much creativity. The bag test shown here was actually the second time I did it. Somehow the video I took the first time was lost or overwritten. The first time around a larger bag was used with the same outcome. Unfortunately I didn’t have any more large bags when I went for this re-shoot.
Pressure Tests Video: (40 seconds)
Additional Info:
I attempted to get a reading on the temperature and humidity of the air just after running the MB however it was not a scientific method. The picture shows the air is definitely not moist/humid but I can tell you the temperatures exceed what is shown.
Pros:
1.- Incredible Air Speed and power
2.- Dry air rather than moist
3.- Filter prevents the unit from blowing debris
4.- Filter is washable and re-usable
5.- Time saved and thorough drying ability (Time = Money)
6.- Nothing comes close for drying engines, wheels, and wheel wells.
7.- Made in the USA (There’s never been a more important time to buy American)
8.- Well Built
Cons:
1.-Price
2.-Hose: A little too stiff (however during use it becomes more pliable as it heats up)
Final Observations:
1.-The unit can dry a properly polished and waxed (or sealed) car with only one motor (half its power) however once you have used the full 8HP you won’t go back.
2.-For sensitive areas such as badges you should be sure to “feather” the nozzle or switch to one motor.
3.-For a lot of the weather seals (such as inside the door) you should switch to one motor.
4.-The blower in and of itself is not that loud (about that of a vacuum cleaner. However once that air is aimed at something the velocity produces an ear piercing sound that rivals the sound of my dog Bella’s bark! Wear ear protection during extended use.
5.-After I’ve used the MB another time or two and have my order of what to blow first in line, time will be cut even further for me.
7.- If I had had this when I was trying to remove that failing clear coat from the green SL roof it would have only taken seconds!
8.-If you start blowing a panel of the vehicle you should complete it rather than circling the car and ending with the same panel. Starting a panel and finishing it later could leave some spots in that area (easily wiped away). The air is warm initially and over time the hose becomes very warm so best technique is to blow the water off fast and keep moving rather than warm an area with the blower.
Summary:
I’d say a good estimate for me to obtain a completely dry finish to the exterior of an average vehicle including wheels and wells is 10 minutes or less. To complete the jambs and weather seals beneath the doors takes an additional 1 minute each +/-. My Sky engine takes approximately 5 minutes including the underside of the hood. An engine in a less sealed state would take longer.
Do you need this product? No
Do you want this product? I sure did
Am I happy I purchased this product? So far I am thrilled. Personally I’m fanatical about removing all the water from all crevices of Sky and the Master Blaster saves a ton of time for me.
Q&A with David Stern of Metropolitan Vacuum Cleaner Co:
David was extremely helpful with my questions and answered them all in a more timely fashion than I could have ever asked for. This enabled me to post this review tonight. I’d like to thank him for his time and efforts. Thank you David!
Hello Corey:
Thank you for your email and for reviewing our products. Below are answers to your questions:
1.-Are there any sensitive electronics in the Master Blaster or any other reason I would want to purchase a high capacity surge protector to use with this unit?
No sensitive electronics are used. The dryer can be plugged into a surge protector or extension cord as long as the wire gage is equal to or greater (thicker) than 12 gauge.
2.-Is the warm/hot air purely a function of the motors and the friction of the air or is there a heating element of some sort within the unit?
The heat is generated by the friction of the motors. There is no separate heating element.
3.-Is it possible that the hose may be revised by Metro in the future to make it a little less stiff or is this intentional or a by-product of a solution to another area of the design.
The hose needs to be heavy duty and somewhat ridged but if you’ll notice, the hose becomes more flexible as the unit heats up. We have tried many hoses on the MASTER BLASTER and all of them have fallen apart as a result of the powerful airflow and heat.
4.-How many hours do the brushes generally last? I believe this is 500 hours from what I read but I would like to confirm.
We generally state 500 hours, but more often you can log 1,000 hours of use before they need changing.
5.-If a repair is ever needed years down the road how long can a customer expect for their unit to be out for service if sent to Metro? Average turnaround time?
Most of the time we can turn it around in two weeks.
6.-I see the main rubber nozzle attachment has a hard plastic snap lock bracket to hold it in place. The additional attachments are too small for use with that locking bracket so my question is why is it safe for them to not use the bracket?
The truth is when I use the MASTER BLASTER I use the main blower nozzle that comes on the hose. The other attachments can be used by taking off the snap lock clamp, removing the blower nozzle and inserting the male/male adaptor INTO the hose. Then you just (firmly) “friction fit” the other attachments onto the male/male adaptor.
7A.-How many hours of testing have been done to ensure none of the nozzles can come off while blowing your vehicle.
The MASTER BLASTER has been in use since the 1990s. Periodically, users should just make sure the clamps are tight.
7B.-Should a user of the Master Blaster consider a backup means of attachment just to be safe.
In all the years we are doing this, we’ve never heard of attachments flying off unless they weren’t clamped properly or the clamp was lost.
8.-I see in the manual that you recently changed suppliers of motors or some parts.
Prior to June, 1998 we used another motor manufacturer. Then we started using their competitor, which subsequently, bought the first company. In both instances these are US manufacturers.
9.-I see the speed is claimed to be 58,500 feet per minute, which I calculate to be approx. 680 mph. At what location is this speed calculated? Is it before the air is forced into the 10 FT hose? If so has the air speed exiting the hose been measured with the hose bent to the type of reasonable radius that would often be happening in the real world?
The airflow is measured and the end of the rubber blower nozzle (through the 10 foot hose) which is less than 1 inches in diameter.
Should you have any questions, please feel free to call or email.
Thank you,
David
Well, that concludes this review. Thank you for taking the time to read it and I hope you found it enjoyable and/or helpful. Cheers!
Thanks again to David Stern for his detailed answers! I know you guys will really appreciate what he added to the review.
Thanks to Meghan for giving me direction on who best to speak with at Metro.
Special thanks to Jim and Al.
Cleanup Video:
 rops:
rops:
")