Rupes 21 & Flex 3401 Comparison + Detailer's Paint Coating

Joined
Dec 5, 2022
Messages
51,004
Reaction score
7
Rupes 21 & Flex 3401 Comparison + Detailer's Paint Coating


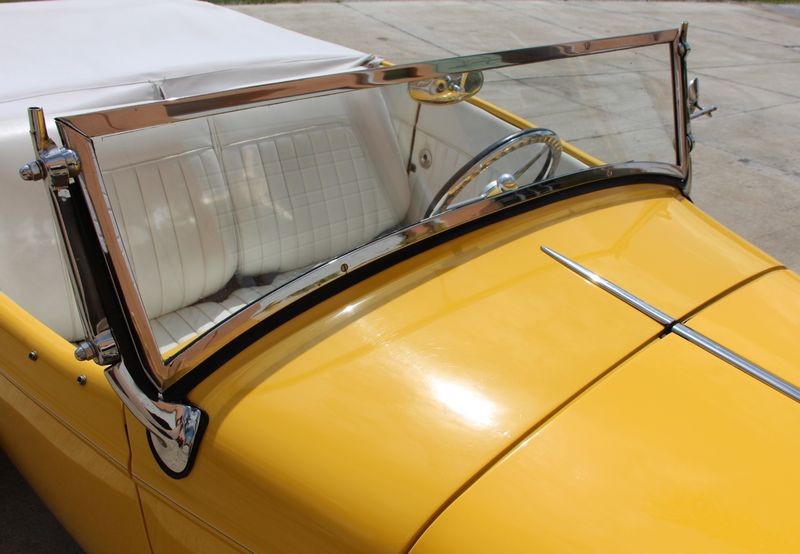
Okay, so my buddy Mike has this really cool hot rod, it's currently his favorite toy out of all of his hot rods. The first time I saw it I thought it looked cool but the paint was dull and hand no gloss. This was while the car was parked in his garage.

Fast forward a few weeks and a box of stuff shows up on my desk for me to test. I needed a car to really give these new products a thorough testing so I called Mike and asked him if I could use the 1932 Ford Phaeton. I also had a forum member by the name of Eric aka ekennett that asked to come by Autogeek to test out and compare the Flex 3401 versus the Rupes polishers. You can also see Eric testing these two polishers here as he also had a chance to test a brand new paint coating while he was here.

Detailer’s Paint Coating on Single Stage Paint


Perfect timing
I figured I could accomplish both goals with one car. Turns out, this car has single stage paint. I didn't know this until I buffed a section of the hood and after turning my polisher over I quickly saw that I was dealing with yellow single stage paint.

Now this is okay, I mean having a hot rod with single stage paint to test out these new products is okay, but to really t-e-s-t them out I need a car with a basecoat/clearcoat paint system. So my other buddy Carlos is bringing me another hot rod on Monday to test these products again.


So here's the write-up for the 1932 Ford Phaeton...

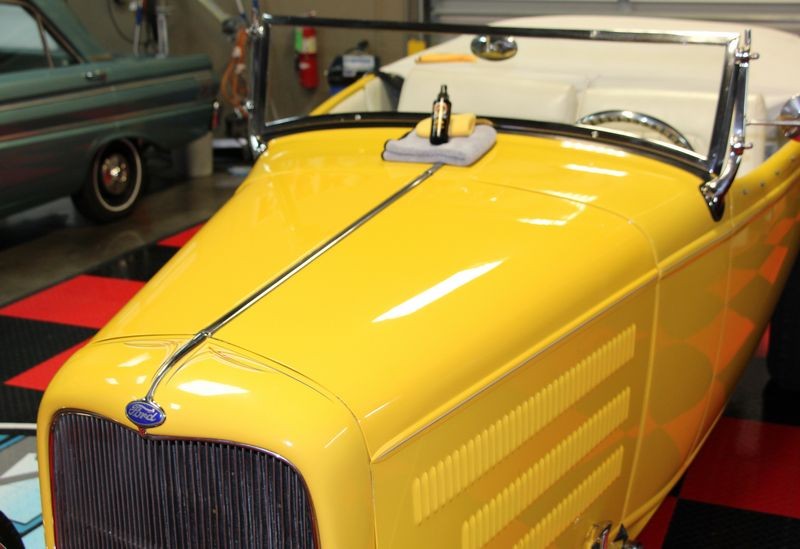
Here she is after I machine scrubbed the gangster white wall tires and applied Tuf Shine Tire Clear Coat. (This is another write-up in the works).


Note the paint looks nice but there's no pizazz!

1932_Ford_Phaeton_040.jpg


How to capture swirls in the sun
While Eric was here, we took the "Before" shots in the sun. It was cloudy outside so we had to wait a bit for the clouds to part and let the sun shine through.

As you look at these pictures, note how,

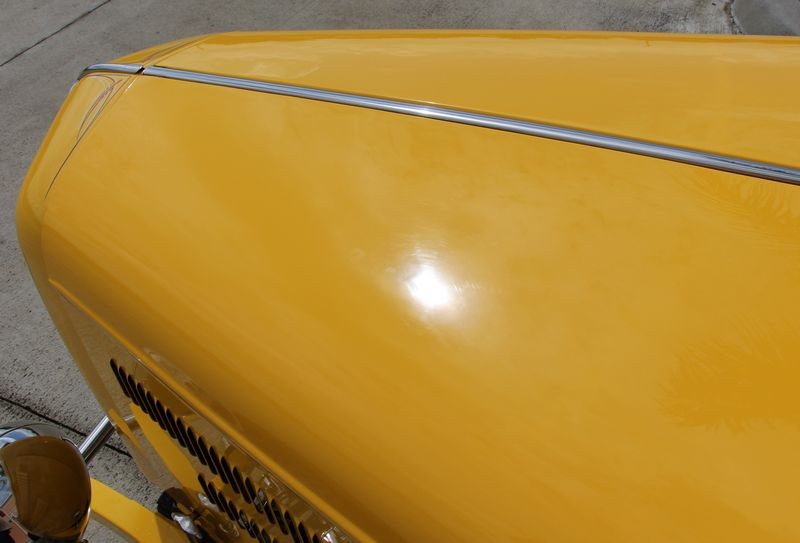
First I frame up the shot so you have a good idea what it is I'm taking a photograph, (type of car), or the section of the car.

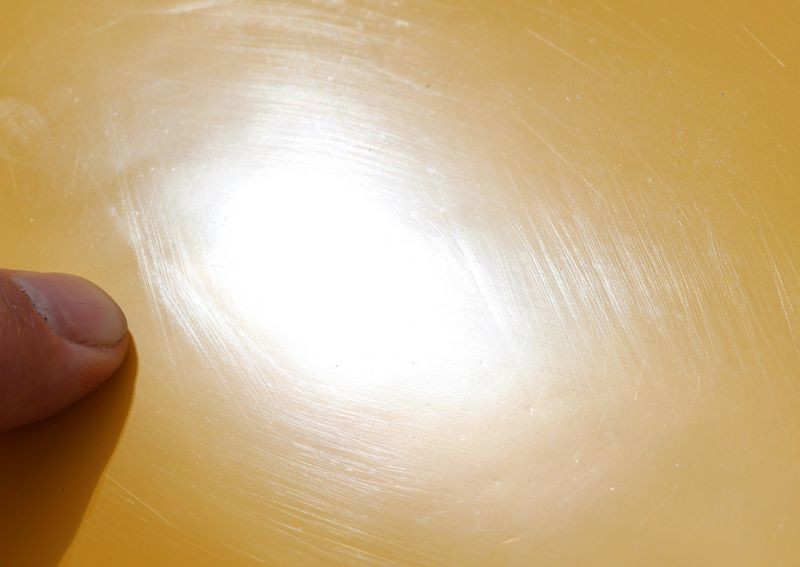
Second, I zoom in on just the topic of the picture, in this example it will be swirls


Sun on hood shot
Here I'm zoomed out and holding the camera way over my head while pointing the lens at the hood.
1932_Ford_Phaeton_041.jpg


Close-up shot of swirls
Note my finger on the paint? While it looks like I'm pointing to the swirls and I am, the real reason my finger is in the shot is to give the camera a focus point on the hood. By focusing on my finger, the camera also focuses on the "surface" of the paint to capture the swirls and scratches on the surface. I have an article about this photography technique here.
1932_Ford_Phaeton_042.jpg


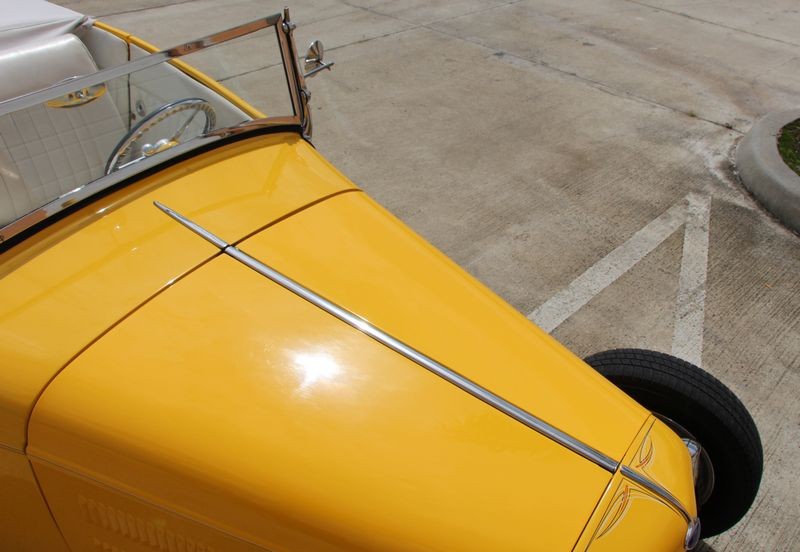
Sun on hood shot
In this pictures we've actually turned the hot rod around as we were getting ready to move it into the garage when all of a sudden, the sun poked his head out of the clouds a little better than in the above pictures. So I took a few more shots...


Hood framed up...
1932_Ford_Phaeton_043.jpg


Giving the camera a focus point
Here I'm about still zoomed all the way out but holding the camera a lot close to the hood now and I've moved my finger into position.
1932_Ford_Phaeton_044.jpg


Close-up Shot
Now I'm zoomed all the way in...

1932_Ford_Phaeton_045.jpg


Framing-up the shot
Here I wanted to show the swirls and scratches are equally distributed throughout the body panels.

1932_Ford_Phaeton_046.jpg


Close-up Shot
For this picture, my camera is able to use the edge of the hood and the radiator shell to focus on so I don't need to use my finger for this shot.

1932_Ford_Phaeton_047.jpg


Framing-up the shot

1932_Ford_Phaeton_048.jpg


Close-up shot

1932_Ford_Phaeton_049.jpg


And there you go. That's how to use your camera to take pictures to show the before condition of the paint by framing up a shot and then getting the close-up shot.

By doing this I've also documented the true condition of the paint when the car arrived.


More to come...


:)
 
Re: 1932 Ford Phaeton - Show Car Makeover

Continued...


I had already wiped the car clean before Eric had arrived. As a practice I don't wash antiques, classics or street rods and explain why here,


How To Wash a Classic Muscle Car


Inspect for above surface bonded contaminants
So many people think because a car looks cool or the because the paint is shiny automatically means there's nothing wrong with it and it certainly wouldn't need to be clayed.

Not true. Car Guys like Mike area always spraying paint on other car projects and this car was owned by someone else for at least 15 years before Mike purchased it, so there's no way of knowing what's been in the air around this car since it popped out of the paint booth.

Both Eric and I felt the paint with our bare hands and we could feel the paint was rough. Even so, I had Eric feel the paint using the Baggie Test and this made it VERY apparent we needed to clay this hot rod Ford.

1932_Ford_Phaeton_050.jpg


The Baggie Test - How to inspect for above surface bonded contaminants

1932_Ford_Phaeton_051.jpg


Pinnacle Ultra Poly Clay
I love this clay. It's an Ultra Fine Grade Clay so it's as safe as you can get for detailing clay yet it will tackle just about anything with enough passes while still being safe for frequent use on daily drivers.

1932_Ford_Phaeton_052.jpg


1932_Ford_Phaeton_053.jpg


Article: Even show cars might need to be clayed...

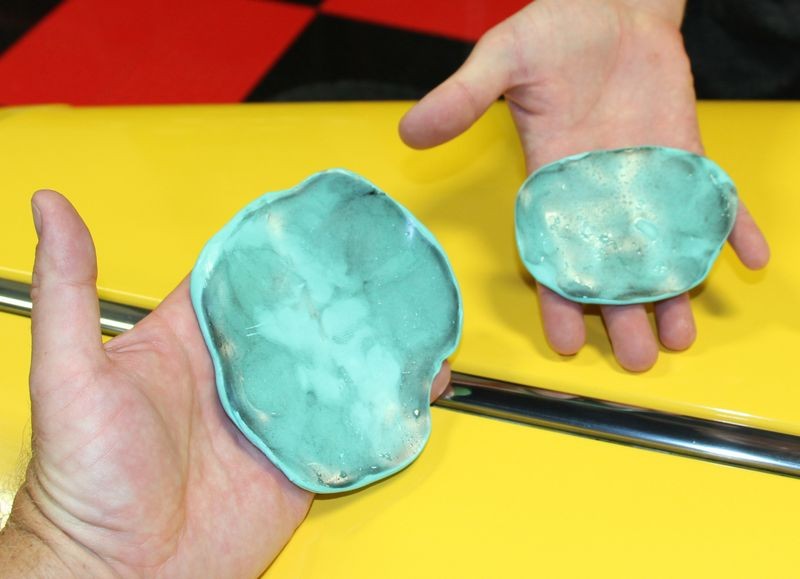
I don't know what was on the paint but it's now on the clay. I clayed JUST half the hood and Eric clayed just the other half and look how much junk we were removing off the paint.

1932_Ford_Phaeton_054.jpg


Defelsko PosiTest DFT Combo Electronic Paint Thickness Gauge
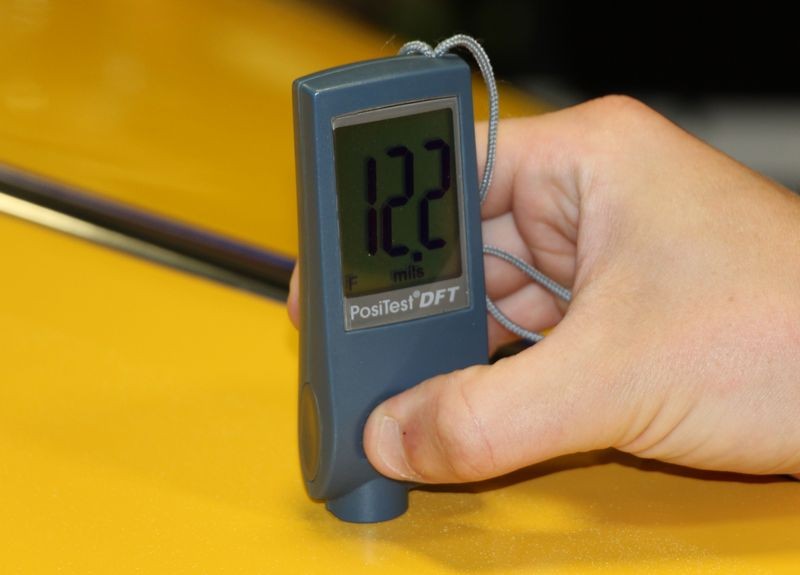
The body of this 1932 Ford Phaeton is fiberglas while the hood and grill shell are real steel. Just for fun we measured the paint thickness using the Defelsko Paint Thickness Gauge. While Eric was here I showed him how to calibrate the Defelsko PTG and take paint thickness measurements.

1932_Ford_Phaeton_055.jpg


1932_Ford_Phaeton_056.jpg


1932_Ford_Phaeton_057.jpg


1932_Ford_Phaeton_058.jpg


1932_Ford_Phaeton_059.jpg


1932_Ford_Phaeton_060.jpg


There were a lot of tracers in the paint that showed up after buffing out the hood but the Defelsko PTG indicated we had a lot of paint to work with.


:)
 
Re: 1932 Ford Phaeton - Show Car Makeover

Continued....


The Brinkmann Swirl Finder Light
Even though we documented the swirls using the sun we also want to use the Brinkmann Swirl Finder light before, during and after our work.

1932_Ford_Phaeton_061.jpg


1932_Ford_Phaeton_062.jpg


Rupes Bigfoot 21 "optimized"
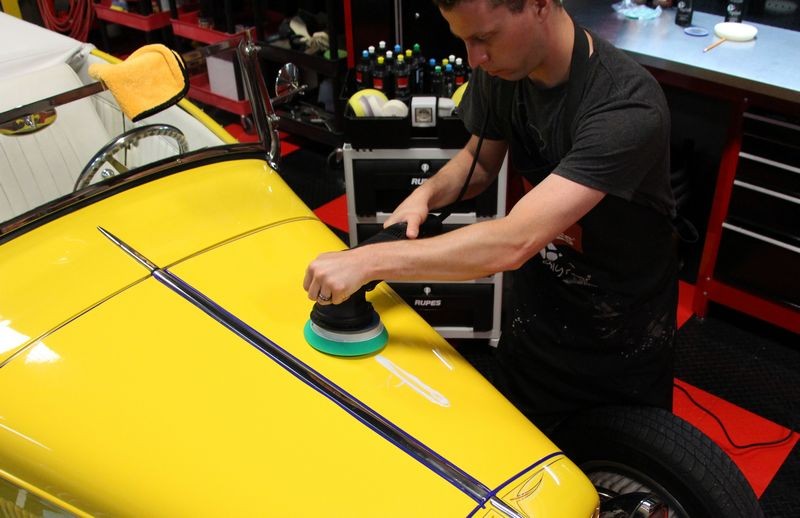
First Eric tries out my personal Rupes Bigfoot 21 "optimized".


The Major Correction Step
Here's Eric using the Rupes Quarz Gloss Medium cut polish with their green aggressive foam polishing pad to remove the swirls, scratches and oxidation.


Picking up a bead of product using a Rupes polisher
Note he's going to use a my modified version of picking up a bead using the 10 @ 10 Technique only he's picking up the bead using the 10 @ 7 technique. This is the first time Eric has used the Rupes polishers.


1932_Ford_Phaeton_063.jpg


1932_Ford_Phaeton_064.jpg


1932_Ford_Phaeton_065.jpg


1932_Ford_Phaeton_066.jpg


1932_Ford_Phaeton_067.jpg


1932_Ford_Phaeton_068.jpg


1932_Ford_Phaeton_069.jpg


1932_Ford_Phaeton_070.jpg


1932_Ford_Phaeton_071.jpg


1932_Ford_Phaeton_072.jpg


1932_Ford_Phaeton_073.jpg


1932_Ford_Phaeton_074.jpg


Looking much better
There's still some deeper tracers in the paint left by the guy that did the wetsand, cut and buff the first time. I'll remove these later, for right now I just want to let Eric test out some tools and go over some techniques in the process.

By the way we do all of this in my detailing boot camp classes and "yes'" on cool cars like this one...


1932_Ford_Phaeton_075.jpg


Finish Polishing
Next Eric re-polishes using the Rupes white foam pad with their ultra fine polish to really maximize gloss and clarity.

1932_Ford_Phaeton_076.jpg


1932_Ford_Phaeton_077.jpg


1932_Ford_Phaeton_078.jpg


1932_Ford_Phaeton_079.jpg


1932_Ford_Phaeton_080.jpg


LSP Ready
Here's the results to the driver's side of the hood after polishing with the Rupes system...

1932_Ford_Phaeton_081.jpg


:)
 
Re: 1932 Ford Phaeton - Show Car Makeover

Flex 3401 "optimized"
Next up we'll test out the Flex 3401 "Optimized" with 5" Hybrid pads and Wolfgang polishes. Like the Rupes polisher, this will be the first time Eric has used the Flex 3401. With the Lake Country 4" Backing Plate and 5" Hybrid pads the Flex 3401 is optimized for maximum efficiency and ease of use.

1932_Ford_Phaeton_082.jpg


Major Correction Step
Here's Eric using Wolfgang Total Swirl Remover with a 5" white Hybrid polishing pad.

1932_Ford_Phaeton_083.jpg


The 10 @ 3 Technique for picking up a bead
In the below pictures you'll see Eric use a tweak of the 10 @ 10 Technique when using a rotary buffer by picking up his bead of product by lifting one edge of the spinning pad about 10 degrees and then running the bead of product in at around the 3 O'clock position on other pad.

Because the pad is spinning counterclockwise, the pad will grab the bead or strip of product and pull the product into and under the pad instead of slinging it everywhere.

You of course can use the method of placing some drops of product on the face of your pad but this is my preferred method so this is what I shared with Eric.


1932_Ford_Phaeton_084.jpg


1932_Ford_Phaeton_085.jpg


1932_Ford_Phaeton_086.jpg


1932_Ford_Phaeton_087.jpg


1932_Ford_Phaeton_088.jpg


Major on the Majors
In my how to book I talk about how ofter you pick up your bead of product the next thing to do is major on the majors which means to work the major potions of the panel. The opposite of this is called edging or Minoring on the Minors. Minoring on the minors or edging is where you pick up your bead and work the edges before you work the major sections of the panel.

1932_Ford_Phaeton_089.jpg


Buffing Curved Panels
For both tools, I had Eric really focus on how the tool worked when buffing curved panels like you see below....

1932_Ford_Phaeton_090.jpg


1932_Ford_Phaeton_091.jpg


1932_Ford_Phaeton_092.jpg


Wiping off residue
After each panel it's always important to carefully remove any leftover product before moving onto the next section or re-working the panel with the same product or the product for the next step.

1932_Ford_Phaeton_093.jpg


1932_Ford_Phaeton_094.jpg


The polishing or minor correction step
Next up Eric is going to re-polish this side of the hood using the Wolfgang Finishing Glaze with the black 5" Hybrid finishing pad. Again, he's going to use and demonstrate the 10 @ 3 Technique for use with the Flex 3401.

1932_Ford_Phaeton_095.jpg


1932_Ford_Phaeton_096.jpg


1932_Ford_Phaeton_097.jpg


1932_Ford_Phaeton_098.jpg


Working the panel
After picking up his bead of product he then spreads the product out over the panel evenly and begins to refine the results from the swirl remover and prep the paint for waxing.

1932_Ford_Phaeton_099.jpg


1932_Ford_Phaeton_100.jpg


1932_Ford_Phaeton_101.jpg


Looking good!

1932_Ford_Phaeton_102.jpg


:)
 
Re: 1932 Ford Phaeton - Show Car Makeover

How to use Detailer's Coating Prep and Paint Coating

Now that the paint has been polished we're going to apply the Detailer Paint Coating but in order to prepare the paint for the coating we're going to show how to use the Detailer's Coating Prep Polish,

  • By Hand
  • By Machine


1932_Ford_Phaeton_103.jpg


How to apply Detailer Paint Coating by Hand
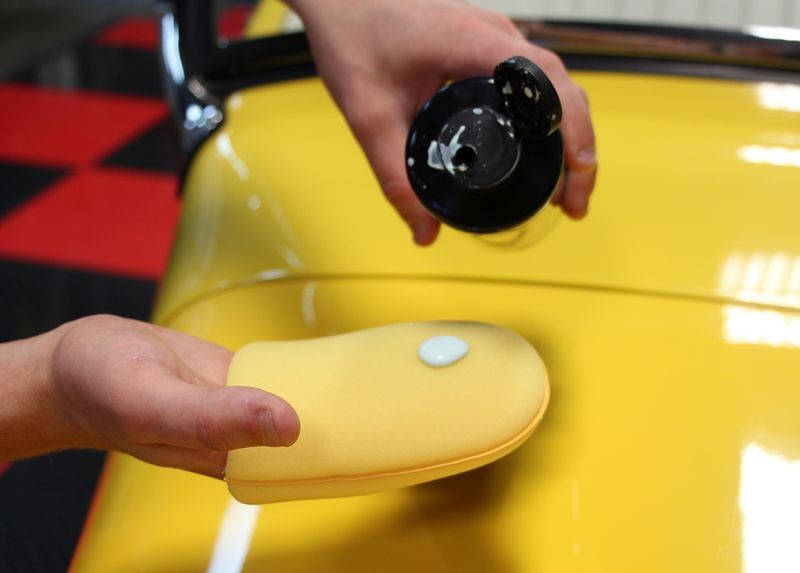
You want to use a very soft foam or microfiber applicator pad, make sure it's surgically clean. Apply about a nickle to a quarter size of product to the face of the pad. When a pad is new it's dry so I like to use a little more and actually prime the pad. Priming the pad ensures the the foam is lubricated before you rub it over the paint.

Remember, paint that is polished to a high level will tend to show even the faintest or shallowest scratches, so at this level of gloss you really need to bring up your own level of carefulness.

1932_Ford_Phaeton_104.jpg


Gently work product over surface
All you're trying to do with the Detailer's Coating Prep Polish is massage the surface of the paint to loosen and remove any residues left over by the polishing process to create a clean surface for the paint coating to bond to. There's no need to rub hard, just massage gently over a small panel and wipe off and far larger panels divide the panel into sections.

No need to dry
Note there's also no need to let this product dry before removing, after applying and working a section you should immediately and carefully, wipe it off.

1932_Ford_Phaeton_105.jpg


1932_Ford_Phaeton_106.jpg


1932_Ford_Phaeton_107.jpg


How to apply by machine
Since you're not trying to do any correcting or abrading of the finish, best results by machine are with a simple dual action polisher like a Porter Cable 7424. Use a clean, soft foam polishing pad or even a clean, soft finishing pad.

Speed Setting 4
On the Porter Cable, to get a pad to rotate while it's oscillating you pretty much need to be on at least the speed 4 setting. You don't NEED the pad to rotate but I find the pad and tool will glide over a panel easier when the pad is slowly rotating and not just jiggling or oscillating at low OPM's. Pick a slow setting that suits your own preferences, this is what works for me and this is what I shared with Eric.

Apply product to face of pad
Apply a few well placed nickle sized drops of product to the face of the pad, you can prime the pad by spreading product out over the entire face of the pad if you prefer as this will fully lubricate the face of the pad.

1932_Ford_Phaeton_108.jpg


Machine clean a panel at a time
Be sure not to turn the polisher on until the face of the pad is in contact with the paint and then after turning the polisher on move it slowly over a panel and let the machine do the work of massaging the Coating Prep over the finish.

1932_Ford_Phaeton_109.jpg


1932_Ford_Phaeton_110.jpg


1932_Ford_Phaeton_111.jpg


1932_Ford_Phaeton_112.jpg


No drying time needed
You don't need to let the Detailer's Coating Prep dry and as it's true with most paint care products, Detailer's Coating Prep will be easier to remove while the film of product is still wet as this wetness acts as a lubricant during the wipe-off process.

Use premium quality microfiber towels, folded 4-ways to gently remove any residues.


1932_Ford_Phaeton_113.jpg


How to apply Detailer's Paint Coating
I recommend using the softest foam applicator pads you can obtain, you want a foam that is soft and gentle to the paint. It's a good idea to wear safety gloves anytime you're working with any car care chemicals as a safety precaution. Like my friend Renny Doyle says,

"If it's on your skin it's in you"


1932_Ford_Phaeton_114.jpg


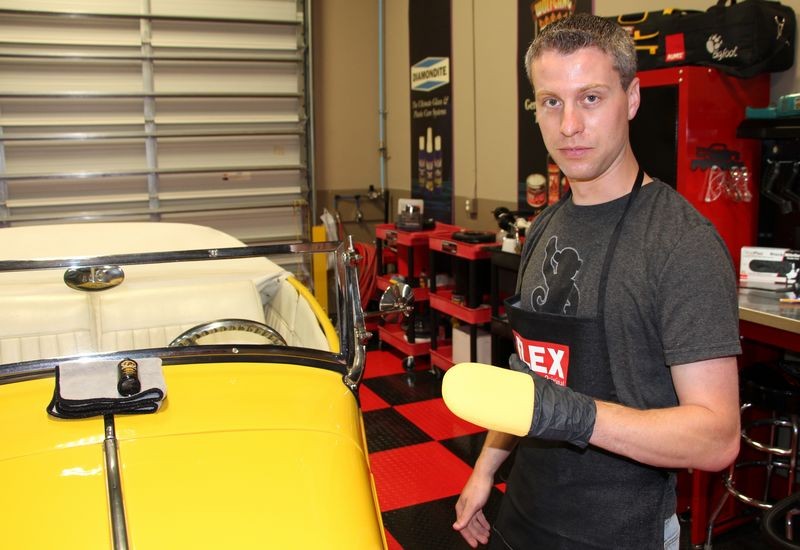
Here's Eric wearing black nitrile gloves, if you don't have any Autogeek stocks multiple sizes. Add some to your order to make sure you always have plenty on hand... no pun intended. :D

1932_Ford_Phaeton_115.jpg


Technique Tip
Because dry foam does not glide over paint in a slippery manner, when first starting out, mist a spray of the Detailer's Paint Coating directly onto the face of the foam applicator pad, this instantly primes the pad and will make spreading the coating you spray onto the panel easier and safer to spread and work into the paint.

1932_Ford_Phaeton_116.jpg


1932_Ford_Phaeton_117.jpg


Mist 1-2 sprays per panel
Next mist 1-2 sprays of the paint coating onto the panel to be protected. Sprayer on the bottle does a really great job of atomizing the product just be sure pump the spray head firmly to force the liquid to properly atomize.

1932_Ford_Phaeton_118.jpg


Carefully spread the product out over the panel
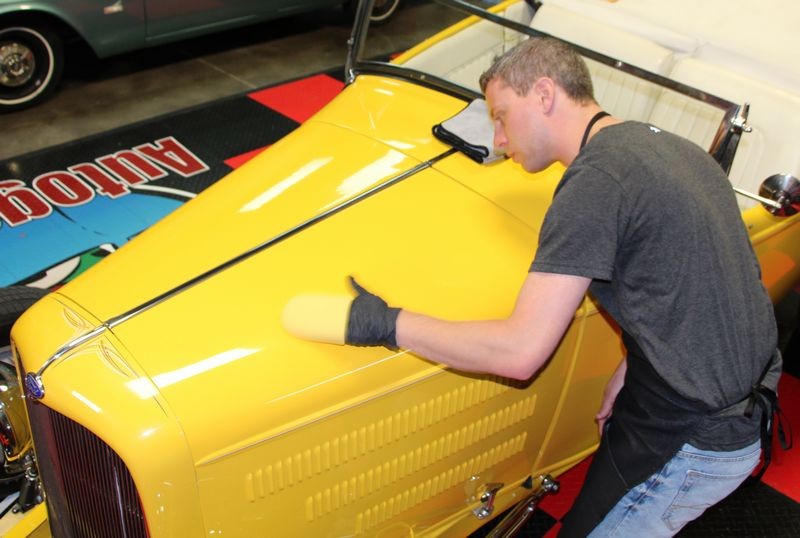
Use gentle overlapping circular motions to spread the product out over the panel to be treated and work the product into the paint till you see it disappear.

1932_Ford_Phaeton_119.jpg


1932_Ford_Phaeton_120.jpg


1932_Ford_Phaeton_121.jpg


1932_Ford_Phaeton_122.jpg


Wipe panel before moving on to the next panel
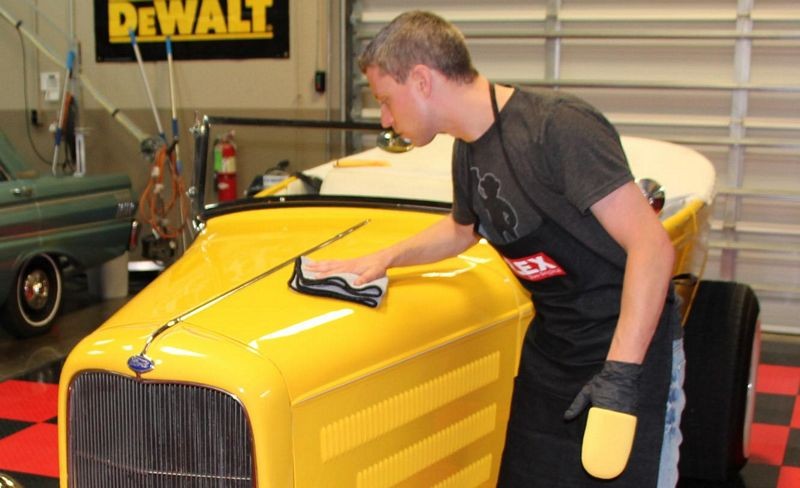
After treating a panel, carefully wipe any high points, which are really "excess product" off the surface. Give each panel a careful inspection as you're wiping and buff the panel to a high gloss, dry shine.

1932_Ford_Phaeton_123.jpg


:)
 
Re: 1932 Ford Phaeton - Show Car Makeover

Beauty Shots....

1932_Ford_Phaeton_124.jpg


1932_Ford_Phaeton_125.jpg


1932_Ford_Phaeton_126.jpg


1932_Ford_Phaeton_127.jpg


1932_Ford_Phaeton_128.jpg


Thank you Eric!
Would just like to publicly say thank you to Eric for spending a portion of his day at Autogeek and helping me to restore the finish on this beautiful 1932 Ford Phaeton Streetrod.

1932_Ford_Phaeton_129.jpg


1932_Ford_Phaeton_131.jpg


Product used...

1932_Ford_Phaeton_130.jpg


On Autogeek.net

Detailer's Coating Prep Polish 16 oz.

Detailer’s Paint Coating

Porter Cable 7424XP Dual Action Polisher

Flex XC 3401 VRG Dual Action Orbital Polisher

Rupes LHR 21ES Big Foot Random Orbital Polisher

Rupes Pads & Polishes

Wolfgang Total Swirl Remover - 32 ounce

Wolfgang Finishing Glaze - 32 ounce

Lake Country 5" Hybrid Pads

Lake Country Backing Plate System

Gold Finger Pockets

Black Nitrile Gloves


:)
 
Re: 1932 Ford Phaeton - Show Car Makeover

Oh boy , another great result Mike ! Keep them coming up !
 
Re: 1932 Ford Phaeton - Show Car Makeover

Of course after Eric and did everything you see in the pictures, the next day I buffed out the rest of the panels and actually re-polished the hood to test some new products.


Questions? Comments? Feedback?


:)
 
I have 2 questions actually:

I want to read a write up about white wall tires. (Love your write ups btw)

And the other question:

Is polishing to much or to many times bad? I talked to someone and they said "You should and could only compound twice"

I know the differenced between compounds and polishes (for the most part)

Which makes sense because in my head it's sand paper. In a way...

Being Friendly,

Art
 
Re: 1932 Ford Phaeton - Show Car Makeover

Local hot rod guy Luc stopped by to pick up some car detailing supplies and while he was here I had him pull his 1931 Pontiac 5-Window Coupe with a Fuel Injected 392 Hemi Engine in for a Good versus Evil shot....


This streetrod is wicked bad to the bone....

Wicked_Bad_To_The_Bone_001.jpg


Wicked_Bad_To_The_Bone_002.jpg


Wicked_Bad_To_The_Bone_003.jpg


Wicked_Bad_To_The_Bone_004.jpg


Wicked_Bad_To_The_Bone_005.jpg


Wicked_Bad_To_The_Bone_006.jpg


Wicked_Bad_To_The_Bone_007.jpg


Wicked_Bad_To_The_Bone_008.jpg


Wicked_Bad_To_The_Bone_009.jpg


I think the 32 Ford was shakin....


:)
 
Thanks for putting those pictures up Mike.

I wanted to mention that I finished polishing out the paint on my 2000 Firebird yesterday with the Flex. I was having a heck of hard time with the PC I had been using, it was taking forever with CG v-line polishes. I think the polishes themselves are good, the paint is just so hard on those cars I needed more power. With the Flex I switched to m101 on an orange LC flat pad and followed with with m205 on a white LC flat pad, both 5.5 inch. This combo made quick work of the major defects, leaving behind only the rids I wasn't comfortable going after for fear of burning the clear coat. I'll get some pics up in the show and shine once I get them uploaded.

Also I wanted to comment on the Rupes quickly. I read a lot of people who have problems binding up the Rupes on curves. I found both of these polishers to be vastly different than the PC. You really have to pay attention to your technique otherwise the Flex will "walk" on you, and in the case of the Rupes the backing plate will stop spinning. I found that with proper technique with the Rupes I had no problems maneuvering around the curves of the body panel. The polisher has plenty of power to keep the pad spinning if you hold the machine correctly, but it is still a polisher that uses a free floating spindle so I think anybody that is having problems with the Rupes should examine their technique rather write off the polisher's abilities. It might just be a simple tweak. I can certainly understand not wanting to drop that kind of cash on a machine like that, i just think you have to remember how and what the machine was designed for. Thats why it was so awesome being able to test them both out before i made my purchase decision. Again, I just happened to like the Flex a little bit more so I went with that.

Sent from my Transformer using AG Online
 
Very nice write up Mike. I was almost expecting another time trial on which could get it done.

Eric, was there any specific feature that you liked about the Flex. I would have felt the Rupes 21 larger stroke would make it quicker work.
 
Mike you get the coolest stuff coming into the shop. Thank for the great pics.

My DP order just arrived today with any luck I can get one of my cars done this weekend.

ekennett nice ride enjoy your Flex as well.
 
Very nice write up Mike. I was almost expecting another time trial on which could get it done.

Eric, was there any specific feature that you liked about the Flex. I would have felt the Rupes 21 larger stroke would make it quicker work.

Al, what it really came down to was I thought it did a better job. We used the Wolfgang twins with the Flex, which I had never used before and found to have superior results to the Rupes when it was used with the Rupes polishes and pads.

I like that it is a true forced rotation polisher with a dual action. It's like a hybrid between a free floating spindle DA and a rotary. The strengths of both but the weaknesses of neither type of deal. It does take some practice to keep it from walking around the paint, but I found the Rupes with its giant throw to have the same drawback.

When I was using the Flex at home this past week, I found that I could hold the pad at an angle on a deeply contoured body panel and keep the pad spinning. It's not ideal, probably a rotary with a 3" pad would be best for this type of situation, but you make due with what you have. The Rupes with a free floating spindle could probably not handle being manipulated into a tight spot like that on that kind of angle.
 
Back
Top