Mike Phillips
Active member
- Dec 5, 2022
- 51,004
- 7
Rupes 21 & Flex 3401 Comparison + Detailer's Paint Coating
Okay, so my buddy Mike has this really cool hot rod, it's currently his favorite toy out of all of his hot rods. The first time I saw it I thought it looked cool but the paint was dull and hand no gloss. This was while the car was parked in his garage.
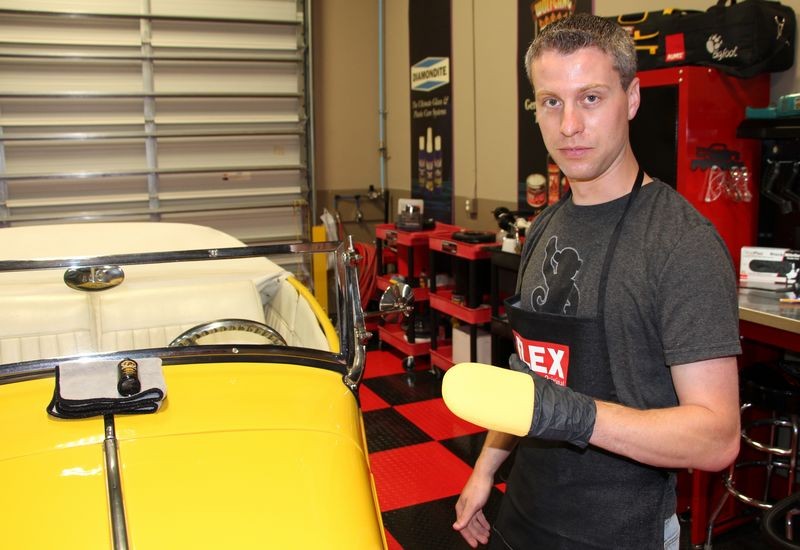
Fast forward a few weeks and a box of stuff shows up on my desk for me to test. I needed a car to really give these new products a thorough testing so I called Mike and asked him if I could use the 1932 Ford Phaeton. I also had a forum member by the name of Eric aka ekennett that asked to come by Autogeek to test out and compare the Flex 3401 versus the Rupes polishers. You can also see Eric testing these two polishers here as he also had a chance to test a brand new paint coating while he was here.
Detailer’s Paint Coating on Single Stage Paint
Perfect timing
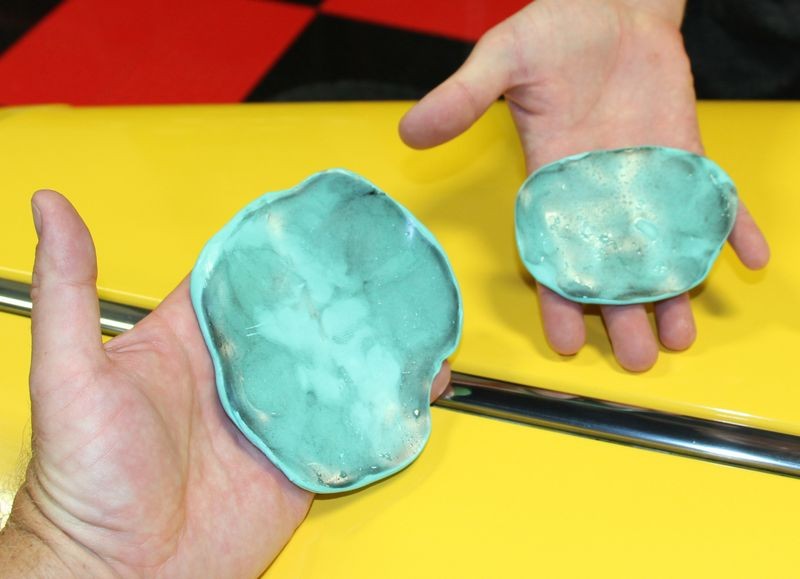
I figured I could accomplish both goals with one car. Turns out, this car has single stage paint. I didn't know this until I buffed a section of the hood and after turning my polisher over I quickly saw that I was dealing with yellow single stage paint.
Now this is okay, I mean having a hot rod with single stage paint to test out these new products is okay, but to really t-e-s-t them out I need a car with a basecoat/clearcoat paint system. So my other buddy Carlos is bringing me another hot rod on Monday to test these products again.
So here's the write-up for the 1932 Ford Phaeton...
Here she is after I machine scrubbed the gangster white wall tires and applied Tuf Shine Tire Clear Coat. (This is another write-up in the works).
Note the paint looks nice but there's no pizazz!

How to capture swirls in the sun
While Eric was here, we took the "Before" shots in the sun. It was cloudy outside so we had to wait a bit for the clouds to part and let the sun shine through.
As you look at these pictures, note how,
First I frame up the shot so you have a good idea what it is I'm taking a photograph, (type of car), or the section of the car.
Second, I zoom in on just the topic of the picture, in this example it will be swirls
Sun on hood shot
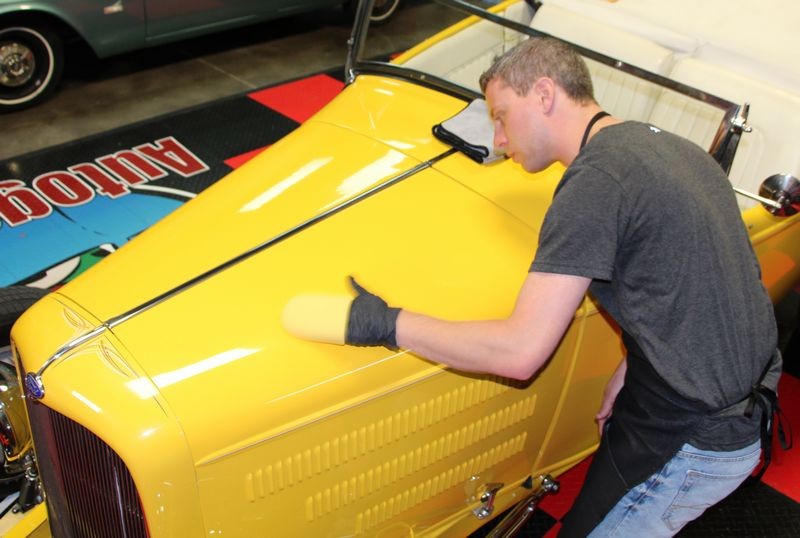
Here I'm zoomed out and holding the camera way over my head while pointing the lens at the hood.
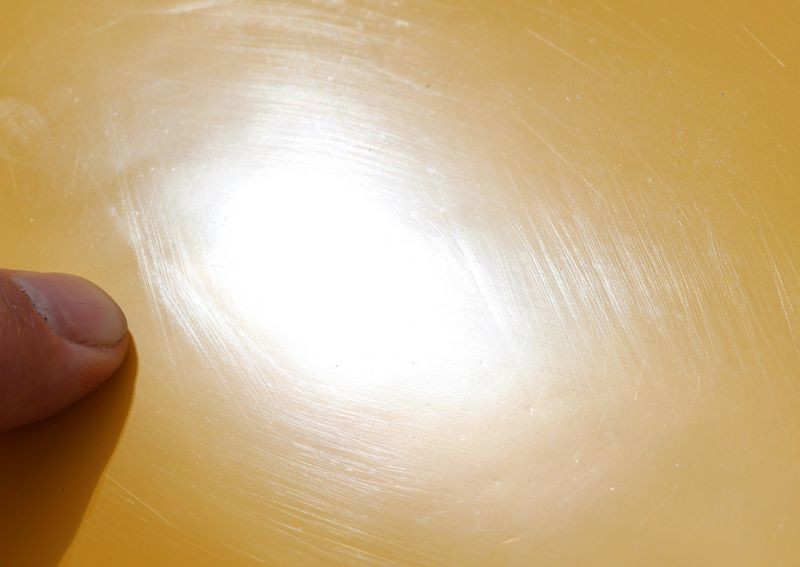
Close-up shot of swirls
Note my finger on the paint? While it looks like I'm pointing to the swirls and I am, the real reason my finger is in the shot is to give the camera a focus point on the hood. By focusing on my finger, the camera also focuses on the "surface" of the paint to capture the swirls and scratches on the surface. I have an article about this photography technique here.
Sun on hood shot
In this pictures we've actually turned the hot rod around as we were getting ready to move it into the garage when all of a sudden, the sun poked his head out of the clouds a little better than in the above pictures. So I took a few more shots...
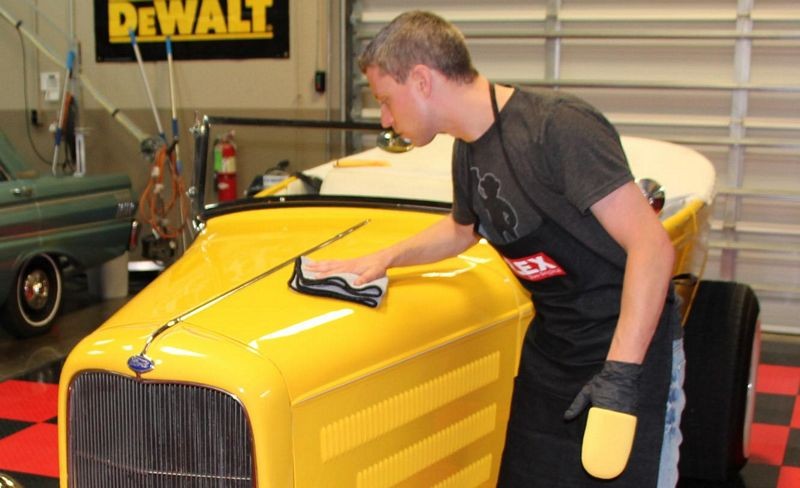
Hood framed up...
Giving the camera a focus point
Here I'm about still zoomed all the way out but holding the camera a lot close to the hood now and I've moved my finger into position.

Close-up Shot
Now I'm zoomed all the way in...

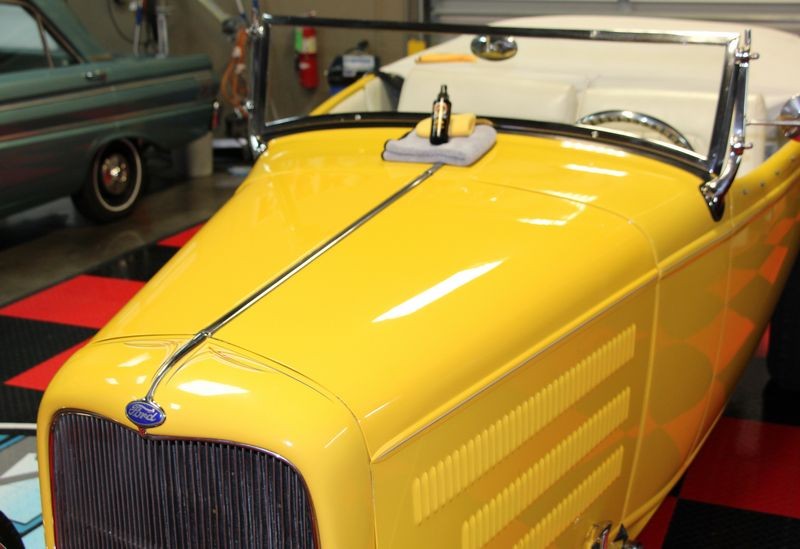
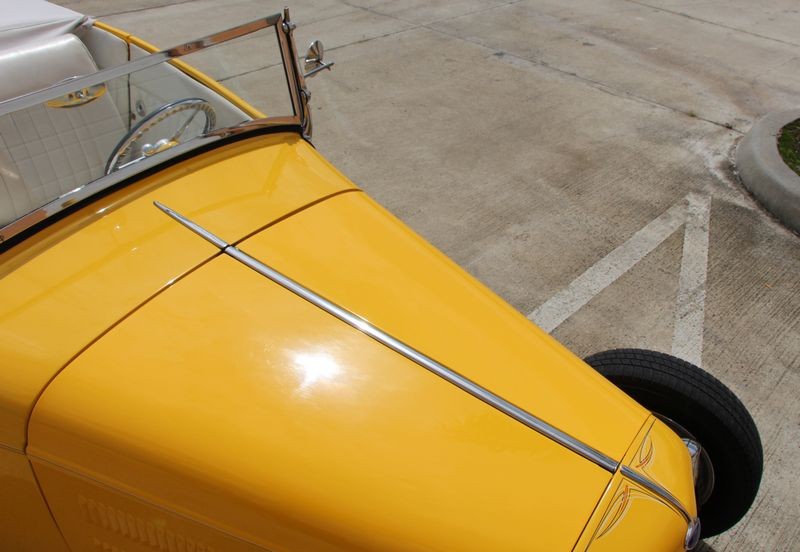
Framing-up the shot
Here I wanted to show the swirls and scratches are equally distributed throughout the body panels.

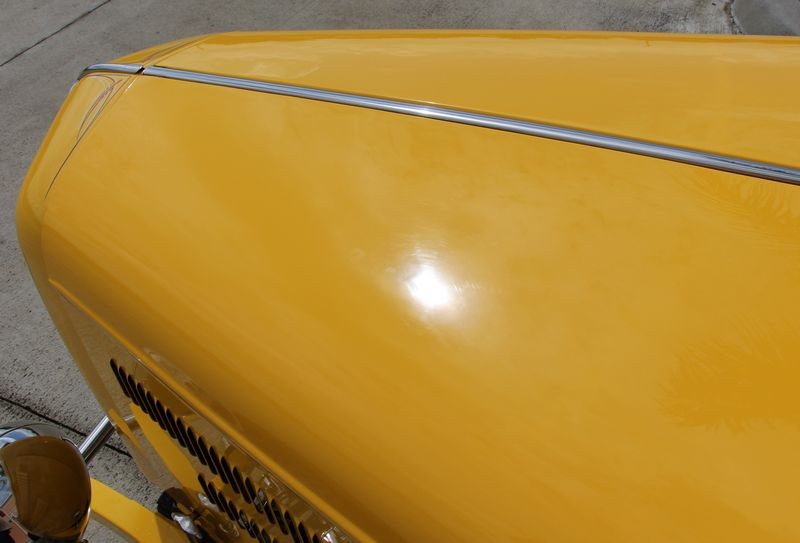
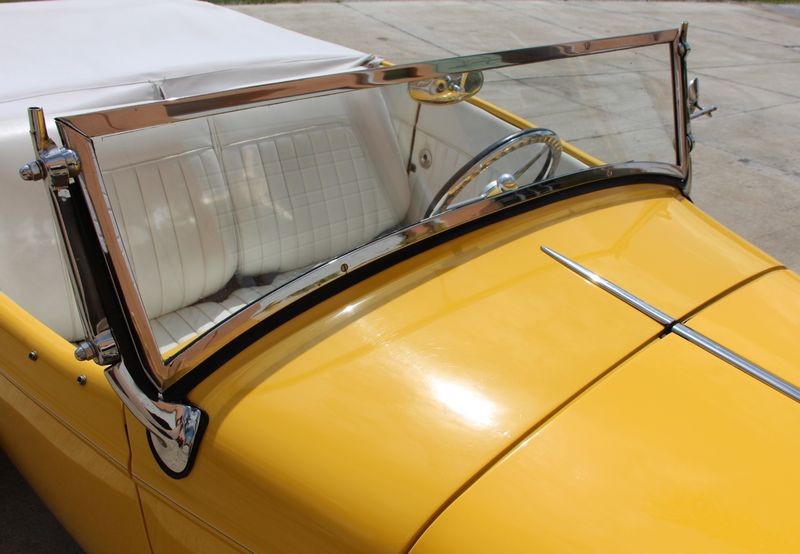
Close-up Shot
For this picture, my camera is able to use the edge of the hood and the radiator shell to focus on so I don't need to use my finger for this shot.

Framing-up the shot
Close-up shot

And there you go. That's how to use your camera to take pictures to show the before condition of the paint by framing up a shot and then getting the close-up shot.
By doing this I've also documented the true condition of the paint when the car arrived.
More to come...
")
Okay, so my buddy Mike has this really cool hot rod, it's currently his favorite toy out of all of his hot rods. The first time I saw it I thought it looked cool but the paint was dull and hand no gloss. This was while the car was parked in his garage.
Fast forward a few weeks and a box of stuff shows up on my desk for me to test. I needed a car to really give these new products a thorough testing so I called Mike and asked him if I could use the 1932 Ford Phaeton. I also had a forum member by the name of Eric aka ekennett that asked to come by Autogeek to test out and compare the Flex 3401 versus the Rupes polishers. You can also see Eric testing these two polishers here as he also had a chance to test a brand new paint coating while he was here.
Detailer’s Paint Coating on Single Stage Paint
Perfect timing
I figured I could accomplish both goals with one car. Turns out, this car has single stage paint. I didn't know this until I buffed a section of the hood and after turning my polisher over I quickly saw that I was dealing with yellow single stage paint.
Now this is okay, I mean having a hot rod with single stage paint to test out these new products is okay, but to really t-e-s-t them out I need a car with a basecoat/clearcoat paint system. So my other buddy Carlos is bringing me another hot rod on Monday to test these products again.
So here's the write-up for the 1932 Ford Phaeton...
Here she is after I machine scrubbed the gangster white wall tires and applied Tuf Shine Tire Clear Coat. (This is another write-up in the works).
Note the paint looks nice but there's no pizazz!
How to capture swirls in the sun
While Eric was here, we took the "Before" shots in the sun. It was cloudy outside so we had to wait a bit for the clouds to part and let the sun shine through.
As you look at these pictures, note how,
First I frame up the shot so you have a good idea what it is I'm taking a photograph, (type of car), or the section of the car.
Second, I zoom in on just the topic of the picture, in this example it will be swirls
Sun on hood shot
Here I'm zoomed out and holding the camera way over my head while pointing the lens at the hood.
Close-up shot of swirls
Note my finger on the paint? While it looks like I'm pointing to the swirls and I am, the real reason my finger is in the shot is to give the camera a focus point on the hood. By focusing on my finger, the camera also focuses on the "surface" of the paint to capture the swirls and scratches on the surface. I have an article about this photography technique here.
Sun on hood shot
In this pictures we've actually turned the hot rod around as we were getting ready to move it into the garage when all of a sudden, the sun poked his head out of the clouds a little better than in the above pictures. So I took a few more shots...
Hood framed up...
Giving the camera a focus point
Here I'm about still zoomed all the way out but holding the camera a lot close to the hood now and I've moved my finger into position.
Close-up Shot
Now I'm zoomed all the way in...
Framing-up the shot
Here I wanted to show the swirls and scratches are equally distributed throughout the body panels.
Close-up Shot
For this picture, my camera is able to use the edge of the hood and the radiator shell to focus on so I don't need to use my finger for this shot.
Framing-up the shot
Close-up shot
And there you go. That's how to use your camera to take pictures to show the before condition of the paint by framing up a shot and then getting the close-up shot.
By doing this I've also documented the true condition of the paint when the car arrived.
More to come...