First off I want to say thank you for all the how-to articles and threads you have written to help people like myself bring back the shine and remove scratches from paint. I do have a question though. I have my fathers 68 Camaro he purchased new and it still has the original paint. I am in the process of doing a preservation of the car. I have followed your single stage paint thread.
Just to give a little back story on the car you can go here where I started the preservation thread here.
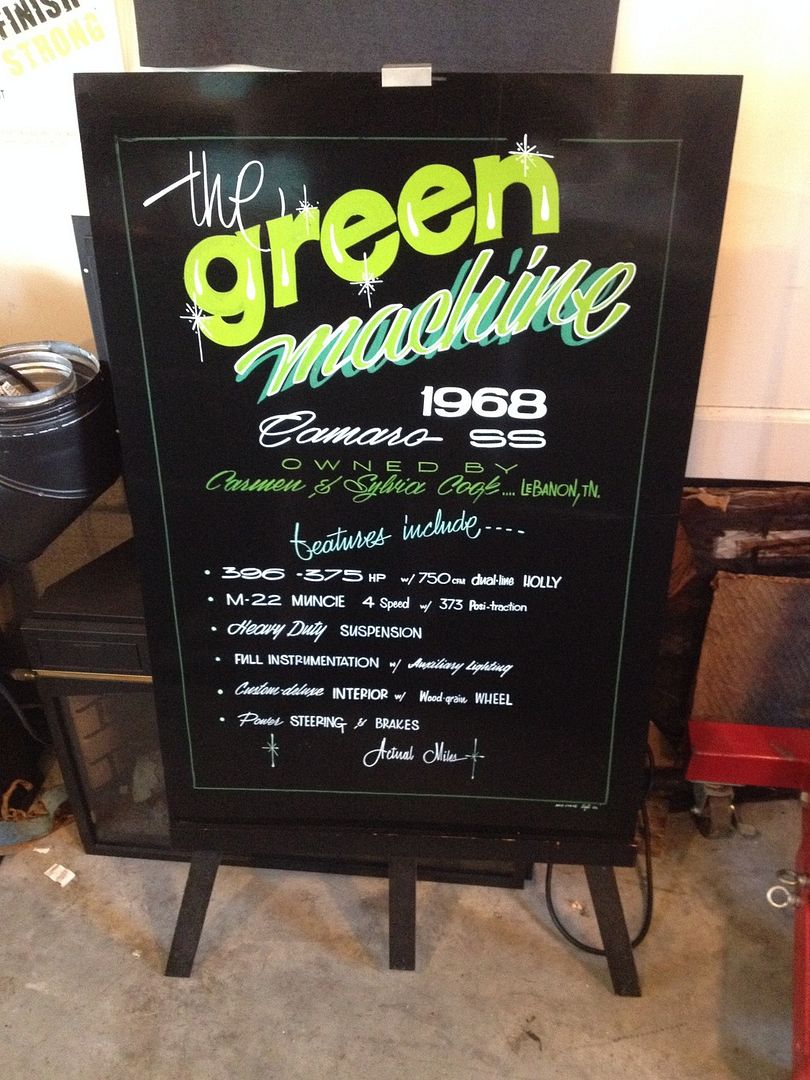
Preservation Project Green Machine Link
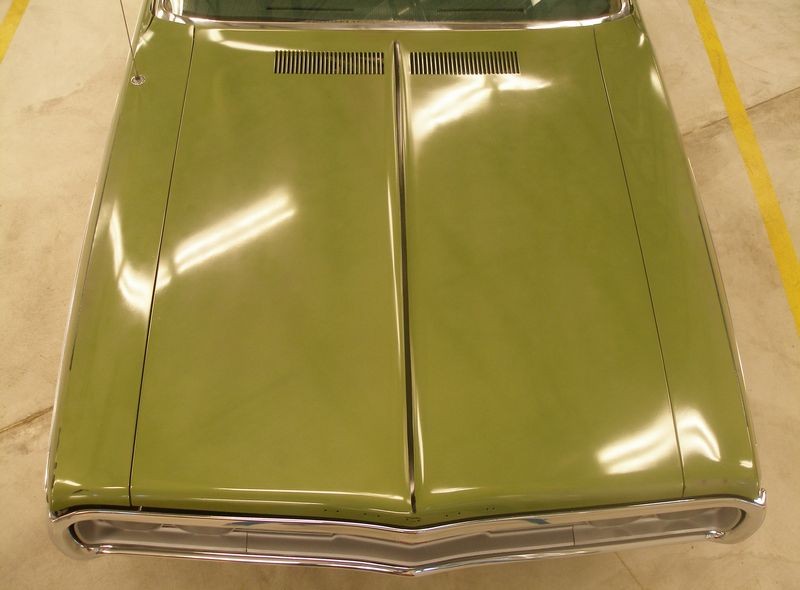
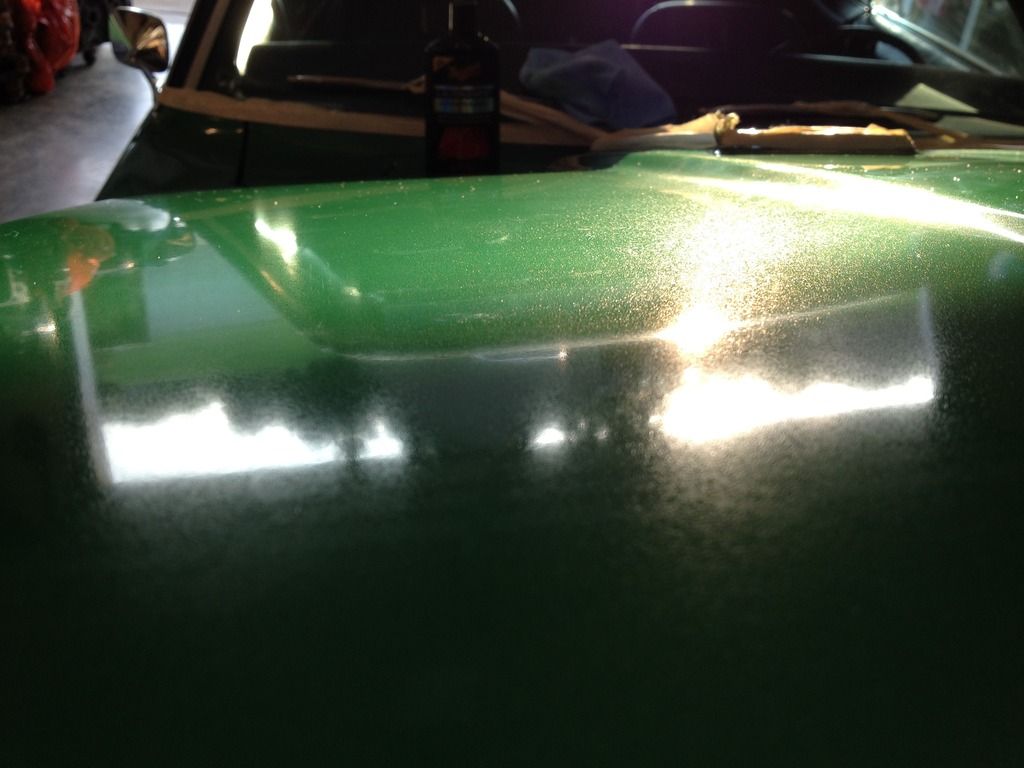
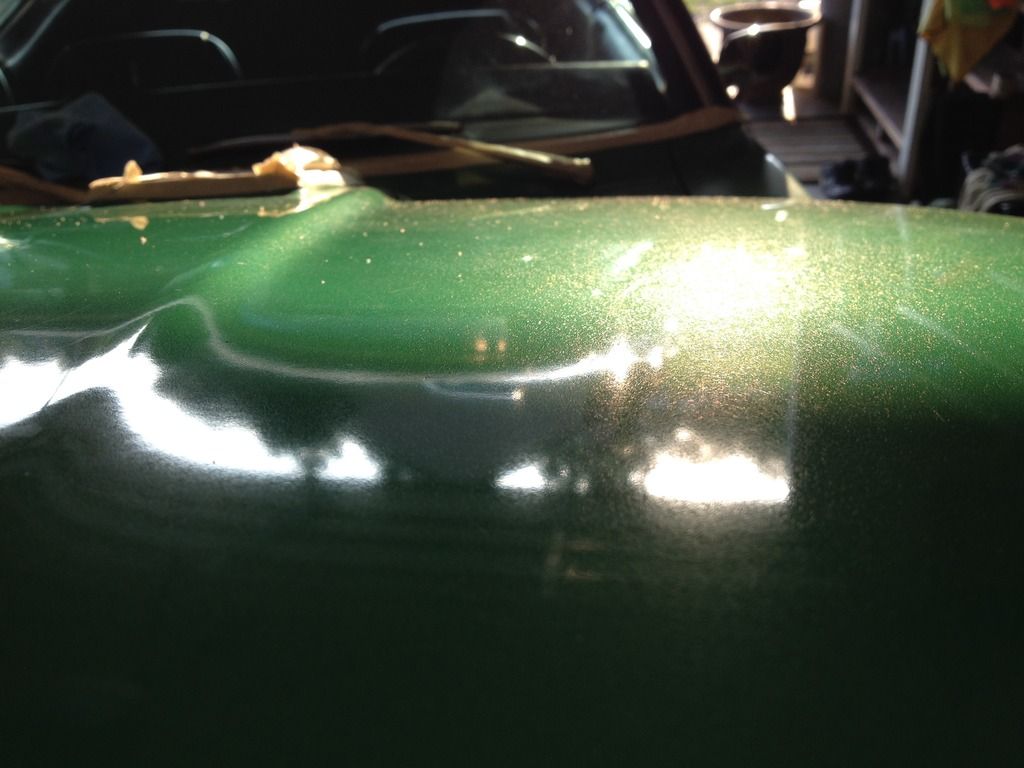
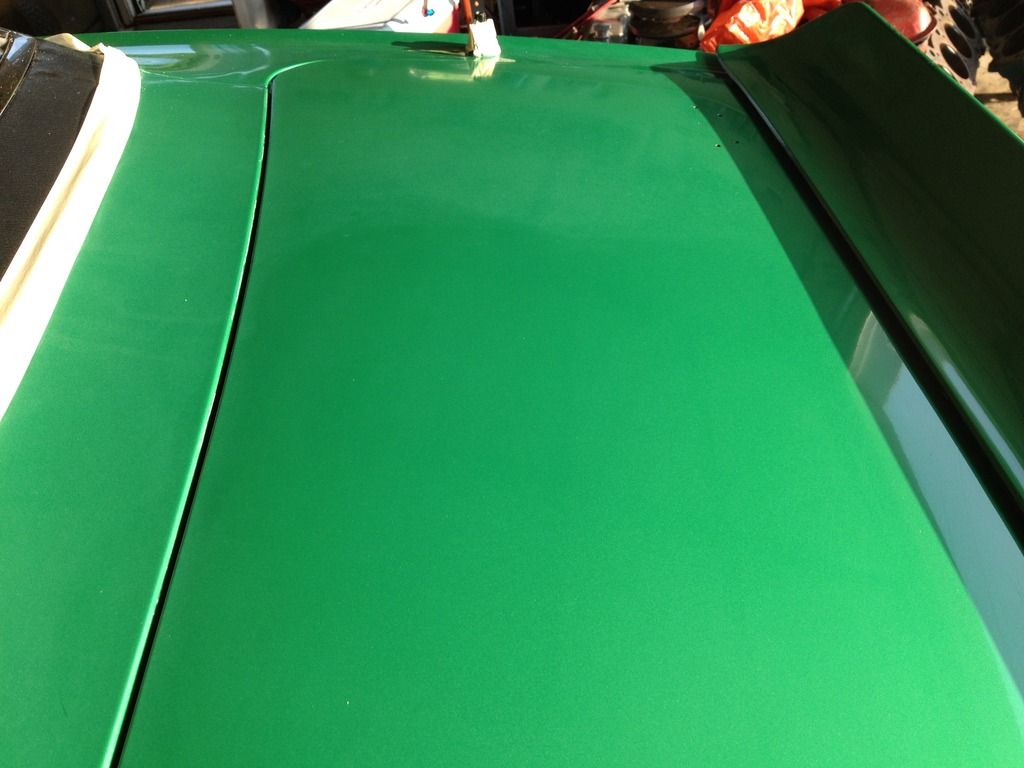
Here is what I have done to this point. 2 hand applied coats of #7, DA polisher starting out with #7 then going to #205, then to Ultimate Compound and finally #105 and then back to #205. I still can not get the look of this out of the hood. The rest of the car is fine just the hood is the issue. See pic below. Is there something wrong with the paint or am I not doing something correctly? Looking straight down at the paint you do not see the issue but at an angle with the light you can see it pretty well.
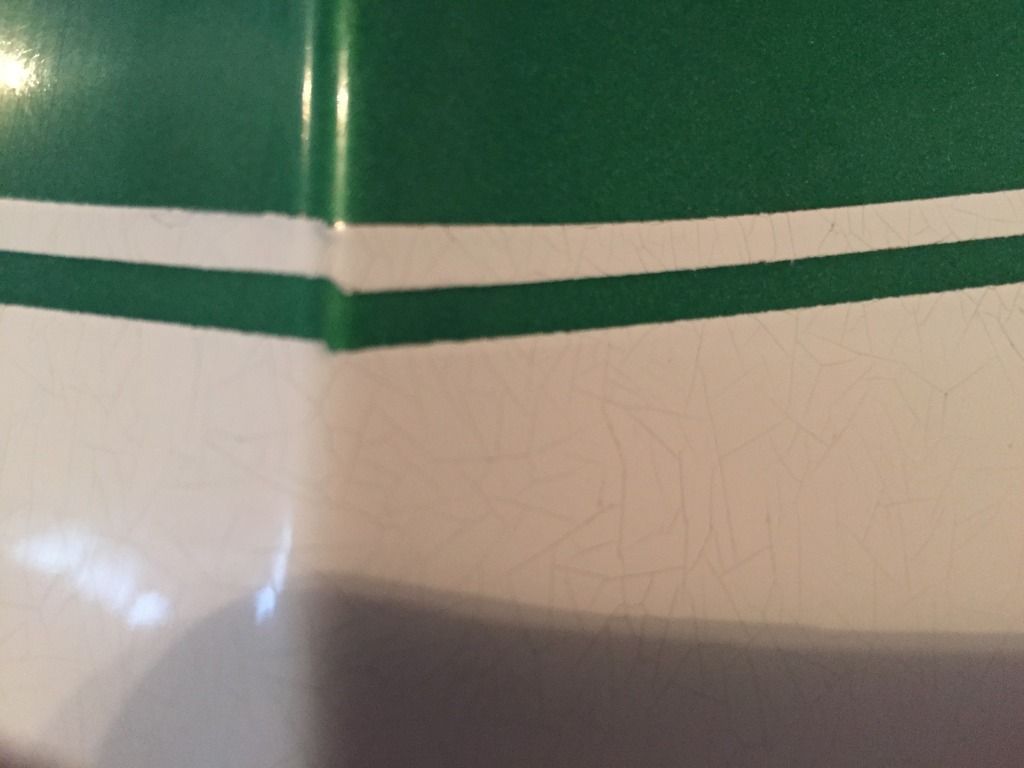
The front stripe does have some checking in it but the green does not.
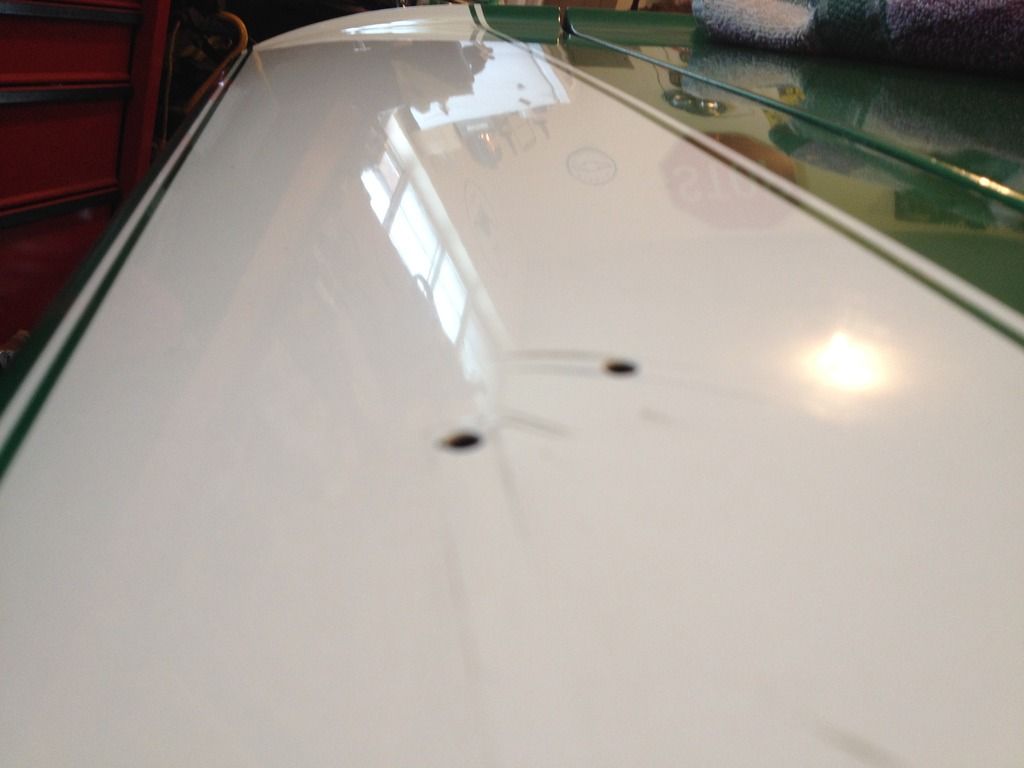
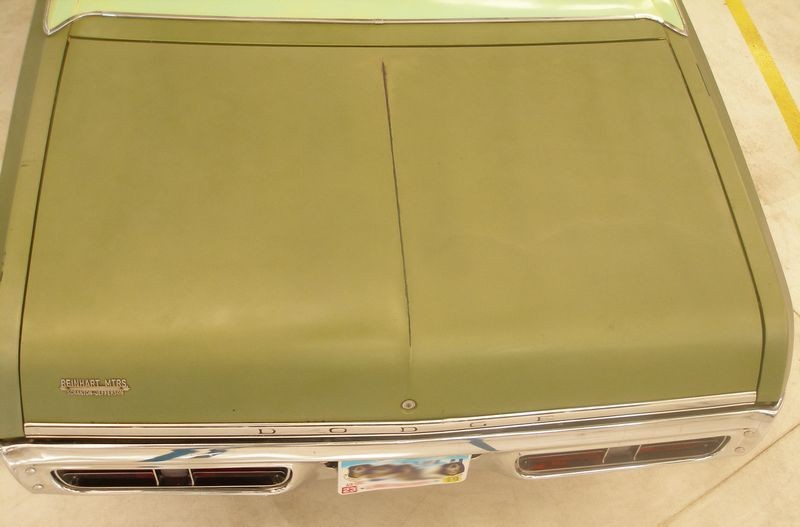
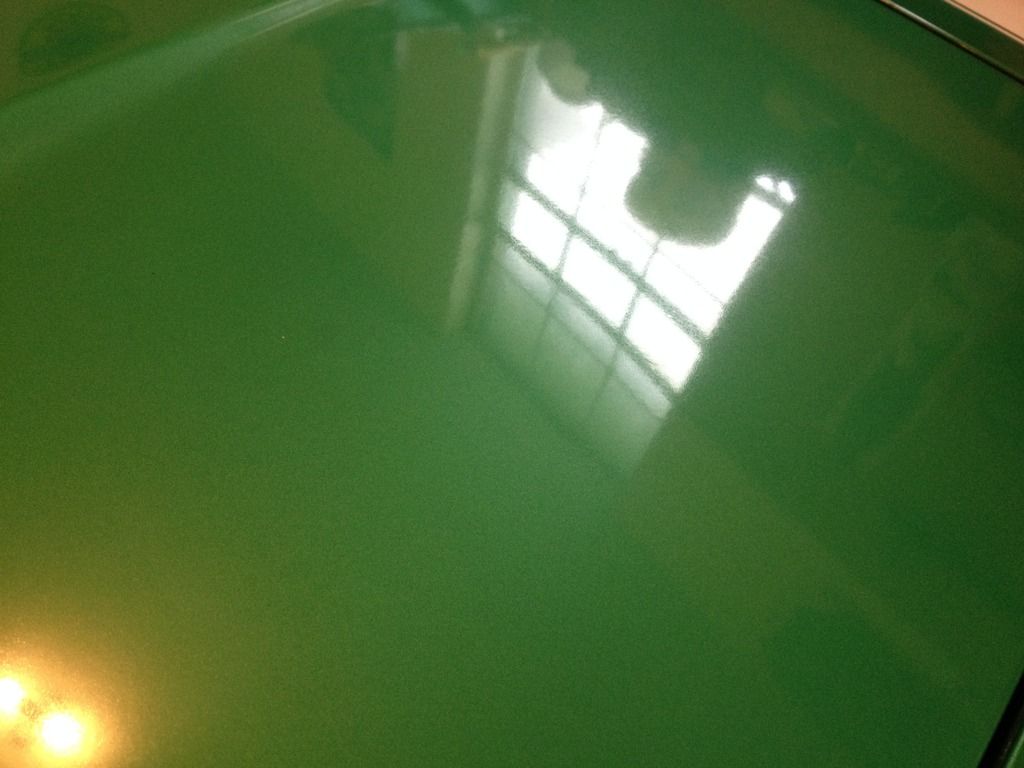
This might be kinda hard to see in the pic but on the trunk I did the same as above but when I got to #105 and then #205 after you can see a great difference in the area I worked versus the rest. And again I started with 2 coats of hand applied #7, then #205, then ultimate compound and finally #105 then back to #205.
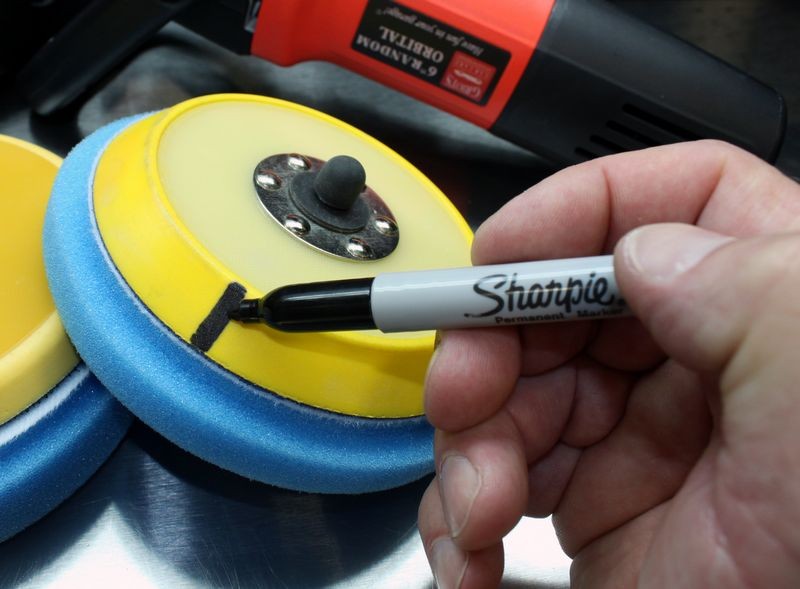
Also there are still some scratches that I can not get out of the paint. Will I need to go to a variable speed polisher with a wool pad to remove these? I have a wool pad coming for the DA first that I might try if you think that will help. Let me know your thoughts. Take care, Darrell
Just to give a little back story on the car you can go here where I started the preservation thread here.
Preservation Project Green Machine Link
Here is what I have done to this point. 2 hand applied coats of #7, DA polisher starting out with #7 then going to #205, then to Ultimate Compound and finally #105 and then back to #205. I still can not get the look of this out of the hood. The rest of the car is fine just the hood is the issue. See pic below. Is there something wrong with the paint or am I not doing something correctly? Looking straight down at the paint you do not see the issue but at an angle with the light you can see it pretty well.


The front stripe does have some checking in it but the green does not.


This might be kinda hard to see in the pic but on the trunk I did the same as above but when I got to #105 and then #205 after you can see a great difference in the area I worked versus the rest. And again I started with 2 coats of hand applied #7, then #205, then ultimate compound and finally #105 then back to #205.

Also there are still some scratches that I can not get out of the paint. Will I need to go to a variable speed polisher with a wool pad to remove these? I have a wool pad coming for the DA first that I might try if you think that will help. Let me know your thoughts. Take care, Darrell
")