How do you know when you have done enough applications of #7 and you are ready to move on to waxing?
When the paint looks good to you.
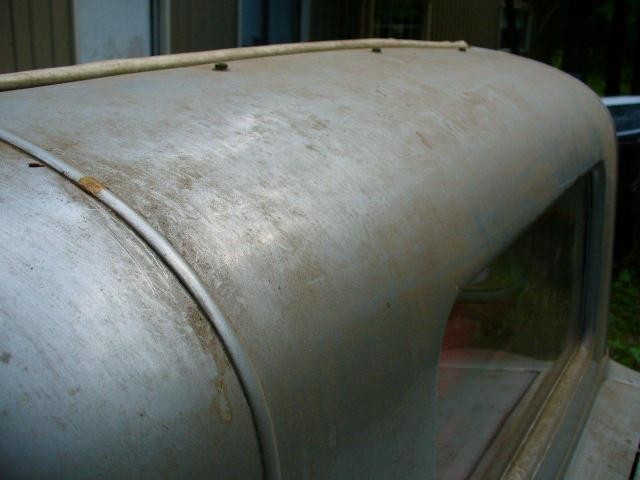
Chances are good, if you read my article and are working on something that's old, original or antique then it started out looking bad to you.
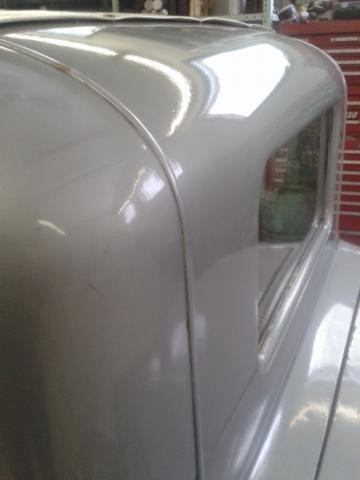
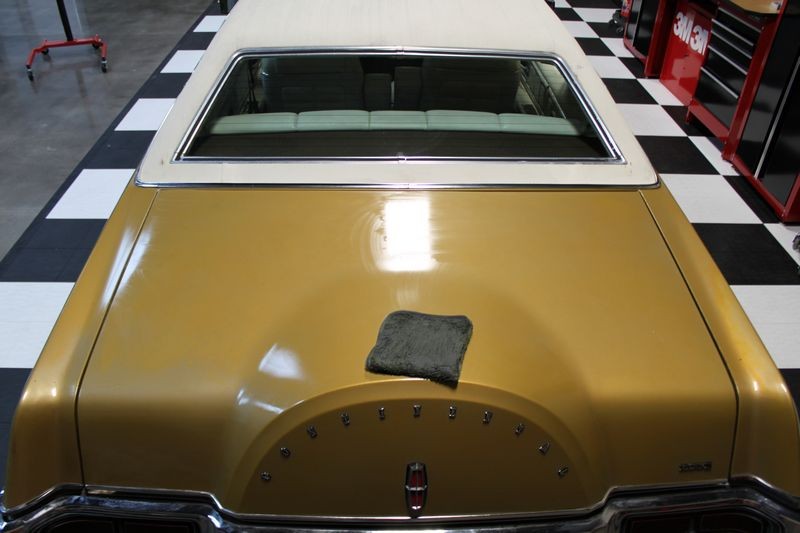
After applying and rubbing the paint down with #7 using the technique I share in this article by the time you do the rub-down 2-3 times it should look good.
If it doesn't then my guess is the paint is i both category #9 and category #11
See the link below for an excerpt from my how-to book,
Page 37 - Paint Condition Categories
Would it work to start out or finish up with #9 to provide some abrasion to remove some of the old dead paint and some minor swirls or scratches.
Say, use it first to clear the dead paint and oxidation away then go to #7. Or do multiple #7 applications and then follow up with #9
Both approaches will work but I think you're missing the point of my article. My article is for people working on antique and original single stage paint where it's IMPORTANT to them to do everything they can to preserve the original paint because they DON'T want to repaint their car. Usually for historical reasons, that is preserving history via preserving the original paint.
As such, the reason I have you rubbing the paint down with #7 instead of a product with abrasives is to gorge the paint with oils to revitalize it and make it safer to abrade in a secondary step.
The thing is however, the terry cloth acts as your abrasive and together with the lubricating oils in the #7 and your elbow grease you remove all the dead paint while you're bringing it back from the dead thus there is often no need to do a secondary abrading step just go to wax.
You can as an option but you need to be very careful if in fact you are working on antique, original single stage paint.
Is there a rule of thumb you follow when using #7. Like, would you normally do at least maybe 3 applications but typically no more than? Depending on the condition
No rule of thumb. Each car is different because the paint is different. Here's an example. In my article here,
Wayne Carini 1954 Hudson Hornet Original Paint Restored by Mike Phillips
I share a picture of Wayne's Hudson where you can clearly see PRIMER showing. It's in the first post of the above article, here you go...
Mike Phillips said:
Here's a thin spot where you can see black primer showing through...
Now follow me....
You DON'T want to rub that section of paint down more than once or that little black cloud looking area is going to GROW.
My guess is if I were have rubbed to hard anywhere on the paint on his car I would have created more thin spots. That's because it's old, brittle and dried-out from lack of proper care.
This old Hudson is just one example of restoring antique original single stage paint.
Each car to be worked on by someone reading this article is different. Maybe there's lots of paint, maybe the paint is what I call
Whisper Thin
You don't know, I certainly don't know so there is no rule of thumb. Each person has to inspect the car and then draw from all their experience and head knowledge including articles like this one an come up with a unique plan for the car in front of them.
I say error on the side of caution. Use the least aggressive product to get the job done.
If a mistake is made... words cannot describe the heart sinking feeling that will overcome you once the reality of what has happened had it's full impact.
By the way...
What are you working on?


