lawrenceSA
New member
- Feb 7, 2012
- 1,713
- 0
The owner of this vehicle intends selling it shortly and wanted it cleaned up before hand. Anyone who has seen the interior of these cars will know that there is plenty of space inside, with room for at least 6, and leather everywhere and so had to got busy on the interior as soon as the vehicle was dropped off on Friday night.
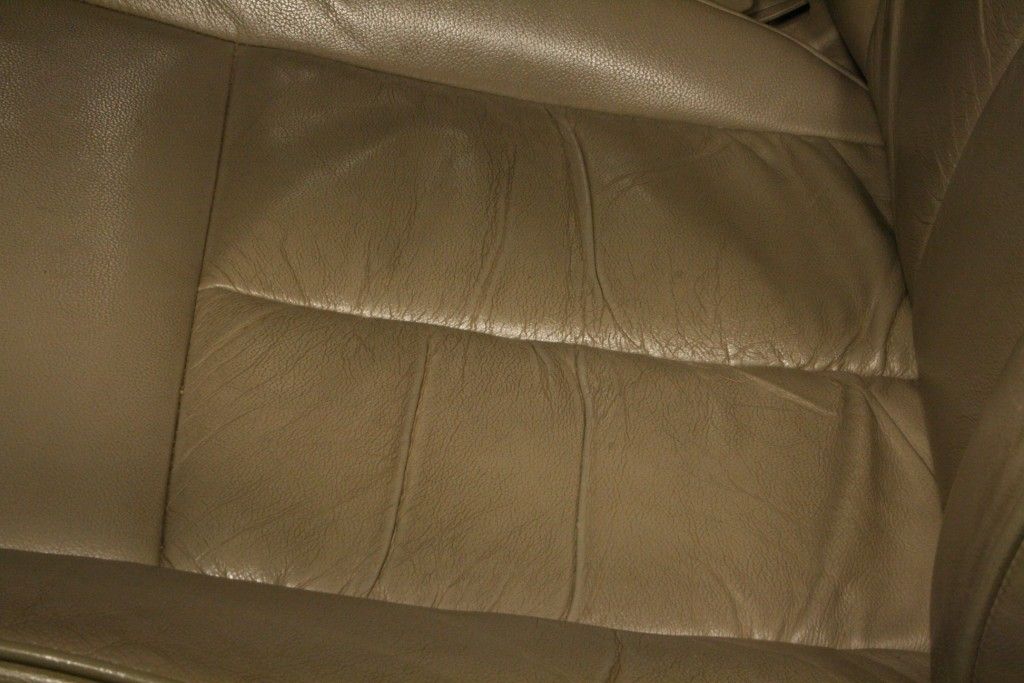
As you can see the leather was in a sorry state and after unsuccessfully trying a few products, I gave Anees (ShabsFS's son) a call and he hooked me up with some great advice - thanks mate.
On arrival
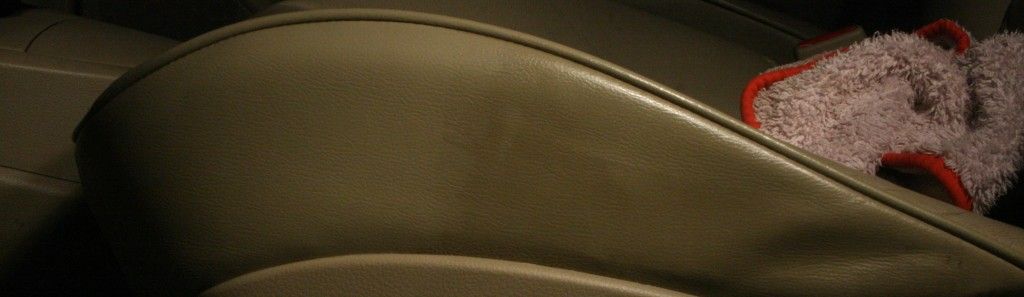
Here I have just started cleaning the left side of the seat using Cyclo CM30 @ 20:1
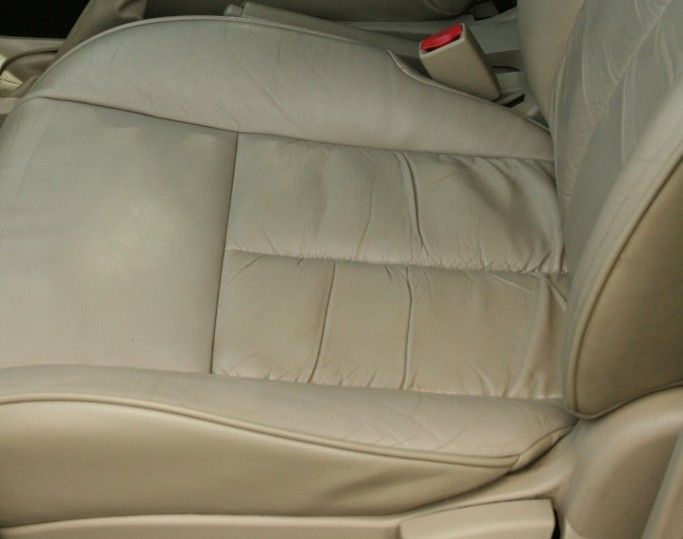
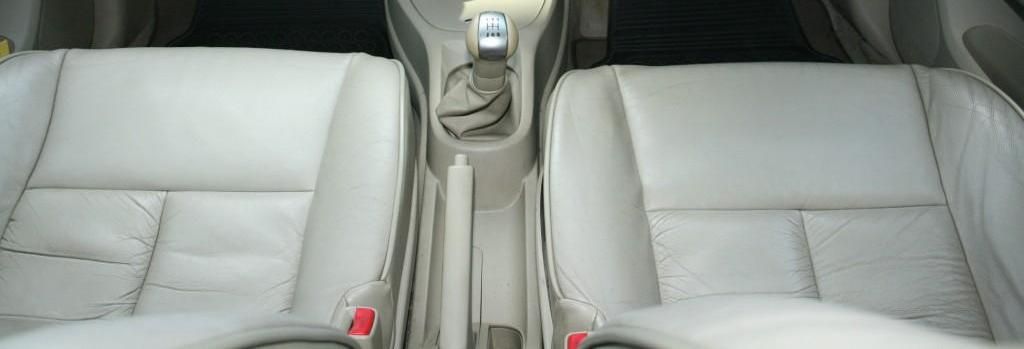
6 hours later and I had completed cleaning and conditioned/treated all the leather surfaces with Smartwax Smart Leather and whilst certainly not 100%, the interior was 100% better than when it arrived.
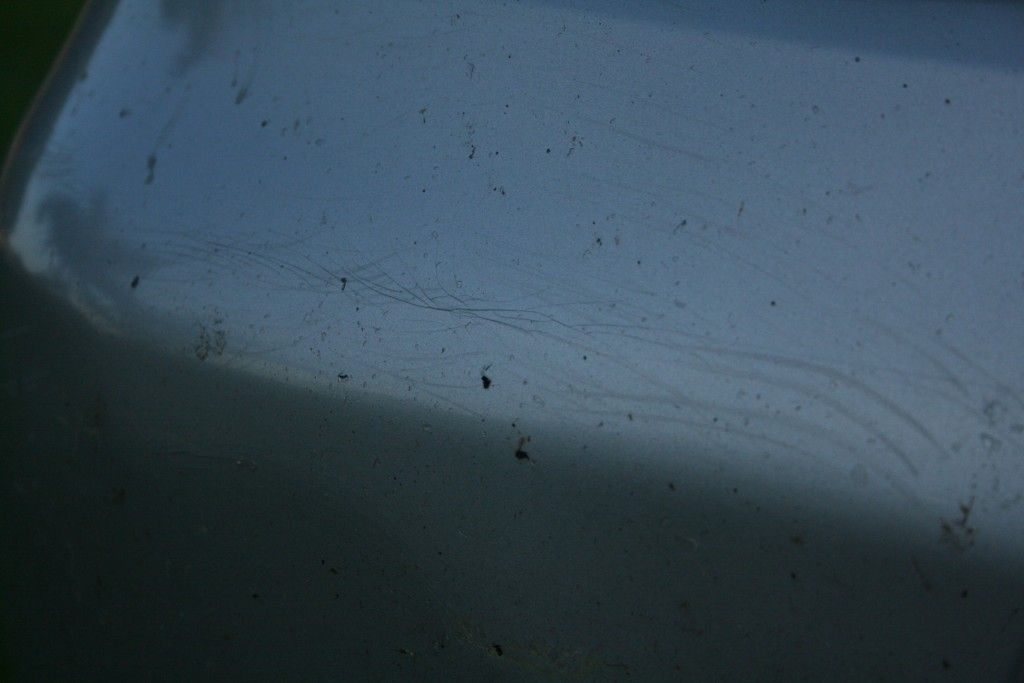
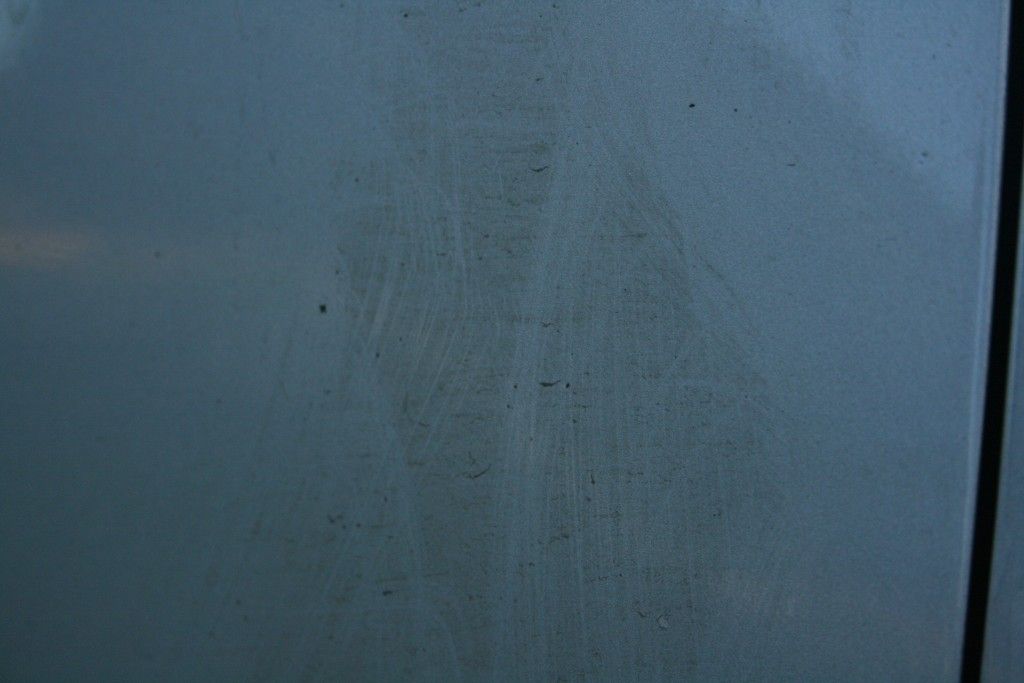
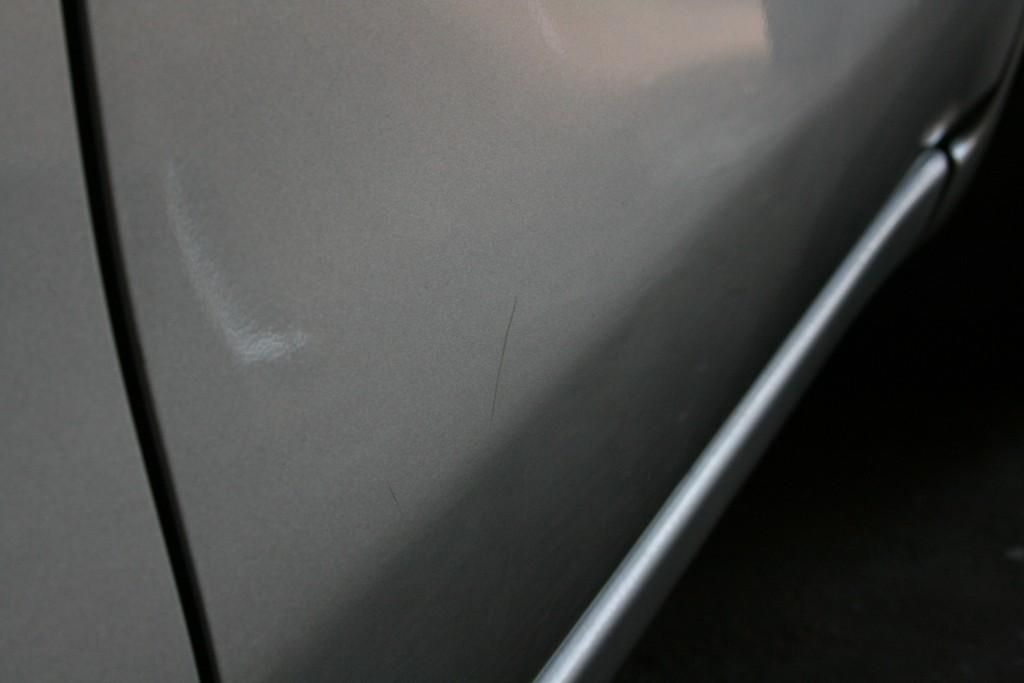
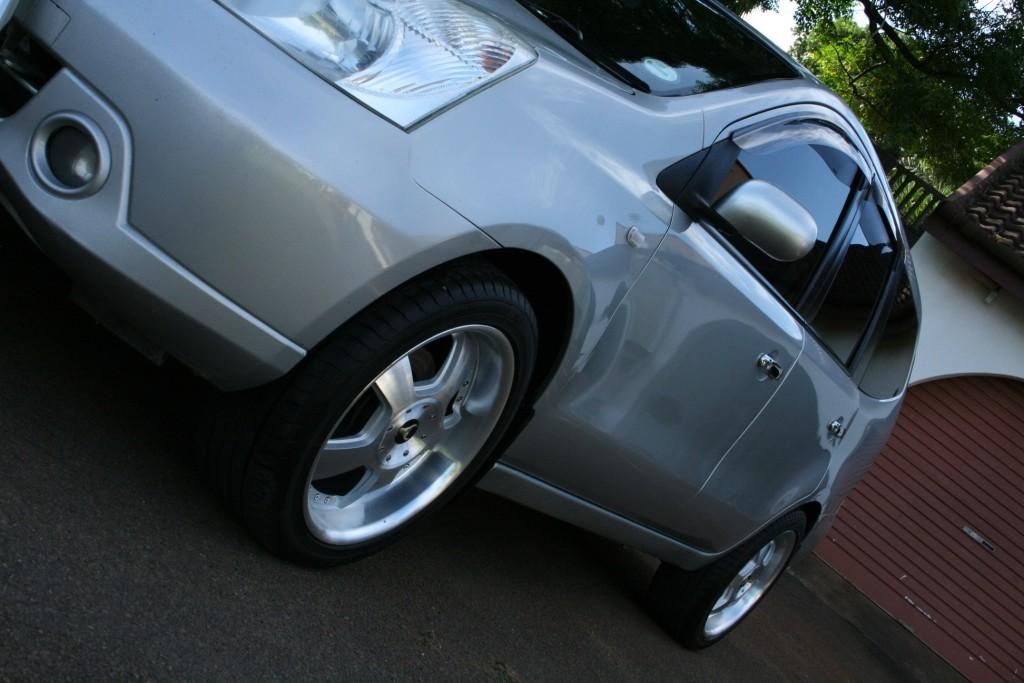
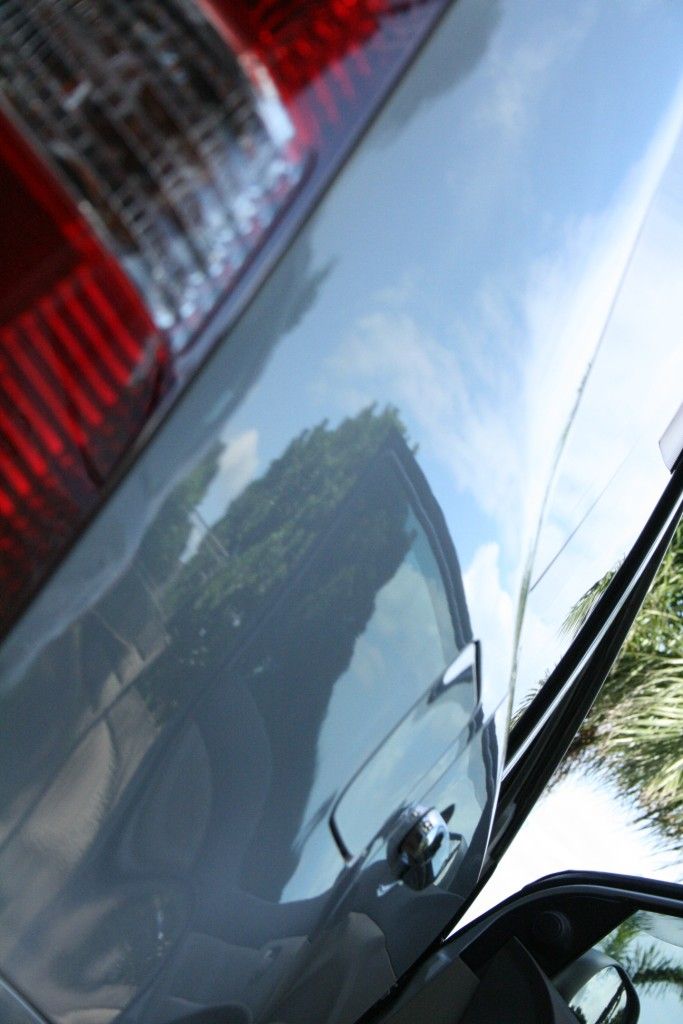
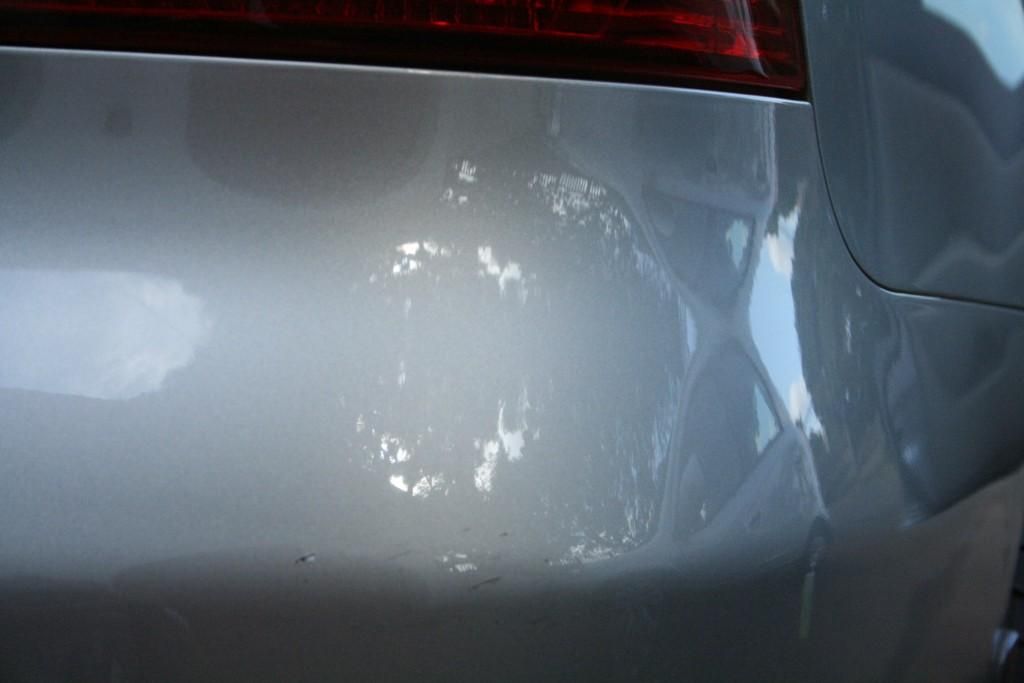
With the interior out of the way it was time to start on the car. The front end showed signs of much time cruising the open road, with many a bug and the obvious surface dirt, but also a huge amount of road rash.... the front bumper also had signs of cracking and was in such a bad state, that I simply could not attempt to correct the paint and therefore all that was done to the front bumper was a coat of cleaner wax applied by hand.
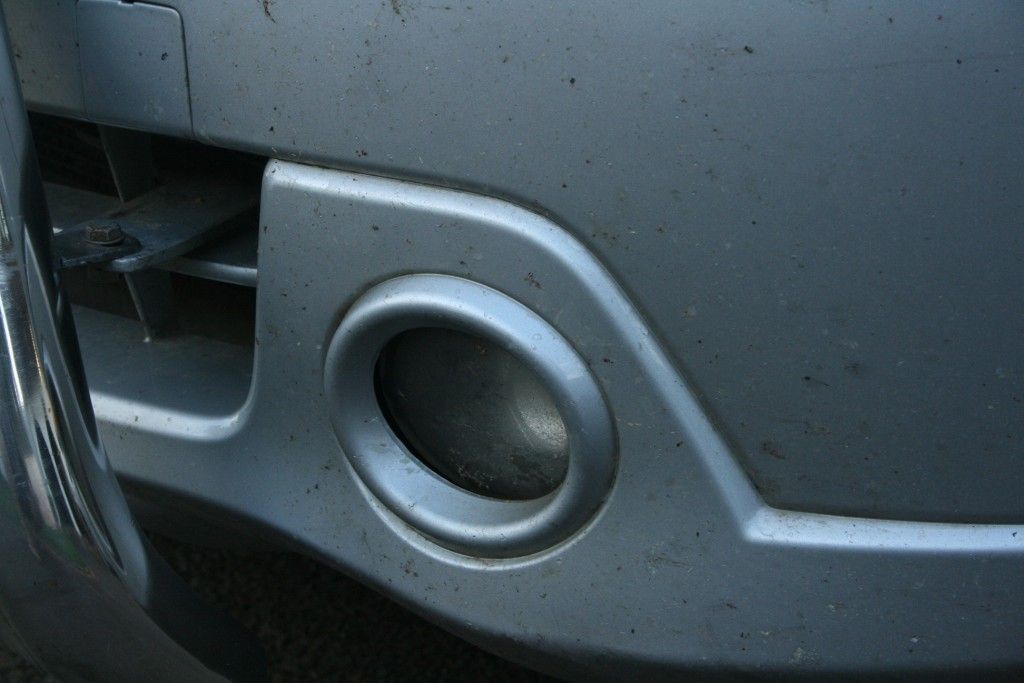

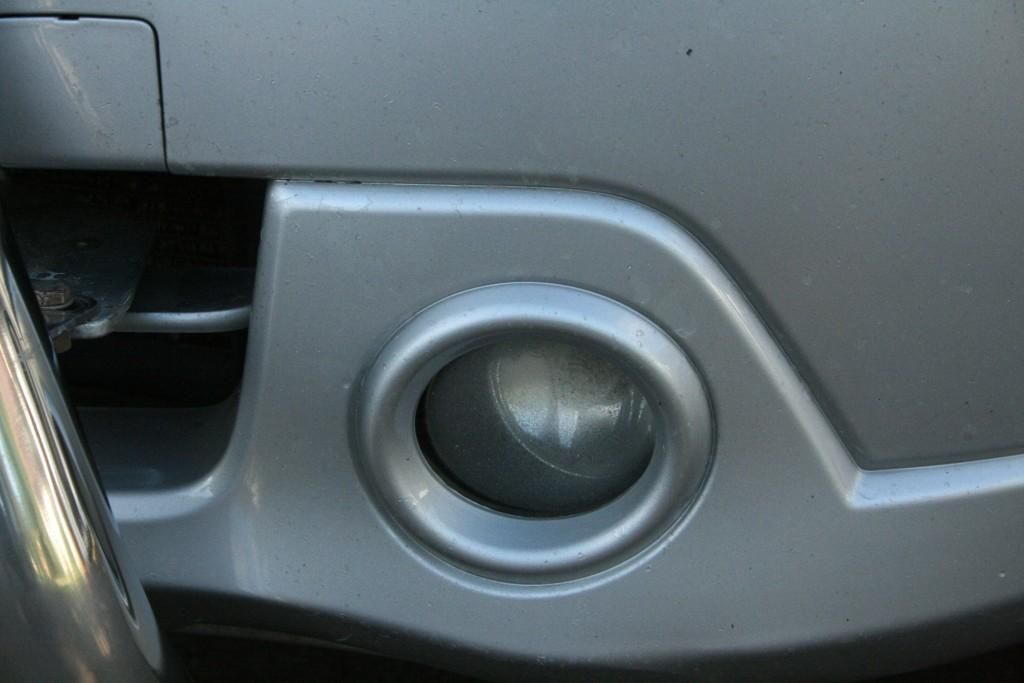
After
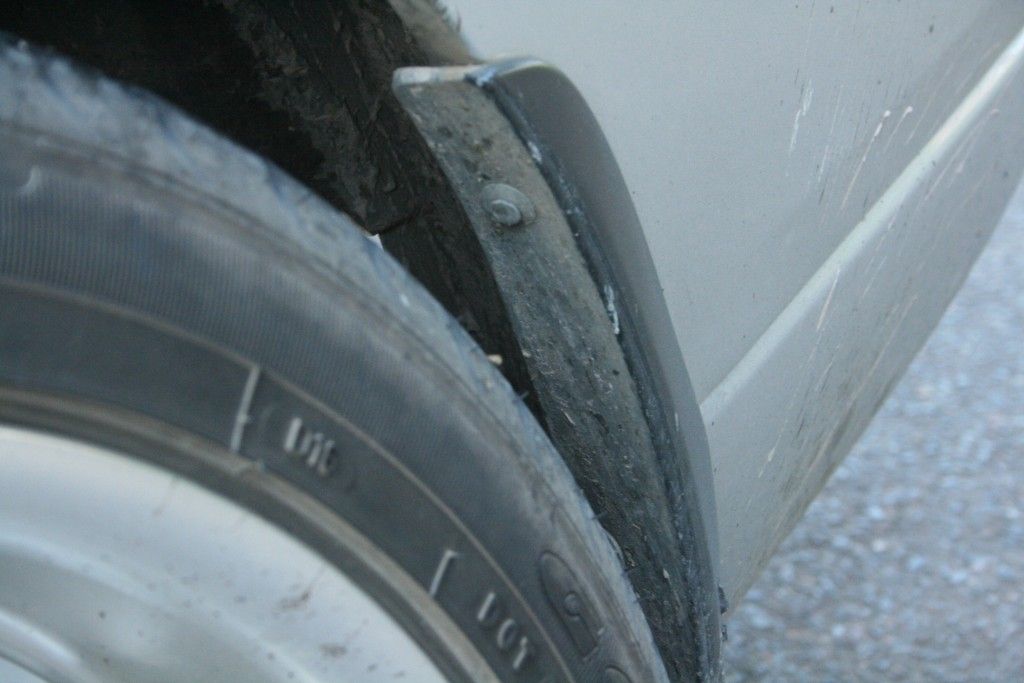
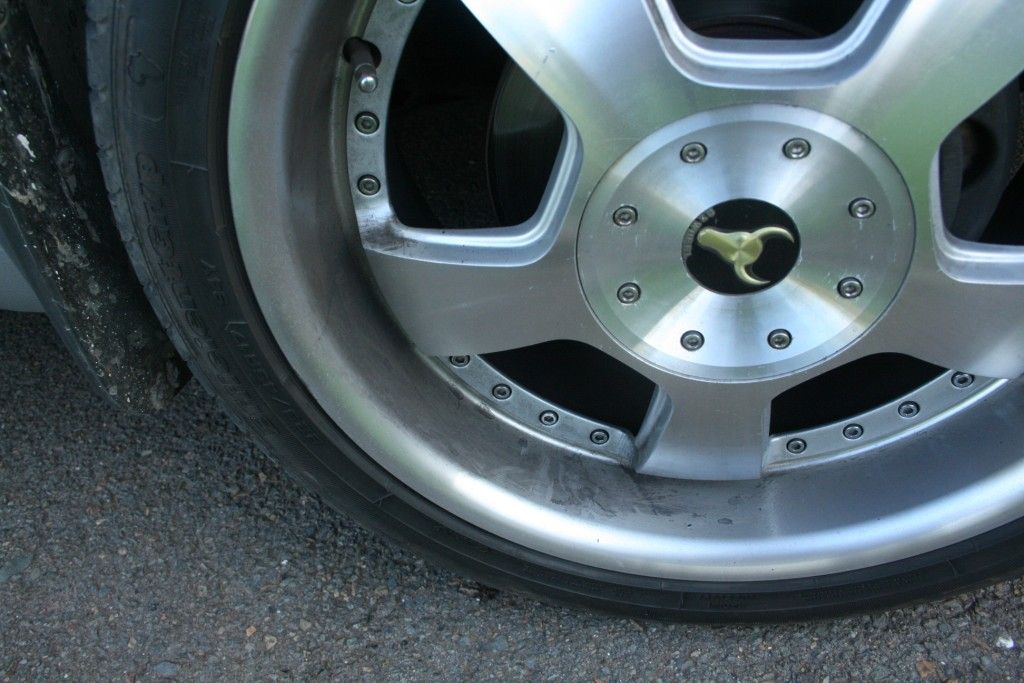
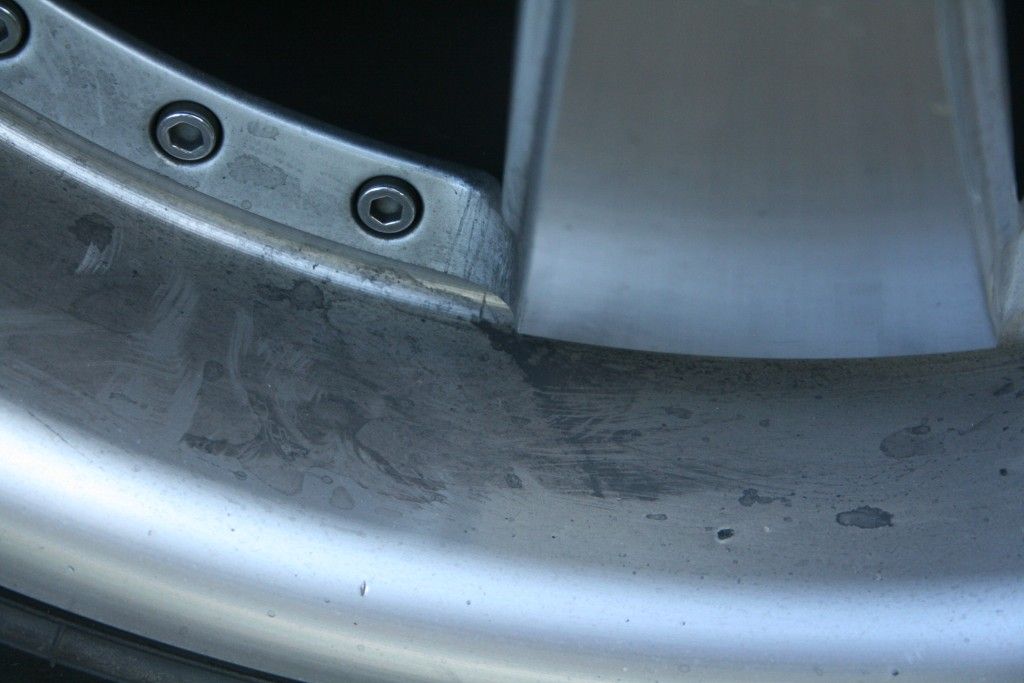
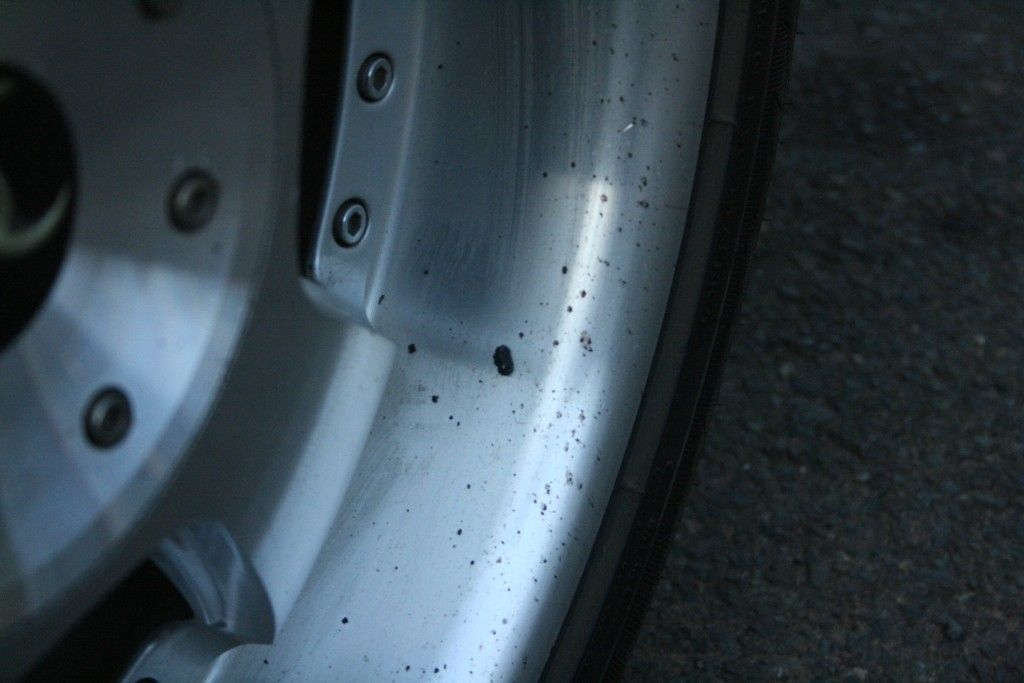
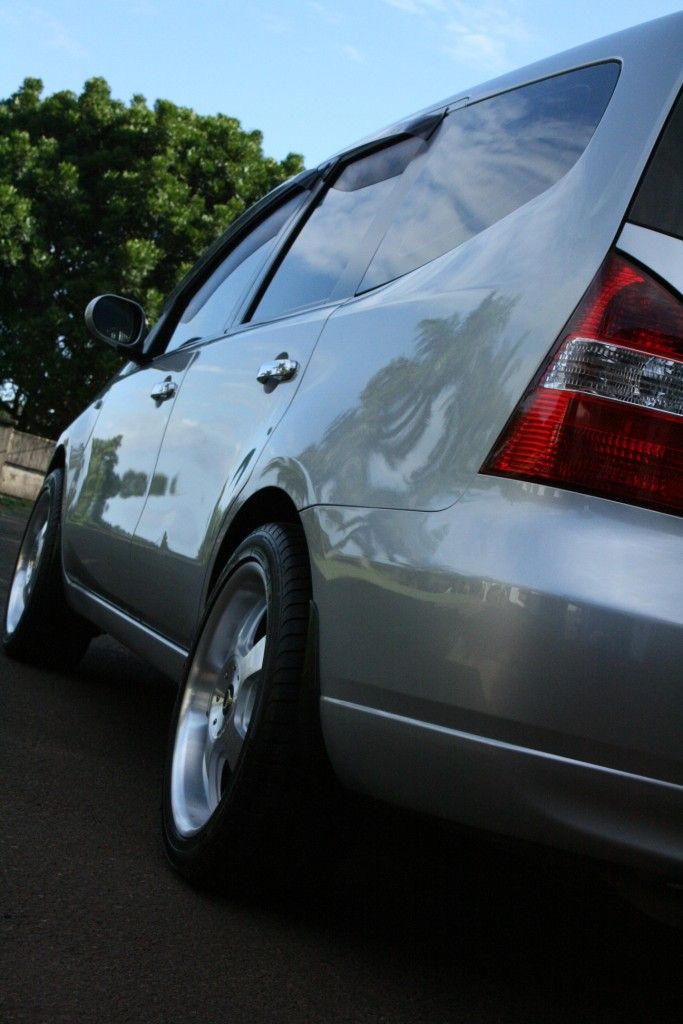
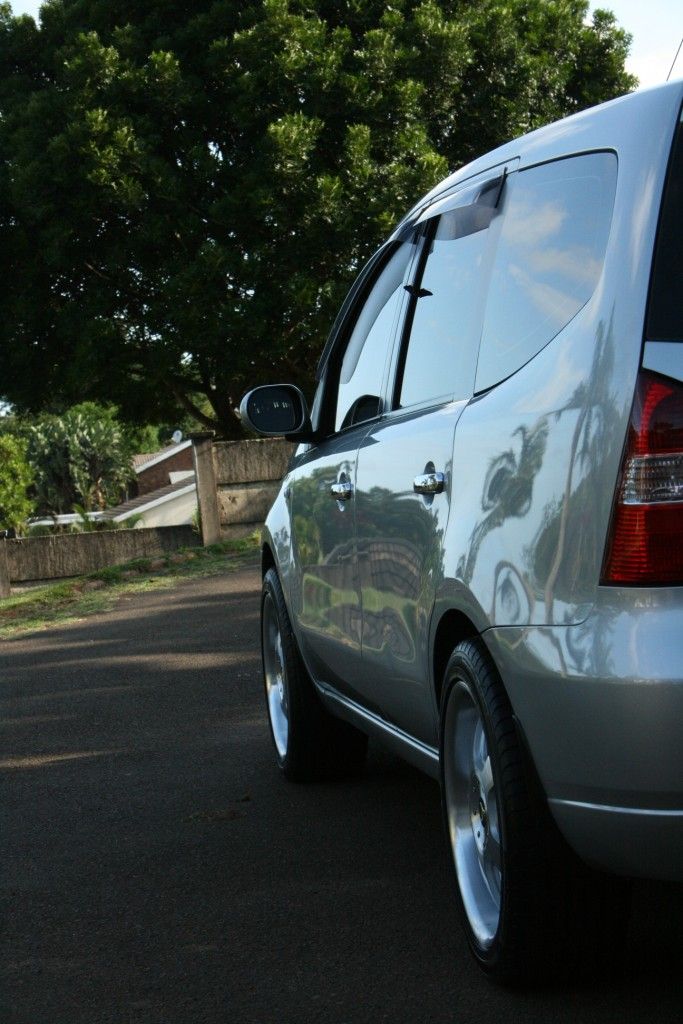
As always the wheels got cleaned up first. First up the tires were scrubbed clean and the rims themselves cleaned using Auto Finess Imperial Wheel Cleaner. This was followed by removing all the tar from the rims. Once all of this was removed it became quite apparent that the polished lips had taken a beaten with the finish somewhat destroyed. This left no room for any polishing of the rims and therefore post cleaning, only the tires were dressed with Smarwax Smart dressing and the rims waxed with Smartwax Rimwax. The wheel arches were cleaned and dressed with Chemical Guys Bare Bones.
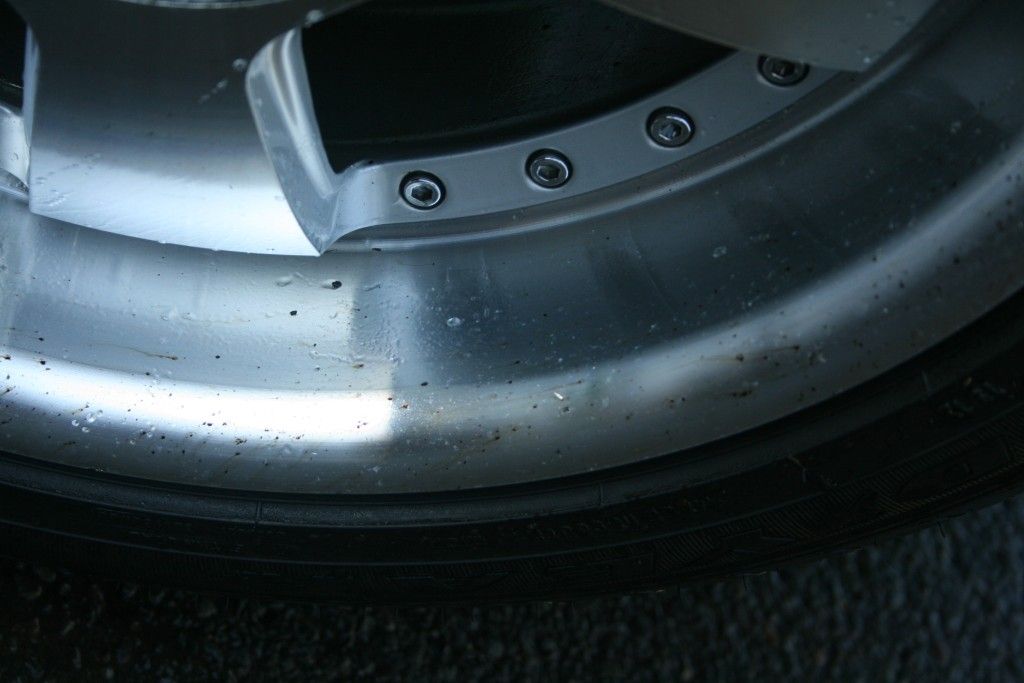
After
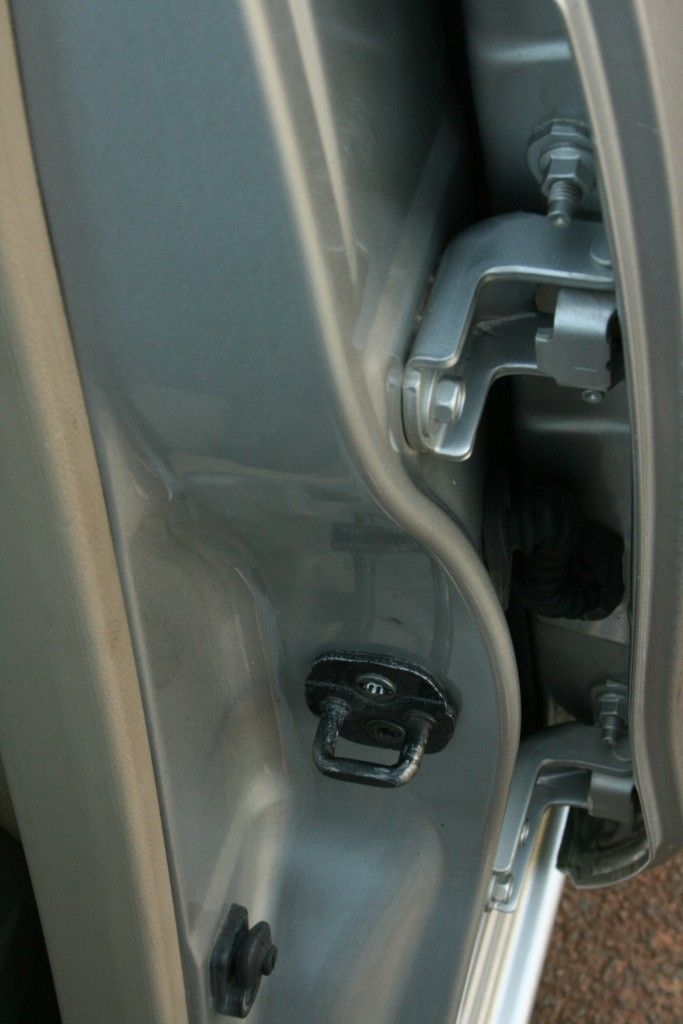
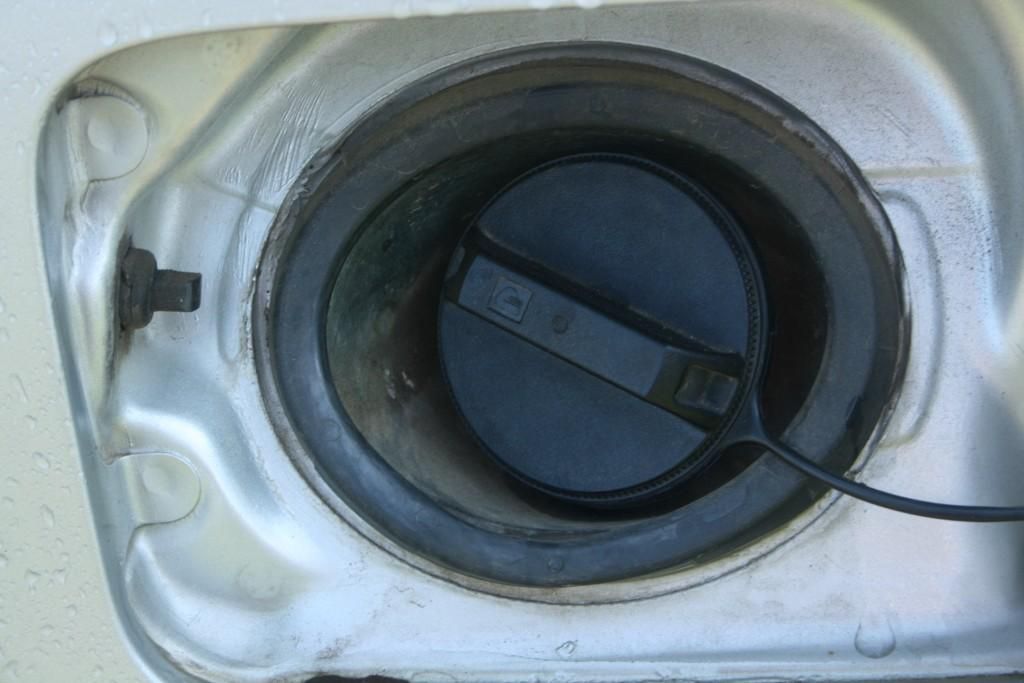
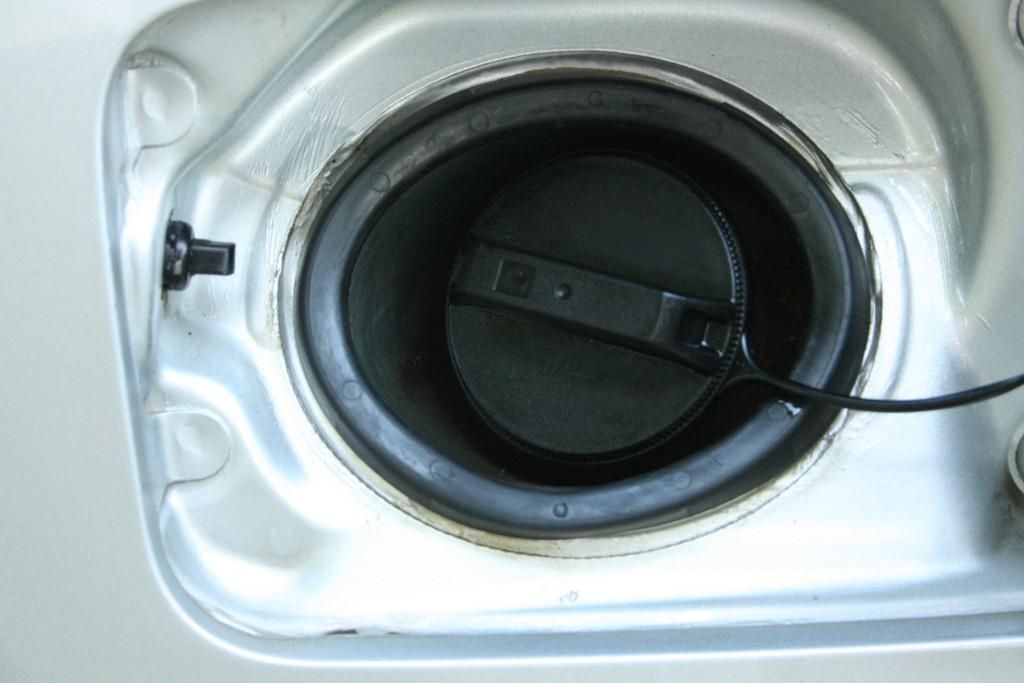
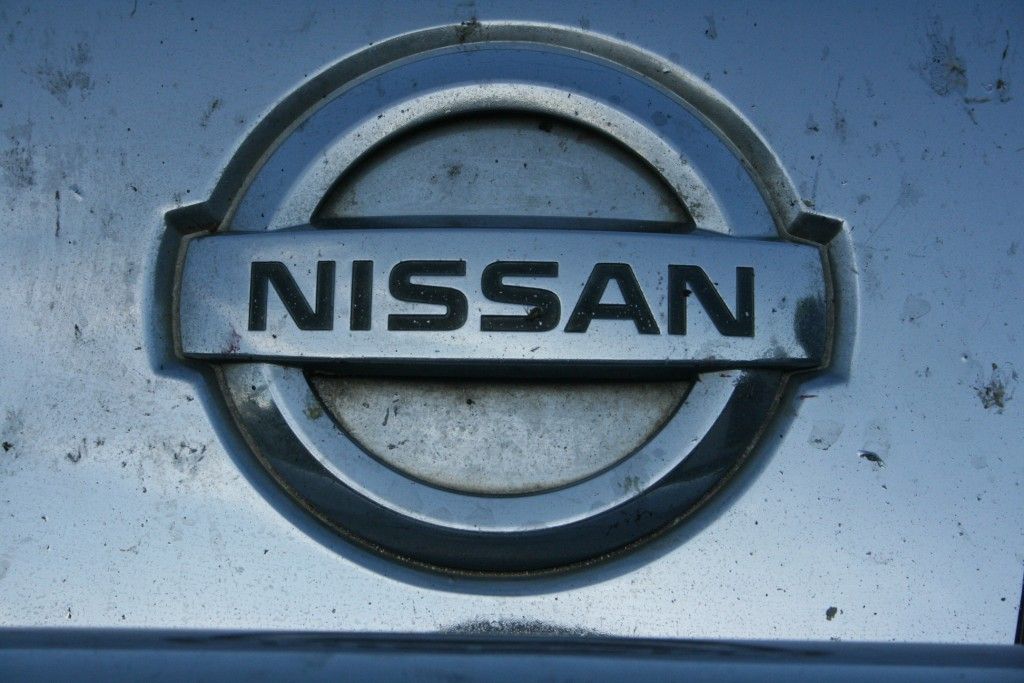
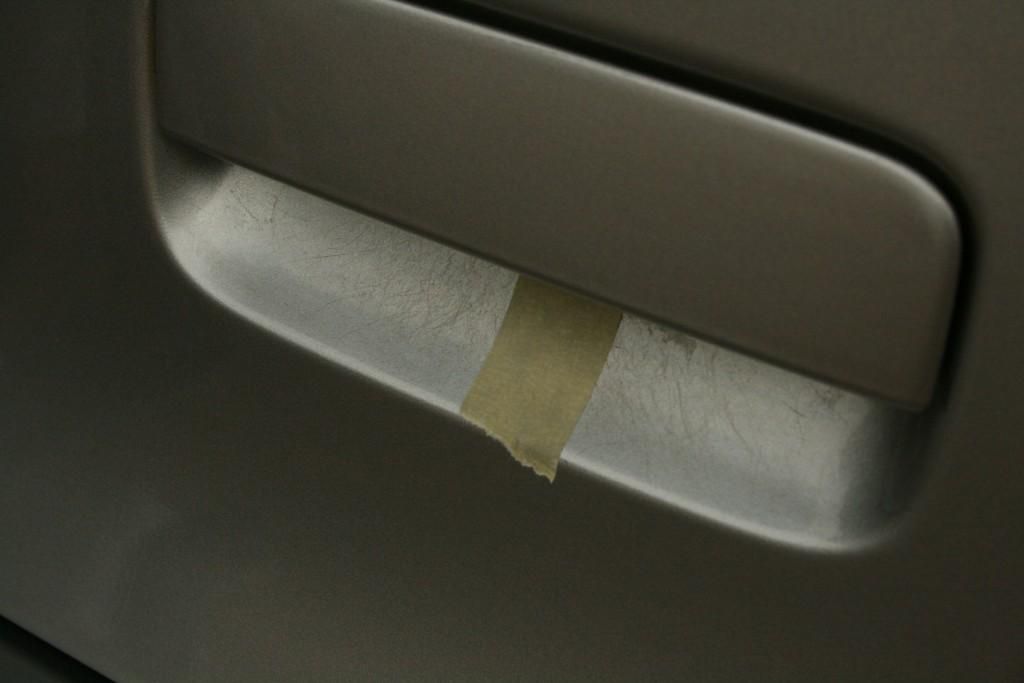
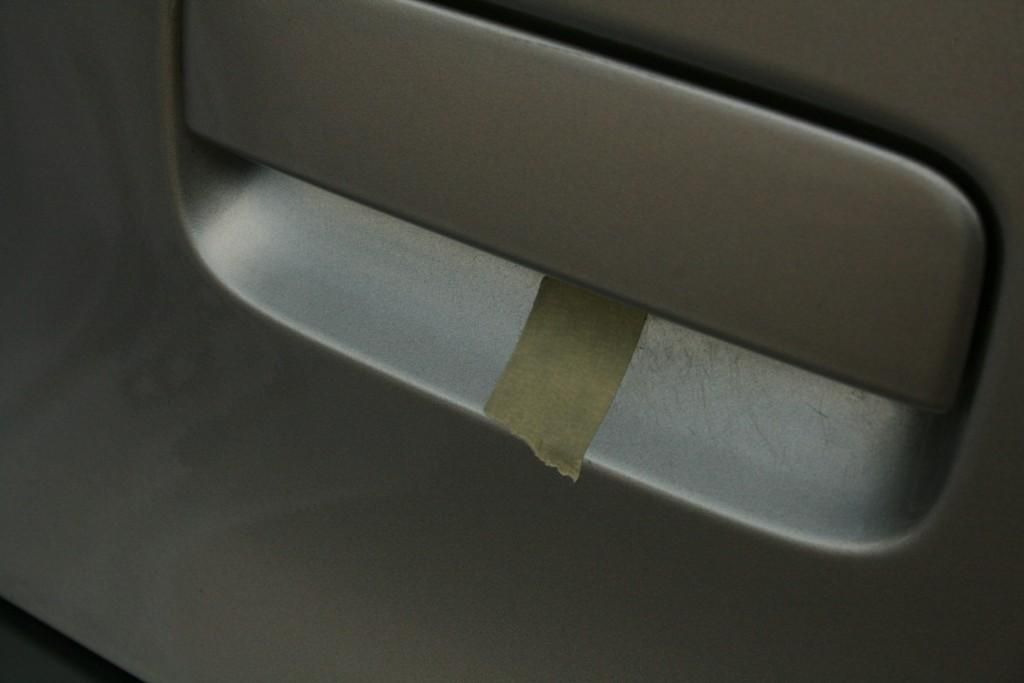
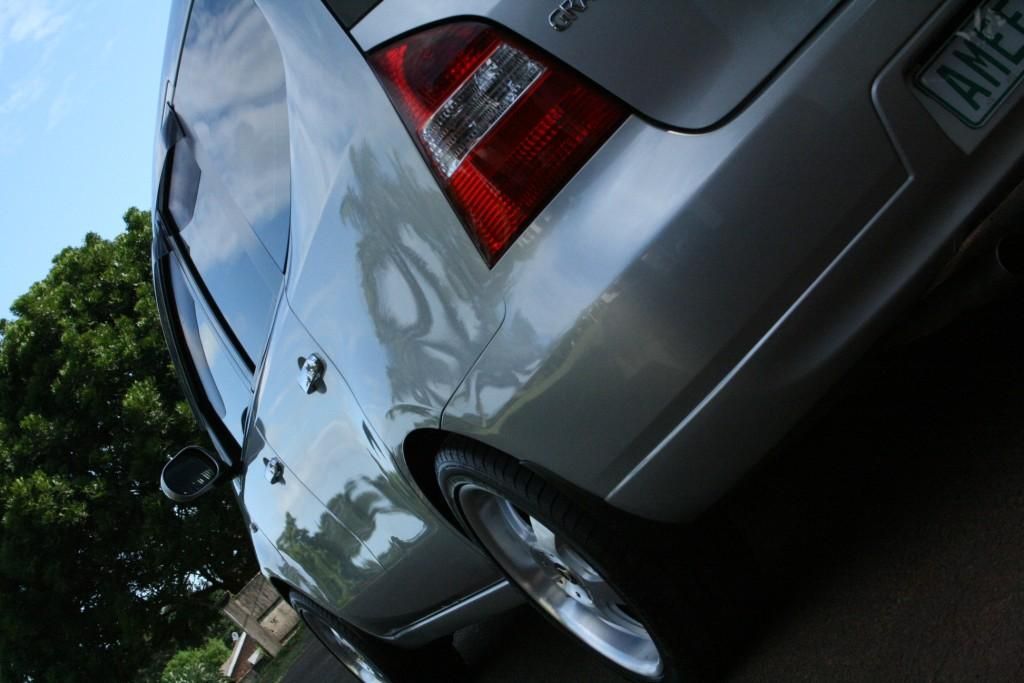
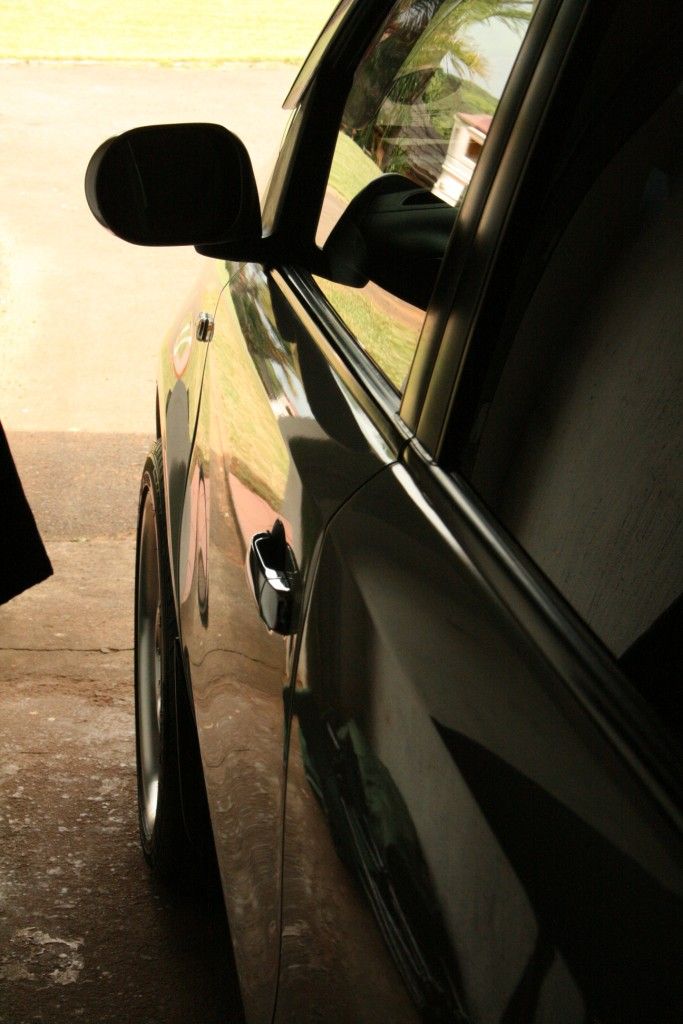
Next up was the cleaning of all the boot/door jambs, inside the petrol flap and around all the badges/emblems. The badges were particularly bad and I am not sure if they had ever had a decent clean - I landed up having to sit with a toothpick to get the embedded dirt in the corners out :yawn:
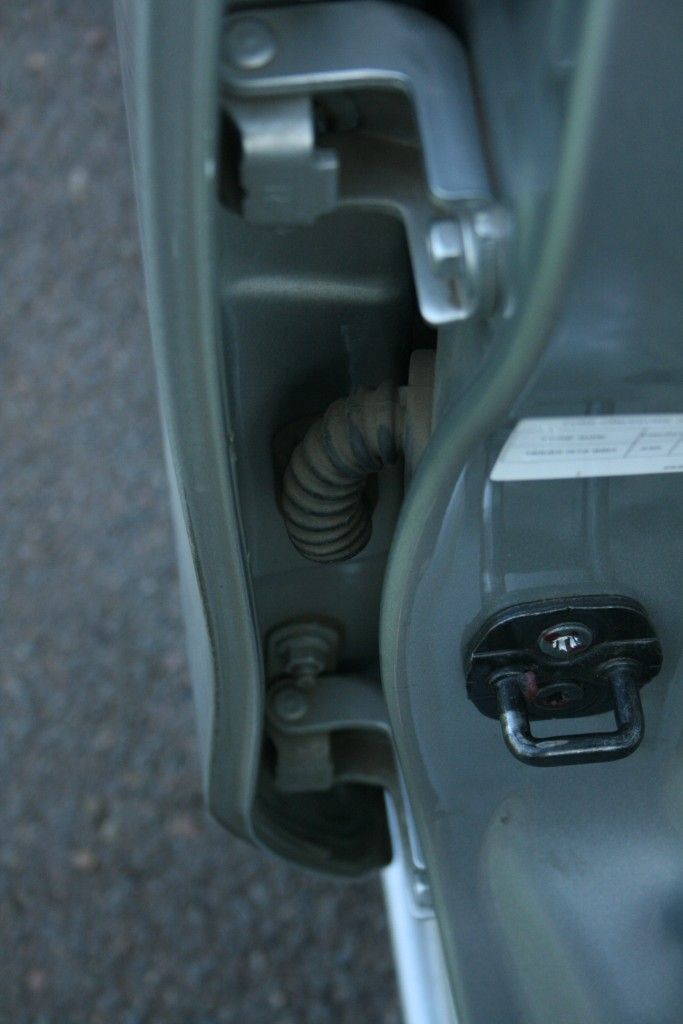

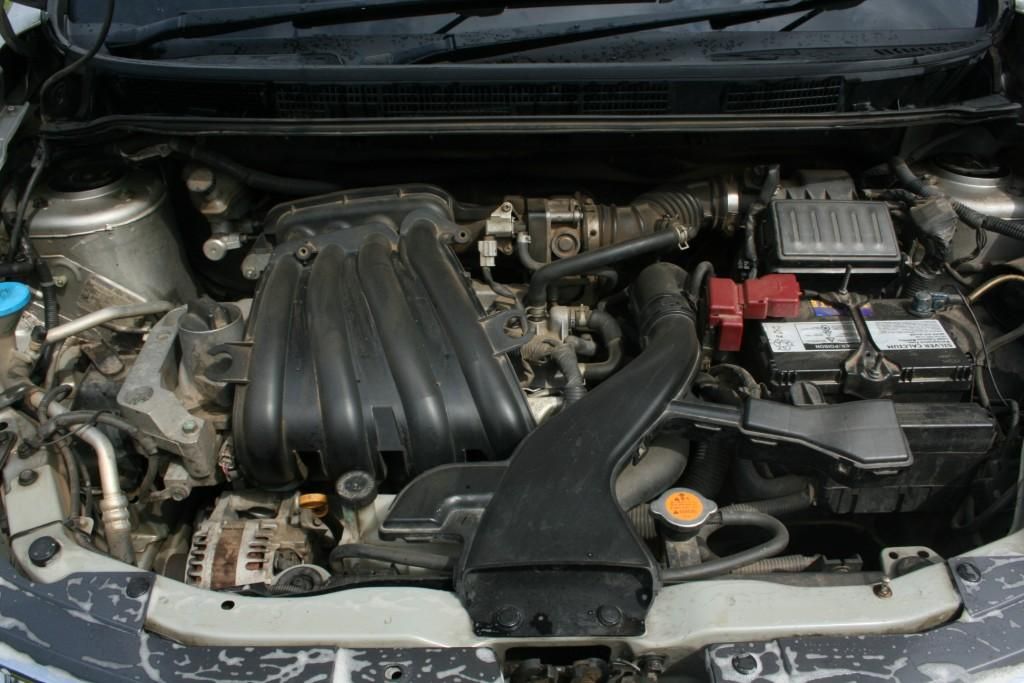
I then moved onto the engine bay, which was only given a very light cleaning and not a full engine bay detail. This was purely to try and make the bay look a little more presentable for the sale without sacrificing too much time (which was already in short supply thanks to the interior and general size of the vehicle).
Before
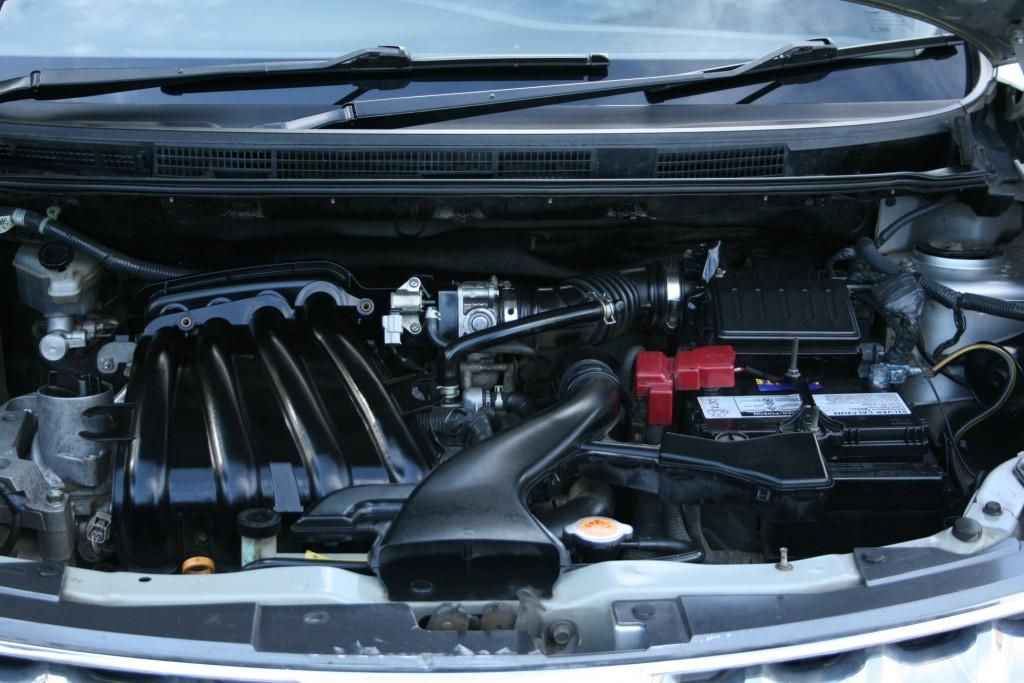
After
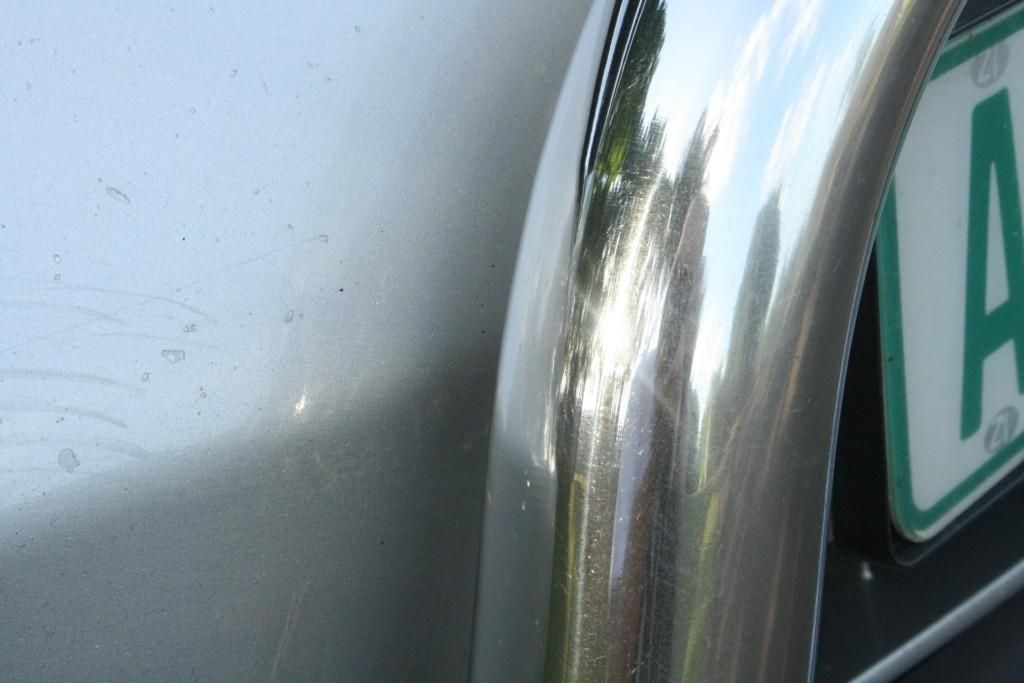
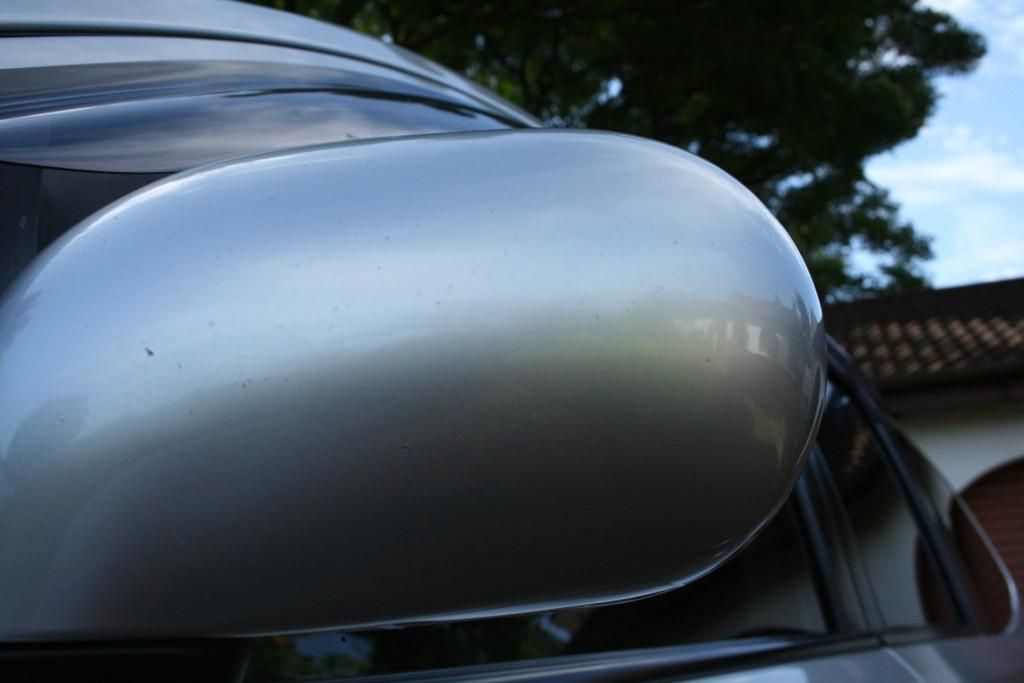
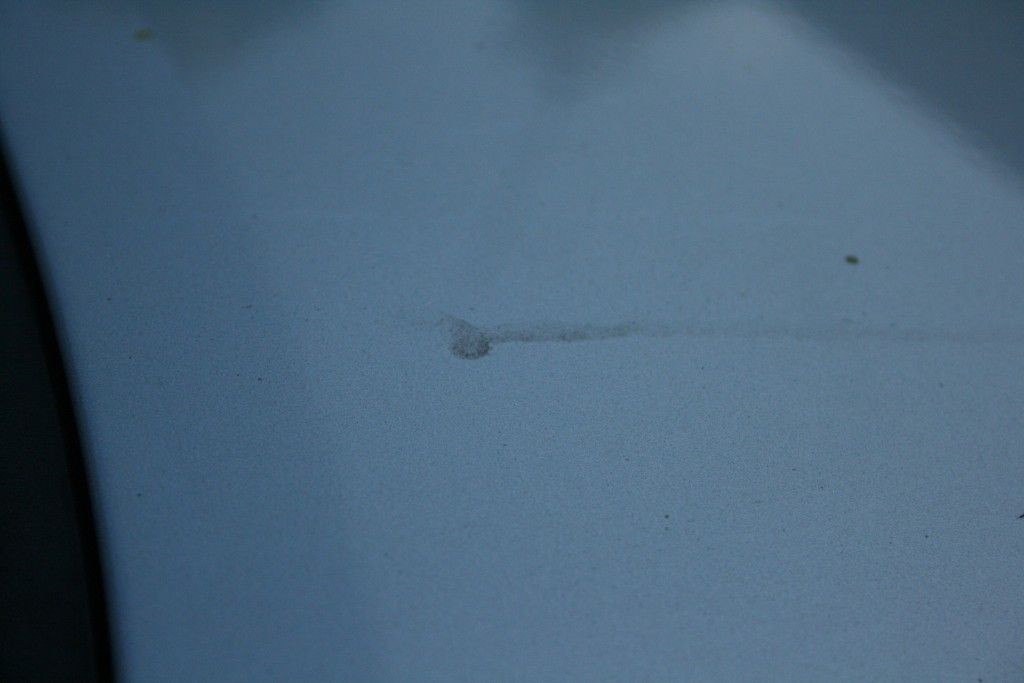
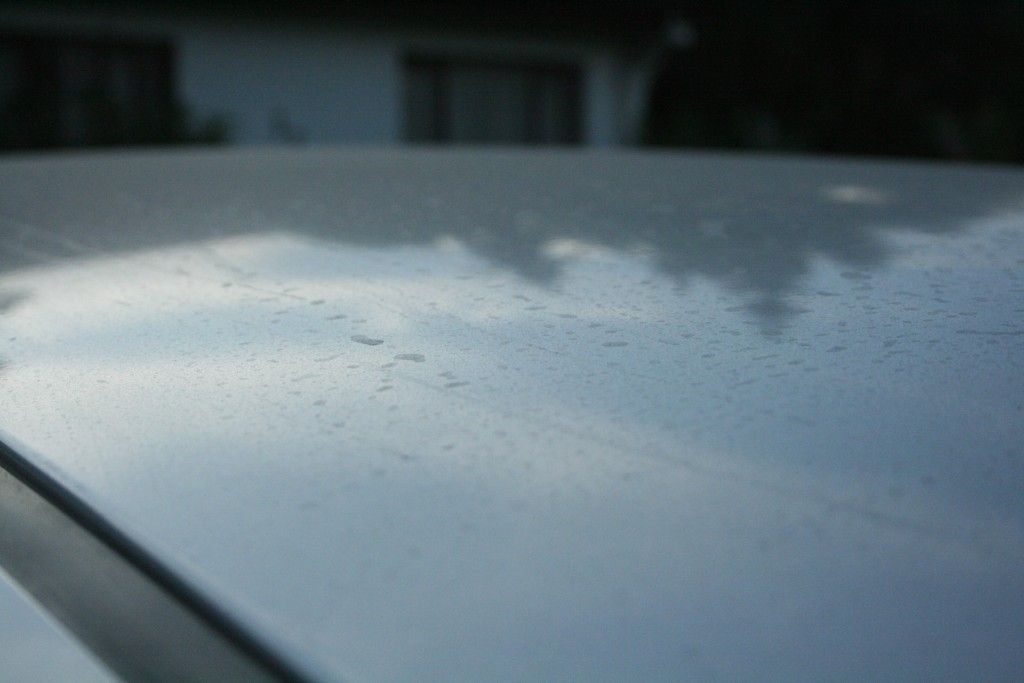
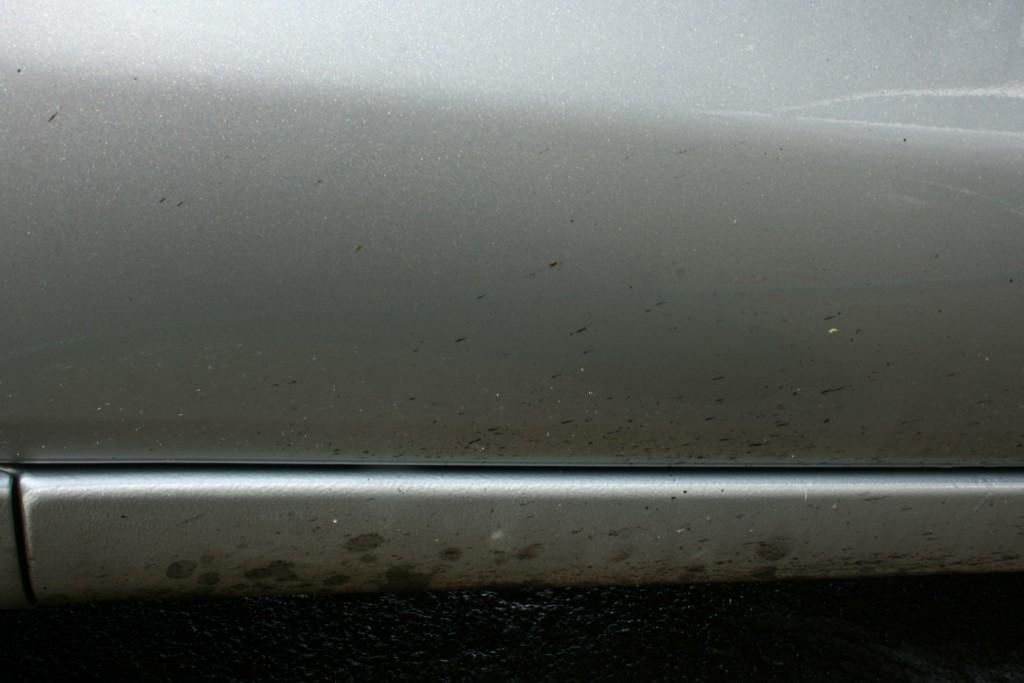
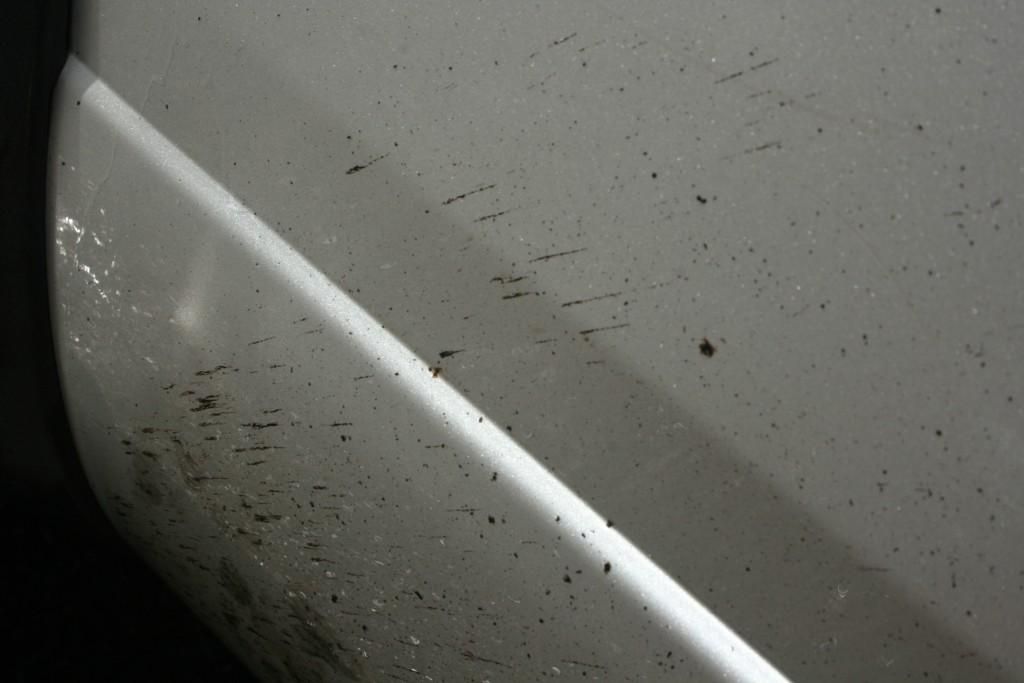
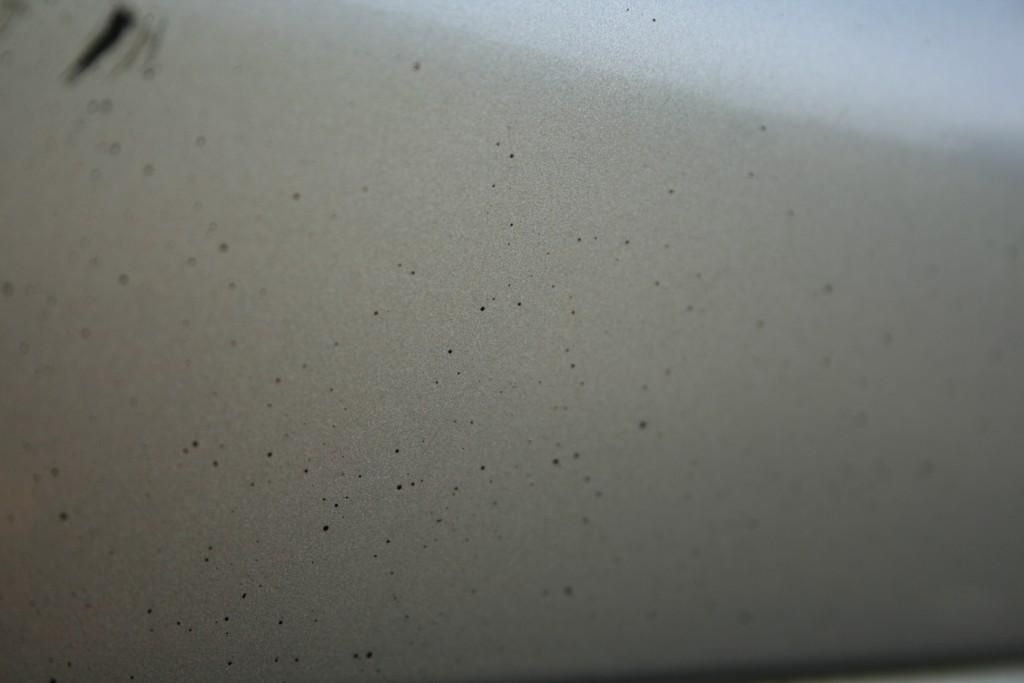
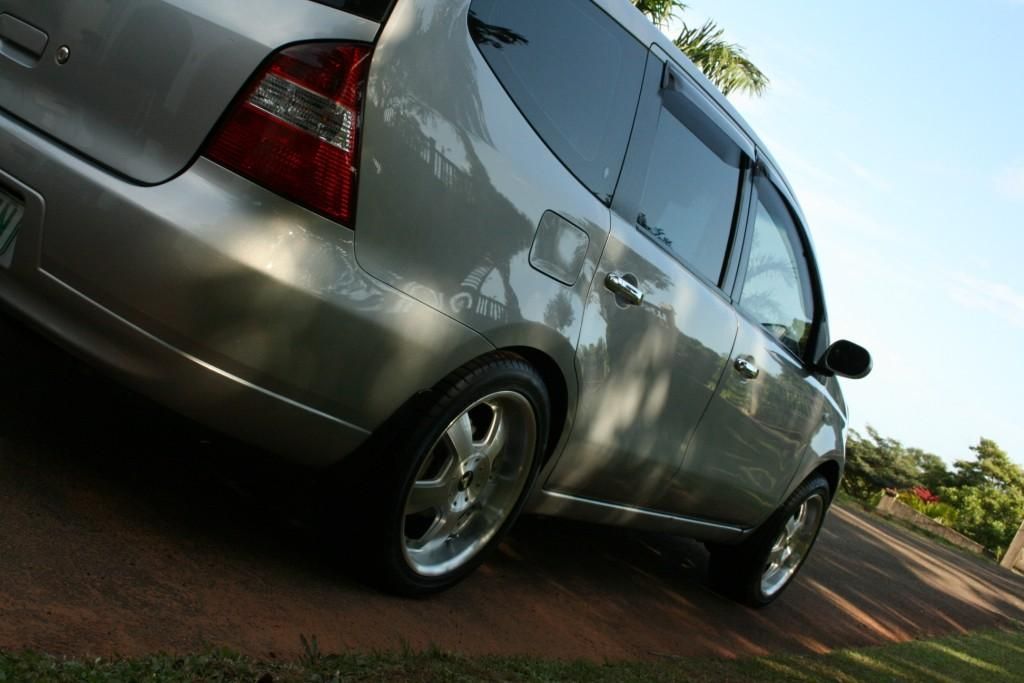
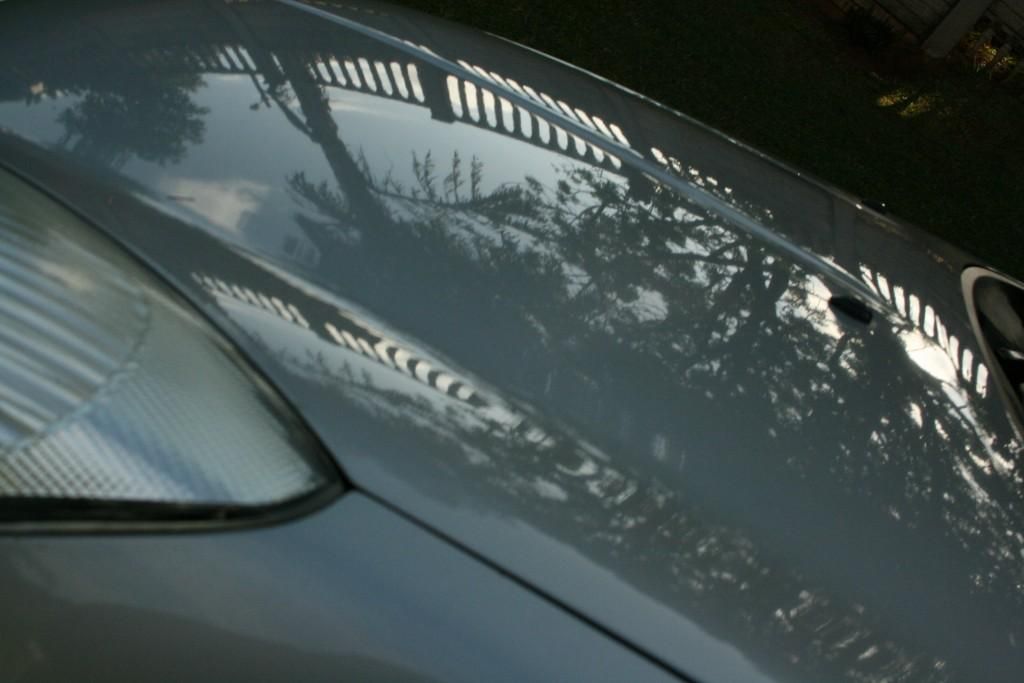
With all the dirty work out of the way, it was time to get the car cleaned up. The entire front end was pre-treated with Autofinesse Citrus Power to aid in the removal of bugs. I then snow-foamed the vehicle using a mix of Cyclo CM30 and Maxi-Suds II before 2BM washing. I then dried the vehicle and got to work on tar removal. I have never seen a vehicle with so much tar on it before and given the white paint streaked down the lower side of the car, I can only assume the driver traveled on some recently re-surfaced / re-painted roads.
As you can see the leather was in a sorry state and after unsuccessfully trying a few products, I gave Anees (ShabsFS's son) a call and he hooked me up with some great advice - thanks mate.
On arrival
Here I have just started cleaning the left side of the seat using Cyclo CM30 @ 20:1
6 hours later and I had completed cleaning and conditioned/treated all the leather surfaces with Smartwax Smart Leather and whilst certainly not 100%, the interior was 100% better than when it arrived.
With the interior out of the way it was time to start on the car. The front end showed signs of much time cruising the open road, with many a bug and the obvious surface dirt, but also a huge amount of road rash.... the front bumper also had signs of cracking and was in such a bad state, that I simply could not attempt to correct the paint and therefore all that was done to the front bumper was a coat of cleaner wax applied by hand.
After
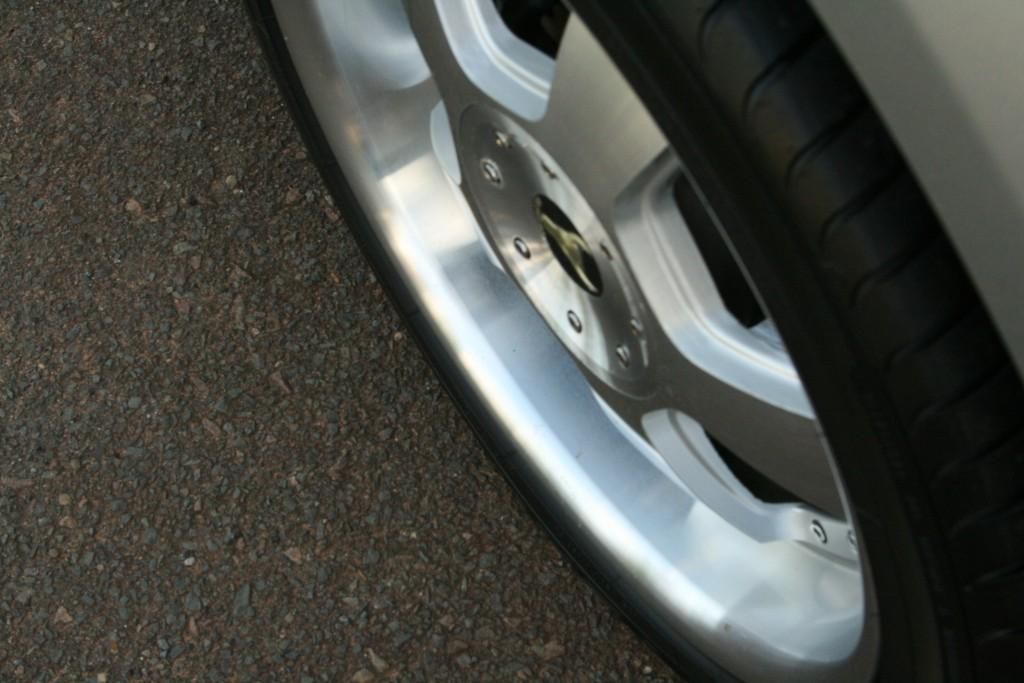
As always the wheels got cleaned up first. First up the tires were scrubbed clean and the rims themselves cleaned using Auto Finess Imperial Wheel Cleaner. This was followed by removing all the tar from the rims. Once all of this was removed it became quite apparent that the polished lips had taken a beaten with the finish somewhat destroyed. This left no room for any polishing of the rims and therefore post cleaning, only the tires were dressed with Smarwax Smart dressing and the rims waxed with Smartwax Rimwax. The wheel arches were cleaned and dressed with Chemical Guys Bare Bones.
After
Next up was the cleaning of all the boot/door jambs, inside the petrol flap and around all the badges/emblems. The badges were particularly bad and I am not sure if they had ever had a decent clean - I landed up having to sit with a toothpick to get the embedded dirt in the corners out :yawn:
I then moved onto the engine bay, which was only given a very light cleaning and not a full engine bay detail. This was purely to try and make the bay look a little more presentable for the sale without sacrificing too much time (which was already in short supply thanks to the interior and general size of the vehicle).
Before
After
With all the dirty work out of the way, it was time to get the car cleaned up. The entire front end was pre-treated with Autofinesse Citrus Power to aid in the removal of bugs. I then snow-foamed the vehicle using a mix of Cyclo CM30 and Maxi-Suds II before 2BM washing. I then dried the vehicle and got to work on tar removal. I have never seen a vehicle with so much tar on it before and given the white paint streaked down the lower side of the car, I can only assume the driver traveled on some recently re-surfaced / re-painted roads.


")