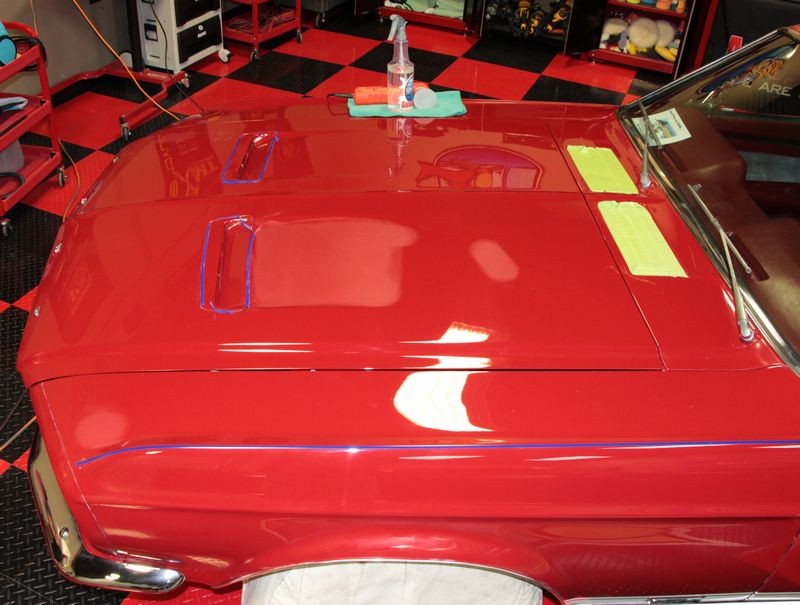
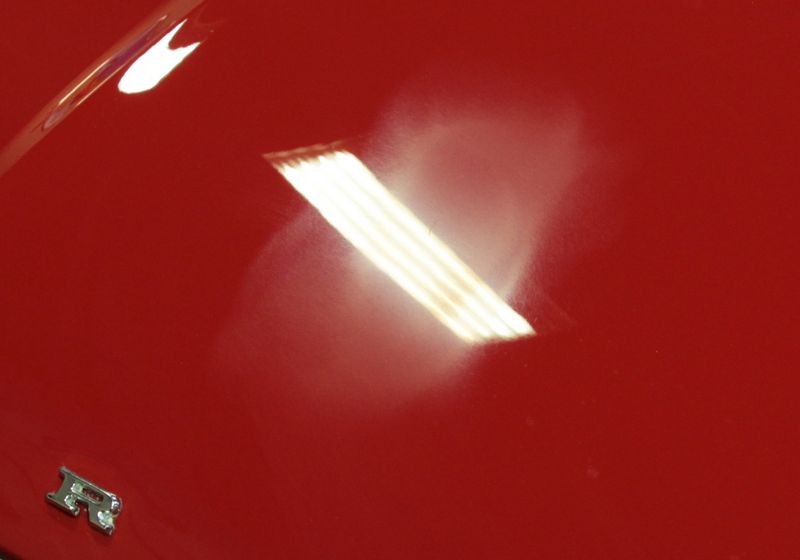
As requested here are a couple pics. It was hard to get one of the small scratches but I finally did, you can see it in the reflection of the overhead fluorescent light. The other one I'm trying to show how nice the finish is, it is just a few straight scratches here and there that are irritating but I can't seem to get them to diminish much:

That scratch is the text book definition of a RIDS or Random Isolated Deeper Scratch. I coined this acronym years ago and also wrote the definition.
RIDS - The Definition of RIDS and the story behind the term...
Here's the pertinent portion of my article that explains it all.....
Mike Phillips said:
RIDS = Random Isolated Deeper Scratches
RIDS
Random Isolated Deeper Scratches. These type of scratches come from normal wear & tear and there is no pattern to them. RIDS are like Tracers in that they are deeper scratches that show up after the shallow scratches have first been removed through a machine or hand buffing process, usually with a compound or paint cleaner. After the shallow swirls and scratches have been removed, any deeper scratches that remain will now show up like a Sore-Thumb to your eyes because there are no longer thousands of lighter, more shallow scratches camouflaging them.
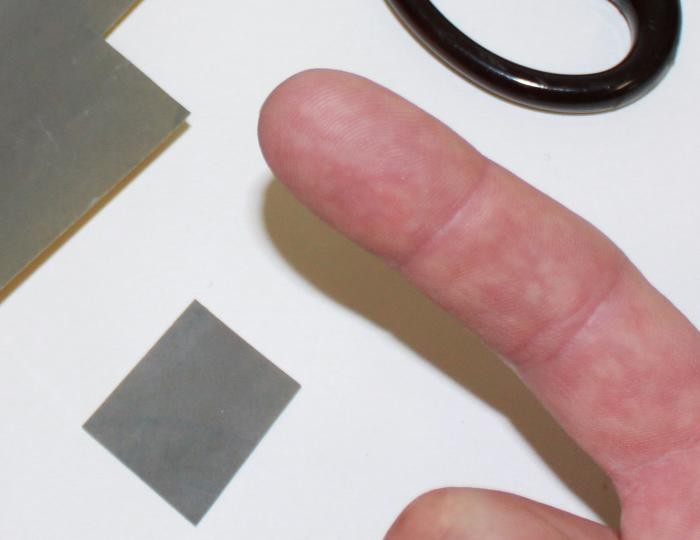
I have a phone call to day with a high end detail shop asking how I remove RIDS and back in around 2002 I wrote another article showing how I removed them by hand using Postage Stamp size pieces of Nikken Finishing Papers and then simply buffed out my sanding marks using a rotary buffer. Here's that article,
RIDS and Feathersanding - A Highly Specialized Technique by Mike Phillips
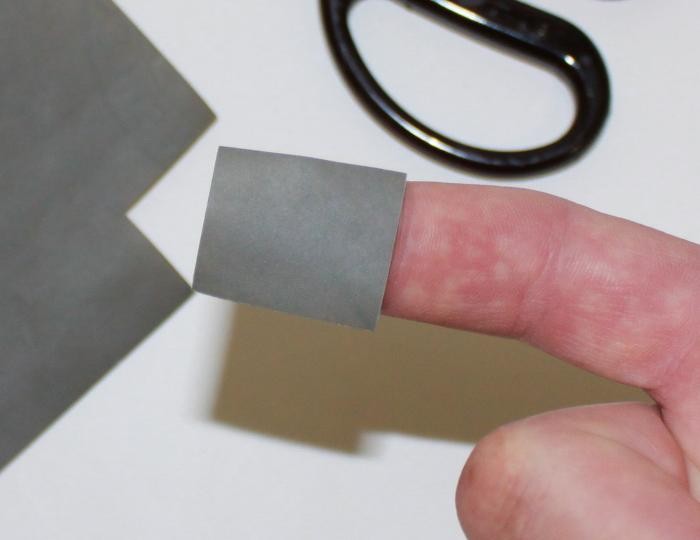
Seriously, for this kind of work a soft touch works best you this means your index finger.
Also, sanding wet is almost always better because water with a few drops of soap act as a lubricant to cushion the sanding action. It's easier to see what you're doing by sanding dry because the water film hides the scratch you're trying to sand out, so it's a trade-off.
Kind have to experiment and see which way works best for you but I'll tend to put up with sanding, wiping dry, inspecting even though it takes longer.
Also, sanding at an angle instead of in-line with the scratch.
")
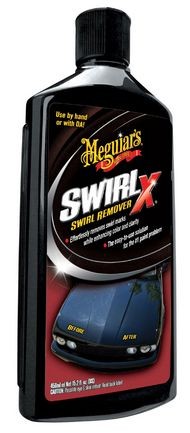
Then down the road a few years this dramatic before and after was used on the label when SwirlX was introduced. Look at the picture above and then look at the car on the label.
Back then we didn't have the Griot's 3" Polisher with 3M Trizact #3000 and #5000 so I couldn't use them.
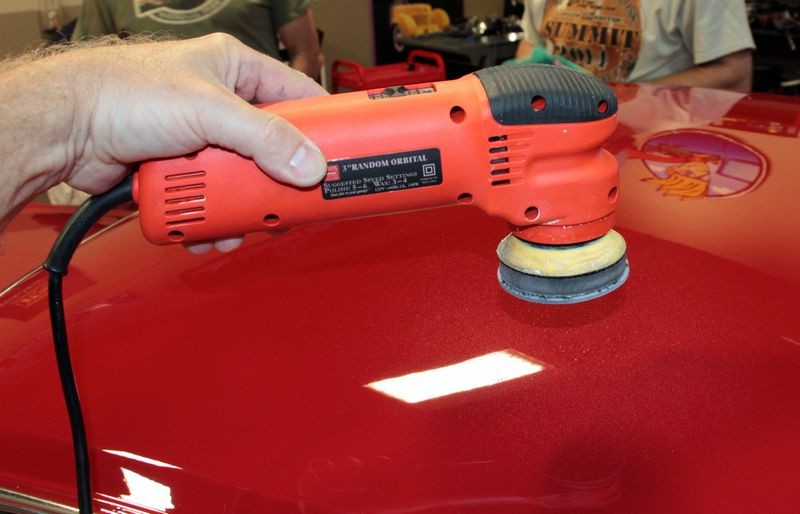
Now we have these tool... and if that was my car and I didn't want to see these annoying random, isolated deeper scratches I would either feather them out by hand using Nikken finishing papers like I show above or I would use a Griot's 3" dual action polisher as a machine sander and sand them out like we did on this old Ford....
Now this old Ford had Pigtails which are a curly scratch left by the guy that did the initial machine sanding but they are the same idea as a RIDS or even a Tracer.
1967 Mustang GTA Fastback - Pictures & Comments Thread
Pig Tails
Remember the pig tails in the picture posted previously?
Sore Thumb
After the entire car was polished using the Advanced Swirl Remover all of the shallow swirls and scratches had been removed however, deeper scratches like the pig tails still remained and now with no shallow scratches surrounding them to camouflage them they stood out like a sore thumb.
See my article on Random Isolated Deeper Scratches or RIDS for more information.
RIDS - The Definition of RIDS and the story behind the term...
RIDS are different than
Pig Tails and
Tracers but the fact remains, when you machine polish a car you first remove all the shallow defects and this then reveals all the deeper defects no matter how they were inflicted.
More info on the different types of paint defects here,
Tracers Tracers - RIDS - Pigtails - Cobweb Swirls - Rotary Buffer Swirls - Holograms - Water Spots - Bird Drooping Etchings - Micro-Marring
Machine Sanding = More Control + Cooler for the paint
Instead of getting more aggressive with a compound to remove the pig tails we chose to wet sand the paint using 3M Trizact #3000 Grit Sanding Discs on a Griot's Garage 3" Mini Polisher.
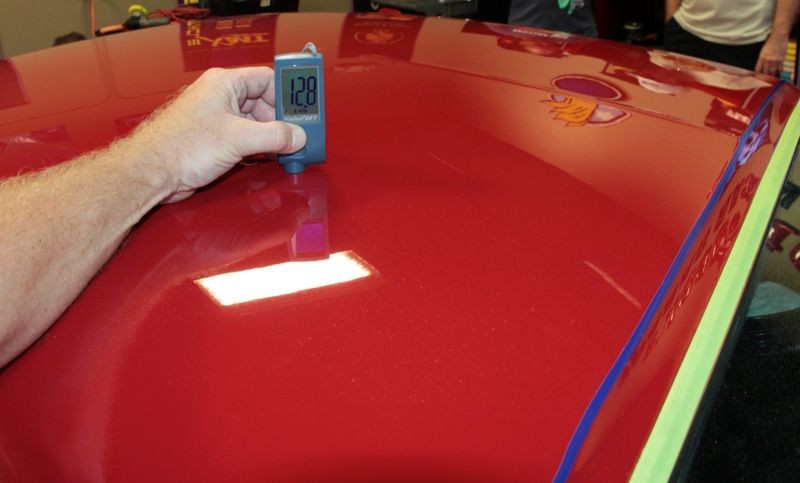
The Defelsko PosiTest DFT Combo Electronic Paint Thickness Gauge
First... this is a custom paint job so the clearcoat will tend to be thicker than a factory clearcoat. Still, I want to measure how thin or thick the total film-build is to give me a big picture idea for what I'm working on.
After taking a few measurements the readings were all fairly consistent so I made the decision with Bill's permission to go ahead and machine wet sand the pig tails and deeper straight line scratches out of the hood and roof.
Small Footprint + Super easy to control
Griot's Garage 3" Mini Polisher is my tool of choice for machine wetsanding isolated defects.
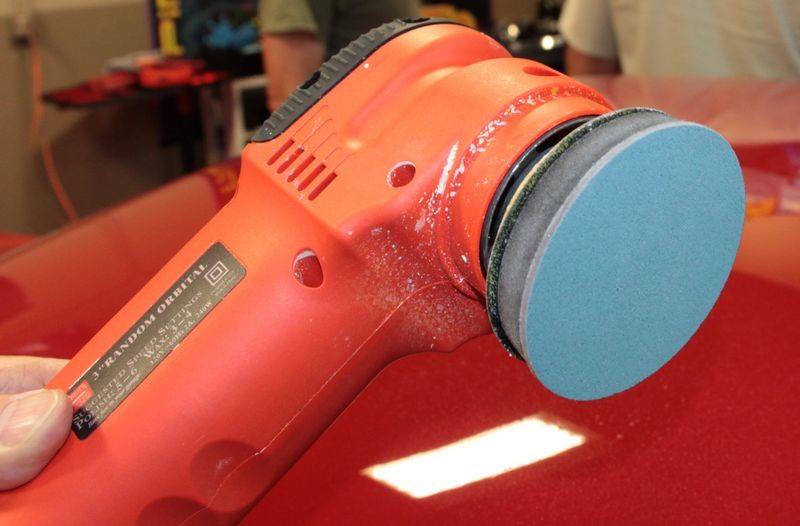
1/4" Interface Pad
Be sure to get an interface pad if you're going to do any machine wetsanding. It makes the sanding process less aggressive and the cushion provided by the foam core helps the sanding disc to conform to curves.
Mist a little water with a drop or two of soap mixed in for a lubricant...
Keep the sander moving and stop and inspect often so you only sand enough to level the surface and remove the defects.
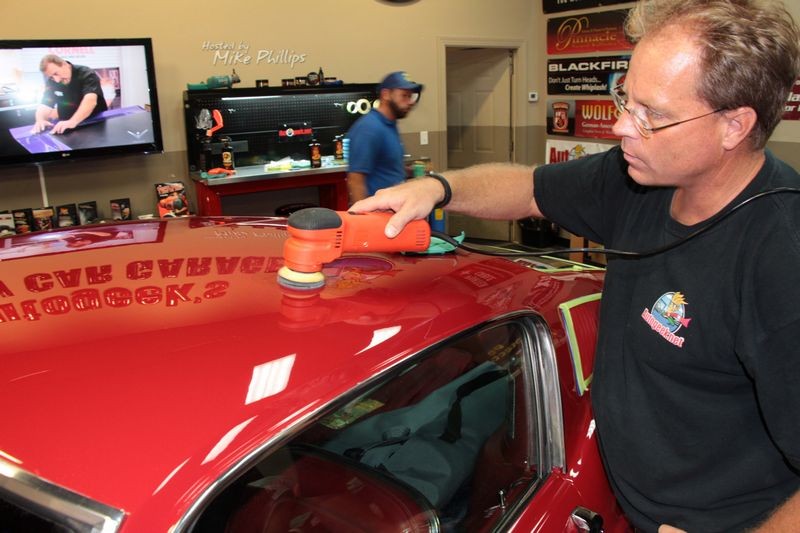
Sanding out defects on the hood....
Tag Team
As I continued around the car sanding out pig tails and RIDS Robert followed me with the Flex PE14 Rotary Polisher, a wool cutting pad and Pinnacle Advanced Swirl Remover and removed the sanding marks.
On Autogeek.net
The Defelsko PosiTest DFT Combo Electronic Paint Thickness Gauge
#3000 3M Trizact Hookit 3 Inch Foam Discs
#5000 3M Trizact Hookit 3 Inch Foam Discs
3M Vinyl Tape 1/4 Inch - 06405
3M Vinyl Tape 1/8 Inch - 06404
Meguiars Unigrit 3 Inch Foam Interface Pad
Griot's Garage 3 Inch Orbital Polisher
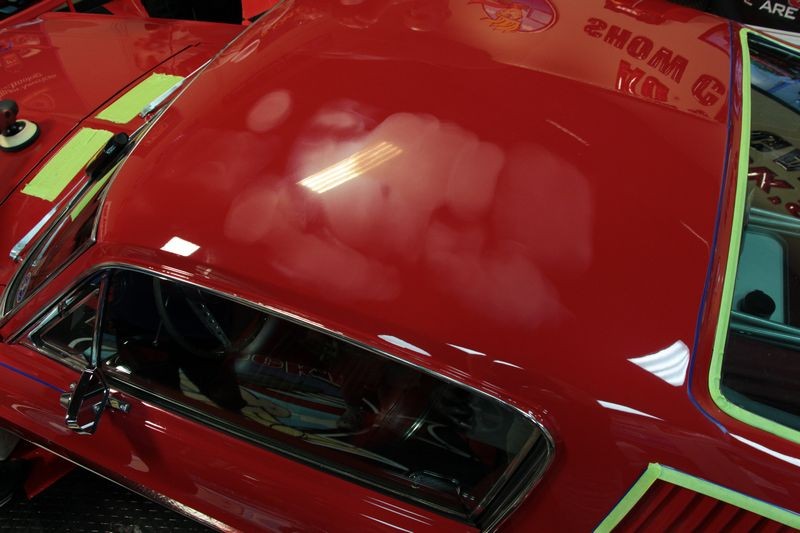
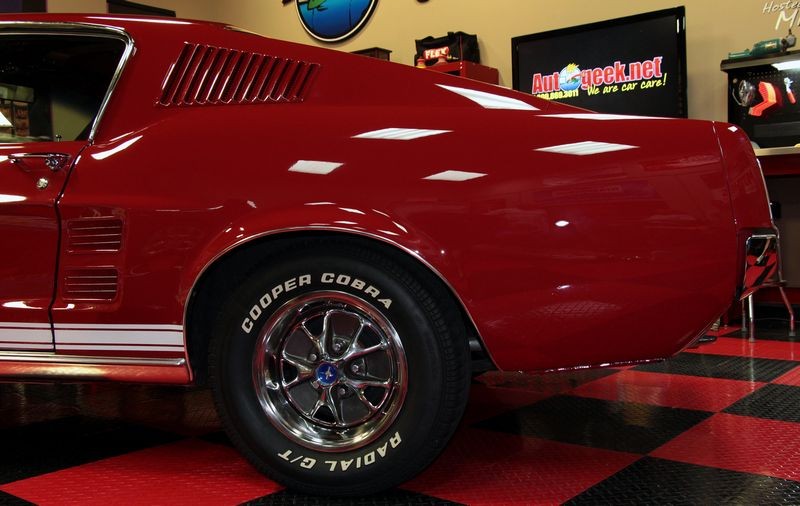
Oh yeah.... the beauty shots with the pigtails and all the RIDS removed....
That's how I'd do it and that's how I do do it.


 Like Mike said, I really notice them now that it is near perfect.
