lawrenceSA
New member
- Feb 7, 2012
- 1,713
- 0
Products used:
Cyclo CM30
Turtle Wax Intensive Wheel Cleaner
Autofinesse Iron-Out
Chemical Guys Maxi Suds II
Meguiars Gold Class Shampoo
Autofinesse ObliTARate
Clay Magic (Blue) Clay
ONR
Menzerna PF2500
Lake Country Orange CCS Pads
Menzerna Black Finishing Pads
Meguiars Deep Crystal Paint Cleaner
Chemical Guys Blacklight
Collinte 845
Meguiars NXT All Metal Polish
Smartwax Smart Dressing
Autoglym Fast Glass
C-Thru
A multitude of brushes and MF Cloths and foam applicator pads
HP Washer / Foam Cannon / Wet 'n Dry vac
Day 1 - Tuesday
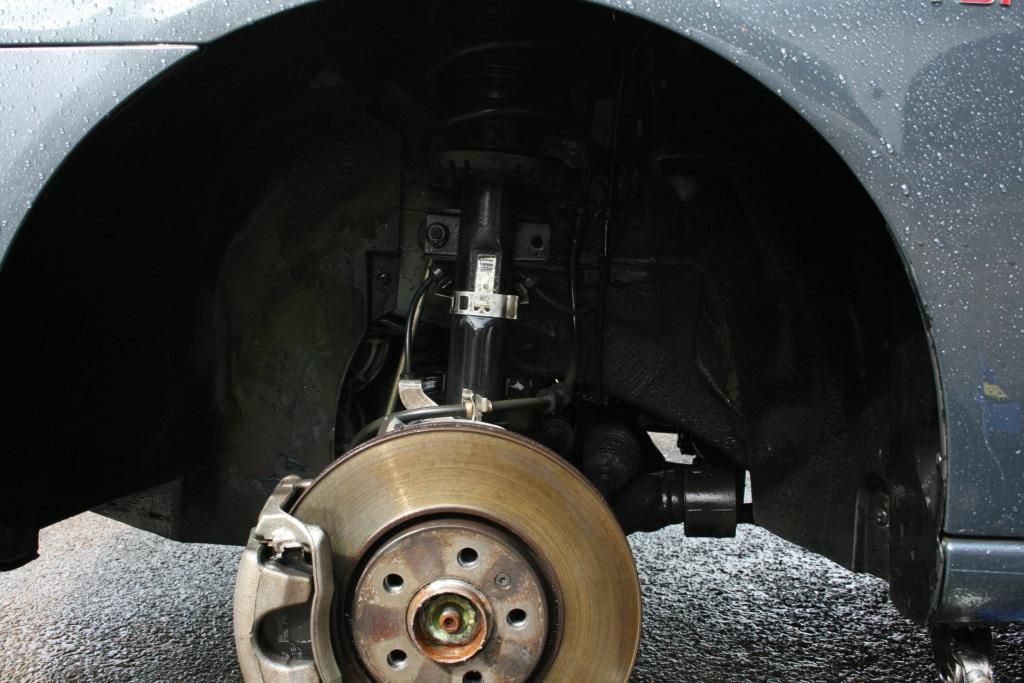
Wheels, brake calipers and arches
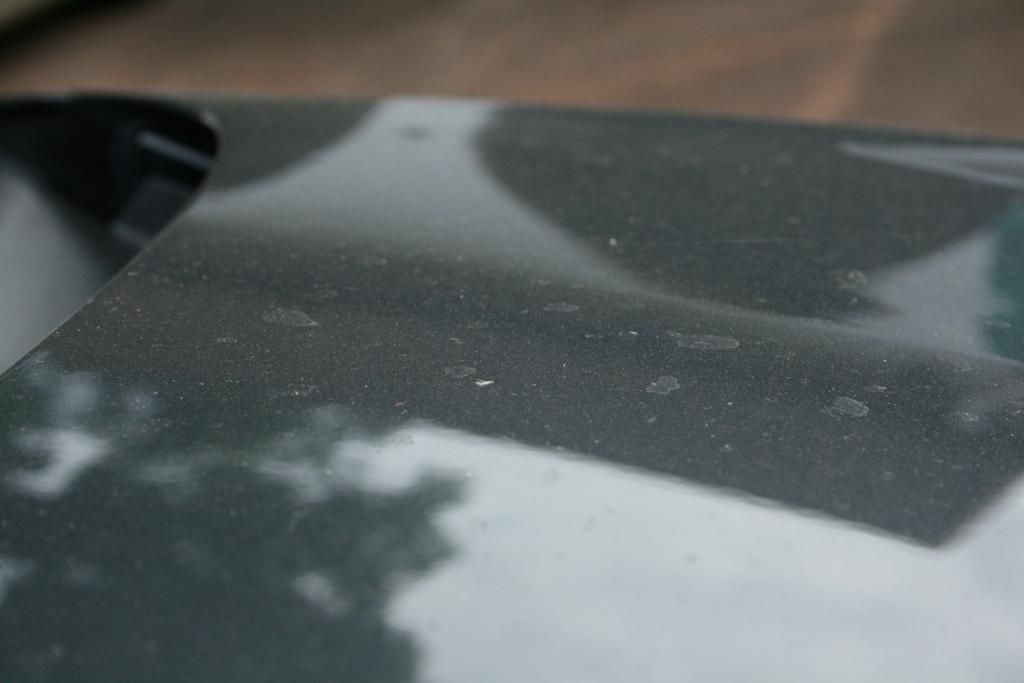
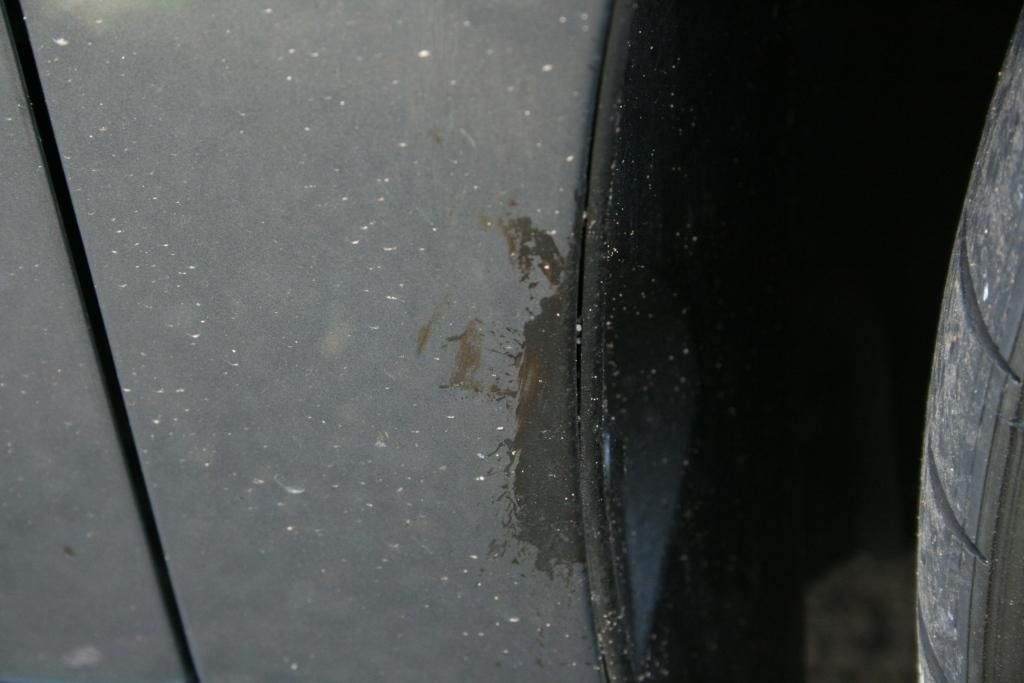
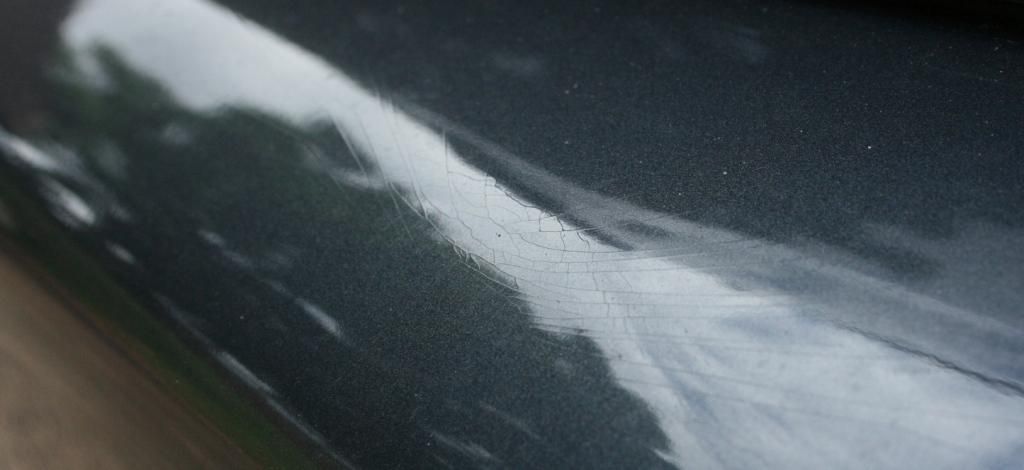
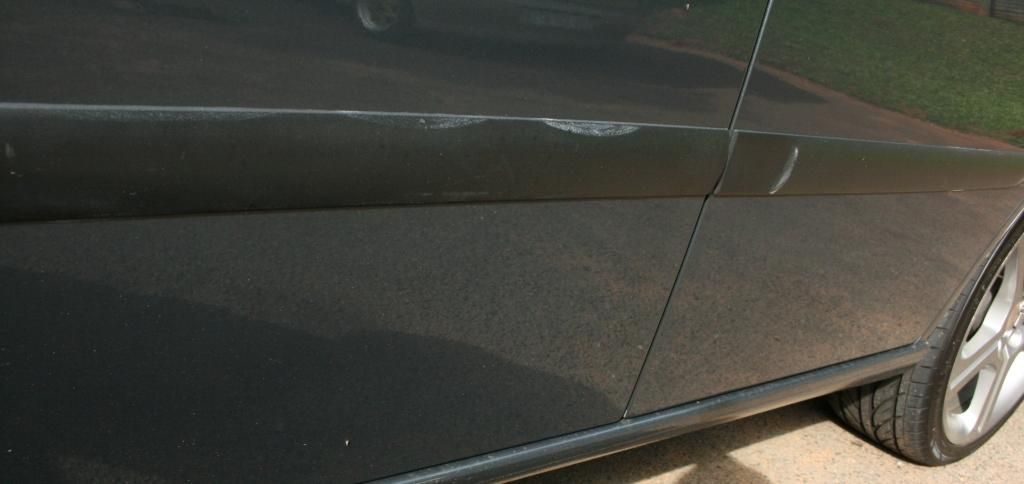
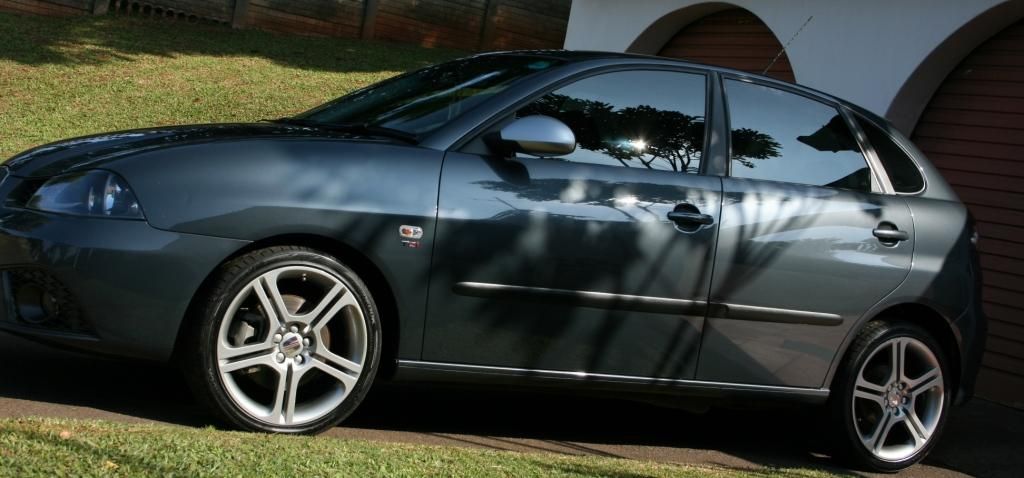
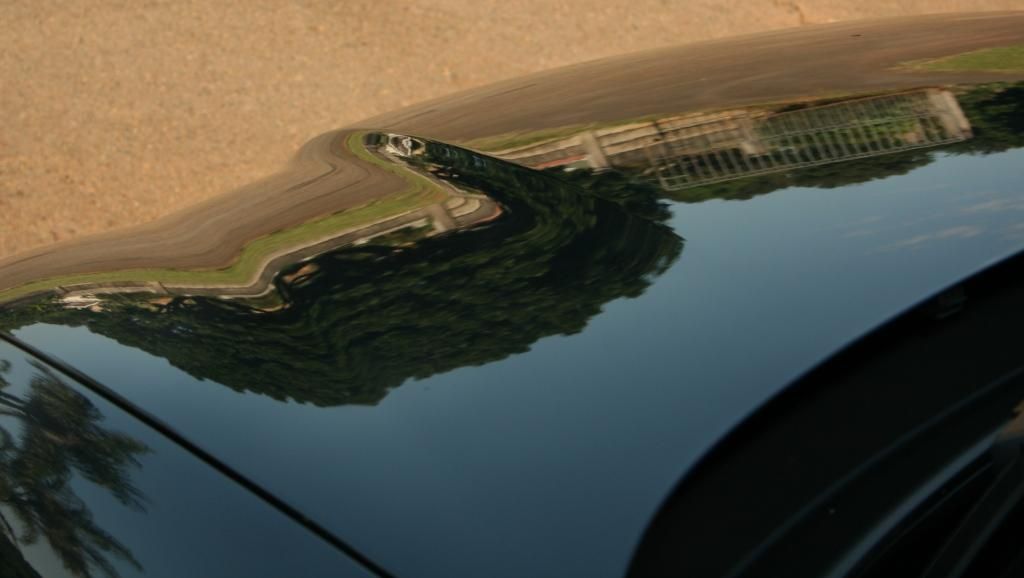
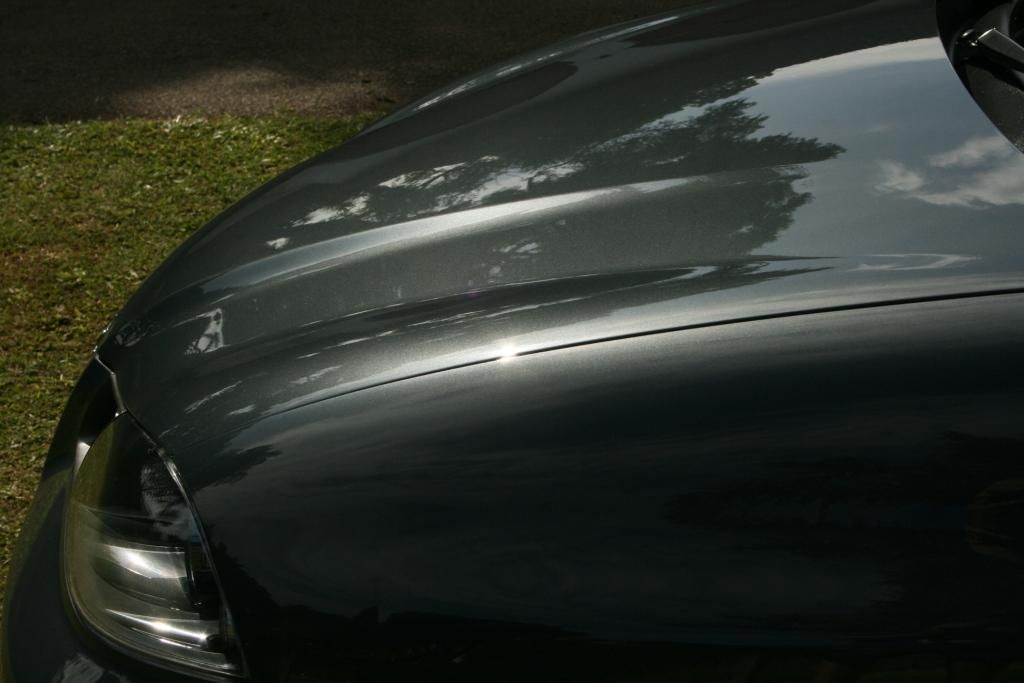
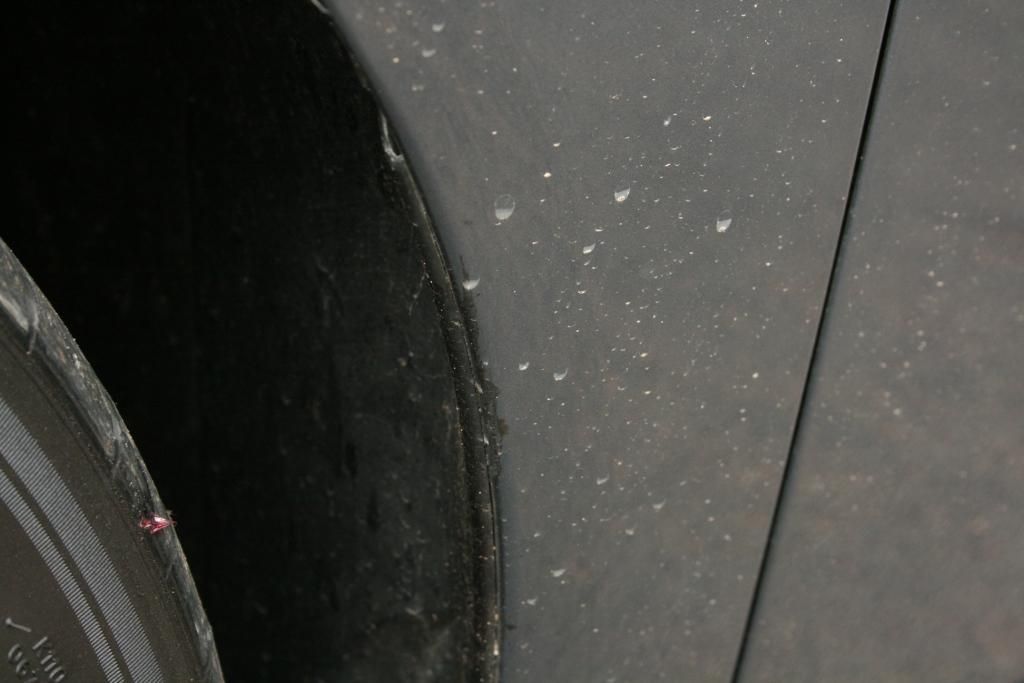
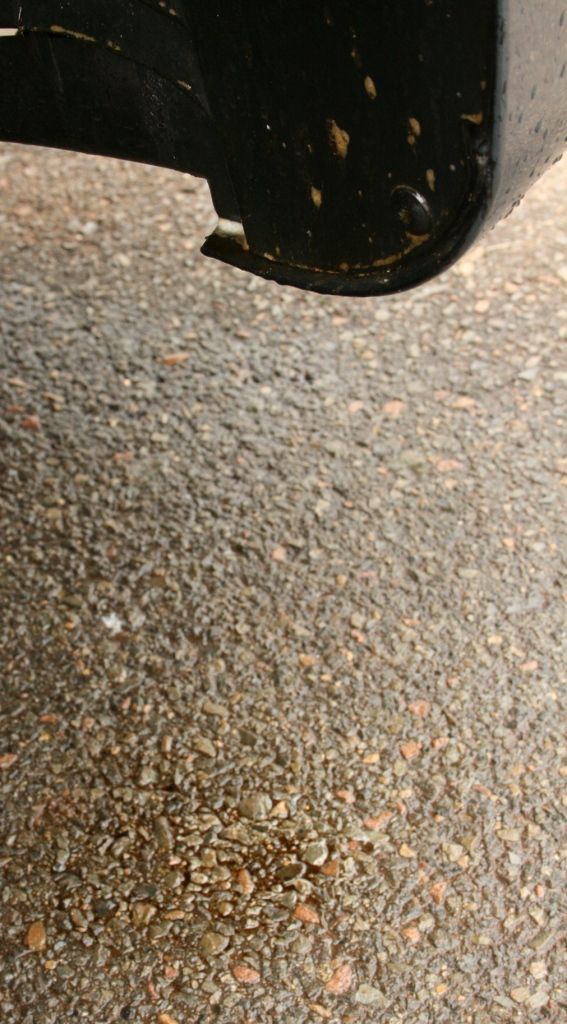
Here you can see the buildup of dirt in the arches (as well as the surface dirt on the car)
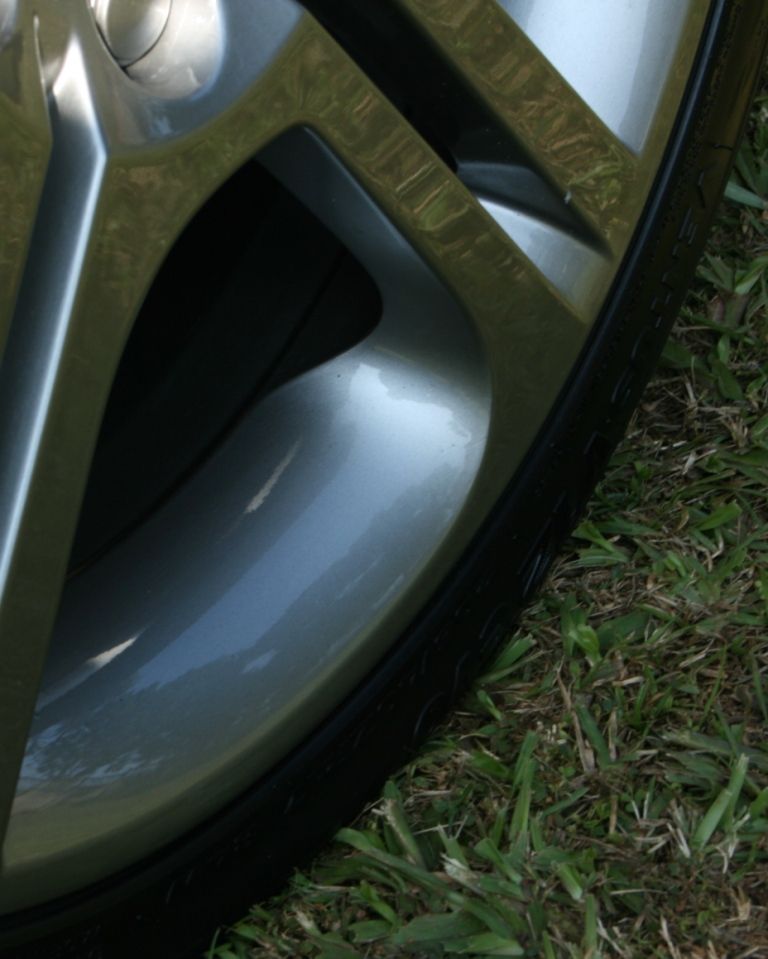
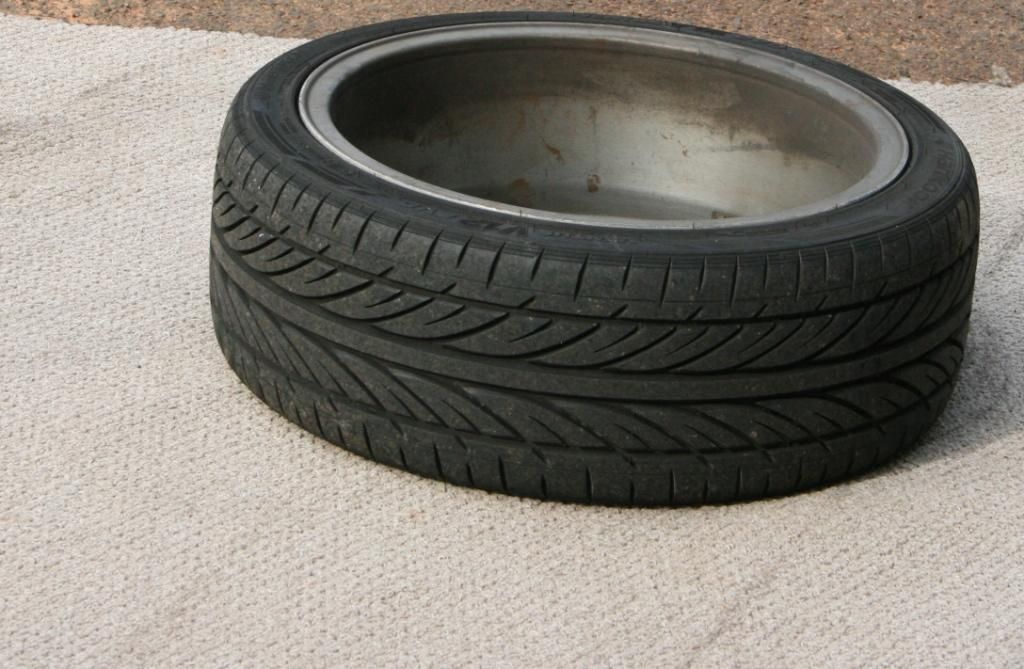
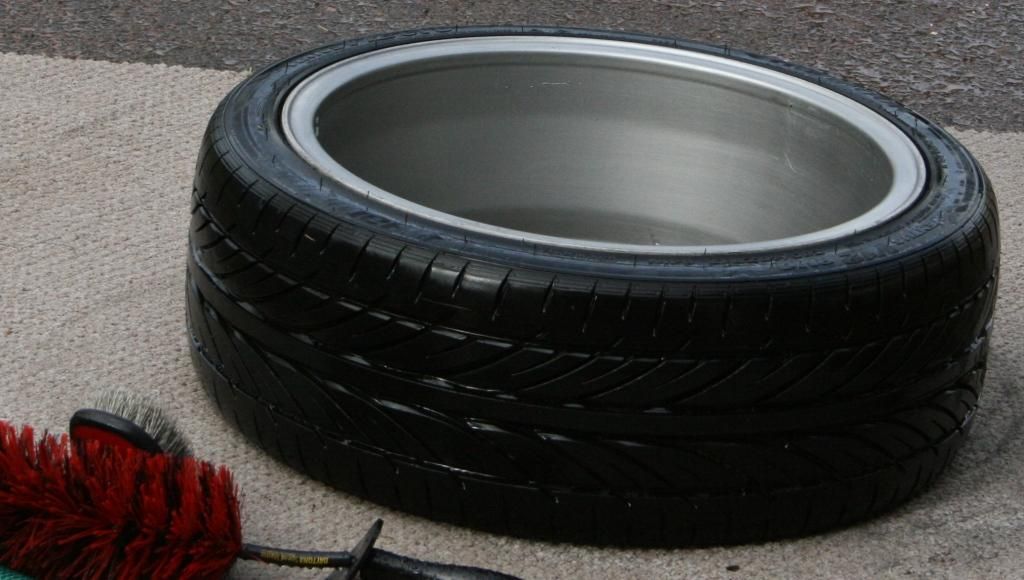
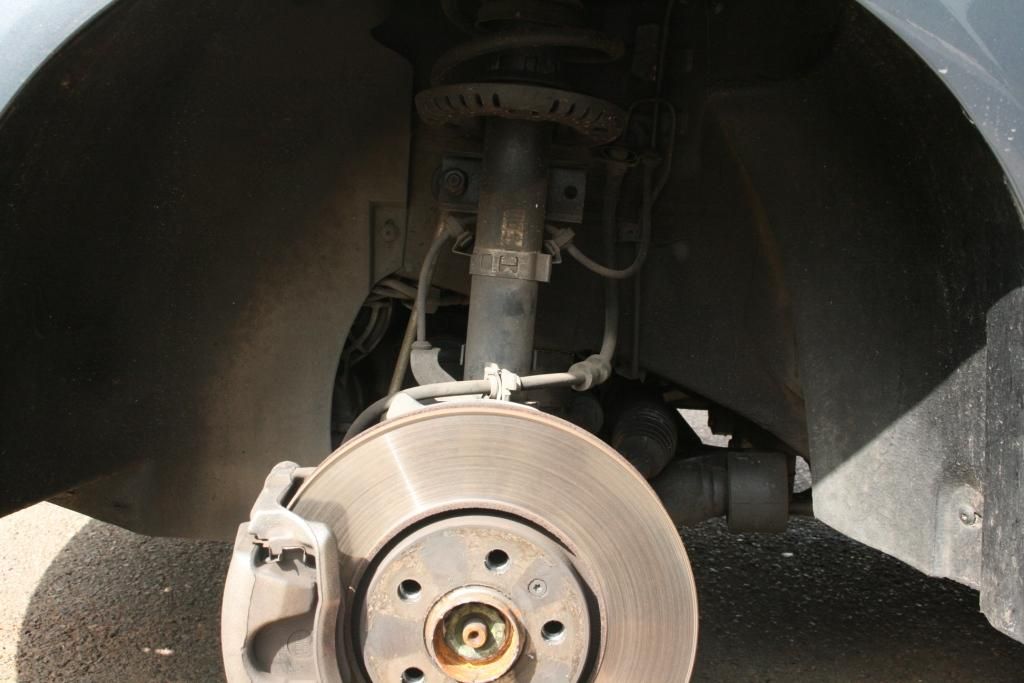
The wheels were removed from the car to reveal a fair amount of dirt, road grime, tar and iron deposits.
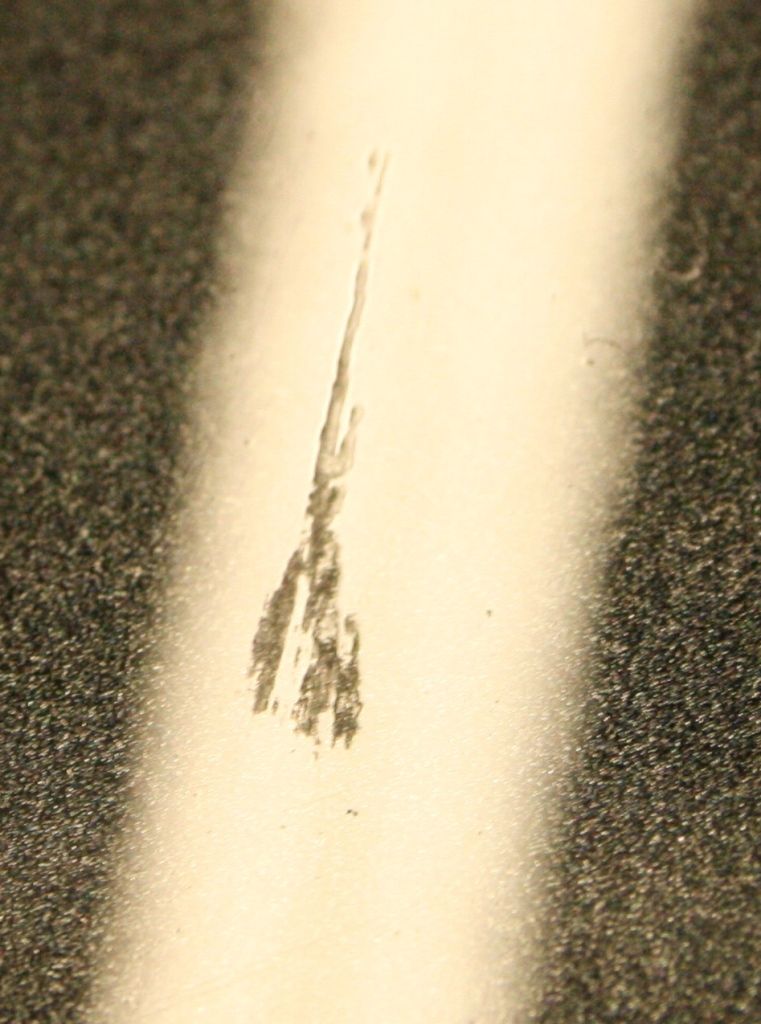
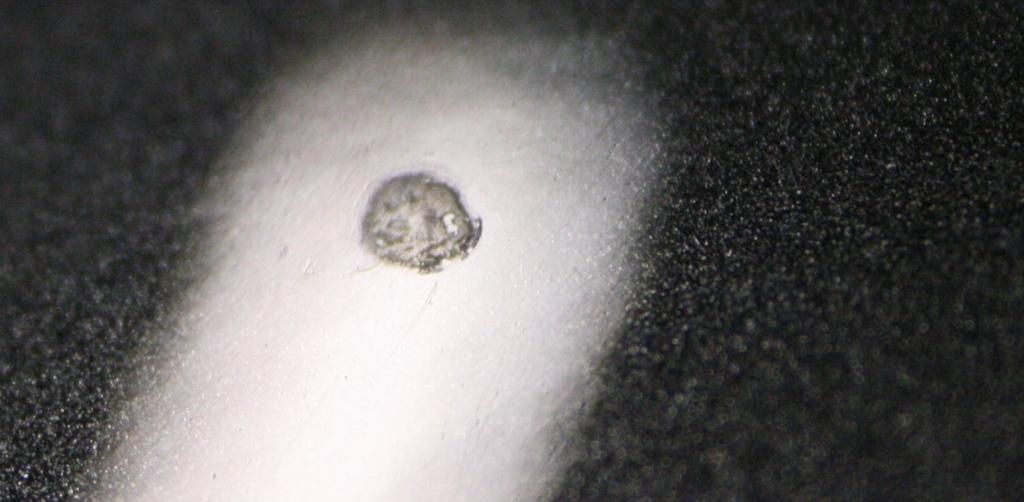
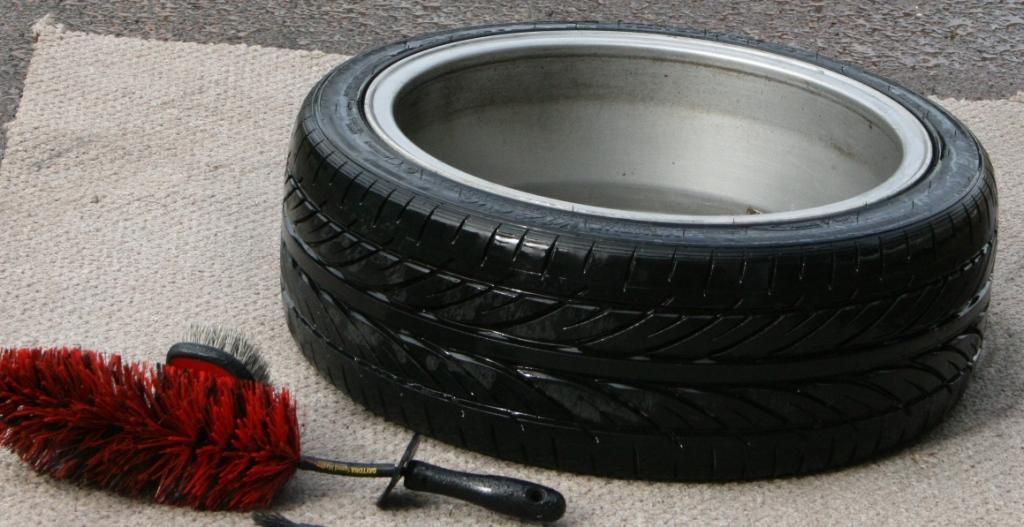
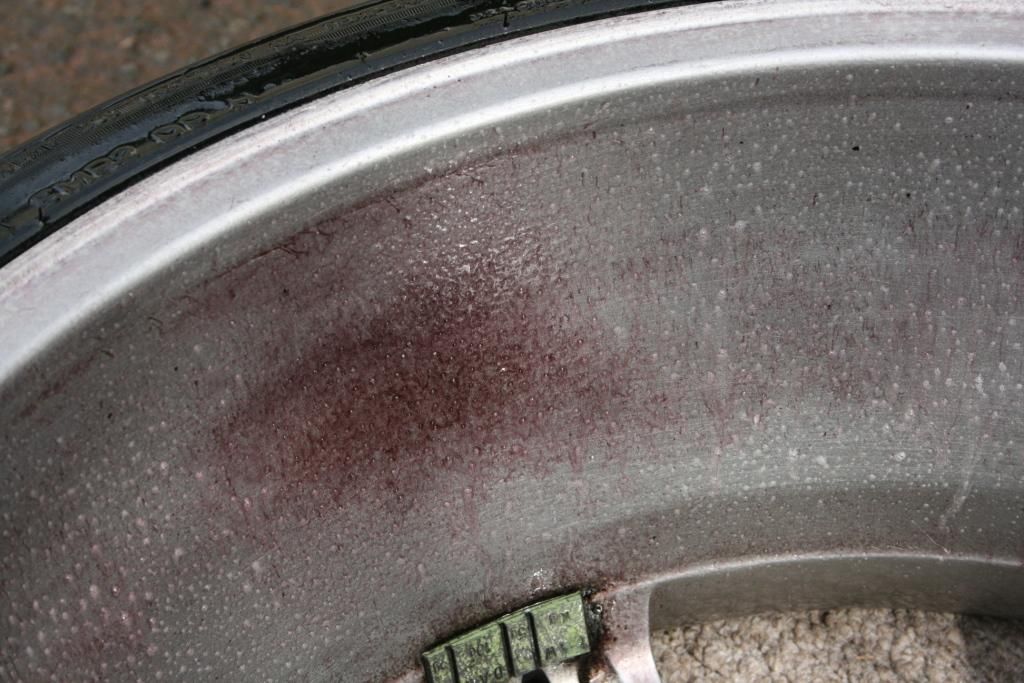
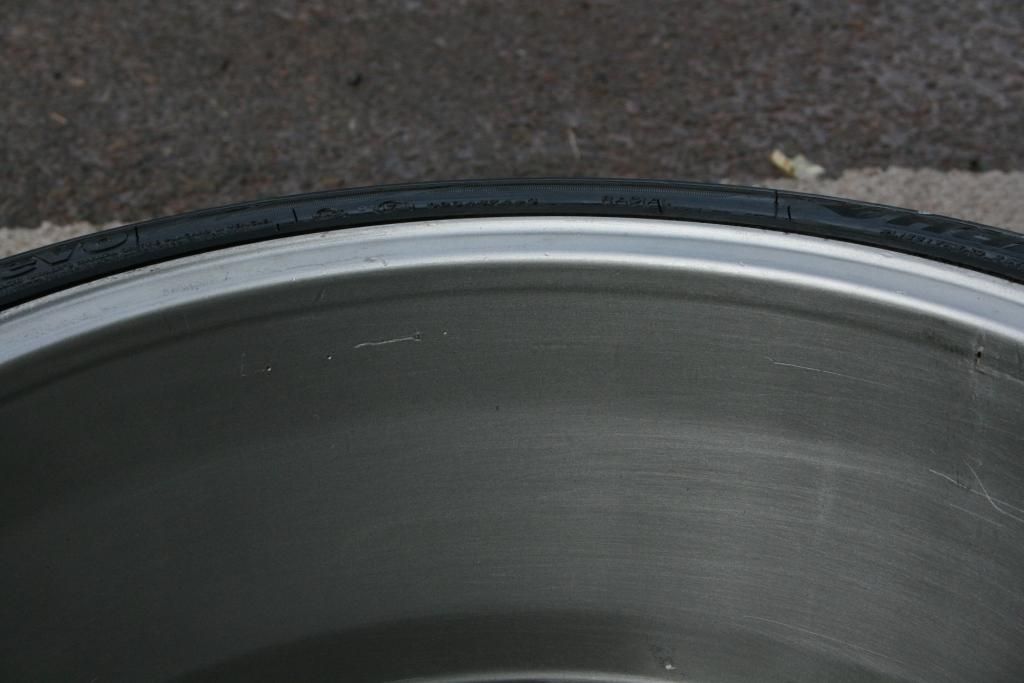
After a thorough cleaning of the wheels and you can still see the tar/iron deposits remaining.
]
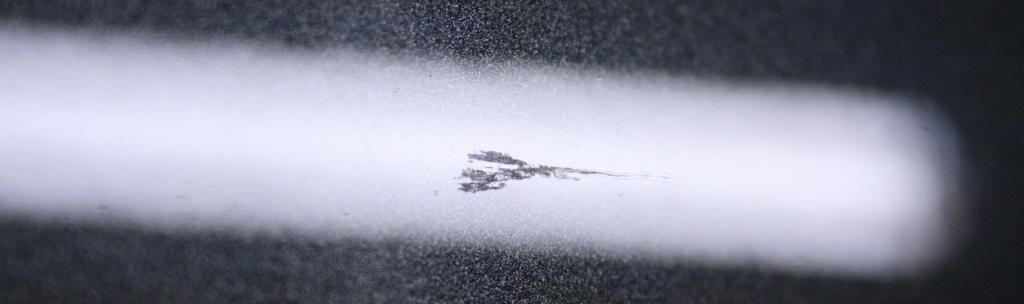
All the tar spots were then removed
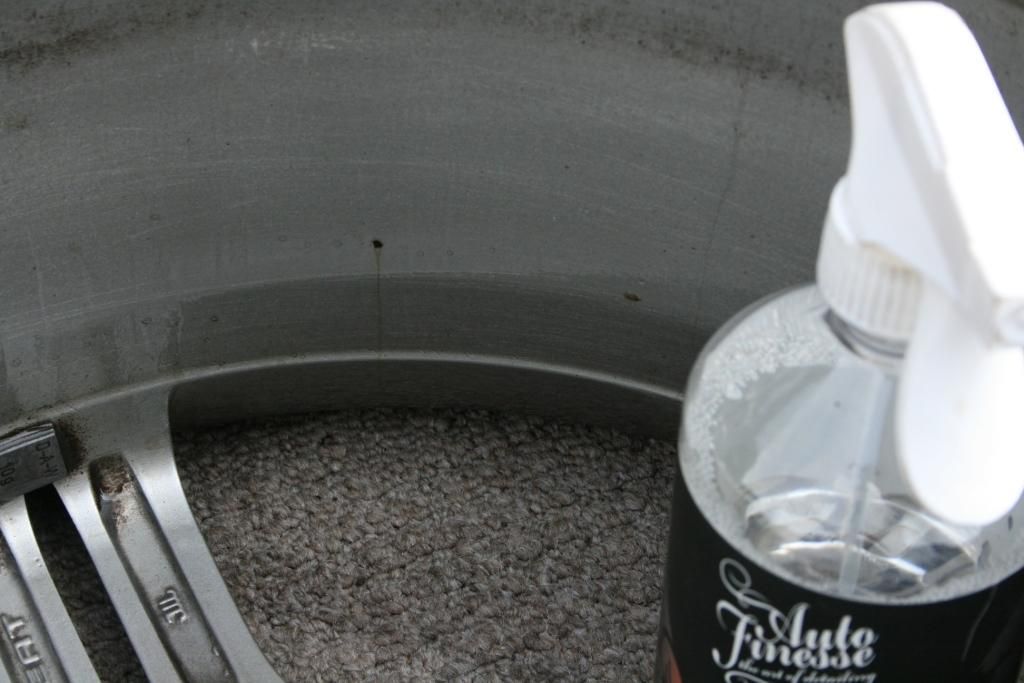
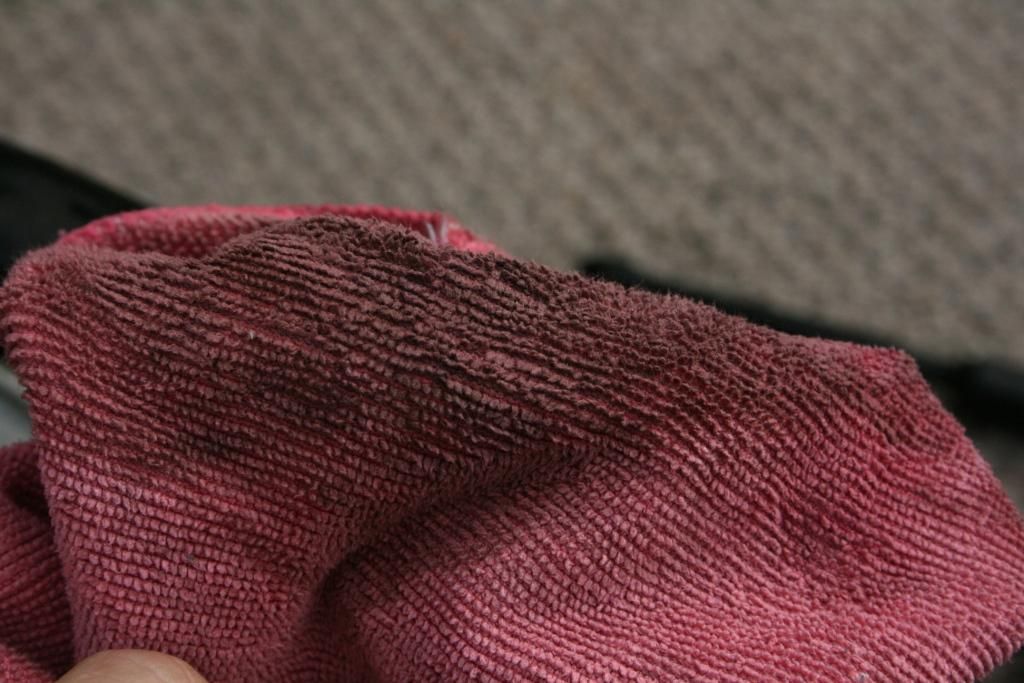
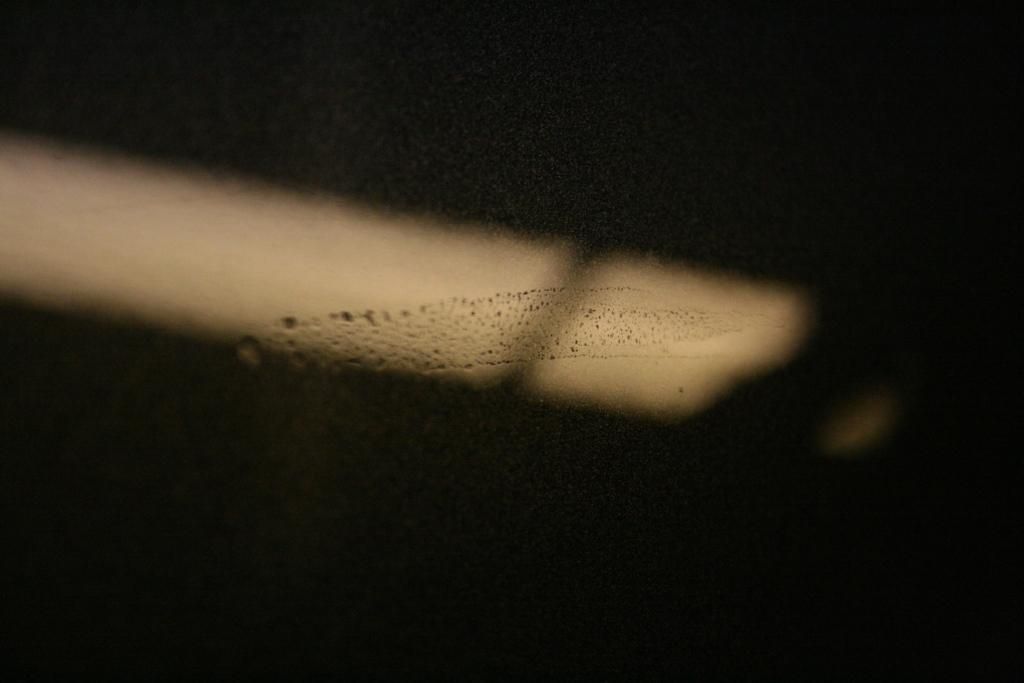
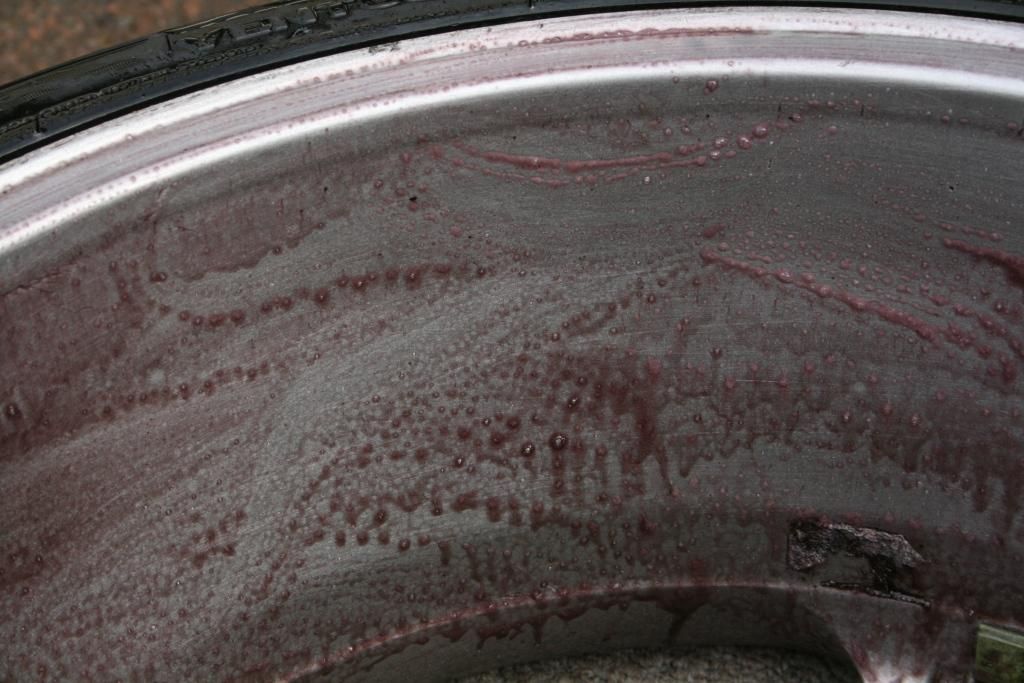
And then the iron remover sprayed on
And agitated after a few minutes
faces getting the same treatment
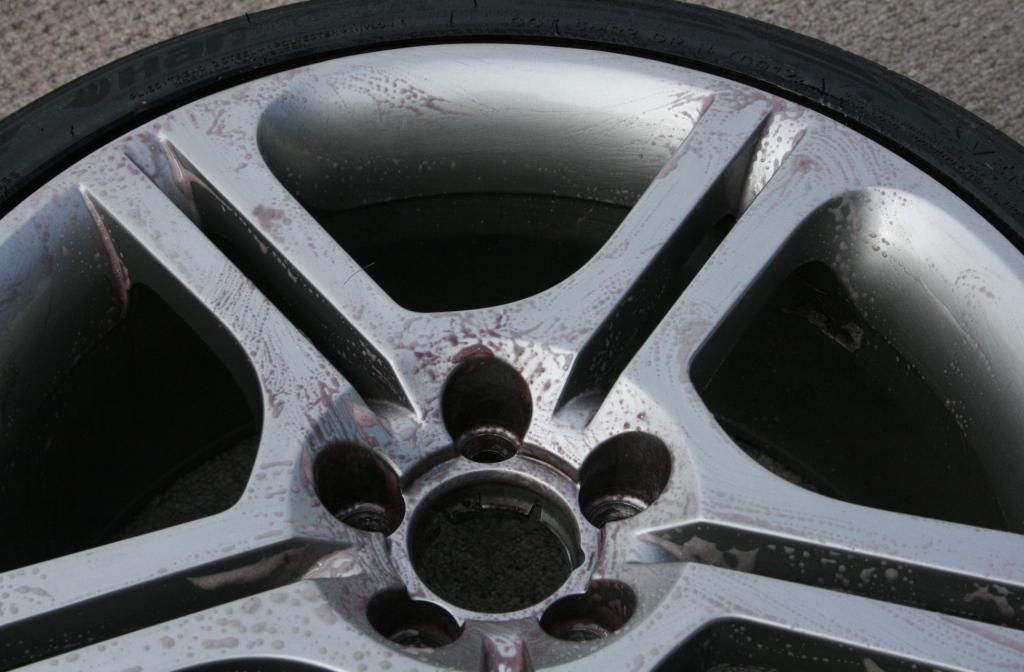
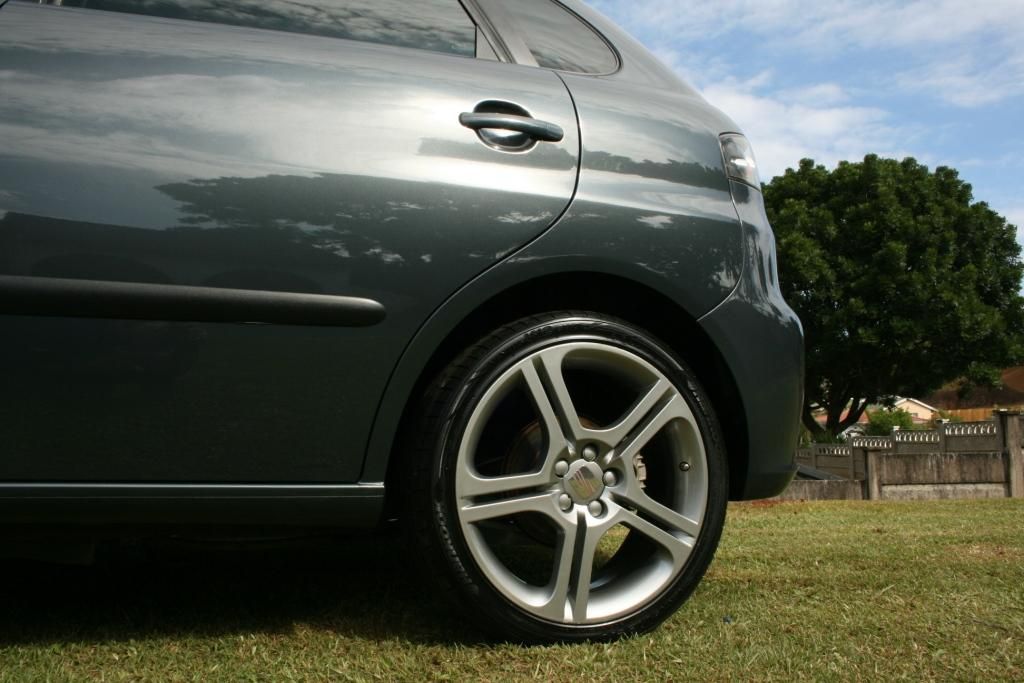
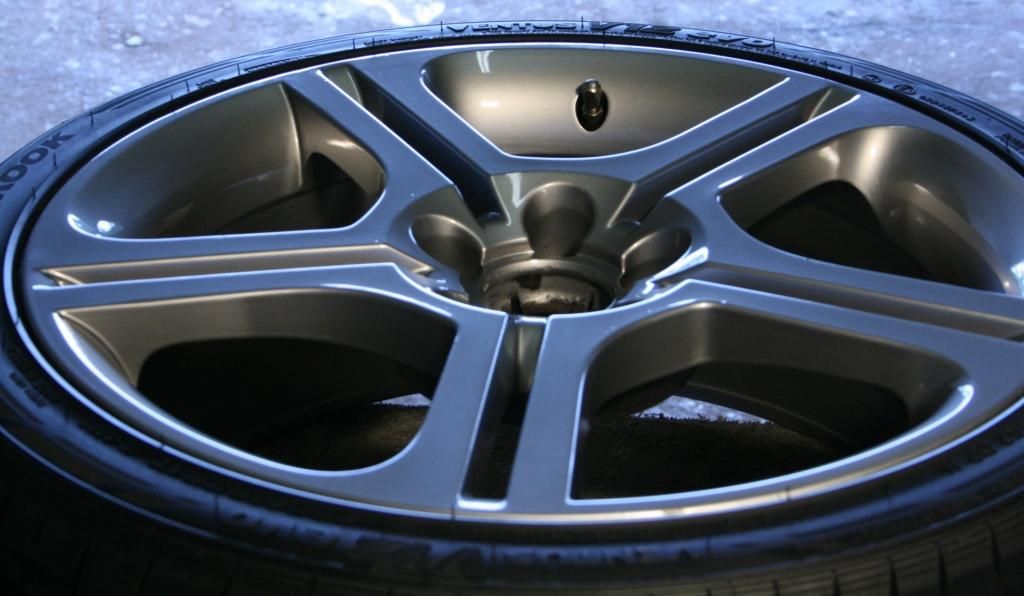
Revealing clean wheels
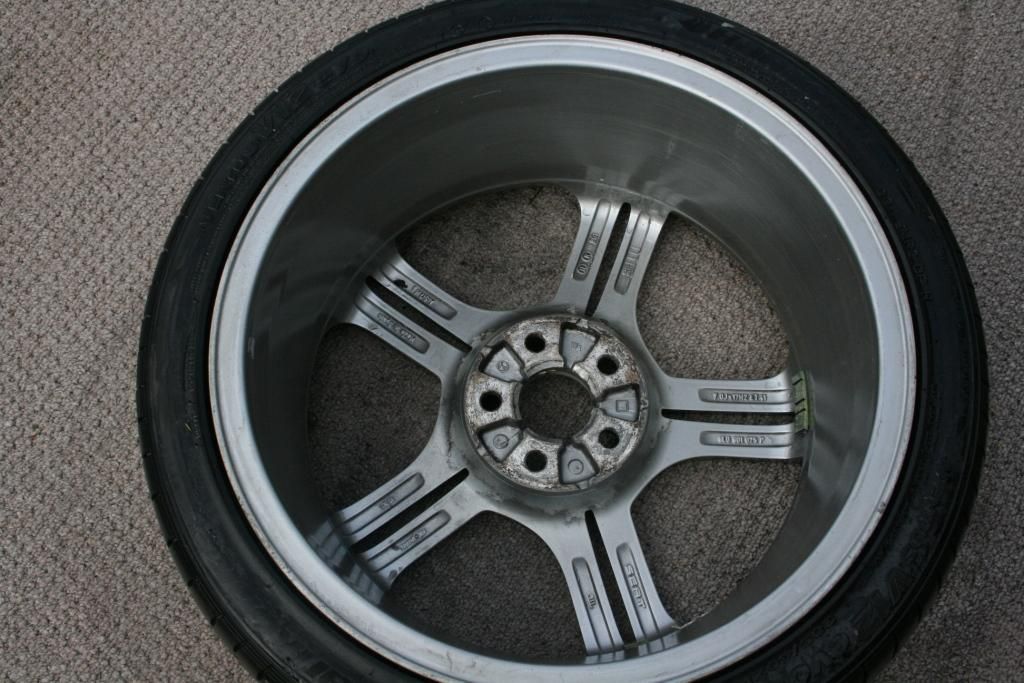
The wheels were then rinsed/dried and sealed
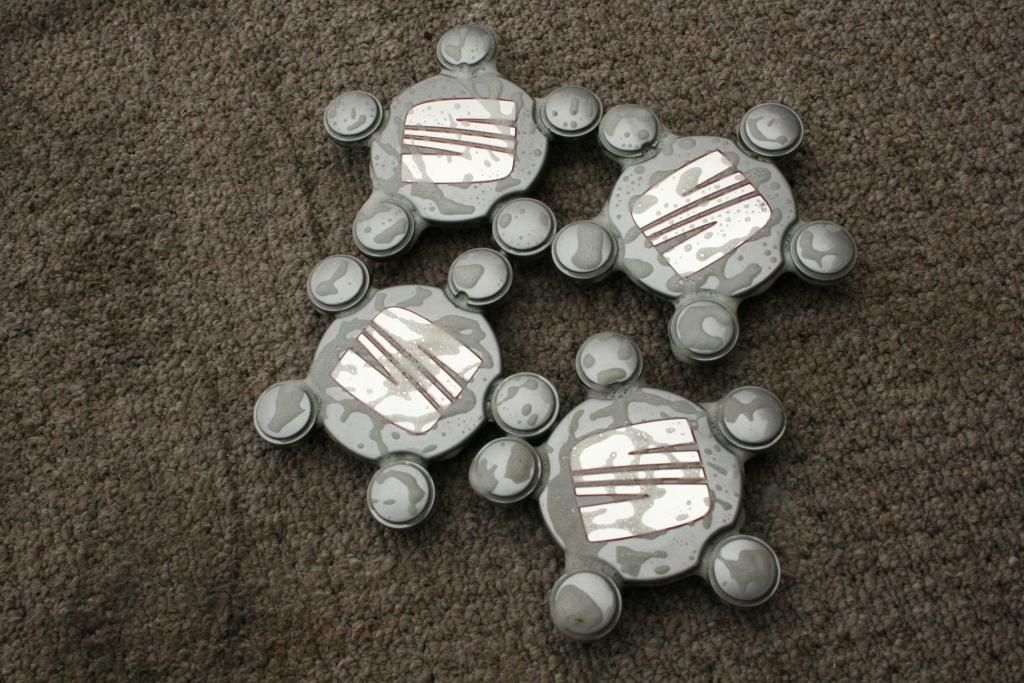
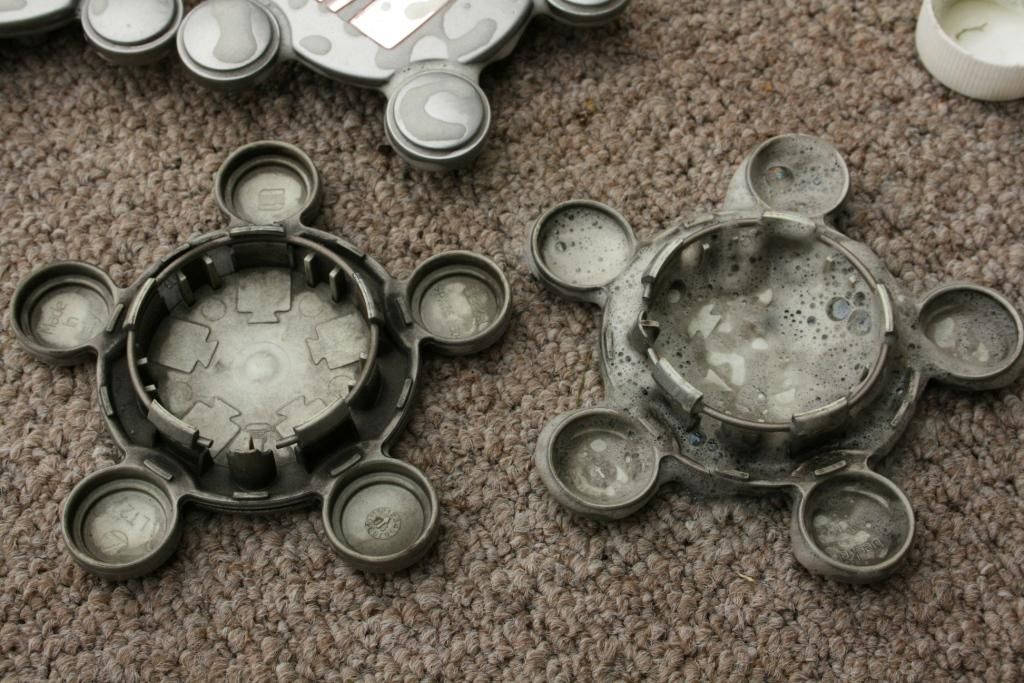
The caps were also cleaned
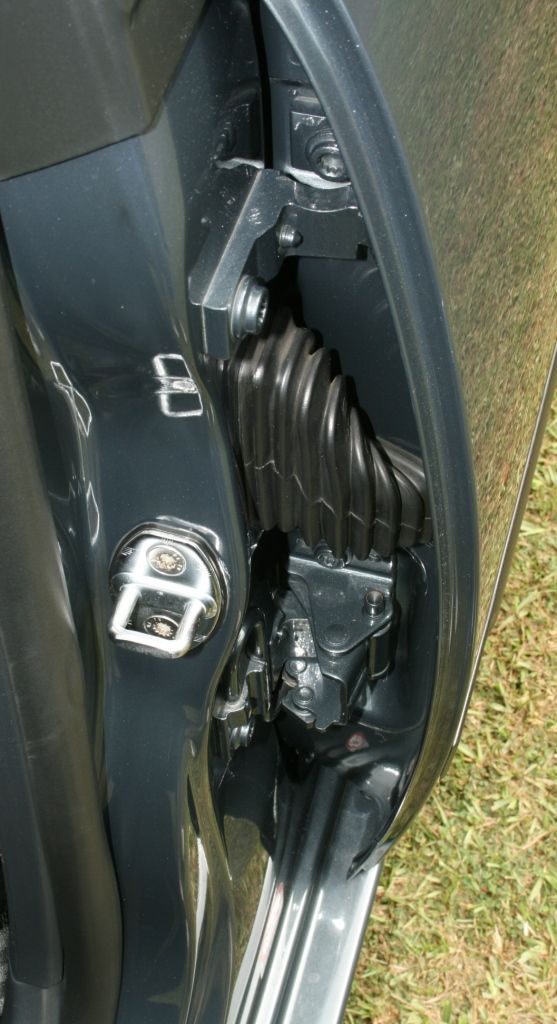
Next the wheels arches
Before
During
After
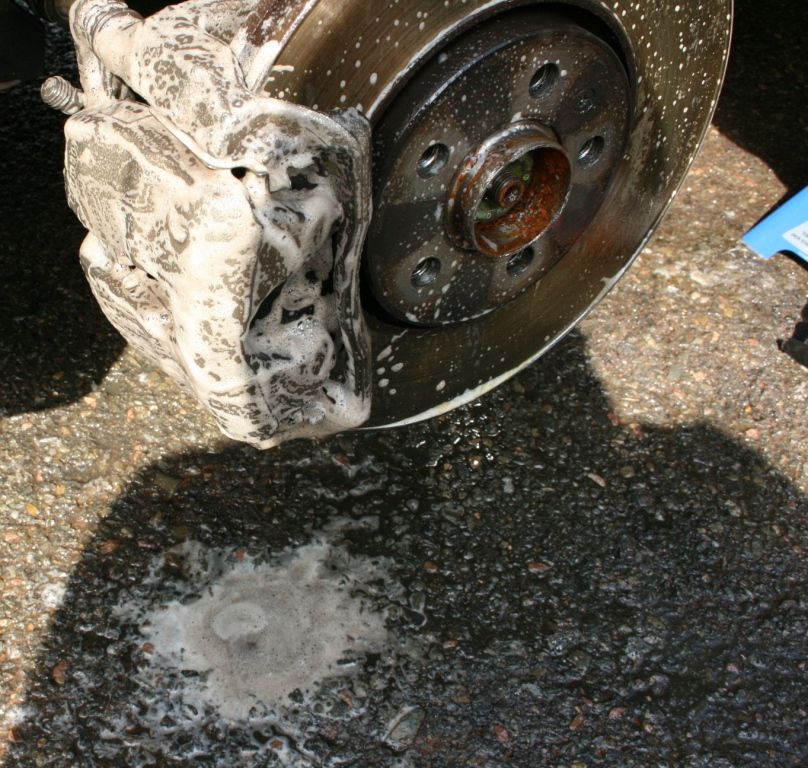
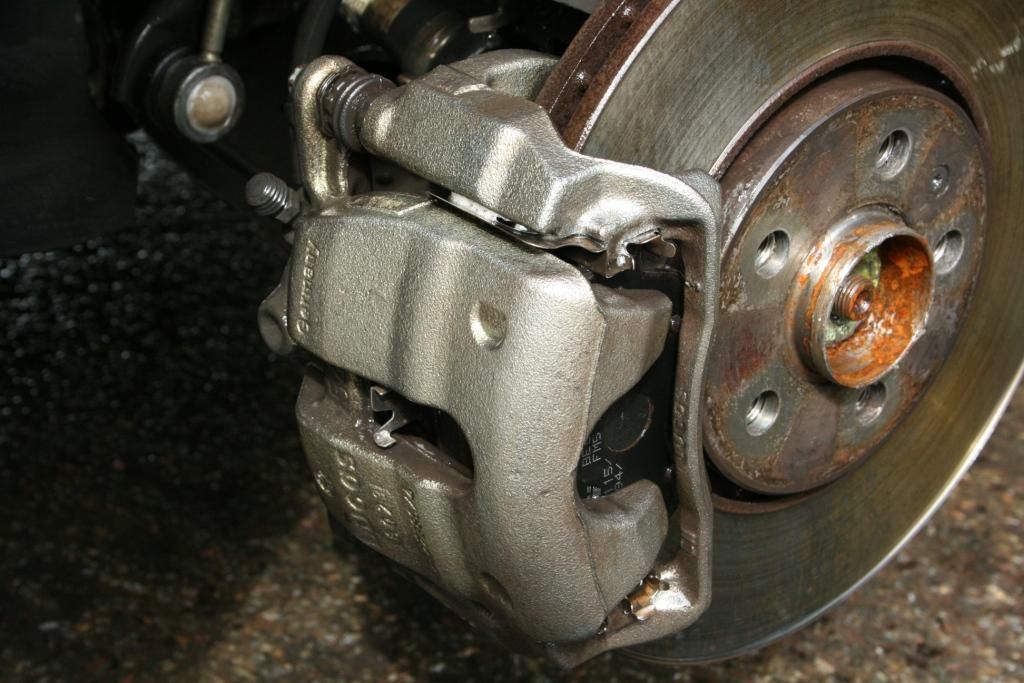
Brake Calipers were cleaned up
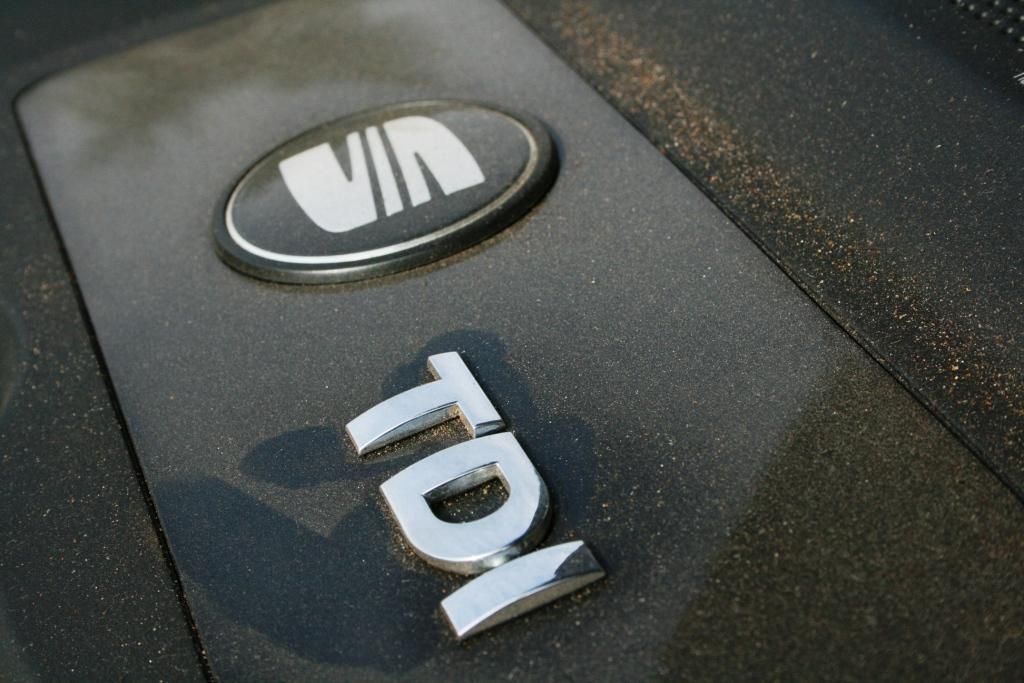
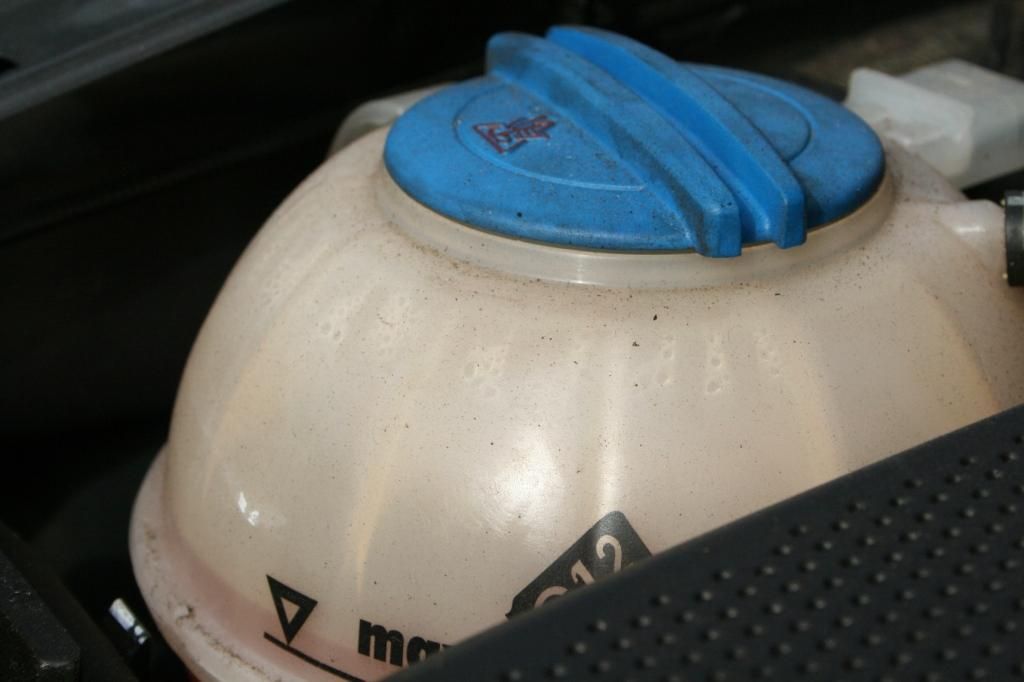
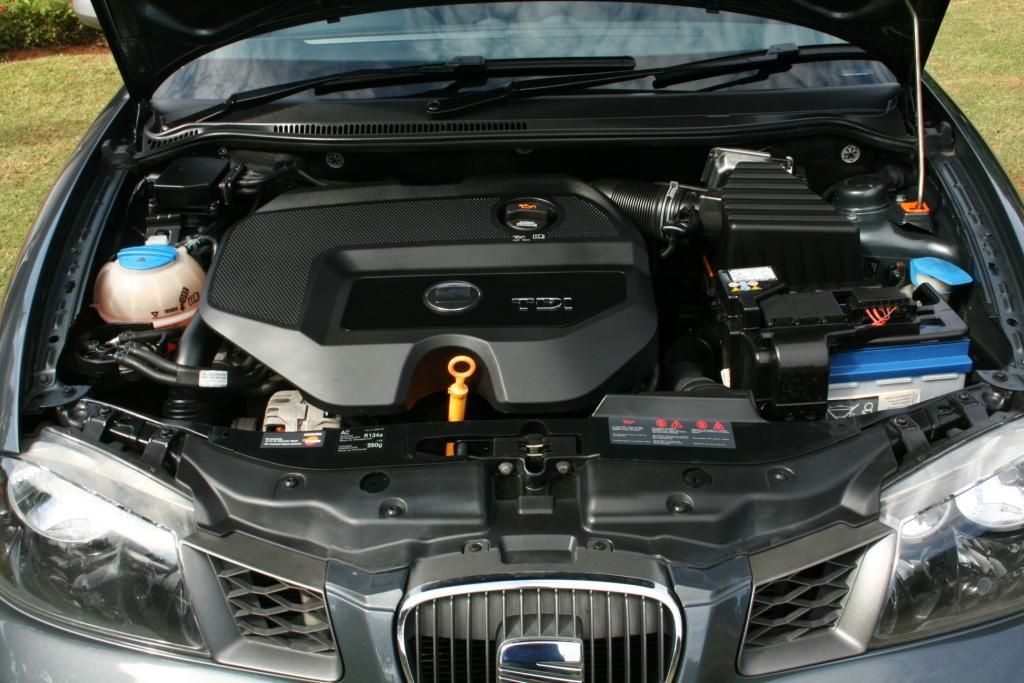
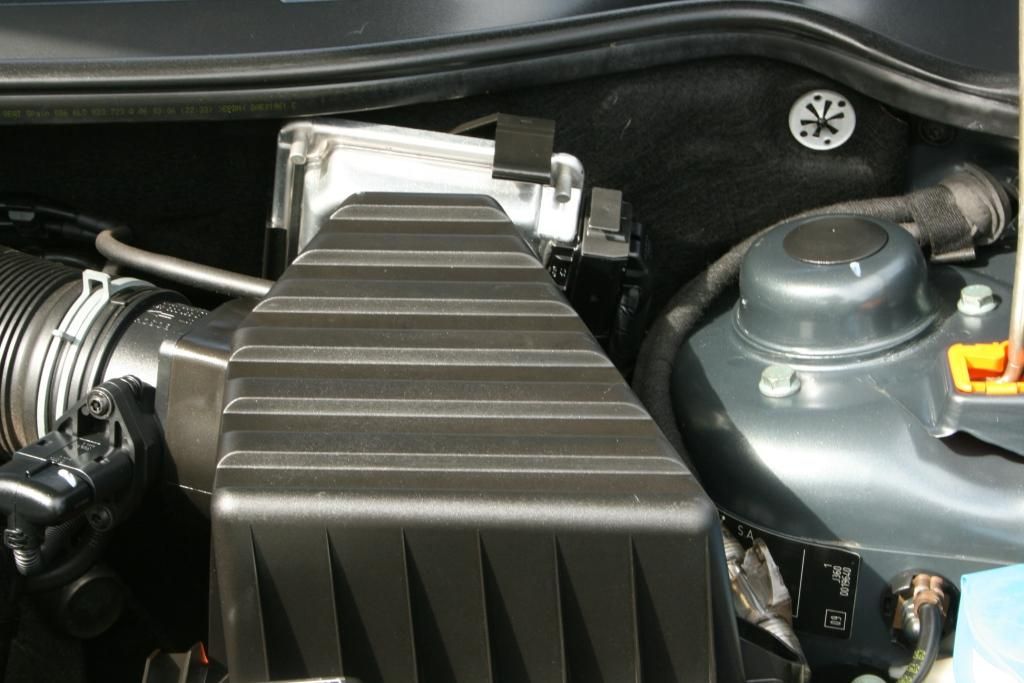
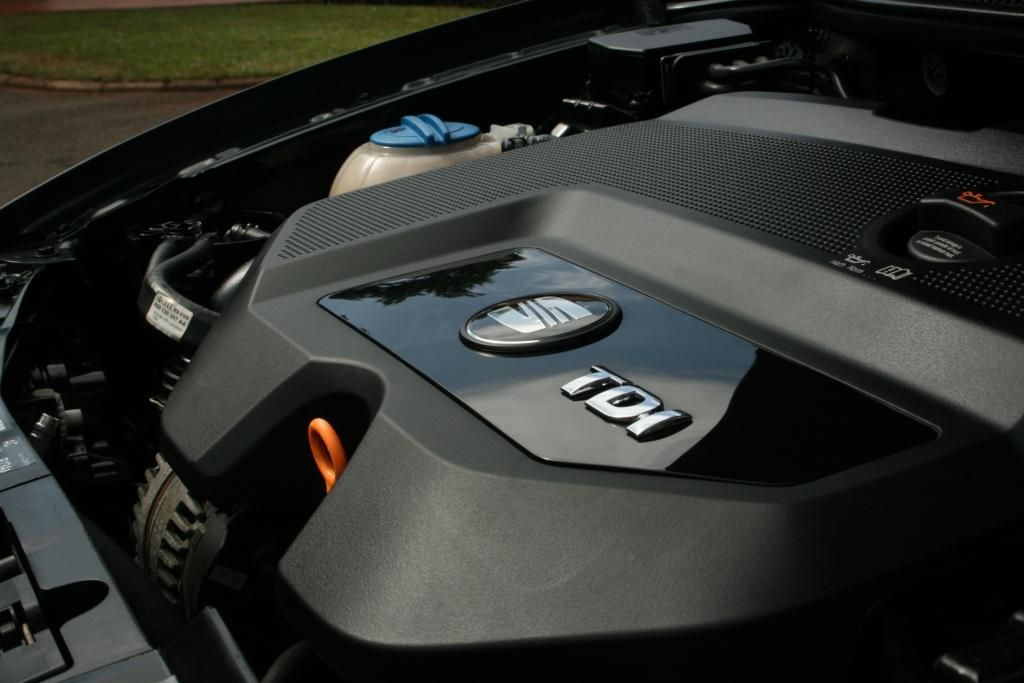
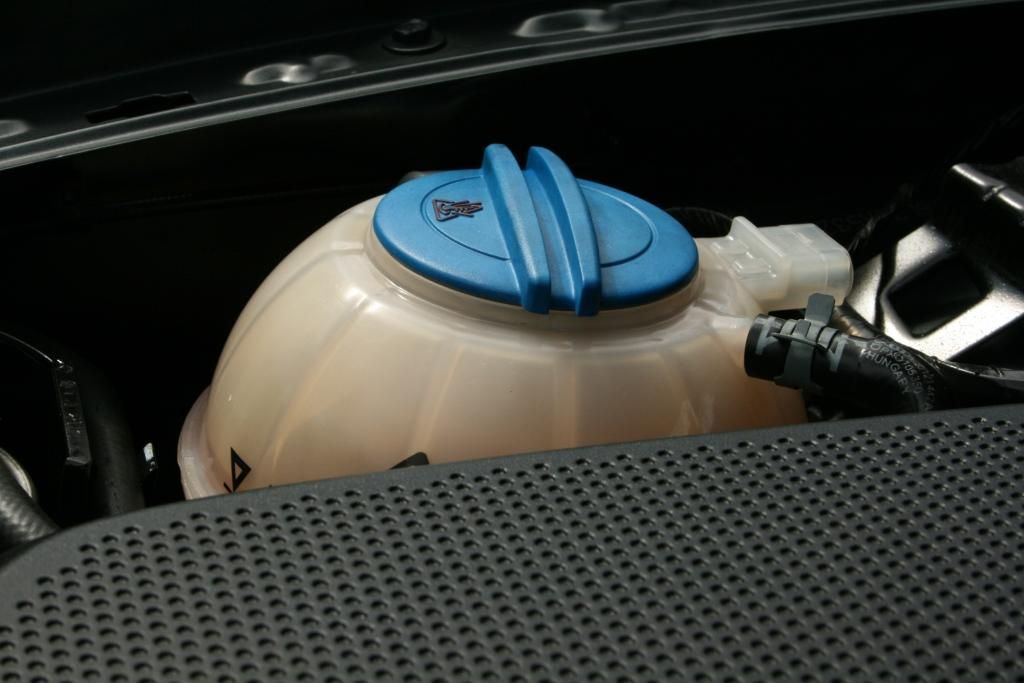
Engine Bay
All loose dirt/dust was blown out the engine bay before the sensitive electrical components were sealed off. A thorough cleaning was performed and the engine bay then dressed.
Before
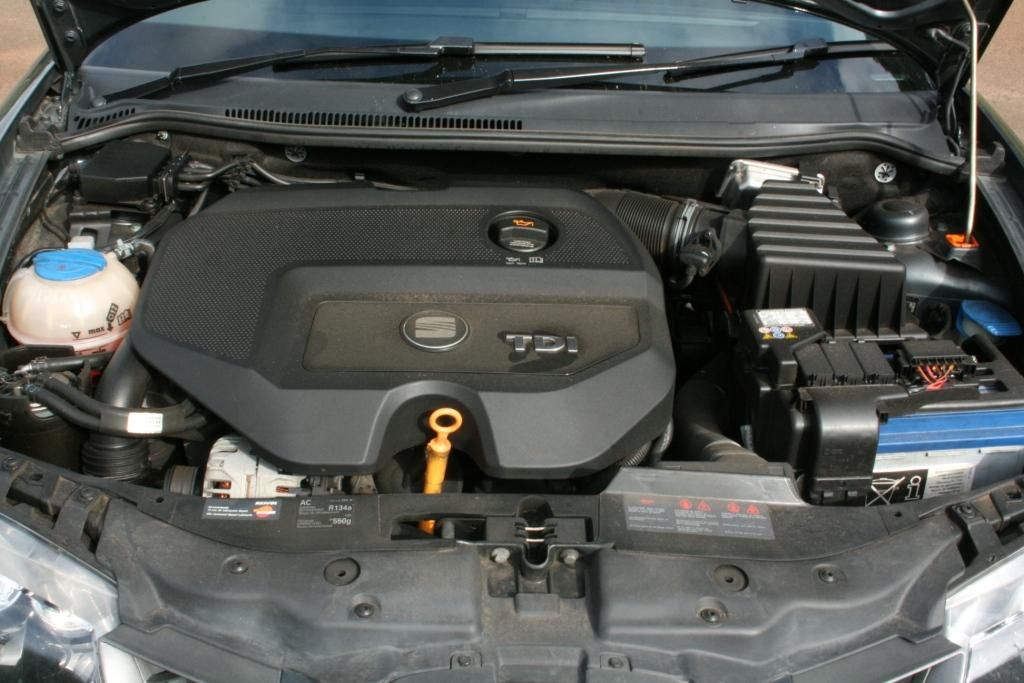

After
Cyclo CM30
Turtle Wax Intensive Wheel Cleaner
Autofinesse Iron-Out
Chemical Guys Maxi Suds II
Meguiars Gold Class Shampoo
Autofinesse ObliTARate
Clay Magic (Blue) Clay
ONR
Menzerna PF2500
Lake Country Orange CCS Pads
Menzerna Black Finishing Pads
Meguiars Deep Crystal Paint Cleaner
Chemical Guys Blacklight
Collinte 845
Meguiars NXT All Metal Polish
Smartwax Smart Dressing
Autoglym Fast Glass
C-Thru
A multitude of brushes and MF Cloths and foam applicator pads
HP Washer / Foam Cannon / Wet 'n Dry vac
Day 1 - Tuesday
Wheels, brake calipers and arches
Here you can see the buildup of dirt in the arches (as well as the surface dirt on the car)
The wheels were removed from the car to reveal a fair amount of dirt, road grime, tar and iron deposits.
After a thorough cleaning of the wheels and you can still see the tar/iron deposits remaining.
]
All the tar spots were then removed
And then the iron remover sprayed on
And agitated after a few minutes
faces getting the same treatment
Revealing clean wheels
The wheels were then rinsed/dried and sealed
The caps were also cleaned
Next the wheels arches
Before
During
After
Brake Calipers were cleaned up
Engine Bay
All loose dirt/dust was blown out the engine bay before the sensitive electrical components were sealed off. A thorough cleaning was performed and the engine bay then dressed.
Before
After