- Thread starter
- #41
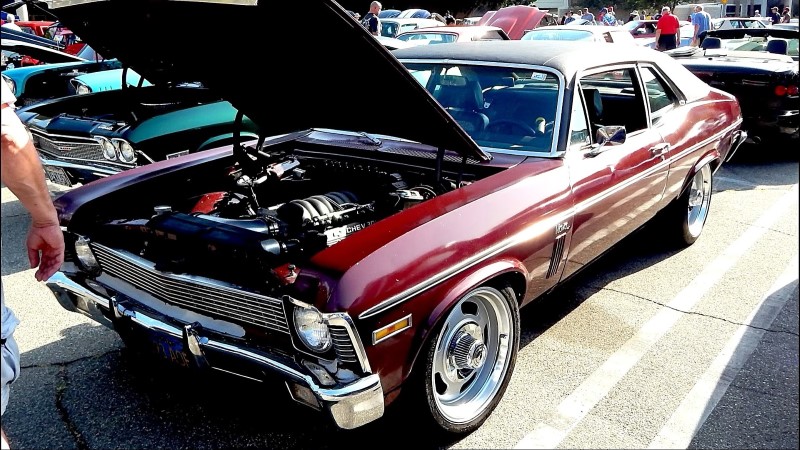
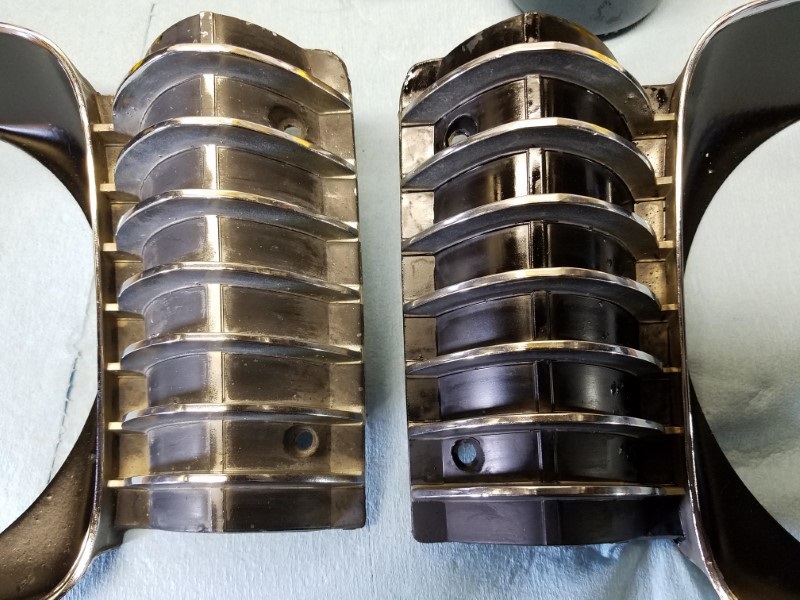
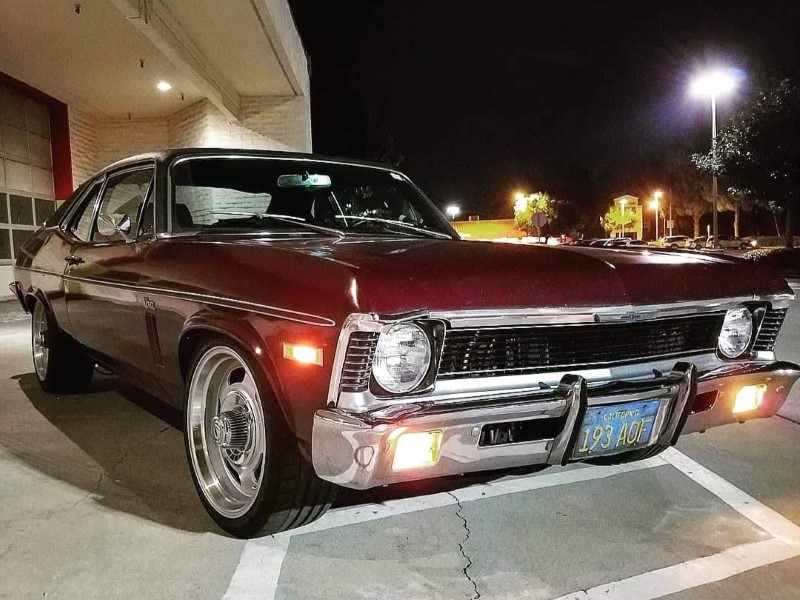
Thank you all for the kind words. This has been a very rewarding foray into detailing. I literally started knowledgeless about how to do this, but thanks to the reading up on this forum and watching videos, I was able to get unexpectedly awesome results. I was oblivious to what was possible. I still intend to repaint the car at some point (chips, dents, and rust need attention), but this has bought me years more of enjoyment which not only puts a smile on my face, but also saves me money.
Mike I greatly appreciate the kind and detailed response. You deserve a lot of credit for the write-ups you've posted. I should have linked to them in my write-up. It's a rare person who can master a skill like detailing AND the art of teaching others - you do a great service to this community. My car came a long way thanks to just reading your stuff! THANK YOU! I wish I could afford/justify attending your detailing class this weekend in Santa Clarita. I am about an hour's drive from where you'll be. If you need a car for the class, there are still plenty of defects and swirls that could use some help")
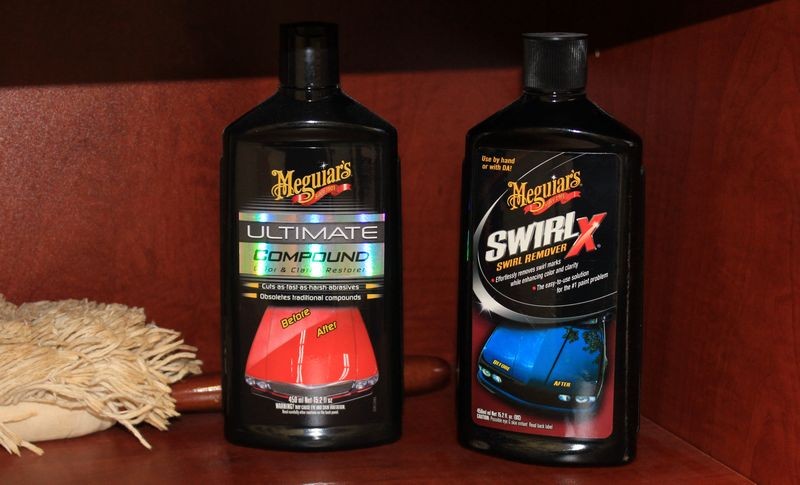
Your article on restoring oxidized single stage paint absolutely put me on the right path. The no 7 glaze changed the consistency of the paint. I have no idea what would have happened if I jumped right onto it with compound. Going forward, should I continue to use the glaze regularly prior to wax? i.e. how should I maintain the car now?
Mike I greatly appreciate the kind and detailed response. You deserve a lot of credit for the write-ups you've posted. I should have linked to them in my write-up. It's a rare person who can master a skill like detailing AND the art of teaching others - you do a great service to this community. My car came a long way thanks to just reading your stuff! THANK YOU! I wish I could afford/justify attending your detailing class this weekend in Santa Clarita. I am about an hour's drive from where you'll be. If you need a car for the class, there are still plenty of defects and swirls that could use some help
Your article on restoring oxidized single stage paint absolutely put me on the right path. The no 7 glaze changed the consistency of the paint. I have no idea what would have happened if I jumped right onto it with compound. Going forward, should I continue to use the glaze regularly prior to wax? i.e. how should I maintain the car now?
")