Holiday Project Three - Refurbishing a Briggs & Stratton Carburetor
This is another one of those "one day" jobs. And since I not only burnt the bridge leading to my usual small engine workshop, but I also blew it up with several grenades, I have to do these jobs myself now. :laughing: (They deserved it by the way, I don't tolerate fools gladly)
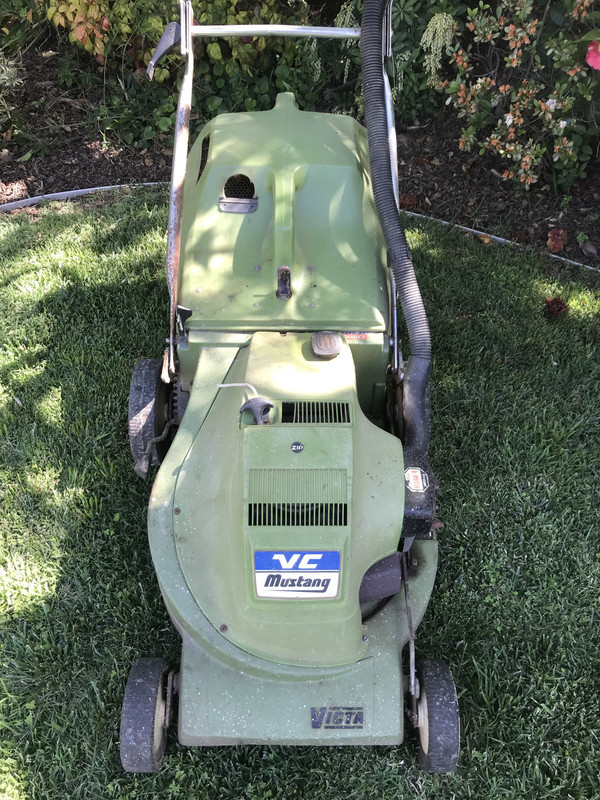
Not that I'm complaining, because this is a labor of love with this machine. This mower got me started as a young teenager mowing lawns that would later grow into a professional business. I landed a job mowing lawns for one the richest families in the country with this machine and I practically run the thing into the ground over a number of years. These days, it sits in the garden shed for sentimental reasons, coming out occasionally to mow my own lawns. It really needs a new set of rings, it visibly burns oil and the chassis has been patched back together in a few key places. But I don't care, it's not going anywhere. The rings will have to wait for another day, it clears up as the engine warms up. The carby though had been showing signs of it needing attention sooner rather than later.

I'm not going to lie, I was a touch daunted by this project. These 3.5 - 4.0 hp Briggs & Stratton engines are fitted with a diaphragm type carburetor, and have done so from the earliest beginnings of this engine design, right up until they discontinued them in the mid 2010's. Over time, the thin plastic diaphragm loses it's ability to pulsate fuel up into the carburetor, causing a variety of issues including hard starting, rev surge and reduced performance. Mine was showing the beginnings of trouble, it started just fine but would occasionally stumble and then surge. The fact that it lasted over 22 years without issue astounds me. So, with time on my hands, I wanted to learn how to replace this part myself.
This job required some forward planning in terms of ordering the correct parts ahead of time. Again, that burnt bridge meant I couldn't just go and get them from the dealer. In this case, I ordered the diaphragm and gasket set, along with a new set of governor springs, more on that later. I also wanted to replace the primer bulb, but to be honest, it was working just so I decided to just leave that alone.

These engines are incredibly simple to work on, all the bolts have easy access and really, a few simple tools are all you need to do pretty much everything on them. Having said that, I'm loving the access to a full set of tools working on these machines, it just makes everything flow so much easier. Investing in a tool set was something I wish I had done a long time ago, having everything in the one spot and ready to grab and go is priceless.
First step, remove the air cleaner. Again, this is a part that was largely unchanged in 50 years they made these engines, mine being made from steel rather the later plastic ones. (Side note - this Sprint 375 was made in the USA before they moved production to China. The side-valve Briggs were cheap engines made cheaply, the Chinese made ones are even cheaper made with thinner castings and more plastic.)
This is what 22 years worth of hard work looks like, I'll never live it down! :doh:

With the air cleaner housing out of the way, remove the throttle cable from linkage, remove the cable bracket and then remove the two bolts holding the fuel tank to the engine. Again, another design that stayed the same all the way through production, this steel tank will fit on an older engine no problem and vice versa.
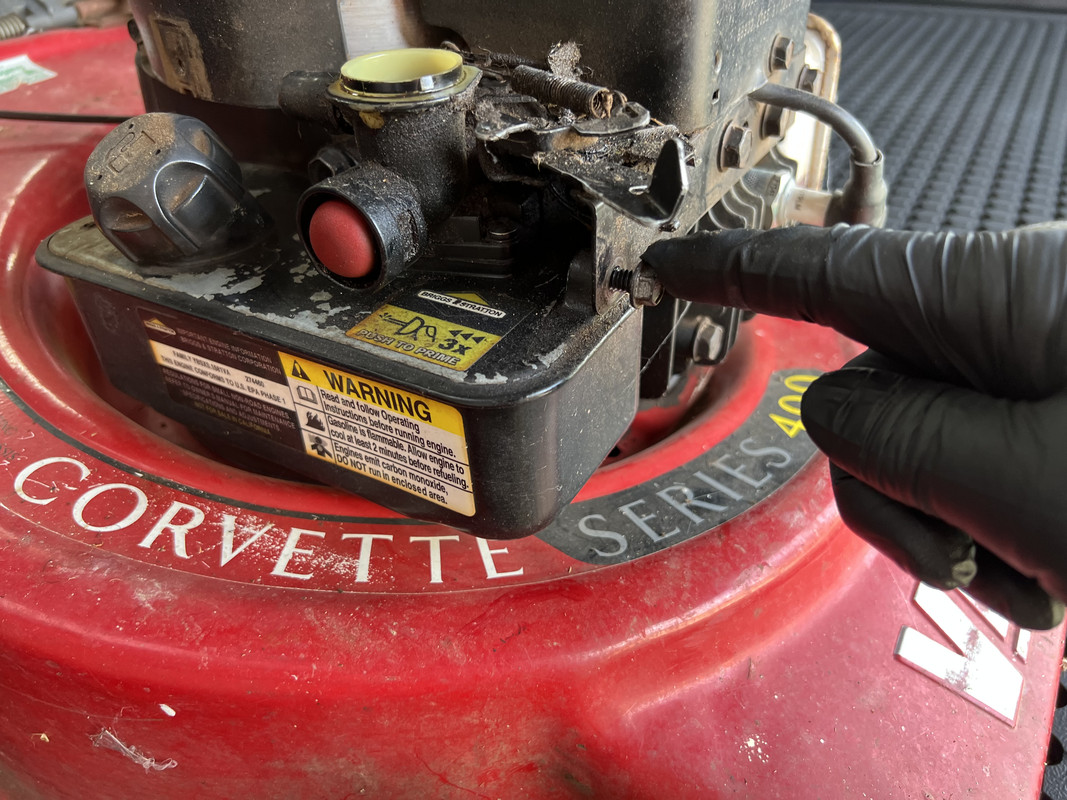
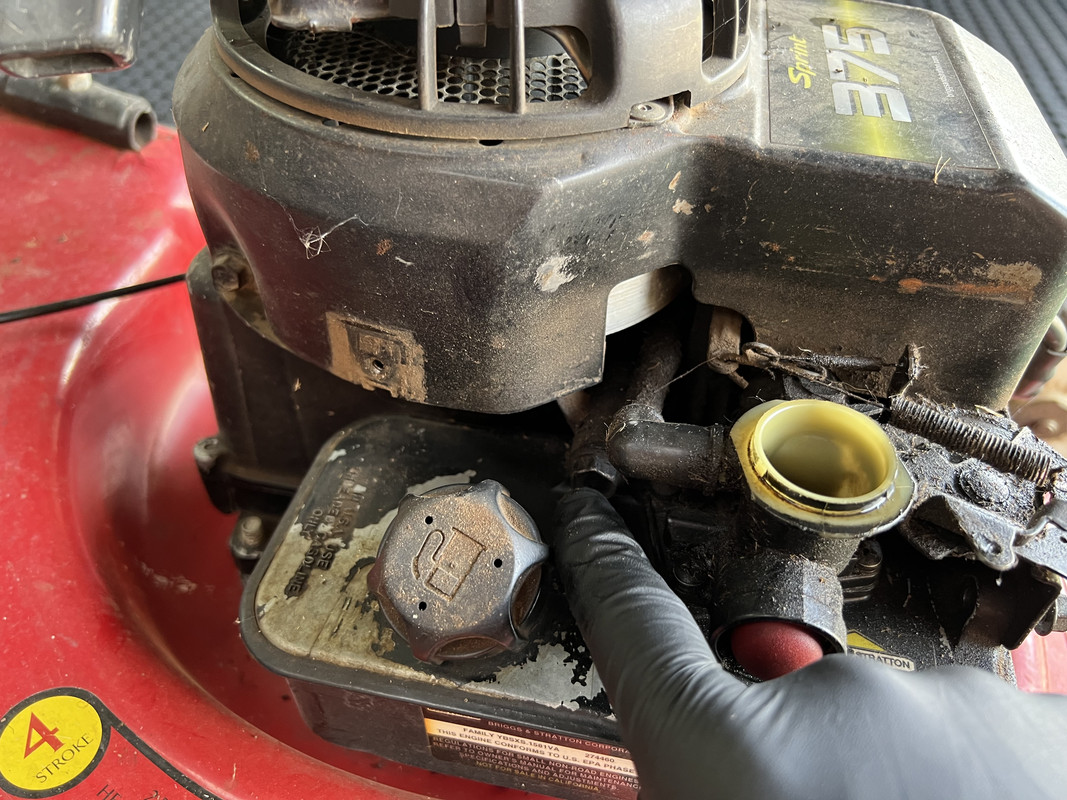
The next step is a bit of a wrangle, you need to gently wiggle the carb off the intake manifold and breather tube while unhooking the governor linkage attached to the throttle plate. Make sure to then remove the intake washer and gromet for safe keeping. No pics of this step, it's kinda a two-handed job not conductive to holding a camera.

Tank removed. The reason for removing the whole tank from the engine is it permits proper access to the bolts holding the carb to the tank and improves the re-installation of the new gaskets. You really can't do this job with the tank installed.

I also chose to remove the pressed tin recoil cover, the later Chinese engines had a plastic shroud covering this part, necessitating the removal of two parts rather than one. :doh I suspect this was as much about making the engine look more modern than it really was.

I removed this cover to inspect the cylinder fins as well as making sure the intake manifold was correctly secured to the intake port, these engines have a habit of backing the bolts out over time. Mine was fine.


It was then time for some more cleaning, and I have to say, I was a little sick of messing about with yukky oil covered parts by now.

First step was to remove the carb from the tank.

I then drained the fuel from the tank. As you can see, she was a bit grotty in there, necessitating a flush out a few times.

I then cleaned the carb and tank as thoroughly as I could, using lashing of carb cleaner along the way. This was the first time I had used such a product, and yes, it's good stuff. I also removed and cleaned the metal pickup screen, likewise the return tube as it was partially blocked. Other ancillary parts including the breather tube and carb bolts were also cleaned during this step.

This was the state of the old diaphragm, with the gasket fused to it over time. Certainly not terrible, it was still somewhat pliable, but I could see where it was starting to wear.

This is the part I was dreading, putting the new parts on the tank and aligning the carb and screws altogether.................but I aced it first go! Im the MAN

Important to note that the diaphragm goes on first, the gasket sitting on top sandwiching the diaphragm between the tank, gasket and carb. Locate the screws loosely at first and then work diagonally to torque them down, helping to prevent warping of the plastic carby.

Next, I used compressed air to roughly remove the build up of oil and dirt from the engine overall, plugging up the intake manifold for safety. I then decided to install the new governor springs.

These springs control the speed of the engine, more to the point, they prevent it from revving too hard and therefore preventing a thrown rod. Over time, these springs lose tension and actually prevent the engine from running at the permitted full speed. Replacement while I was in there seemed like a good idea. While I took photos of the correct placement, I just replaced each spring one at a time so that I could keep track of what went where. In this case, I simply cut the old springs off and looped the new ones in.

It was then time for the recoil cover to be reinstalled, followed by the carb and tank which is again a process of wrangling the tank back into place, hooking up the governor linkage and pushing the carb onto the intake tube. Be sure to have reinstalled the intake o-ring and grommet like this little black duck forgot to do! :doh: Reinstall the breather tube and air filter now as well.
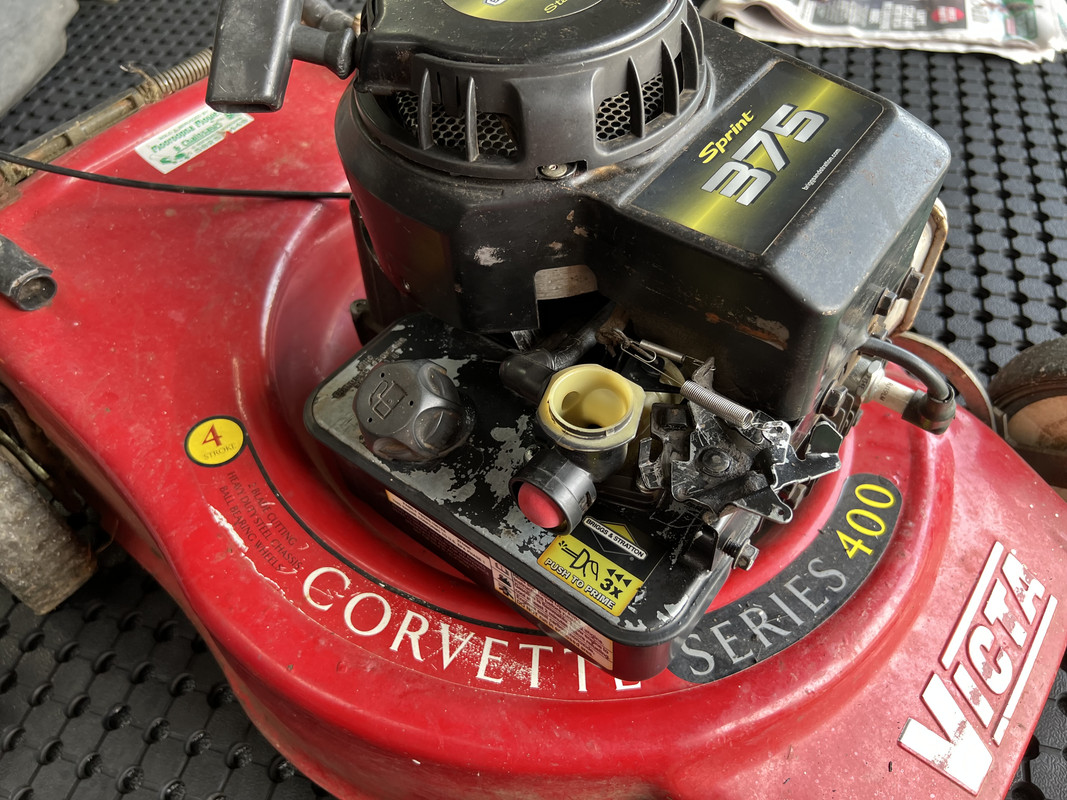
I then reinstalled the throttle linkages. I actually had to make an adjustment to fix a long-term issue with the kill switch, the cable not pushing the throttle plate forward enough to make contact with the switch. Another little issue finally fixed!
With the engine all back together, it was time to fill the tank with fresh fuel and fire it up. A few pushes of the primer and two pulls on the rope and the engine burst into life. The smile on my face was epic at this point, I DID IT!! Im the MAN
With the new diaphragm and governor springs, the engine was running STRONG, a little too strong to be fair. So, off with the air cleaner again and few small adjustments to the governor tab with needle nosed pliers, bringing the engine speed down to a more appropriate level, verified with my new digital tachometer.
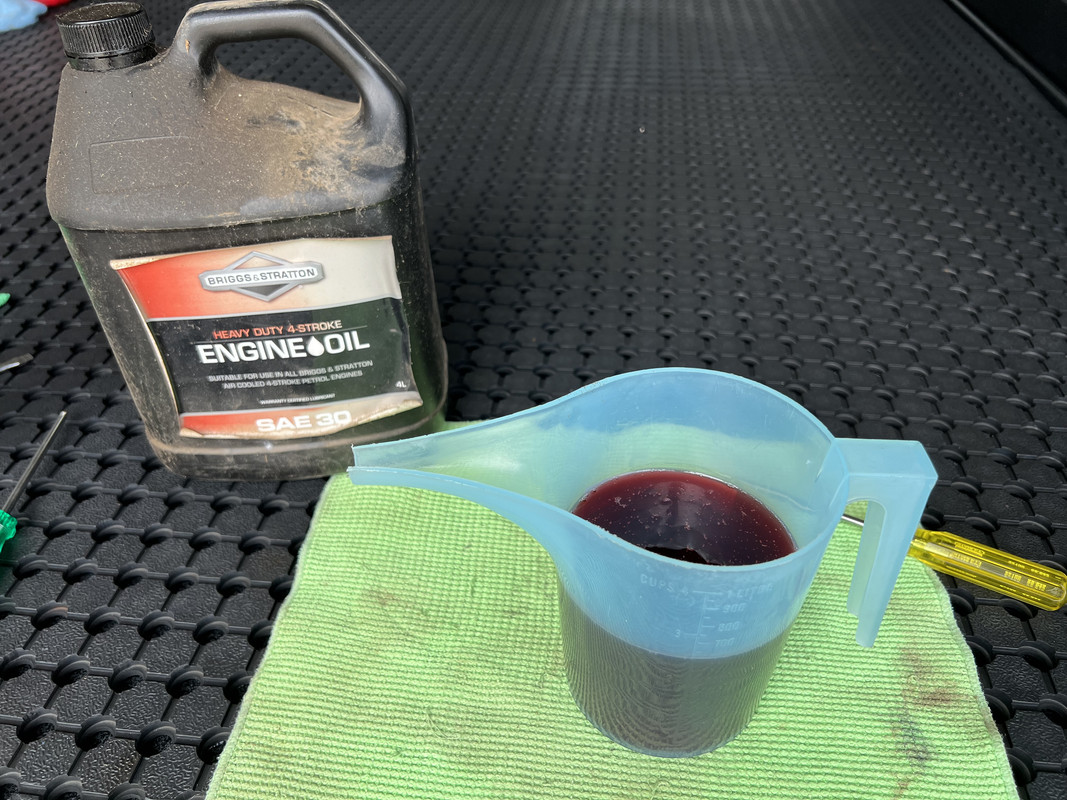
Once warmed up, I then changed the oil. I typically use Penrite Small Engine Synthetic 10W-30 in my 4-stokes, however I consciously stick with SAE30 for this aging engine. This is a monograde mineral oil that has been used for decades by Briggs, probably specified to account for their wide tolerances.
One last mechanical thing to take care of was re-torquing the head bolts to 13.75 ft lbs, the ones on the exhaust side of the engine have a habit of backing out over time.
A quick clean and lashings of Meguiar's Hyper Dressing and the old Victa is looking and running much better. (See, there is something detailing related)


The worst part of this job, like the chainsaw, was the cleaning. It's a messy, smelly job that just sucks. But the satisfaction of putting clean, new parts back onto the engine was very rewarding, and having it fire up and run like new was even better. Not to mention acing a job I had been frightened of doing myself! Im the MAN


