Marc08EX
New member
- May 10, 2008
- 4,108
- 0
Wheels/Tires:
Meguiar's Multi-piece Wheel Cleaner and Cleaner Wax on wheels
Meguiar's APC on tires
Meguiar's Hyper Dressing on tires
Swissvax Wheel Brush
Wash:
Gilmour Foam Gun
Chemical Guys Citrus Wash and Gloss via Foam Gun and 2BM
Meguiar's Microfiber Wash Mitt
Meguiar's Interior Brush for the convertible top
Clay:
Meguiar's OTC Clay
Meguiar's Last Touch
Paint Correction:
Flex 3401 VRG
Meguiar's G100 / 3.5" and 5" LC Backing Plates
Meguiar's M105 / LC Orange Pads / Meg's Polishing Pads
Meguiar's M205 / LC White Pads
Craftsman 500W Halogen Lights
LSP:
Menzerna Powerlock / LC Blue Pad (left 12 hours to cure)
Autoglym HD Wax
Interior:
Meguiar's Quik Interior Detailer
Meguiar's APC+
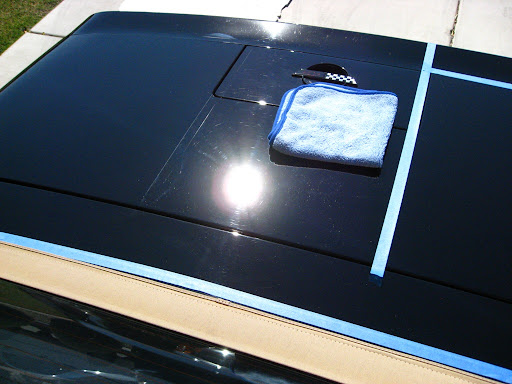
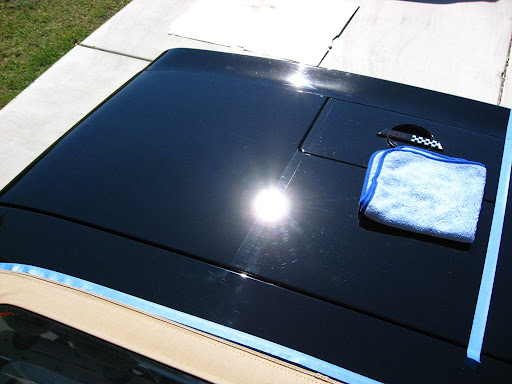
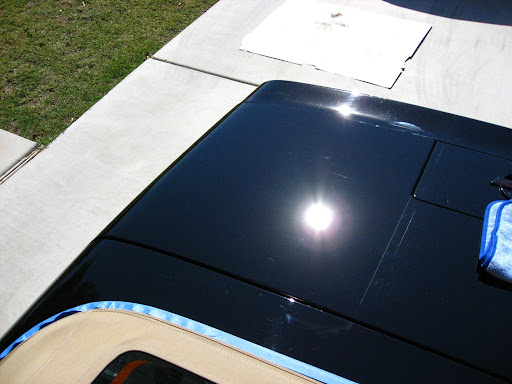
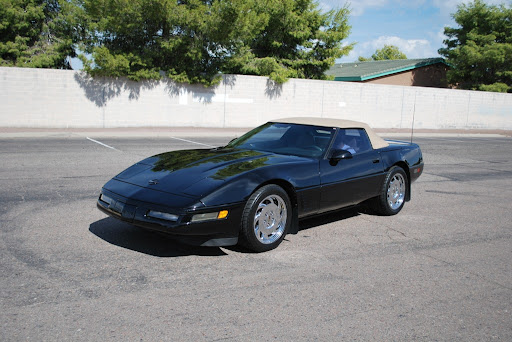
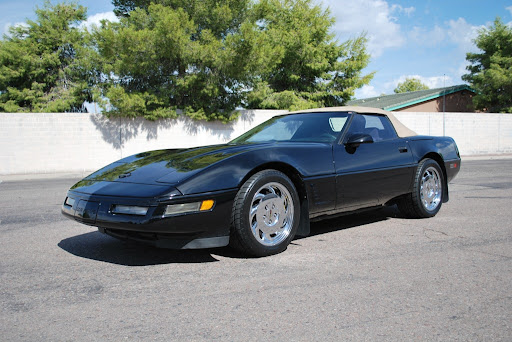
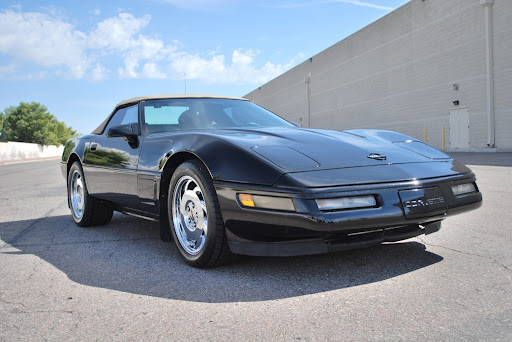
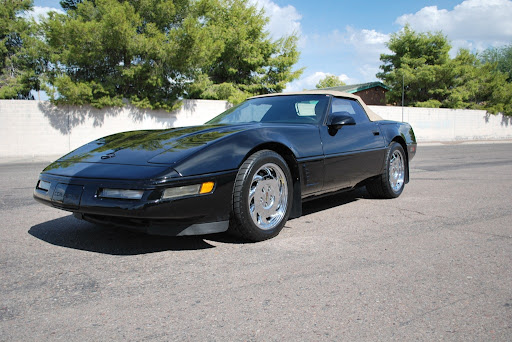
This car was brought in to have the multi-step detail process. The owner basically wanted the paint to look its best. I was excited to get my hands on this car because it's a CORVETTE!!! In addition, the paint color's black so the difference will be noticable.
The car came in worse shape than originally anticipated. It's ok since it's a chance for me to showcase my detailing skills. This car presented 2 challenges. First, the car had different paint jobs throughout the car therefore different techniques were used to attack each section. Second, the car originally had a leather bra in the front bumper and as a result of this, it scuffed up the bumper pretty bad. I will let the pictures do the talking.")
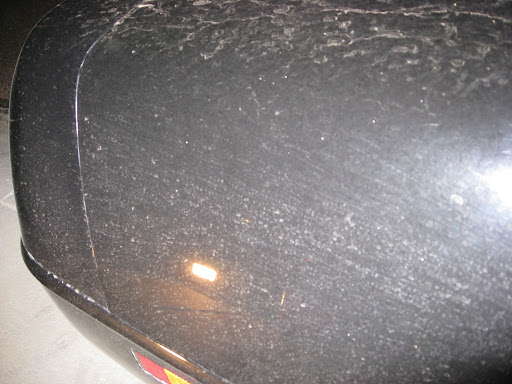
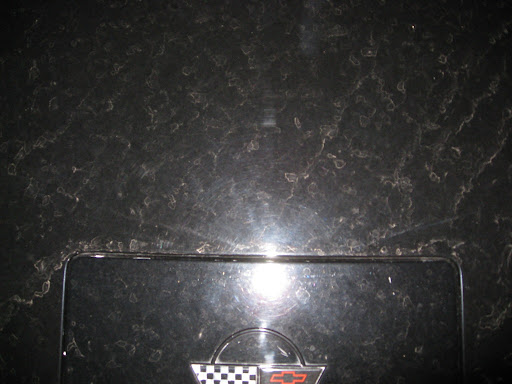
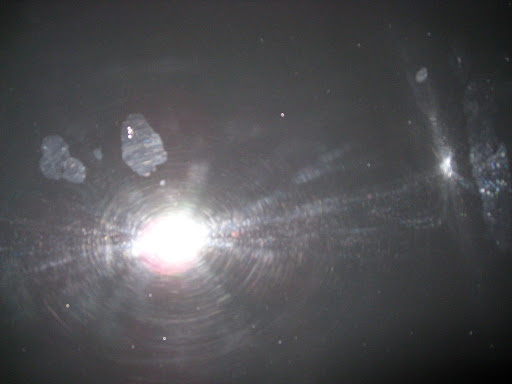
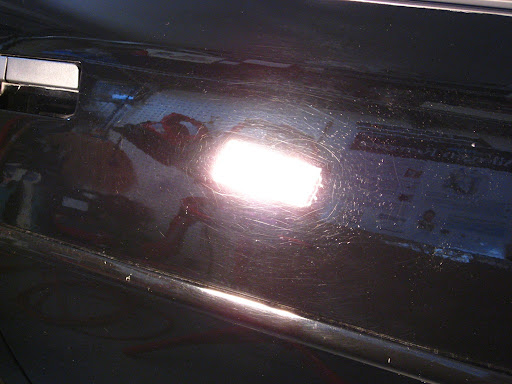
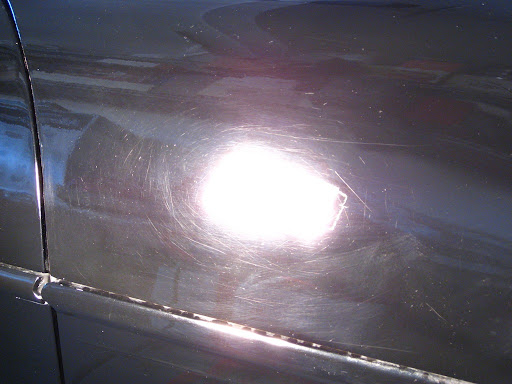
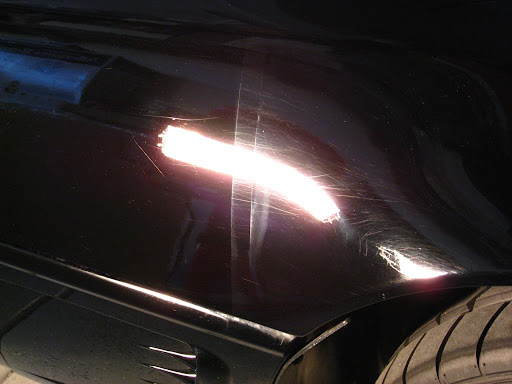
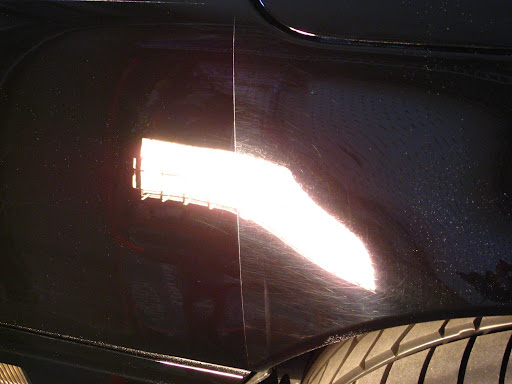
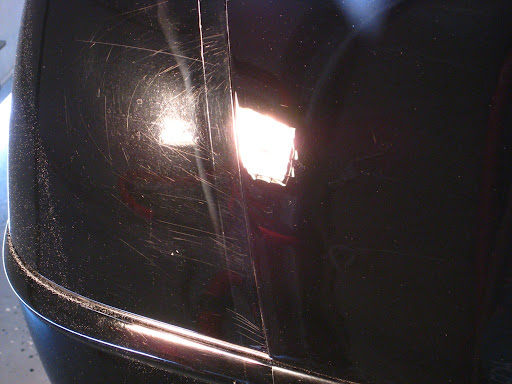
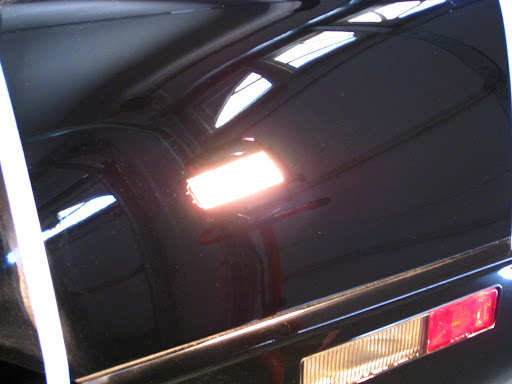
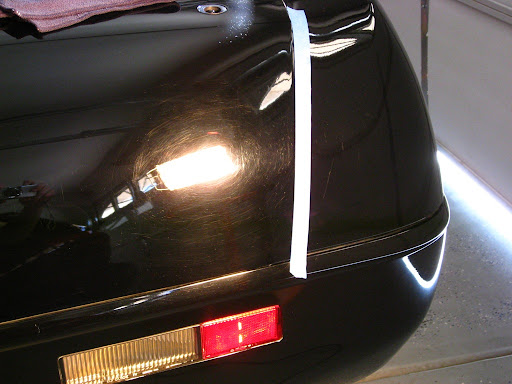
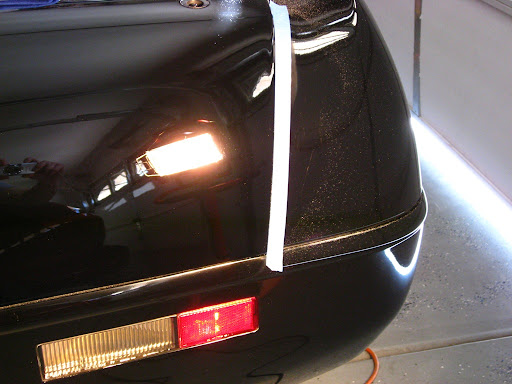
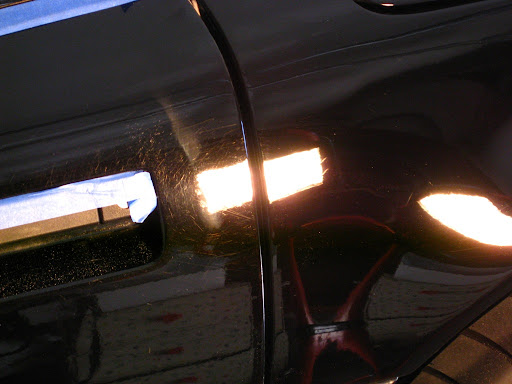
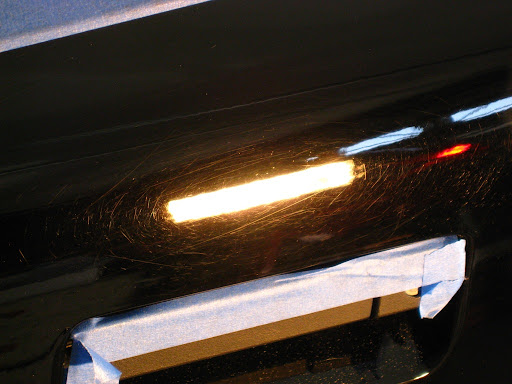
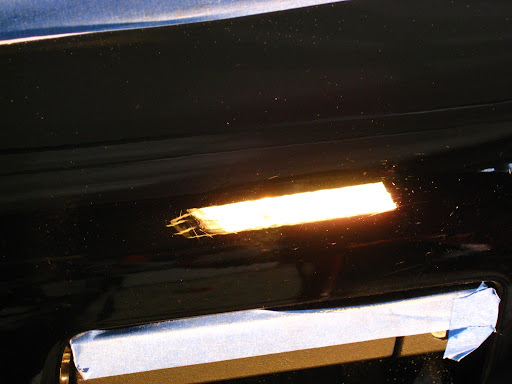
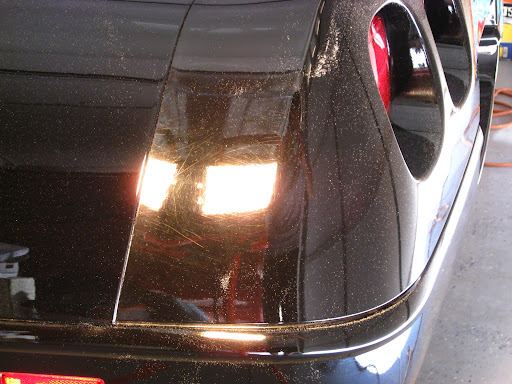
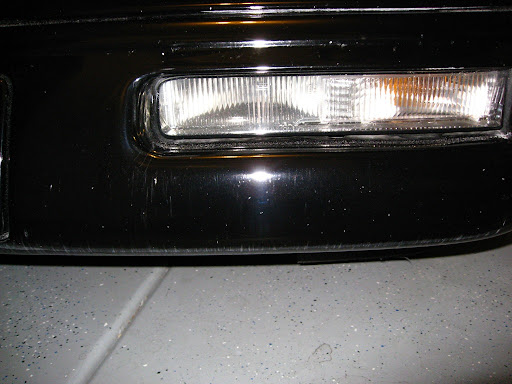
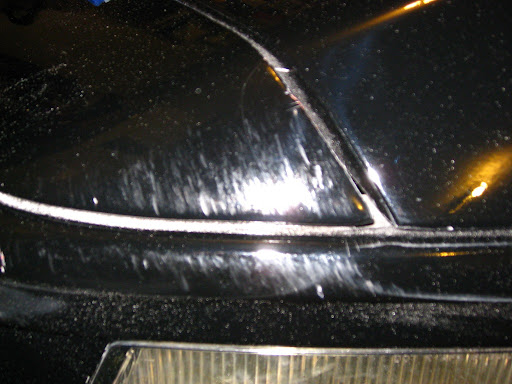
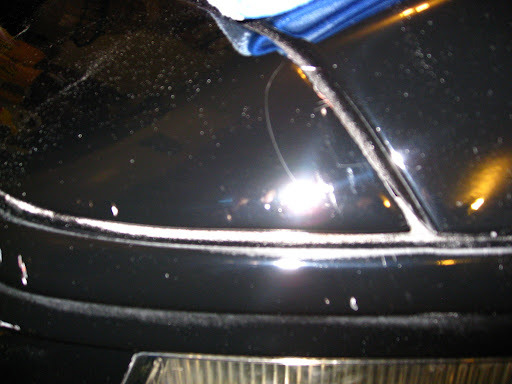
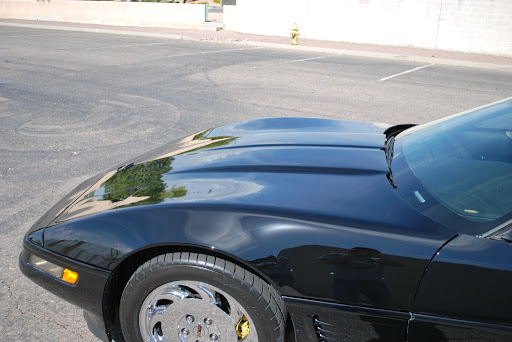
Before:
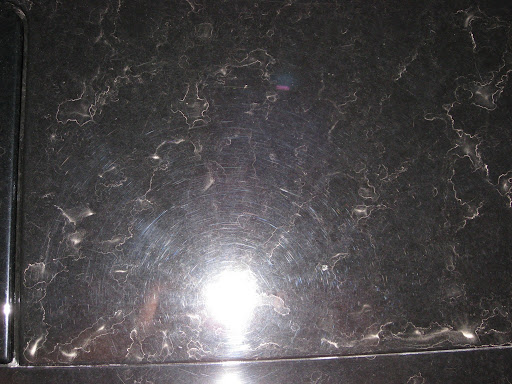
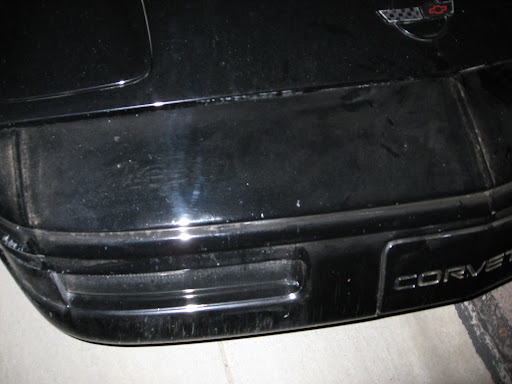
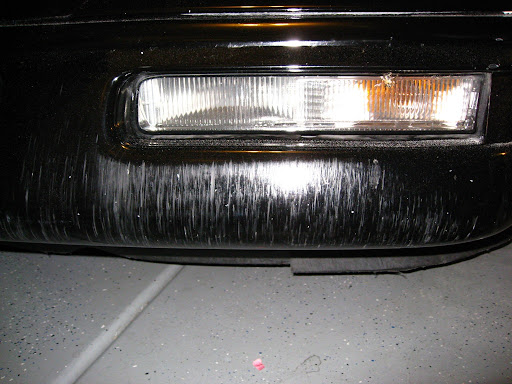
As you can see, the leather bra left the paint looking bad. You can see the scuff marks underneath the turn/park lights. Also, the brand of the leather bra indented itself to the paint through the accumulated dirt in between the bra and bumper.

Wash:
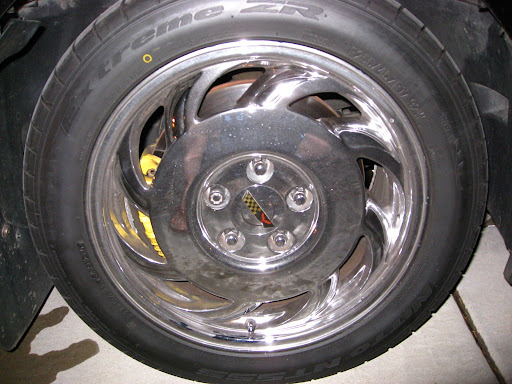
Dirty Wheels
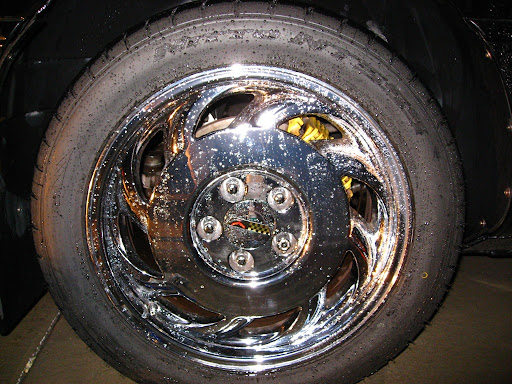
Clean Wheels
Meguiar's Multi-piece Wheel Cleaner and Cleaner Wax on wheels
Meguiar's APC on tires
Meguiar's Hyper Dressing on tires
Swissvax Wheel Brush
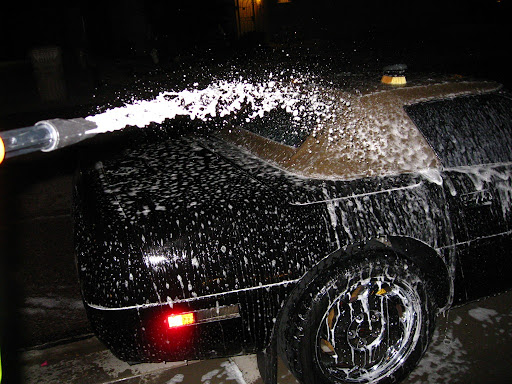
Wash:
Gilmour Foam Gun
Chemical Guys Citrus Wash and Gloss via Foam Gun and 2BM
Meguiar's Microfiber Wash Mitt
Meguiar's Interior Brush for the convertible top
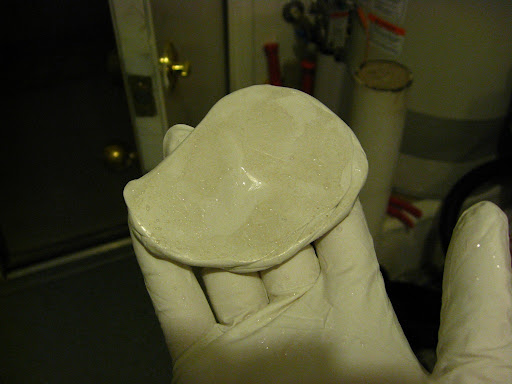
Clay:
Meguiar's OTC Clay
Meguiar's Last Touch
Paint Correction:
Flex 3401 VRG
Meguiar's G100 / 3.5" and 5" LC Backing Plates
Meguiar's M105 / LC Orange Pads / Meg's Polishing Pads
Meguiar's M205 / LC White Pads
Craftsman 500W Halogen Lights
LSP:
Menzerna Powerlock / LC Blue Pad (left 12 hours to cure)
Autoglym HD Wax
Interior:
Meguiar's Quik Interior Detailer
Meguiar's APC+
This car was brought in to have the multi-step detail process. The owner basically wanted the paint to look its best. I was excited to get my hands on this car because it's a CORVETTE!!! In addition, the paint color's black so the difference will be noticable.
The car came in worse shape than originally anticipated. It's ok since it's a chance for me to showcase my detailing skills. This car presented 2 challenges. First, the car had different paint jobs throughout the car therefore different techniques were used to attack each section. Second, the car originally had a leather bra in the front bumper and as a result of this, it scuffed up the bumper pretty bad. I will let the pictures do the talking.
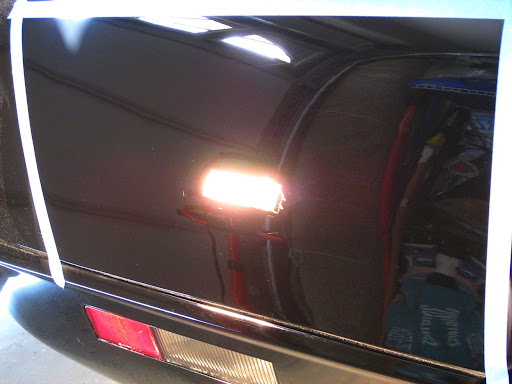
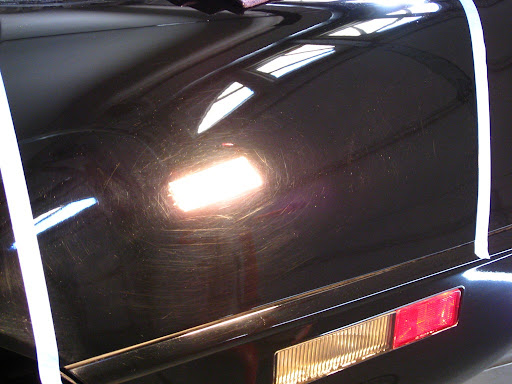
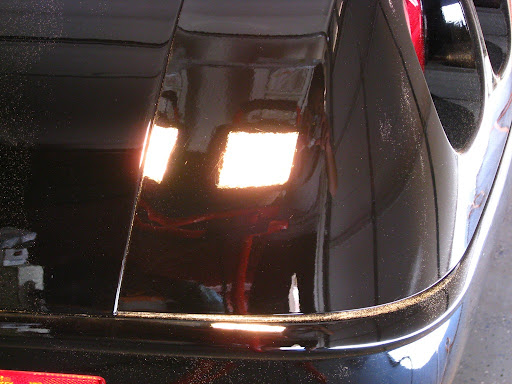
Before:
As you can see, the leather bra left the paint looking bad. You can see the scuff marks underneath the turn/park lights. Also, the brand of the leather bra indented itself to the paint through the accumulated dirt in between the bra and bumper.
Wash:
Dirty Wheels
Clean Wheels
Last edited:

 rops:
rops: