Rav777
New member
- Jun 6, 2011
- 506
- 0
Hey guys well as many of you know I have been detailing out of my 1996 V6 Toyota Camry. I will post some pictures just in case someone wants to do something similar. I kept getting laughs from people when I told them the idea but I figured it was worth a try. Boy did I prove people wrong. Well here is my set up and supplies if you are interested in starting a company or side business. I probably spent a month of research on each product as far as machines go. I have done over 60 details with this set up in the past 3 months and all the equipment is doing great. This is my first large post so bare with me.
This is the car. It needs some paintwork in both bumpers but I haven’t gotten around to that and nobody has complained lol. But I might get a truck soon and I will just keep this to go to school.

This is the inside stripped even though the dog wanted a picture in it.

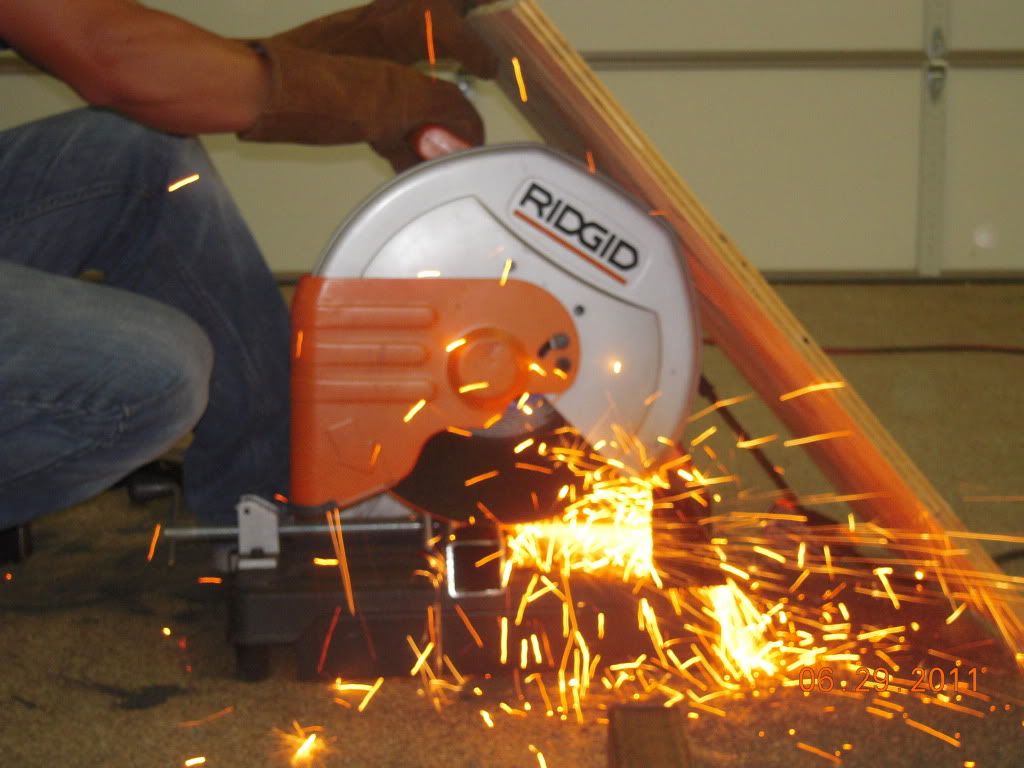
Next up was the fabrication. My friend builds off-road trucks so I left most of the welding to him. The steel is 2 inch square tubing. Might be overkill but I was after safety.
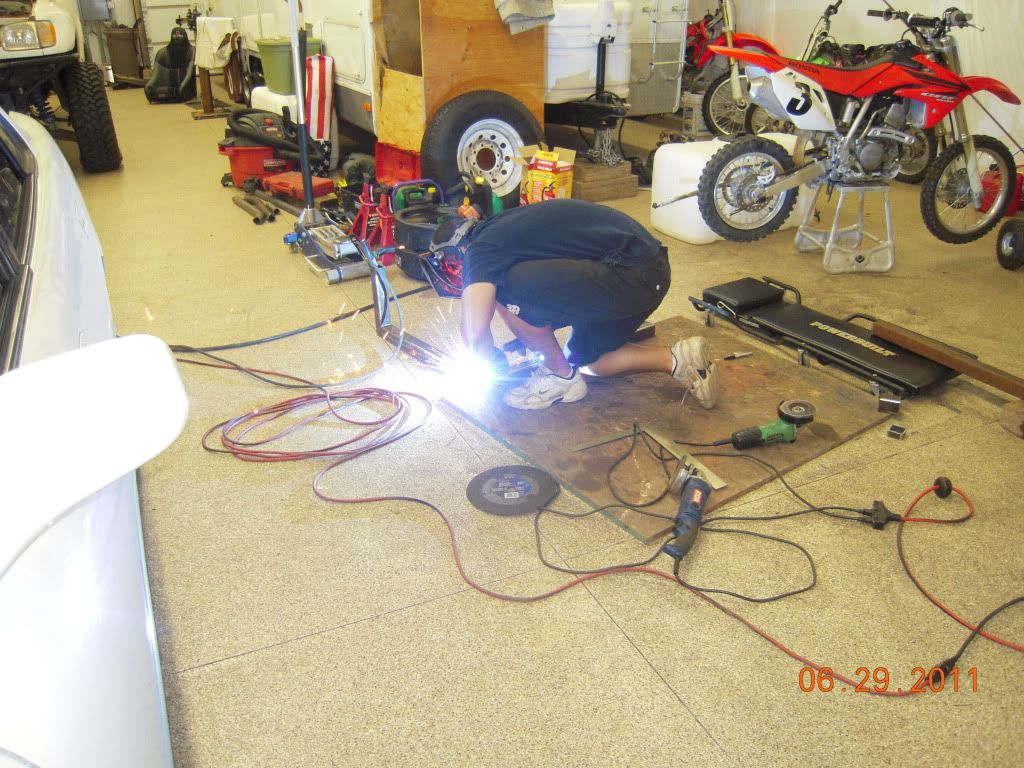
The idea was to build a frame to seat the 50 gallon tank so this is what we are making the frame for. We had to measure and make sure it was all leveled up. Here is the frame coming to life.

This is the frame in the car
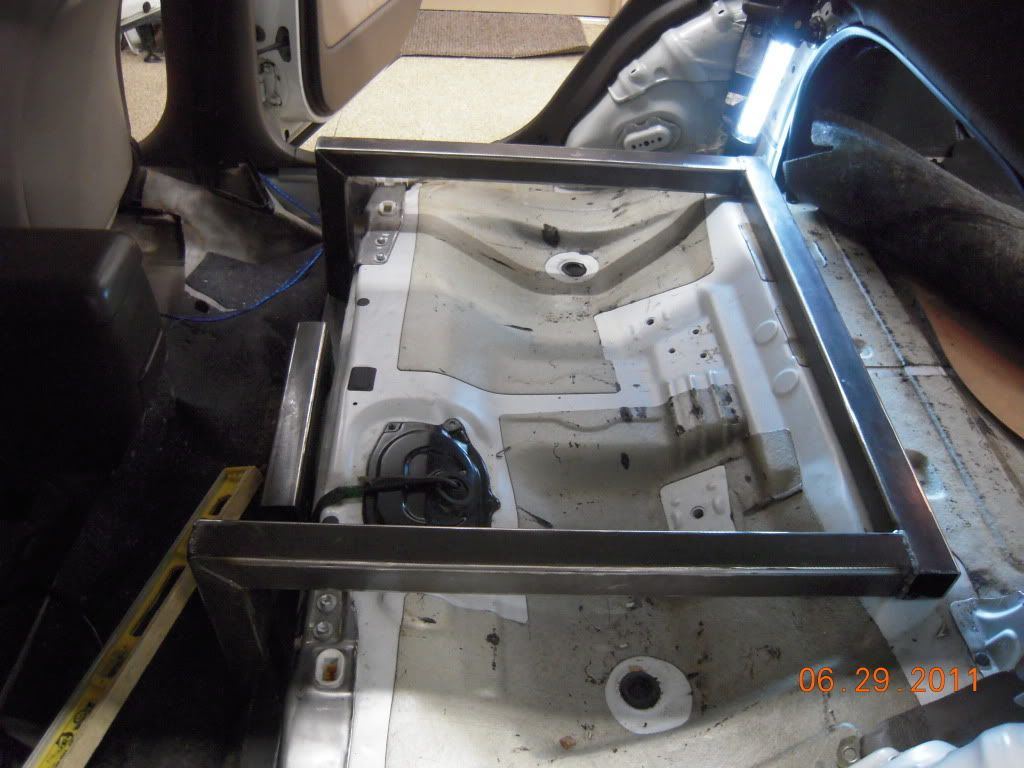
This is the finished frame (before paint)

Another look.

Ok so at this point it is very hard for me to explain all the measurements and everything we did to this point. To tell you the truth we winged this from scratch and it came out right the first time. The frame came out perfectly level and ready to go so we got some spray cans and painted the frame white. We also drilled holes on the metal to bolt onto the body. The frame is not welded to the body but bolted to the strong points in the body. All of the bolts are thick grade 8 bolts which weren’t cheap. Safety first!
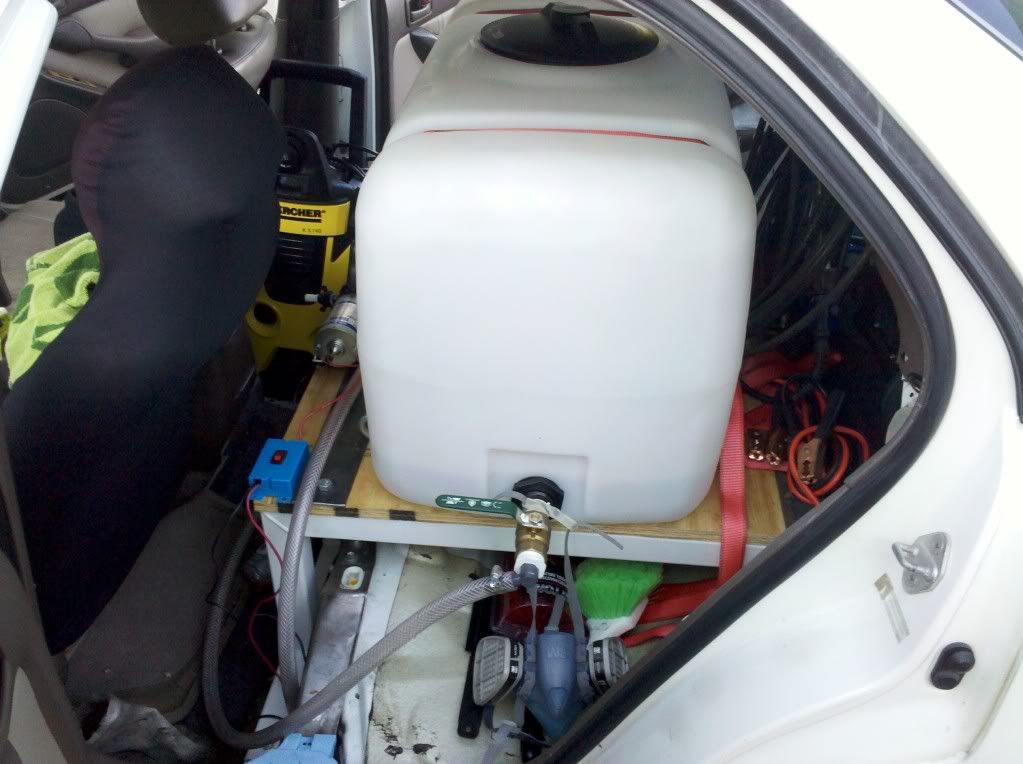
Here is the frame with the plywood and we attached eyebolts so the tank can be strapped. It is important to note that we ran thick steel sheet metal across the plywood were all the eyebolts are bolted too. You cannot see them from here because they are under the wood. We put the steel under just in case the car flipped the bolts would not come off the wood. The steel is just like the one picture on top of the wood except it is supporting the eye bolts on the bottom Think about it as a washer on steroids!


Now pardon me on this part but my camera was out of batteries when we set the tank and strapped it down but I do have pictures of the tank set with water pump and pressure washer.

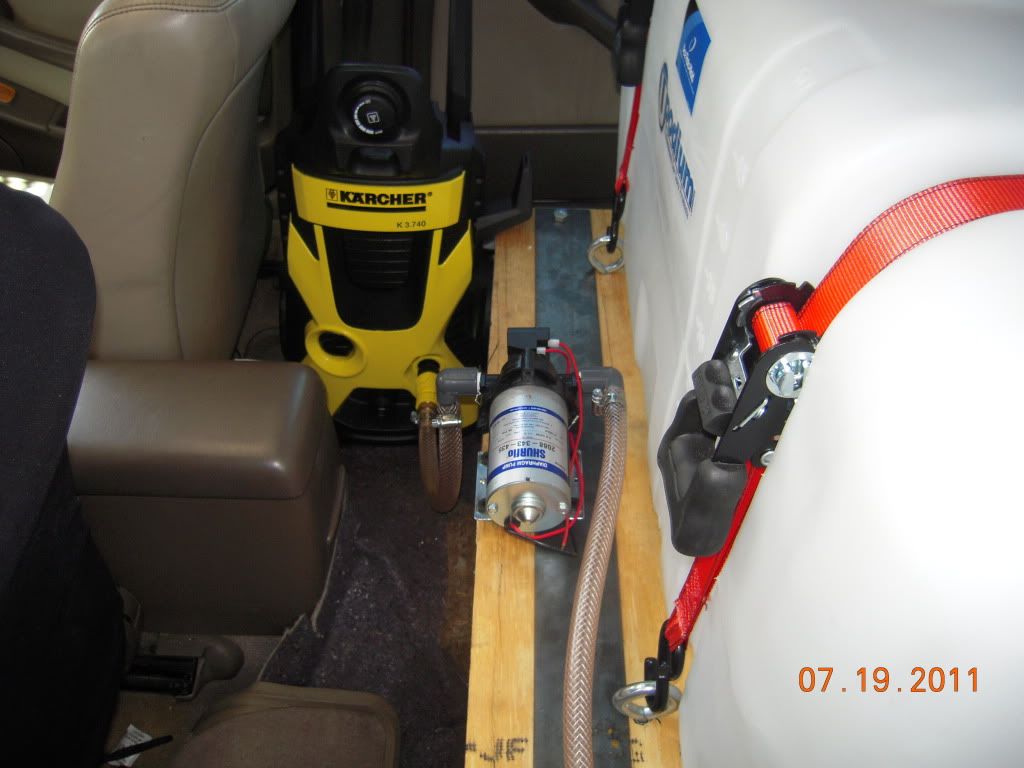
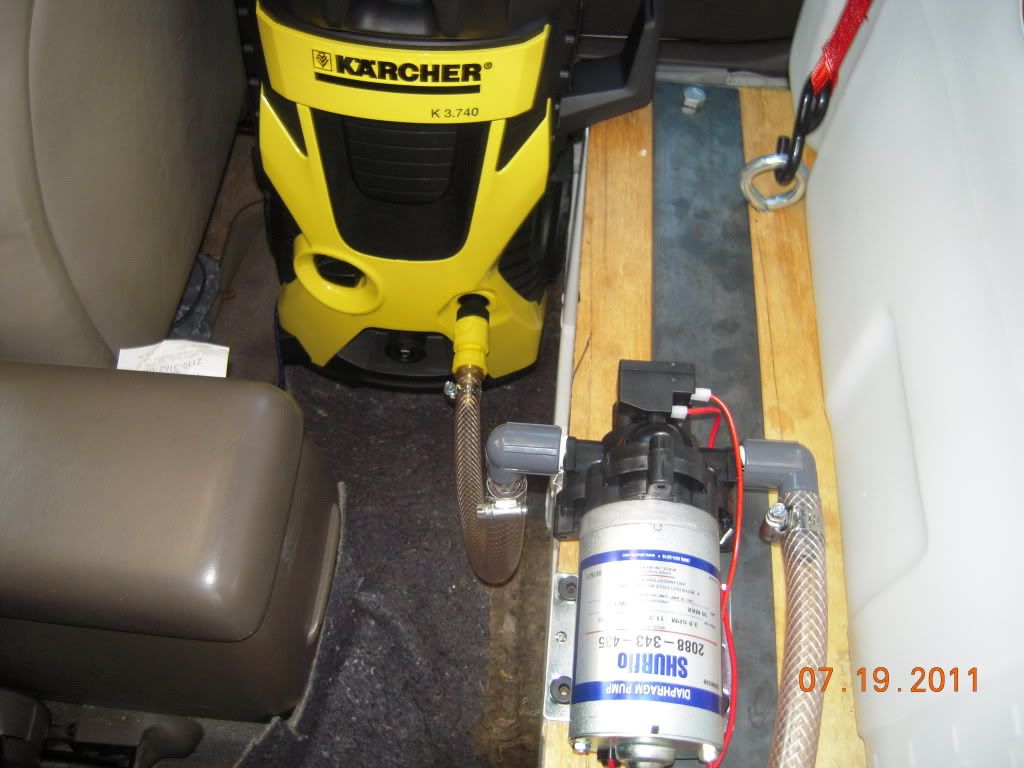
I ran some cables for the water pump from my battery and attached them to an On/Off switch which is really cool. I also grounded the pump on the frame.
So this is pretty much it as far as the building part. I will be honest the building part was stressful as we have never done this before and there were no blueprints for such a job. The good thing is we had plenty of beer on hand to take out the stress of building it.
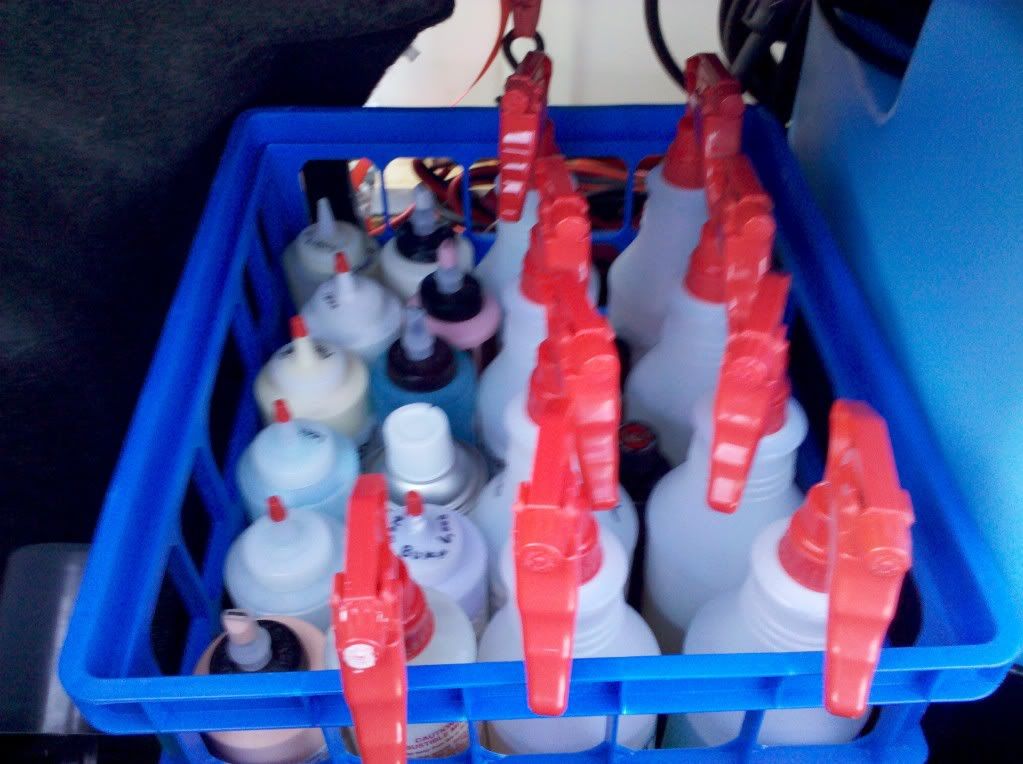
Now the fun part was stocking the car with goodies!!!!!
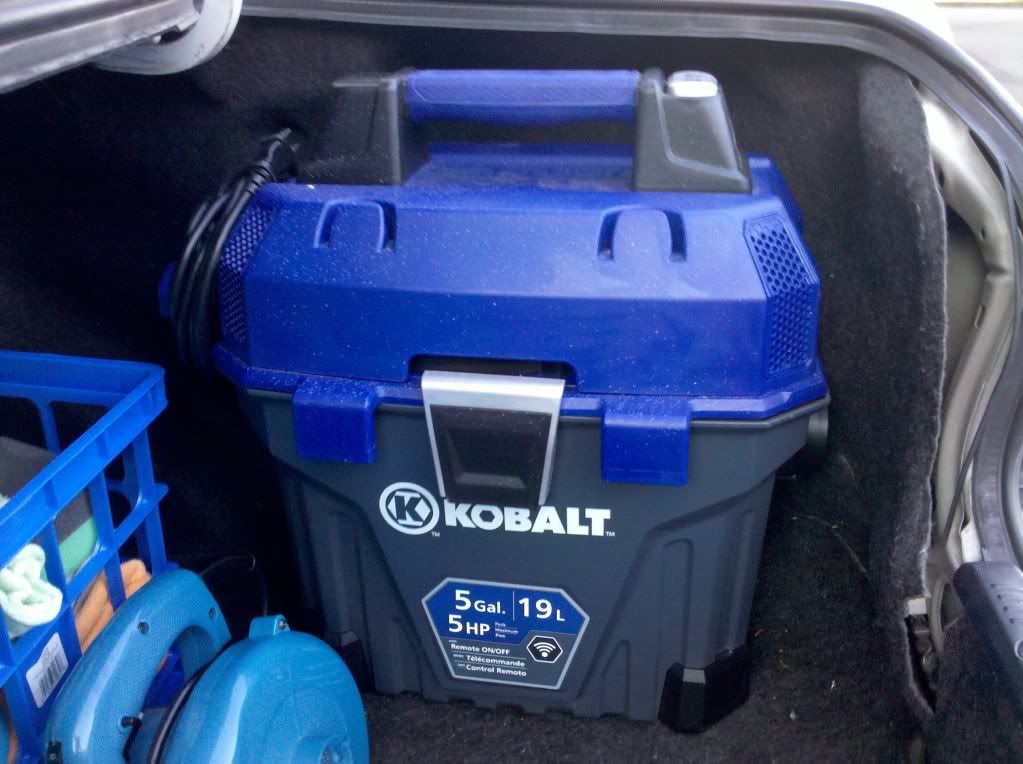
Here is a view of it stocked. I made sure everything would fit on the back and this is what I ended up with! You will see that my vacuum and tool chest are spotted and this is because I had them near me when I was compounding and they got a bit of splatter.
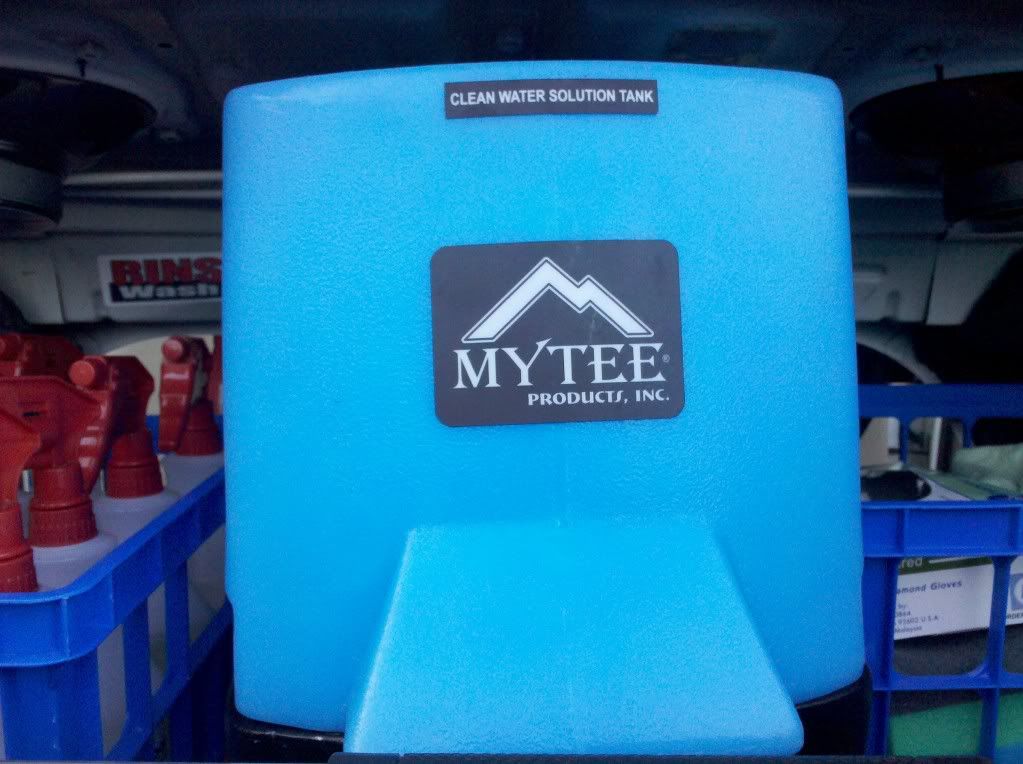
-And in case you are wondering I carry the mytee recovery tank in my front passenger seat.
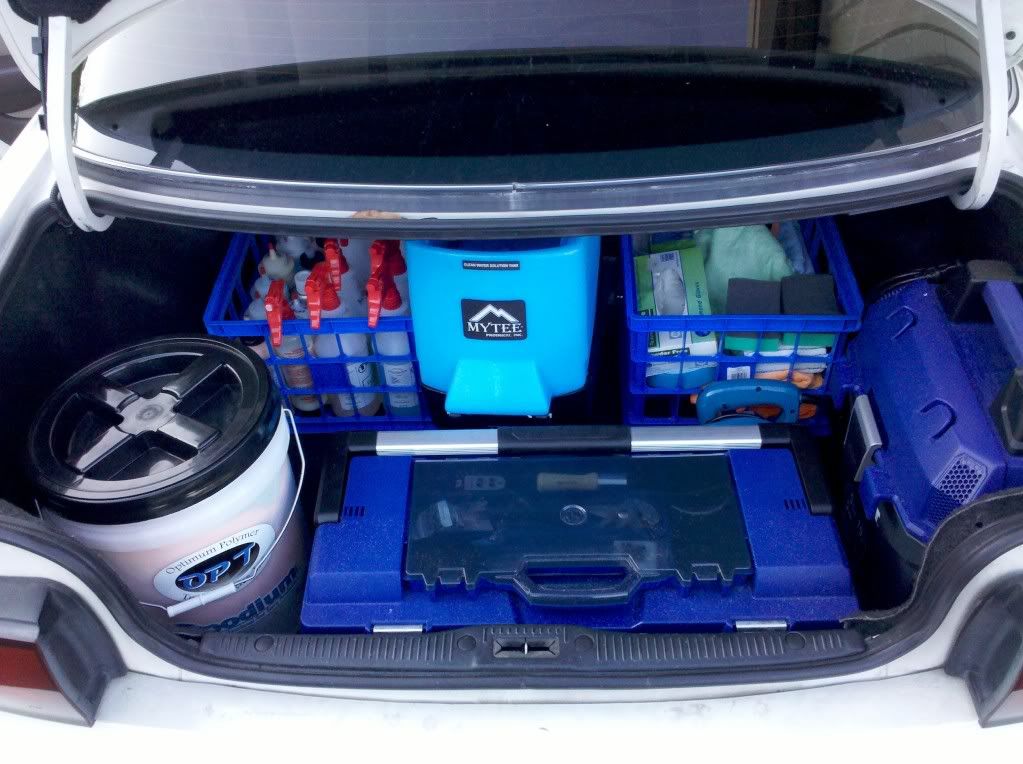
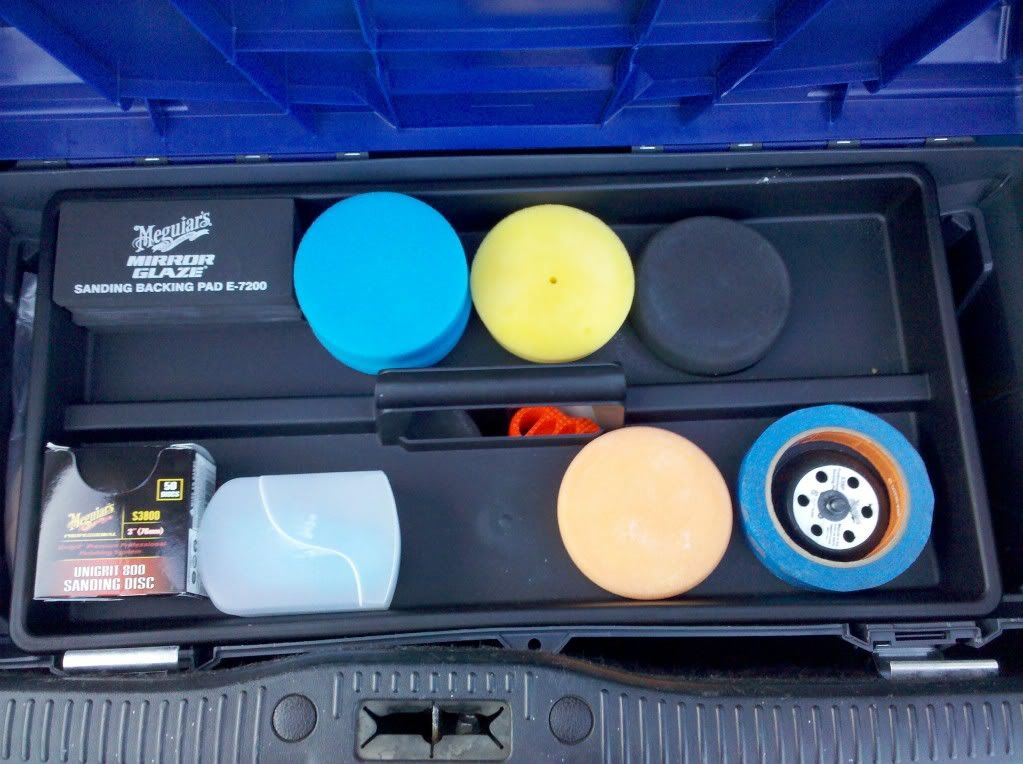
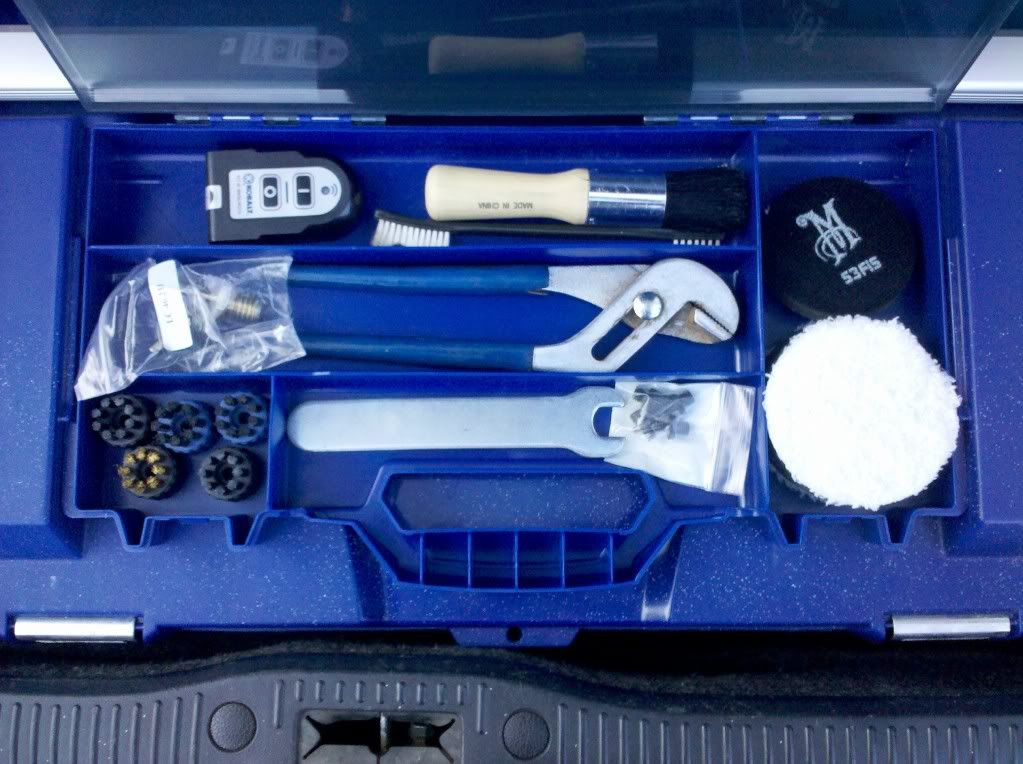
Not pictured is the polisher which is under the tool box. It is a PC XP. Also not pictured is the arsenal of pads next to the polisher and hidden under the blue crates. I have more microfibers as well but I took this picture after a day of work and used over 50 Mf’s.
Here is the list of the main tools I used:
- 50 gallon tank from plastic mart
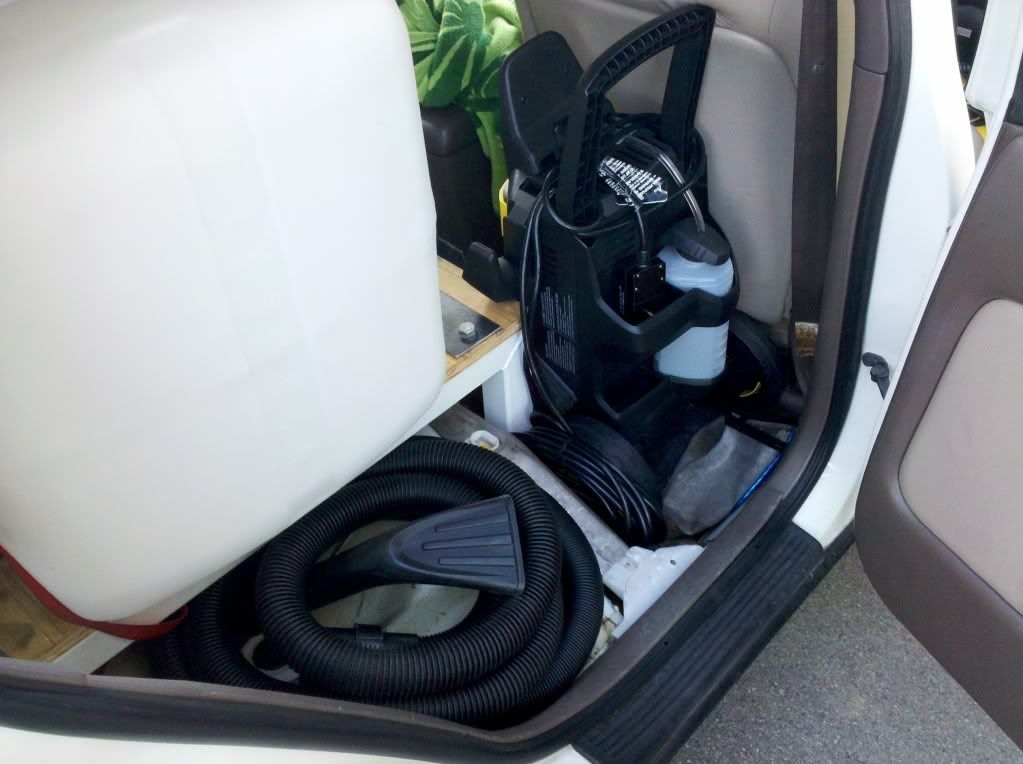
-Karcher X series 1800 psi pressure washer.
-Total of 50 feet of pressure washer hose.
-Kobalt 5-Gallon 5 Peak HP Shop Vacuum
-Shurflo 2088 series agriculture pump/ 12 volts/ 3 gallons per minute
- Porter cable XP---Flex 3401 coming soon.
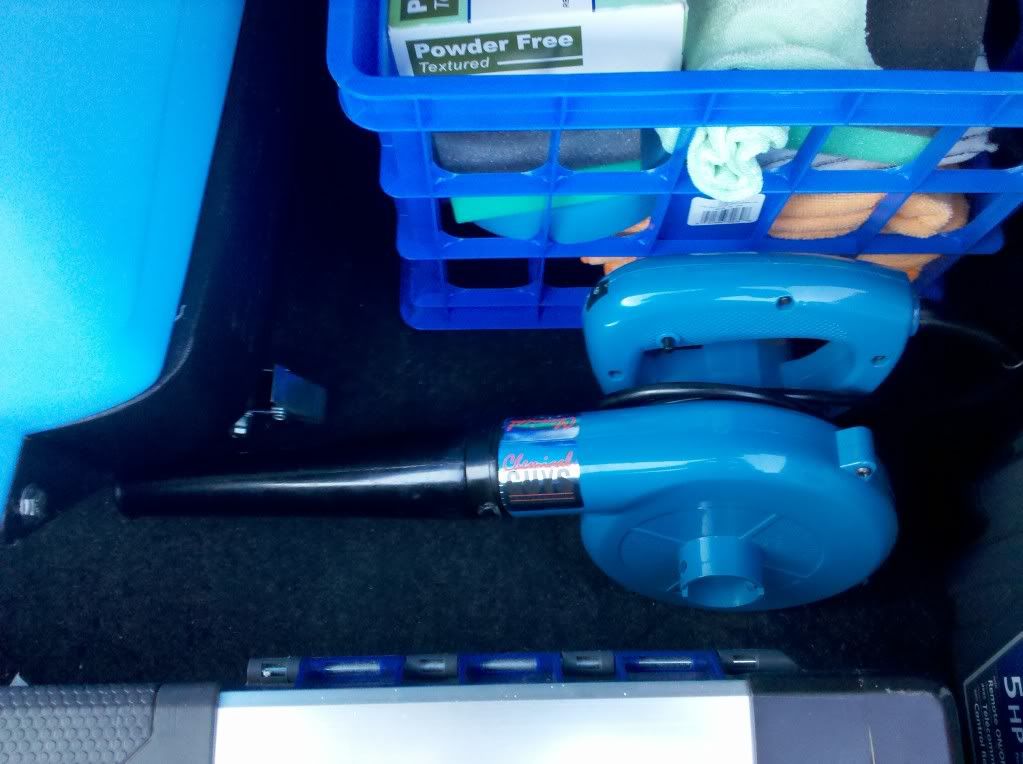
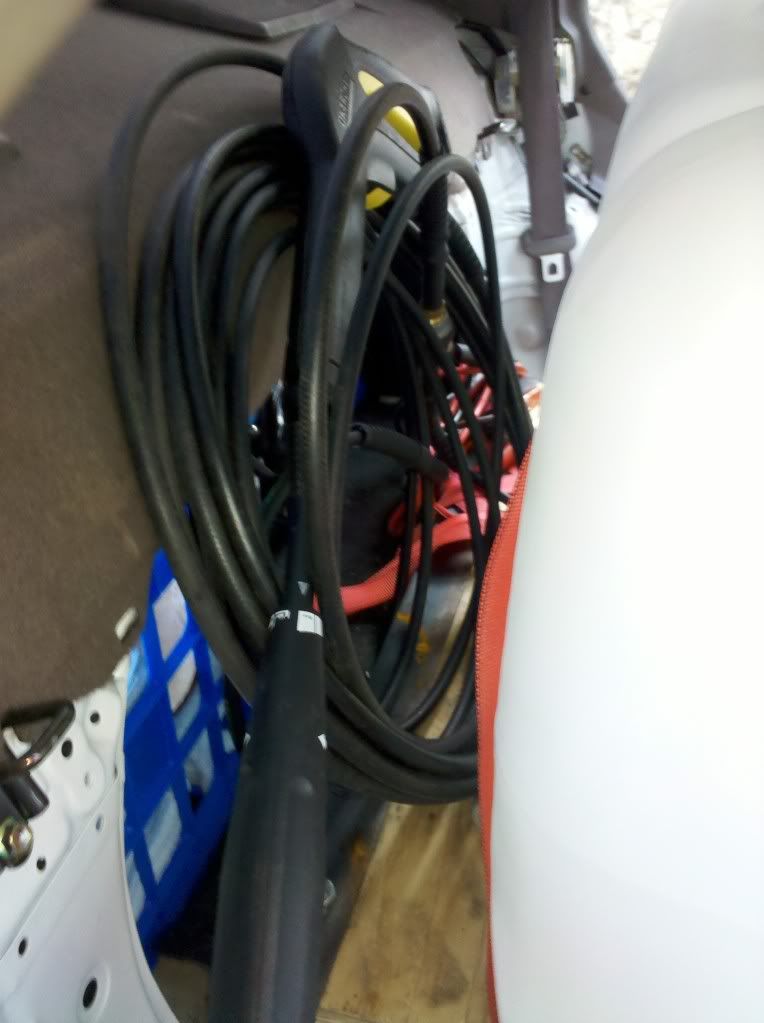
-**Sorry ahead of time**The small blue blower is from chemical guys. Aside of that, this thing is awesome for drying exteriors and blowing interiors.
-Mytee lite II
-Optimum buckets from Autogeek. I got two of them with the ONR package.
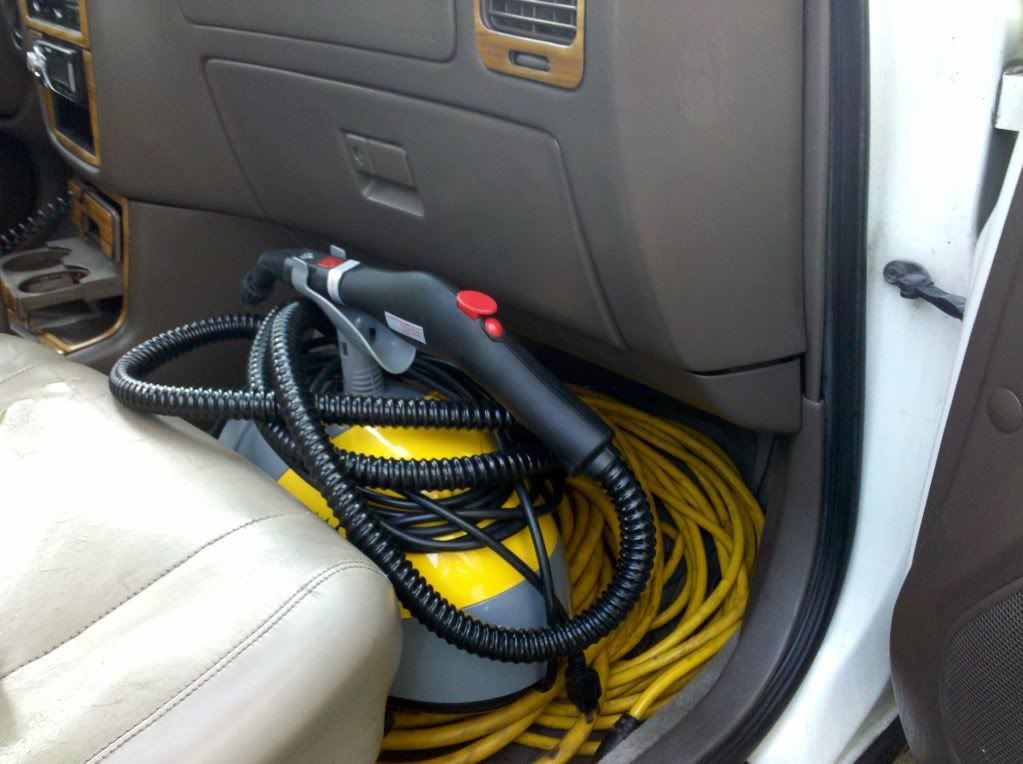
- McCulloch MC-1275 Heavy-Duty Steam Cleaner.
Well hope you find this all useful! Let me know if you have any questions or if you think I missed something. I just wanted to show that it can be done and if you are thinking of getting a mobile set up and have minimal space I would recommend all of these small products. They all fit nicely into my car. My company grew faster than I thought so I will be upgrading everything to a truck, since I want to fit more goodies in it.
I did put heavy duty KYB struts and heavy duty springs to compensate for all the weight. This helped my car not have that drug dealer look.
Thanks for looking!
This is the car. It needs some paintwork in both bumpers but I haven’t gotten around to that and nobody has complained lol. But I might get a truck soon and I will just keep this to go to school.
This is the inside stripped even though the dog wanted a picture in it.
Next up was the fabrication. My friend builds off-road trucks so I left most of the welding to him. The steel is 2 inch square tubing. Might be overkill but I was after safety.
The idea was to build a frame to seat the 50 gallon tank so this is what we are making the frame for. We had to measure and make sure it was all leveled up. Here is the frame coming to life.
This is the frame in the car
This is the finished frame (before paint)
Another look.
Ok so at this point it is very hard for me to explain all the measurements and everything we did to this point. To tell you the truth we winged this from scratch and it came out right the first time. The frame came out perfectly level and ready to go so we got some spray cans and painted the frame white. We also drilled holes on the metal to bolt onto the body. The frame is not welded to the body but bolted to the strong points in the body. All of the bolts are thick grade 8 bolts which weren’t cheap. Safety first!
Here is the frame with the plywood and we attached eyebolts so the tank can be strapped. It is important to note that we ran thick steel sheet metal across the plywood were all the eyebolts are bolted too. You cannot see them from here because they are under the wood. We put the steel under just in case the car flipped the bolts would not come off the wood. The steel is just like the one picture on top of the wood except it is supporting the eye bolts on the bottom Think about it as a washer on steroids!
Now pardon me on this part but my camera was out of batteries when we set the tank and strapped it down but I do have pictures of the tank set with water pump and pressure washer.
I ran some cables for the water pump from my battery and attached them to an On/Off switch which is really cool. I also grounded the pump on the frame.
So this is pretty much it as far as the building part. I will be honest the building part was stressful as we have never done this before and there were no blueprints for such a job. The good thing is we had plenty of beer on hand to take out the stress of building it.
Now the fun part was stocking the car with goodies!!!!!
Here is a view of it stocked. I made sure everything would fit on the back and this is what I ended up with! You will see that my vacuum and tool chest are spotted and this is because I had them near me when I was compounding and they got a bit of splatter.
-And in case you are wondering I carry the mytee recovery tank in my front passenger seat.
Not pictured is the polisher which is under the tool box. It is a PC XP. Also not pictured is the arsenal of pads next to the polisher and hidden under the blue crates. I have more microfibers as well but I took this picture after a day of work and used over 50 Mf’s.
Here is the list of the main tools I used:
- 50 gallon tank from plastic mart
-Karcher X series 1800 psi pressure washer.
-Total of 50 feet of pressure washer hose.
-Kobalt 5-Gallon 5 Peak HP Shop Vacuum
-Shurflo 2088 series agriculture pump/ 12 volts/ 3 gallons per minute
- Porter cable XP---Flex 3401 coming soon.
-**Sorry ahead of time**The small blue blower is from chemical guys. Aside of that, this thing is awesome for drying exteriors and blowing interiors.
-Mytee lite II
-Optimum buckets from Autogeek. I got two of them with the ONR package.
- McCulloch MC-1275 Heavy-Duty Steam Cleaner.
Well hope you find this all useful! Let me know if you have any questions or if you think I missed something. I just wanted to show that it can be done and if you are thinking of getting a mobile set up and have minimal space I would recommend all of these small products. They all fit nicely into my car. My company grew faster than I thought so I will be upgrading everything to a truck, since I want to fit more goodies in it.
I did put heavy duty KYB struts and heavy duty springs to compensate for all the weight. This helped my car not have that drug dealer look.
Thanks for looking!