lawrenceSA
New member
- Feb 7, 2012
- 1,713
- 0
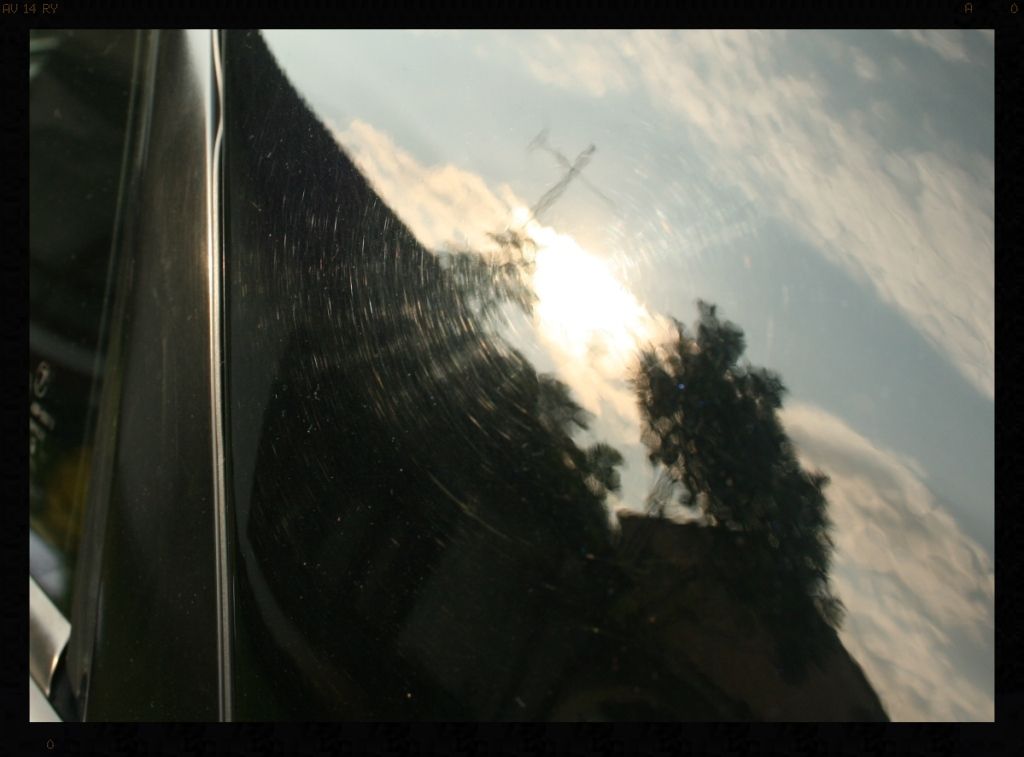
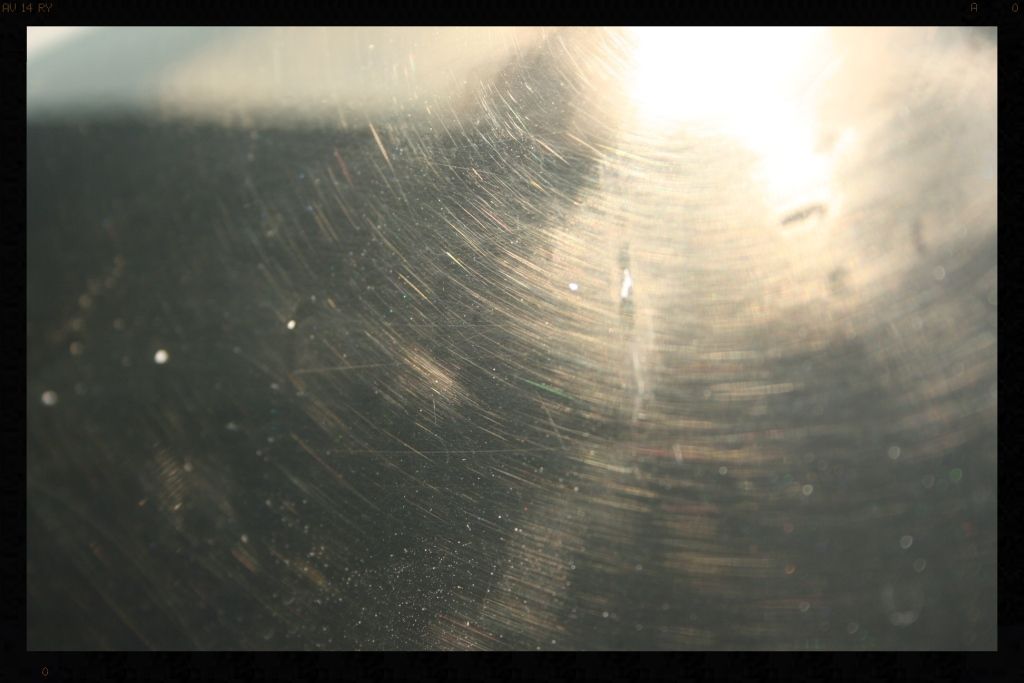
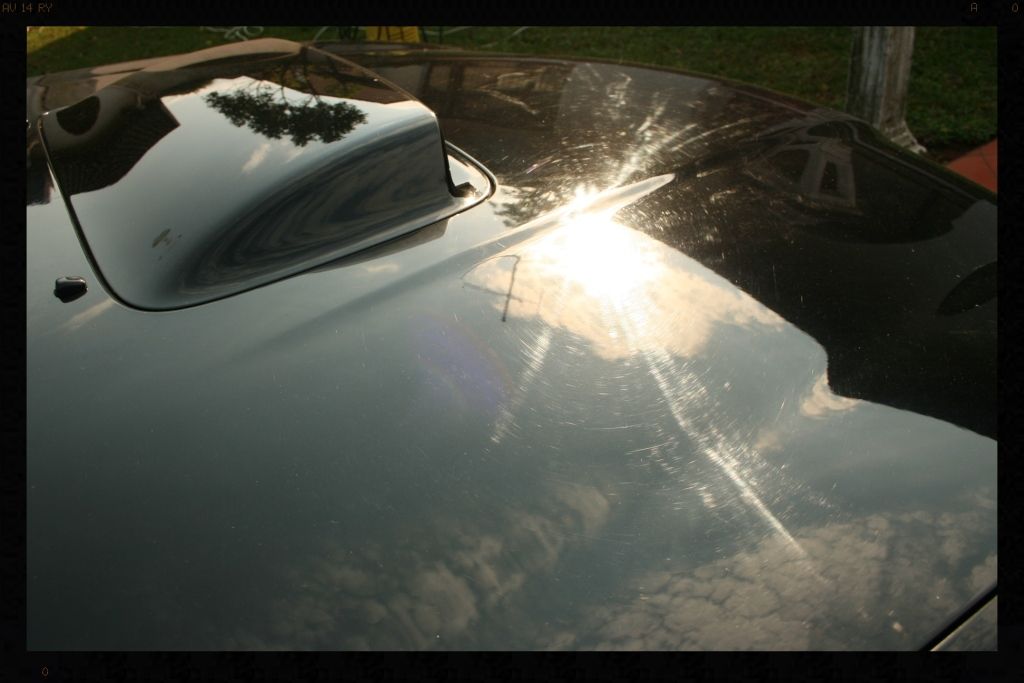
I knew from having detailed a Java Black Subaru previously, that I would more than likely encounter more soft paint on this car, and although I was therefore somewhat prepared for it, it was still a rather 'tough' detail. The problem with very soft paint is that whilst it may be a lot easier (than harder paint) to correct, getting it to finish off without any micro-marring (from the polish itself) can be a bit tricky - This second Subaru did however provide me with an opportunity to perfect my technique and I can happily say that I have found a technique that works for me.
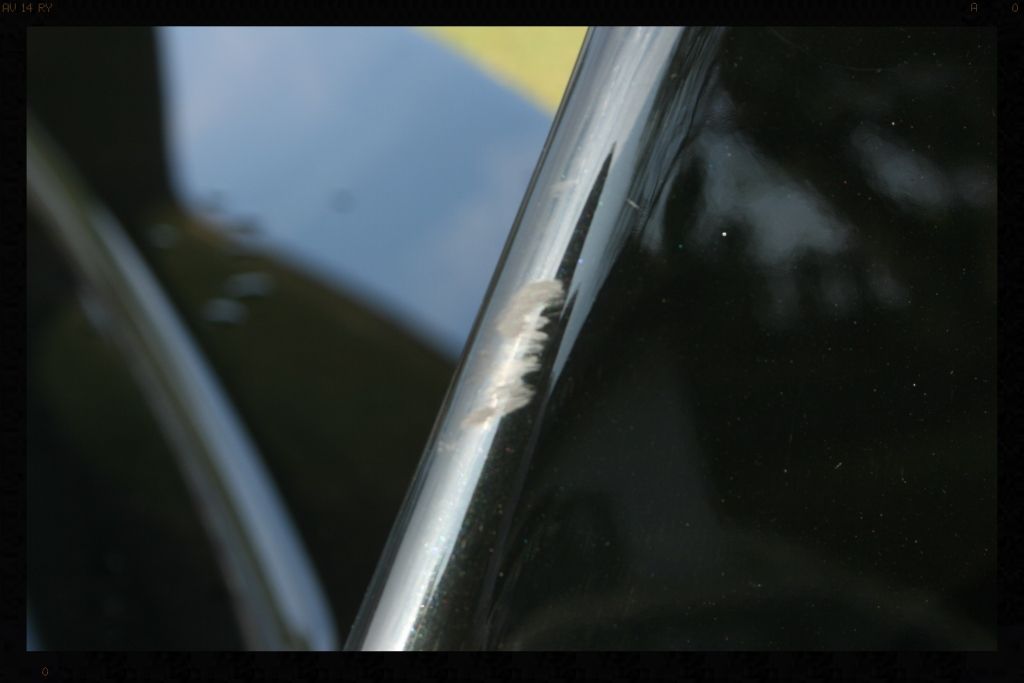
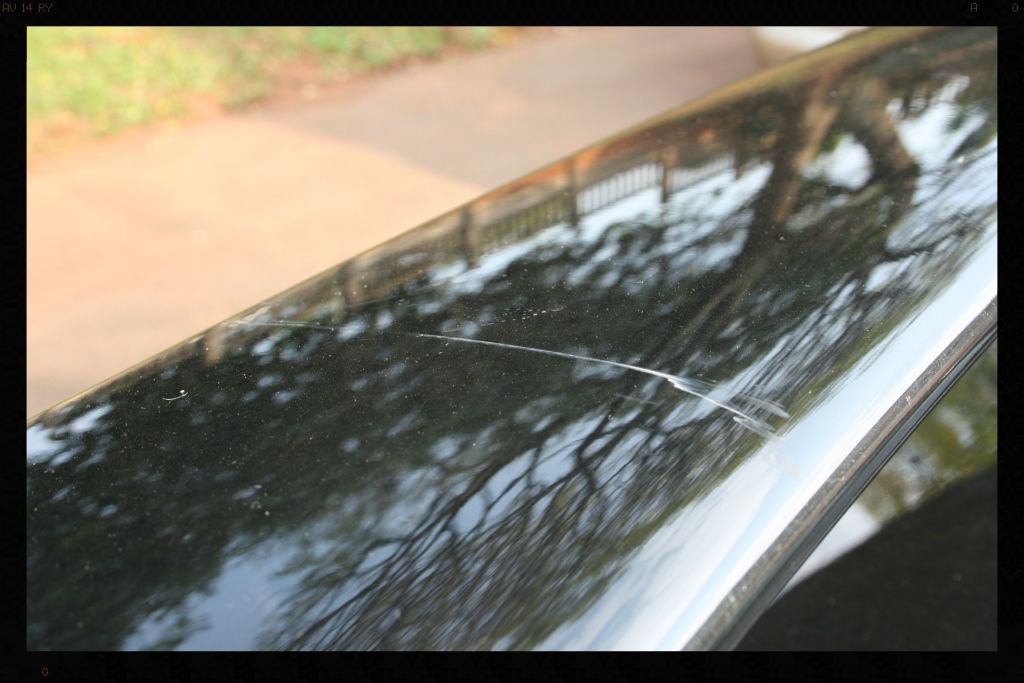
Right, so onto the detail itself..... well the owner of this car purchased it second hand and was under the impression it had not previously been detailed, but once I had washed the car it became quite evident that it had indeed been polished out before, and not very well either. Besides a few holograms, there was also plenty of TOGW (the other guys wax ) for me to dig out of all the hard to reach places. This meant that the already soft clear coat had more than likely been on the receiving end of an aggressive polish with a rotary and I therefore proceeded with great caution when correcting the paint - clear coat preservation was top of this list of priorities and as such, I did not attempt to remove any of the deeper scratches.
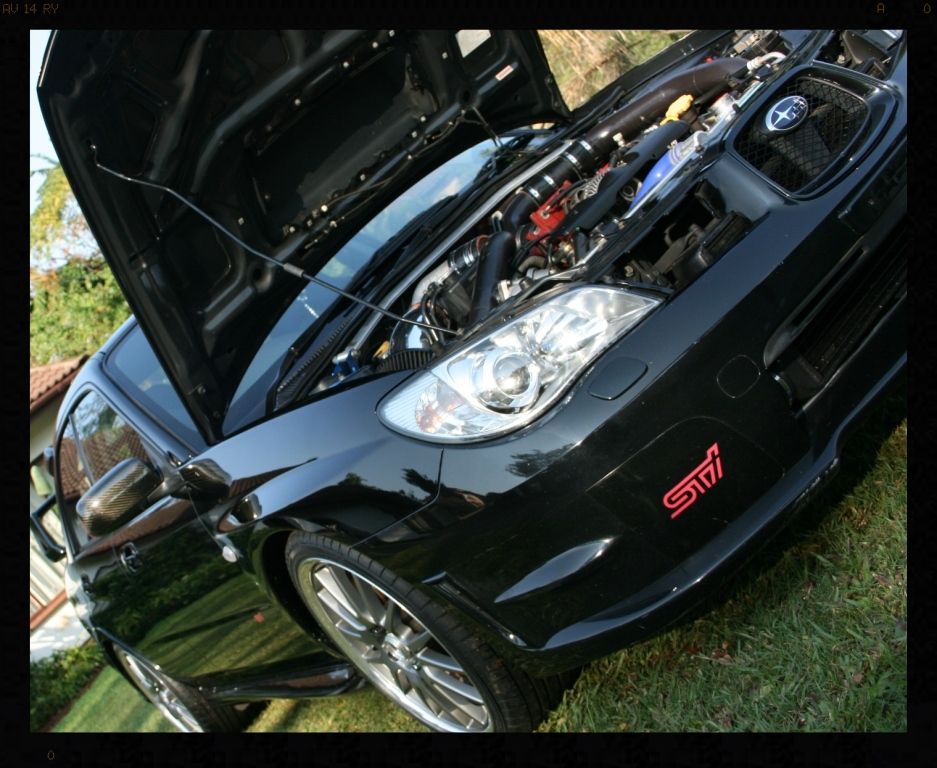
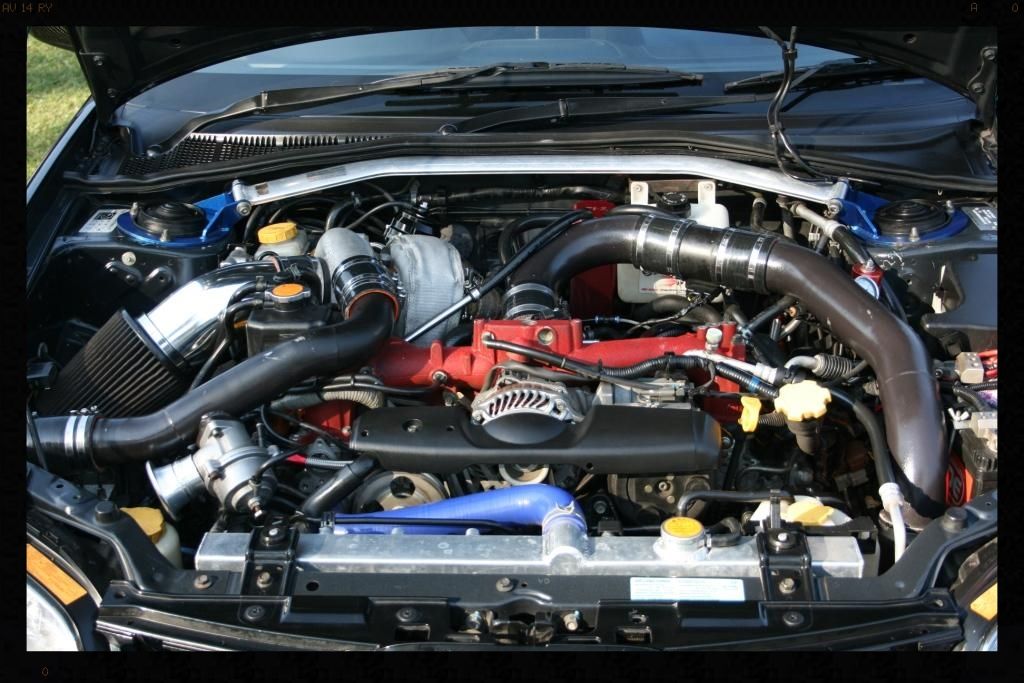
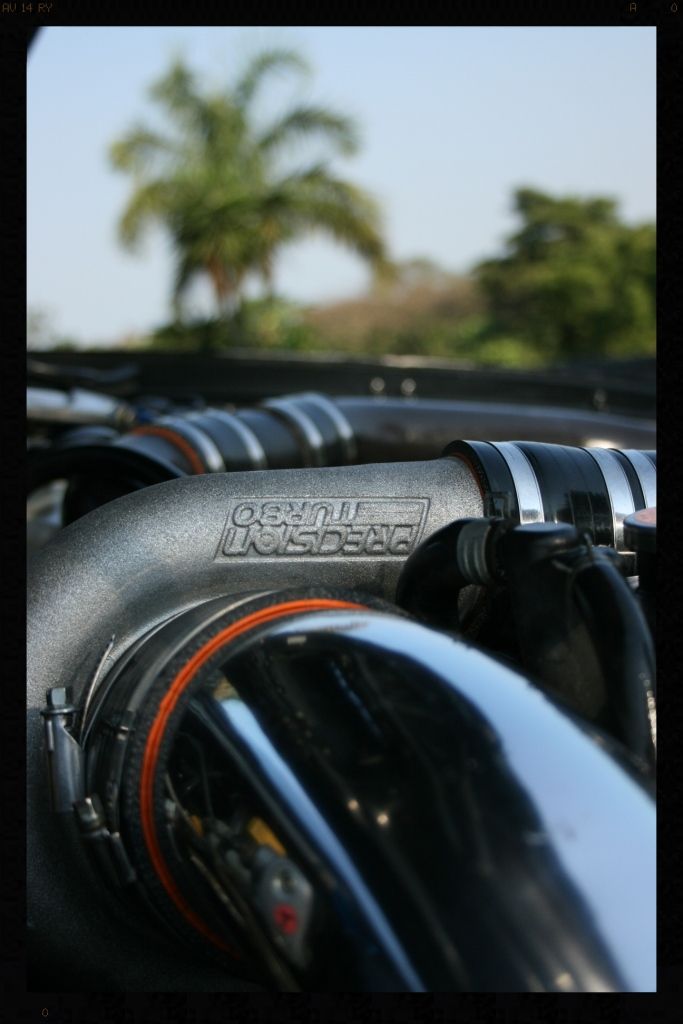
The car itself is a monster that has been on the receiving end of a lot of mods, allowing for a rather quick 11.2 1/4 mile and the loud (on idle it rattled all my house windows as set off some car alarms :lol") off-beat idle hints at the power contained in the engine bay - how I would love to hear (and feel) this at full tilt....
off-beat idle hints at the power contained in the engine bay - how I would love to hear (and feel) this at full tilt....
I digress....
Products used:
Cyclo CM30 @ 3:1
Cyclo CM30 @ 20:1
Sonax Full Effect Wheel Cleaner
Autofinesse Iron Out
Autofinesse Oblitarate
Optimum Opti Bond Tire Gel
Collinite #845
Cyclo Polymer Hand Wash
Meguiars Cleaner Wax
Smart Wax Smart Dressing
ONR
Clay Magic Blue Clay
LC Crimson Pads
LC White CCS Pads
Menzerna Black Finishing Pads
Menzerna SF4000
Chemical Guys Black Light
Chemical Guys Pete's 53 Wax
Autoglym Fast Glass
Chemical Guys Bare Bones
Mother Aluminium and Mag Polish
Painters Tape
Foam Applicator pads
Various MF Towels
Various brushes
HP washer
Foam Cannon
PC 7424
Painters Tape
Friday night - 17:30 to 00:30
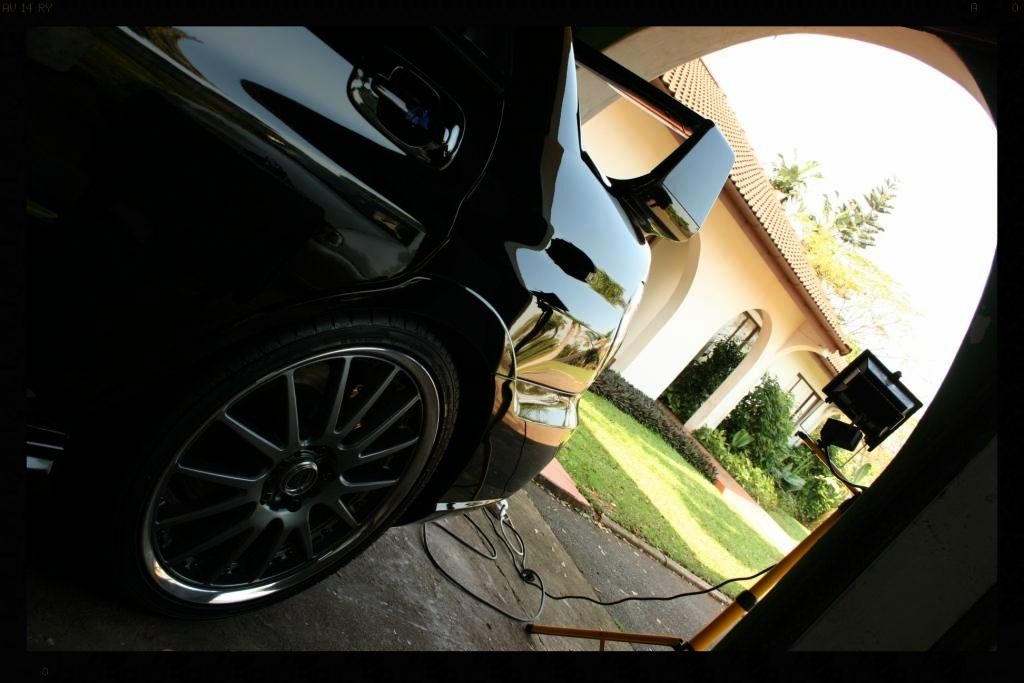
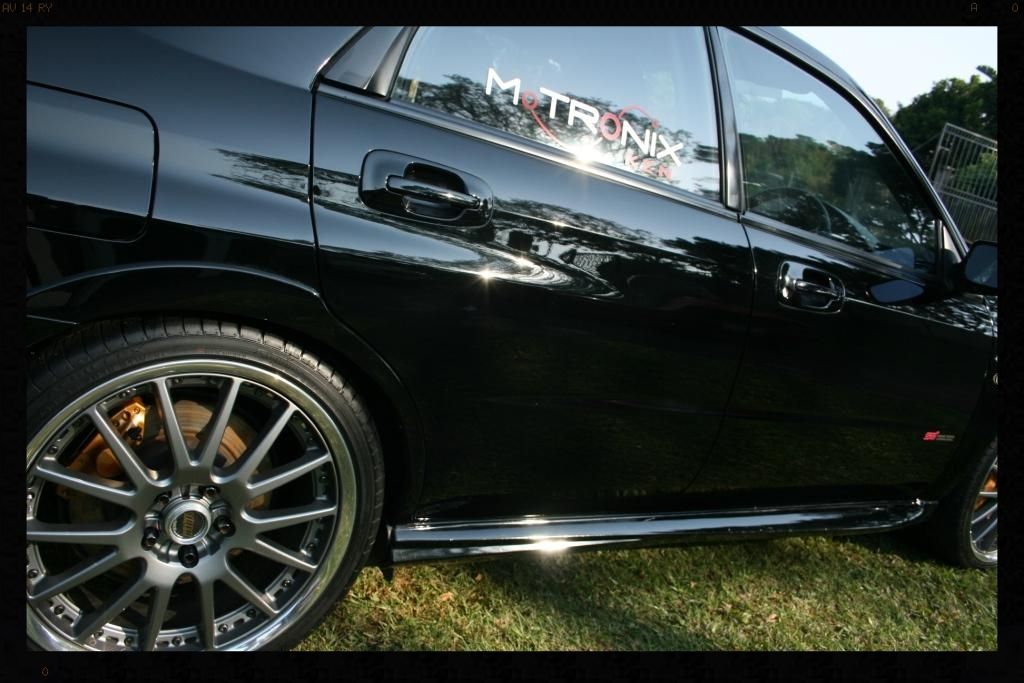
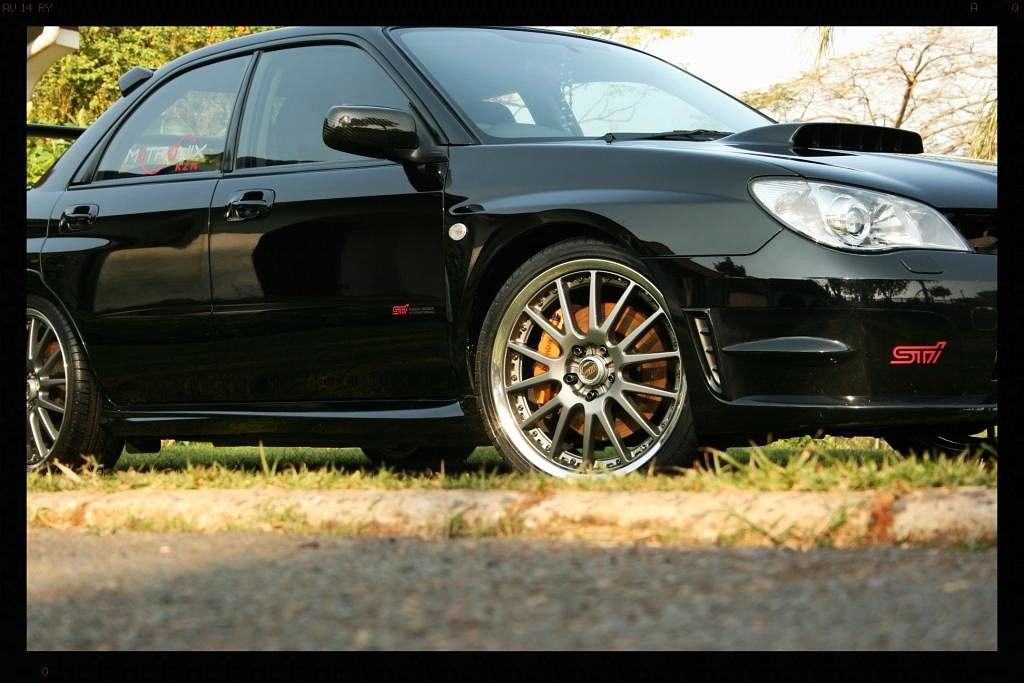
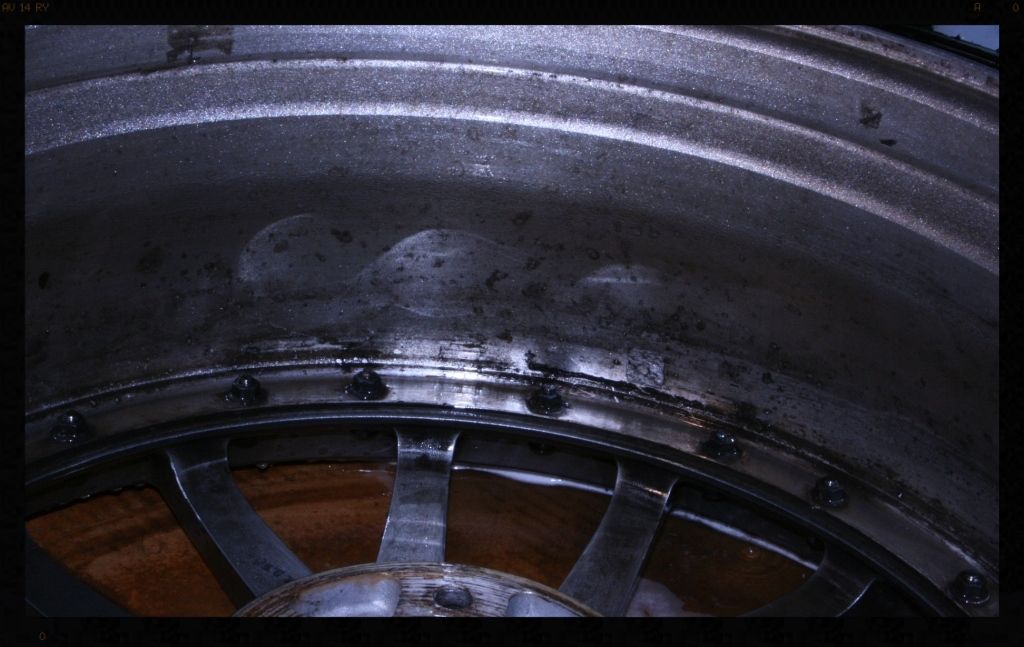
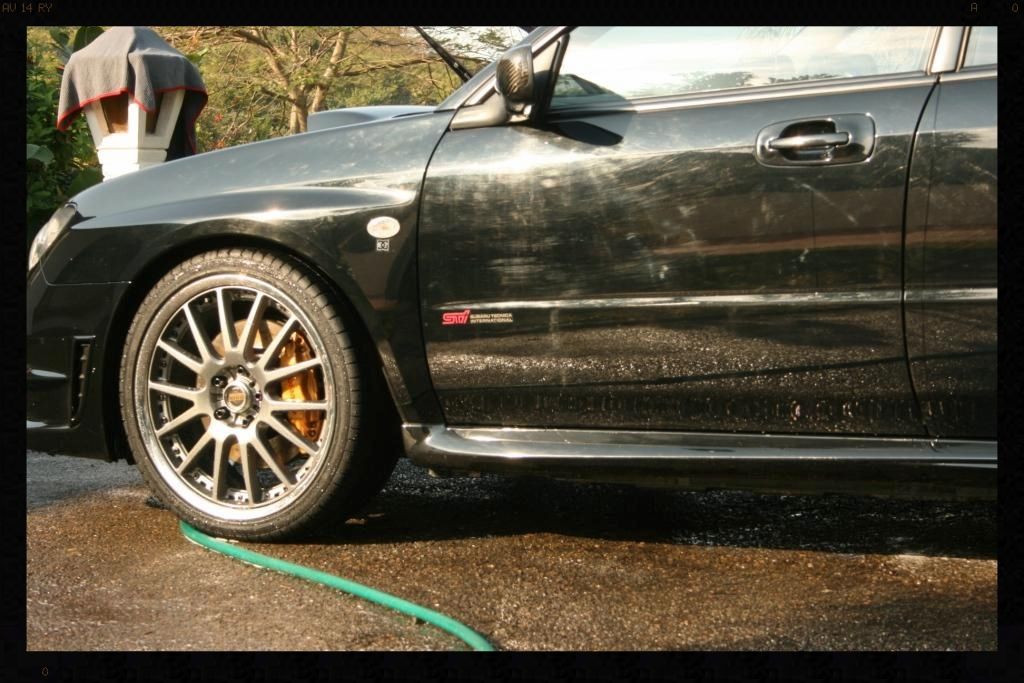
The first thing I did was jack the car up and get it safely onto 4 axle stands. The wheels -a set of nice genuine 2 piece Volk splits - were removed to allow for a thorough cleaning and to allow access to the wheel arches and brake calipers. The arches and calipers were cleaned. The tires were scrubbed clean in preparation of a new dressing. The wheels were cleaned, de-tarred, de-ironed and sealed. The lips were then polished. Once completed the wheels were refitted, the wheel nuts re-torqued and the car returned to terra firma.
Wheels before

After cleaning
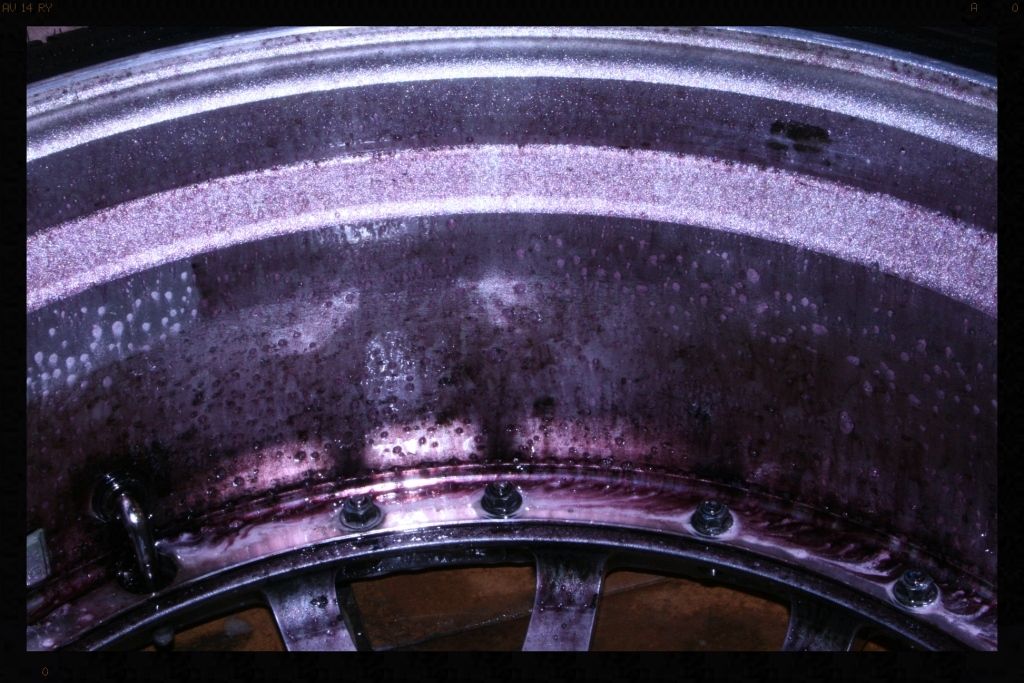
During Iron Removal
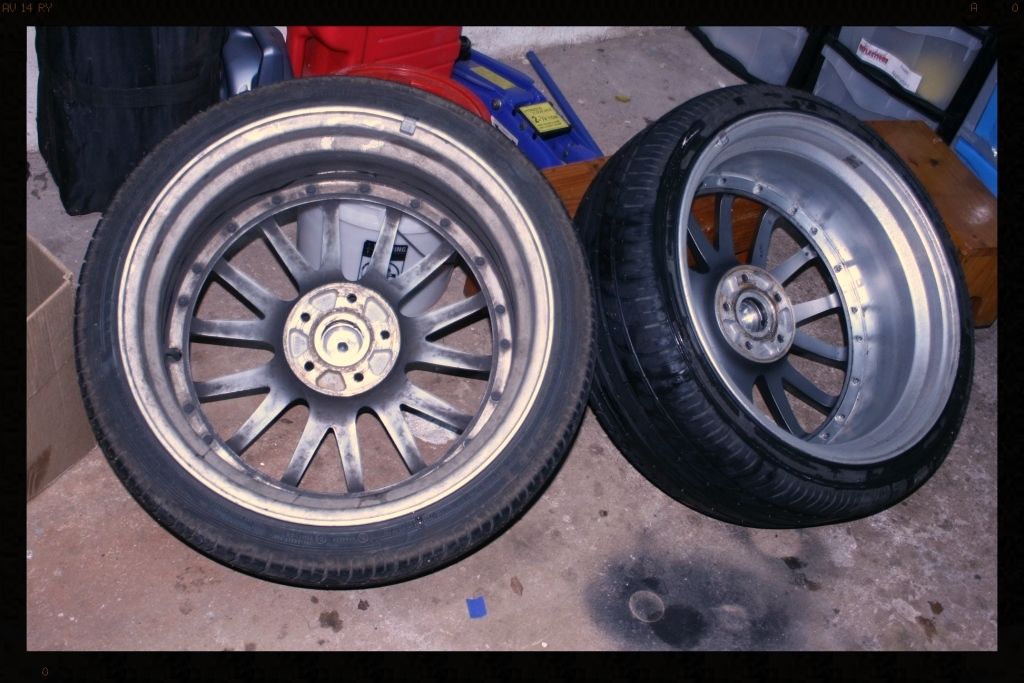
Complete
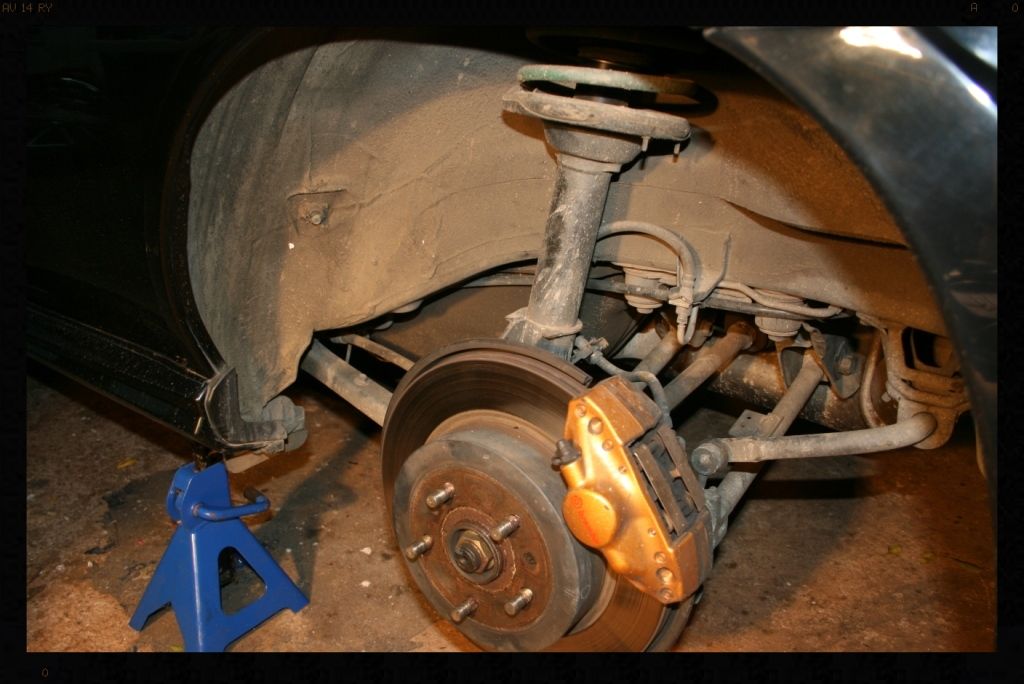
Condition of the brake caliper and arch prior to cleaning
Saturday - 07:00 to 22:30
The door shuts. boot shut, inside the fuel flap and all the badges were given a thorough cleaning. After this was done the engine bay was wiped clean - the owner specifically requested that no water be sprayed into the engine bay. Once this was completed the entire car was pre-soaked via the foam cannon before being treated to a 2 bucket wash - judging by the condition of the paint, this was probably its first 'proper' wash.
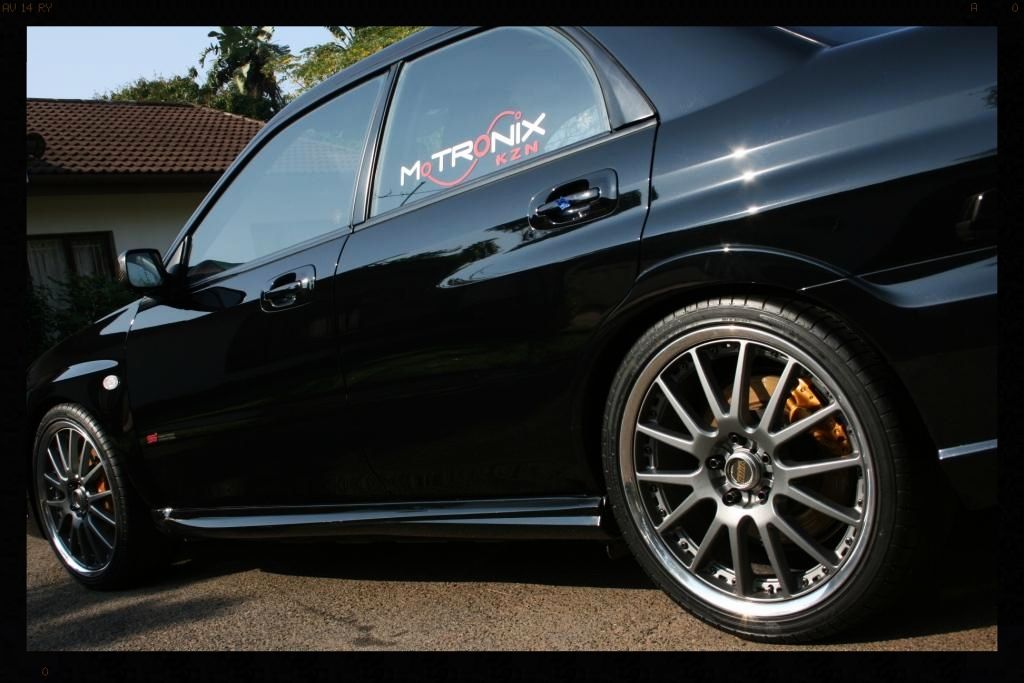
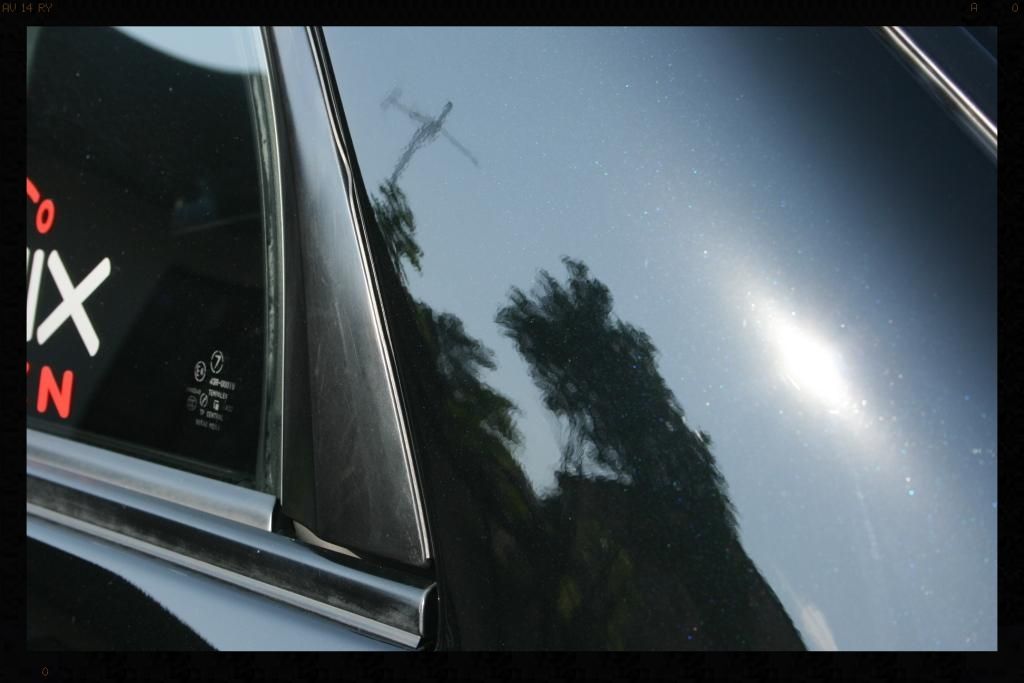
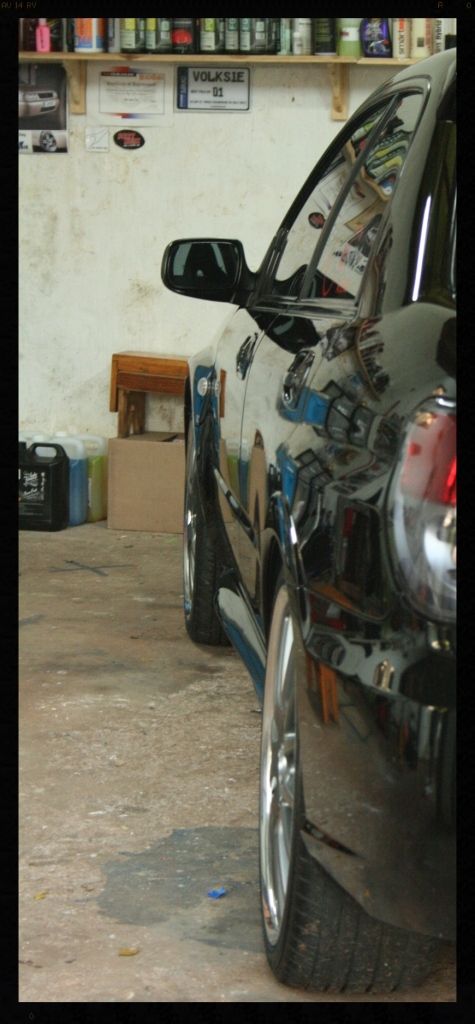
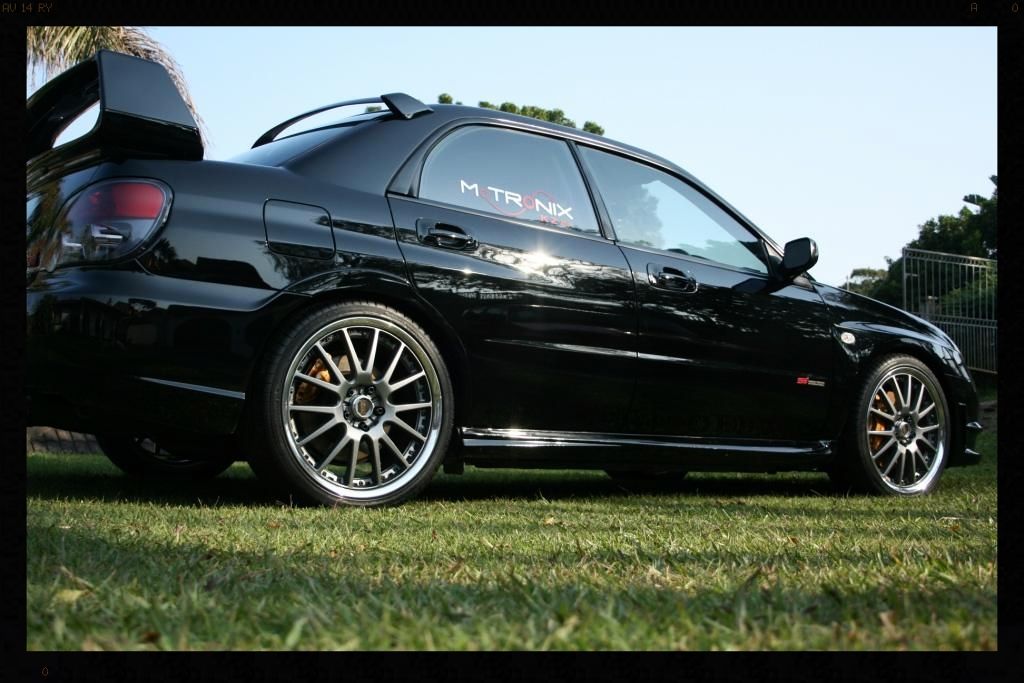
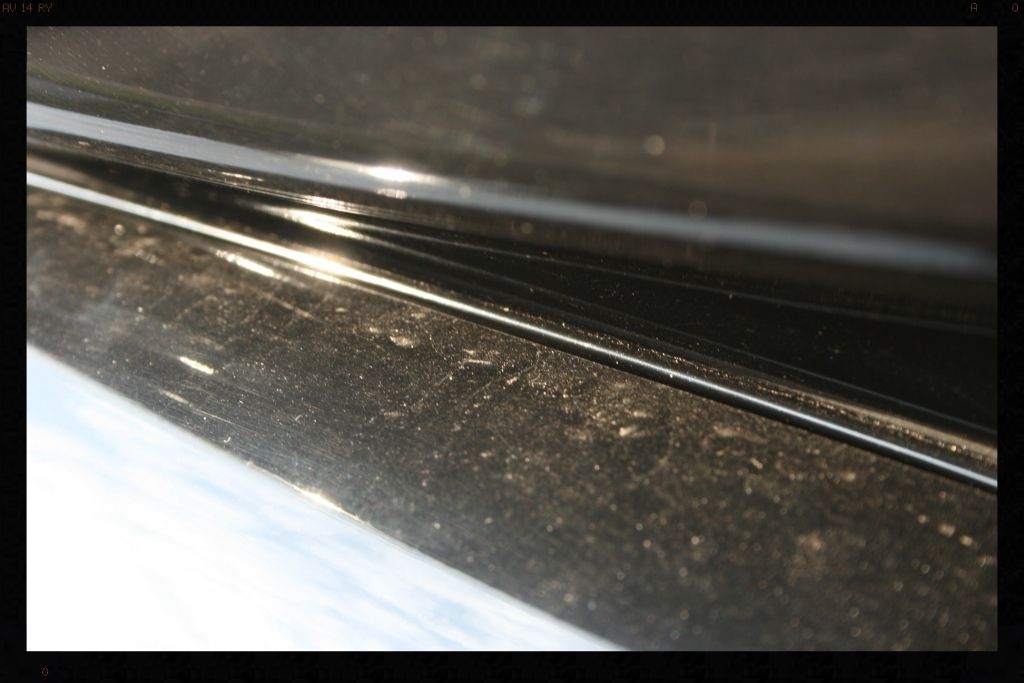
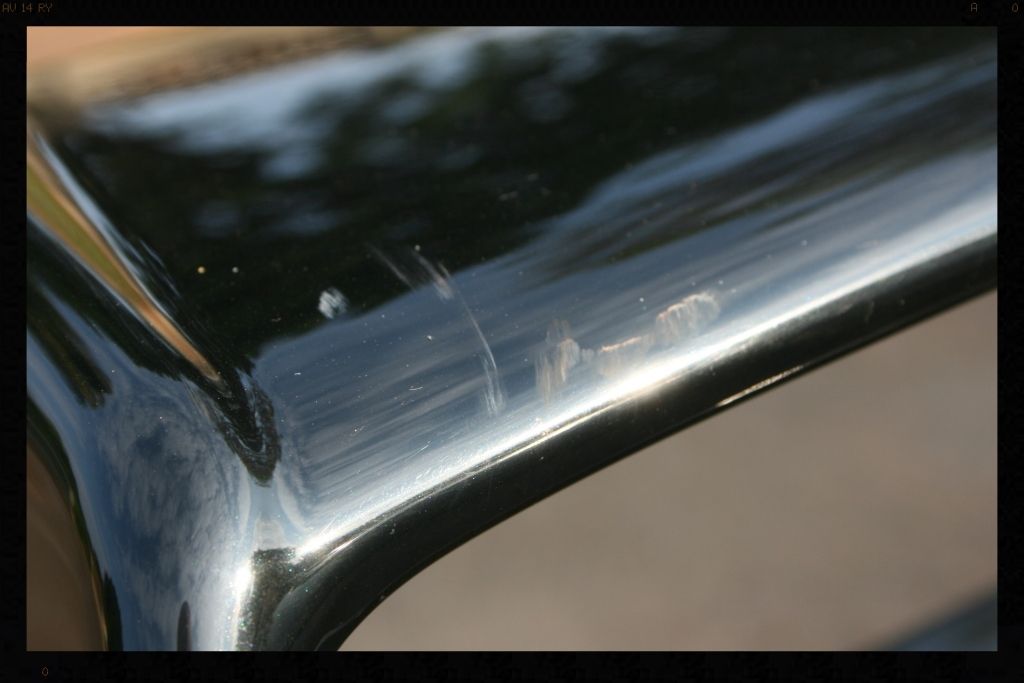
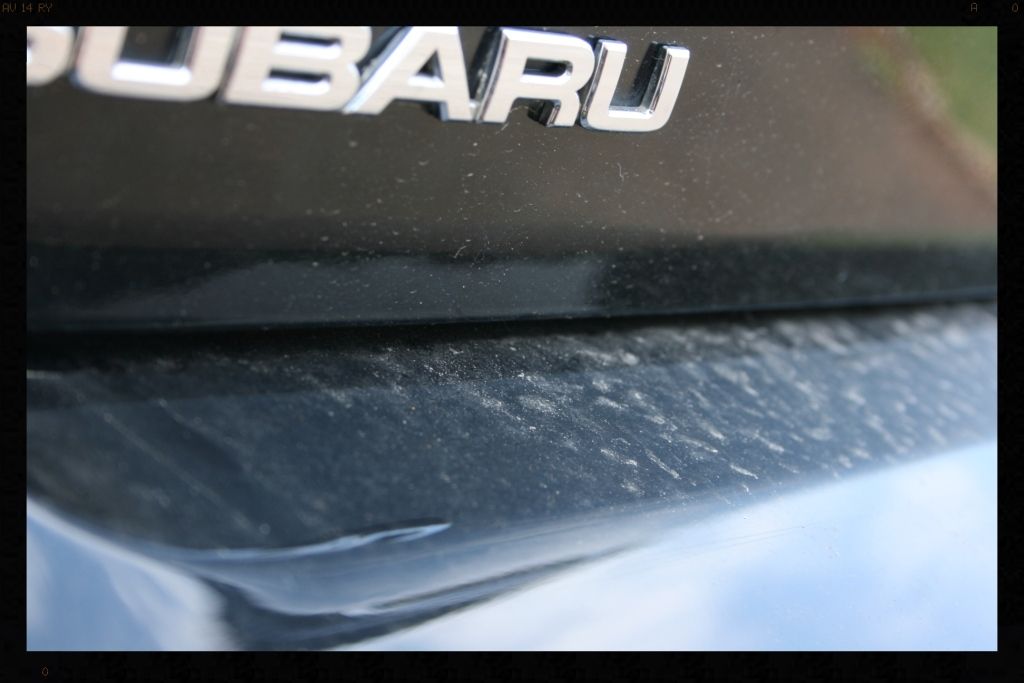
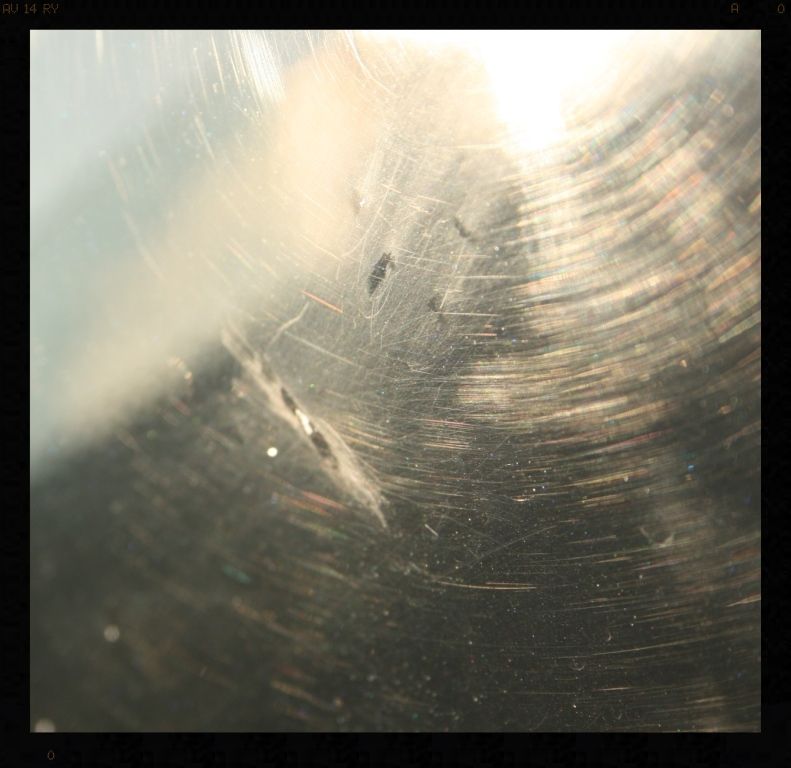
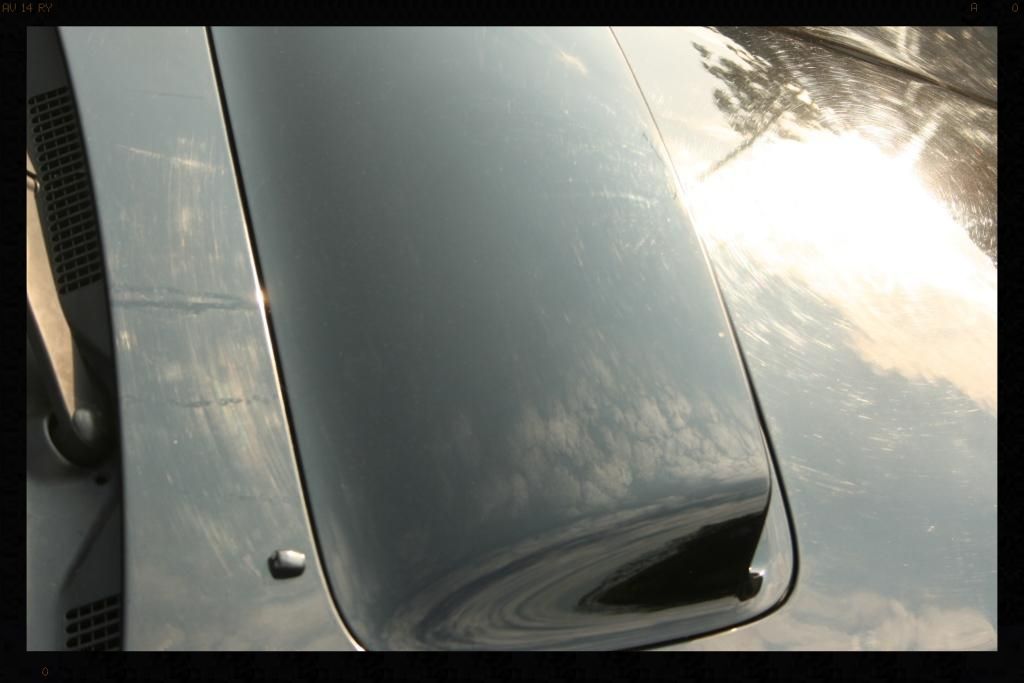
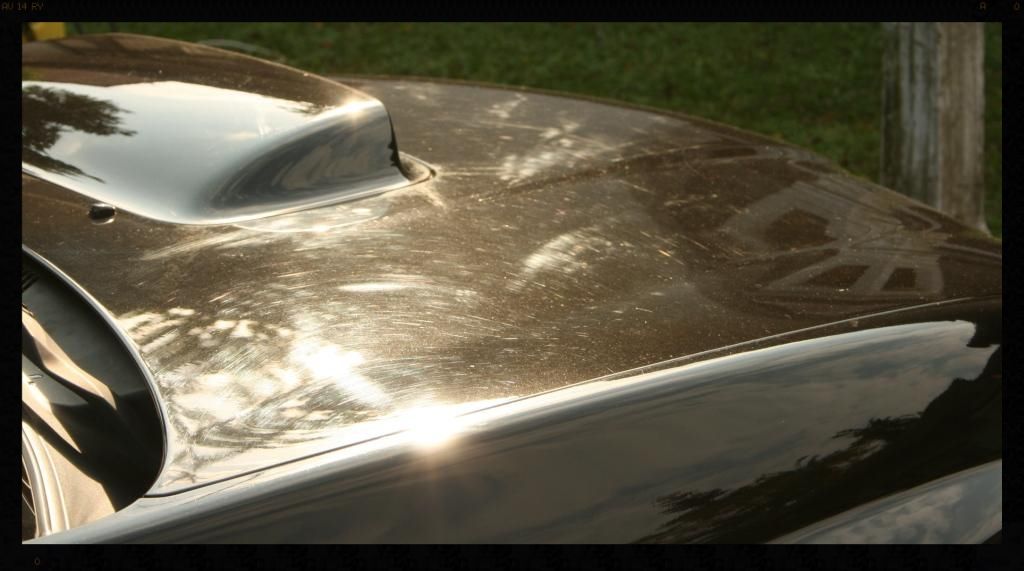
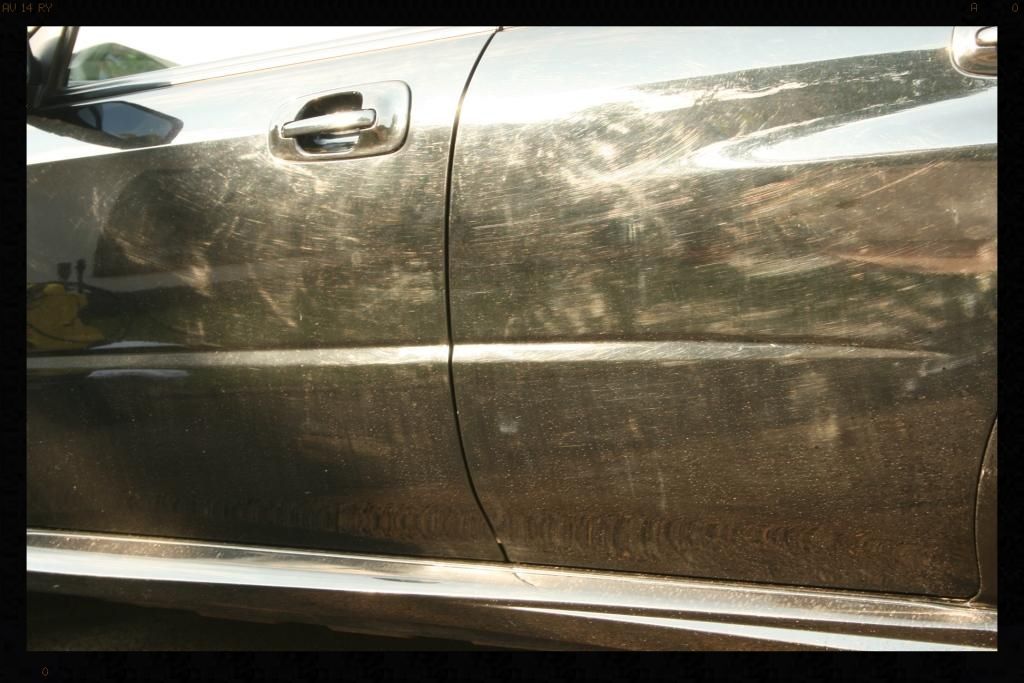
Condition of the paint on arrival

Receiving some foaming love
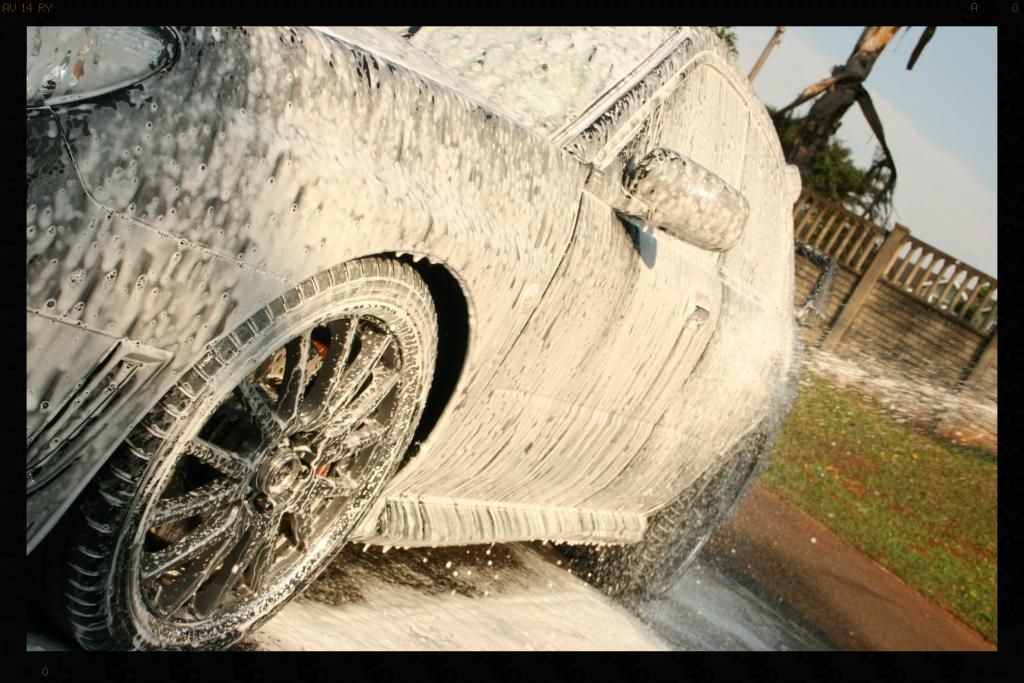
What it looked like with all the surface dirt cleaned off
With all of the loose surface dirt off the car the process of decontaminating the paint began. All tar deposits were removed which was followed by a full iron decontamination of all painted and glass surfaces on the car. Lastly, the entire vehicle was clayed to remove any remaining contamination.
The interior was the blown out (and my vacuum cleaner then died a rather sudden death, meaning I could not vacuum out the interior!) and the dash, center console and other plastic trim was then cleaned.
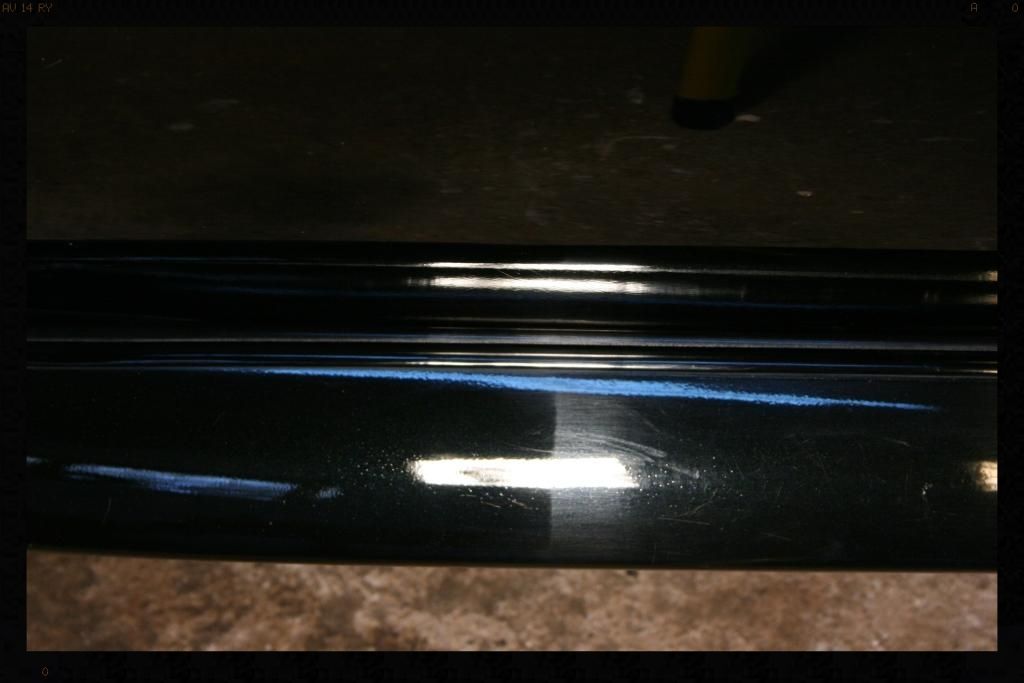
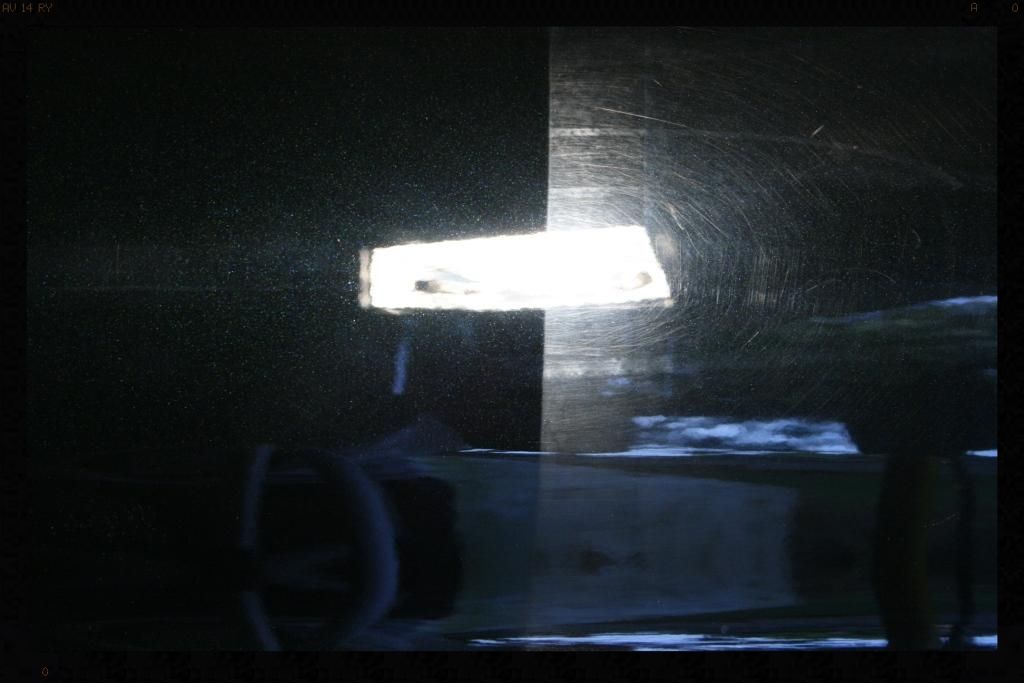
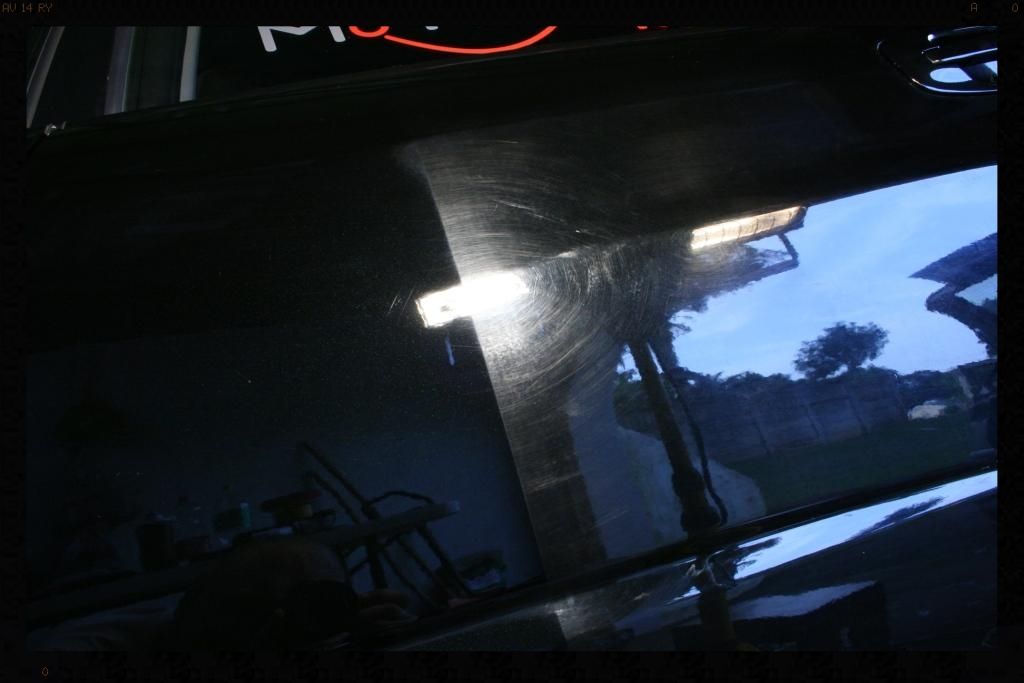
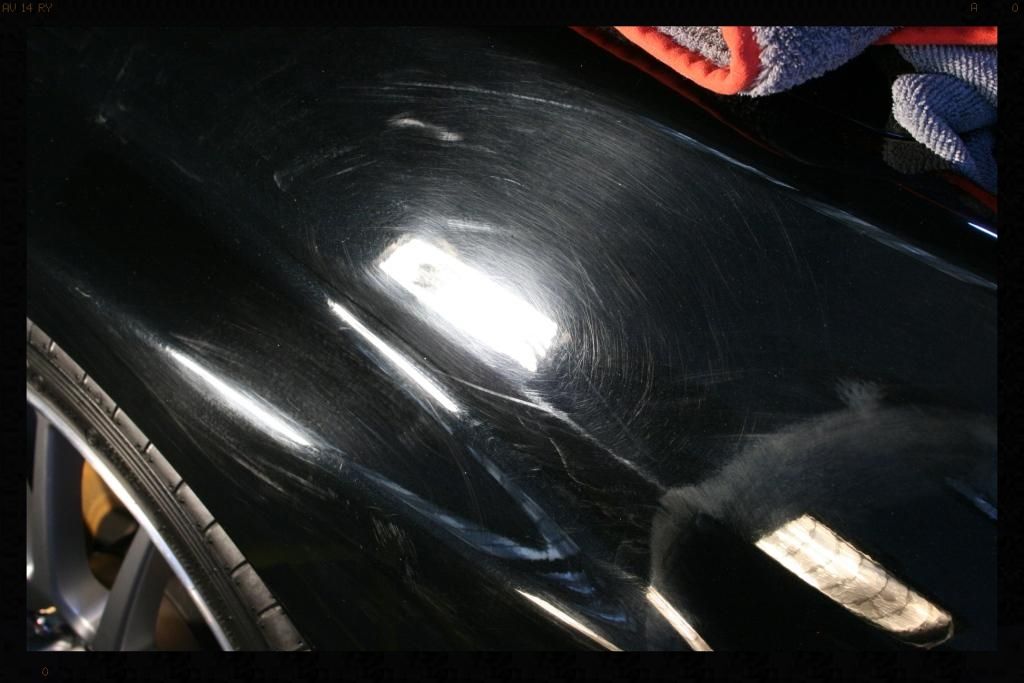
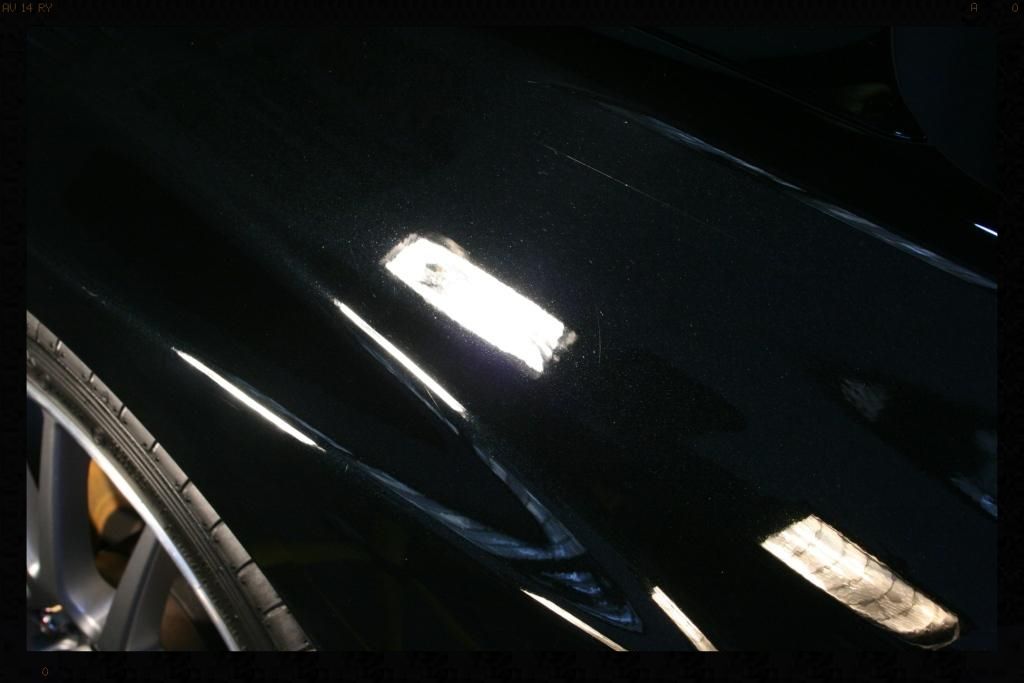
I then taped off a few test spots and dialed in my paint correction process. Paint correction continued until I called it a night
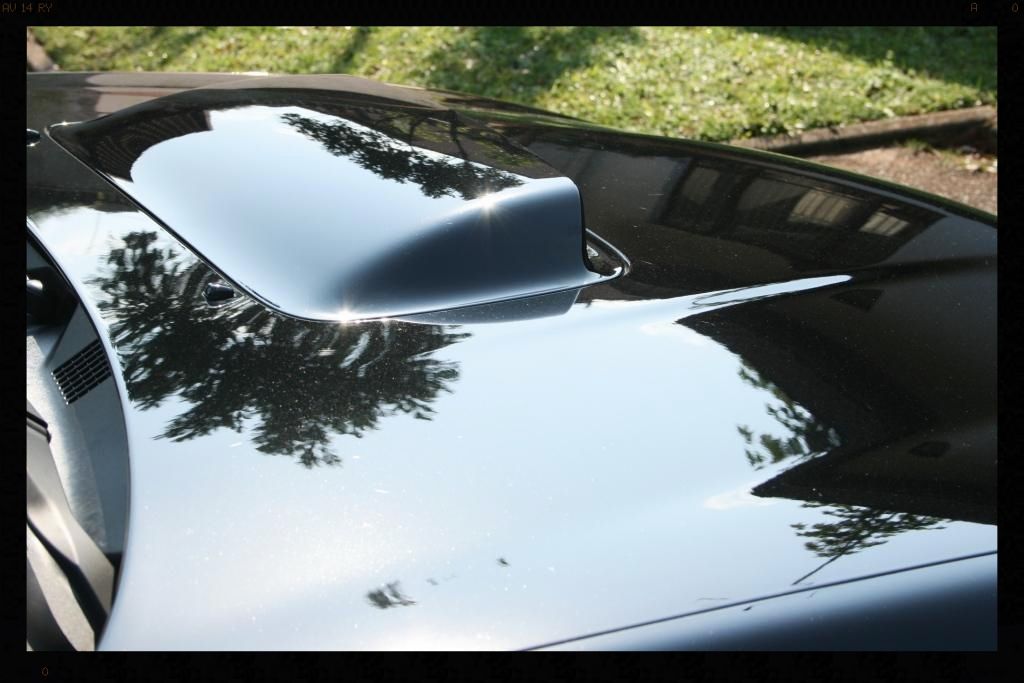
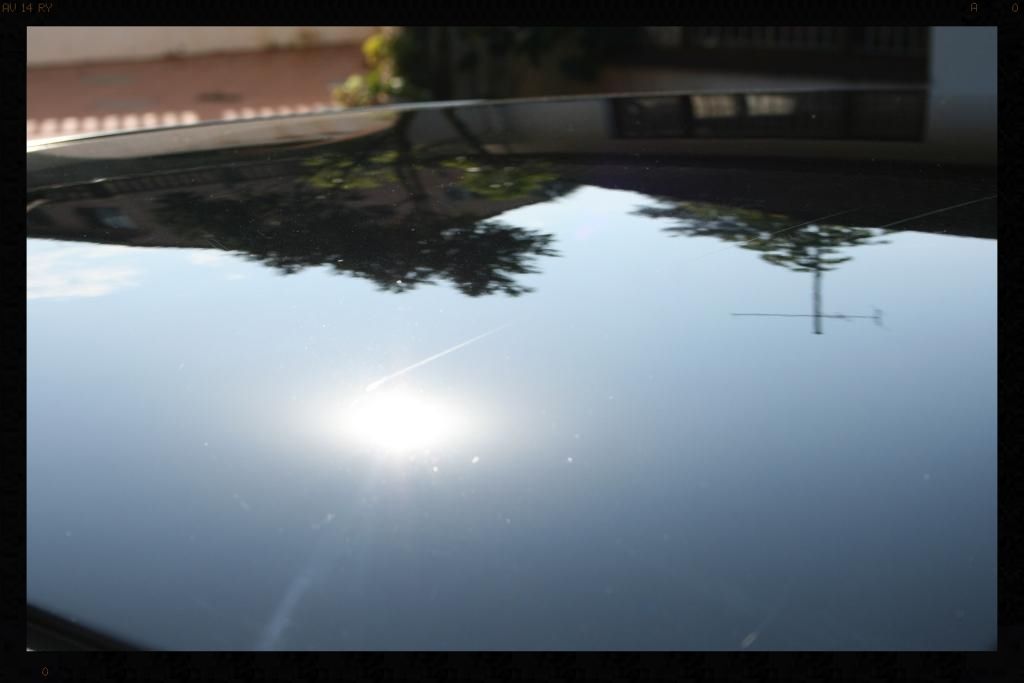
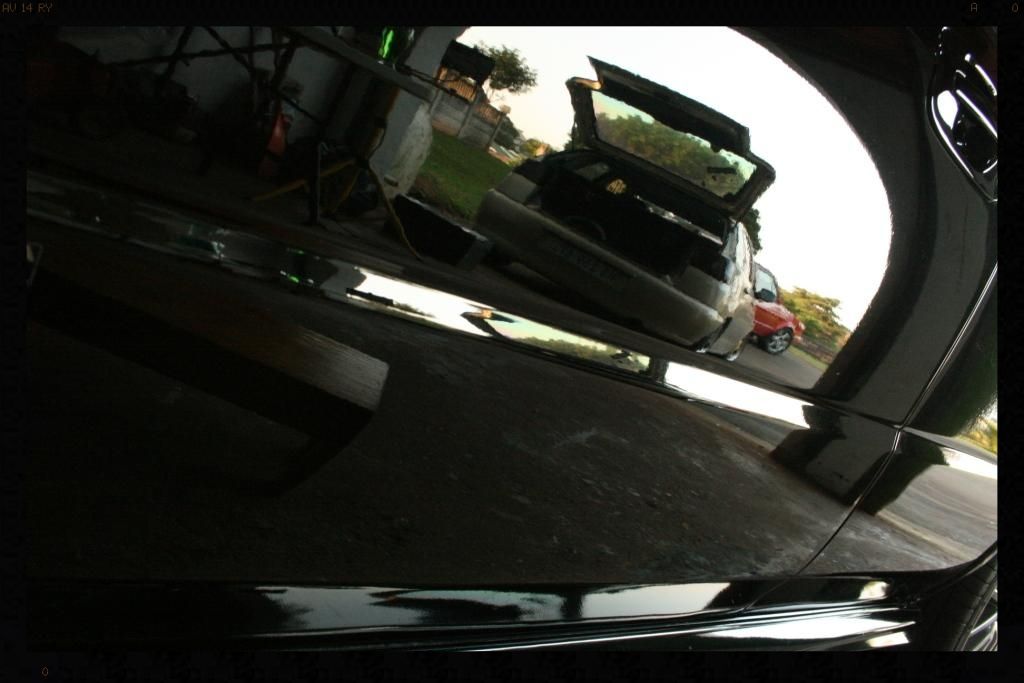
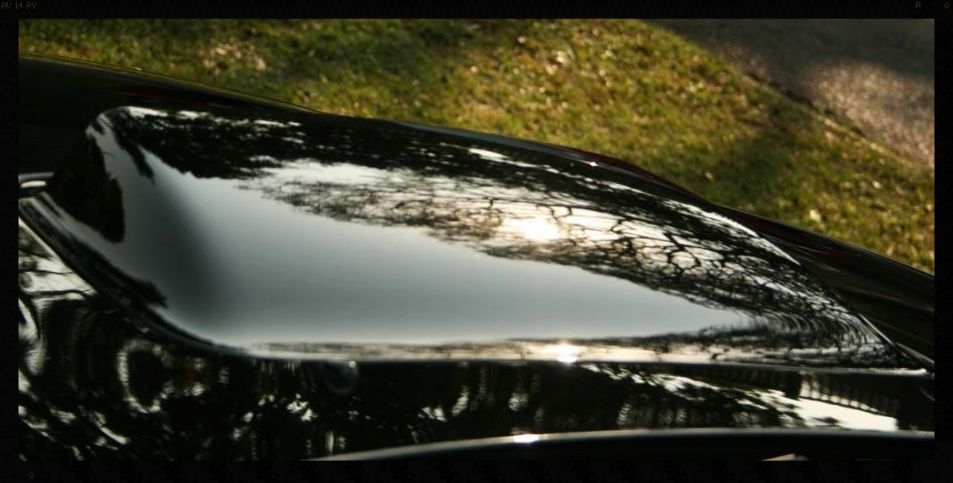
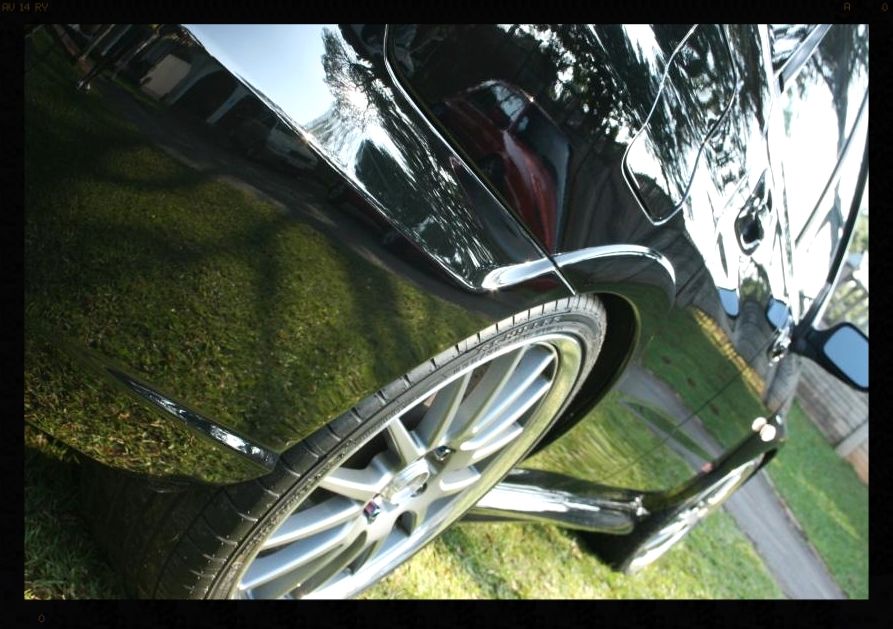
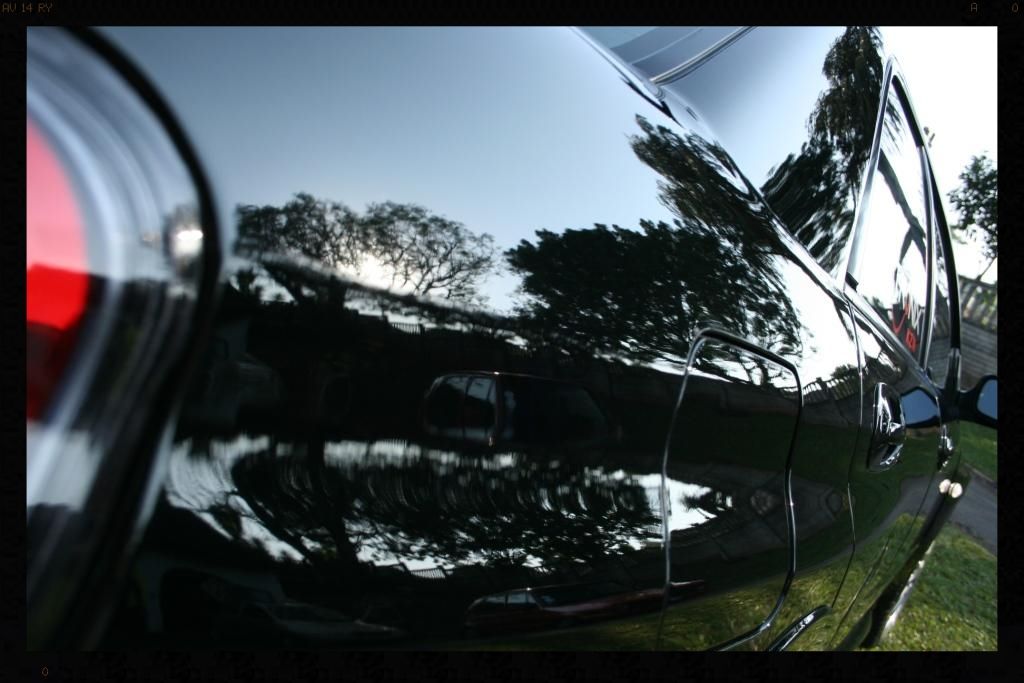
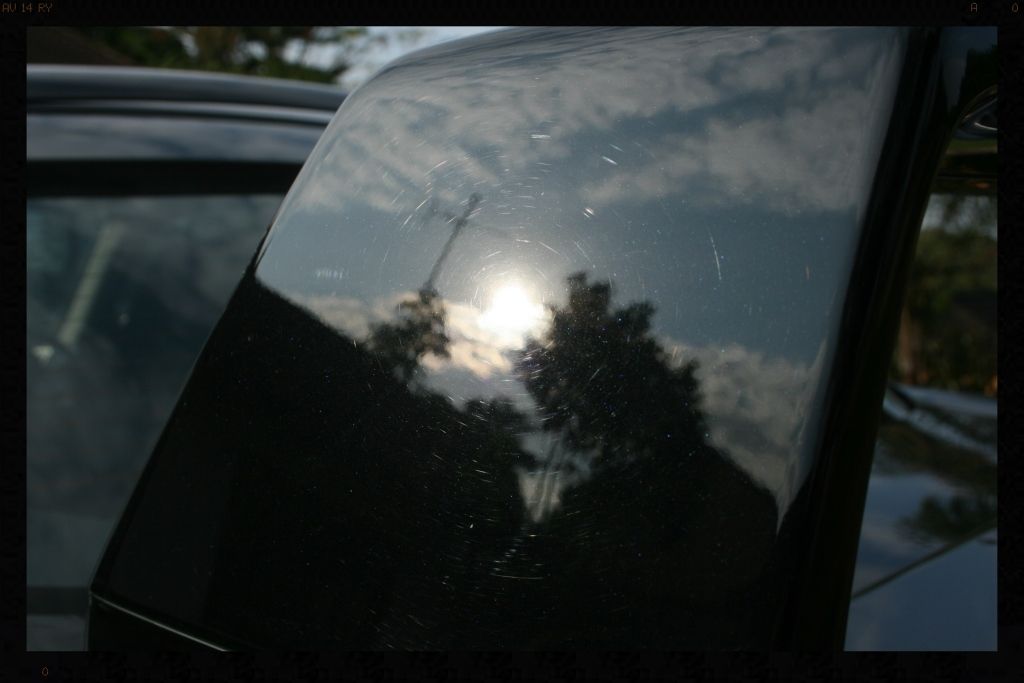
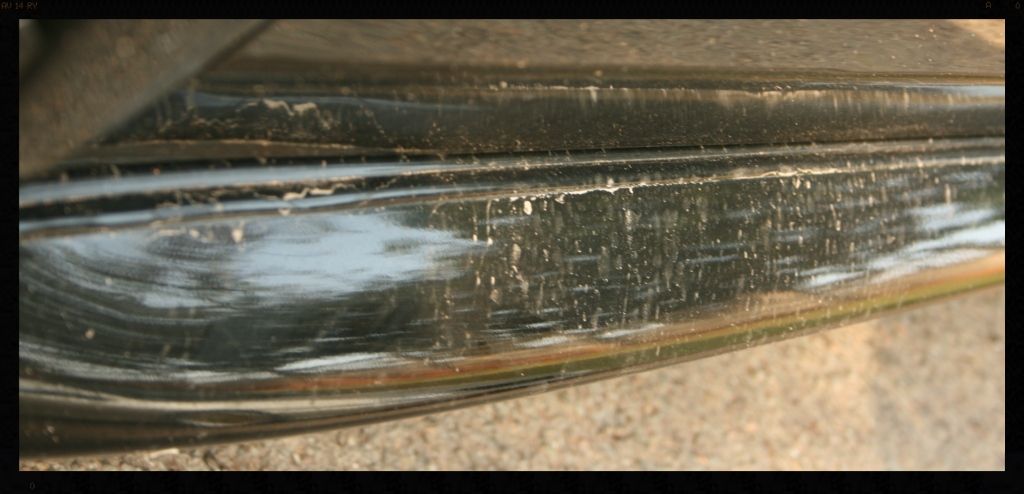
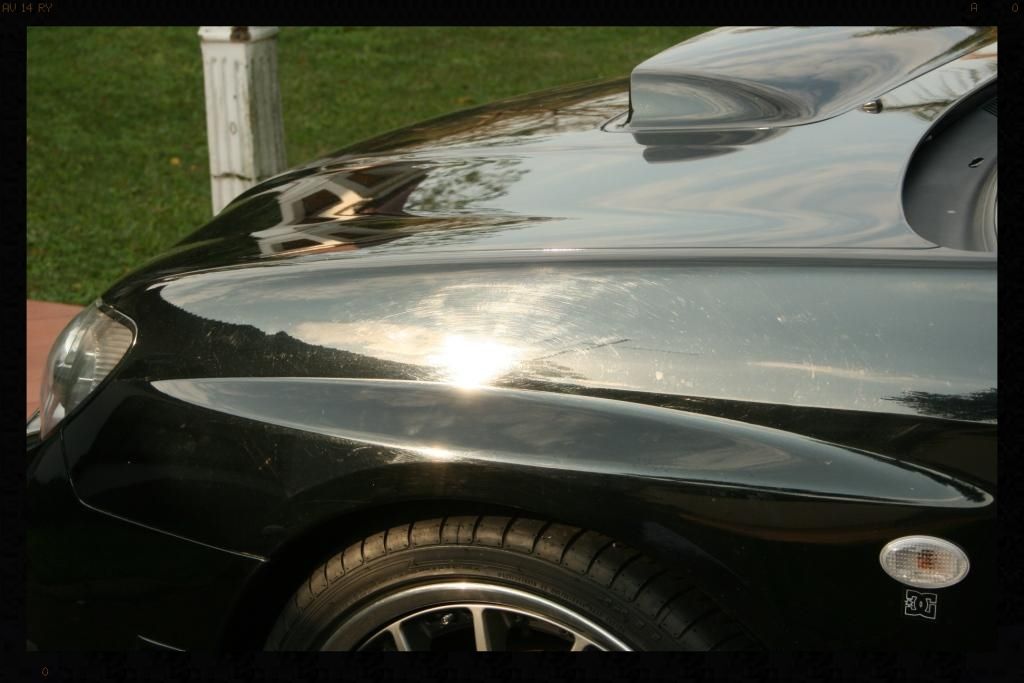
From this
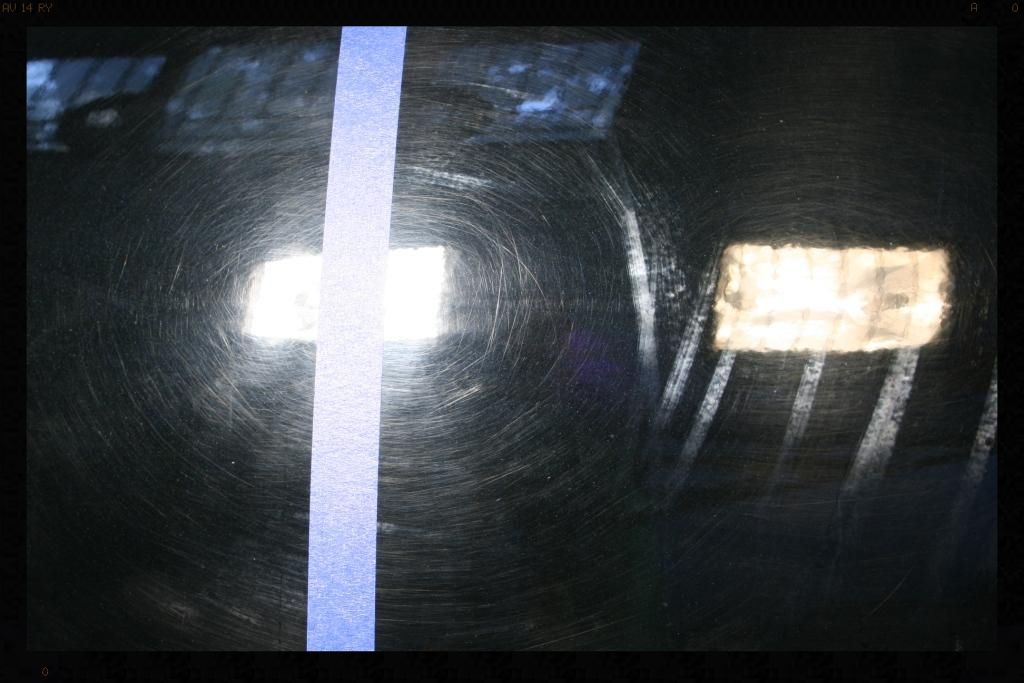
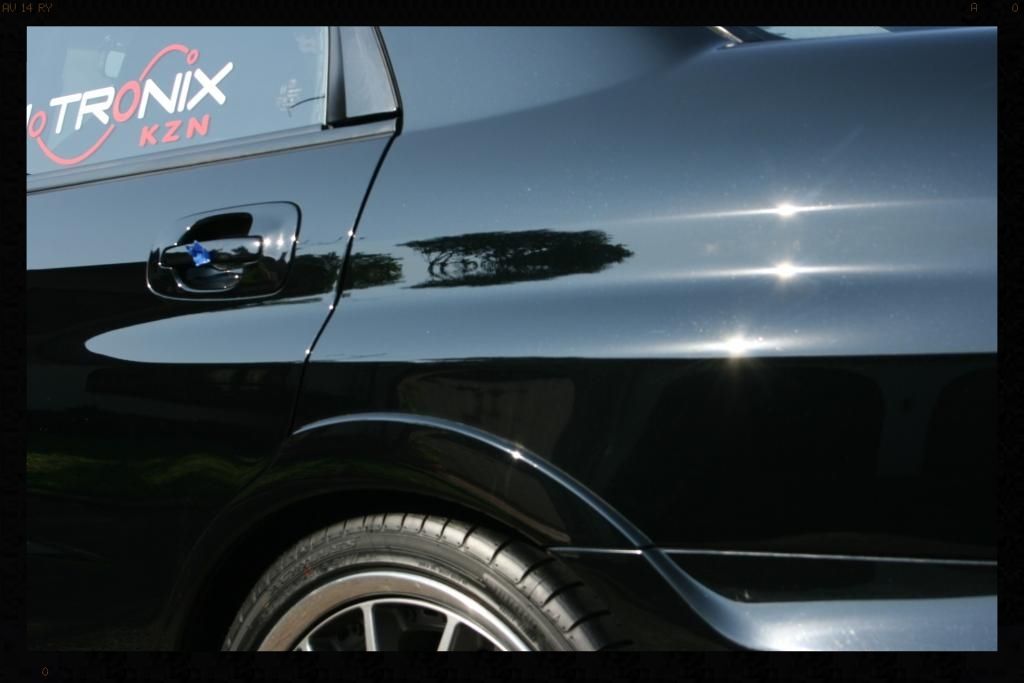
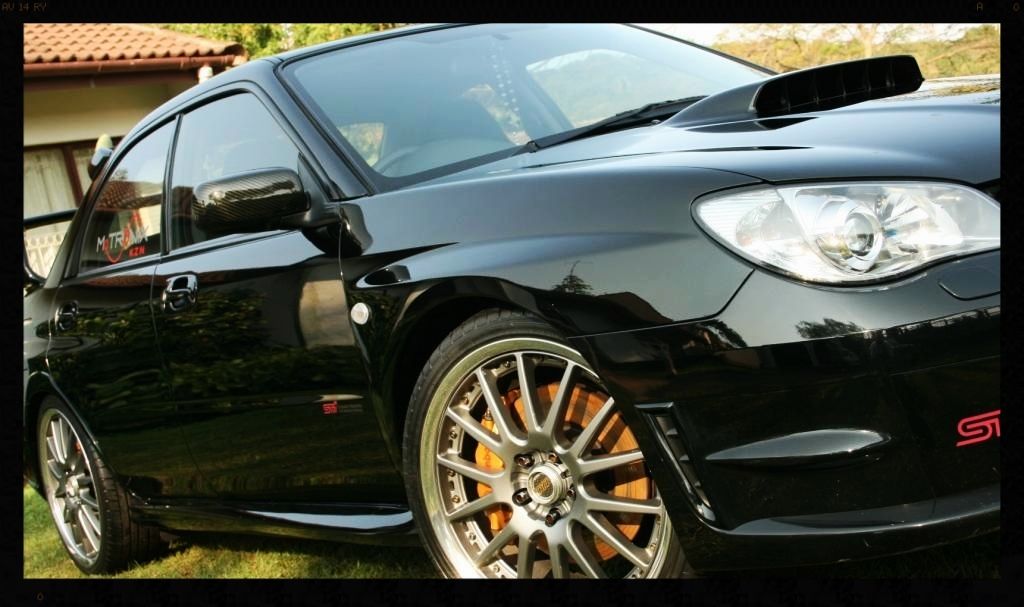
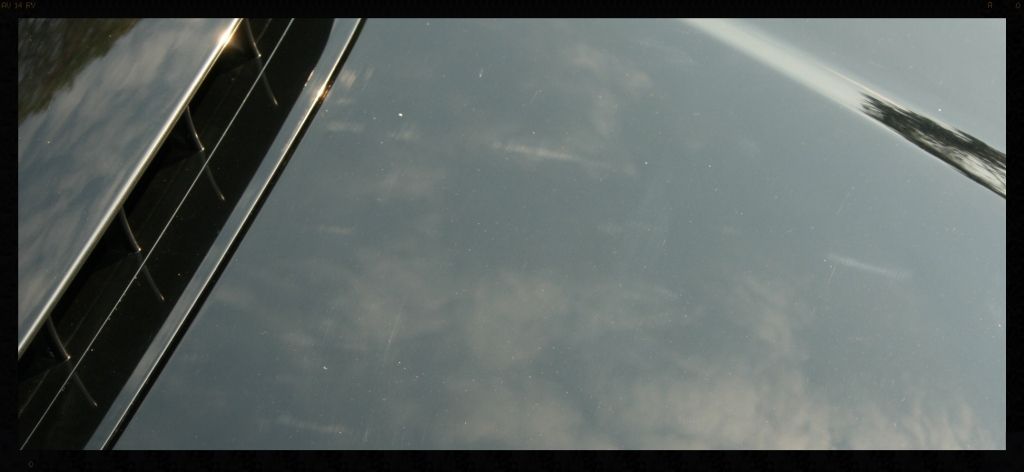
To this
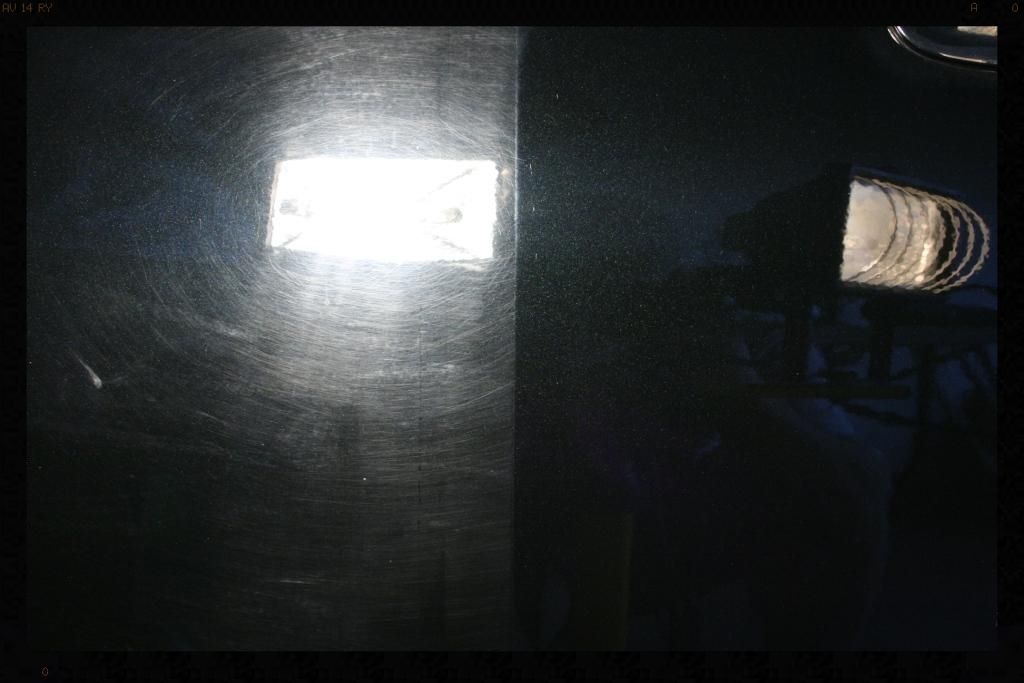
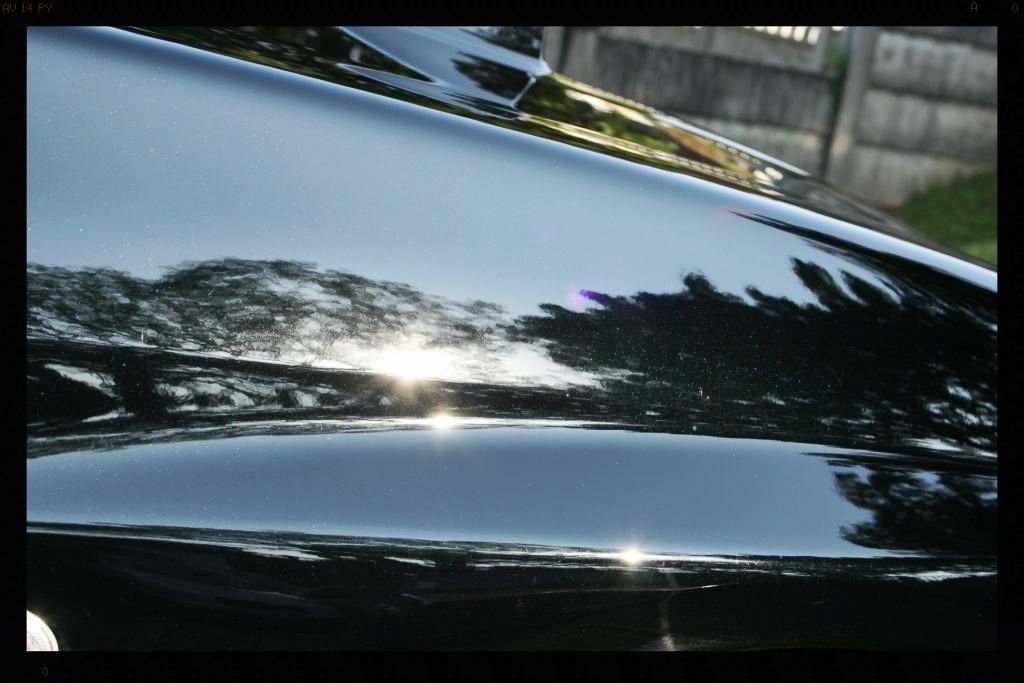
From this
To this
Right, so onto the detail itself..... well the owner of this car purchased it second hand and was under the impression it had not previously been detailed, but once I had washed the car it became quite evident that it had indeed been polished out before, and not very well either. Besides a few holograms, there was also plenty of TOGW (the other guys wax
) for me to dig out of all the hard to reach places. This meant that the already soft clear coat had more than likely been on the receiving end of an aggressive polish with a rotary and I therefore proceeded with great caution when correcting the paint - clear coat preservation was top of this list of priorities and as such, I did not attempt to remove any of the deeper scratches.The car itself is a monster that has been on the receiving end of a lot of mods, allowing for a rather quick 11.2 1/4 mile and the loud (on idle it rattled all my house windows as set off some car alarms :lol
off-beat idle hints at the power contained in the engine bay - how I would love to hear (and feel) this at full tilt....I digress....
Products used:
Cyclo CM30 @ 3:1
Cyclo CM30 @ 20:1
Sonax Full Effect Wheel Cleaner
Autofinesse Iron Out
Autofinesse Oblitarate
Optimum Opti Bond Tire Gel
Collinite #845
Cyclo Polymer Hand Wash
Meguiars Cleaner Wax
Smart Wax Smart Dressing
ONR
Clay Magic Blue Clay
LC Crimson Pads
LC White CCS Pads
Menzerna Black Finishing Pads
Menzerna SF4000
Chemical Guys Black Light
Chemical Guys Pete's 53 Wax
Autoglym Fast Glass
Chemical Guys Bare Bones
Mother Aluminium and Mag Polish
Painters Tape
Foam Applicator pads
Various MF Towels
Various brushes
HP washer
Foam Cannon
PC 7424
Painters Tape
Friday night - 17:30 to 00:30
The first thing I did was jack the car up and get it safely onto 4 axle stands. The wheels -a set of nice genuine 2 piece Volk splits - were removed to allow for a thorough cleaning and to allow access to the wheel arches and brake calipers. The arches and calipers were cleaned. The tires were scrubbed clean in preparation of a new dressing. The wheels were cleaned, de-tarred, de-ironed and sealed. The lips were then polished. Once completed the wheels were refitted, the wheel nuts re-torqued and the car returned to terra firma.
Wheels before
After cleaning
During Iron Removal
Complete
Condition of the brake caliper and arch prior to cleaning
Saturday - 07:00 to 22:30
The door shuts. boot shut, inside the fuel flap and all the badges were given a thorough cleaning. After this was done the engine bay was wiped clean - the owner specifically requested that no water be sprayed into the engine bay. Once this was completed the entire car was pre-soaked via the foam cannon before being treated to a 2 bucket wash - judging by the condition of the paint, this was probably its first 'proper' wash.
Condition of the paint on arrival
Receiving some foaming love
What it looked like with all the surface dirt cleaned off
With all of the loose surface dirt off the car the process of decontaminating the paint began. All tar deposits were removed which was followed by a full iron decontamination of all painted and glass surfaces on the car. Lastly, the entire vehicle was clayed to remove any remaining contamination.
The interior was the blown out (and my vacuum cleaner then died a rather sudden death, meaning I could not vacuum out the interior!) and the dash, center console and other plastic trim was then cleaned.
I then taped off a few test spots and dialed in my paint correction process. Paint correction continued until I called it a night
From this
To this
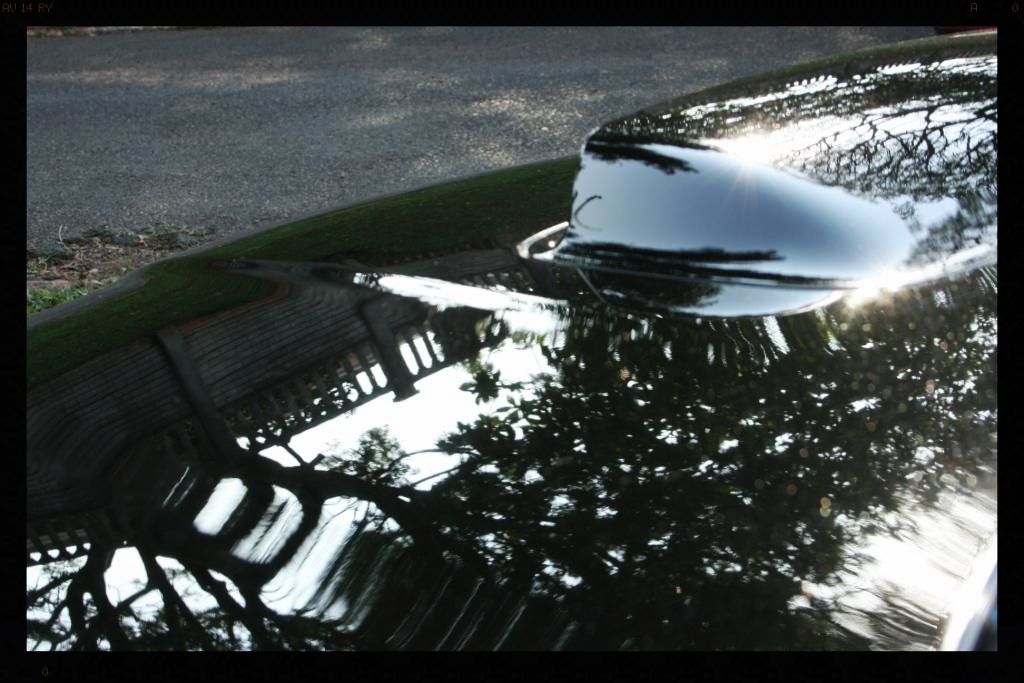
From this
To this