More product testing today, mainly to compare and verify.
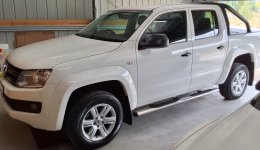
Test Subject - The Wildtrak
Like last time, I decided to use Koch Chemie Active Foam, again used to clean the wheels and tyres. The ADS Ghost is doing very well on these tyres, they stay cleaner and are easier to clean, the Active Foam was all I needed here. I then used the Active Foam as a pre-wash.
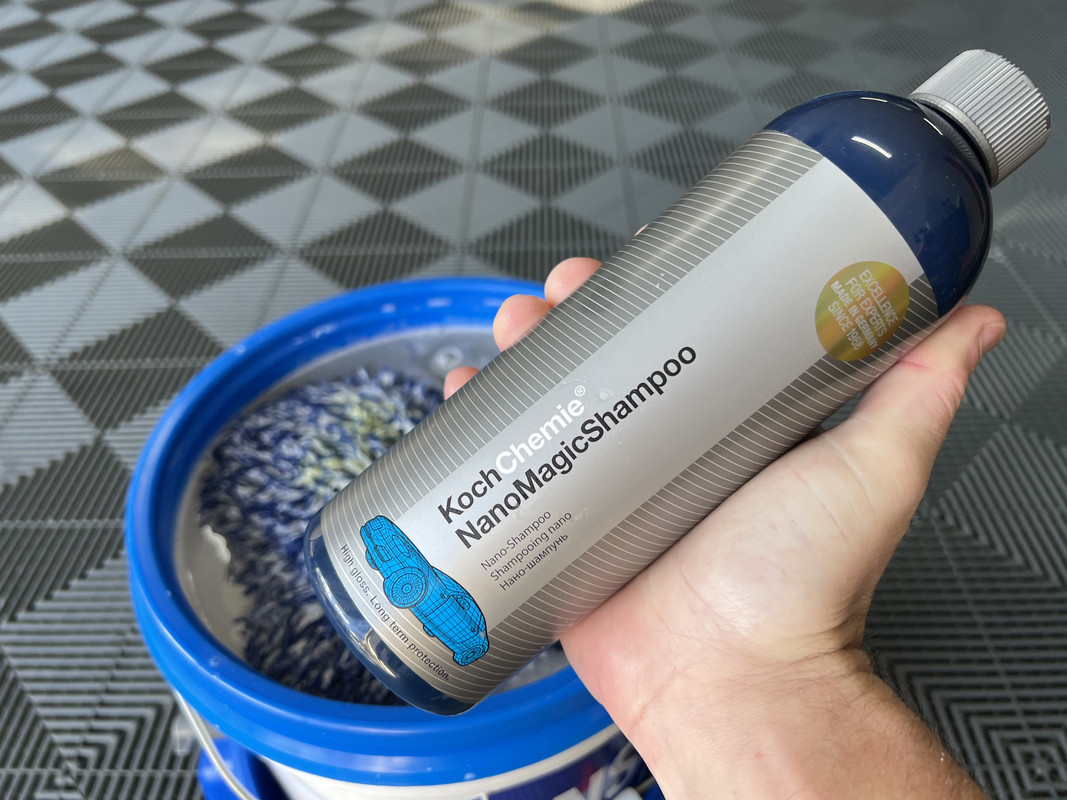
For the contact wash, I decided to use Koch Chemie Nano Magic, mainly to compare with the Ceramic Effect Shampoo CES I used last time.
A few things to note here -
- Nano Magic feels slicker than CES.
- The hydrophobic properties left behind after using CES last time are extremely impressive. Not just the water beading, but how fast it sheds those beads.
- Nano Magic on the other hand has a more pronounced water sheeting effect.
Overall, I think I still prefer CES, mainly because of the scent but also the impressive hydrophobic characteristics.
For the drying aid, I went with Koch Chemie Quick Finish. This product is similar in concept to the Quick & Shine I used last time, but is free from silicone oil, presumably to make it body-shop safe. Comparing the two, Quick & Shine has more lubrication, more gloss and more slickness, which kinda makes sense. Very easy to use, but I prefer the feel and finish of Quick & Shine better.

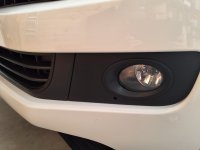
During the pre-wash phase, I also deep cleaned the rubber window trims to hopefully address a long-term annoyance. These have been discolored for a long time now, taking on a grey to white appearance instead of dark black natural rubber. This is a common Ranger/Everest/BT-50 issue, one that I've tried a few things to improve but with limited success. These can't be disguised with a trim dressing as the white still shows through, and while I have seen where the right polishing compound can strip away the oxidation, the results are short lived. So, I decided to see what a trim dye like Solution Finish would do for them.
Cleaning involved hitting the trims with Nexzett Plastic Deep Cleaner (which is a suitable replacement for the now discontinued Meguiars M39) and a boars hair brush, then a hit with a magic eraser. Prior to application of Solution Finish, I went around with IPA to remove any lingering chemical residue, taped along the painted edge and dropped all of the windows to prevent residue getting on the glass.
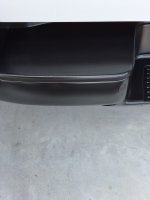
From here, I applied the Solution Finish using a folded towel. On a material like this, you tend to apply it thickly with several passes to get a consistent finish. If you do end up getting some on the paint or glass, it easily wipes off with a towel. After letting sit for 10-minutes, you then follow with a separate towel to level any high spots. The TRC Rip-n-Rag were made for jobs like this!

Solution Finish is termed a "semi-permanent" product. From here, you can apply a spray sealant or even a ceramic coating to lock in the finish.
It took a few applications and plenty of product to get them decent, but I'm not totally happy. Having said that, this is the best they have looked in years, it will be interesting to see how long it will last like this. I'm suspecting the only real solution will be to replace with new items and ceramic coat them from brand new. With how quickly these trims and the headlights oxidized, its a shame spending so much money on one of these doesn't buy you quality parts to last beyond 2 - 3 years. But this is Ford we are talking about............
I also finished off a few bottles today, Gyeon Interior Detailer (smells nice, underwhelming to use) and Gyeon Prep (great product). It's always satisfying finishing off a bottle, not sure why though.


 ️
️


")


")