Mini Holiday Project 2 - XR6 Wheel Renovation & Coating
Before I start this post, I will point out these wheels are 15 years old and have a few nicks here and there. None caused by me by the way, let's just say that I
hate handing my cars over to someone else's "care". Sometimes we have to learn to just let things go. I would love to have these restored, but the diamond face requires specialist attention. I considered replacing them, but at $1200 EACH!, that won't be happening for a while. As such, this is my attempt to give them a spring clean and a new lease on life.
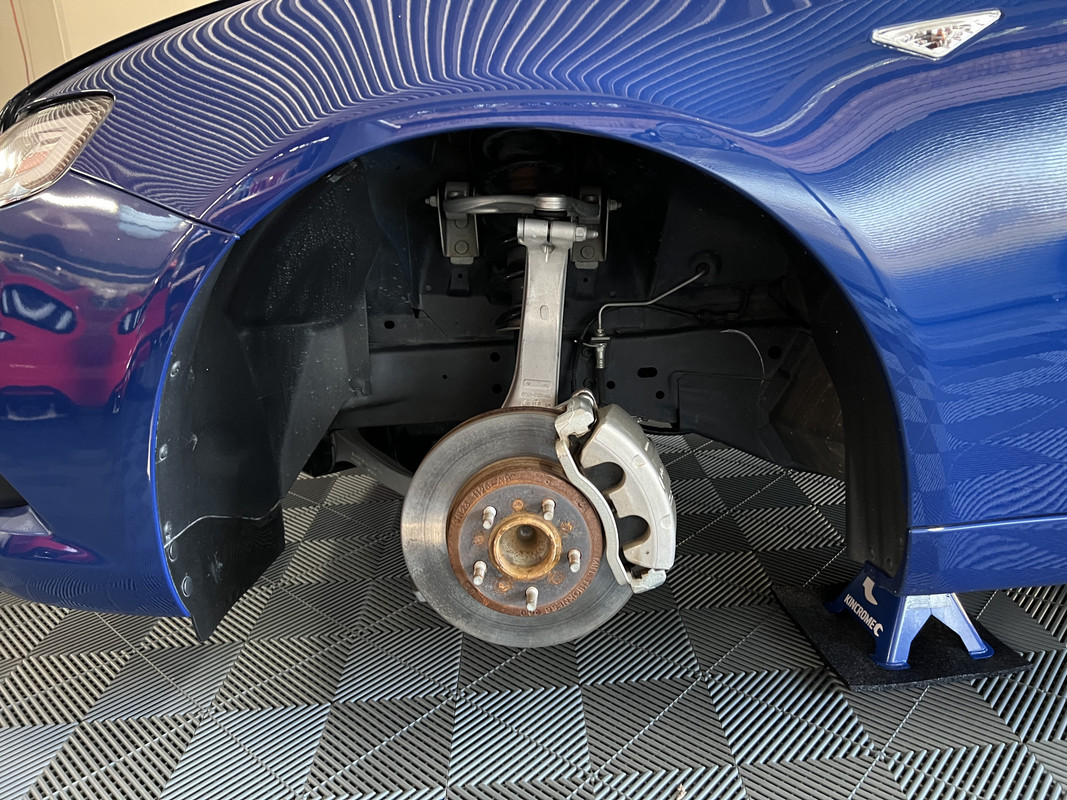
So, up on jack stands the car went. While I have used the trolley jack before, I've never used jack stands. To complicate matters, I needed to account for the flooring by placing a rubber mat underneath to prevent the stands from sliding or damaging the tiles. This stuff is actually gym matting cut into square tiles, the remaining material used under the jack.


I'm actually splitting this project in two, working on the right-hand side today. This is for two reasons, there was a lot of ground to cover today and a fair bit of heavy lifting. I'm also really, really nervous about putting the car up on jack stands at all four corners. Baby steps.
With the wheels removed, it was time to decontaminate them. The wheels were already "clean" from the previous wash, this was more about removing any remaining protection and an accumulation of tar deposits. I don't have many action shots of this, I was in the zone with a big job ahead of me. Annoyingly, my week's leave coincided with three days of heavy rain predicted. Typical. :doh:

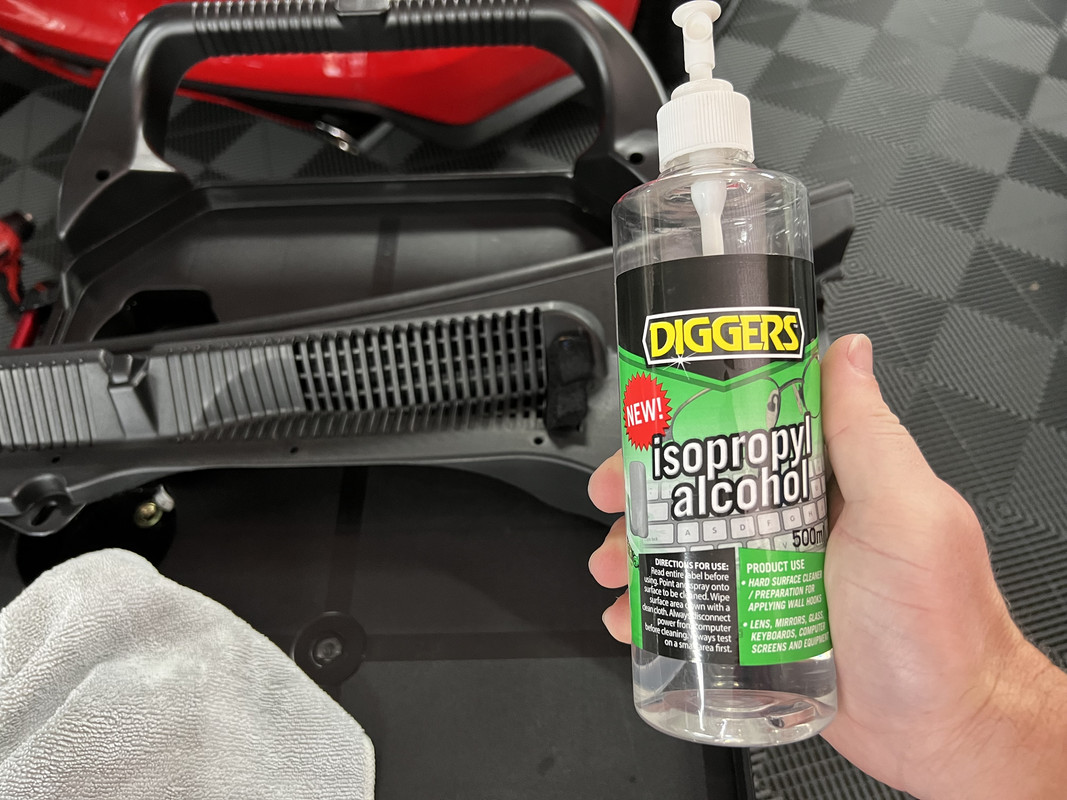
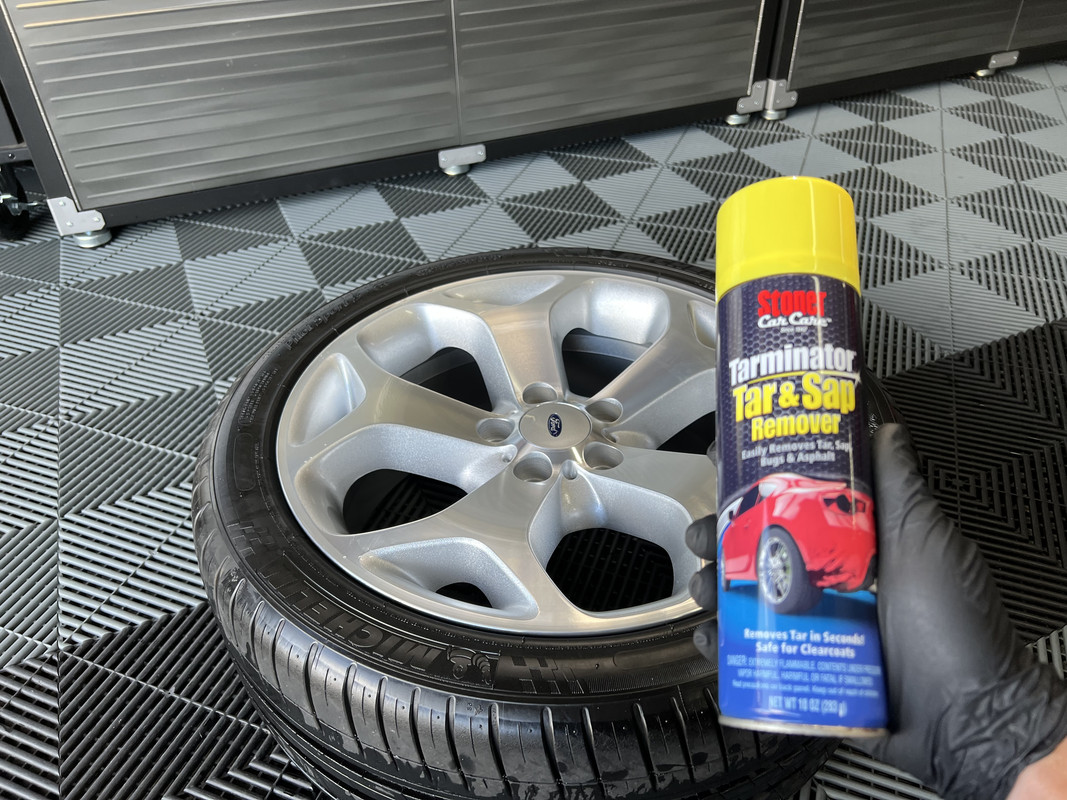
In terms of the process here, I hit the tyres front and back with Carpro ReTyre. I have mentioned this numerous times, but these tyres resist nearly every attempt at stripping them back to natural rubber. I actually had to get the Tarminator out afterwards to get them properly bare. For the wheels, I started with Brake Buster undiluted to clean and strip, rinsed and then applied NV Purify, which provided the lubricant for the clay bar. I haven't used a real clay bar in years! After another rinse, I applied Carpro TarX and used a plastic razor to lift off the baked-on tar deposits. I also needed to use KCx Eulex to remove some wheel weight adhesive residue and a couple of more stubborn tar spots. The wheel was then rinsed and dried with the Big Boi.
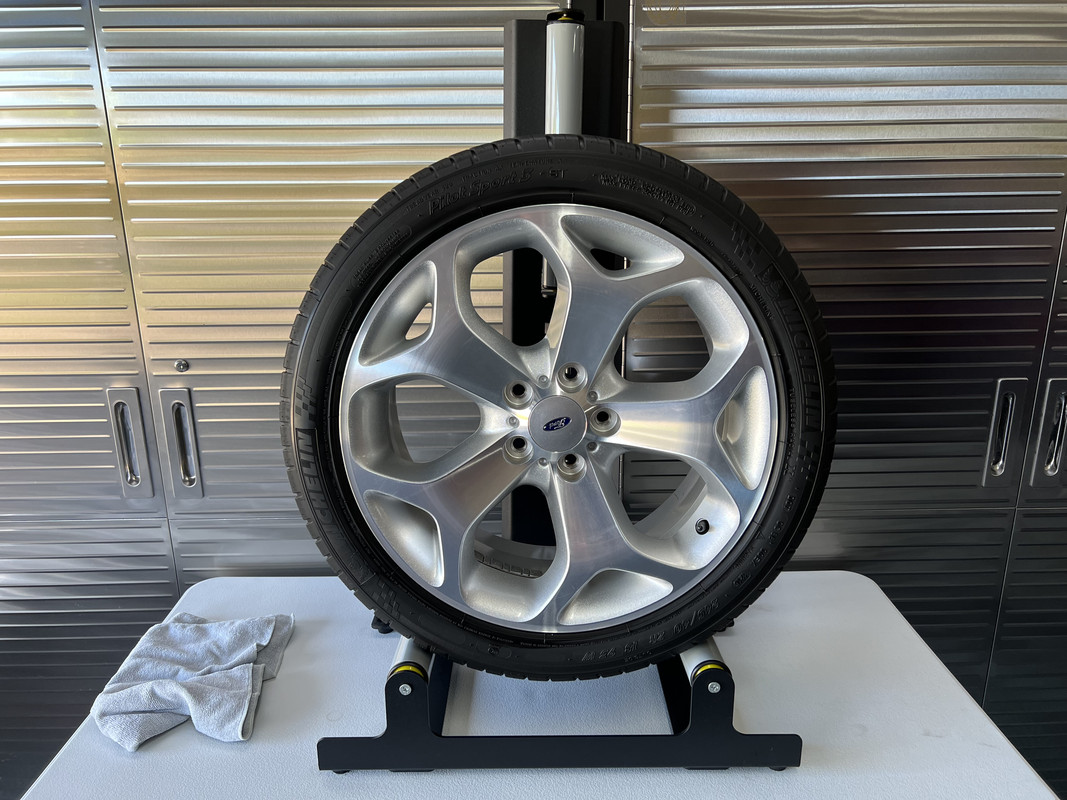
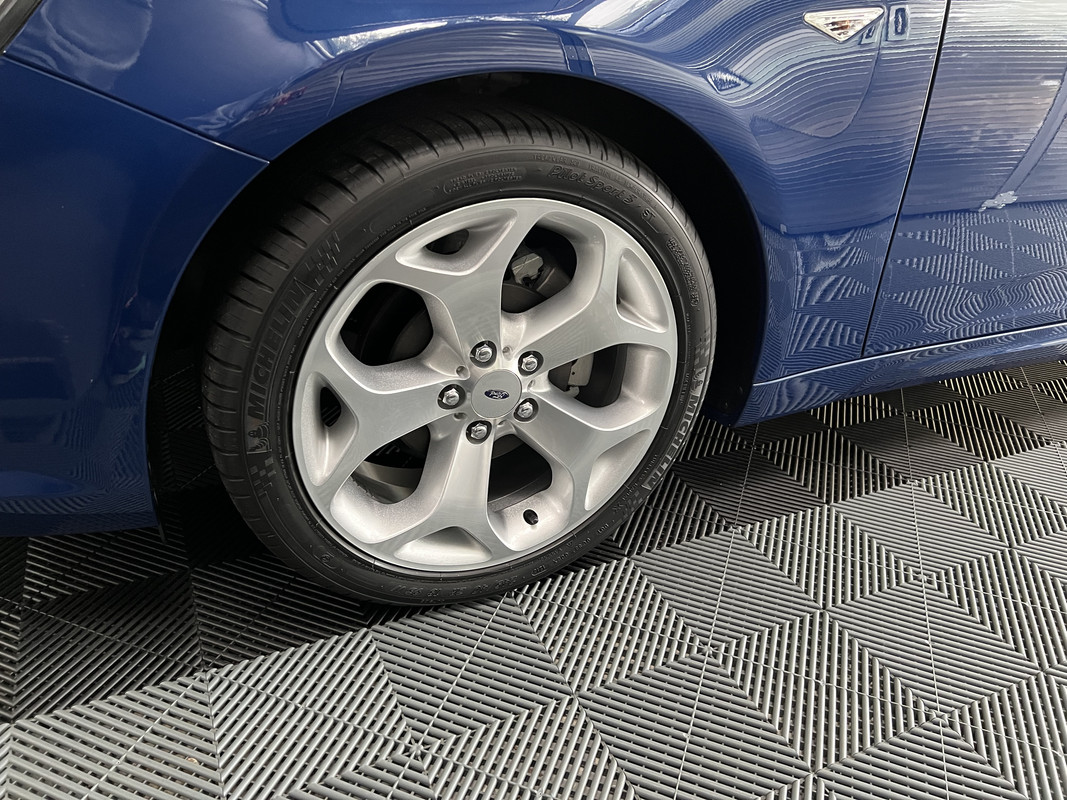
As planned, the next step was to polish the wheels. I wasn't going for perfection here, just an enhancement using Sonax Perfect Finish on a Rupes yellow. I stared out using the D/A backing plate, but switched to the rotary function for better control and precision. This is the first time I had used the extension shaft on the iBrid, which allows a little more clearance for tighter spots. The barrels were given a pass over with my 3-inch ShineMate and a yellow ShineMate pad.

Today was also my first try of the new Rupes prep sprays, Reveal Lite and Revel Strong. For some reason, none of the detailing suppliers in Australia have this in their stores, so I had to get it from an online tool supplier. Go figure.
RUPES REVEAL Lite Residue Remover 750mL
https://www.autogeek.net/rupes-reveal-strong-residue-remover-750ml.html

In this case, I used Reveal Lite for the polish residue wipe down. Lite can be used more generously, able to be applied directly to the surface if needed.

Reveal Strong is best used as the final wipe down and used with care. Do not apply this directly to the surface, rather spray into a towel and wipe. This stuff flashes very fast.

These two products are very nice to use, the Lite version smells delightful, while the Strong does have some potency to it. My favorite products in this space are Gyeon Prep and Carpro Eraser. The Rupes duo seem more potent than those, even the Lite version. The faster flash time of Strong could be a time saver for the pros.
With the two wheels clean, polished and prepped, it was time to apply the coating.
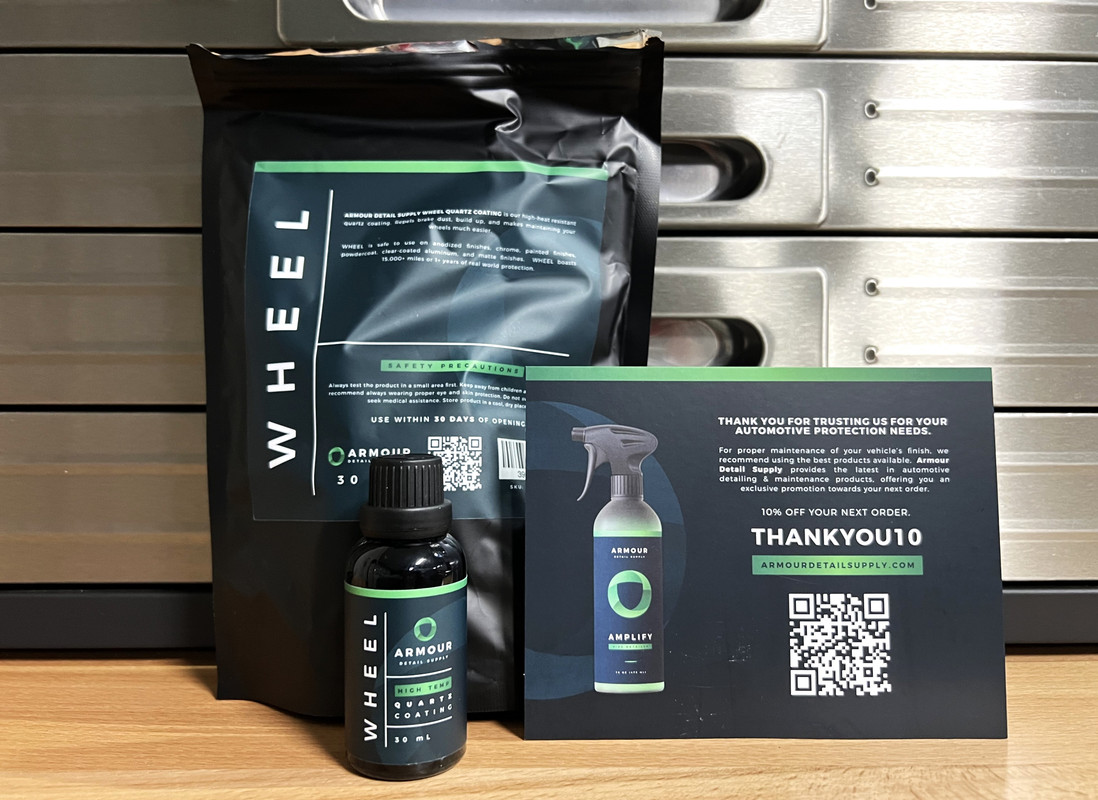
I had to order this from the USA, Armour Detail Supply Wheel Coating offers superior water beading and slickness, something that is often missing from other high-temp wheel coatings. It's also a single layer coating, which suits me just fine!
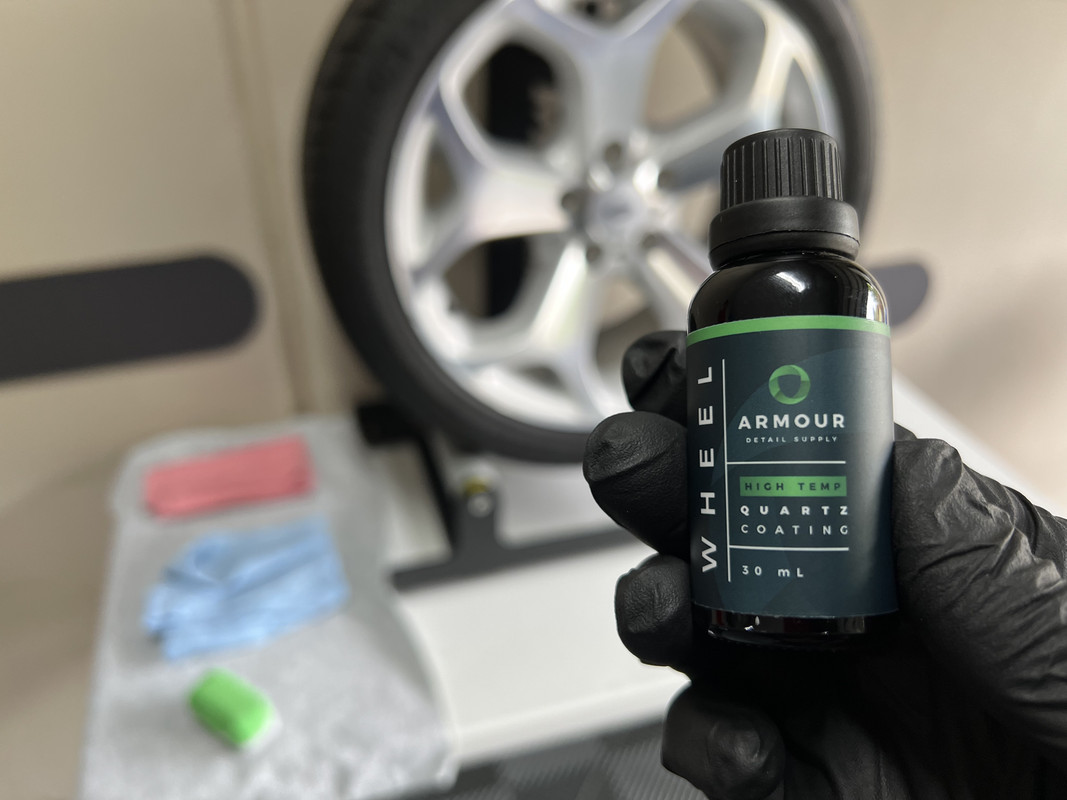
Due to the very high solids content, this coating is very grabby on the initial leveling wipe but smooths out to a slick finish with the secondary wipe.
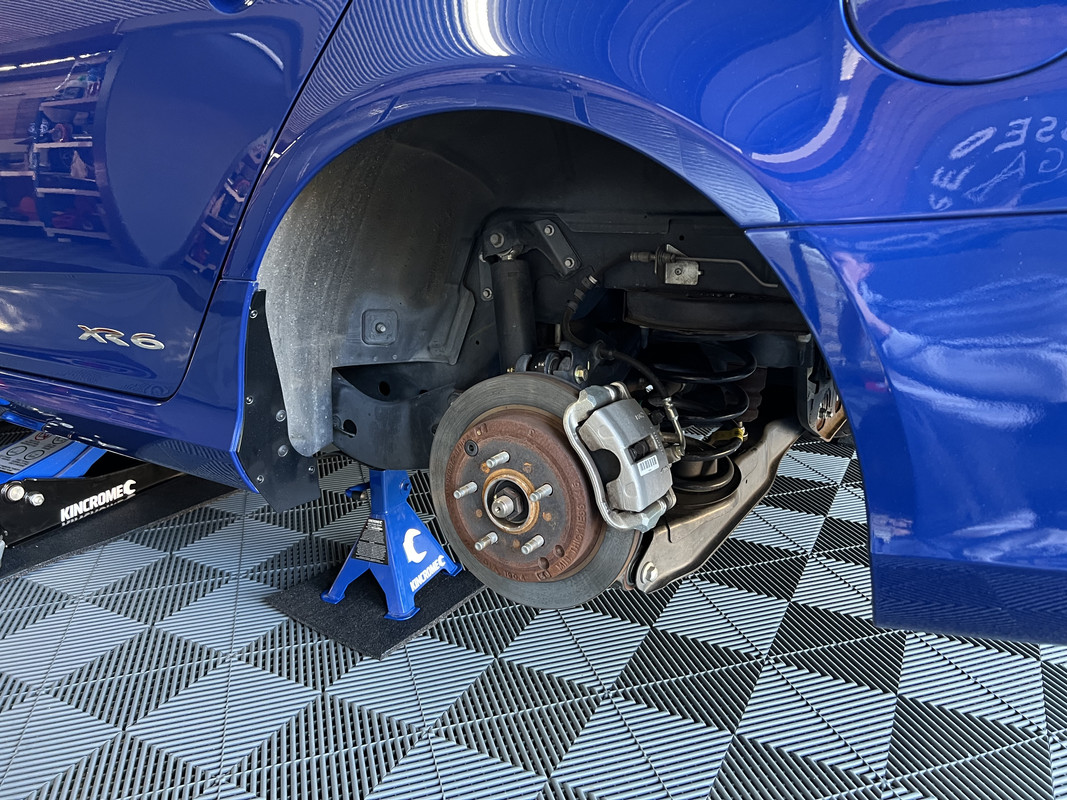
With the two wheels coated, I directed some attention to the wheel arches. Not that they were too bad, but while the wheels were removed, I decided to make the most of it.

In this case, I applied some APC, blasted with the Tornador, then doused down with ONR and dried with a towel. I've used this sort of method on engine bays before and it worked just fine here too.

I also gave the calipers a quick once over with some metal polish. I didn't bother coating them, they are not painted and these brakes are not all that dusty. Original OE rotors and pads by the way. I note I need to replace the bump stops on the rear suspension though.


No idea what "49" means, just another little artifact of the cars birth.

In preparation for this project, I ordered a set of NOS lug nuts. I actually tried to get these from Ford Spares, but they are now obsolete and could only supply me a grand total of 6. I even had to explain what "lug nuts" were to the parts guy. :doh:
I also took the opportunity to replace the factory supplied locking lug nuts for regular ones, I've always been nervous about those things.

With the wheels back on and the car lowered back down, the lugs were then torqued to 130 Nm. Factory spec is pretty vague, listing 115 to 155 Nm in the owner's manual...............yes, I read the owner's manual. :laughing:

Now to repeat all of that again tomorrow on the left side set. I wish I had a lift!
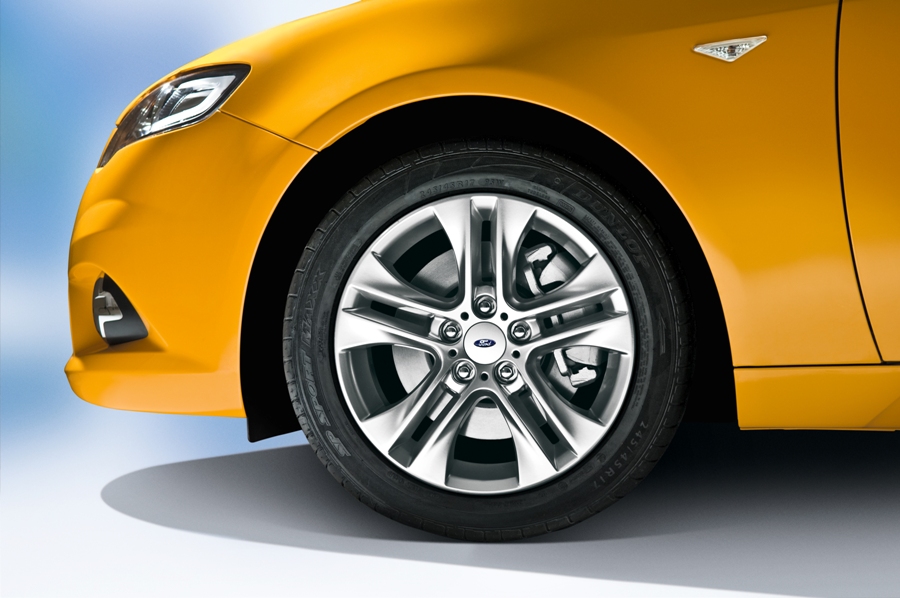
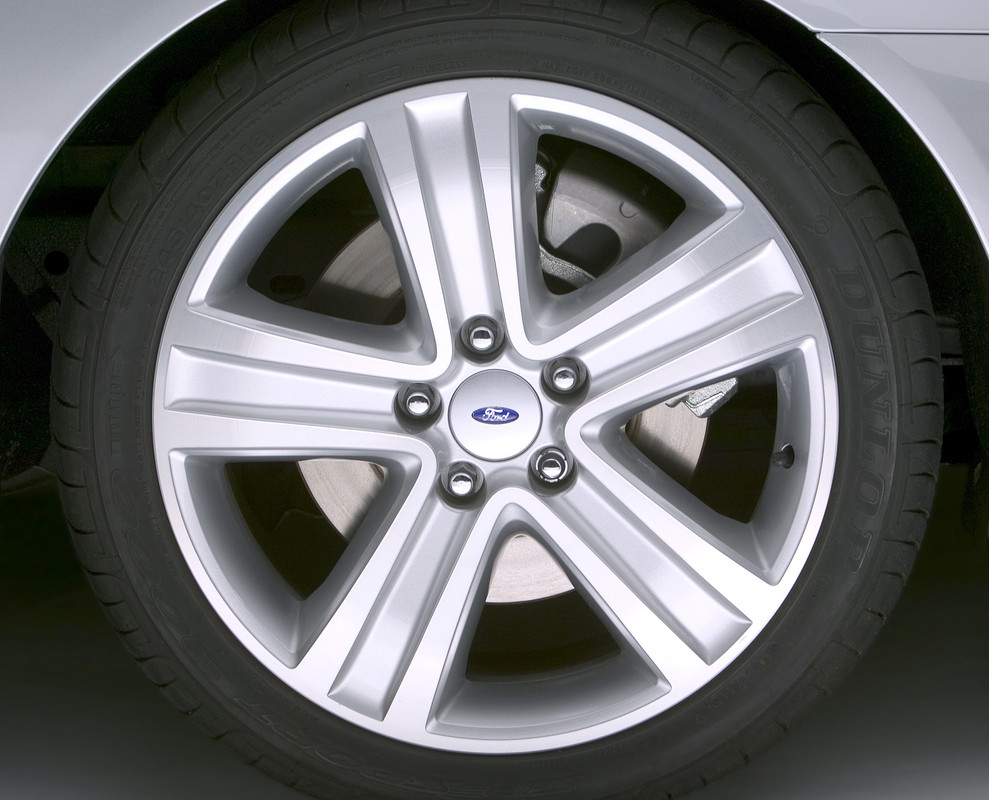
These are still one of my favorite Falcon wheels of all time, they really suited the FG styling theme and tied into the wider Ford lineup at the time. I wish they had explored the design a little more and made a 19" version for other models in the lineup.
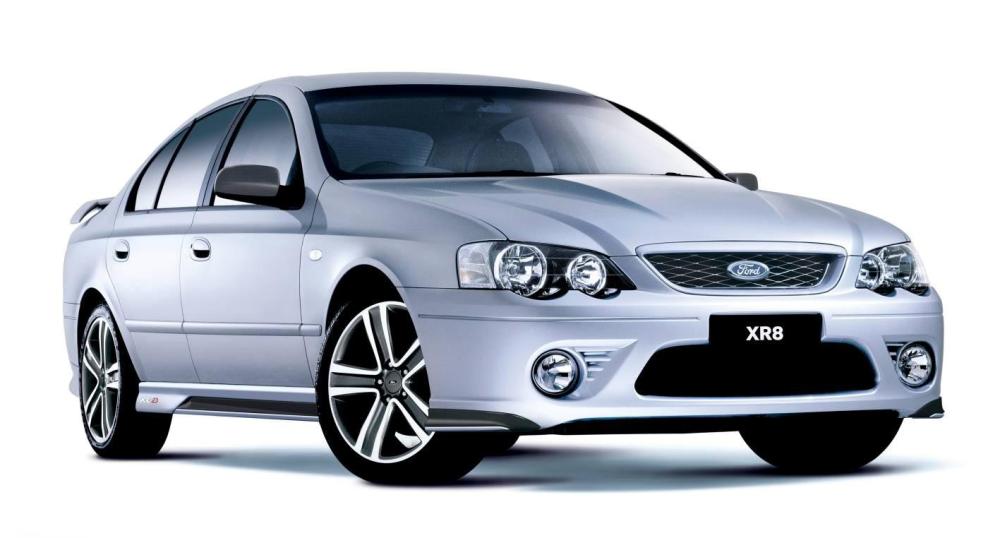
I remember when the FG was unveiled with carry over wheels on the FPV models and the plain looking 19" XR option being very disappointing. As such, the 18" "Snowflake" or Y-Spoke wheels were the ones to have, standard on XR6 Turbo and XR8 sedans, optional on XR6 sedan and all XR Utes.
I actually ordered my XR6 with the ugly standard 17-inch wheels, but an hour later I called the salesman to add the 18-inch wheels for an additional $1000 to my order. My only stuff up was not paying the nominal $250 for the matching spare wheel, so an ugly space saver resides in my boot, never used by the way. Keep in mind I was 21 years old at the time, you really don't have much rational thinking at that age.


 rops:
rops: