I did some more work on the car yesterday. The HF cutting pad I bought worked out ok, but it was very stiff compared to my Lake Country pads. It also started to deteriorate after about 20 minutes of use, and started crumbling. The pad surface is OK, but it is coming apart near wear the velcro attaches on the backing plate. It is losing little foam particles whick look like specs of compound. You have to look close to see that they are peices of pad, and not compound. I would probably buy one again, but only if it was an emergency and I couldn't get a good pad.
I focused on the hatch lid for most of the afternoon. It had an abundance of small scratches. I didn't get pictures of every step, since I have already detailed all of that in previous posts. It took a good three hours to do the hatch lid because of having to go back and redo some of the sanding on some of the scratches. There were some that seemed to be a little deeper than what I had encountered on the roof and halo. It finished out well though and got a coat of paint sealant on it too.
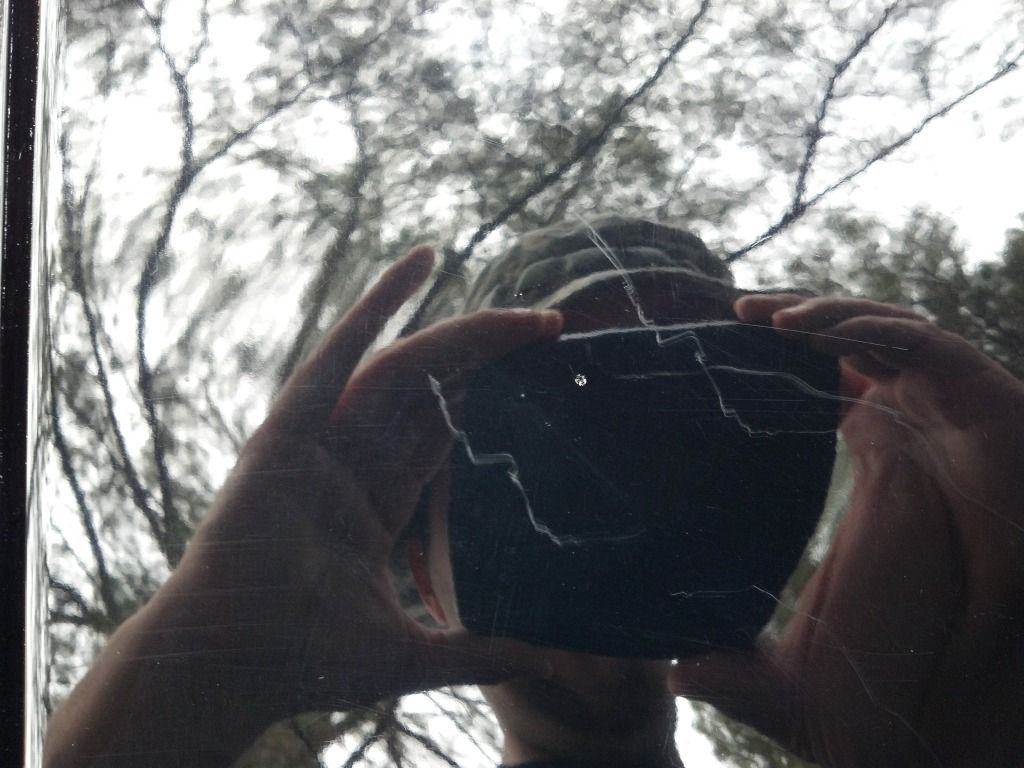
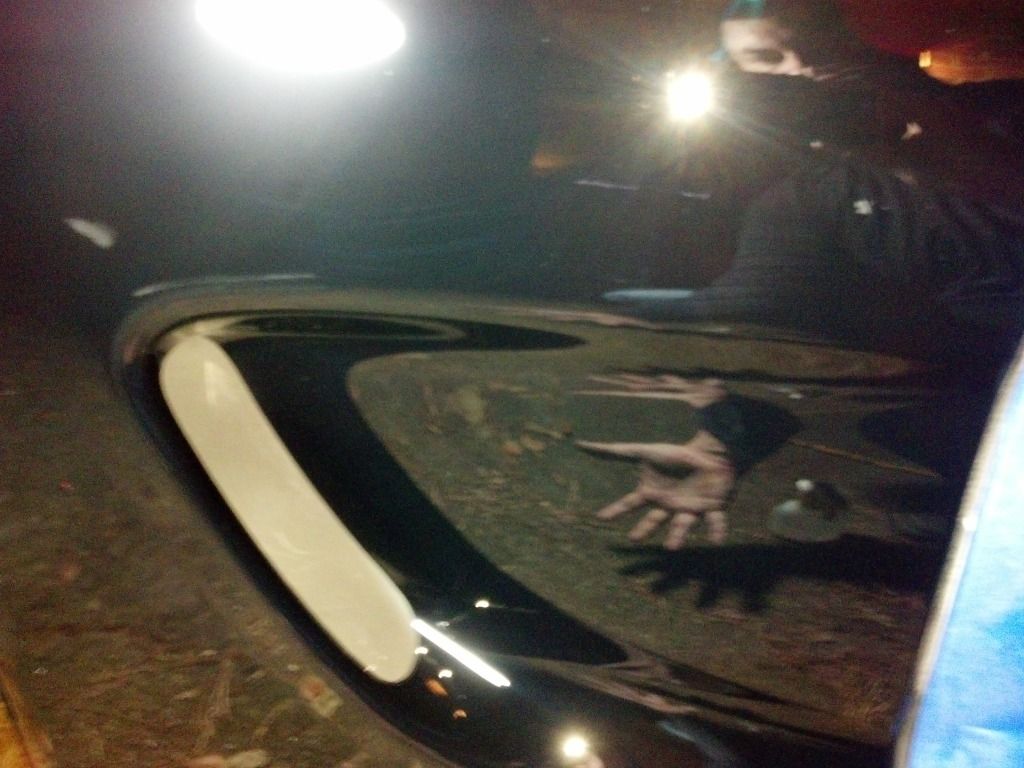
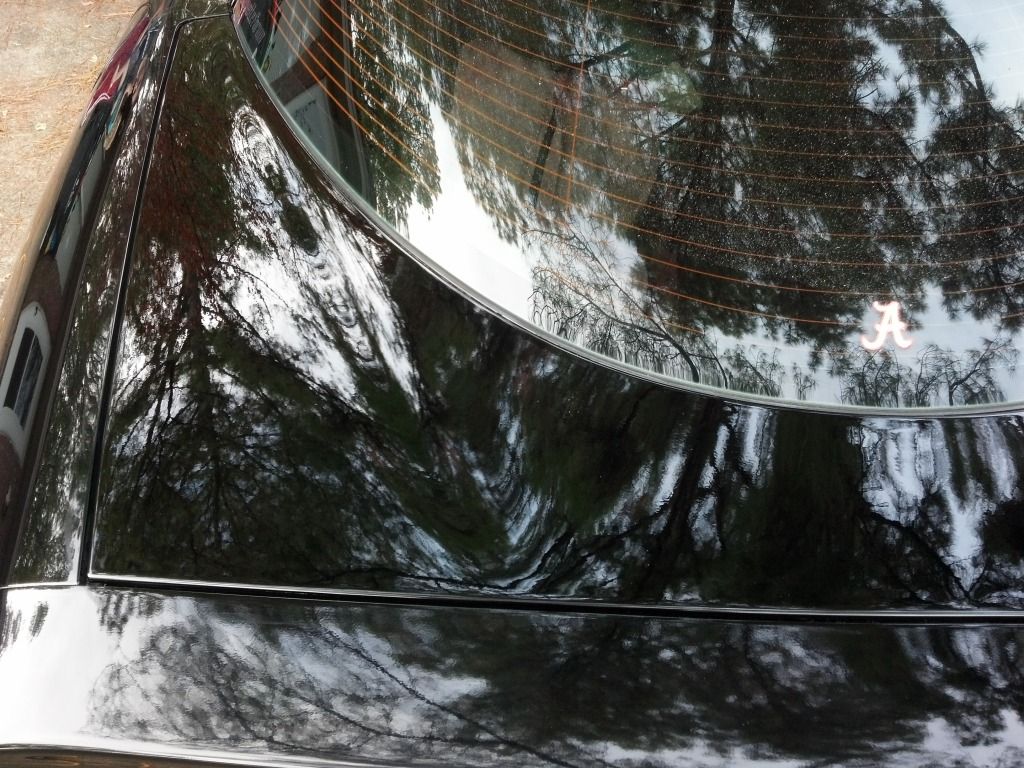
Here is an example of one of the scratches I found on the hatch lid..
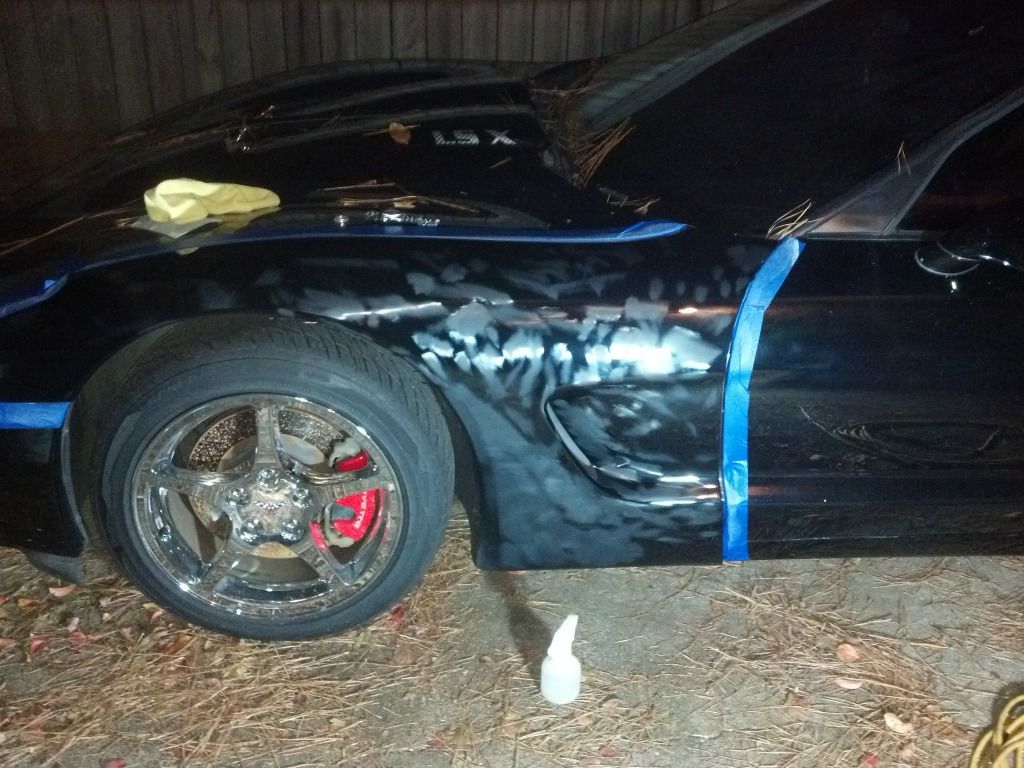
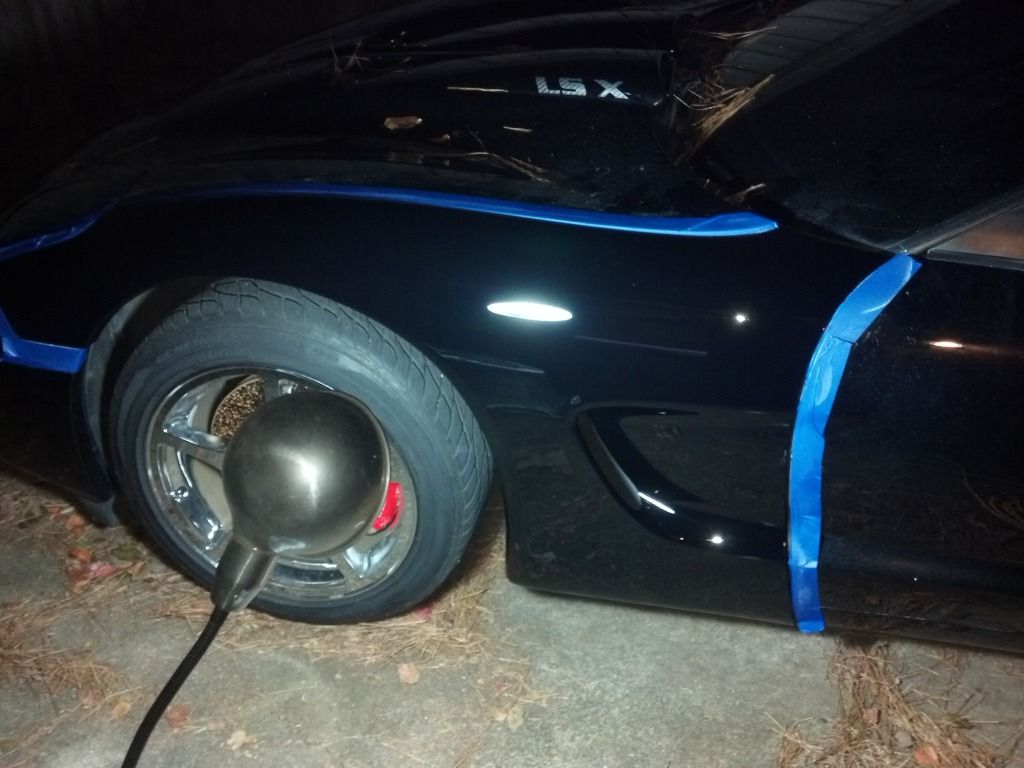
Here is a picture of the finished hatch lid. Not the drastic color difference in between the hatch and the small strip of the upper bumper cover and the fender to the left. That is one thing that is just been knocking me down... It is unbelieveable how defects in the paint can cause the light to scatter and create and illusion that the paint is changing colors in a sense. Once it is corrected and the surface is free of defects, the color deepens and really pops
")
I also did the headlight covers. They have the same questionable paint that the hood does, since they were painted at the same time. Remember, the last guy to detail the car actually wetsanded the whole car, including the hood. Up until this, the hood had only been compounded. It seemed to eventually show the die back symptoms again every time after a couple of weeks, but this time it is different. It seems to be holding its gloss, so maybe the wet sanding actually helped, and the symptoms were only on the surface. I'm gonna do the hood last, and I am going to redo the wet sanding. After I do it, and polish it myself, we will see how long it lasts. Just wanted to throw that in though, because I didn't want you guys to think I sanded the entire headlight for an unknown reason.
The reason I jumped to the headlights after the hatch was because I was running out of day light and I knew that I could get those done quickly. I had an hour in those alone.
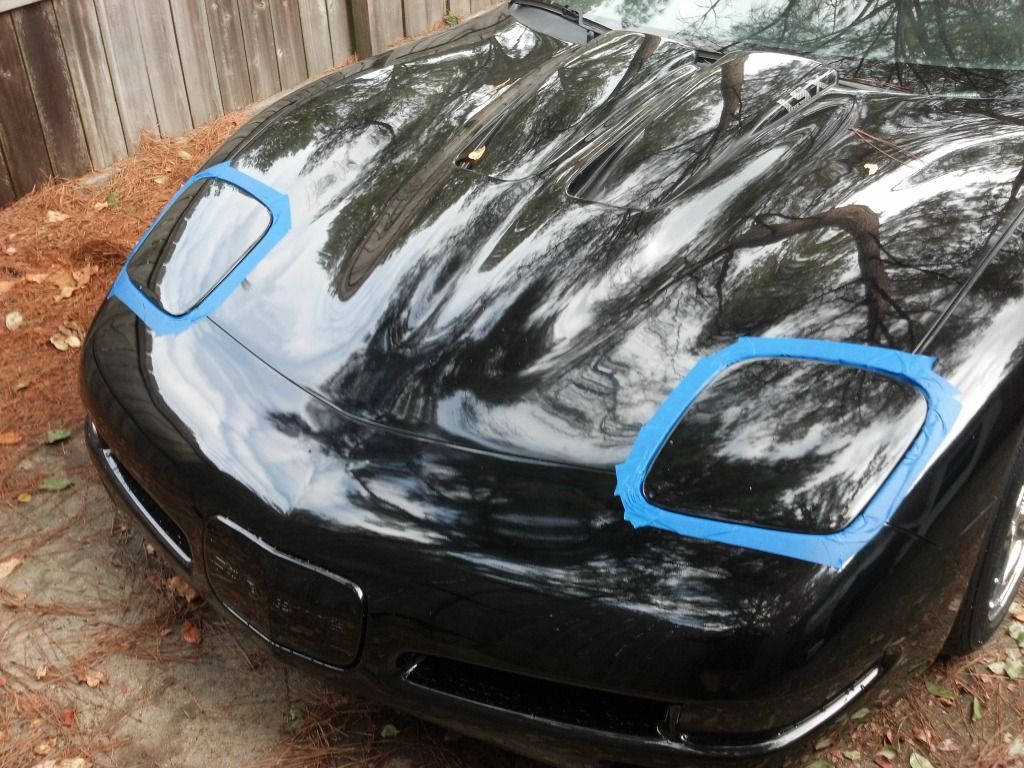
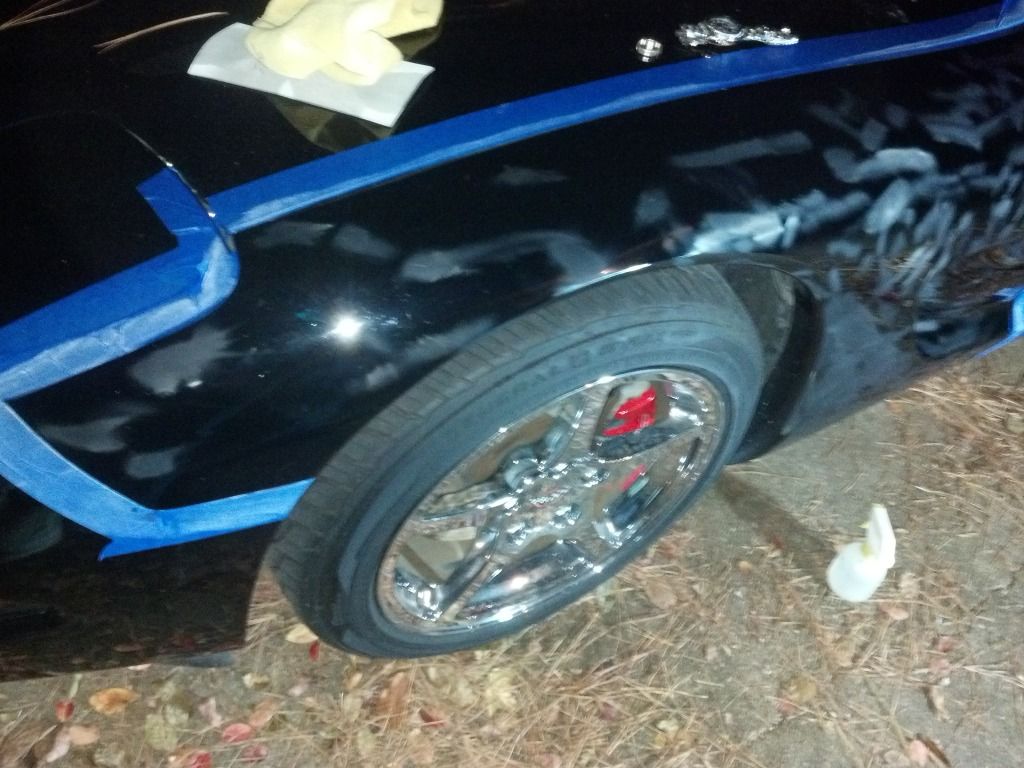
Here is a pic of the headlight covers prepared and the surrounding body panels taped
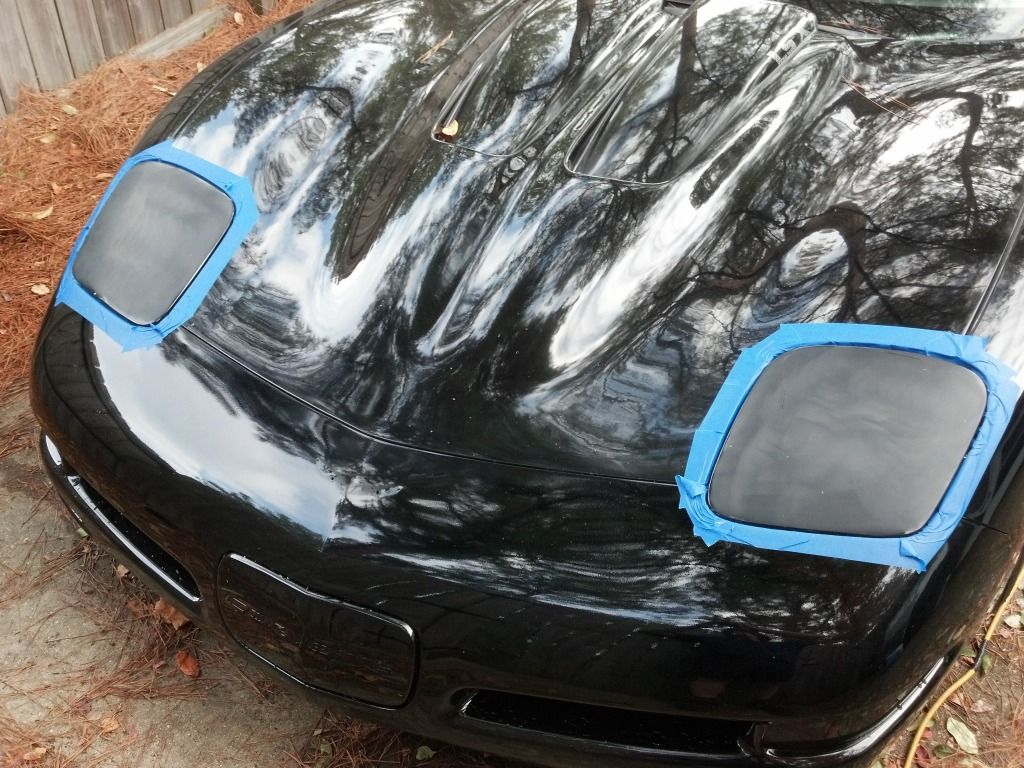
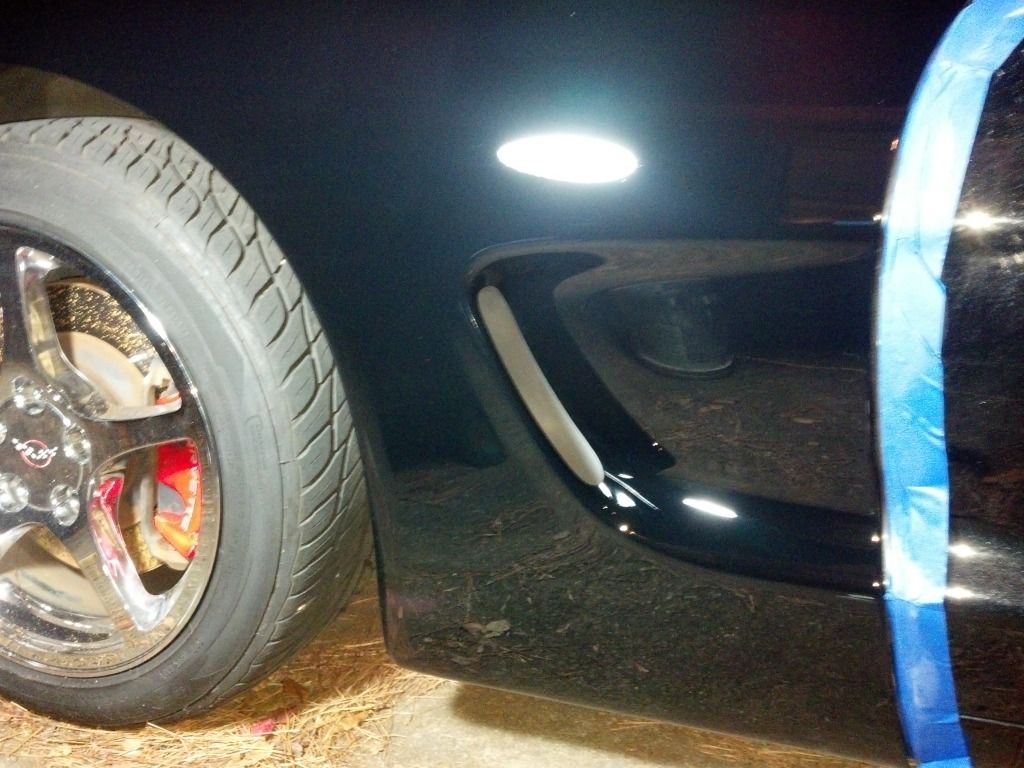
And here is a picture of them after the first compounding step and then a complete wet sanding
The headlights finished out just fine and got a good coat of paint sealant. I am now 14 hours into the correction.
I'll probably take a break tonight because I have plans after work, but I will pick back up tomorrow. I am going to put in an order today for some M105 and some more cutting pads. I'm gonna have to have them because my pads are wearing quickly. There is no way the two good lake country pads I have (that are now pretty worn) will make it through the whole rest of the car.
 rops:
rops: