J S Machine
Member
- Sep 26, 2012
- 87
- 0
- Thread starter
- #81
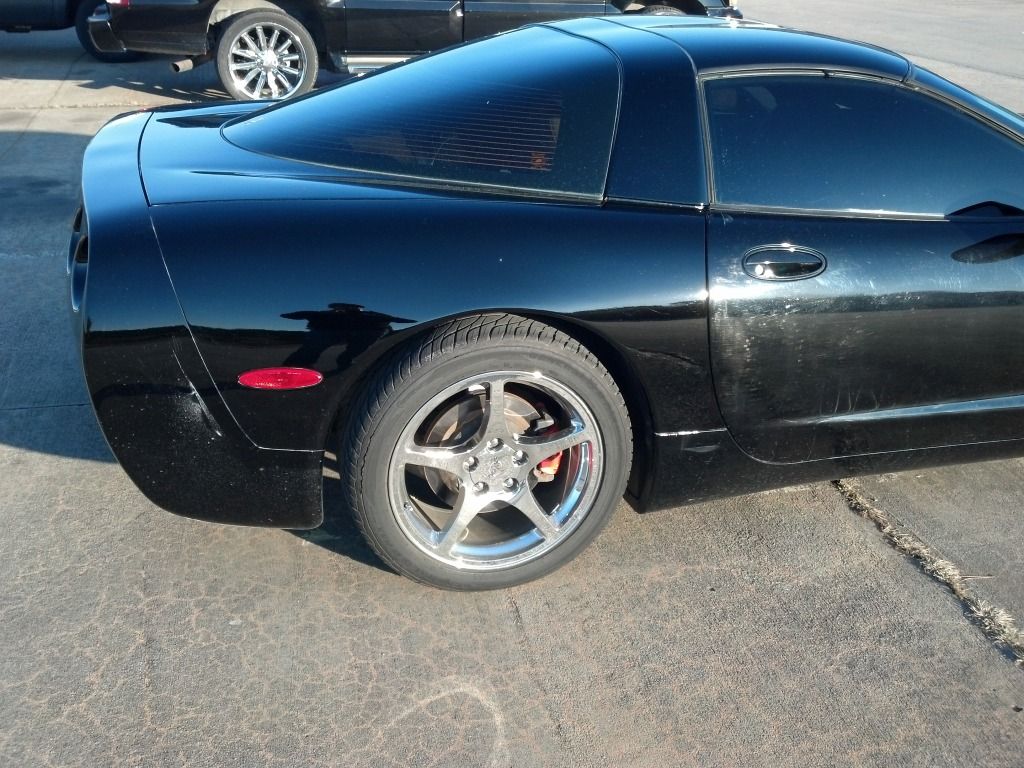
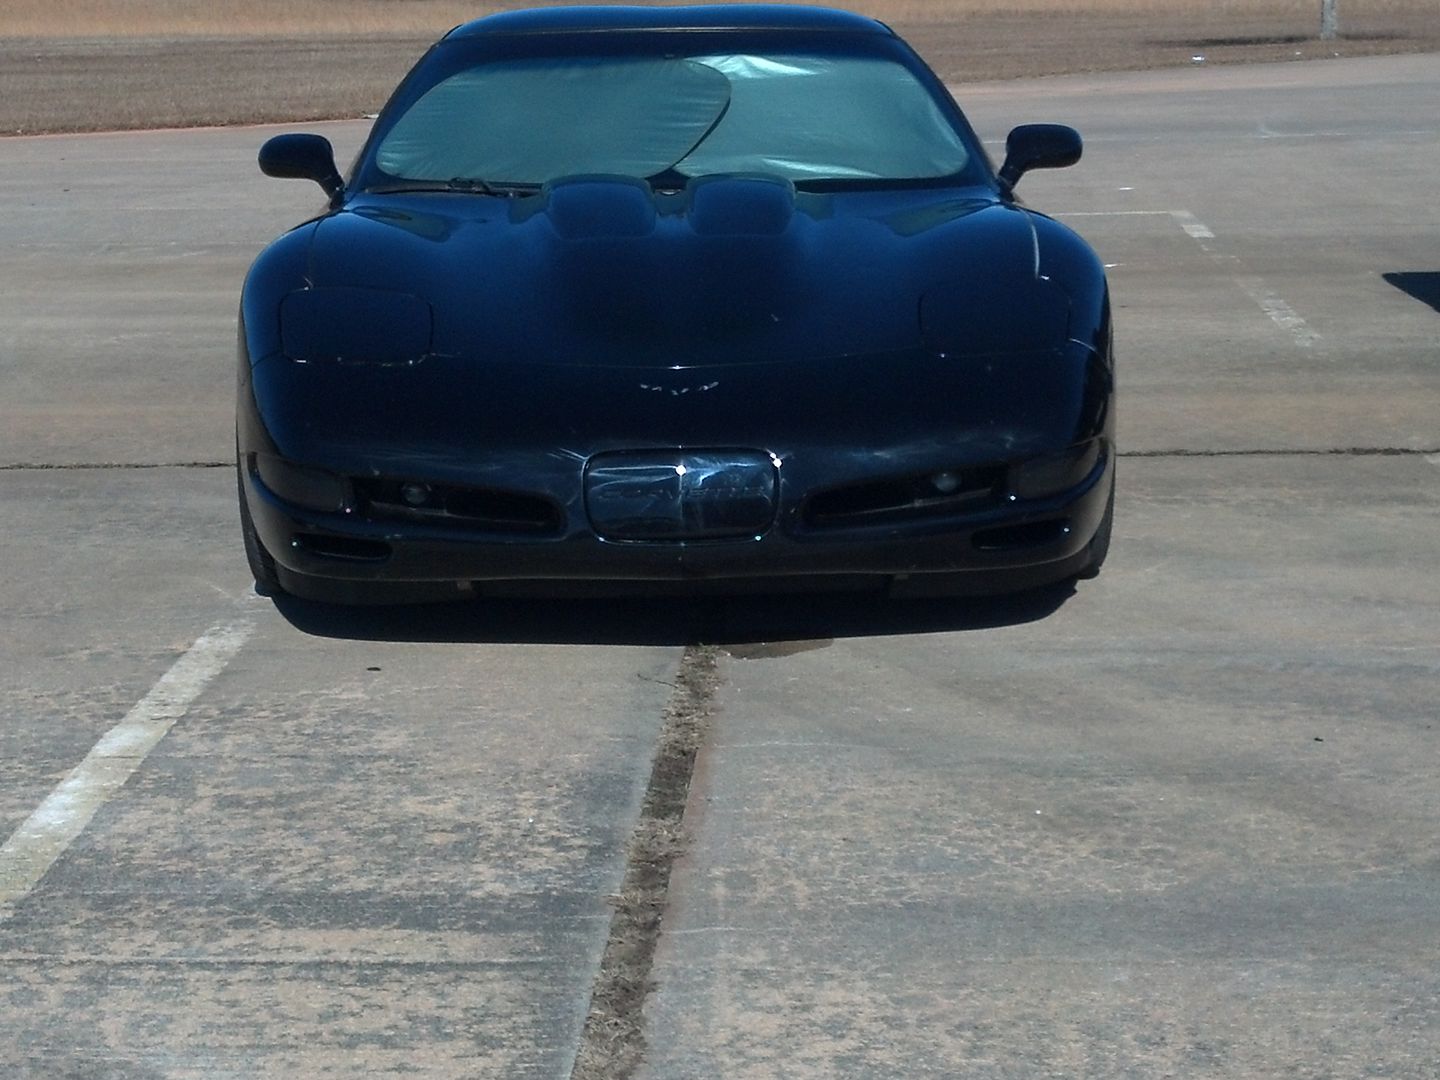
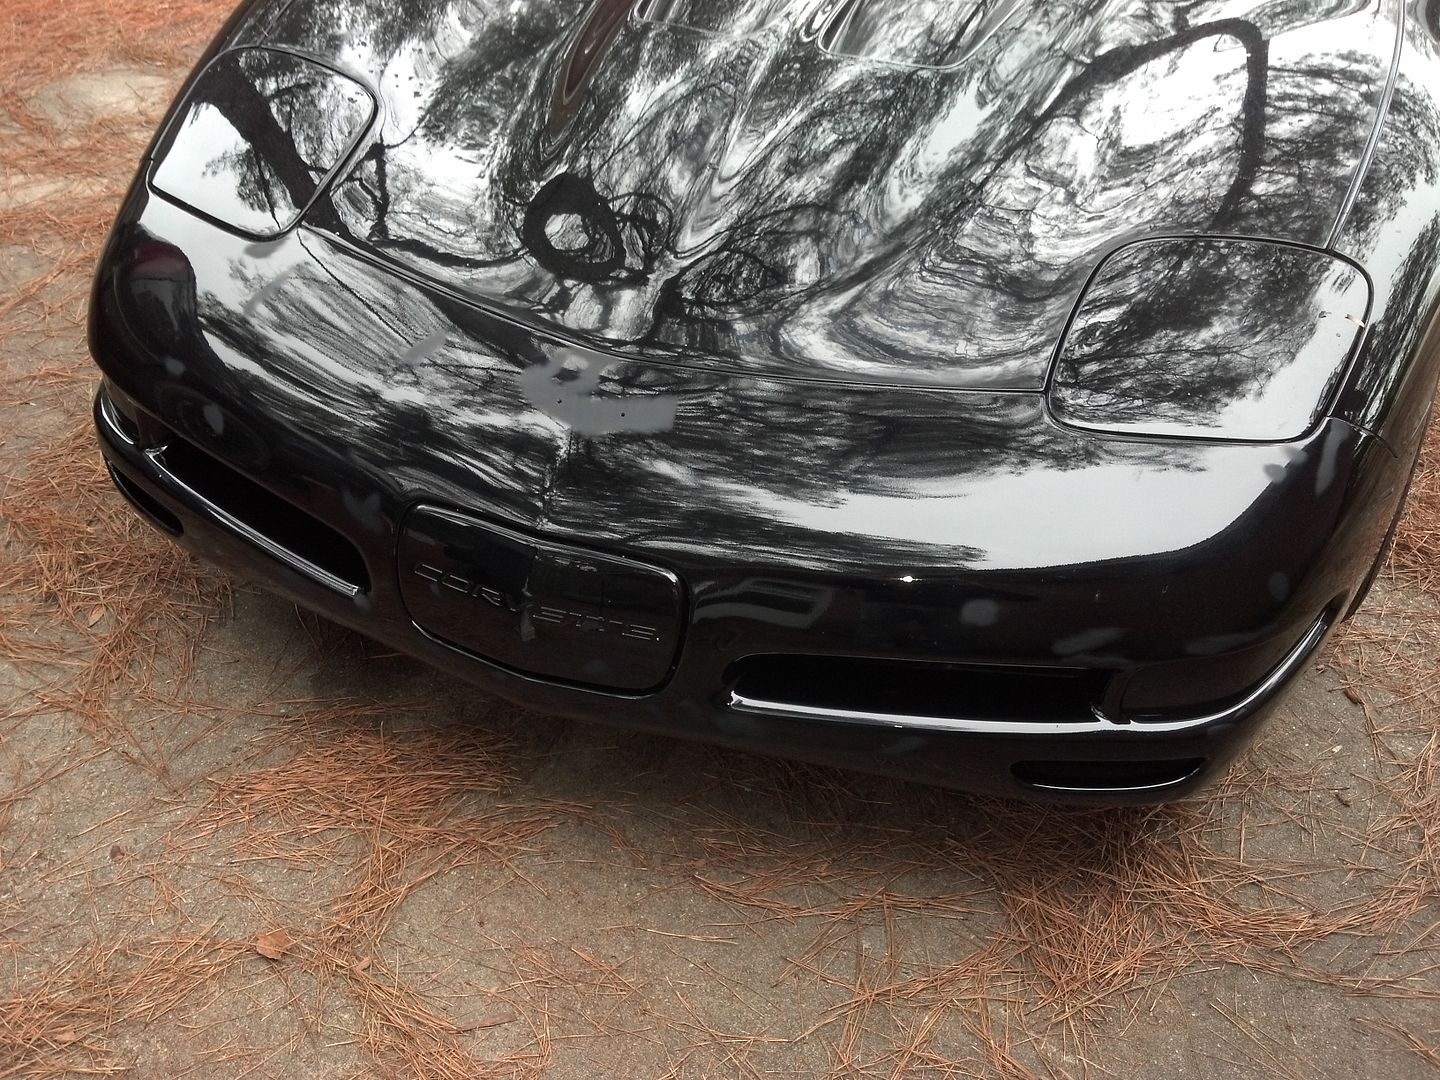
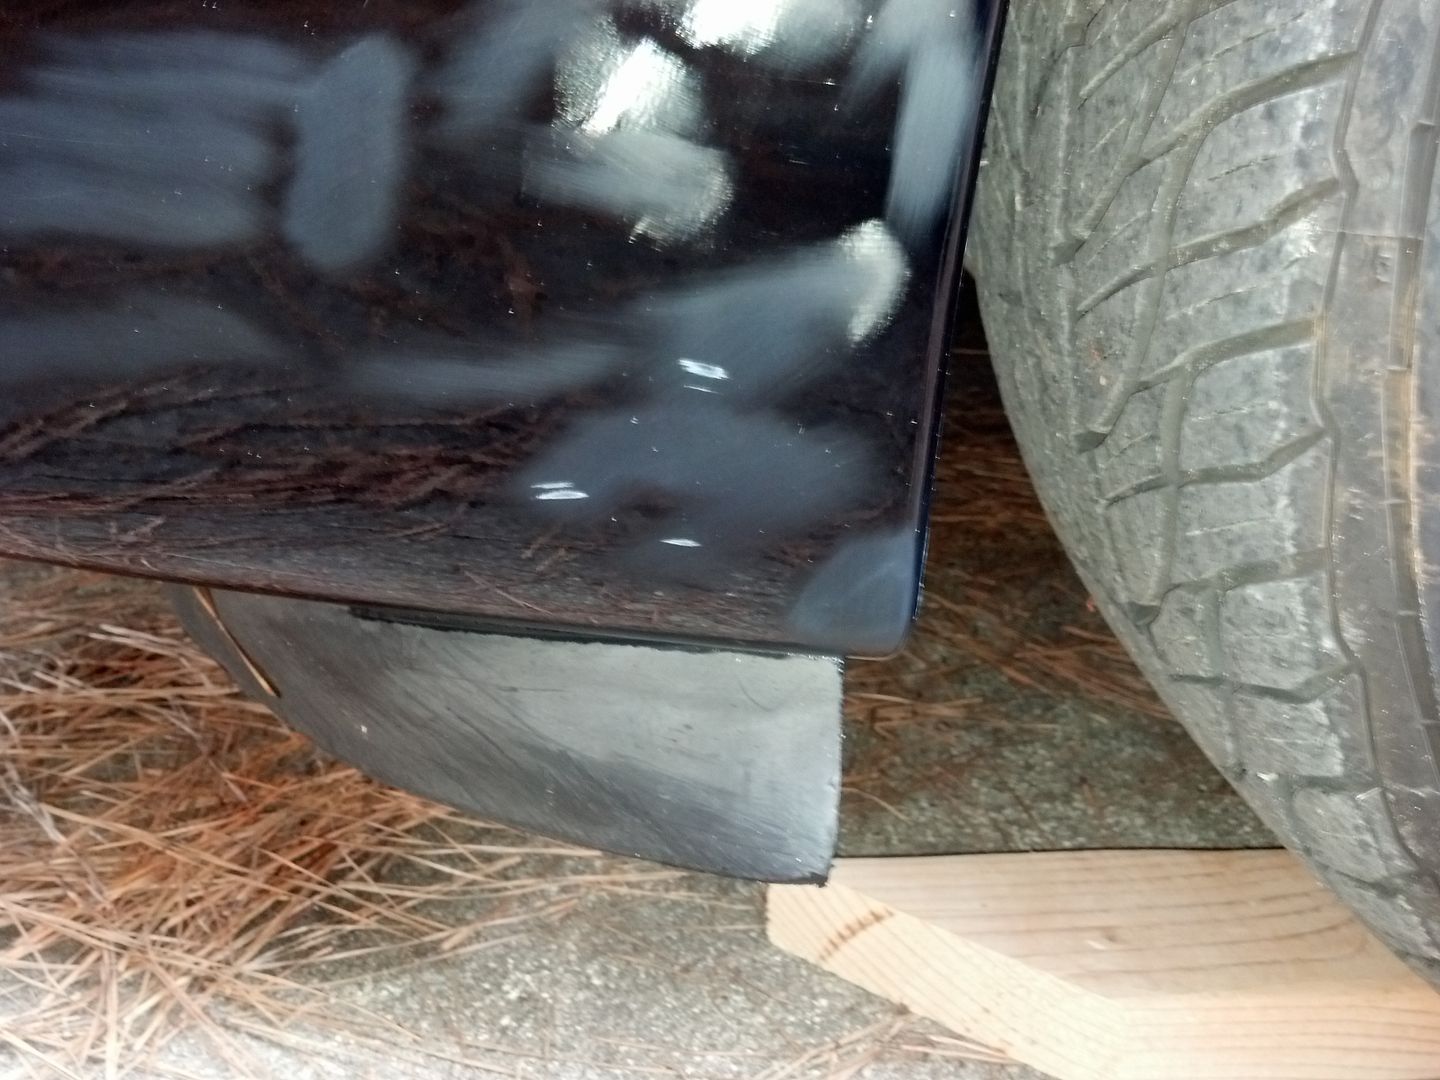
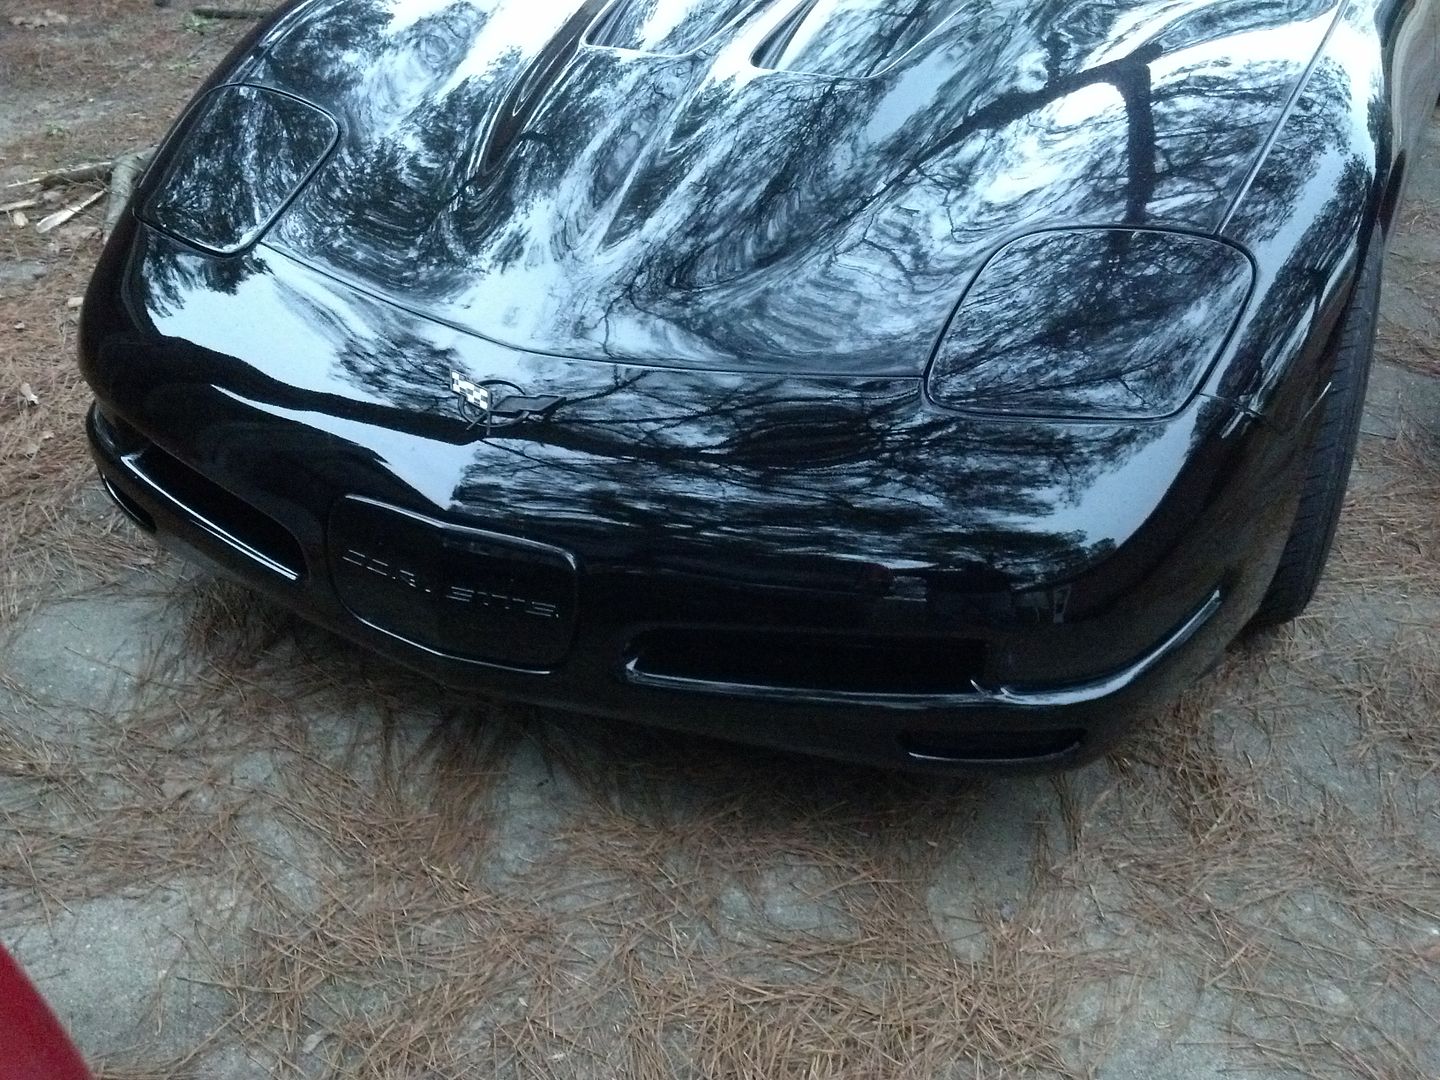
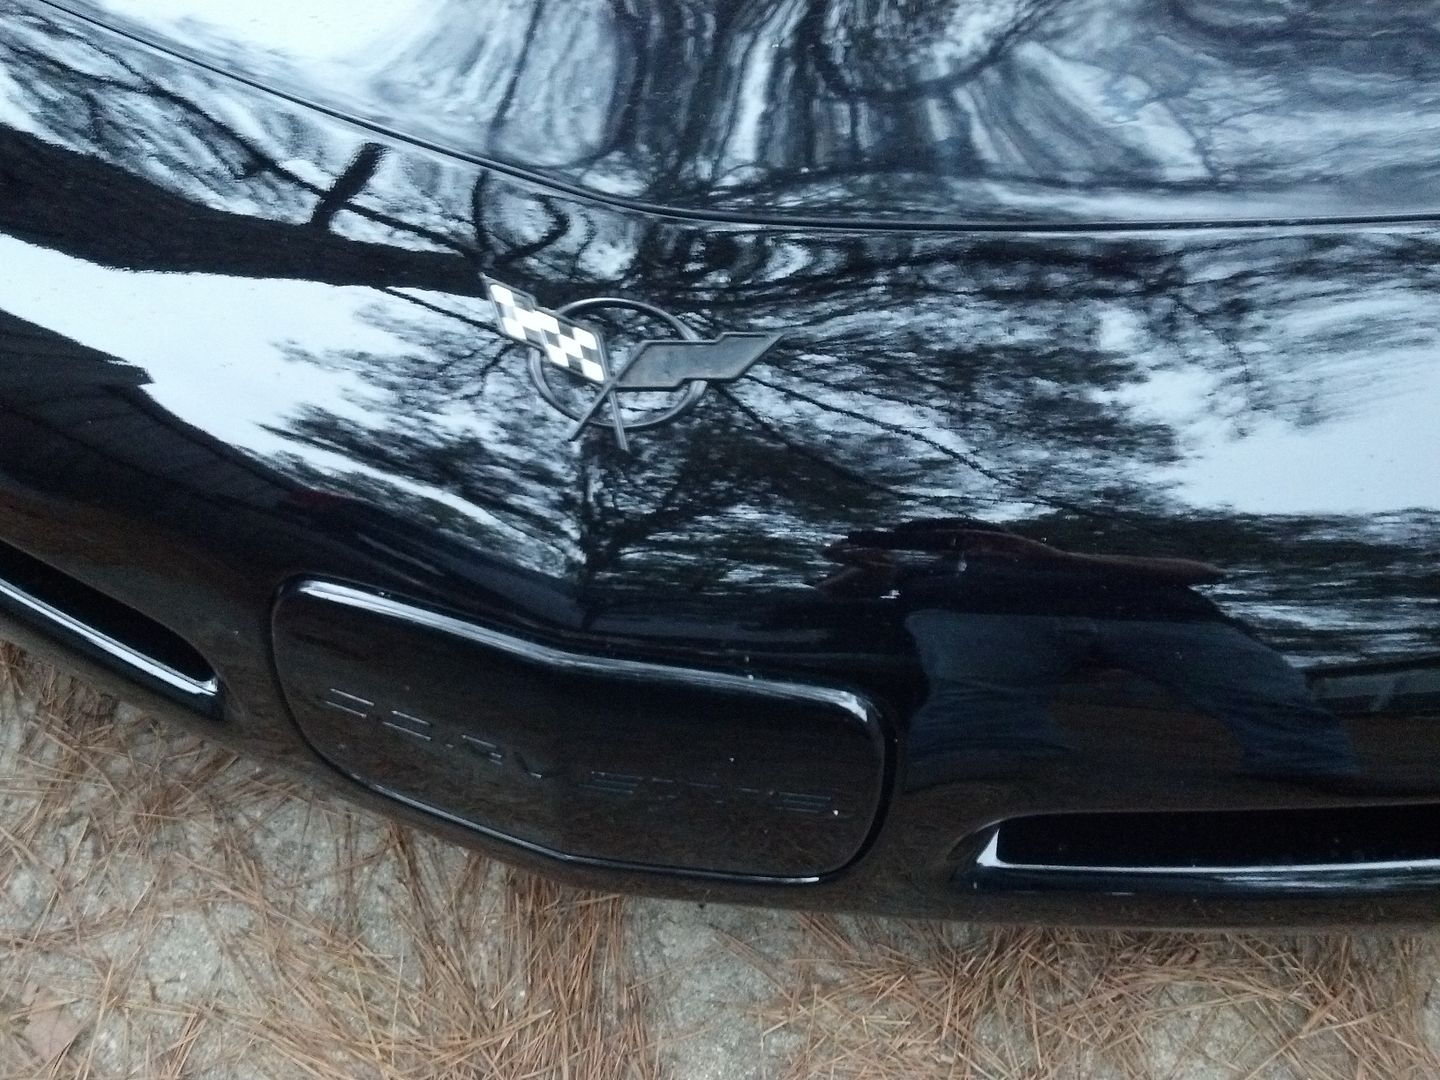
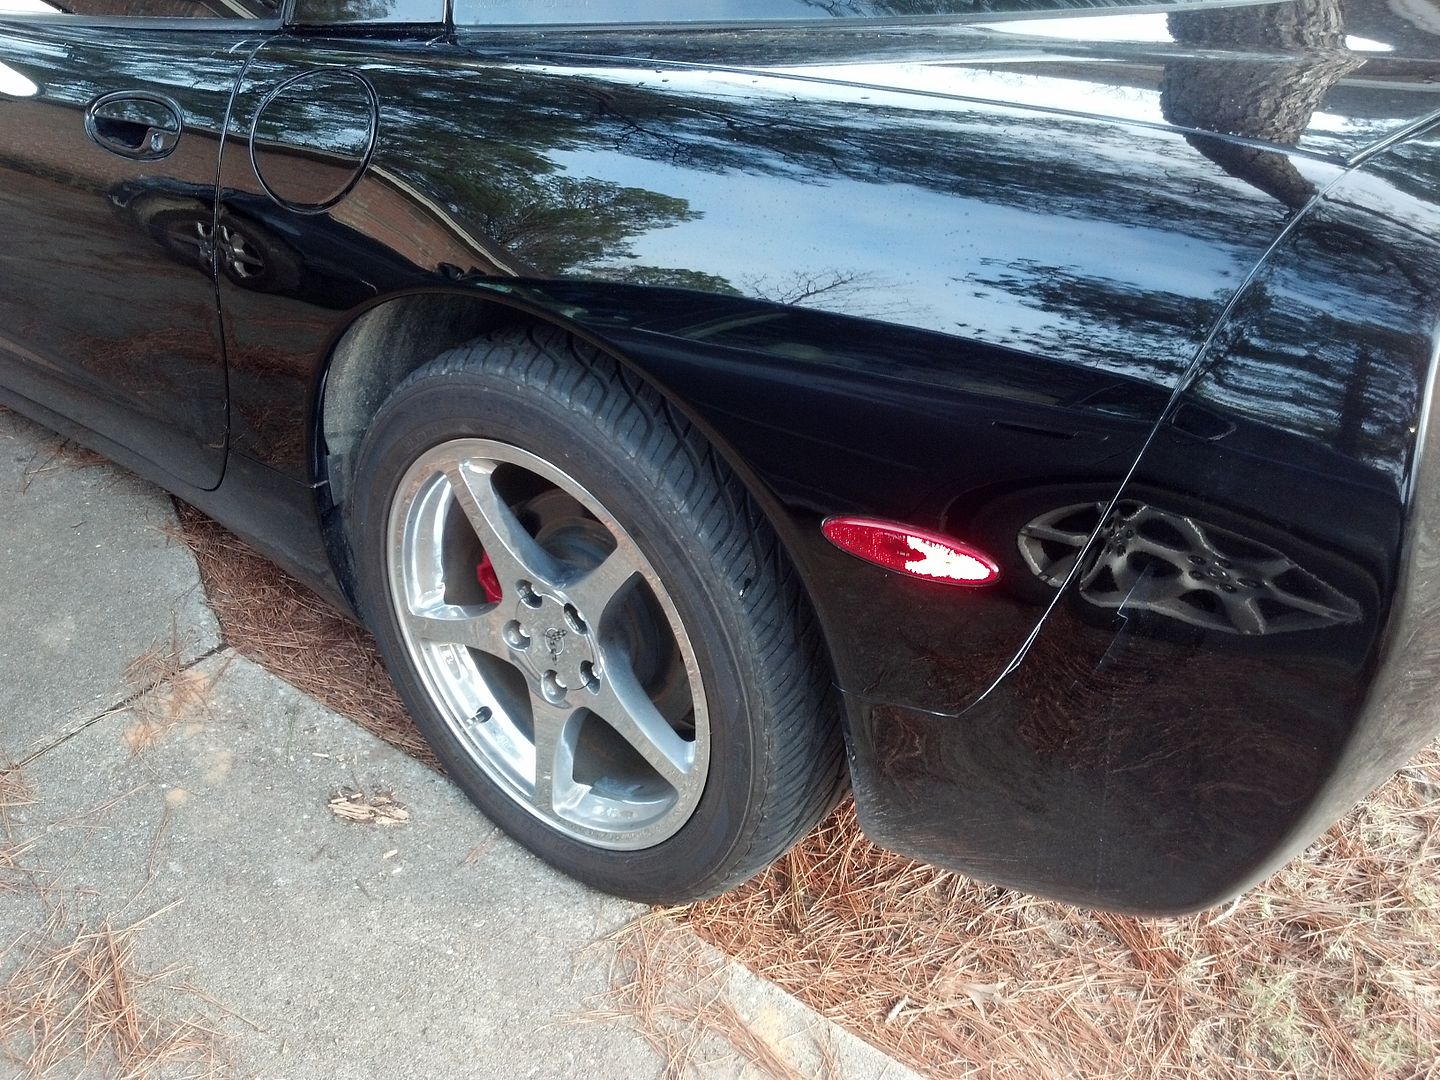
Here's another shot of that side. The afternoon sun shows alot.
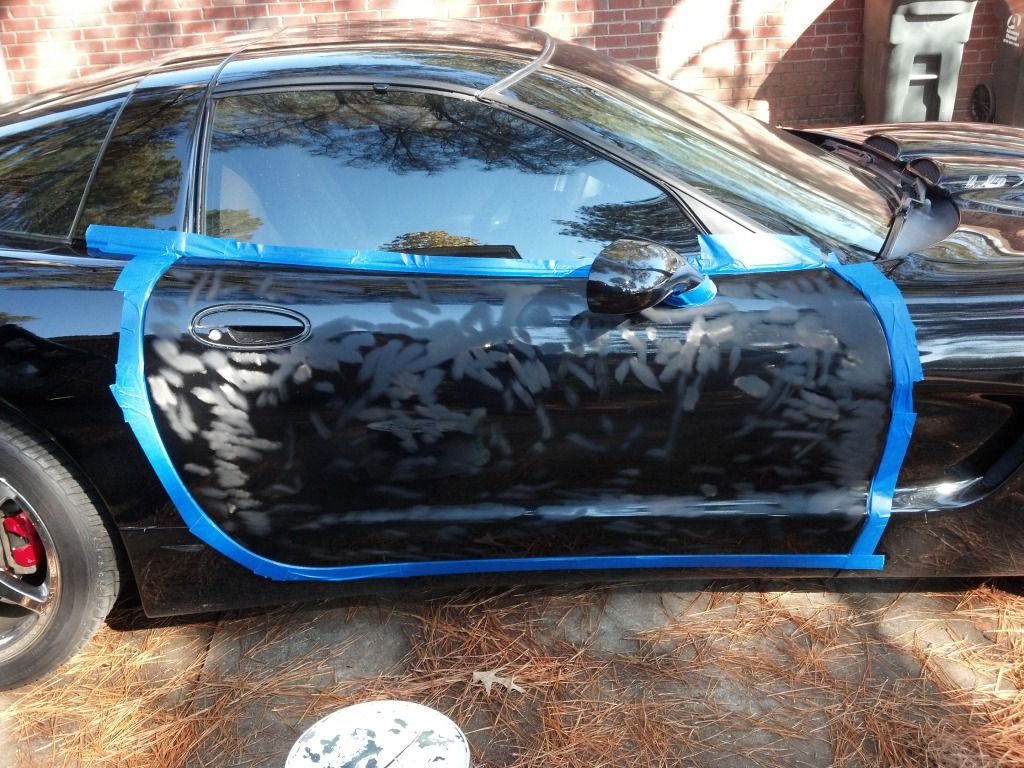
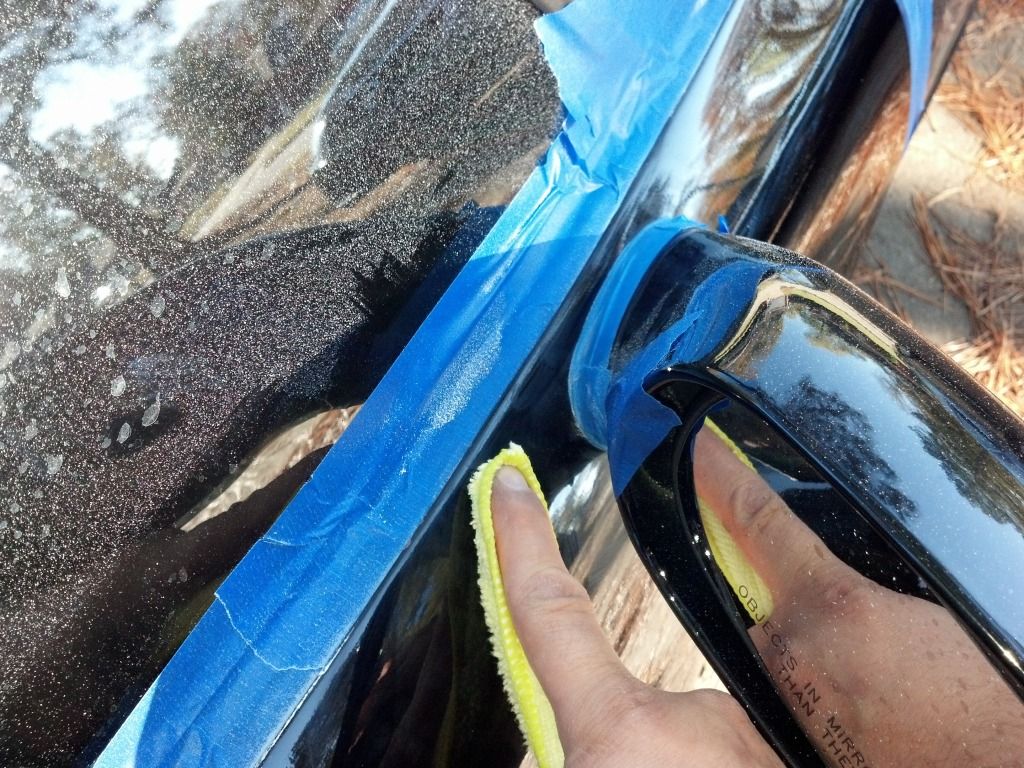
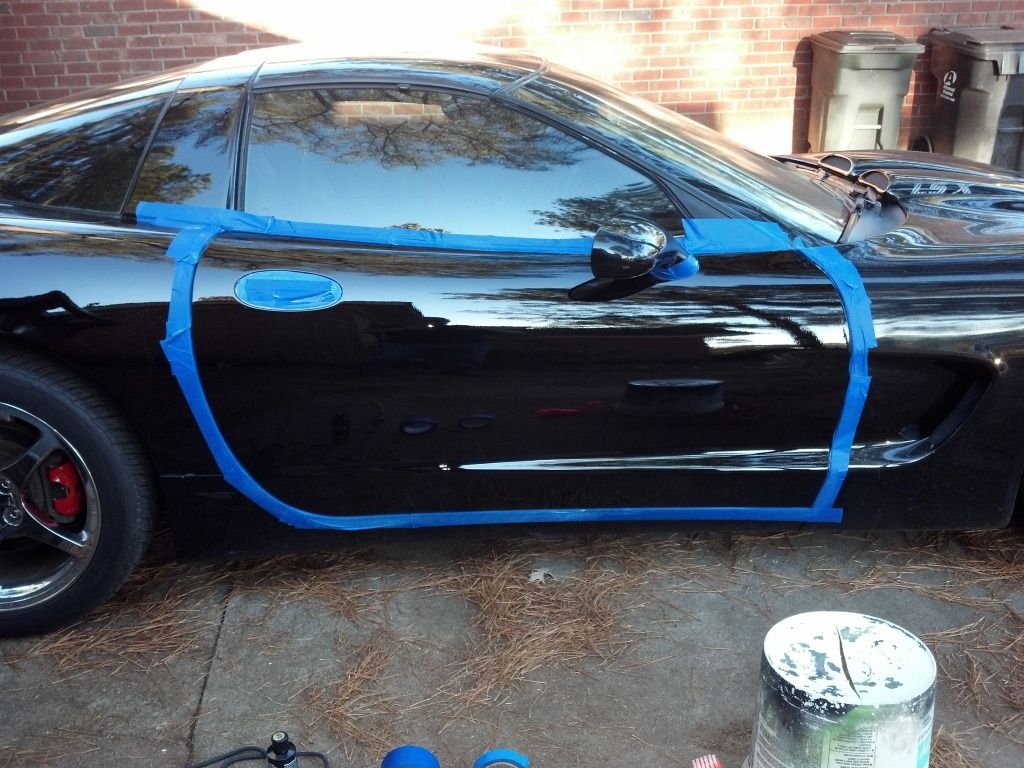
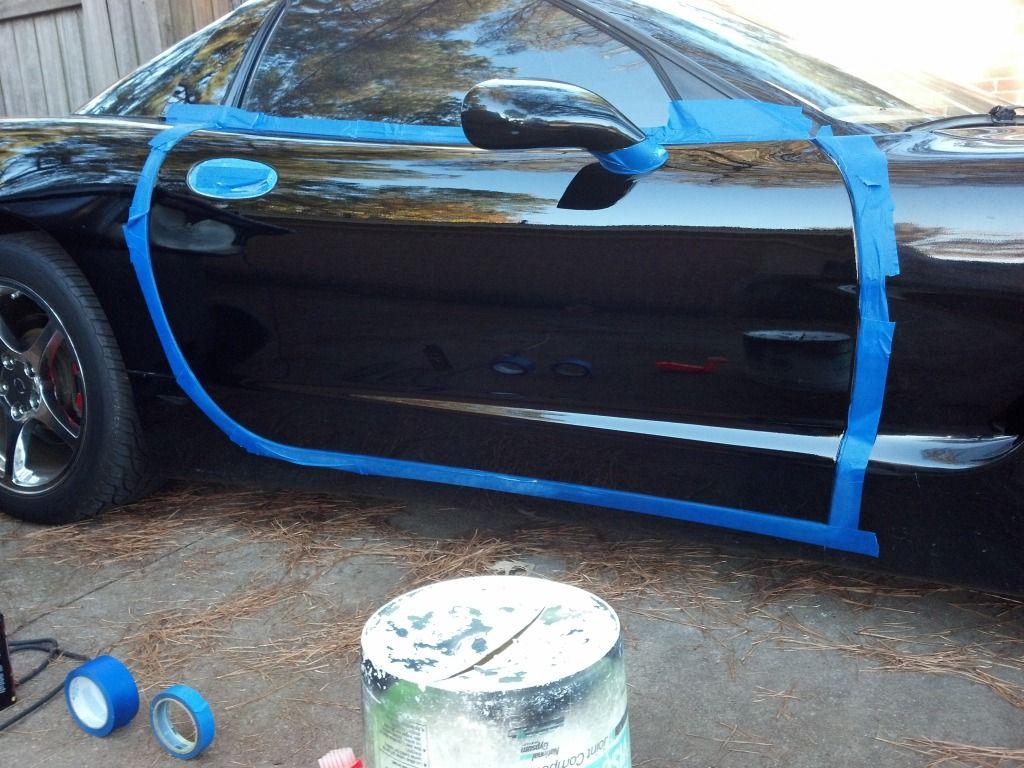
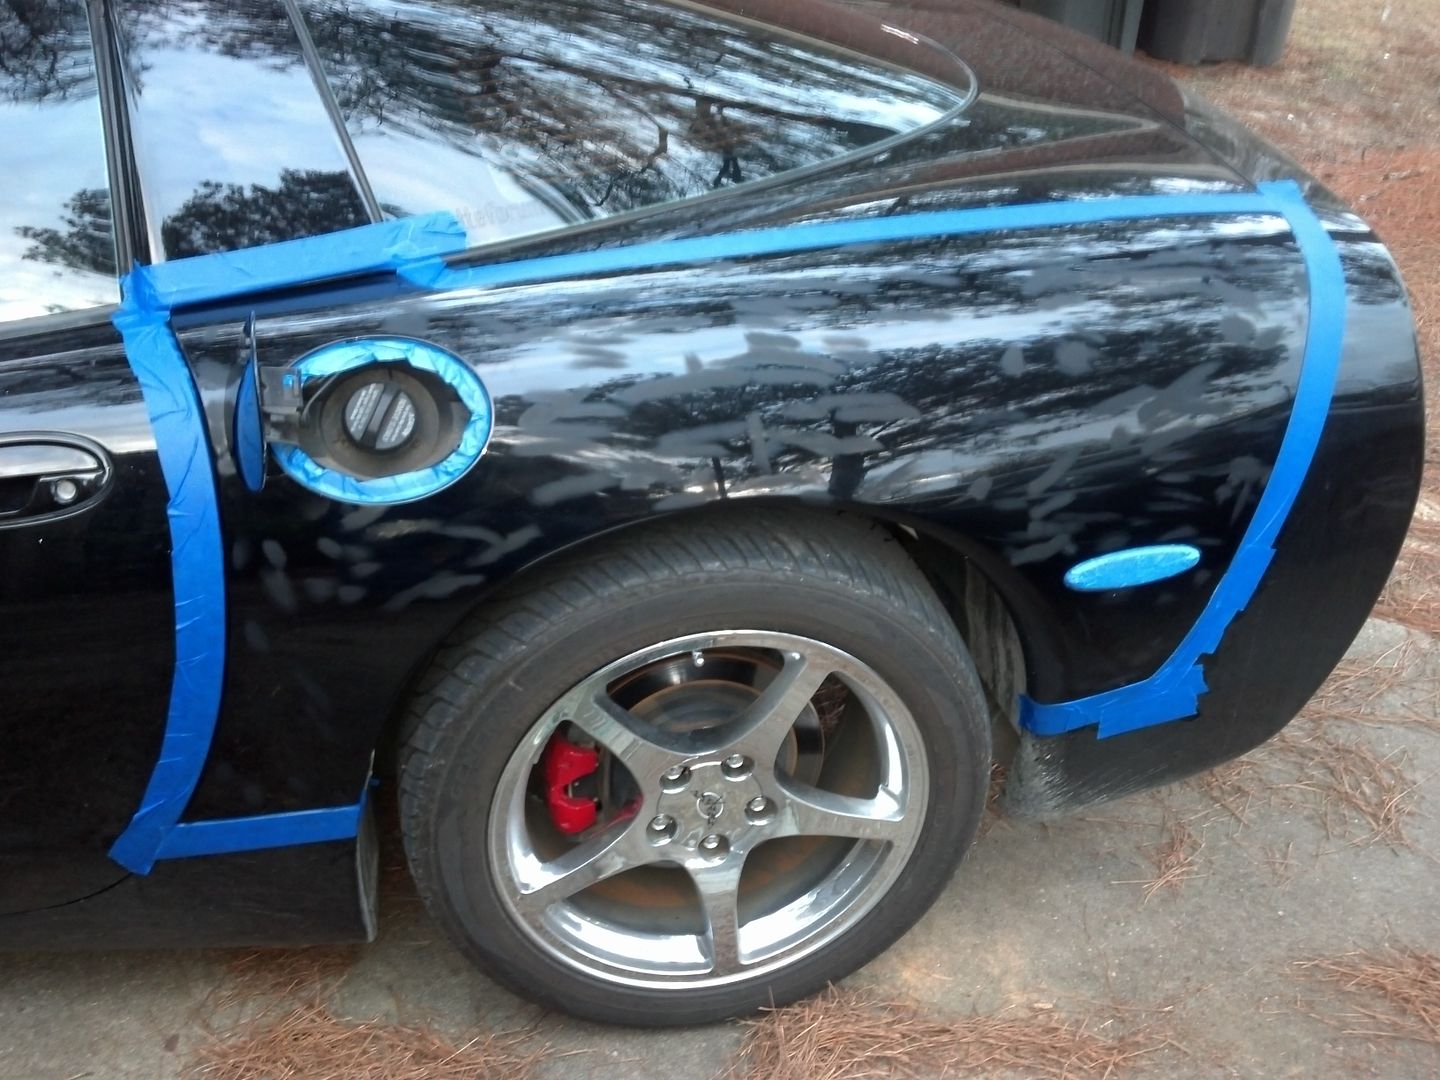
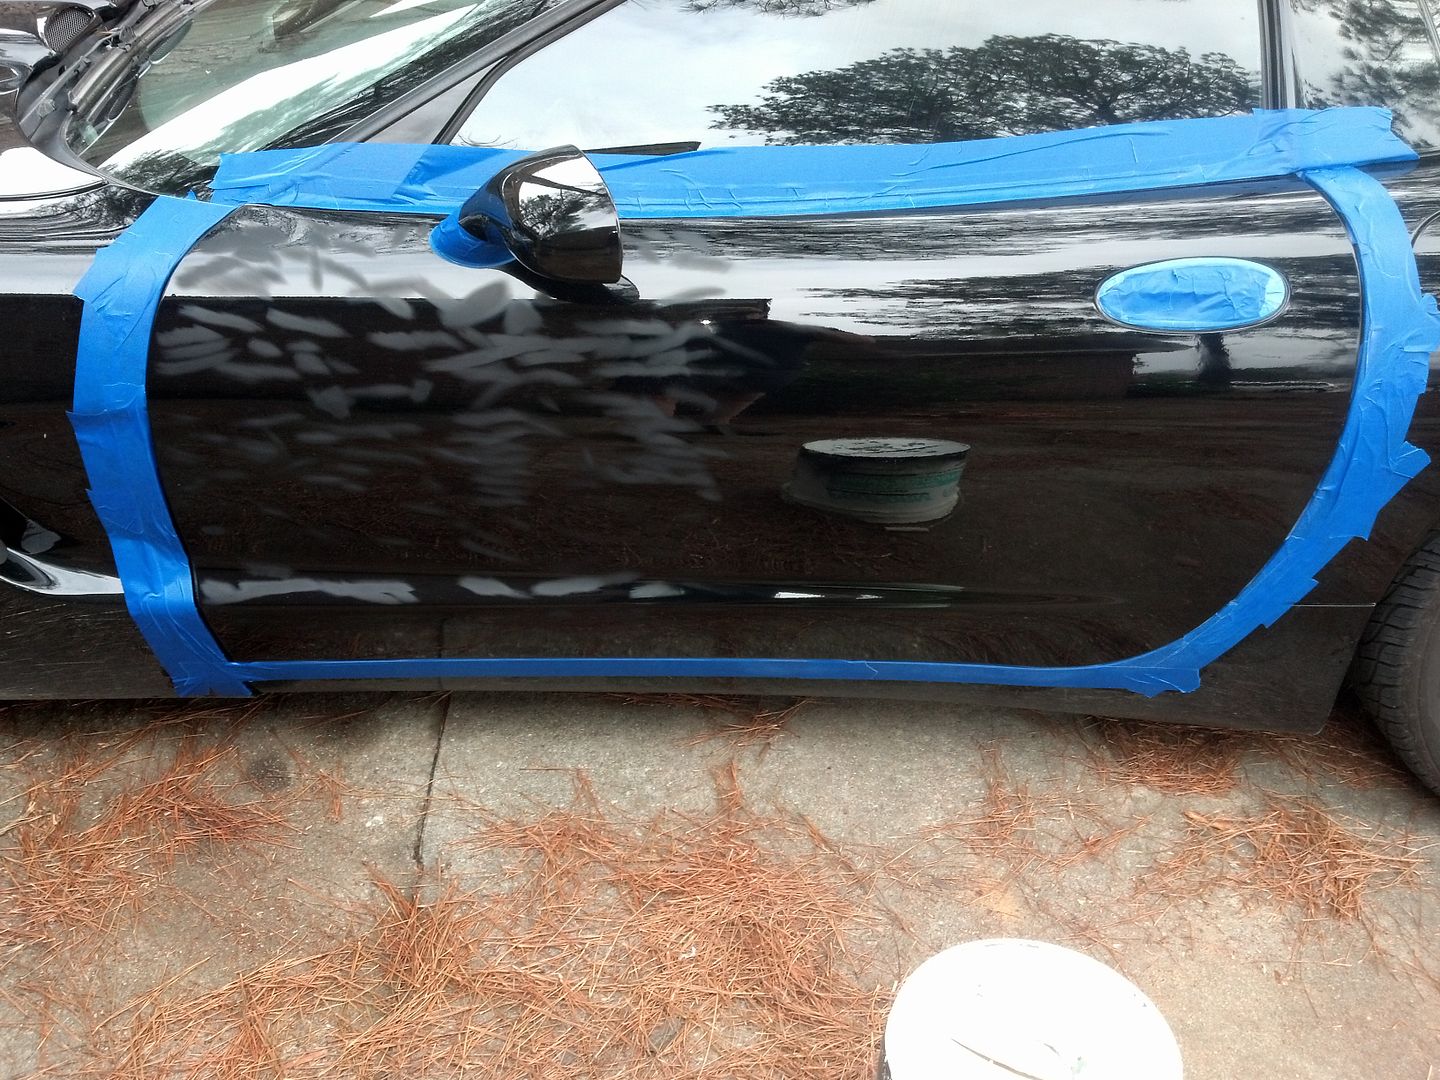
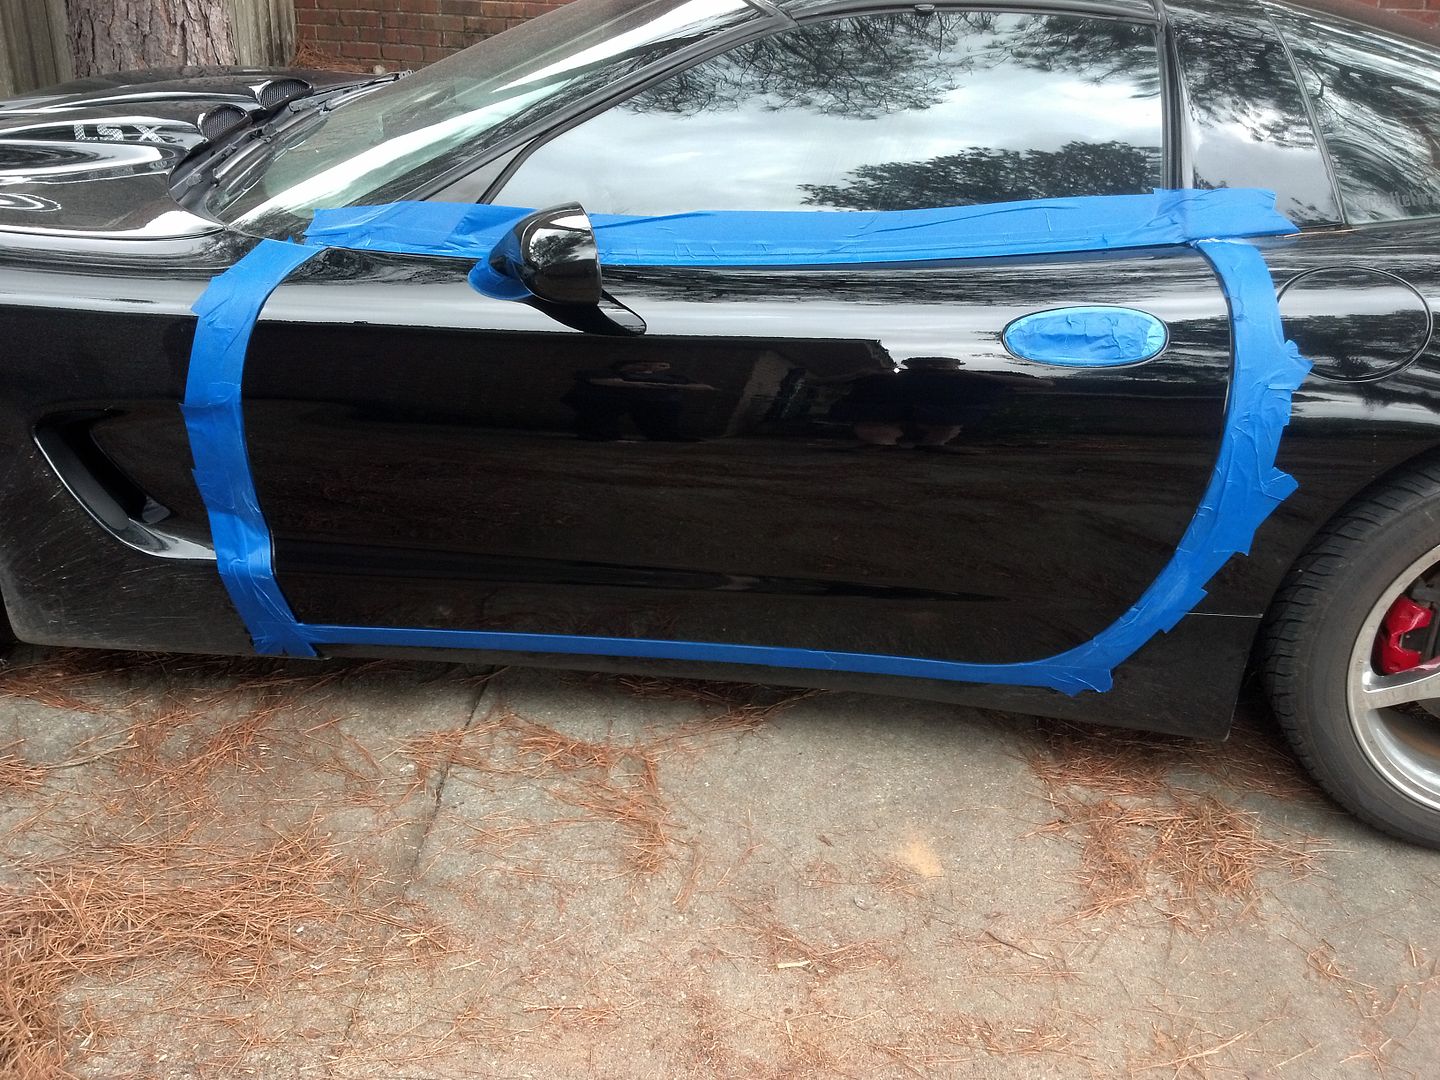
I started sanding the RIDS on the door, and got that done. Here are some shots of that process finished.
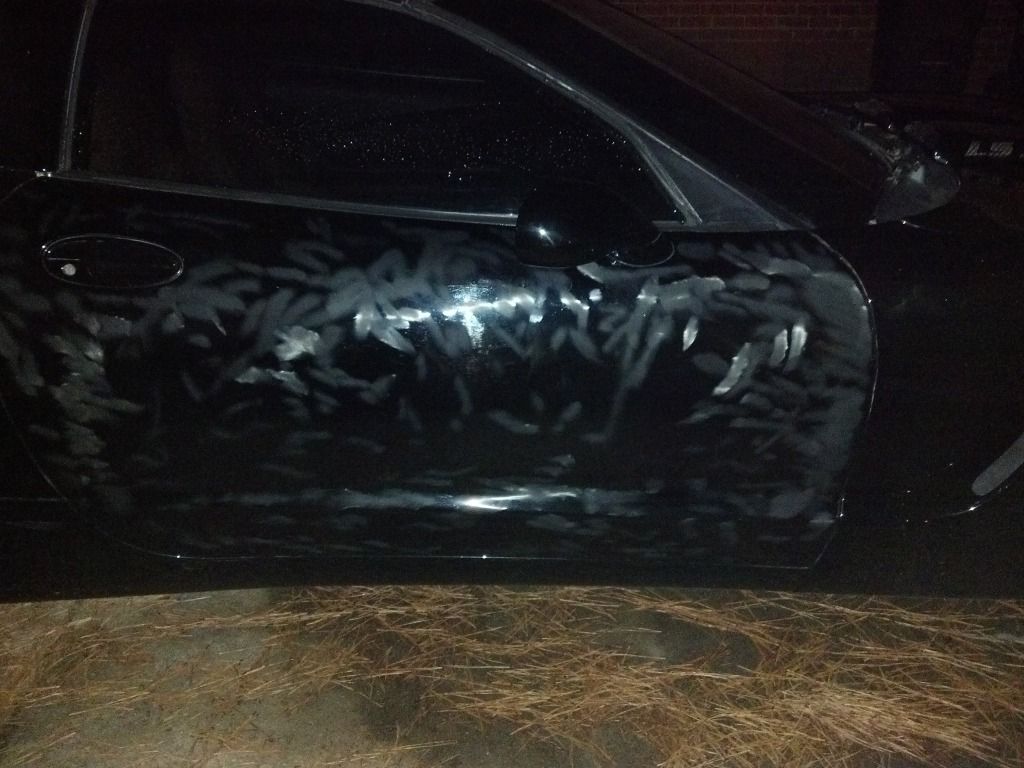
Bonus points for anybody who can tell me what other GM car you can find this door handle on")
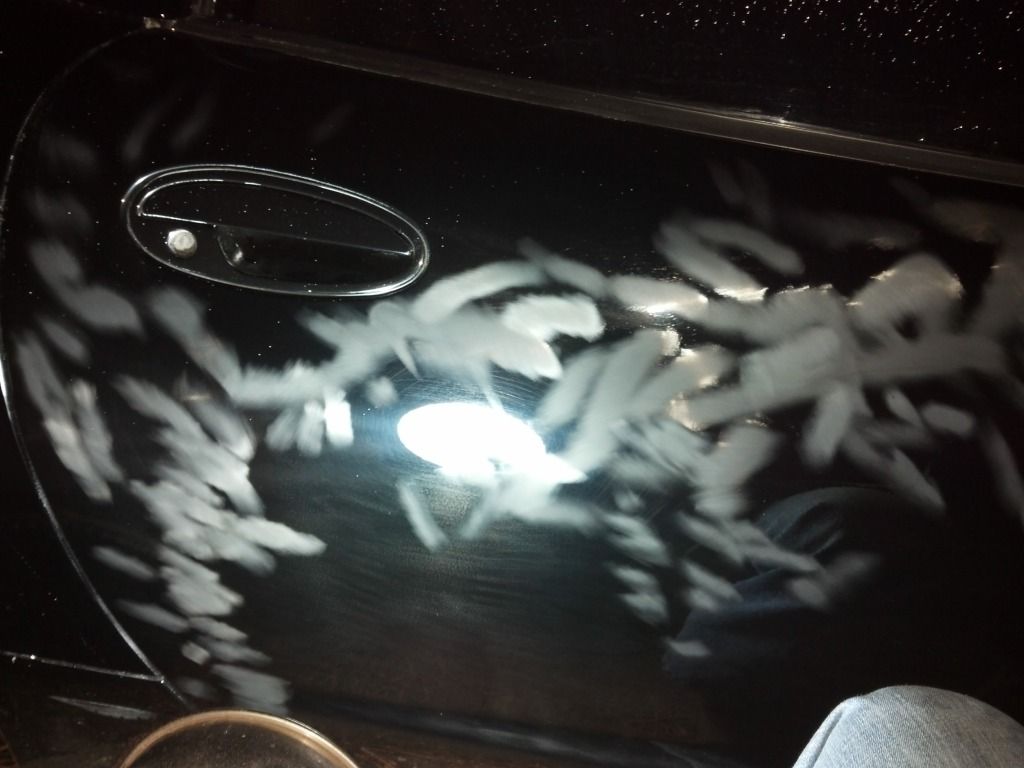
I started sanding the RIDS on the door, and got that done. Here are some shots of that process finished.
Bonus points for anybody who can tell me what other GM car you can find this door handle on