To me it comes down to a huge variety of factors. I have gone from taping everything perfectly (like is shown in Mikes pictures) to not taping anything at all.
I agree. I've done all kinds of styles, sometime taping everything off, sometimes taping nothing off..
When I write an article, since I like to help as many people as I can and I know everyone is different, I try to provide as many options as possible and let everyone pick and choose from the article all of it... or part of it... or none of it...
That's my normal approach versus providing nominal information. Of course, good pictures helps others to see the entire picture with the descriptions and how-to directions...
I personally like to do everything like an assembly line. I don't want to lay one piece of tape and then dress half a tire and then clean a window, you get the idea. When I tape I want to get it all done at one time.
If I'm going to tape anything off I like to do it all at once and at the very beginning of the project, that is after the Test Spot and then getting the work area clean.
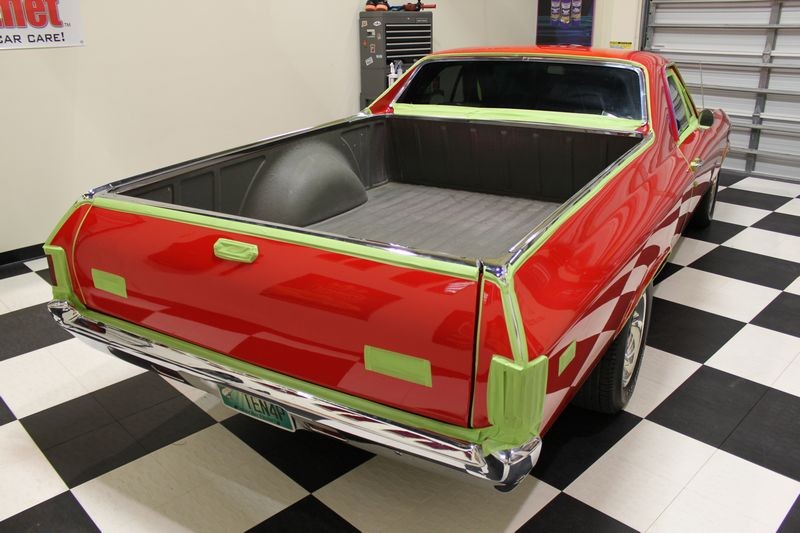
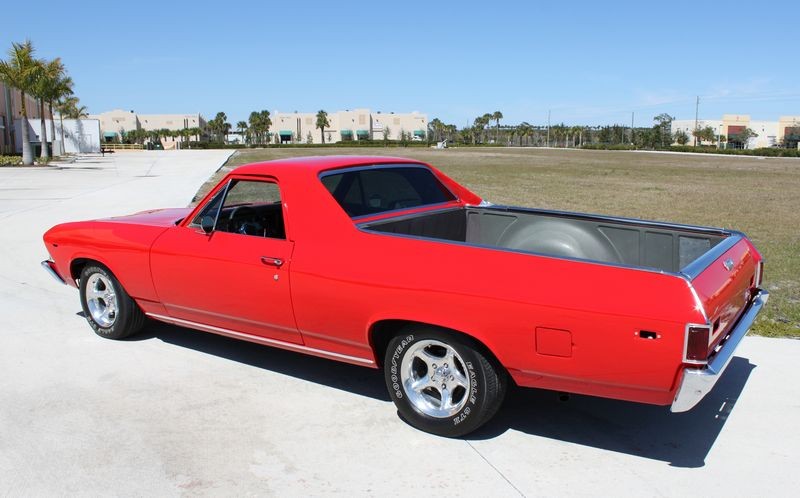
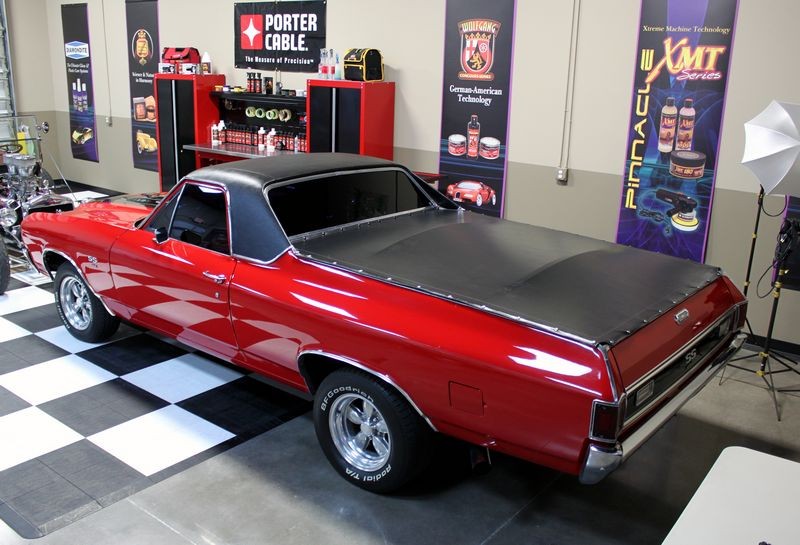
When I sanded and buffed-out this 1970 El Camino I had a lot of other projects going on at the time and had to spread this job out over 3-4 days. I was really worried that I was going to run into problems when it came time to take the tape off and luck was with me as there were no problems at all. I would attribute this to the fact that we didn't have any hot days and temperatures remained cool, thus the adhesive didn't warm up and become more sticky after application.
One thing for sure, after all the rotary buffer steps and DA steps this El Camino saw it was nice not to have any detailing, or toothbrush work to do...
Damp-Sanding Tools, Tips and Techniques...
Excerpt...
Taping-Off, Covering Up and Removing Trim
As a rule, it's a good idea to tape-off any raised hard body line for two reasons,
- So you don't sand over the high points
- Simply so you can see where they risky areas are at on a panel
1. So you don't sand over the high points
Paint will tend to be thinnest on any high point as the forces of gravity will cause the paint when it's sprayed and thus a liquid to flow downward. It only takes a few seconds of sanding on any high point, edge, corner or raised body line to either sand through the topcoat or remove enough material that when you later compound the area you go through the topcoat while compounding. So taping off high points will save you from having to repaint a panel.
2. So you can see where they risky areas are at on a panel
This one might sound kind of dumb if you've never sanded down an entire car before so let me share with you why it's important. As you're sanding, you'll create a white slurry on the panel that you can't see through. This slurry is made up of particles of paint you've removed off the topcoat, mixed with water. As it covers the panel it hides or camouflages everything under it including a high point or raised body line. By placing some tape over the area you want to avoid you create a visual indicator or reminder of where not to sand.
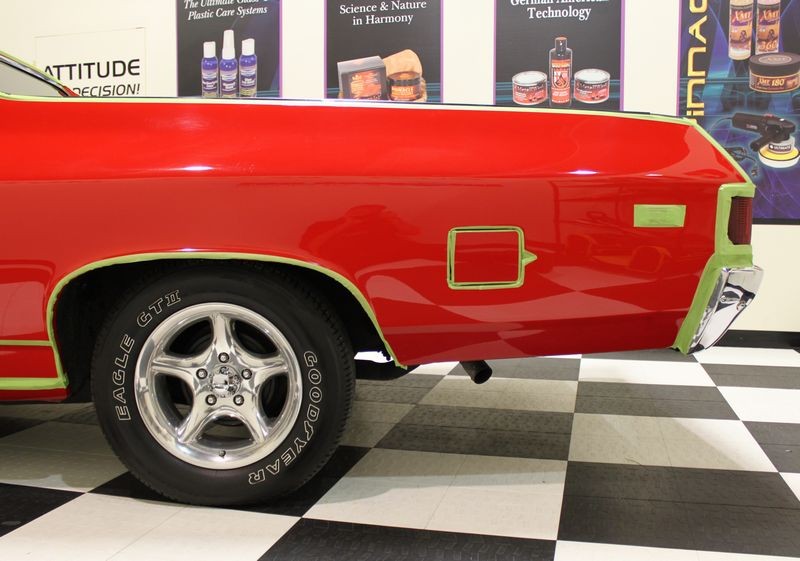
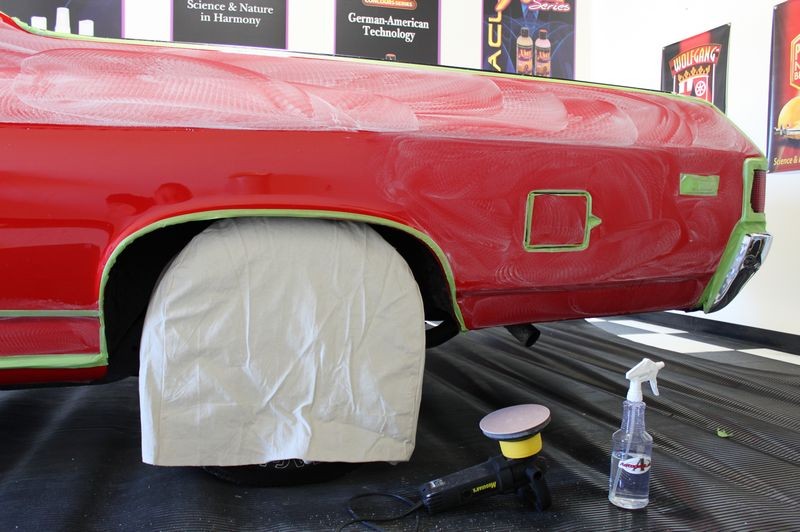
Here you can see where I've taped-off the edge of the gas tank door and the sheet metal surrounding the opening for the gas tank door. This will protect the edges while sanding and compounding.
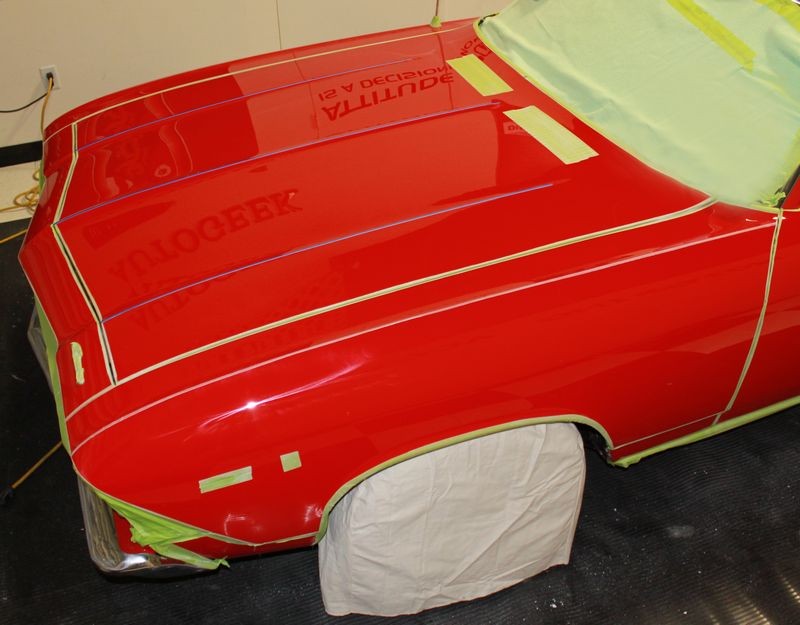
Body lines taped-off
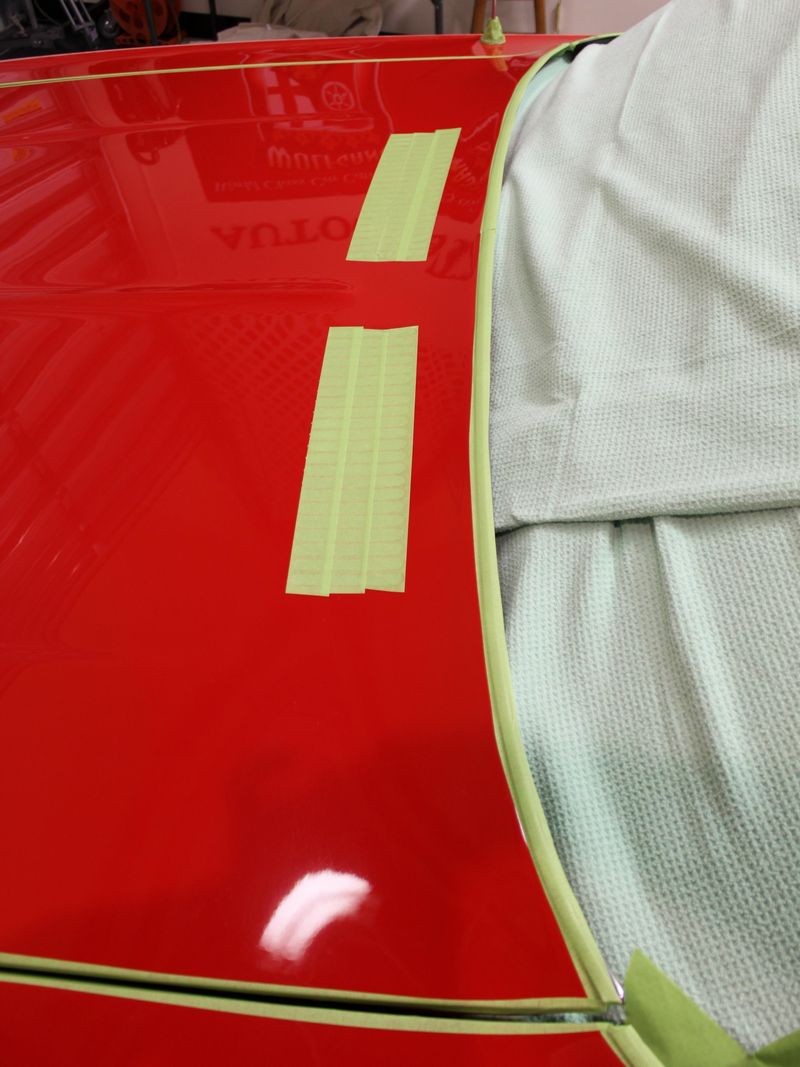
If you look carefully you can see some thin tape lines running down the center of the hood and the middle of each half-sections of the hood, these are
raised body lines as a part of the styling of the hood. They are not very high off the surface and when sanding,
the entire area will become white with water slurry. By taping them off I could see where they were at and if I accidentally run the sander too close to them, no worries...
Thin tape on top of raised body lines on the hood
Grills and Vents
It's nearly impossible to get under the fresh air grill on late model cars to remove splatter residue so I always carefully tape them off. Sad to say but whoever sanded and buffed this car before me plastered the area under the tape you see here and there's no practical safe way to remove it so it will forever be an eyesore when the owner shows this El Camino
Fresh Air Grills Taped-off
Here you can see where I've taped-off any edge I didn't want to risk sanding over... and it's not that I'm not good at what I do it's because the next paint job I buy is going to be for me.
I love the wheel maskers... especially when machine dampsanding or using a rotary buffer...
Canvas Wheel Covers
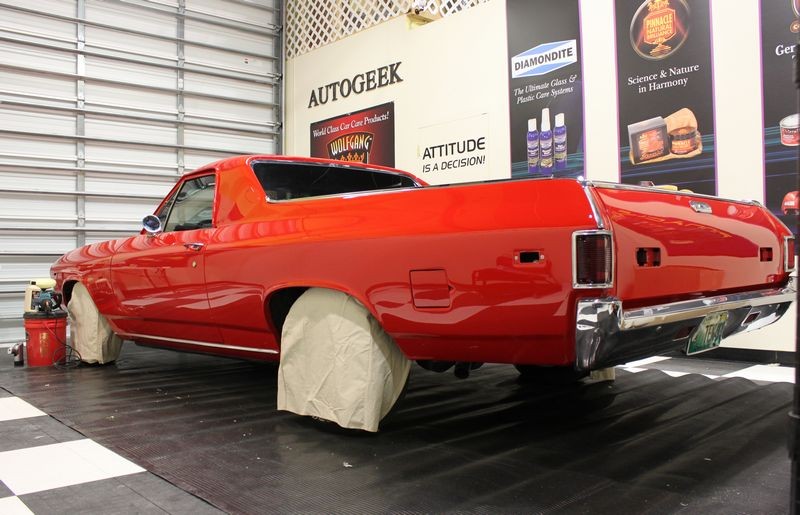
De-taped
After Shots - This is after all the rotary buffer steps...
Re-assembling trim components
Before I started any washing, claying or chemical stripping, the first thing I did was to remove, package and identify as much of the chrome trim as I could do so safely. Don't count on your memory to remember where each and every little nut, bolt or washer goes but instead use Zip-lock bags and Post-It notes to compartmentalize and describe the components and where they came from.
The first application of paint sealant will make the paint slippery so it will resist any accidental scratching or scuffing during assembly of the trim pieces.
All chrome trim components for this 1969 El Camino were packaged to prevent
losing any parts and identified as to where the were removed from.
You can use a little Dielectric grease on the rubber boots to make assembly and any future disassembly easier but don't actually coat the electrical connectors with dielectric grease as it is non-conductive.
Clean and oil all threads before reassembling components, be careful not to over tighten assembly
nuts and bolts on classic to avoid braking or stripping attachment components...
Clean and sanitary re-assembly creates a crisp, factory new look...
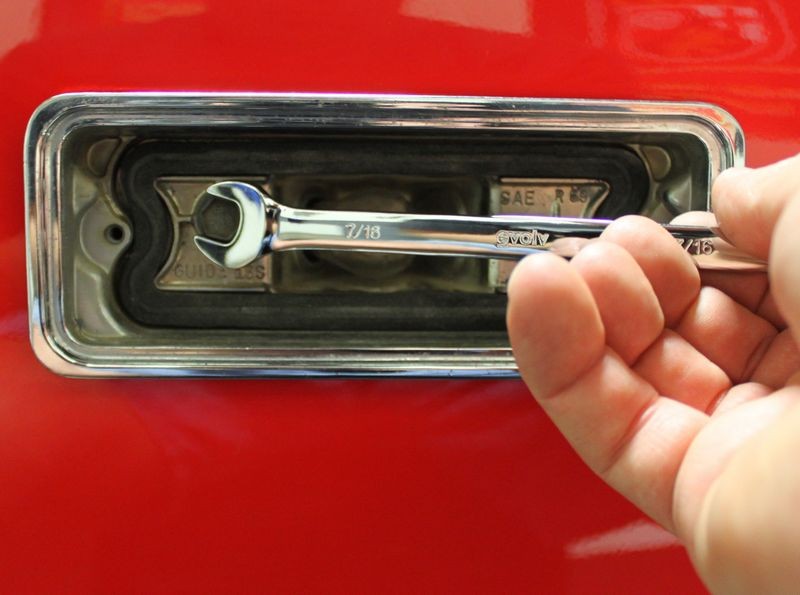
A fast, simple way to attach any screws to their rightful home is to place some painter's tape on the threads after inserting them into their proper location. This will save you lots of time hunting down just the right threaded screw to re-attach trim components. Remove the tape, clean the component and it's ready to re-assemble.
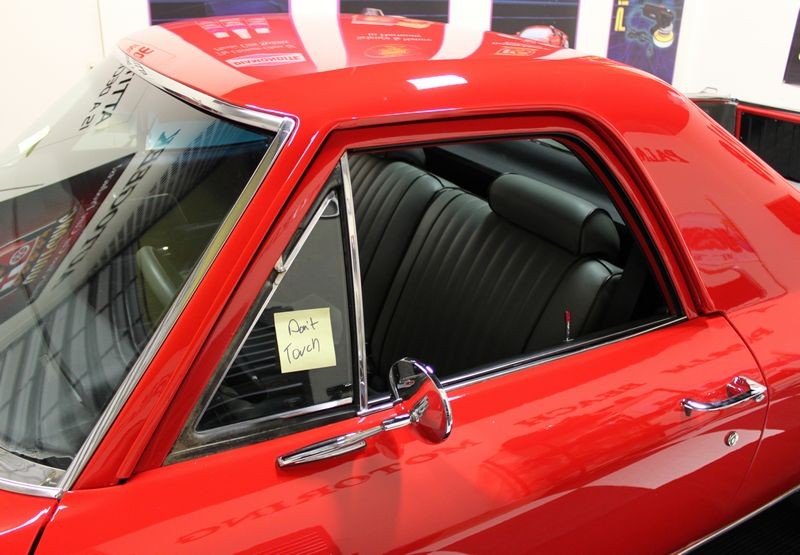
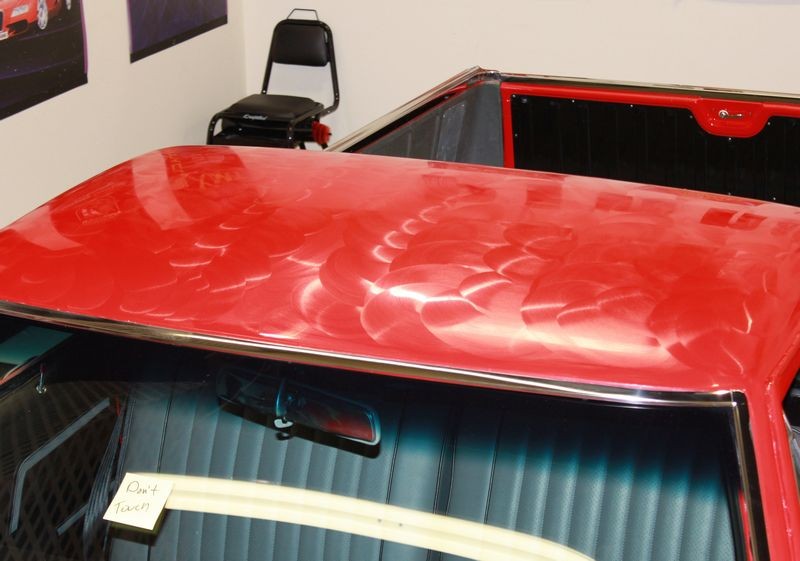
After the first compounding step Post-it notes were placed on all 4 major windows to remind people not to touch the car and specifically the paint. After the last polishing step and any wax or sealant steps, the finish becomes so clear and glossy that fingerprint smudges stand out like a sore thumb.
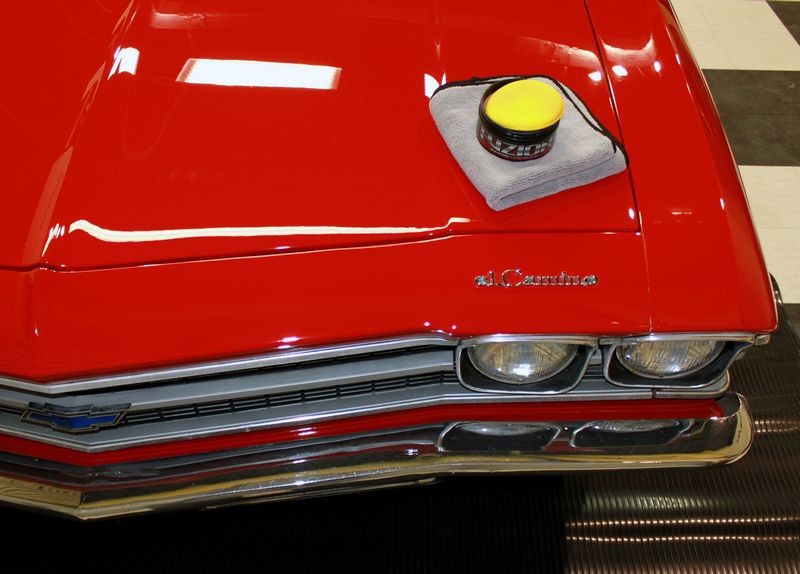
Fuzion is a Finishing Hybrid
Wiped off...
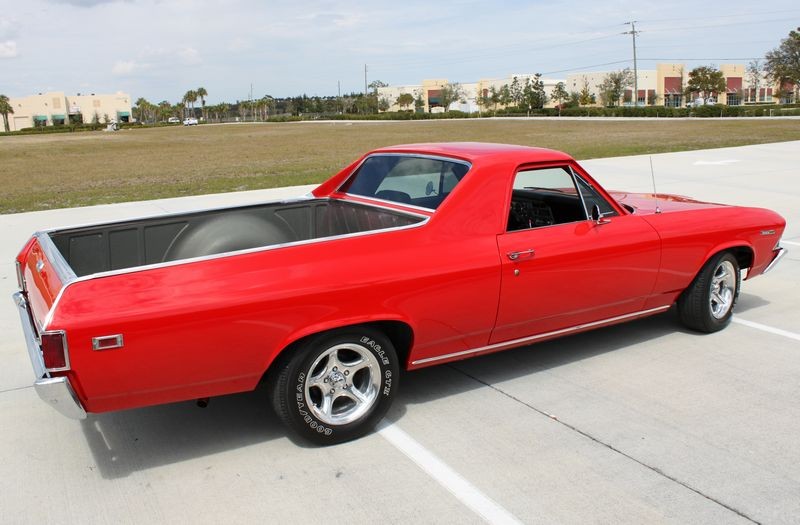
Then outside for a few beauty shots...
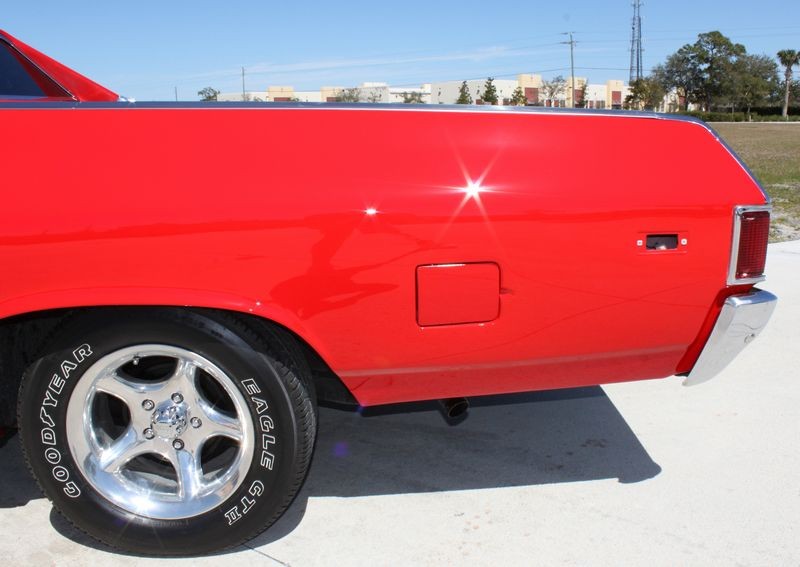
Note the chrome trim around the side marker lights is still missing...
But yeah... tape-off as little or as much as works best for you...
:dblthumb2:


")


")