Cougarstang
New member
- Jul 14, 2009
- 4
- 0
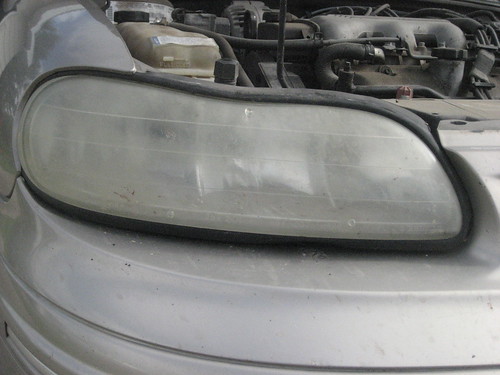
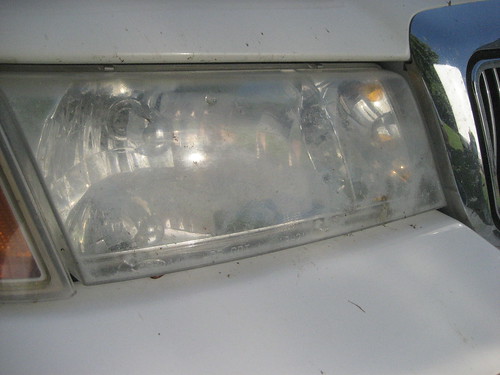
Do cheap ebay aftermarket lights usually have a layer of uv protectant? Is it worth putting a layer of the urethane mix over a new cheap aftermarket set?
Follow along with the video below to see how to install our site as a web app on your home screen.
Note: This feature may not be available in some browsers.
I see no reason why it wouldn't be worth it.Is it worth putting a layer of the urethane mix over a new cheap aftermarket set?


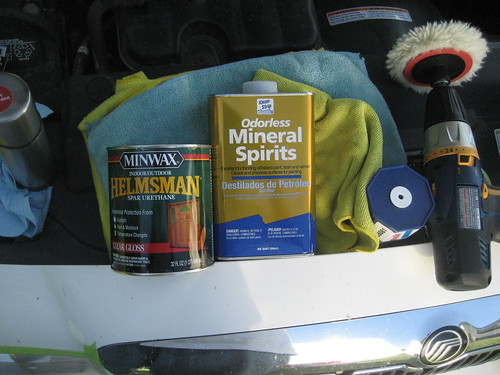
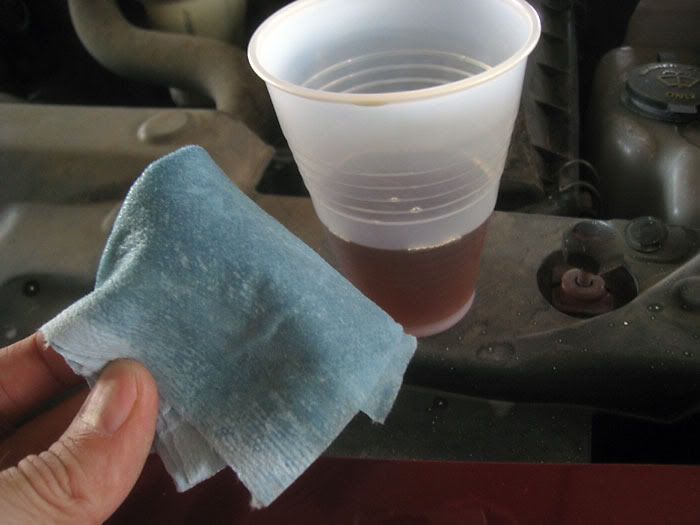
No, I am still using the blue shop rag applicator. Microfiber would probably streak too much. I was just using the microfiber rags to wipe off the lens while wet sanding and polishing. I have tried a foam applicator, but I still like the blue shop rag.are you now using the microfiber towels for applying the material??


Why not stick with Klasses High gloss sealant that last for at least 6 month?
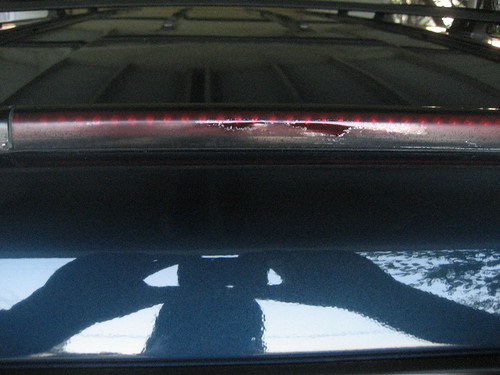
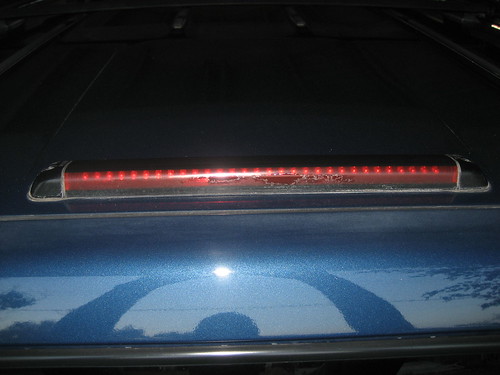
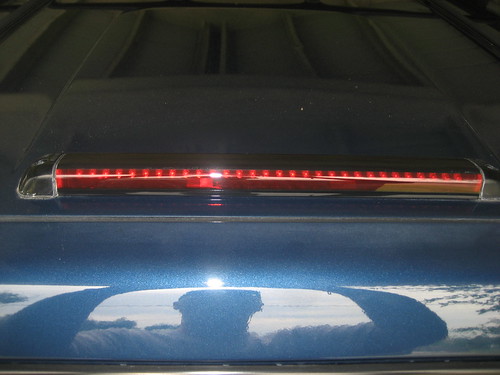
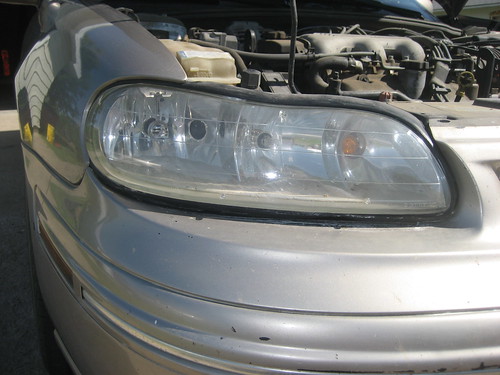
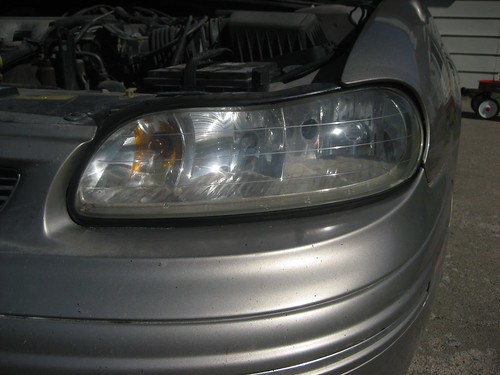
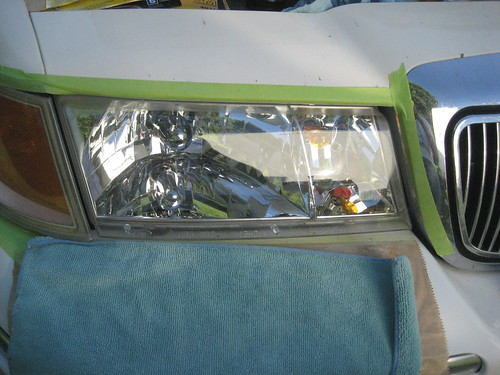
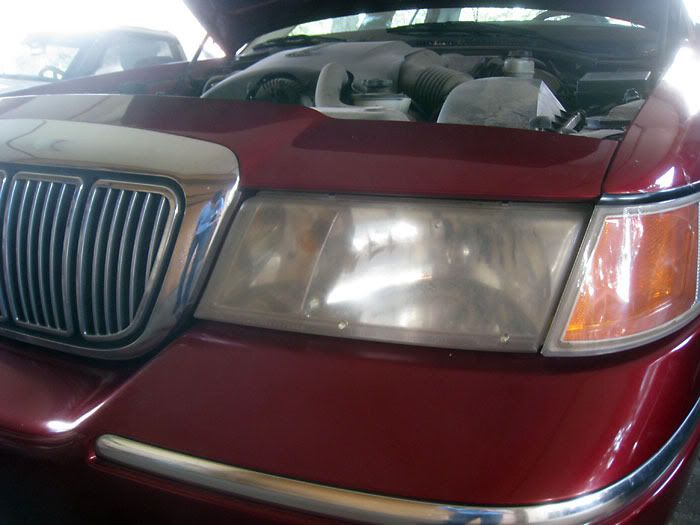
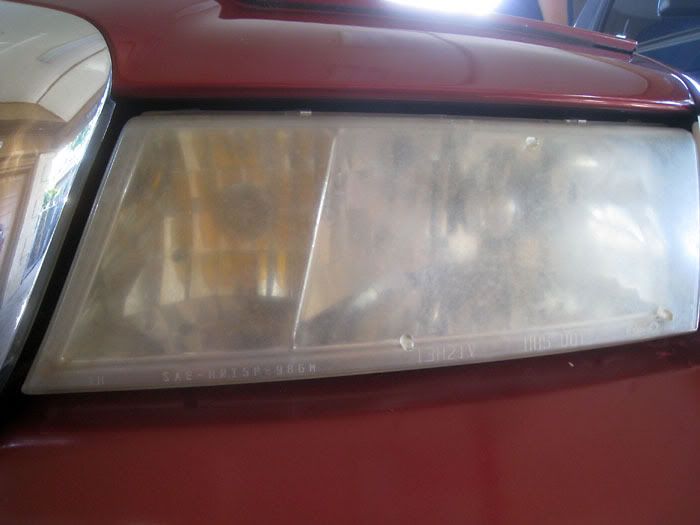
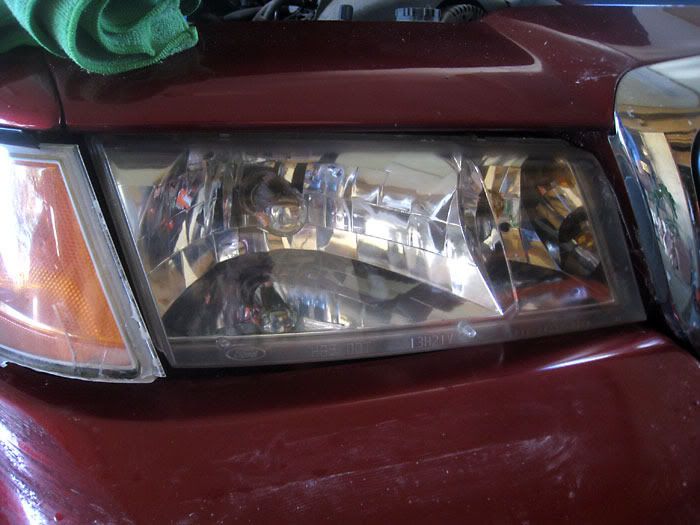
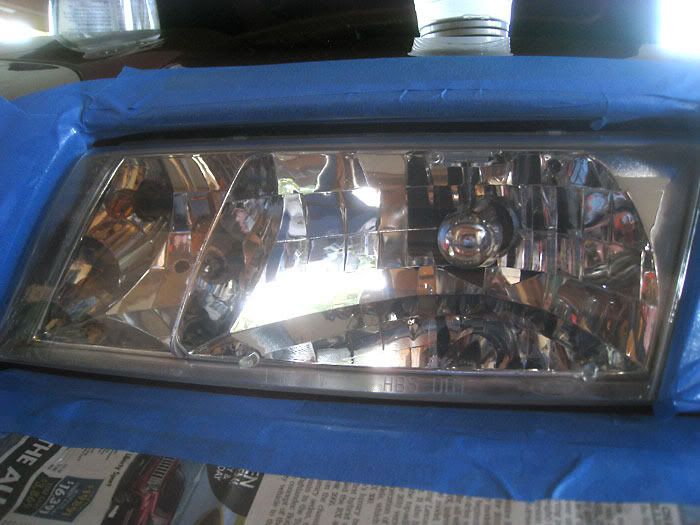
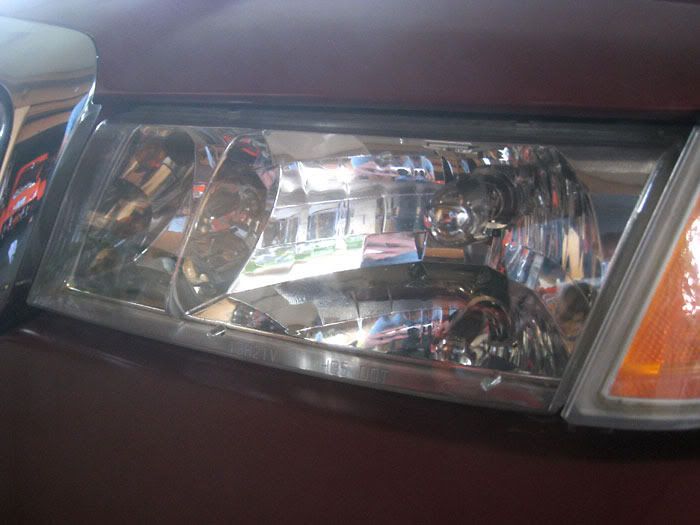
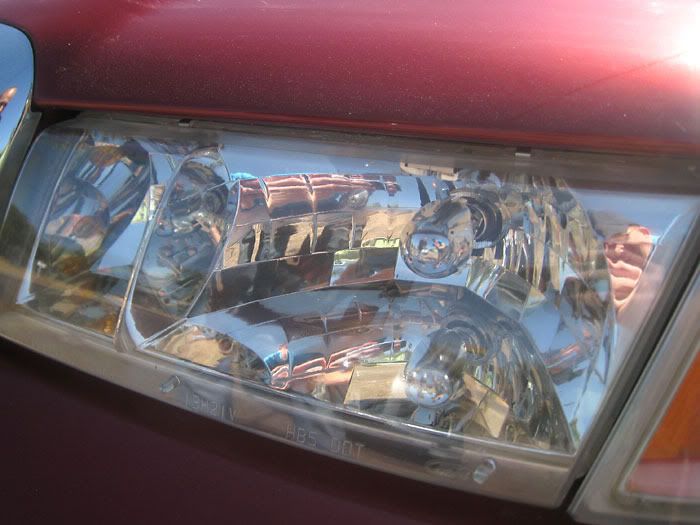
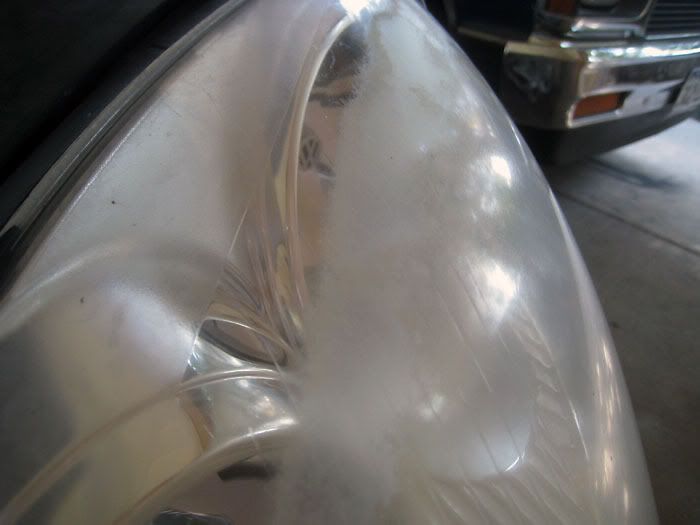
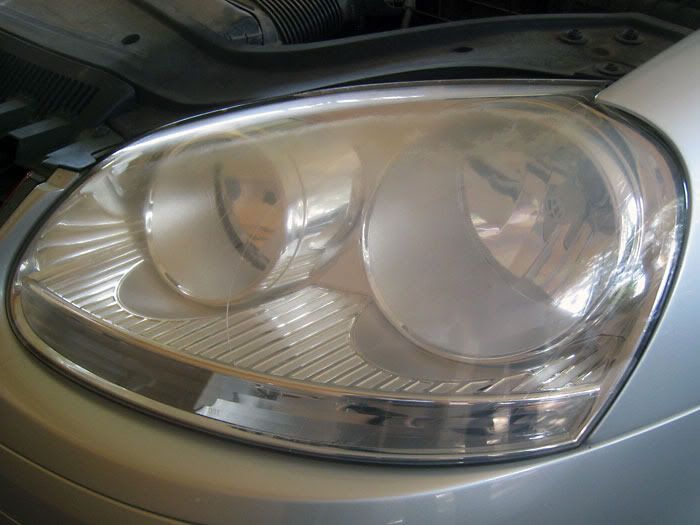
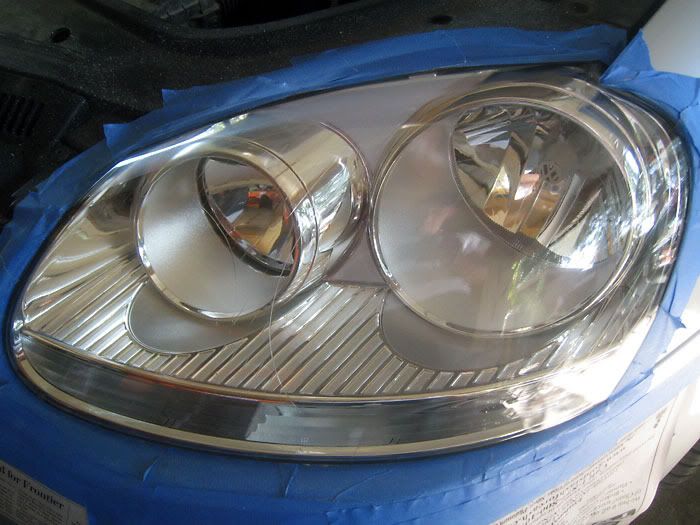
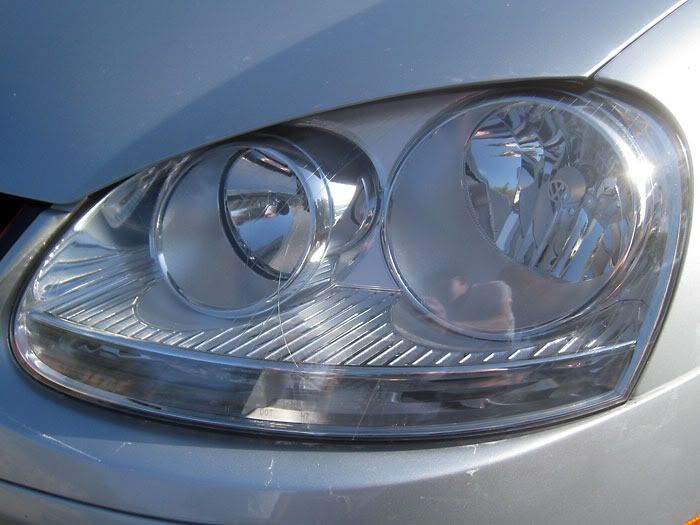
I just now finished a sample headlight. Sanded and polished it and it turned out great. UV sealant not so great, not sure if I applied to little or to much but it dried with a haze. It looked like I had just started to sand in some spots. Any insight would be great.
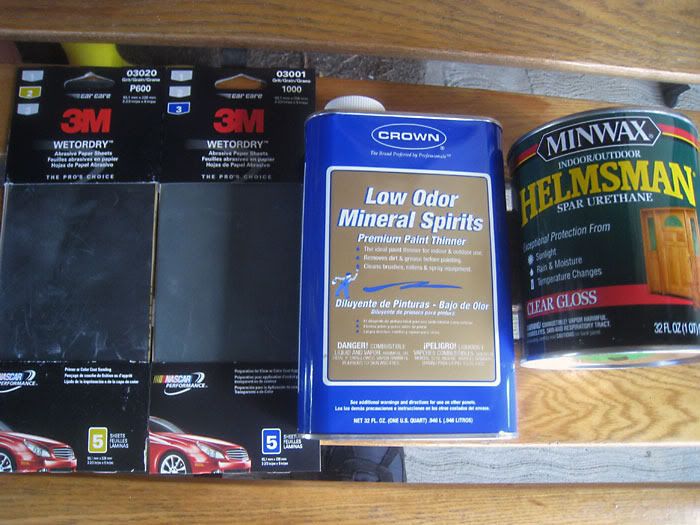
1. is there any problem with mixing this solution in advance or should it be on an as needed basis?
2. is it possible to store given the right container?