The Secret to Removing Oxidation and Restoring a Show Car Finish to Antique Single Stage Paints

  • Thread starter Thread starter Mike Phillips
  • Start date Start date
Mike,
WOW What a great article, i'm so glad i read this and have a perfect car candidate to try and duplicate the same techniques used..plus i love #7 anyway and this is a new way of using it..I've sample this sometimes and wondered what it would do if i allowed a heavy coat to work it's way in and "whale" you just did it..!! great job and great article!! you are correct in thinking that most would reach for that bottle of sand to get started and this is WAY MORE effective..THANKS!
 
Glad I found this article!! I have 4 antique cars with original black paint that need detailing this summer...this sure helps determine the path I will be taking. Hope to post photos as I take them on. The cars? A 1946 Nash 600, a 1947 Buick Roadmaster, a 1958 Rambler Custom, and a 1979 Corvette, locally known by the little kids as the Bat Mobile. LOL All are low mileage cars - Rambler at 9990K, the Vette at 14K, the Nash at 54K and the Buick at 70K. I'll need a case of #7! LOL
 
this is something i cannot wait to try on my car...excellent article and the information I have received from it and this board is priceless
 
Mike,
WOW What a great article, i'm so glad i read this and have a perfect car candidate to try and duplicate the same techniques used..plus i love #7 anyway and this is a new way of using it.. I've sample this sometimes and wondered what it would do if i allowed a heavy coat to work it's way in and "whale" you just did it..!! great job and great article!!

Thank you. It's always nice to hear feedback from our forum members like this. It was also a real honor to have AutoTraderClassic.com publish this article in its entirety on their website.


you are correct in thinking that most would reach for that bottle of sand to get started and this is WAY MORE effective..THANKS!

When working on original and antique single stage paints, the risk is very high that the bottle of sand or as we call it, "Rocks in a Bottle" type products, would have chewed right through the paint and exposed the primer or shiny metal and ruined the original factor of the paint.


Glad I found this article!! I have 4 antique cars with original black paint that need detailing this summer...this sure helps determine the path I will be taking. Hope to post photos as I take them on.

Another very good article for this topic is this one,

The power in the after shots is created in the before shots


Don't rub a big circle in the middle of the hood making a shiny spot BEFORE getting "good" before shots of the hood in the before condition. Click the link above and read through the article, it's based upon a lot of experience on this topic.

The cars?

  • 1946 Nash 600
  • 1947 Buick Roadmaster
  • 1958 Rambler Custom
  • 1979 Corvette, locally known by the little kids as the Bat Mobile.

LOL All are low mileage cars - Rambler at 9990K, the Vette at 14K, the Nash at 54K and the Buick at 70K. I'll need a case of #7! LOL

You have a very nice collection and if the paint on all 4 vehicles is the original paint then it's all single stage. GM didn't start spraying basecoat/clearcoat onto Corvettes till 1980.

The paint on GM cars in 1979 was usually not very good and not known for longevity, so if the paint on the Vette is still looking like it's in good shape then definitely give it the #7 treatment versus the rocks in a bottle treatment.

The 1946 Nash and the 1947 Buick will either have lacquer or enamel and if they are not past the point of no return then you can probably do wonders with them, same for the 1958 Rambler.

this is something i cannot wait to try on my car...

What are you working on? This technique and product are primarily for pre-1980 cars.

excellent article and the information I have received from it and this board is priceless

We strive to make AutogeekOnline the best place to get real-world how-to information that helps people to be successful in their garage... there's lots of detailing discussion forums and we appreciate you're participation on this one.

If you like AutogeekOnline.net... then practice a win/win deal. That is if you feel like you're winning with the articles, videos and information, then share our forum with your car buddies as chances are good they'll find it a helpful resource for their detailing projects. That's win/win, you win and we win.

:dblthumb2:
 
I am working on a 1971 dodge demon, the roof, trunk, top of doors, fenders, and quarters all have original paint....somewhere along the line the bottom half of the car got bad respray with single stage paint over the original paint and is chipping in some spots. BTW can I wet sand the spots that are chipped away since original paint is underneath and just try to level it out....I know car will look like dalmation in those areas but was just an idea

Racer X I had a detailer do that same thing to my car last year...never washed the car and went straight at it with buffer and compound...I have burn marks on fender and door and a spot thats very thin about size of a hand on trunk thats discolored and looks like burn or possibly primer showing
 
I am working on a 1971 dodge demon, the roof, trunk, top of doors, fenders, and quarters all have original paint....somewhere along the line the bottom half of the car got bad respray with single stage paint over the original paint and is chipping in some spots. BTW can I wet sand the spots that are chipped away since original paint is underneath and just try to level it out....I know car will look like dalmation in those areas but was just an idea

I wouldn't recommend it; when you bring the car up here to Lansing on the 9th we'll see what if anything we can do to improve the appearance of it. Just sounds like whoever did the paint work didn't prep the surface properly before spraying.
 
yeah thanks I can't wait to have someone who knows what they are doing to actually look at it....wish I found ya sooner
 
I remember when I got my first Meguiars products, they were part of a bucket package way back in like 1995 or so and Show Car Glaze was one of those included. I had no idea what I was doing with it or many of the other ones honestly back then, but man, it sure is neat to see what it's really capable. Awesome work.

And yeah, I know this is from last year. Just crazy results by hand. :)

This was never the car I wanted to use for this article as single stage metallic paints are the hardest to restore.

I'm still working on getting the owner of an all original pink 1959 Cadillac to let me use his car for a second article as pink 1959 Cadillacs are so iconic in car history. Plus it has the original pink, single stage paint intact, it just needs a little TLC

This one from this thread,

The Caddy King's Hidden Collection of 1959 Cadillacs!


Here's a genuine "Pink Cadillac" with the original paint.
CaddyKing005.jpg


:)
 
I truly enjoy seeing this thread bumped up again, as I consider it to be the most valuable piece of information I've ever read on the subject of paint restoration of older vehicles.

Every time it rises to the front page there's the opportunity to expose this tutorial to a few more folks who have the desire to turn back the clock on the aged finish of their older car or truck. No, I'm not just sucking up to Mike. That's my El Camino in post #14 with the trophy on the hood.

I know firsthand how valuable this article is to older paint, as I never before would have considered entering my Camino in a judged show.

Last year, with the show date coming up quick, I didn't have time to do the complete process on the entire car, but the results were still amazing. This spring, I repeated the process in its entirety and it looks even better. I have another Chevy show coming up in a month and I'll be ready. Once again, thanks Mike for your fine article. I've passed the link to the article along numerous times when the question comes up here and on the Meguiar's forum.

In these times of space-age sealant technology, it's hard to believe that a product concocted in some inventor's kitchen nearly 100 years ago is still the best solution on the market for a common single-stage paint malady. I'll be looking forward to the sequel.

Bill
 
In these times of space-age sealant technology, it's hard to believe that a product concocted in some inventor's kitchen nearly 100 years ago is still the best solution on the market for a common single-stage paint malady.

Bill

Hi Bill,

It was a real honor reading your story about how you used the information and then won the first place trophy, it makes all the time I put into the article more than worth it.

One thing I'd like to point out, it's getting harder and harder to get information about all the old products from the early days of car history because it's hard to find anyone still around that knows any of this type of information and even if you can find someone that knows this kind of information it's hard to get an opportunity to speak with them.


:)
 
Amazing read here :dblthumb2:
It certainly is a great article and I've read it no less than 10 times in the short time I've been here.

Not only does Mike have the skills to work on the paint, but he also has the needed skills as a teacher to be able to put it all flawlessly into words and pictures. God has blessed him for certain. His work is a great example to all of us.:dblthumb2:

As they say, "The proof is in the pictures" and "A picture is worth a thousand words."

If I ever get the chance to work on one of these classics I will be ready. If I forget a step along the way I'll have a guide to go by.

Tusen takk! (Thousand thanks!)
 
Hi Bill,

It was a real honor reading your story about how you used the information and then won the first place trophy, it makes all the time I put into the article more than worth it.


:)

Mike,
Since this excellent thread got bumped up again, I'll add a bit of follow-up.

I repeated the process, this time over the entire body. One more show, one more trophy.
I can't thank you enough. Consider me a disciple.

Bill

IMG_1514.jpg
 
Mike,
Since this excellent thread got bumped up again, I'll add a bit of follow-up.

I repeated the process, this time over the entire body. One more show, one more trophy.
I can't thank you enough.

As I said, "A picture is worth a thousand words." Those trophy's are the proof. How cool is that?:p
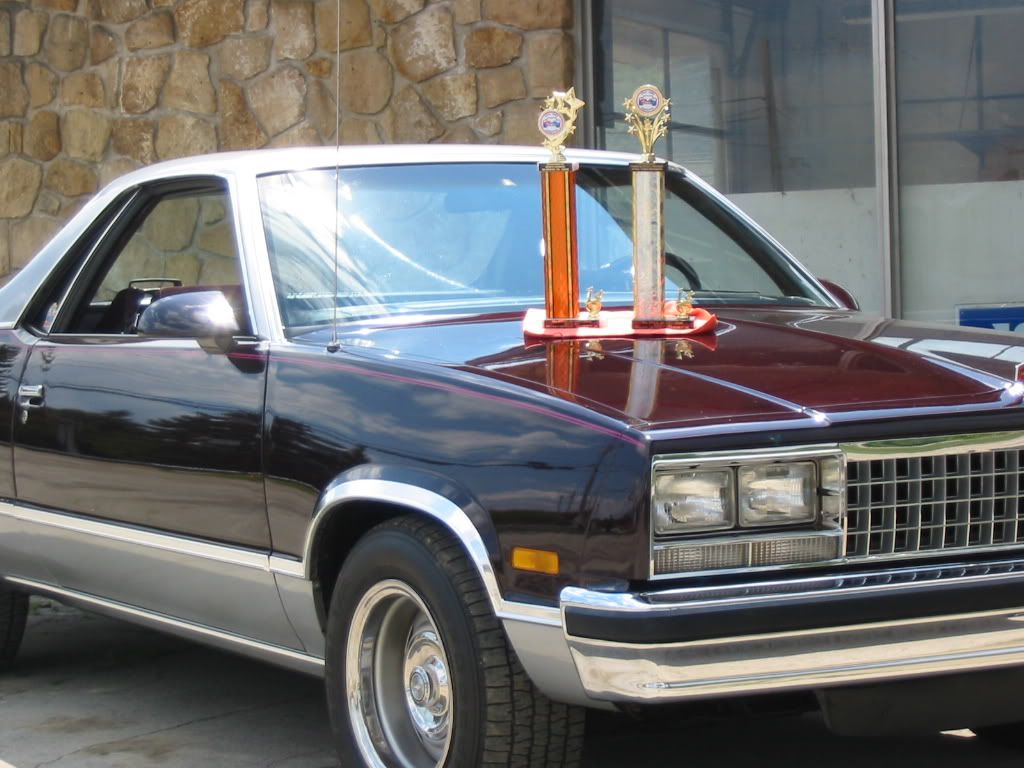
rops: Great looking ride and great work.
 
Mike,

Since this excellent thread got bumped up again, I'll add a bit of follow-up.

I repeated the process, this time over the entire body. One more show, one more trophy.

Bill
+


Congratulations Bill...


I love hearing stories like this after someone has used this product that's been around since the Model T to win a trophy in this day and age...


:dblthumb2:
 
Figured to at my .02 cents in! This is a awsome article:xyxthumbs:
100_3389.jpg
 
Mike, Just read this article. Great write up. I cracked up at "Bill carefully maneuvered his classic American Land Yacht". I needed the laugh this morning.
 
awesome writeup mike. i did a miata with SS before and wish i had read about leaving #7 to saturate! i used d300 and m07 and came out amazing. i'll dig out pics soon.

how do you wash your mf towels after you use them on SS? do you keep them or throw them out??? i am guessing it isn't wise to wash your SS mf towels with any other towels the first wash or two?
 
Back
Top