Mike i wish you could be sent to Pakistan by courier.
Max will send me anywhere to teach a class as long as it's a win/win deal, that is everyone profits.
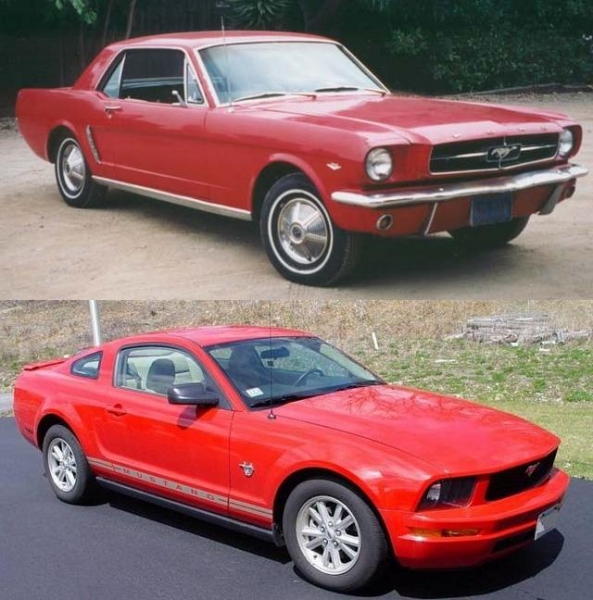
the paint looks a little white (colour is red),
If it's a single stage read paint job and you're seeing white it's one of
two things that I describe in my
how-to book in the chapter called,
Page 37 - Paint Condition Categories
It's one of these, the first one can be fixed, the second one cannot.
7: Extreme Oxidation
Paint is this category is primarily associated with traditional single stage lacquer and enamel paints and normally found cars built before 1980. Extreme Oxidation means the paint has deteriorated to the point that it has a chalky, whitish appearance.
Paint in this category is typically antique or original. It can be a re-paint, but it would be an older re-repaint. Paint with extreme oxidation can be saved by carefully removing the dead, oxidized paint and rejuvenating with polishing oils the remaining paint. After polishing the color is restored and remains even when exposed to sunlight. If the color fades away then this is an indicator that the paint has become unstable.
9: Unstable
This category is for older, single stage paints that have been exposed to the sun for a long enough period of time that the pigments have become unstable. That is even if you remove the oxidation and gorge the paint with some type of polishing oils, any original color that is restored is only a temporary fix and when the paint is exposed to the sun or after a few days pass the color fades back to where it was before you started.
so what polish or abrasive would you advise.
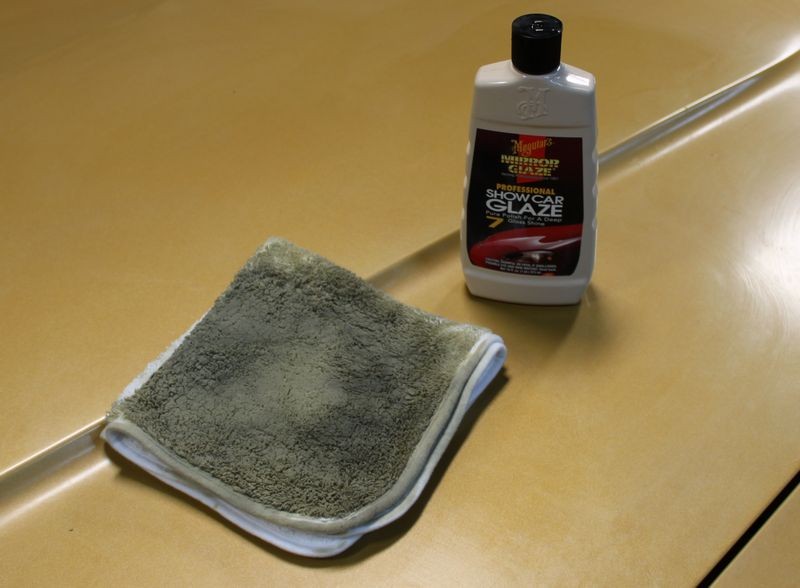
Traditionally what works and the product focused on in this article you're posting to is the #7 Show Car Glaze. This article explains how to carefully restore a antique or older paint job without using abrasives. #7 is non-abrasives and again, in this article I explain that you use the #7 for it's oils and the nap of either microfiber or terry cloth as our abrasive.
All this information can be found by clicking the link below and reading the article, not merely scanning it.
The Secret to Removing Oxidation and Restoring a Show Car Finish to Antique Single Stage Paints
Here's the pertinent portion but you should really read the entire article...
Removing Oxidation Without Abrasives
Now that all the bonded contaminants have been removed off the top of the paint it's time to remove the dead oxidized paint off the surface and to some degree some of the embedded dirt and oxidation below the surface. To do this we're going to use a plush, microfiber polishing towel with some Meguiar's #7 Show Car Glaze.
Always fold your microfiber towels 4 ways
What you want to do is take your polishing towel and fold it 4 ways to create a working cloth that is large enough you can place you hand on it when working the #7 over the paint. Folding the cloth 4 ways will also provide plenty of
cushion to spread out the pressure of your fingers and palm. This enables you to work gently and safely on antique, fragile paints and will also help you to avoid instilling
fingermarks.
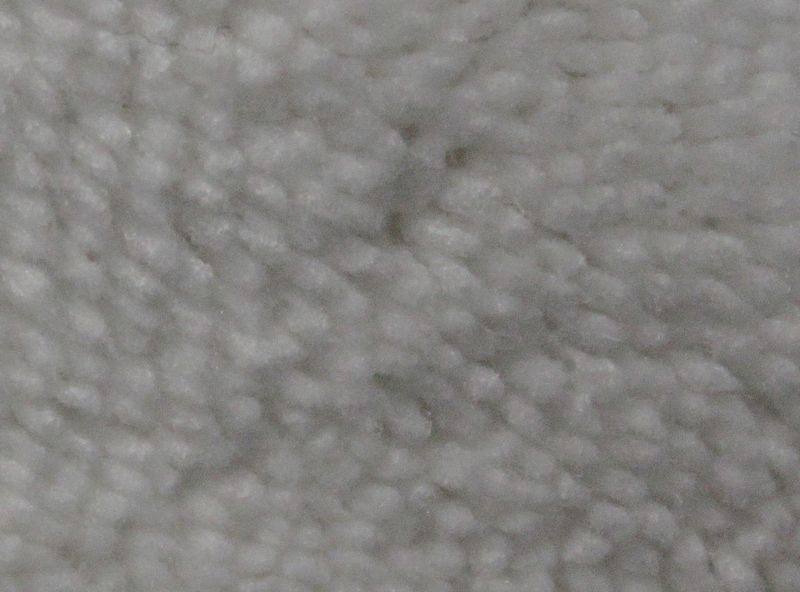
Non-abrasive abrasives...
Here's a close-up of the tufts of microfibers that make up the working face of this microfiber polishing towel. When used dry this microfiber polishing towel is soft and absorbent. The way we're going to use it however, it will still be soft and gentle to the paint except that I'm going to
put a little passion behind my hand as I move this microfiber towel over the paint and the
pressure I apply is going to engage the microfibers with the paint and provide a very gentle scrubbing and even abrading action.
Tufts of microfiber threads... these are your abrasives...
Shake well before using
Shake your bottle of #7 up exceedingly well. One of the reasons #7 used to come in
clear glass bottles and later clear plastic bottles was so that you could see that the product had separated out and the hope was that as a thinking human being you would see the product had separated in the bottle and thus shake the bottle till the product had a uniform color and consistency.
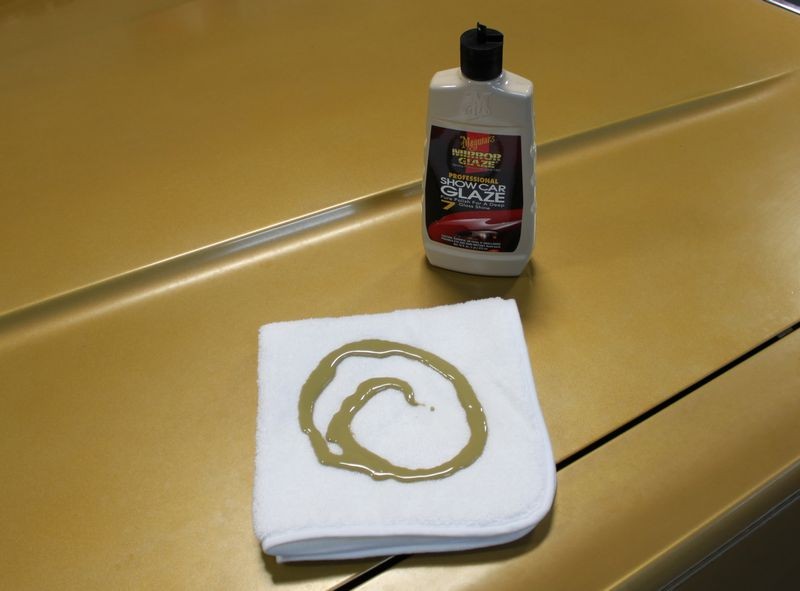
After you shake the product up well you want to pour a generous amount of product out onto the face of just one side of your folded microfiber towel and note that you're going to use this one side for each panel over the entire car.
The words or terms for how much product you use goes like this,
Use the product heavy or wet
Because this is important, let me repeat these instructions...
Use the product heavy or wet!
This means you use a
lot of product, you want the surface
wet with product as you're working a section. You're trying to saturate the paint to gorge it with the rich polishing oils found in the #7 but you're also trying to emulsify and loosen any embedded dirt or oxidation off and out of the paint. For this car I used one full bottle on just the hood and the top of the trunk lid and most of another bottle for the passenger and driver's sides. The horizontal surfaces are always the worst because they are exposed to direct sunlight, water from rain and air-borne pollution and contaminants and thus always require the most work to clean, revitalize and restore.
Fold the cloth into itself to spread the product out and wet the face of the cloth.
"It ain't braggin' if you can back it up" -Dizzy Dean
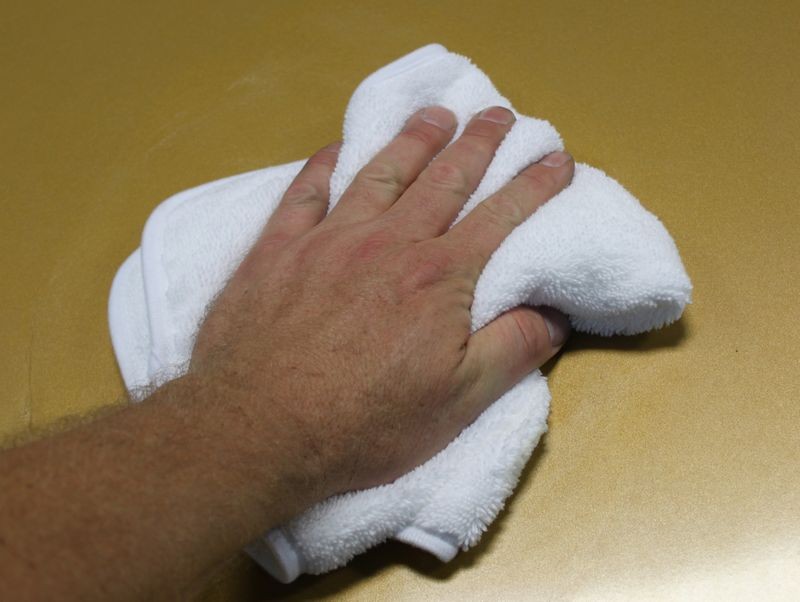
Now comes the passion: Start working the #7 Show Car Glaze over and into the paint in a
vigorous manner. I'm in pretty good shape as I work out at the local gym and lead an active lifestyle that includes rubbing out cars both by hand and by machine.
I also dare say I'm pretty good at rubbing out cars by hand. I'm not bragging, just stating a fact that I can back up. It's more work than most people think and my point is this, rubbing this behemoth of a vehicle out by hand vigorously got me breathing hard and made my hands and arms tired.
Here's the point I'm trying to make...
If you're not breathing hard and you're not getting tired then you're not working the product over the paint vigorously enough.
Out of all the steps, this is the hardest, most time-consuming and most important step there is to do and it is this step that will determine your end results. If you don't remove the topical oxidation and embedded dirt and oxidation during this step then it will still be there when you make the final wipe to remove the wax. So put your heart and soul into this step. If you need to, take a break in-between panels.
It is vital that you work the #7 against the paint vigorously...
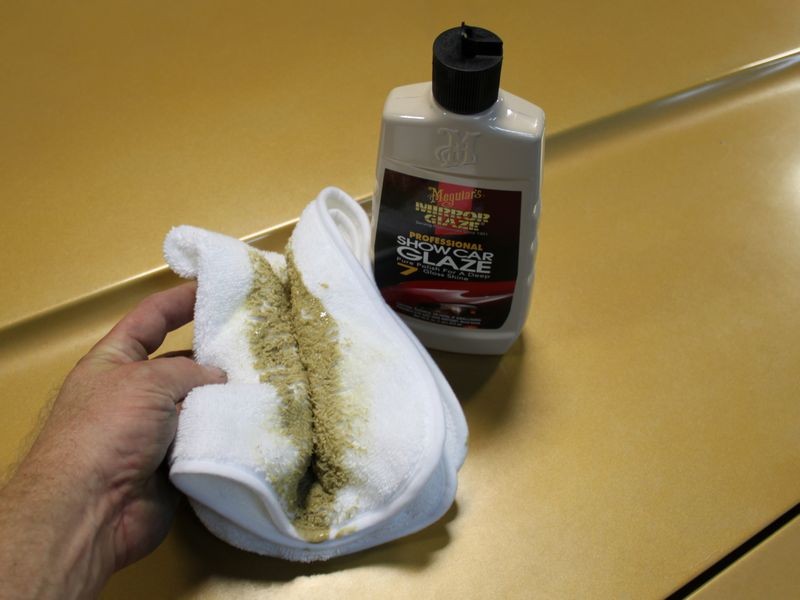
Rub out one panel at a time
After you work a small section, about 20" squarish or so, stop, re-apply fresh product and move onto a new section and be sure to overlap a little into the previous section.
- Panel = a door, the hood, the roof, etc.
- Section - a portion of a panel
Note the color being transferred onto the cloth. Part of the color you see is the color of the #7. The other part of the color is the dirt coming off and out of the paint and part of the color is the oxidation coming off the aluminum flakes.
i work by hand but can ask an autofiness authorized detailer to come over with his rotary buffer
I would be very wary of letting anyone use ONLY a rotary buffer on your car's single stage paint unless they have been hanging out on a discussion forum like this for years and have lots of experience.
As for an abrasive product suggestion?
M80 Speed Glaze by Meguiar's is rich in polishing oils like the #7 Show Car Glaze but it also contains diminishing abrasives to cut off the dead, dying, oxidized single stage paint.
You can use it by hand or machine, I would avoid using it with a rotary buffer on anything that is "important" to you unless they meet the requirements I listed above.
How about a picture?

icture:
")