Hi Mike,
Thank you for your reply, I have tried to upload some better pictures (hope this will work
")
)
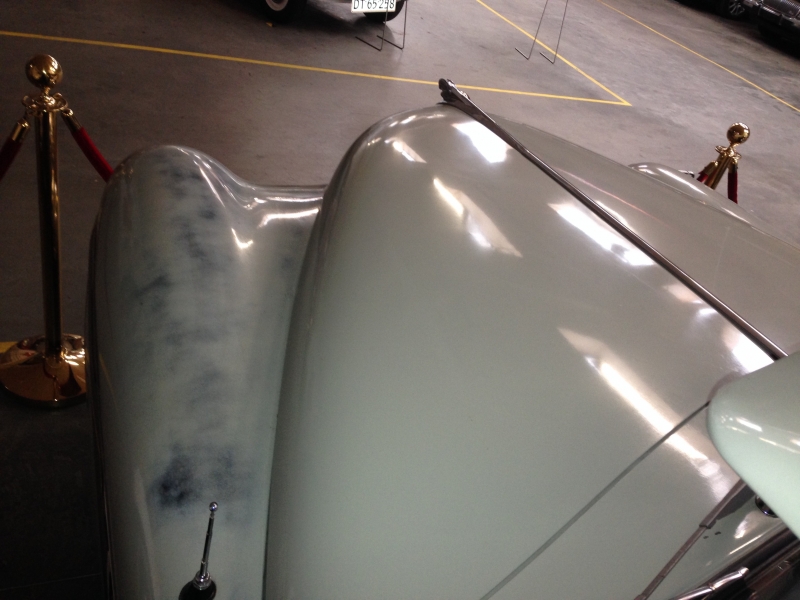
This picture shows the edge at the roof above the driver's door.
As you cleary can see, a lot of 'rust' has gathered here through the years.
would you still use #7 to remove the rust in the first picture ?
First, thanks for getting back to me...
Second, just this last week I shared a tip on cleaning out the drip rail on classic cars and streetrods before machine polishing, here's the link to what I wrote on our Competition Ready Facebook page.
Air currents
While the tip doesn't specifically apply to what you're trying to do it does apply to working the area you're going to work and that's the drip rail.
The rust you show inside the drip rail is common on old cars with old paint and here's what I would do. I would get a piece of terry cloth toweling, that is take a terry cloth bath towel, hand towel or wash cloth and cut out a chunk about 5" square.
Fold this piece of terry cloth in half and then dribble some #7 into the channel of the drip rail and then start rubbing the piece of terrycloth along the inside of the drip rail.
This will do three things,
1. Loosen and remove any loose paint that are chipping off. This is to be expected and by removing any loose paint you can now get to the surface below to clean and polish it.
2. Remove any rust residue. You'll have to rub a lot as surface rust on metal doesn't come off as easily as oxidized paint.
3. Restore a polished surface to any paint left inside the drip rail.
Then like the rest of the car, simply maintain this area using the same technique.


 icture: