Holiday Project 2 – Project Outback Take Two
The follow up to yesterday's job, this 2012 Subaru Outback arrives for a pre-sale detail. I washed this vehicle a few years ago, which was about giving it a refresh, today, I’m preparing it for sale. This Outback also features the 3.6 flat-6 engine and has over 275,000 km (170,000 miles) on the clock. The plan was for a full exterior decontamination, paint enhancement and an interior cleanup.
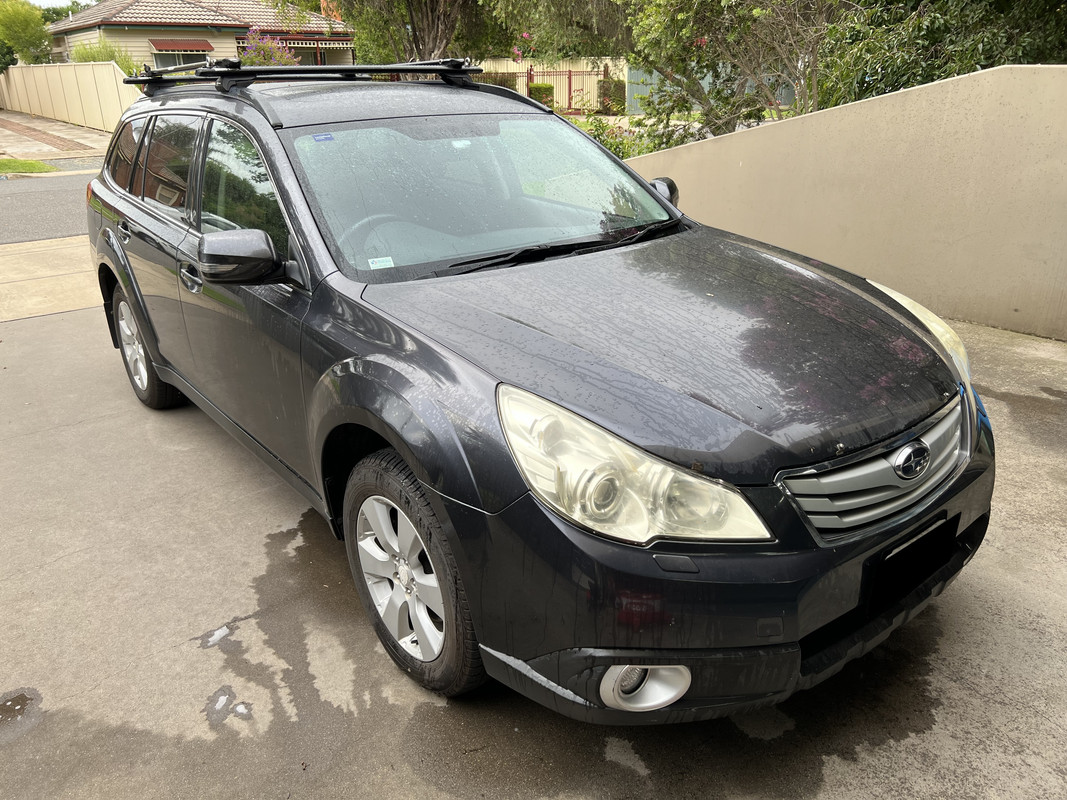


The headlights were appallingly bad, heavily oxidized and crazed. This model of Subaru seems particularly prone to this.
 Exterior Cleaning and Decontamination –
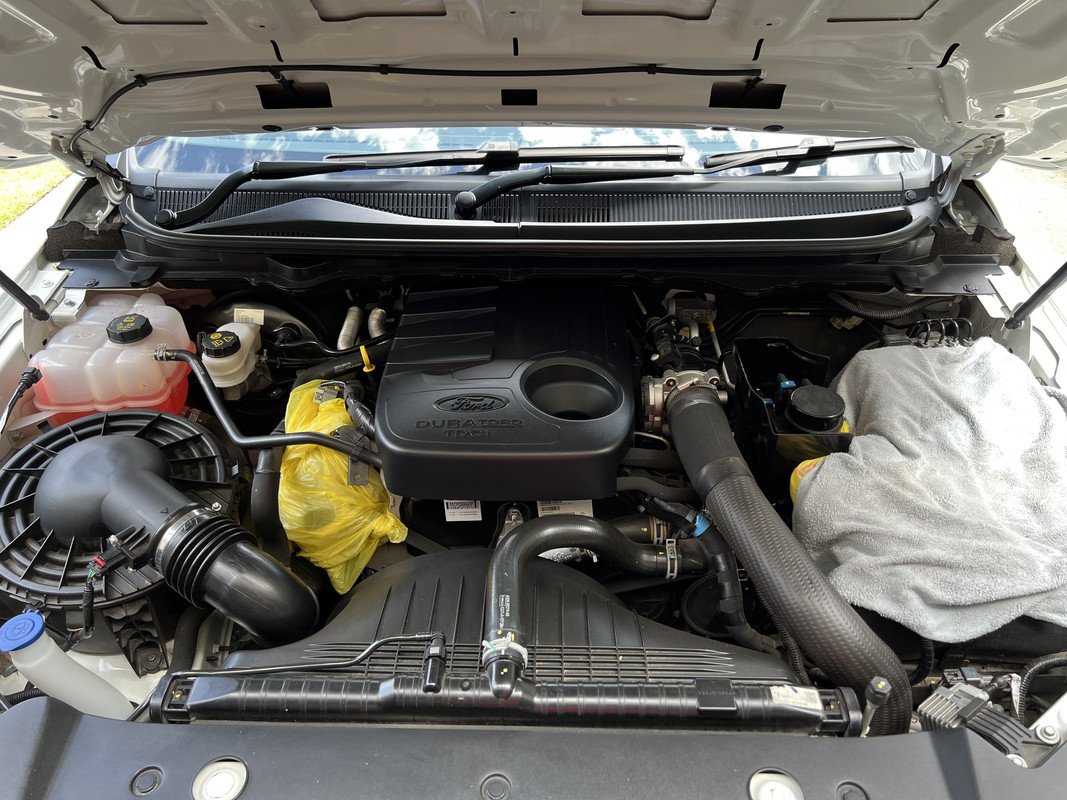
As I did yesterday, the first step was an engine bay clean and dressing with Motorplast.
Wheels were next, tackled with the assistance of NV Purge, Turtle Wax Alphabet Soup Wheel and Tyre cleaner, and treated with Gyeon Wet Coat.

While I'm harsh on the Turtle Wax, this product is supremely capable. With how potent it is, I'm surprised they sell this as a retail product to be honest. I still hate the smell though!
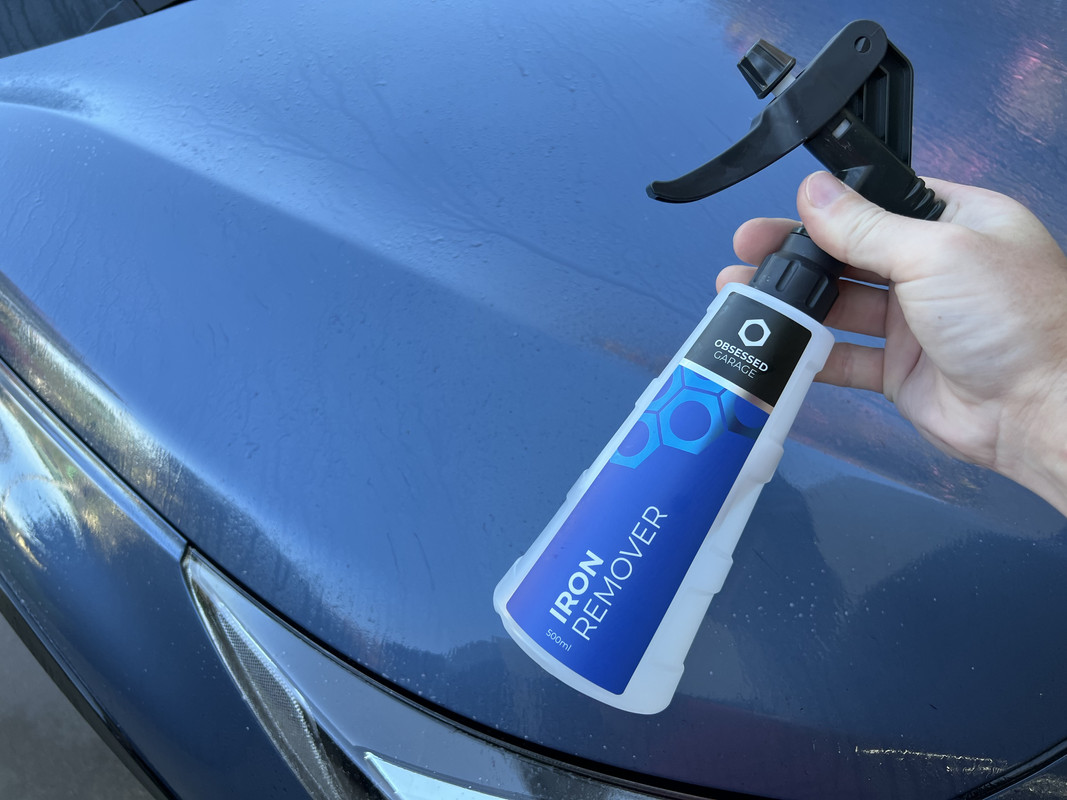
Iron remover, Carpro Lift, Carpro Descale and a clay treatment addressed the decontamination. The door jambs were also sprayed out to remove a build up of dust. I then used the blower and a towel to dry the paint, ready for the next steps.


I had to look this up from last time, but as suspected, I didn't use an iron remover. I doubt this car has ever been treated with such a product, if the car was a lighter colour, it would have made for a stunning photo.

I also want to highlight how magical the feel of a clay towel is in transforming paint from rough to smooth. It's such a tactile thing, you start off feeling the paint resist your efforts, as you work through it, the paint suddenly becomes smooth and slick underneath the towel. You may not feel this on a well-maintained car, but on a vehicle like this, it's a night and day transformation.
Paint Enhancement and Protection –
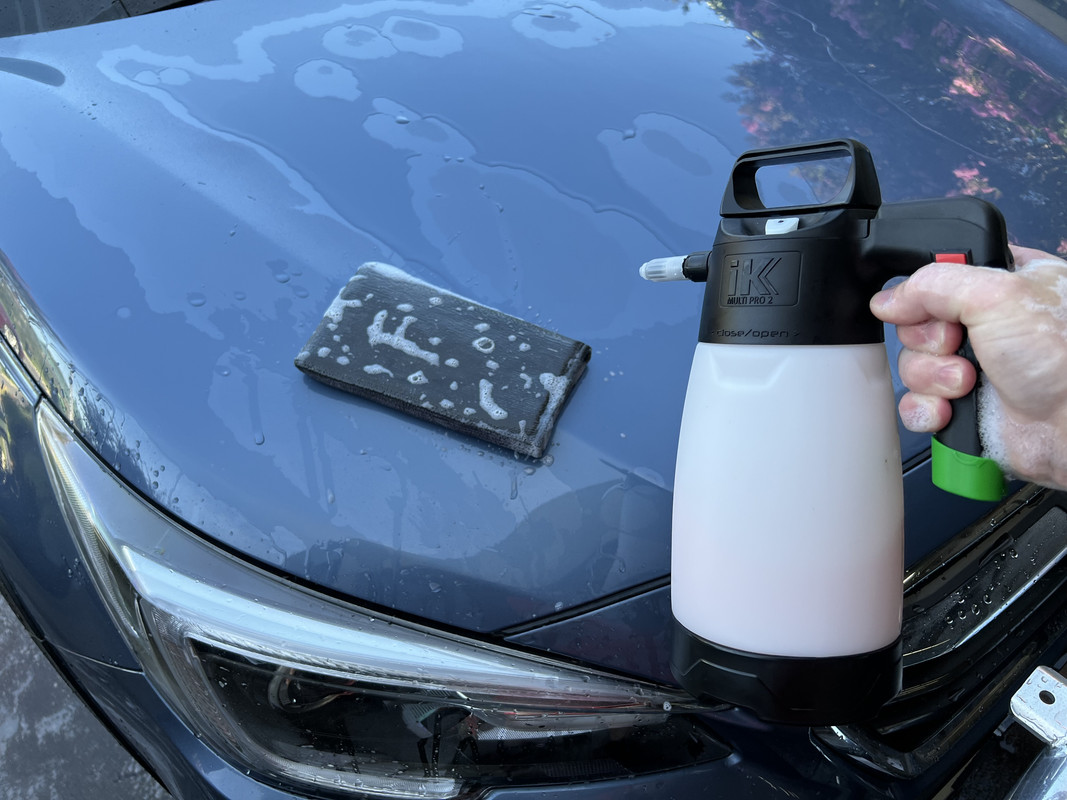
The first step here was the headlights, I couldn't bear to look at them like that any longer, you can actually see the yellow showing through under all that foamy soap!
As you can see, the headlights on this vehicle are trashed. They were last time too, but an extra three years on the road have taken its toll. These lamps need wet sanding and re-coating, but I didn’t want to go that deep. Instead, I used Sonax Cutmax and the Rupes blue wool on my 3-inch machine, two sets of passes. That's about as far as I can go without the above-mentioned wet sanding.
They are far from perfect, but they look better and more presentable to buyers.


On a car of this age and milage, the potential sale price doesn’t warrant spending hours and hours polishing the paint to perfection. As such, the goal is to add a tonne of gloss and slickness rather than attempting a high-end paint correction, something a potential buyer would unlikely appreciate or notice. For this car, I wanted to try something that has been on my radar for a while.
Rupes UNO Protect is considered an All-In-One product that polishes and protects in one single step. These products have existed for decades, and UNO Protect has been on the market for a while now. There are actually two versions of UNO Protect, the original that offers about 3 months protection, and the newer UNO Advanced with up to 12 months protection. The original contains a synthetic polymer sealant, the latest replacing that with an Si02 protectant. Both have the ability to provide correction (pad dependent) and minor filling abilities. For this project I have decided on the original, which I will explain shortly.
https://www.autogeek.net/rupes-uno-protect.html
https://www.autogeek.net/rupes-uno-advance.html
UNO Protect can be used on both rotary and dual action machines, and teamed with variety of different pad choices, meaning you can tailor the cutting ability to suit your requirements. Today, I am again using the Rupes yellow wool, which will provide some additional cutting performance while also finishing down nicely.

UNO Protect is used a bit differently than traditional polishes and compounds in that you polish the entire car at once without wiping off the residue as you finish each section. This is to allow the sealant within the compound to set up and cure. By the time you have worked your way around the car, its then time to buff the residue. Important to note that I did all of that with a 5-inch machine, with UNO Protect not staining plastic and rubber trim, you don't need to be as precious with pad sizes and taping. As you can see, I also went over the glass.


And this is where using the original version of UNO Protect comes into the story……………..
Instead of simply wiping the residue, the trick is to use P&S Bead Maker as a wiping aid. For whatever reason, this combination of UNO Protect and Bead Maker works extremely well together, the Bead Maker bonding to the UNO Protect polymers to create an ultra-slick and ultra glossy finish. Working panel by panel, spray a generous amount of Bead Maker over the top of UNO Protect, and then begin wiping. The Bead Maker aids the removal of UNO Protect, but also enhances it in the process.

The above is a proven winner for detailers looking to maximize their efficiency while delivering a marked enhancement to the paint. And so that proved here!
Is the paint perfect. Absolutely not! There paint on this car is trashed, with a mirid of hard water spots, etchings, the beginnings of clear coat failure and full of scratches, some through the clear. Could I have gone harder, perhaps Cutmax on the same wool pad? Absolutely, but at what cost? That clearcoat was thin and I could have very well blown through it in multiple locations and made the situation worse. At least I glossed it up and made it look presentable.
Interior Detailing –
Once again, its all about vacuuming, annoyingly Subaru carpet is one of the worst on the market. Thankfully, the investment I made in vacuum attachments proved valuable today, especially the turbo-head carpet tool.
Following that hour-long ordeal, the interior was wiped down with either P&S Swift or Express, I then used Leather Love teamed with a VLB brush, glass was attended to with P&S True Vue. That might sound simplistic, but with this car not maintained outside of the occasional vac, every little nook and cranny needed attention. That adds up.
Again, no interior shots today, except for leather cleaning and protecting, I hate doing interiors. I wanted it done!
Exterior Finishing Touches –
Thankfully, this model of Outback didn’t have as much black plastic cladding, meaning I had less to revive with Mothers Back to Black.
Once again, Carpro Perl went on the tyres, and the wheel arches were sprayed with P&S Shape Up to freshen them up.
After giving the car a final wipe down with Clean Maker, I went to reattach the bloody bonnet protector. (I used to believe in these stupid things but the longer they are on the car, the more damage they inflict than the occasional rock chip they are apparently there to prevent. The adhesive tape they use to protect the paint during installation ALWAYS breaks down and leaves the attachment clips to wear down the paint. That means you simply can't take them off and leave them off, unless you want to look at rusty bare patches on your bonnet.) With how degraded the bonnet protector looked against the shiny paint, I whipped out the Perfect Finish on the Nano and gave it a very quick polish. Again, not a concourse restoration, but at least it didn't stick out so much.
Final Result -


A final inspection of the engine bay revealed the intake manifold breather hose was not connected! I was actually concerned that I had dislodged it while cleaning, but I zoomed in on the before shot and it was missing then too. Clearly this didn't prevent the car from running, but I pushed it back in place nonetheless. Very odd. I also note this car is missing the engine cover too.


A roadworthy and the car will be sale shortly.
I can say that my
actual holidays can start now!

rops: Although I'm buggered from the last two days.

I had plans to start ceramic coating and installing the new wheels on the Ranger, but I think I'll delay that till next week. Or maybe not............................
I also REALLY want to drive my cars! All have been hiding under covers and for far too long. :doh:
