SEMA Challenger - Polished, Detailed & CQuartz Finest

Joined
Oct 31, 2009
Messages
1,682
Reaction score
0
Over the past year, this Hemi Orange 2010 Challenger had been receiving multiple upgrades. Super-charged engine, custom suspension/air bags, custom wheels, custom engine covering, new seats etc.

What this means, is a LOT of shops had a chance to beat up on this paint (installation of the compressor in the trunk alone = an ungodly amount of leaning over the rear bumper!) Not to mention all the body shop dust and just overall neglect.

Solution...the last stop this baby had was to see us! We definitely had some work to do..so lets begin.


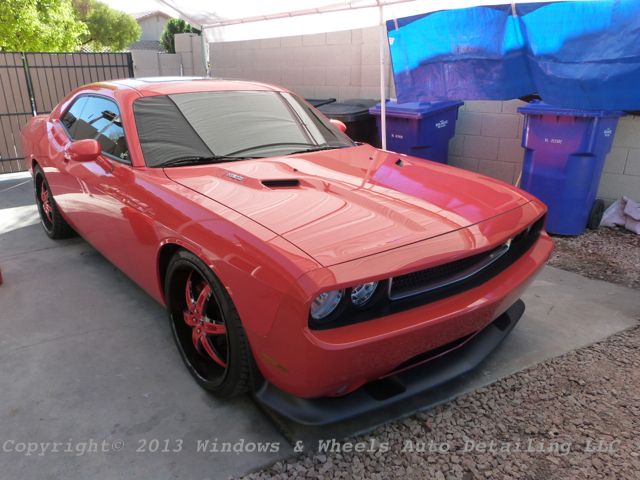
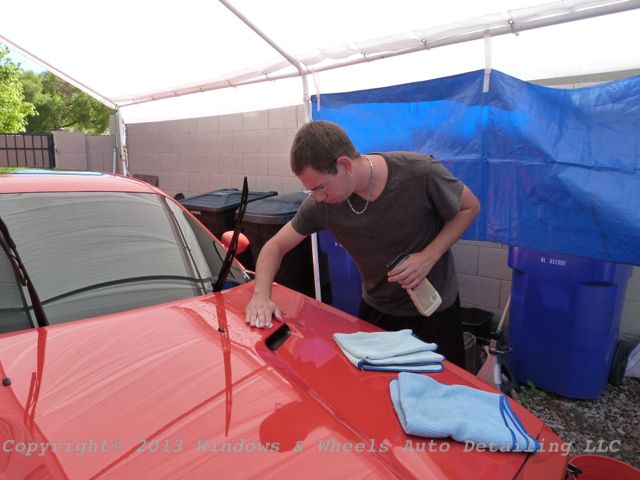
Here she is. Dropped off Sunday night...over the next 4 days she would be getting some SERIOUS attention from us. Interior just needed light cleaning...which was good because the paint needed some serious attention.

First thing that was noticed was the left over wax/compound in quite a few cracks:


Some in some particularly difficult to reach places....note this has probably been there a year lol


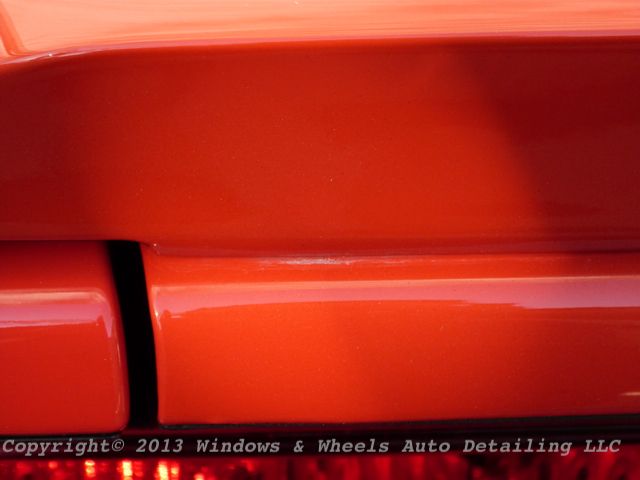
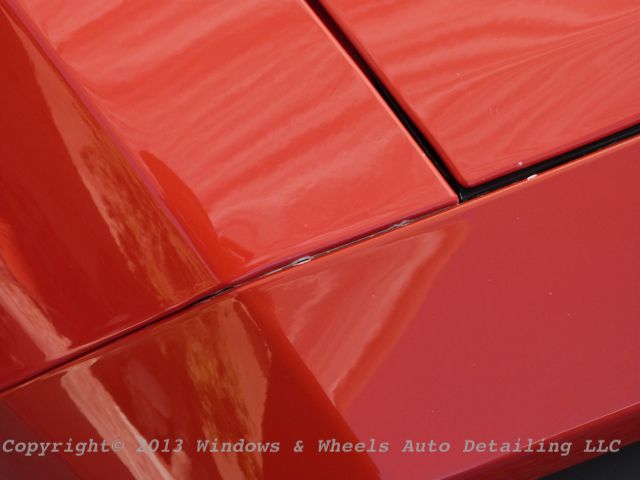
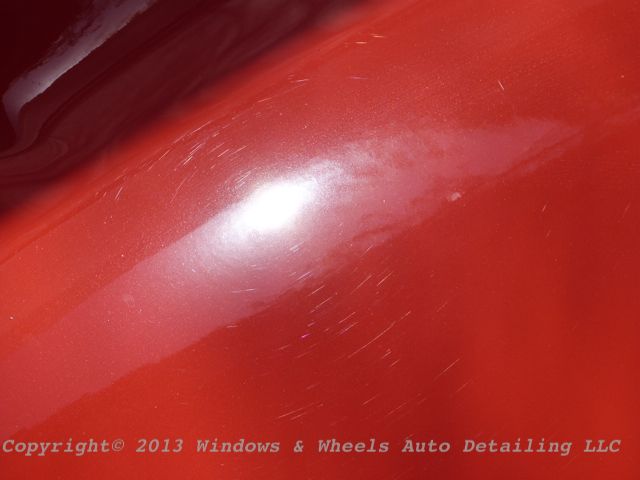
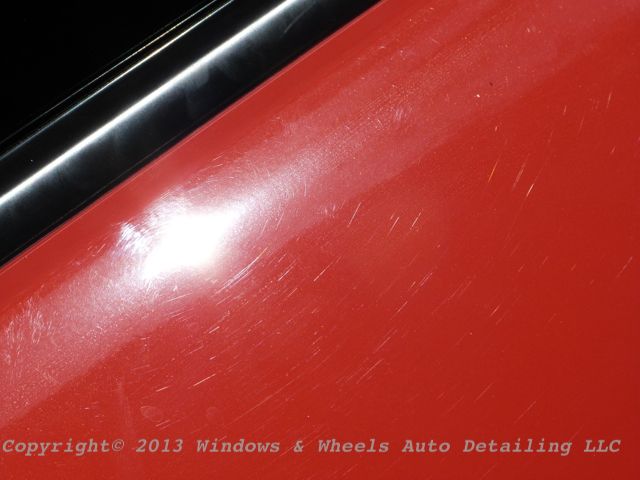
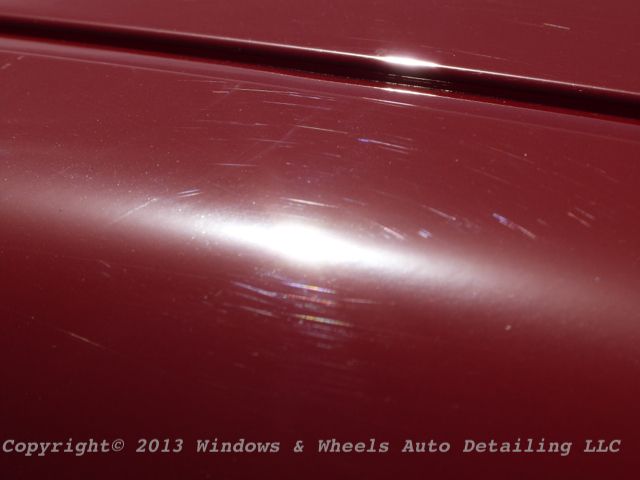
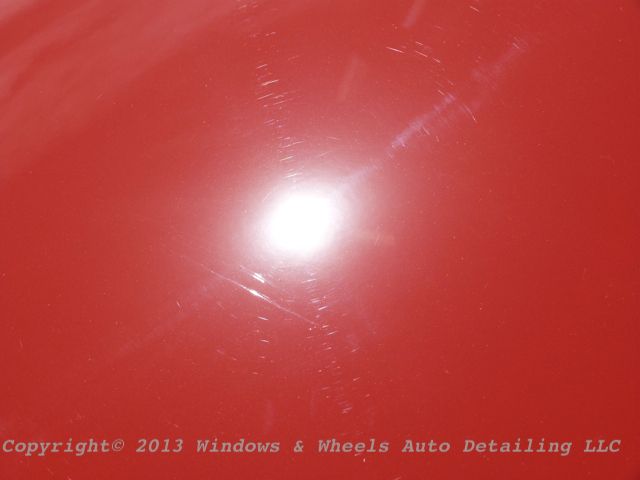
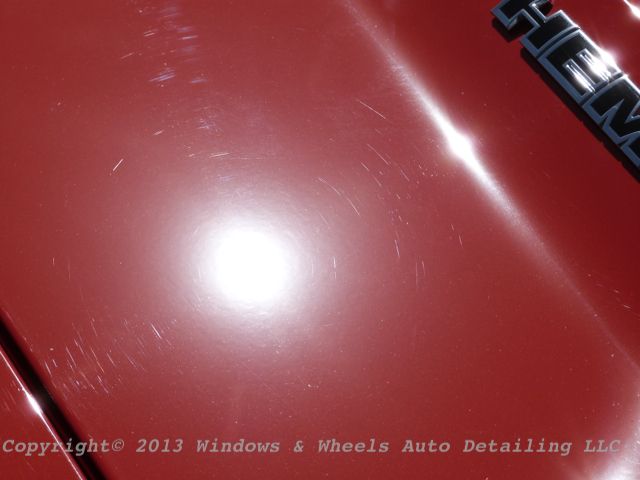
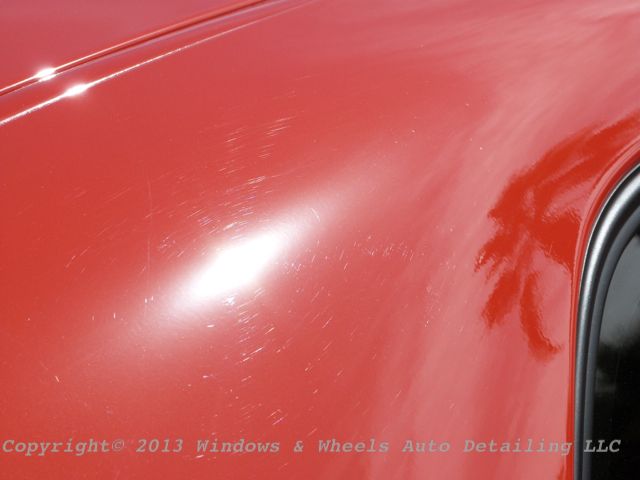
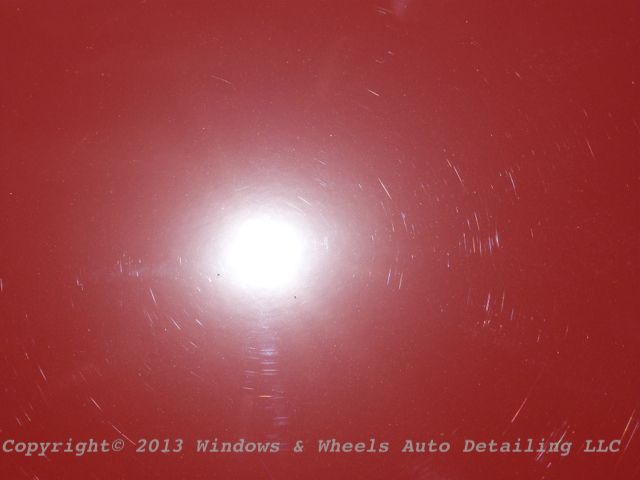
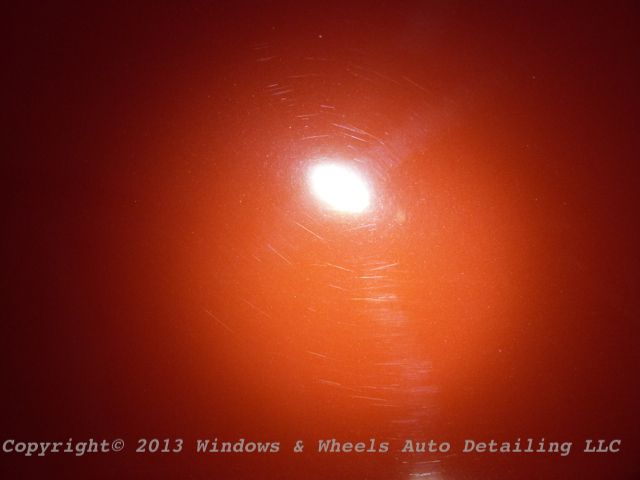
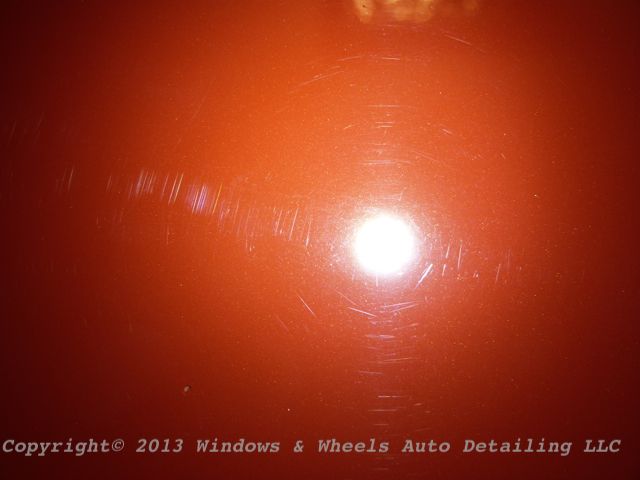
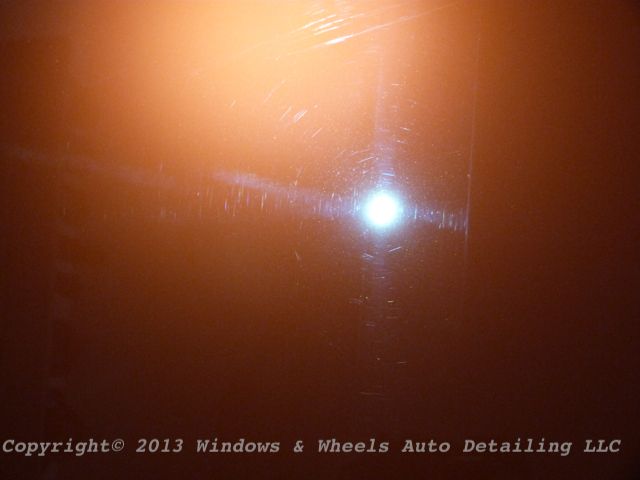
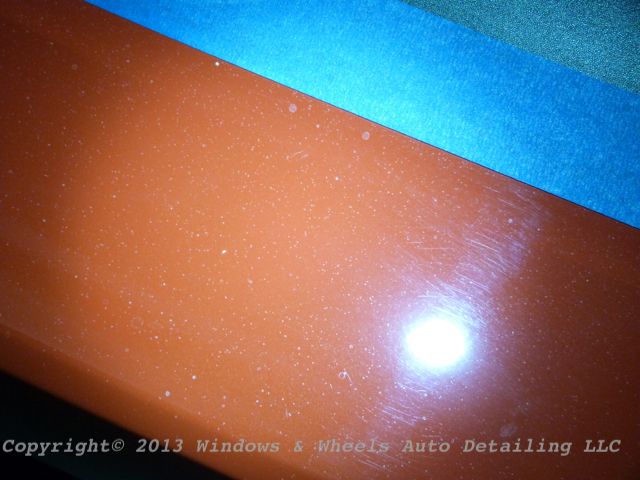
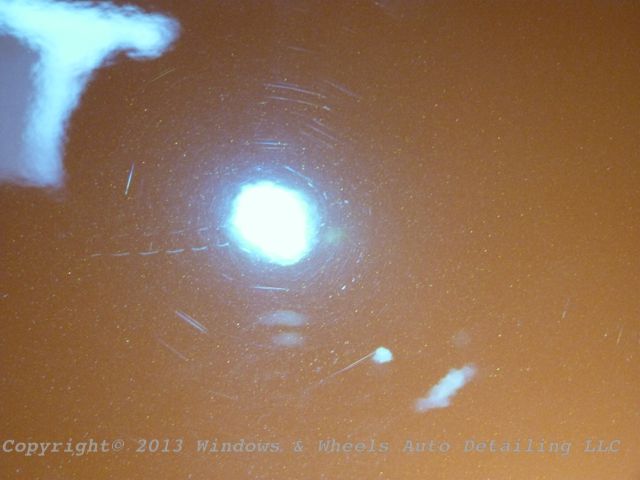
And then of course...the prime concern...the tons of swirls:


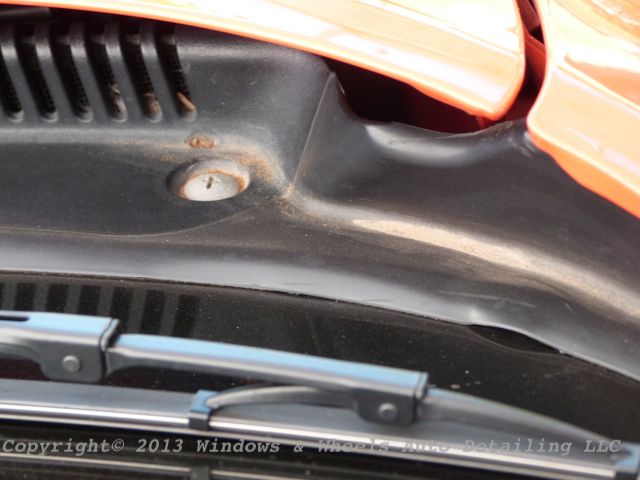
We also had some good ole' Arizona dust piled up in some areas:


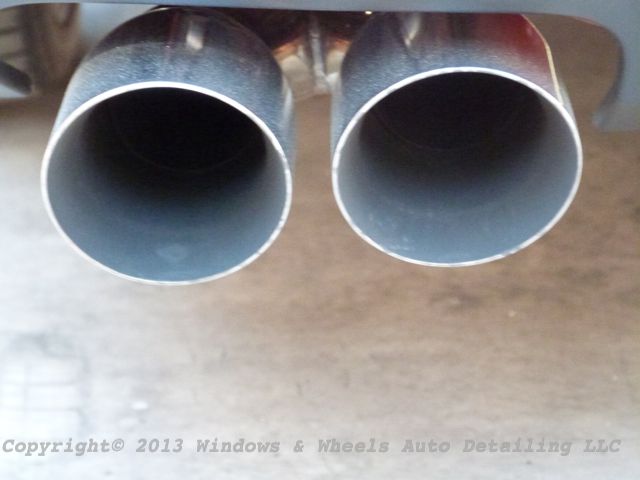
And well, when you have a super charged engine...the tips are probably going to be pretty dirty:


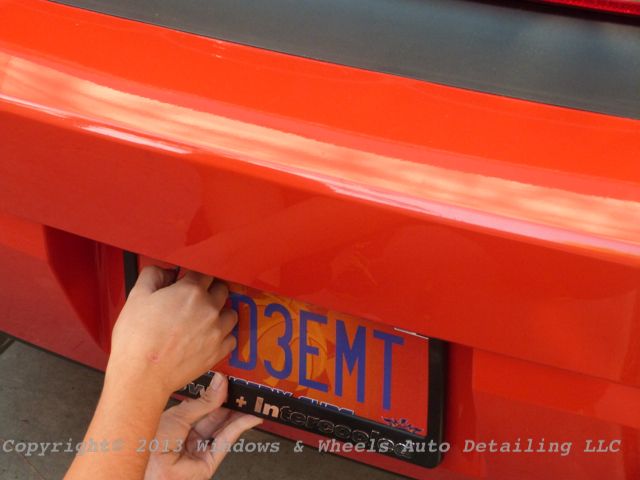
So, it was time to get to work...first the license plate was removed:


Then everything was washed and dried:


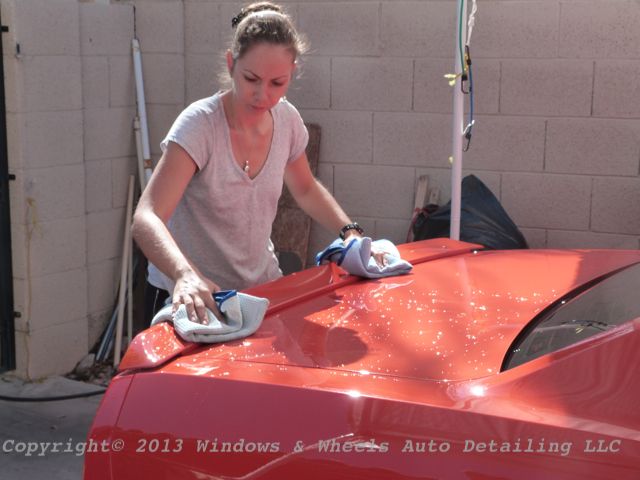
Dual drying korean WW microfibers!


Then the tedious part...claying. When in a body shop...all kinds of air born crap lands on the cars....the result....THIS is what comes off of just 1/2 the windshield:


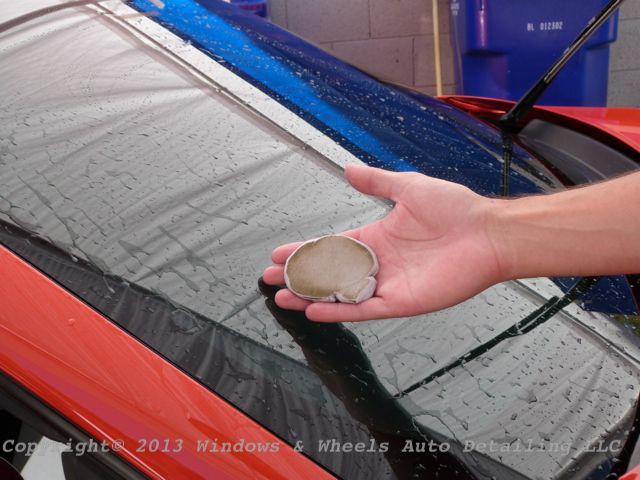
This by no means was a "quick clay"...every panel took a good amount of going over to get the paint smooth...and the clay looked like this at least 10-12 times....so there was constant cleaning and re-molding of the clay during the process.

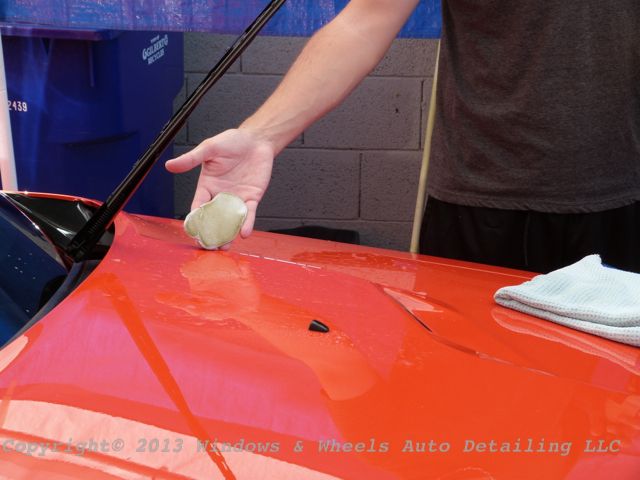
Just 1/4 of the hood:


Continuing on:


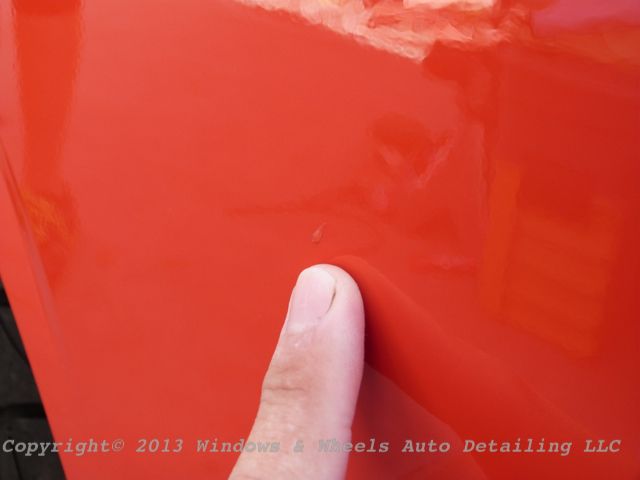
The next thing we found that wouldn't clay off...were these little glue looking specs on the front QP's. There was a good 8-10 in total.


Letting some compound sit on them for about 15 minutes helped to loosen them up and then they flaked off.


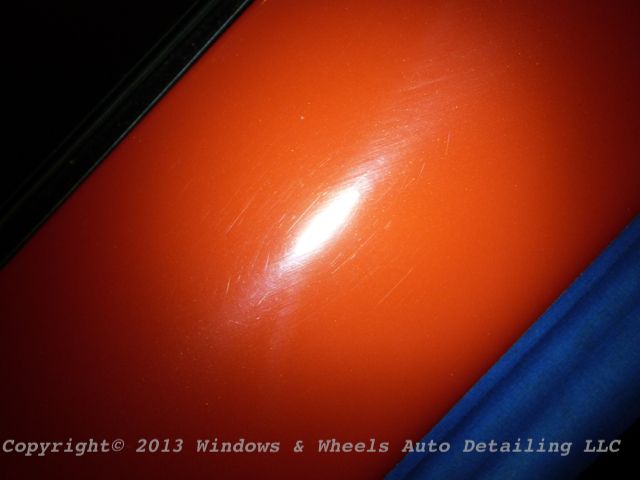
As the sun came out more...the paint condition was easier and easier to see....which was good and bad lol:


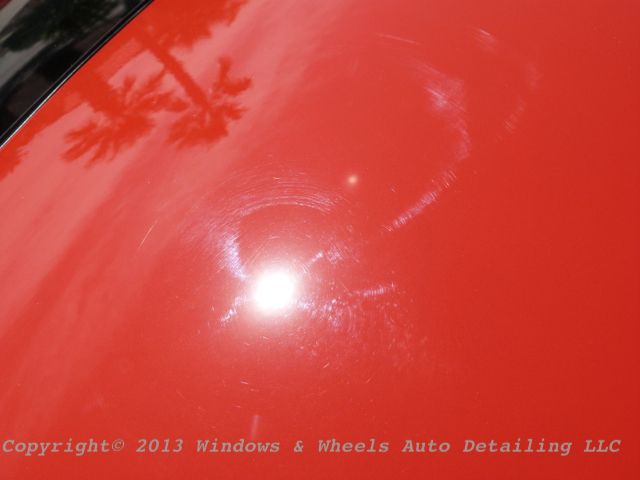
Some were pretty deep:


Painful!


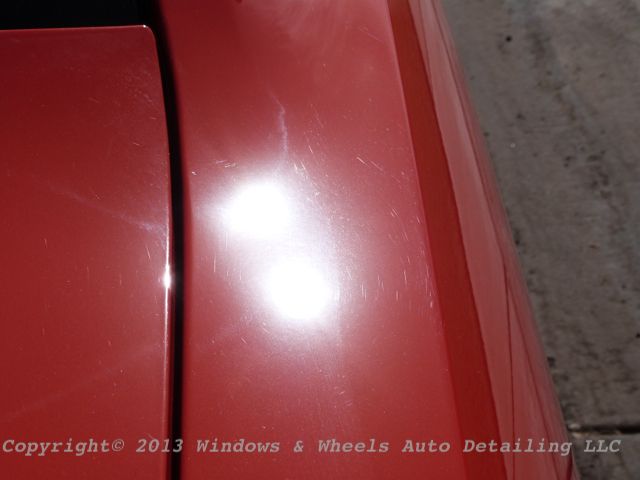
These were pretty wicked looking:


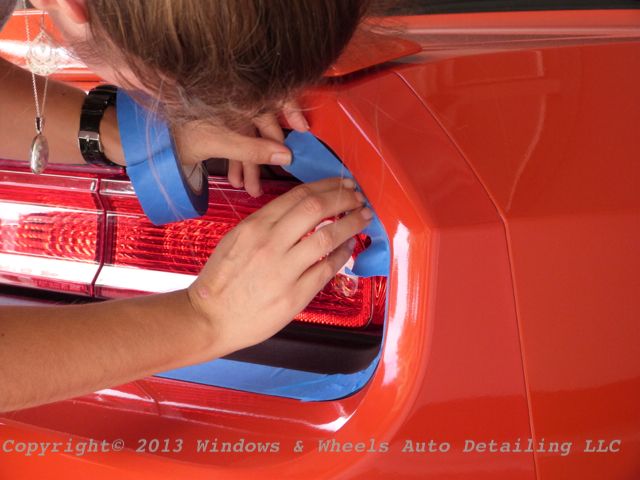
After claying it was time to pulled into the garage...and the prep work continued....taping off the trim:


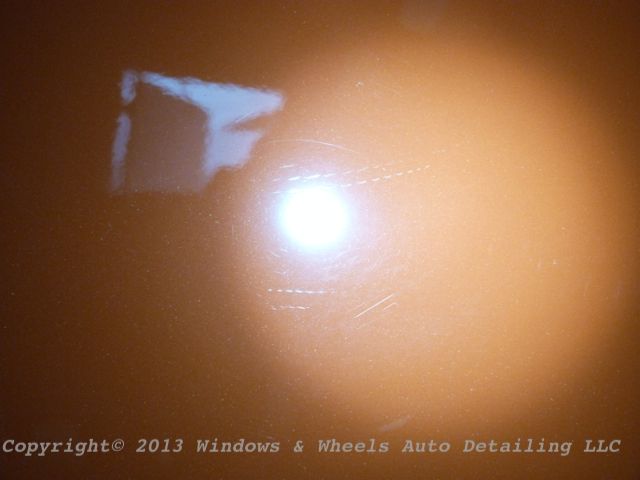
And of course we had to check the paint out under LED...which was a pretty bad sight:


Under controlled lighting, it was easy to see how much work we had ahead of us:


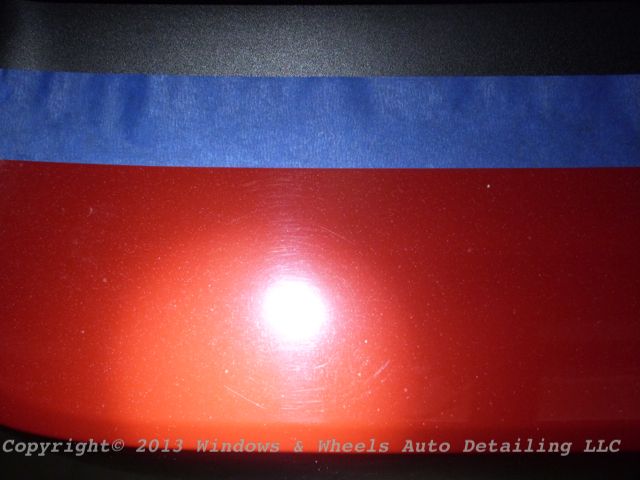
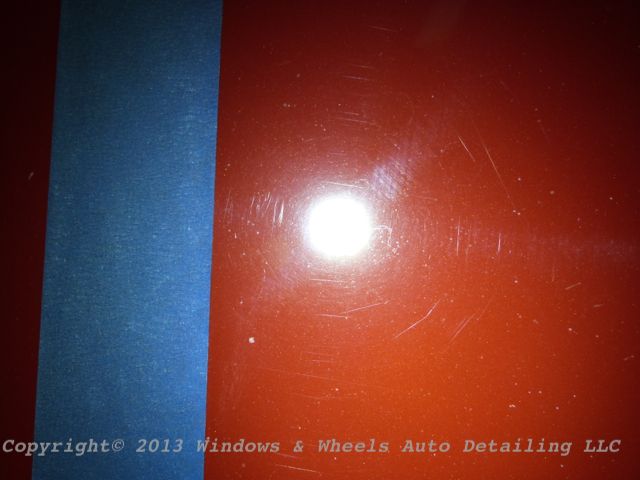
It was then time for our test spot. We taped off a section of the hood (the hood made up about 10 sections! It was HUGE!)

Heres what it looked like before hand:


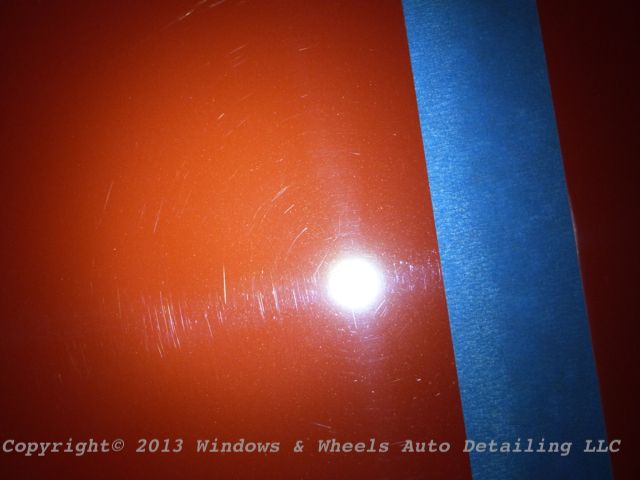
Half was compounded....the result was no more swirls, but a fair amount of hazing:
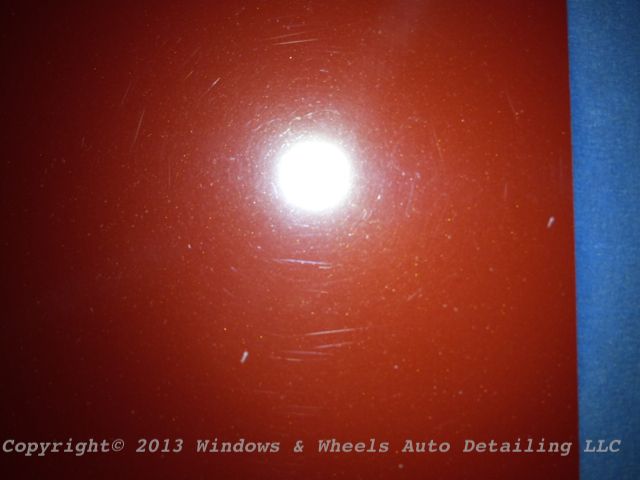


Before:


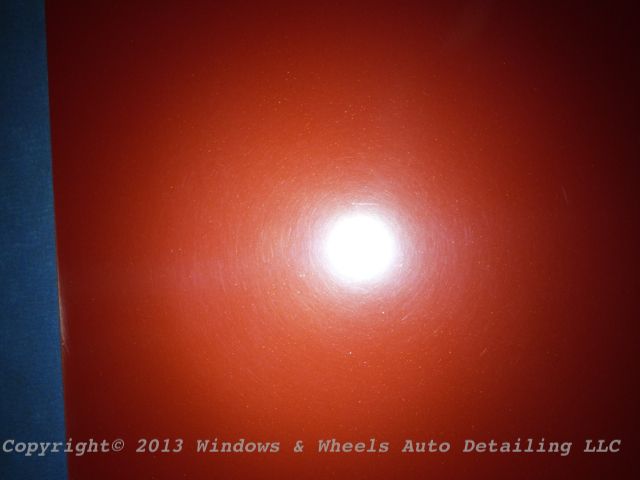
And then after polishing....
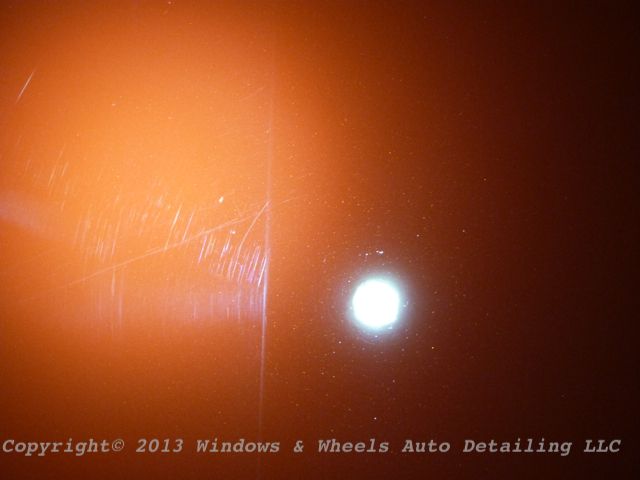


Crystal clear:


What we found was...this was not going to be a 1-time compound, 1- time polish and good to go detail. Most areas were going to be compounded multiple times - as many deep scratches as possible would be chased after (and they lost hehe) and the paint would be finished down as well as possible with compound. The benefit of doing this was....it makes the polishing process much easier and much less marring to have to clear up.

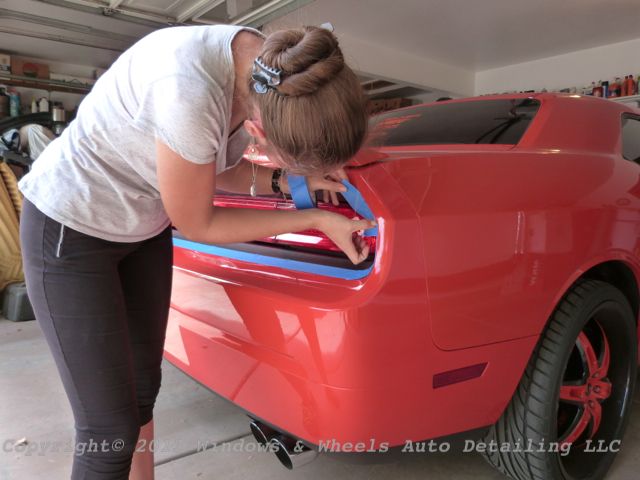
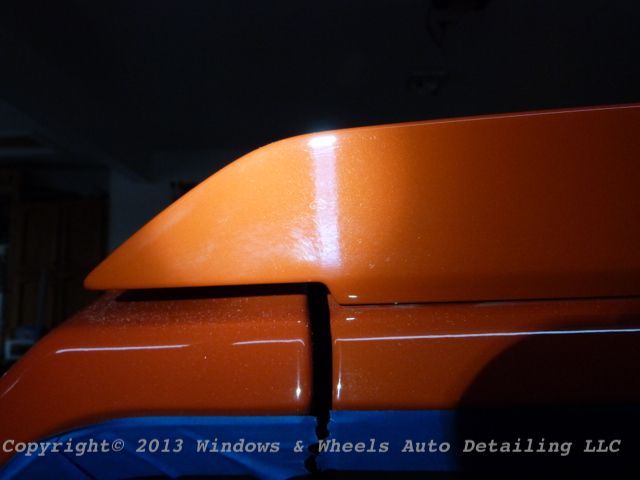
One of the most abused areas, was the rear bumper and spoiler....which Dani spent a good amount of time on....with some serious cutting compound (M101)


Pretty nasty looking huh?


The underside was pretty ugly too:


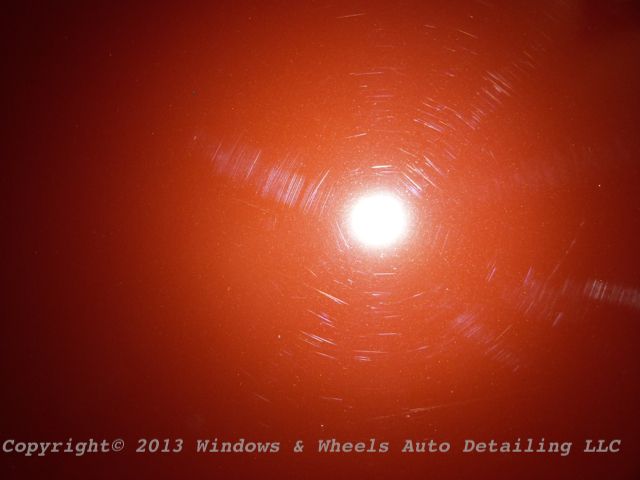
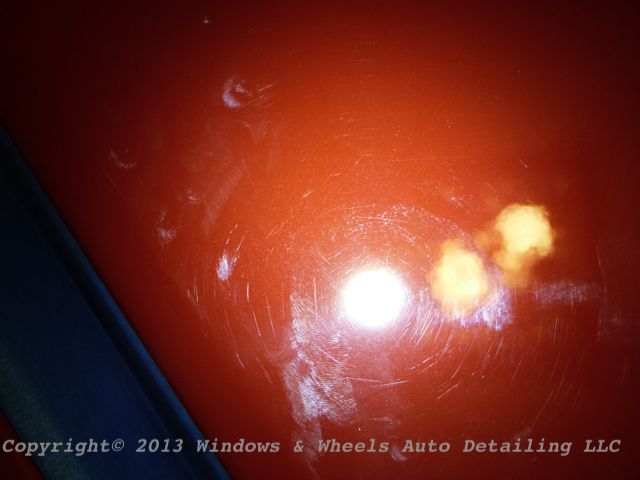
The rear bumper was just bad...i mean bad bad....it didn't even look swirled...it just looked a hot mess. You could tell it had been leaned on over n' over:


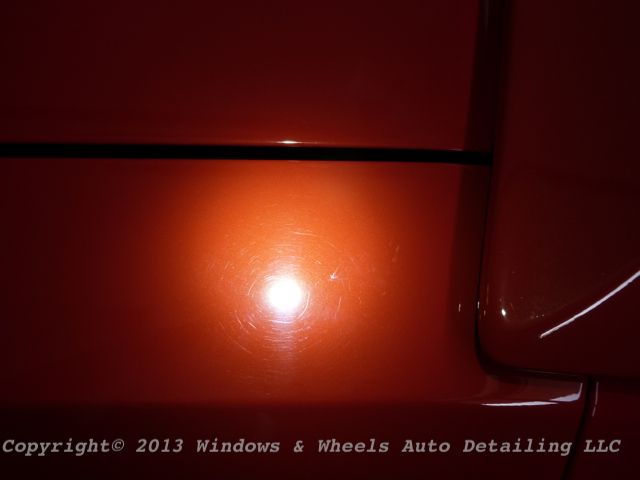
Some spots on the doors were bad too, these squiggles almost looked like backing plate hits of some sort or sanding pig tails:


Though small...those little suckers were difficult to chase out.

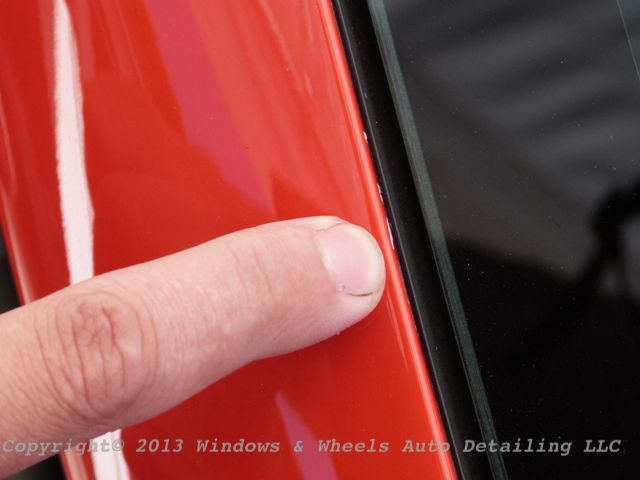
The pillars were horrible too, and again a lot of 3" polishing was required:


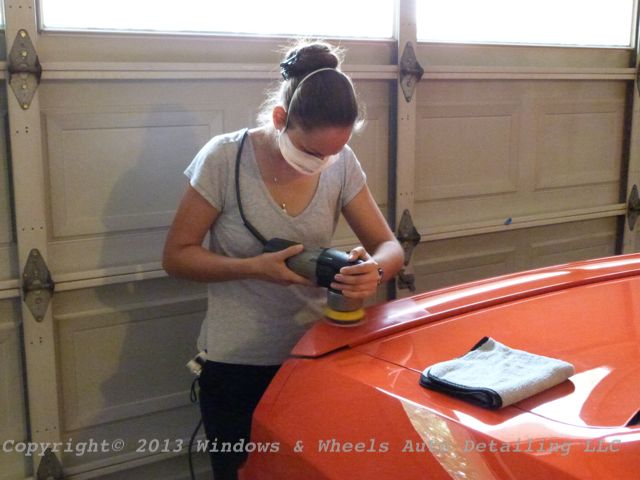
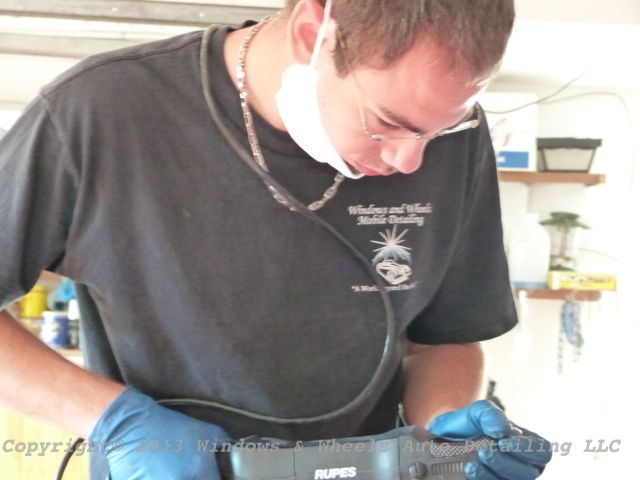
After the first day...about 1/2 the car was compounded and ready for polishing. Day two came and we were up and at it bright n' early. Here i am cutting the acre long roof:


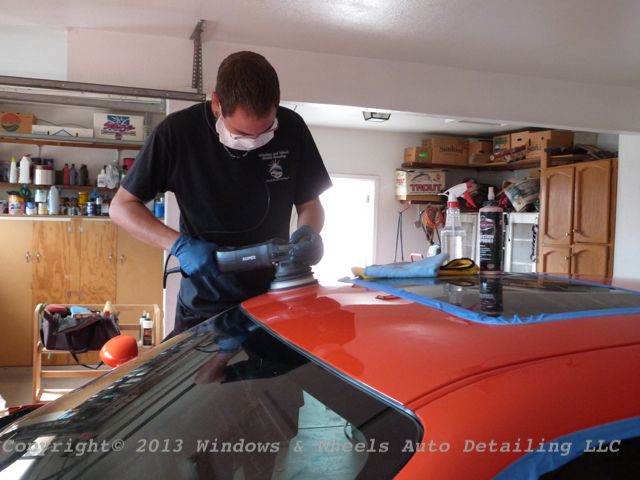
The mask doesn’t do so much when you forget to take it off your chin!


After making it to the trunk...it was time to do one more taped off shot...these were nasty looking:


The after result....


Awesomeness.


Before:


After:


Nice side by side shot:


Now onto the other side of the roof. This picture said it all....Rupes 21 + Meguiars Cutting Disc + M101 = Not F***ing around!


The roof needed that big of a combo too. The sun roof you see, was a custom install as well and had just been put in a few days before...I dont even want to think about the abuse the roof went through during that process...but it did look good!


The front bumper had JUST been repainted...which was nice because there were no rock chips...but there was still a good amount of damage. What looked to be sanding marks were on quite a few areas:


Fresh paint does not mean polished paint...we've learned that through the years.

Most of the car was polished that night (late hours) because the next day time had to be split up.


Day 3 came and we had to split up our time between an early morning wash we do bi-weekly on a Cayenne, then 2 more washes on a BWM 5 series and Mini-Cooper...and then a full interior cleaning and Dr. Color Chip Repair on the same BMW. While that tied up quite a few hours, luckily we had made a lot of progress the previous two days...so we were ahead of schedule.

Once we got home it was back onto the big orange monster...doing our final polishing:


We were testing out a new polish, CarPro "Reflect". First impression...VERY nice. Super easy to work with, cleaned up the marring with no problem and wiped away flawlessly. After an eraser wipe down was done, no filling was apparent, so this will be a polish we plan to work with even more in the future :)


After all the polishing was completed, we were racing against the sun to get another wash in while we still had light. While the weather was still nice (in the 80's), the sun is still long gone by 5:30-6. But, we had enough time. We wanted to do a full wash to help blast away all the compounding dust (there was plenty!), clean up the door jambs and remove any left over polishing oils.


After the rinse, it was foamed heavily...we didn't want to even CHANCE marring the paint at this point...so we wanted the mitt to just glide over the paint with 0 chance of any drag:


It was then rinsed and brought back into the garage. We then did an Eraser wipe down (even though we had just washed it, that doesnt mean we were going to skip any steps for proper prepping!) 


Finally it was time to apply 2 coats of FINEST. Now wasn't this something....here we are with an orange car...the night before halloween (a very orange holiday lol) and for the first time ever...we received an ORANGE Finest applicator block and towels!


Coincidence? Nah, it's just the power of the SEMA car!


Applying Finest, good thick coats:


Finest curing on the hood:


By the time the last coat was finished and removed, once again it was late into the night...and we still had some last minute things to do the following day.

On day 4 we went out to apply the final touches. Clean the glass, do a little clean up on the interior and trunk, engine bay clean up, exhaust tips were polished and plastic trim was protected.

Of course, we had to make this detail officially a Finest detail:


Plastic protection was applied via paint brush, to be sure to get into every little nook and cranny. Jambs were given another cleaning just to be sure they were spot free and then finally the moment we had worked so hard to see....the moment we got to pull her out into the sun...completely finished and ready for SEMA 2013.

Peeking around the corner...


Here she is....


Let me note that, if the rims/tires don't look perfect...that was because the owner would be changing them out just before he took off to Vegas...he had new ones (which will be posted below).


Swirls are not allowed at SEMA (at least not on a car we worked on!)


The orange was LOUD


Sun shot:


If it looks fast, thats cause it is:


Another sun shot:


Gloss...oh yes...we deliver LOTS of gloss:


From the front it just looked nasty!


Now, here is what makes a big difference. Does the paint look good...yes....but a good offset is a must. So super clean trim, dressed and spotless...was a must. This is where spotless water comes in handy...because if this grille had been covered with water spots...thats at least an extra hour trying to clean that crap. But after a good wash, blowing it dry....and then dressing it...it looks SHARP:


Close up:


Down low looked damn good as well:


And the entire package...


Sun shot of the hood:


American Muscle baby....


Me with my great thinking...rolled the window down to yell something out at Dani while she was doing the pics...when i put it back up...guess what...there was still water in the window track lol (thus the streaks)...look at the paint...look at just the paint!


Awesome shot:


One more hood sun shot:


That nasty, beat up front bumper cleaned up nicely:


Roof looked good....i thought it was lint at first but turned out it was just a little of the metallic popping under the sun:


Caution: Wet Paint


For those who haven't gotten up close or detailed one of these cars...they are BIG. The 2 doors fool you, till you discover they each break down into about 20 sections lol....the orange mile...


Flip side


Even the gas door was polished and had Finest applied to it:


More gloss:


Great trunk shot...no swirls here buddy:

 
Those clusters of deep scratches on the roof were a thing of the past as well:


Sexy...


Oh yes...yes we did lol


That jacked up rear bumper came out awesome. Dani put a LOT of work into this thing, but it really paid off:


The small things make the difference...like the tips...they looked ok after being cleaned. But then i used some 105 and then some metal polish/protectant and well...they looked better than new:


Against a nice black finish, they POPPED.


Hi mom!


Trim looked beautiful:


Now, being that this car was going to be the featured car for Pro Charger...we had to get some engine shots. It was a beautiful beast...thats for sure:


Time to back it in to wait for it's owner:


Dani was busy in the trees singing "In the jungle, the mighty jungle, i am taking....more PICTURES!" (yes, literally she was sining that, it had been a long few days!)


This was a baaaaad baby!


Now while this was a good long detail...there was no rest for our butts. It was Mopar week....we already had a 2013 Charger dropped off to get some nice dealership installed swirls removed (Only 7k miles and this thing was horrible!). But thats for another write up, sneak peek:


And of course, after so much long hard work...we had to pose with the car for a couple shots too:


DONT TOUCH IT!!!!


Booyah!


The owner picked it up shortly after. We gave him a few car care tips because well...the car would be trailered a couple hundred miles to Vegas and then be outside the whole time. And guess what...it's placed RIGHT next to the track...go figure. Nothing like some track dust and rubber chunks to test the Finest coating out lol.

Once at SEMA, the final touch was added....our Logo was added to the rear windshield (far left), along with the CQuartz Finest logo:


And finally...here she is in all her glory...feature Pro-Charger car at SEMA right now:


I kinda dig the new wheels...with the body lowered...yeah it looks good.


This was a big one for us, our first SEMA car (almost had another one to do but the owner opted to have Happy Howies Car Wash do it instead....yes, literally...im serious...not joking at all....sick right?) First car we'd have displayed on such a big stage....and knowing quite a few detailers would be there to "inspect" our work, surely added a little pressure lol. I think we did it big though.

Hope you all enjoyed the write up...yes it was picture heavy but, it deserved it.

Thanks again.
 
Wow incredible work! That color screams with vibrancy now! Nice work guys.

Car looks so much better with the wheels at SEMA!
 
You guys do awesome work. It gives me inspiration and a goal of what to expect for my own vehicles... plus I know if I fail or am too lazy that I have a great source to go to within about 25 miles of me. :p
 
Amazing job, not that you've ever done anything else! That turn around was great and you could see the quality of your workmanship. Keep up the phenomenal work! Happy detailing!
 
Nice job as always! Car looked great at SEMA and yes there are more than a couple cars there that are absolutely trashed, sad to see.
 
Beautiful work! The car looks great! I definitely have a soft spot for Challengers. Those rims are pretty atrocious though...

The ones at SEMA are not much better. To each their own I guess!
 
Awesome as always!

Wills.WindowsandWheels said:
For those who haven't gotten up close or detailed one of these cars...they are BIG. The 2 doors fool you, till you discover they each break down into about 20 sections lol
^So true! I under estimated the size of one of these bad boys a couple months ago. They're giant!
 
Great work. I've seen a few of your details on other forums and was always impressed by them. :xyxthumbs:
 
Great job and congrats on your first SEMA car (hey, how come the owner didn't fly you guys there? ;o))
 
Hi Wills...

I was delighted to discover yet another superb job that Dani and yourself have done...
It's a Creation of Beauty.

A...Crème de la Crème:
Made ready for SEMA by your Detailing Skills-sets that are truly, and surely:
As only a ProCharger Supercharger spooling-experience can also be described.

Stimulative...Electrifying...Magnetic...Adrenalizing!!!


As always: Thanks for sharing!

:)

Bob
 
Back
Top